Ricoh GRIII / GRIIIX Photography Settings & Set Up Guide
In this blog, I will share with you the key settings you need to be aware of when setting up your Ricoh GRIII and GRIIIx. I will also share with you the photography settings I use for travel and street photography. If you want to read my review of the Ricoh GRIIIx, click here.
Custom Buttons
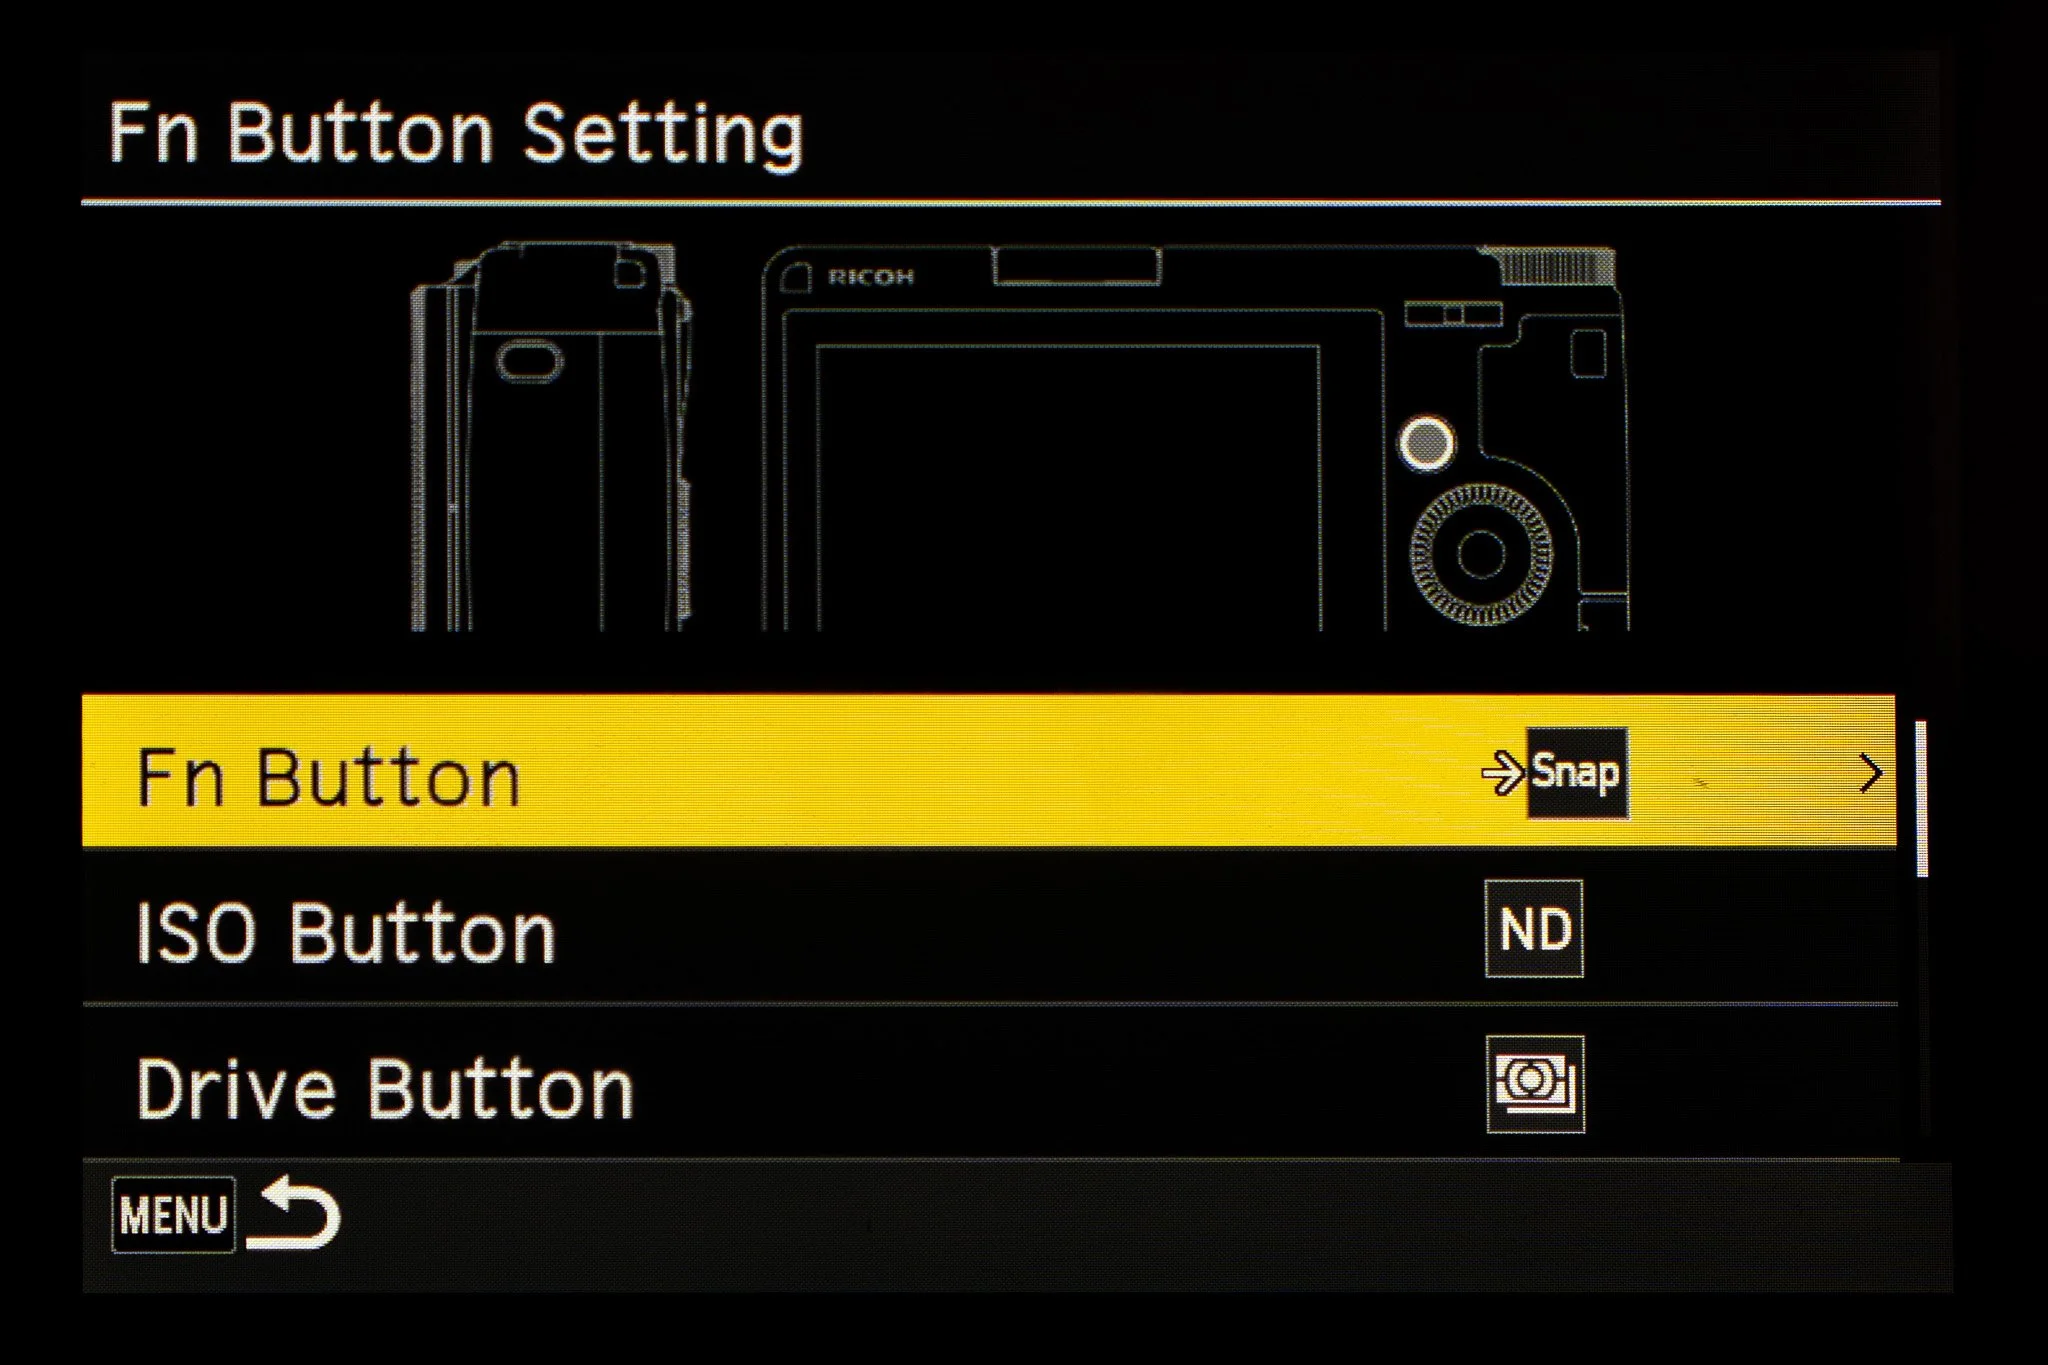
The GRIII doesn’t have many custom buttons, so making the most of them is important. To make any changes, go to Menu > Customise Setting > Fn Button Setting. This is how I set them up:
Fn - Snap Focus
ISO Button - ND
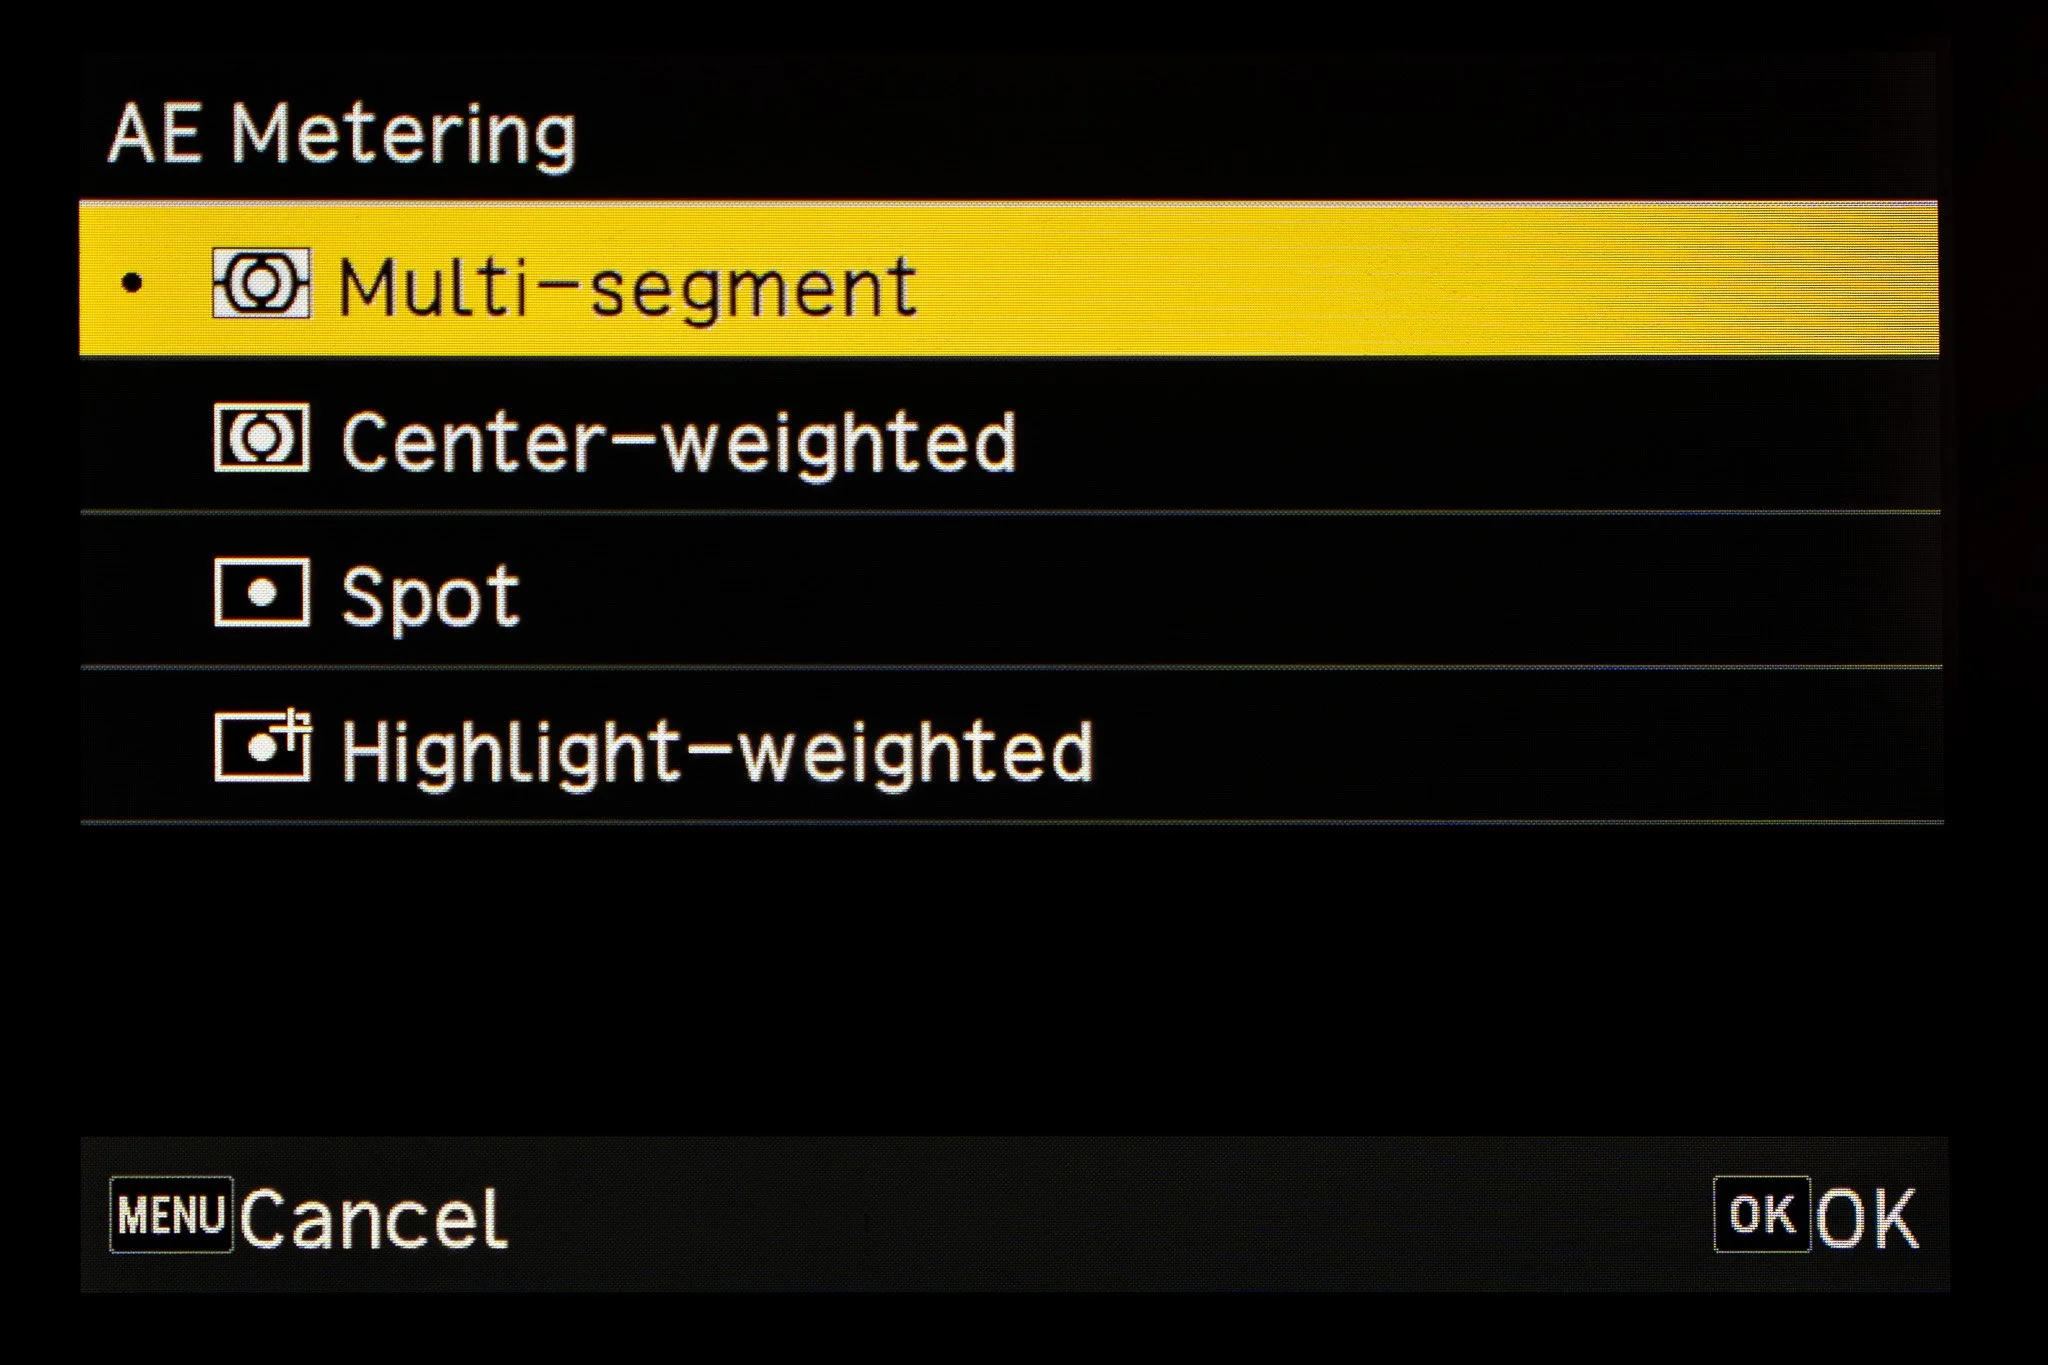
Drive Button - AE Metering
Movie Button - Face Detect
Movie Button Hold - Off
ADJ Menu
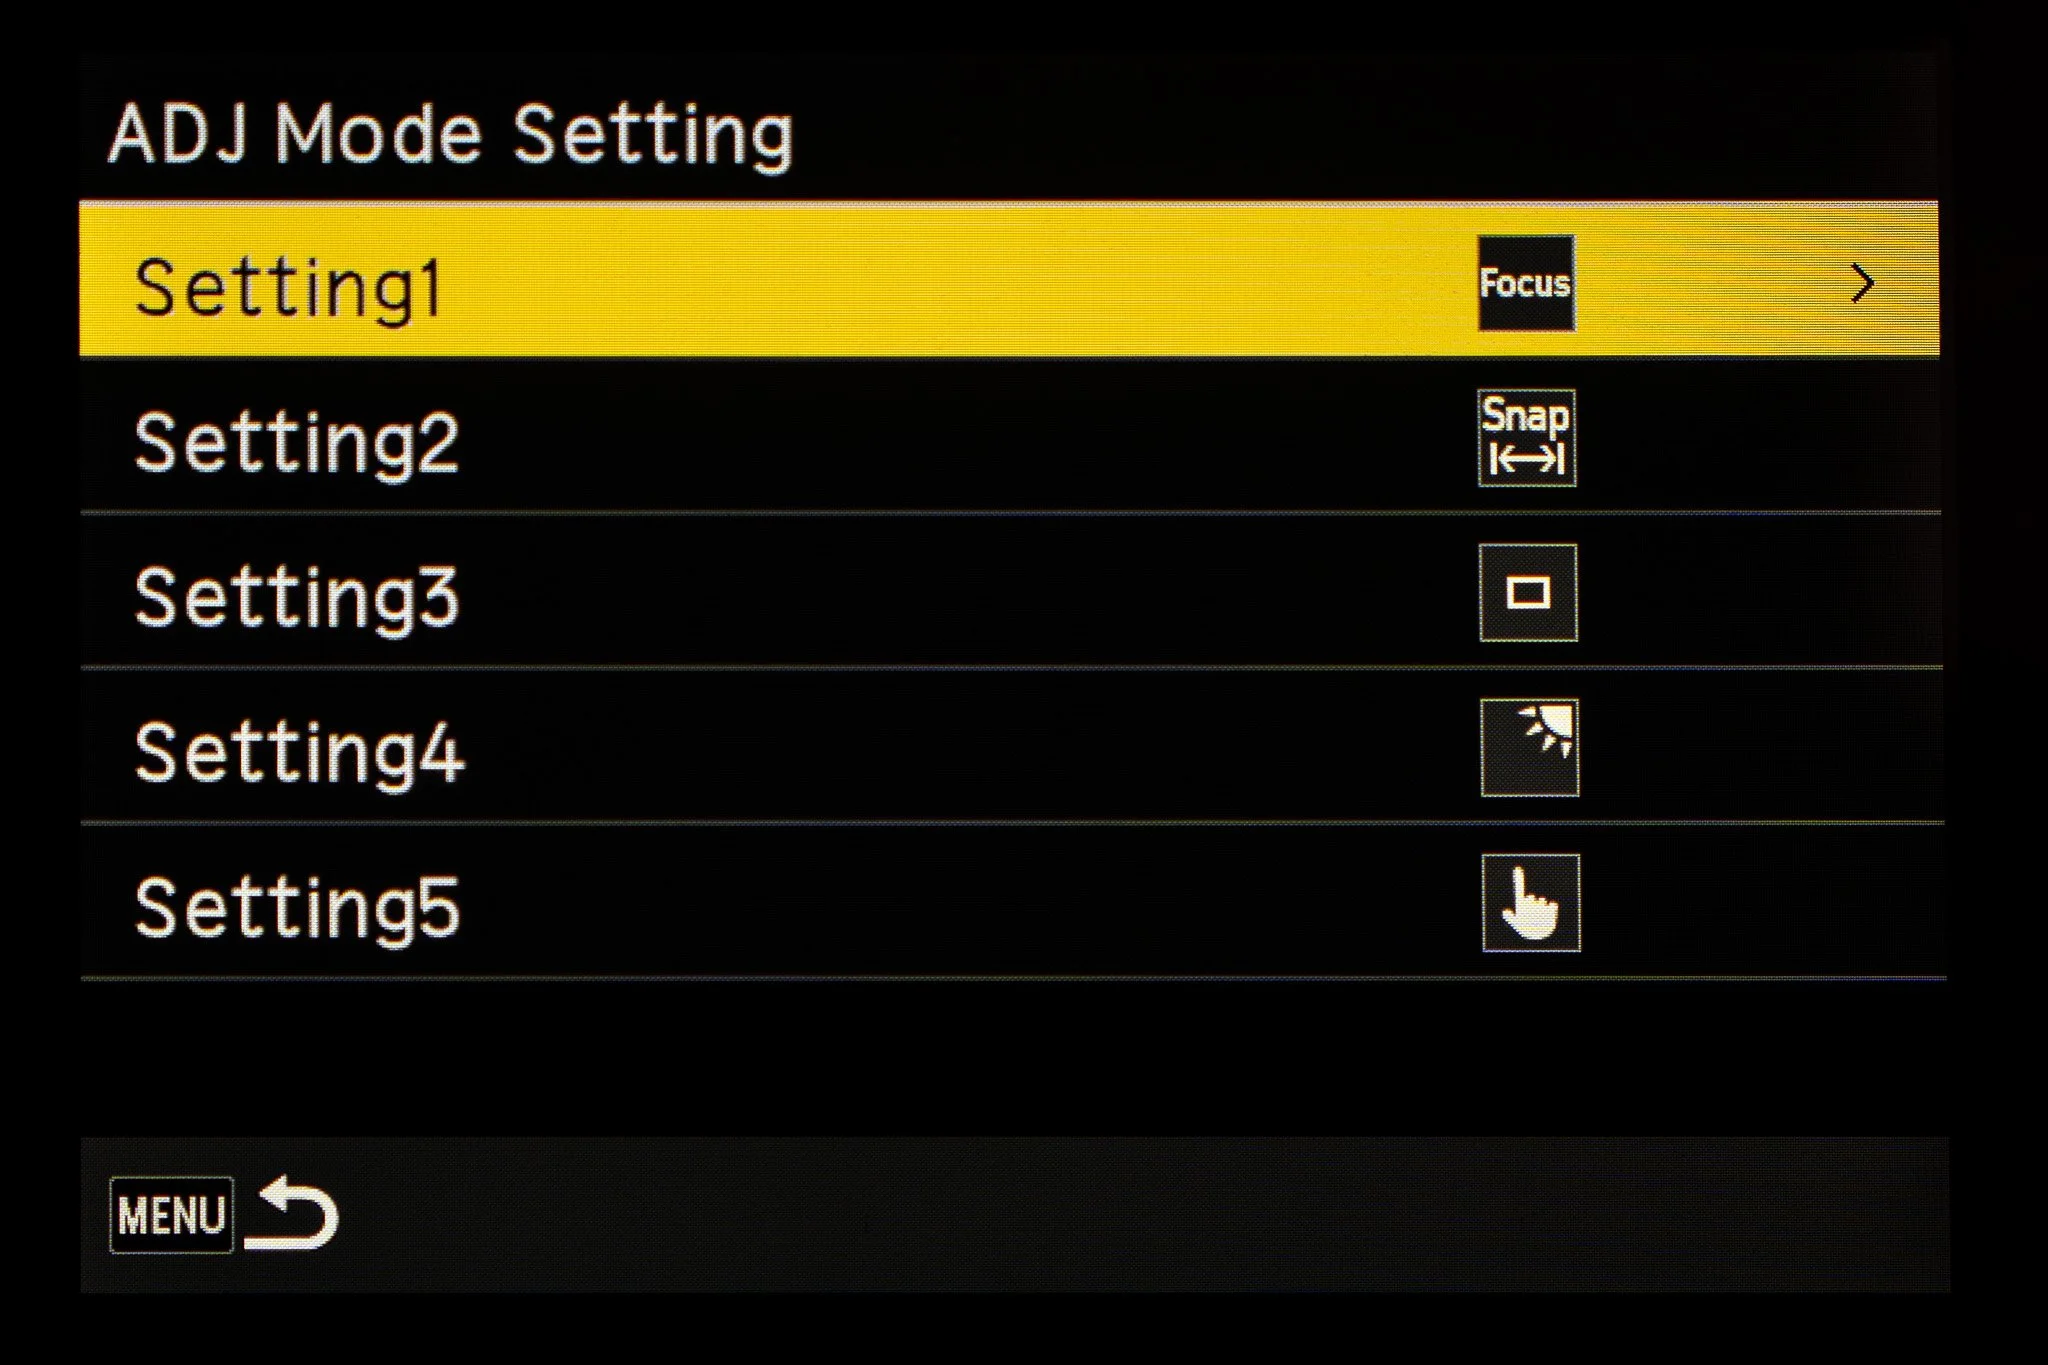
The Ricoh has a quick menu that can hold up to five different adjustments. It’s called the ADJ menu and can be summoned by pushing in the rear dial. This is where you want to keep settings that you will frequently change. To set it up, go to Menu > Customise Settings > ADJ Mode Setting. This is how I set mine up:
Setting 1 - Focus
Setting 2 - Snap Focus Distance
Setting 3 - Drive Mode
Setting 4 - Outdoor View Settings
Setting 5 - Touch settings
Important Settings
Below are a few settings that are scattered around the camera that I think are very important:
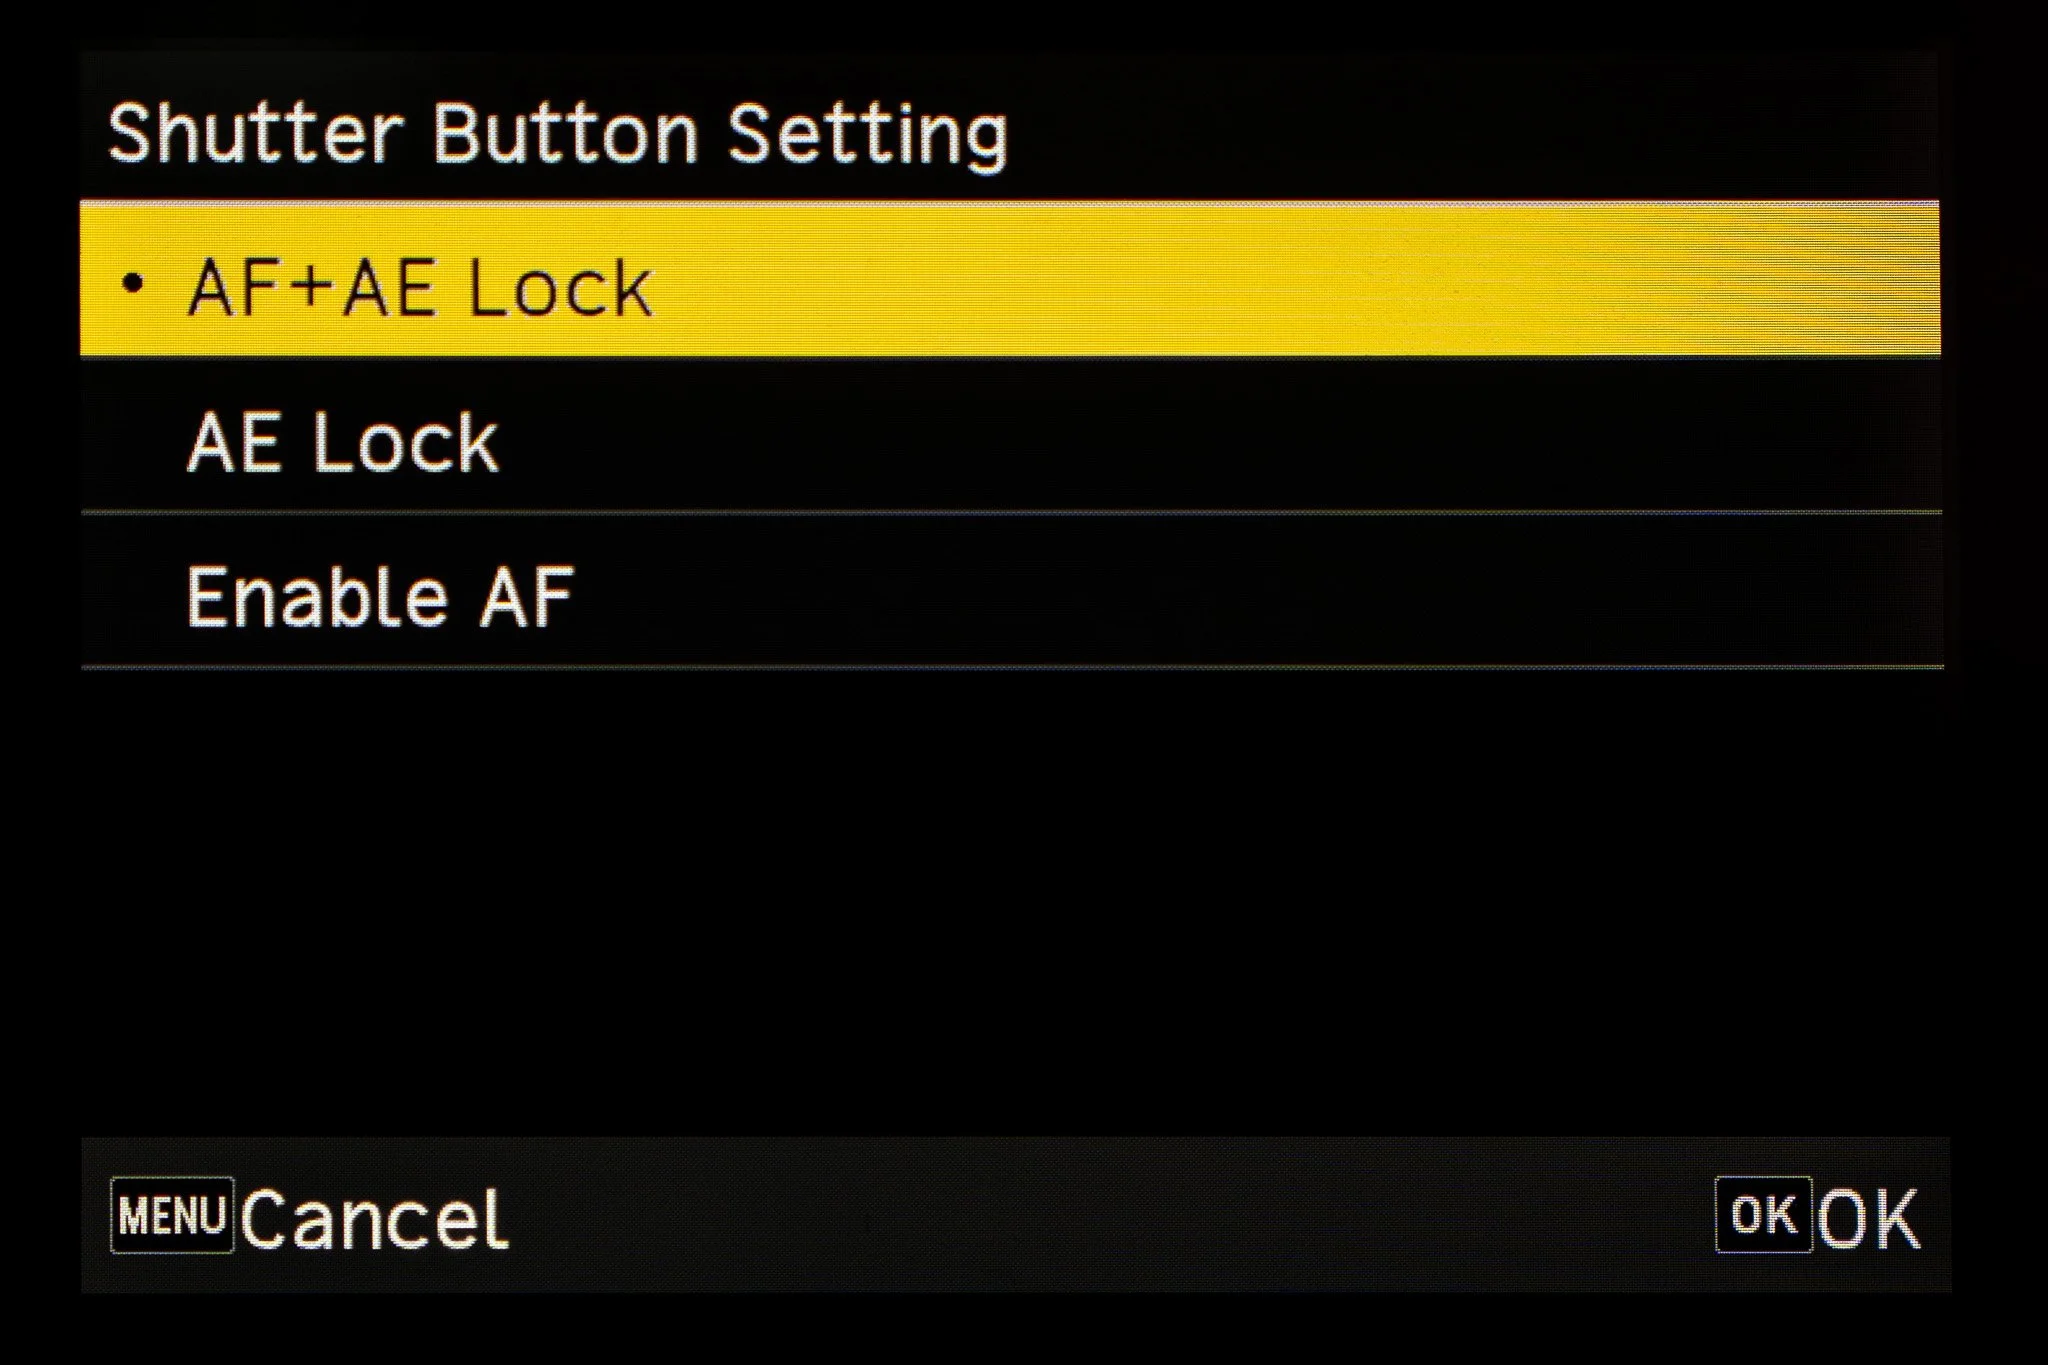
Shutter Button Setting - I set this to AF+AE Lock. This allows the shutter to lock both exposure and focus when half-pressed. You can use this technique to lock the camera and change to composition without impacting any parameters.
AF Light Assist - Off. You don’t want the camera emitting any lights.
Minimum Shutter Speed - Under Auto ISO setting, make sure to set a minimum shutter speed of between 1/160 and 1/200. This will avoid blurry photos in low light.
Volume - Make sure to turn off and mute all sounds. You don’t want the camera emitting any sounds when in operation.
Link AE and AF Point - Leave that off unless you want to be extremely precise with where the camera meters.
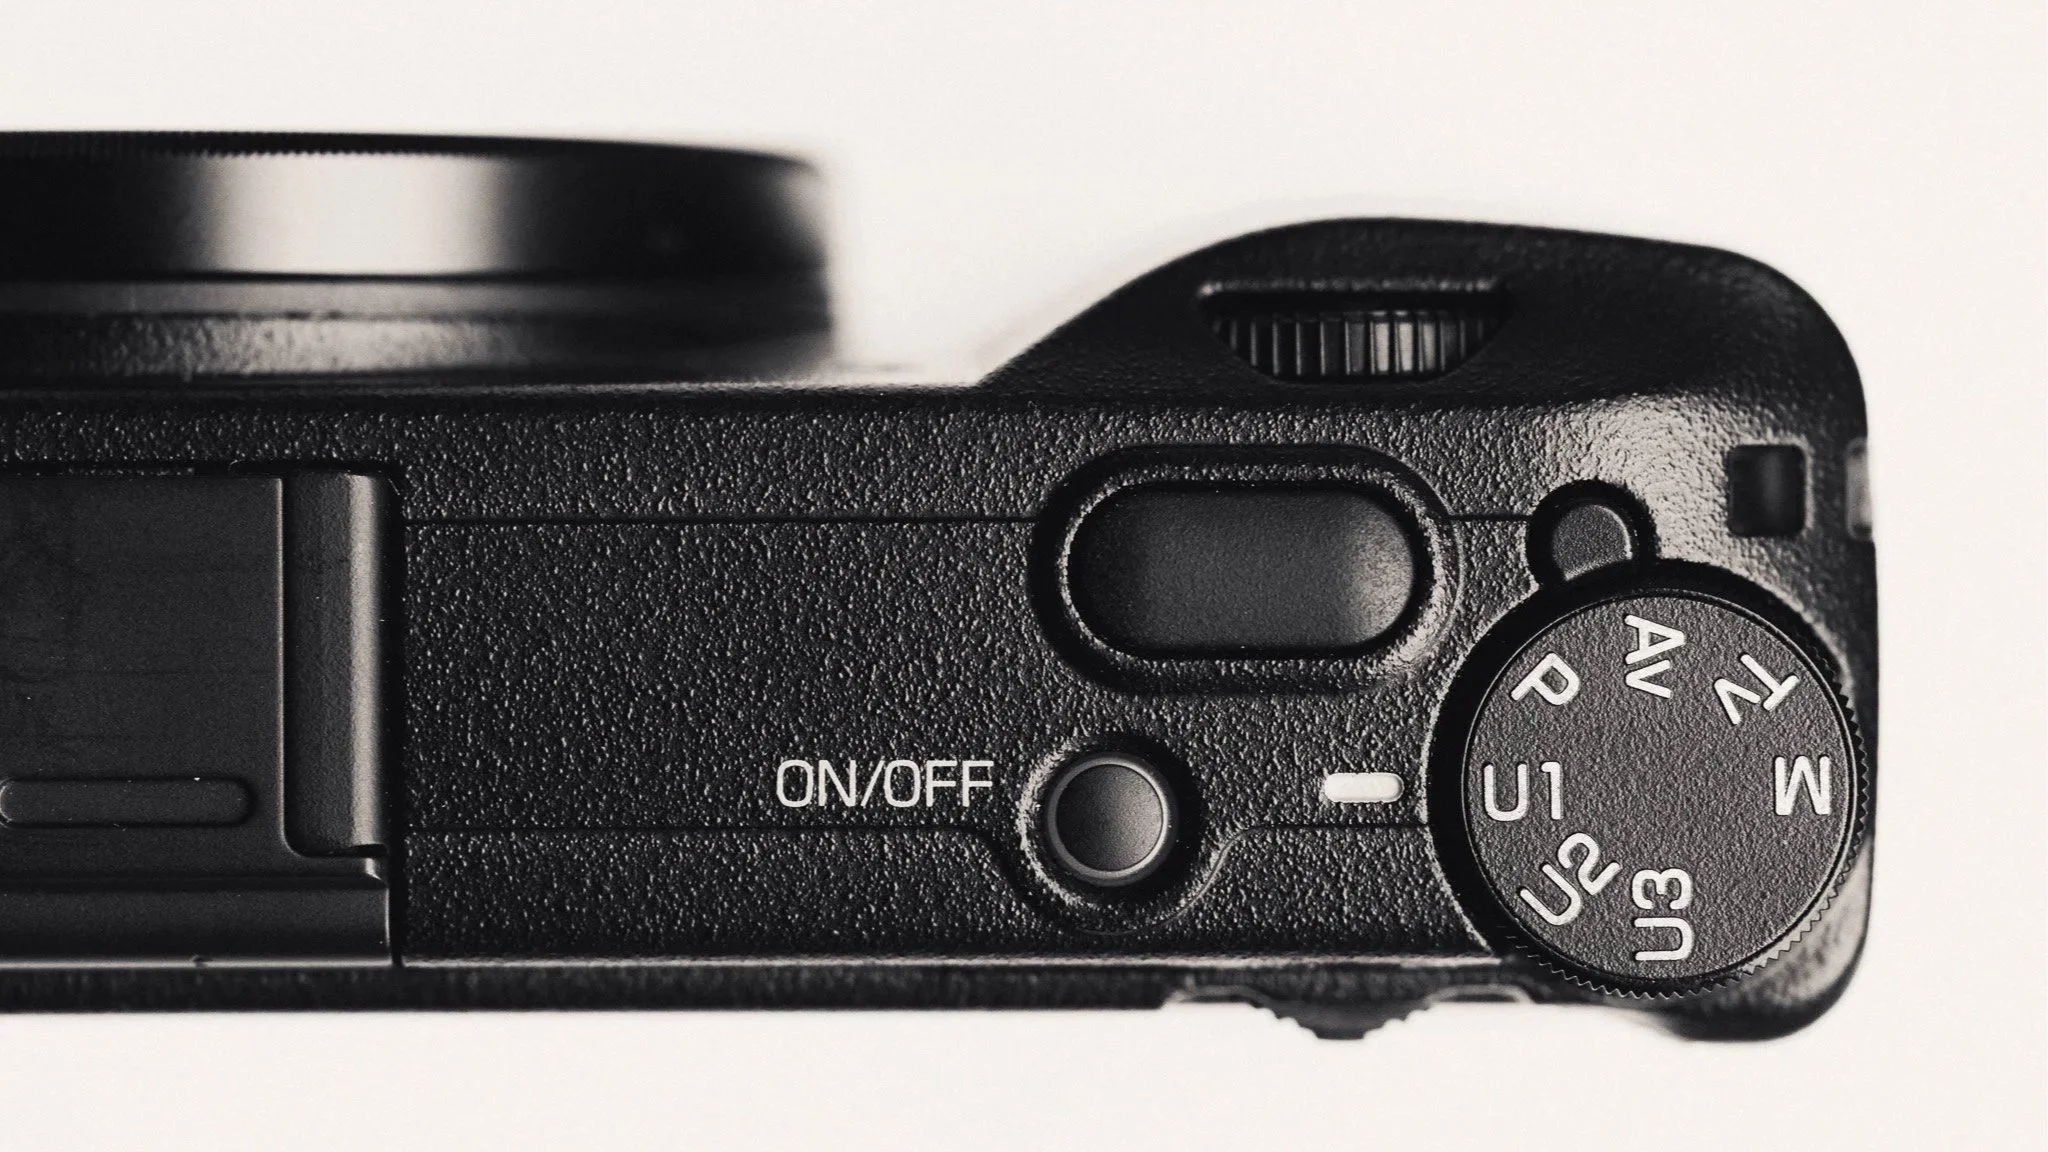
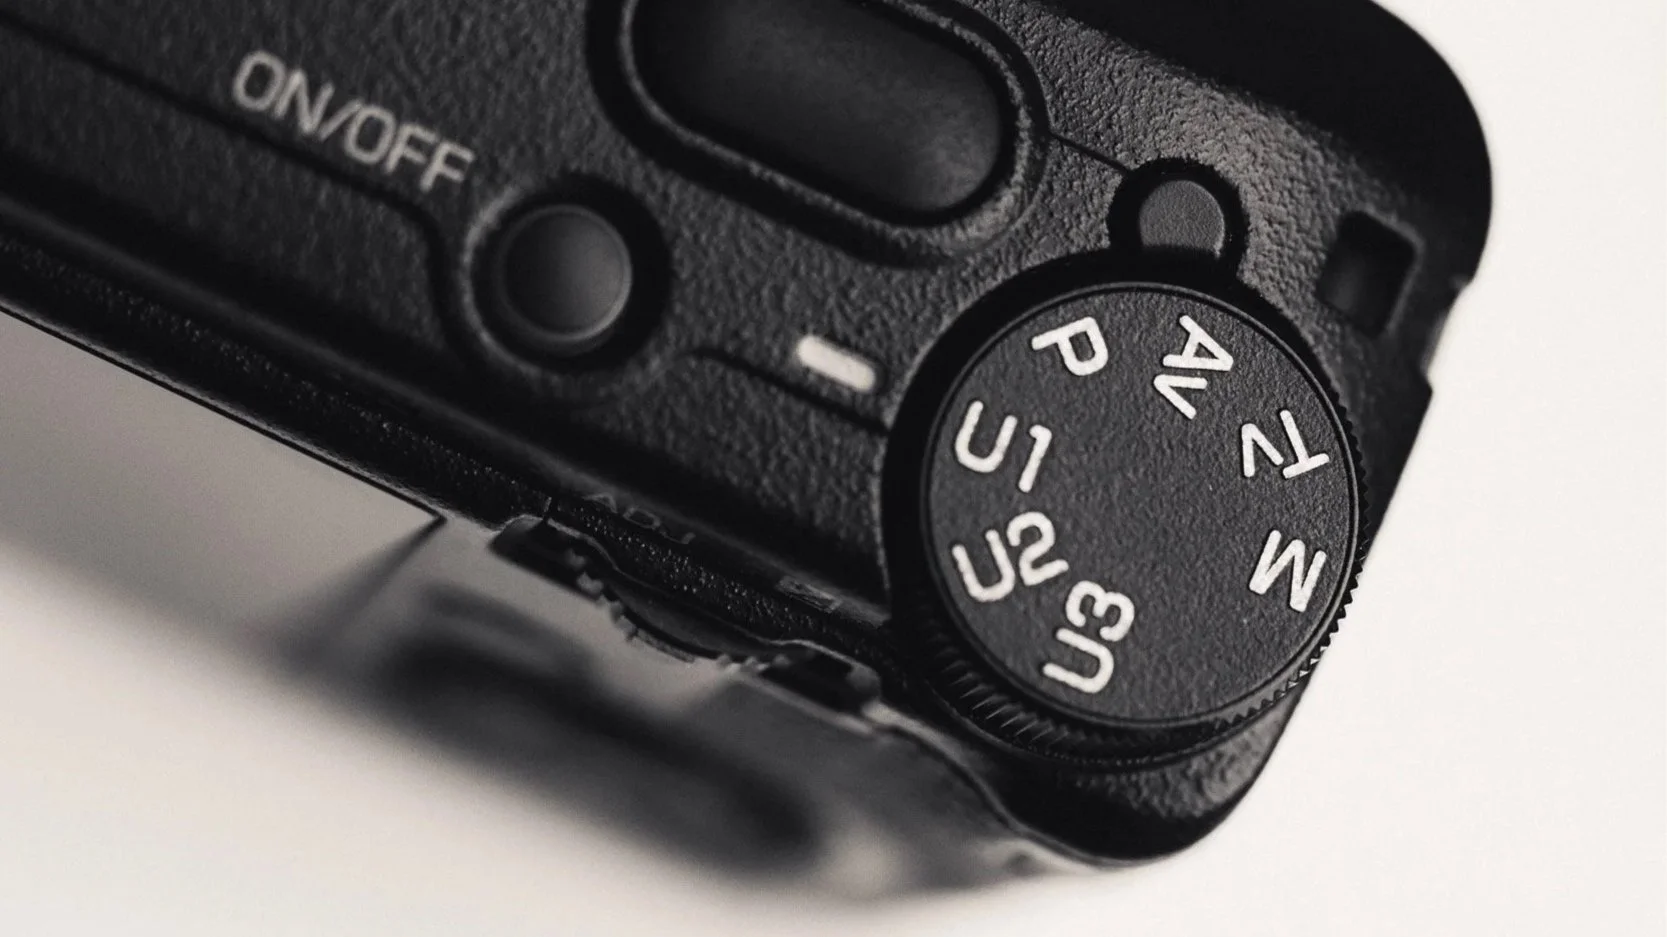
Mode Dial Set-Up
I published a detailed guide on the Mode Dial that you can read here.
Ricoh GRIII Guide
If you’re finding this blog useful, and wish to learn more about setting up your GRIII / GRIIIx, then please check out my in-depth guide. Learn how I set up the camera, and how to squeeze the most out of it. By purchasing this guide, you’re directly supporting my work and helping keep this blog ad-free. Thank you.

This Ricoh GRIII/GRIIIX set-up guide is designed to save you time and get your camera set up and working just like I do. This guide covers all GRIII variants.
You will learn what the major features do and why I chose to set them in a certain way. I will show you how to assign the buttons and custom menus in order to have the most important features at your fingertips. Finally, I will walk you through how I expose and focus.
This guide is not a replacement for your user manual and does not cover 100% of the features. It covers the features that, in my experience, 90% of the people use 90% of the time. This is based on years of photography and video experience.
This guide is best suited for those who want to be up and running quickly with a tried-and-tested set-up.
This is a digital download and not a physical product. The download is around 23mb.
Please note that due to the nature of digital products, refunds are generally not accepted. However, if you experience any issues, feel free to contact me and I’ll review your situation individually. You are welcome to use this product for personal or commercial projects, but you may not copy, distribute, or resell the files in their original or modified form.
Finally, I want to say a massive thank you for supporting me. Buying this guide is the most direct way you can support my work, thus allowing me to make more videos, photos, and tutorials for you.
Thank you for your support!
Photography Settings - Exposure
90% of the time I shoot in aperture priority. This gives me control over the depth of field and impacts the image drastically. I usually start at around f5.6 if the light is good and then adjust up or down depending on light and how much of the scene I want in focus. I set the Auto ISO between 100 and 6400 with the minimum shutter speed around 1/200. I then use the Multi-Segment exposure mode for most scenarios. Sometimes I want to create slow shutter speed effects, so for this I change the mode to shutter priority and reduce the shutter speed to around 1/25. If shooting on a sunny day, I can also turn the ND filter on to help control the light coming in.
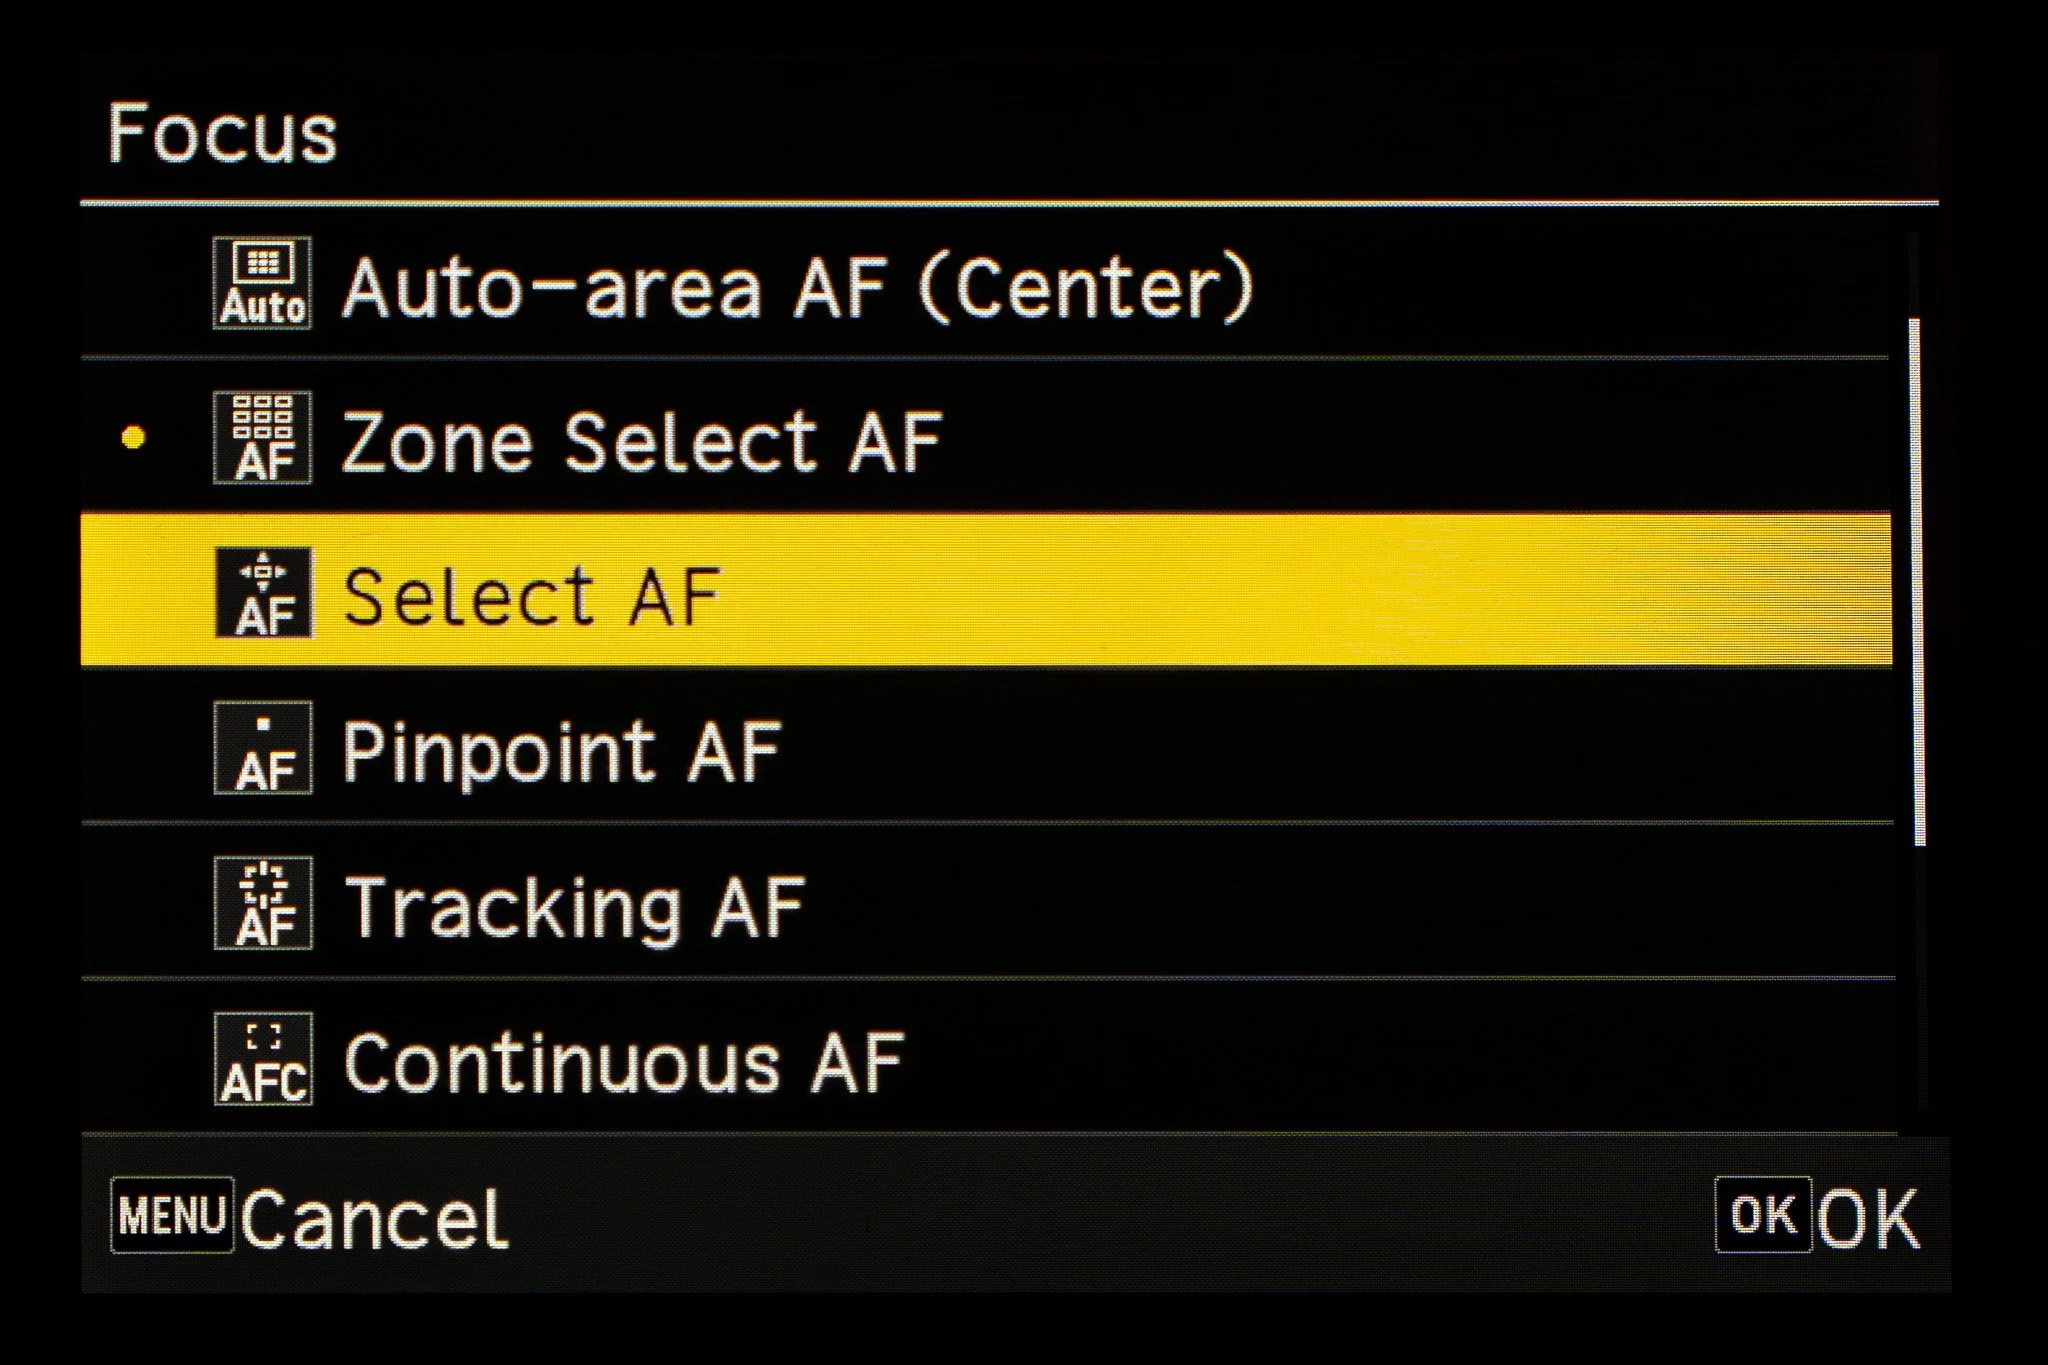
Photography Setting - Focus
The Ricoh GRIII comes with a generous selection of focus modes. With that said, I find myself using only three of them. The first one is called Select AF. This is the one I use most of the time as it’s accurate and, in my experience, very efficient. However, for times when you might not have the luxury to change the focus point location, I suggest using Zone Select AF. This mode I use for spray and pray style photography, while the first one is for slower-paced shooting where precision is more important. Finally, I love the Snap Focus feature and I covered it in detail in this blog.