
Photography In Hong Kong - My Experience
In this blog I will share my personal experience of photographing in Hong Kong. In total I spent just shy of 3 weeks in this amazing city and it’s easily in my top 10 destinations for photography. While this blog does cover some travel aspects, it’s primarily aimed at street photographers. So if you’re after the best hikes or street food, this blog isn’t for you. Lastly, this isn’t a travel guide, it’s a personal account of the trip and some tips.
When to visit
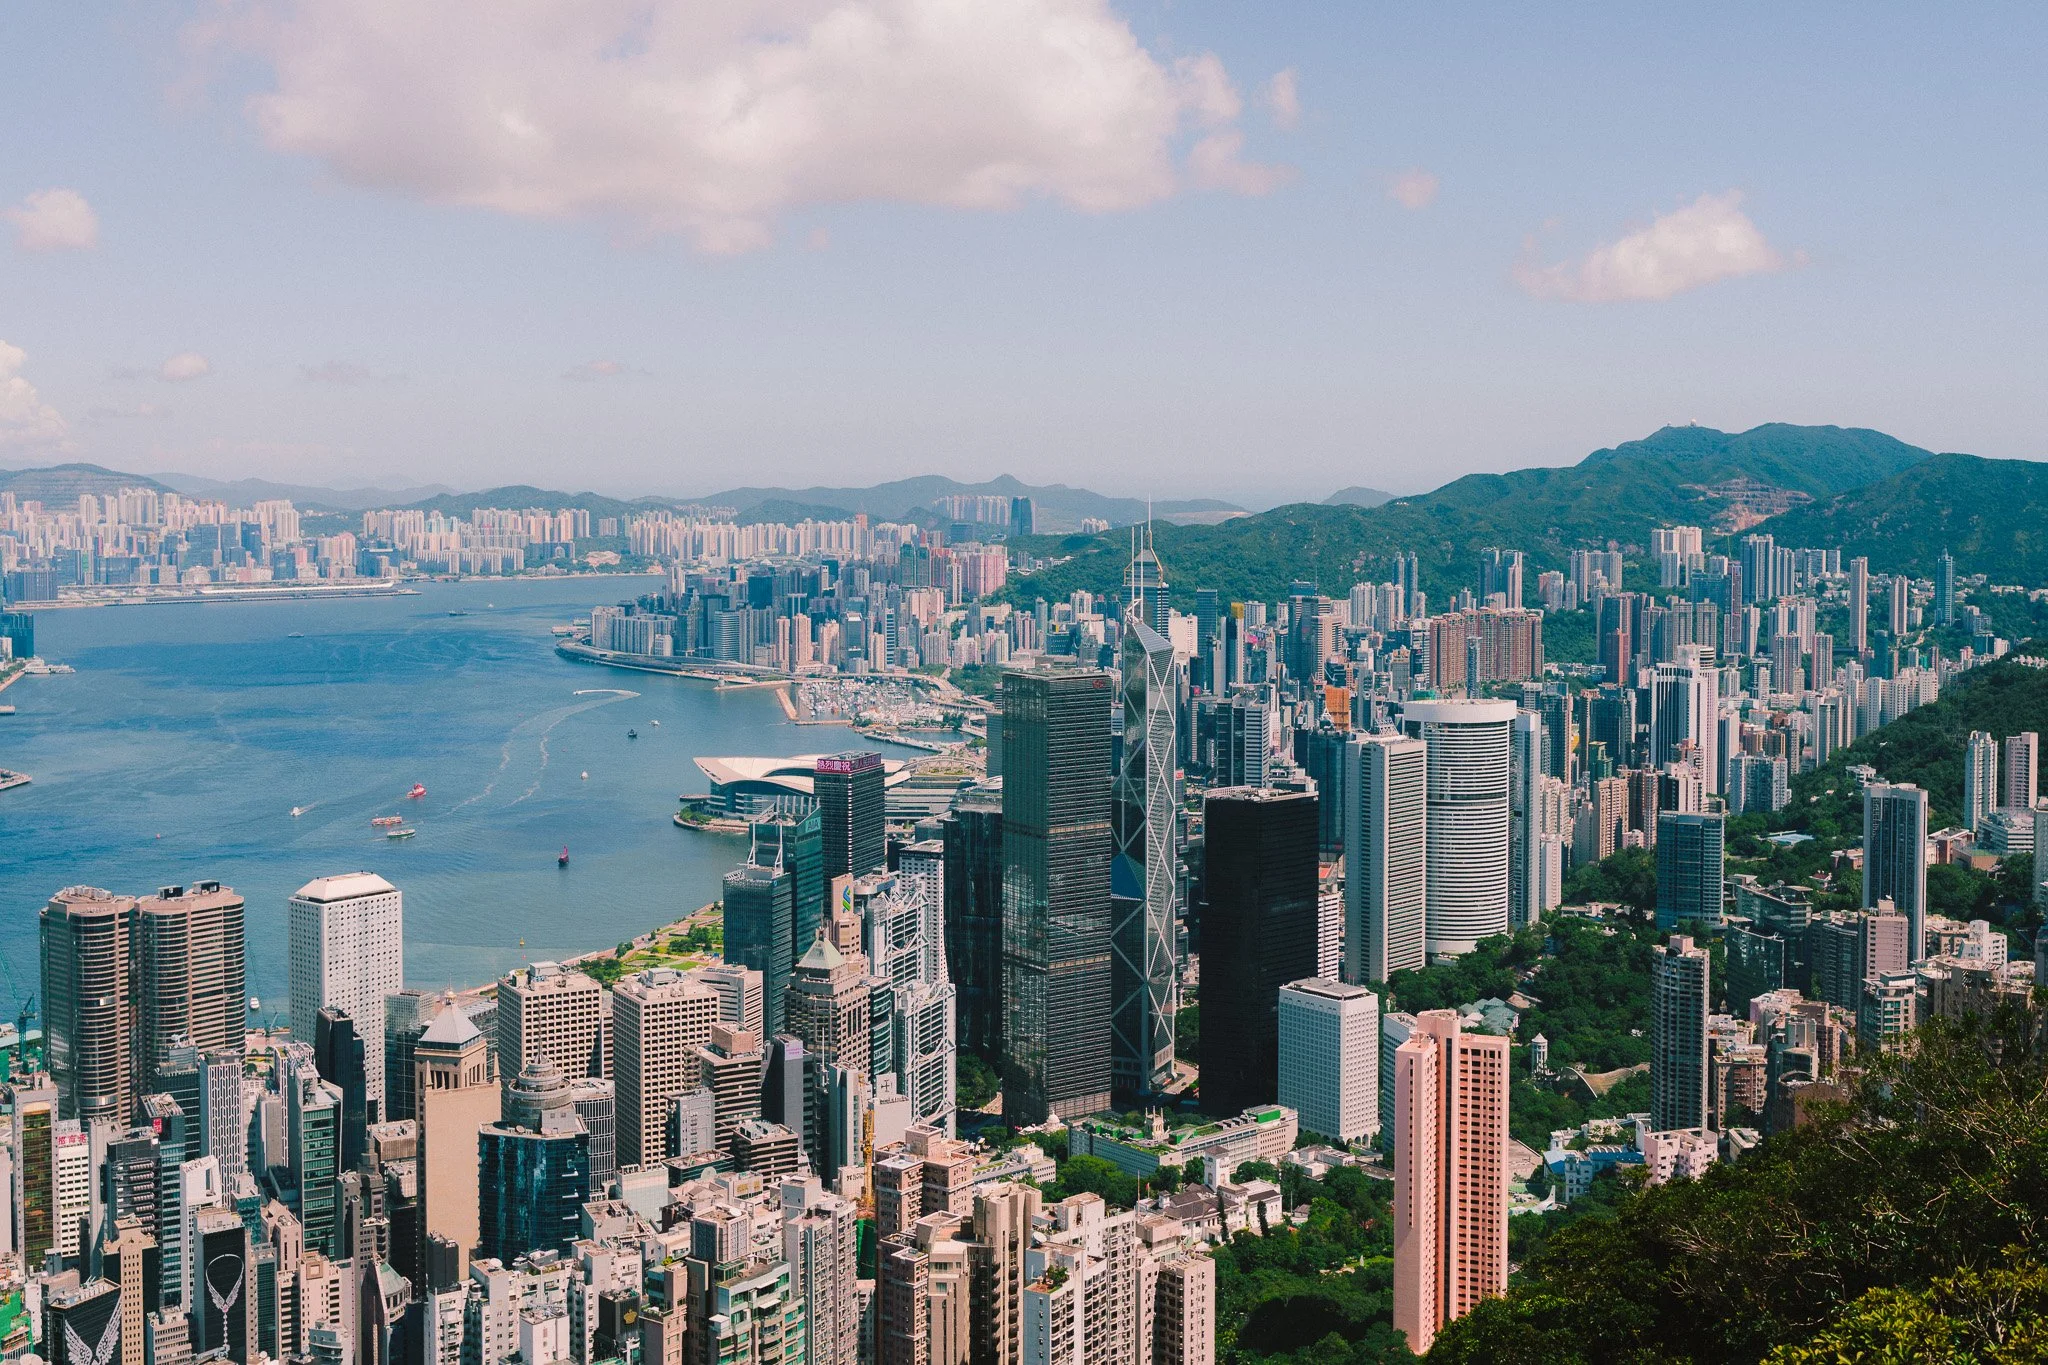
I visited twice, once in May and the second time in October. Both times I had decent weather with nice temperatures and plenty of sunny days for photography. The light was great and the sunset wasn’t too late to make low light photography a late night affair. Having spoken to locals, the general opinion is to visit in the spring and autumn. Summers can get blistering hot and full of storms. Winters can be grey and rather cold.
Weather
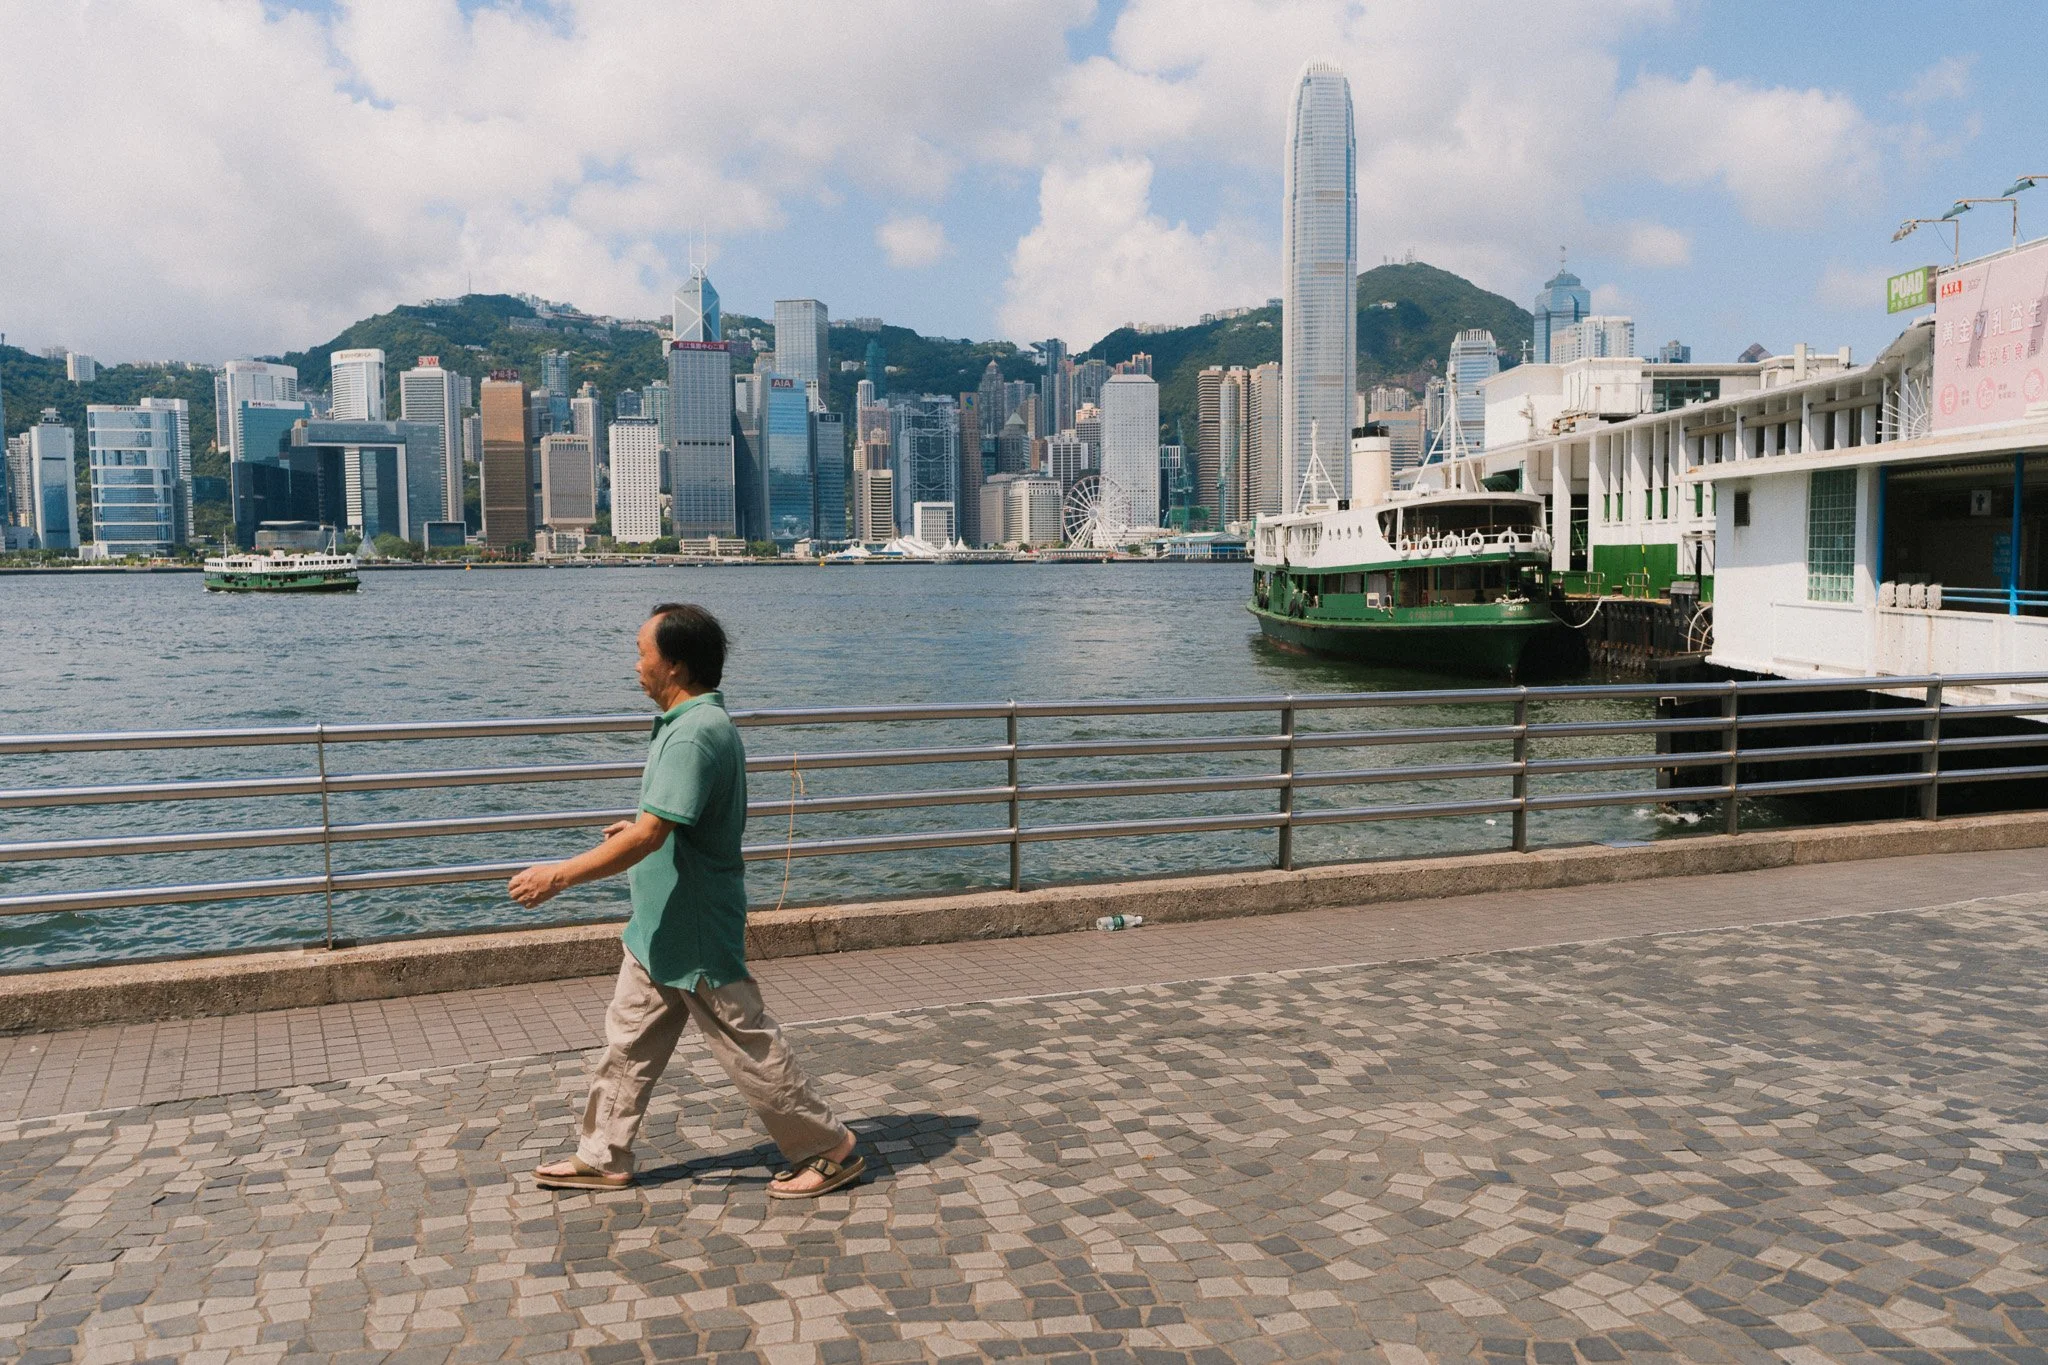
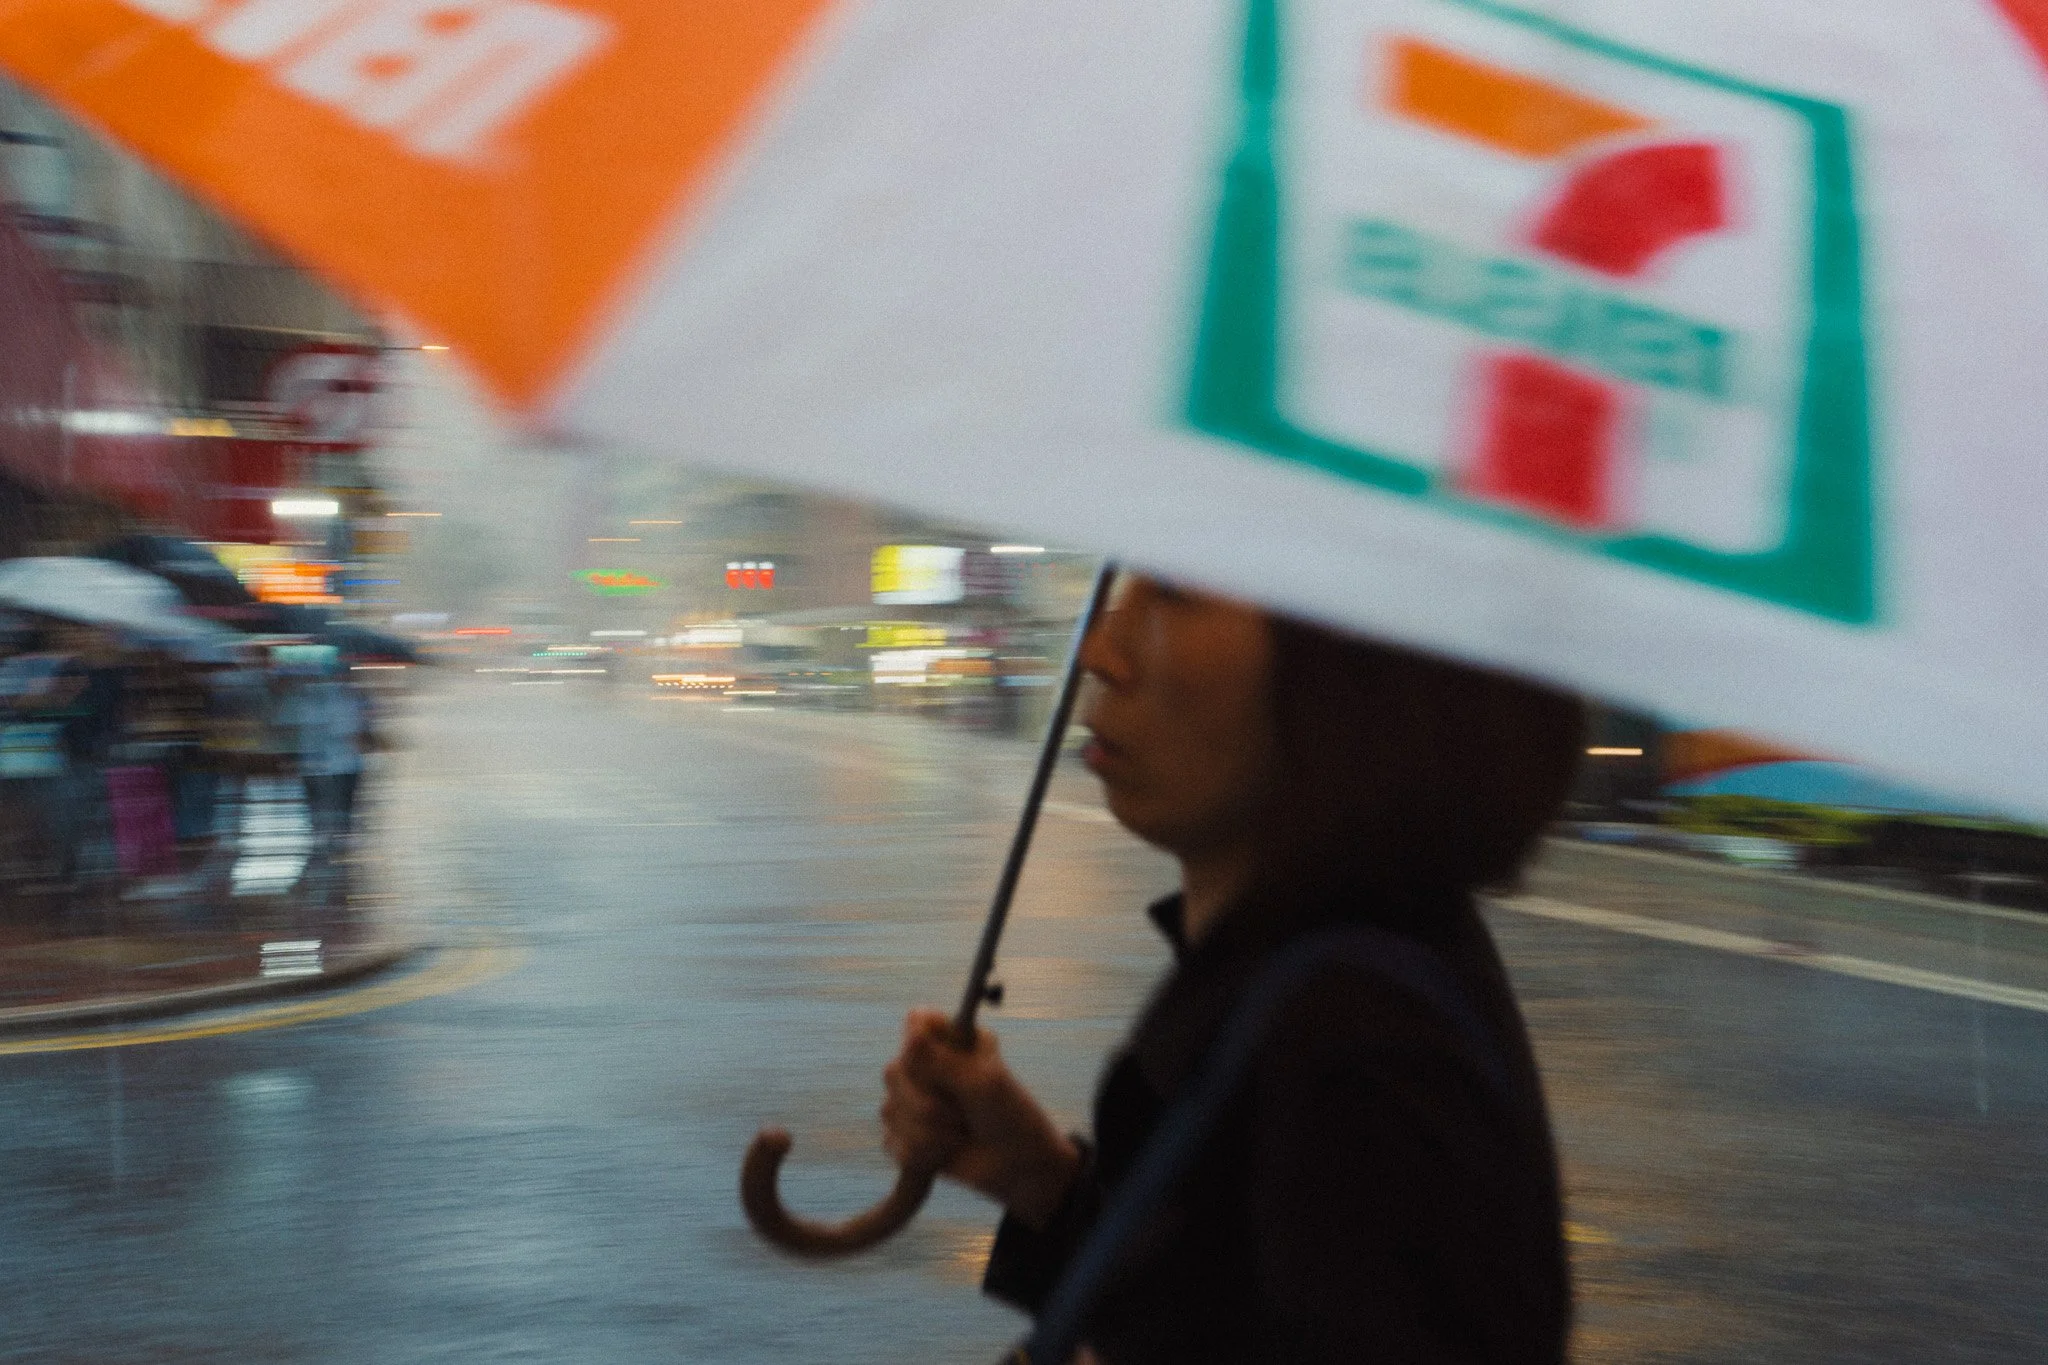
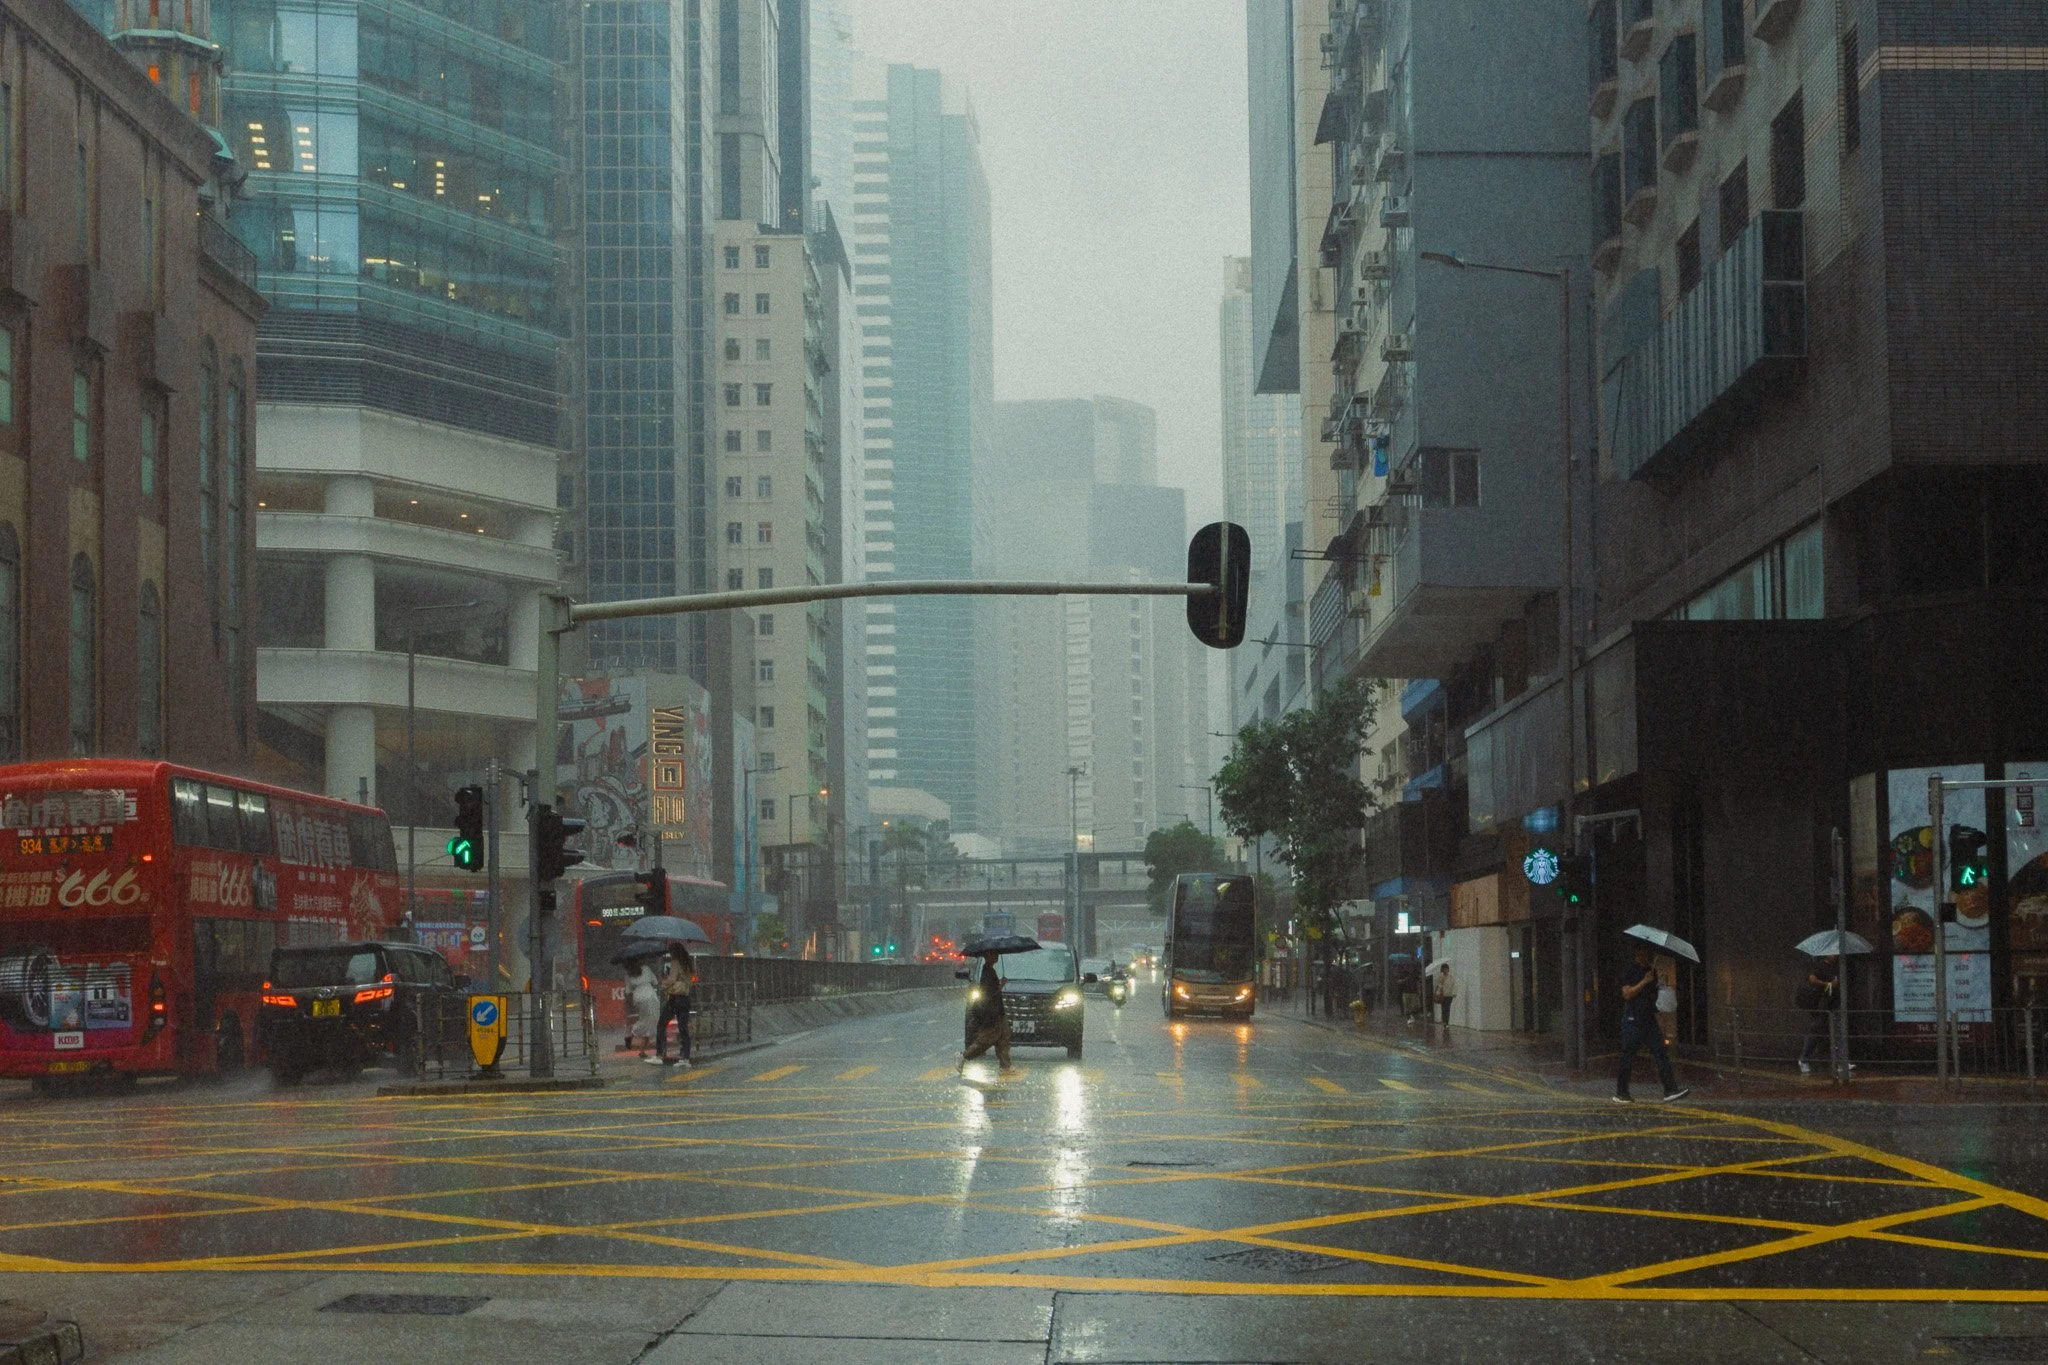
Both times the weather was mixed, from hot sunny days to heavy downpours. Temperatures averaged around the high 20s with the odd day hitting 30C. Nights were cooler but still very much shorts and T-shirt weather. Even during the heavy rain it was very warm. I suggest packing for humidity, heavy rain, and blistering sun.
Where to stay
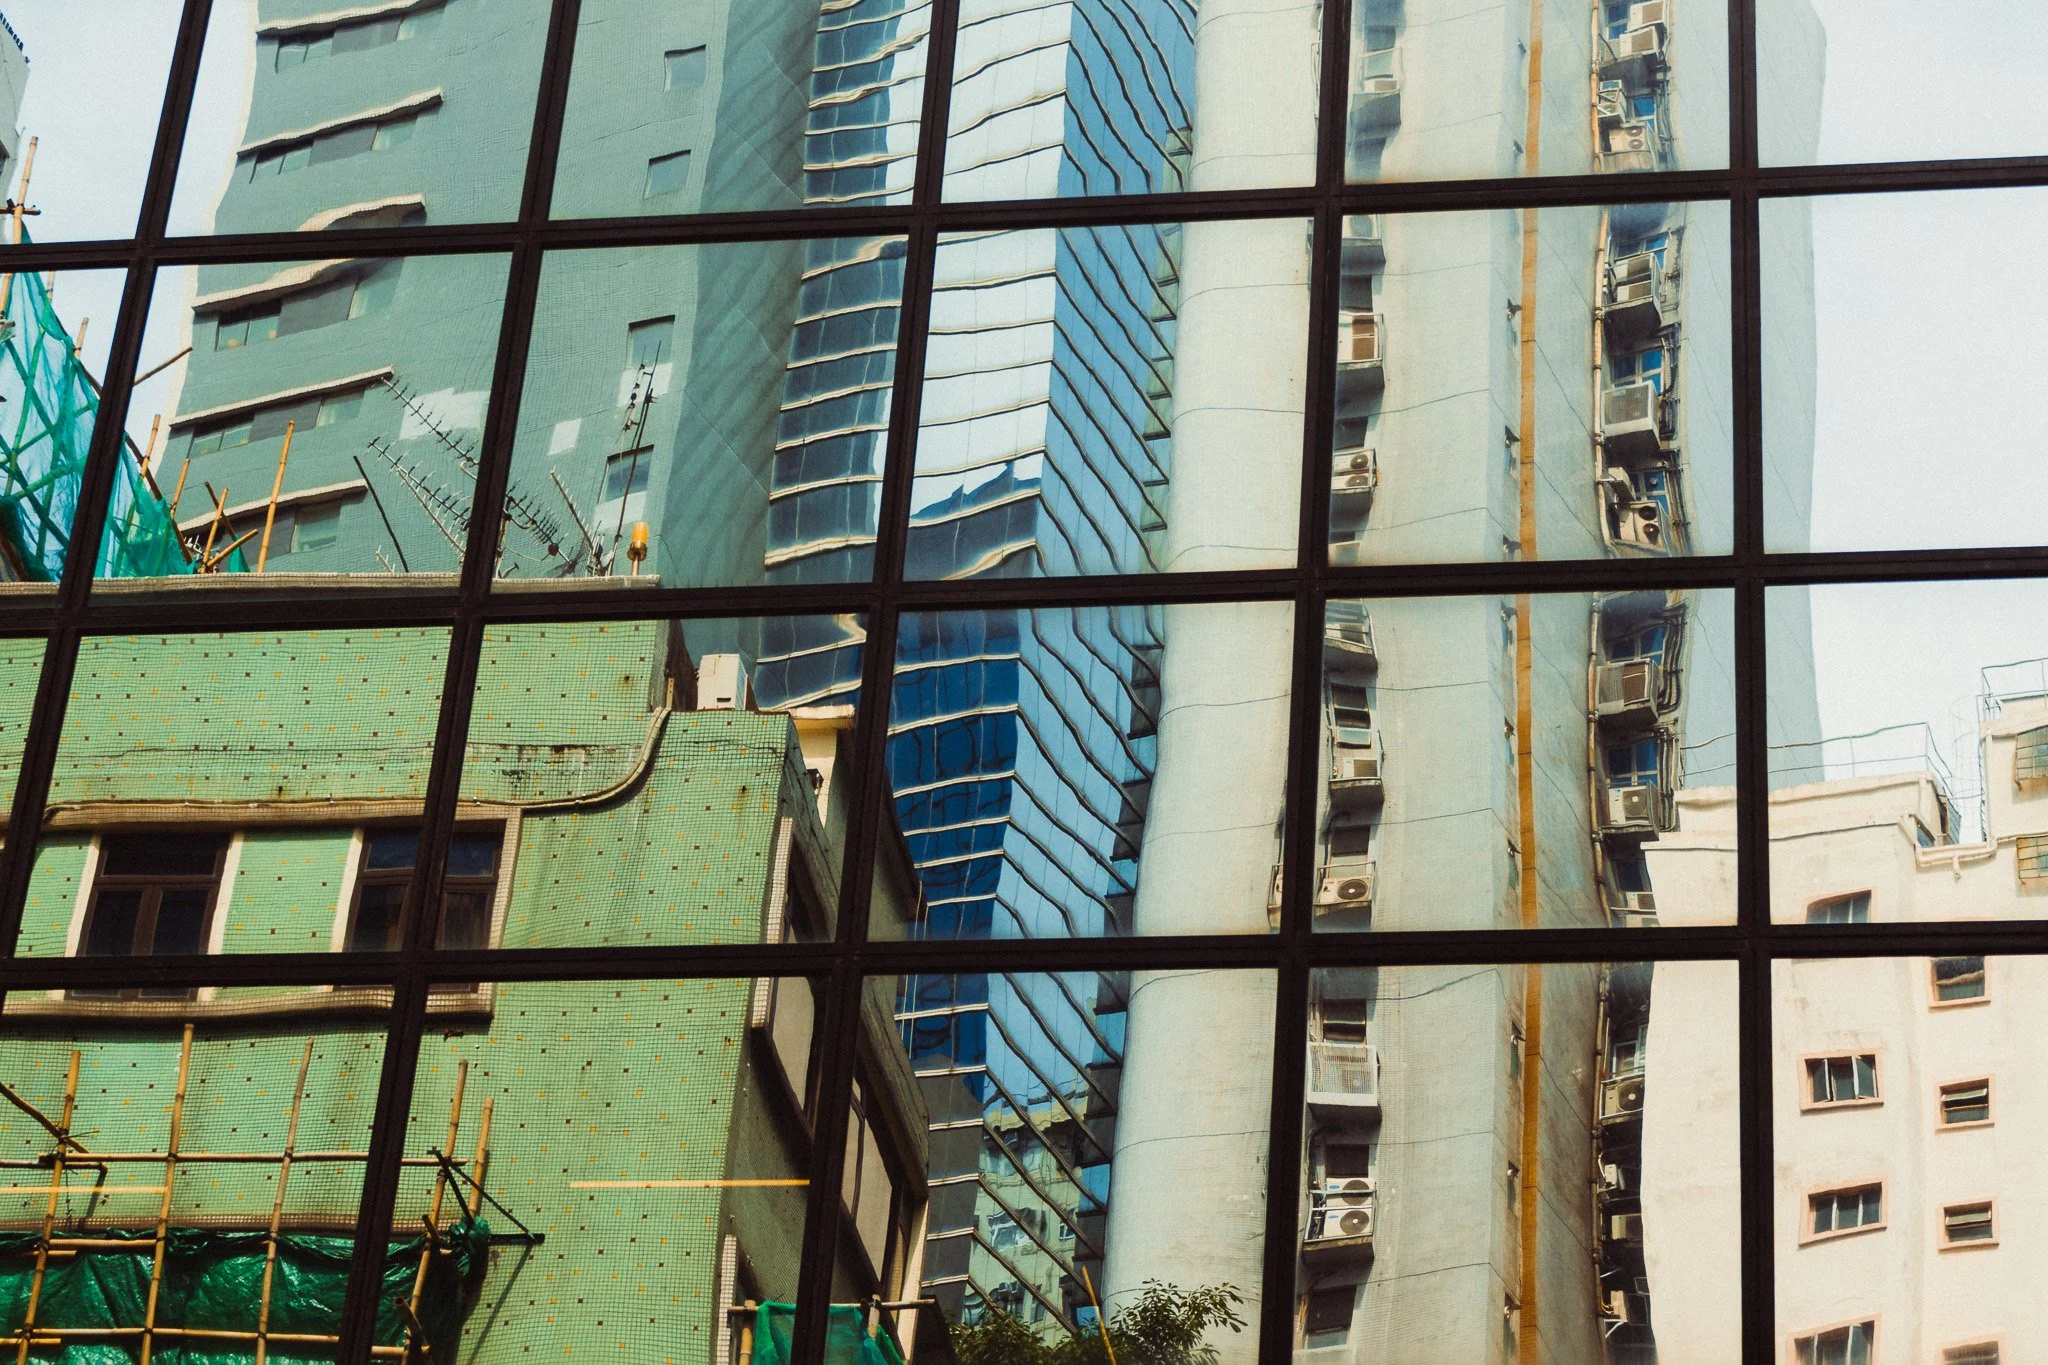
Both times we stayed in Wan Chai as we found the convenience of staying on the Island side to be great. You can easily go anywhere in the city, it’s more modern, has the classic trams, and has all the stores you might need. You’re also on the doorstep of some amazing hikes that can be accessed without needing to travel. Wan Chai is very central, thus it’s easy to get around.
How long to spend in Hong Kong
This depends on whether you want to do some hiking or not. I personally suggest 1 week if you just want to shoot the streets, and perhaps 10 days if you want to throw in some hikes into the mix. Staying a little longer will also give you the time to explore some of the islands, which is well worth it.
Getting around
Getting around Hong Kong is very easy. By far the best way is to use the public transport network which is reliable, fast, clean, convenient, and safe. The first thing you need to do is go to any convenience store such as 7-11 and pick up an Octopus Card. This is a travel card that can be used for almost any transaction in the city. It can also be used for laundry, in restaurants, or even paying for goods. A few times it got me out of trouble.
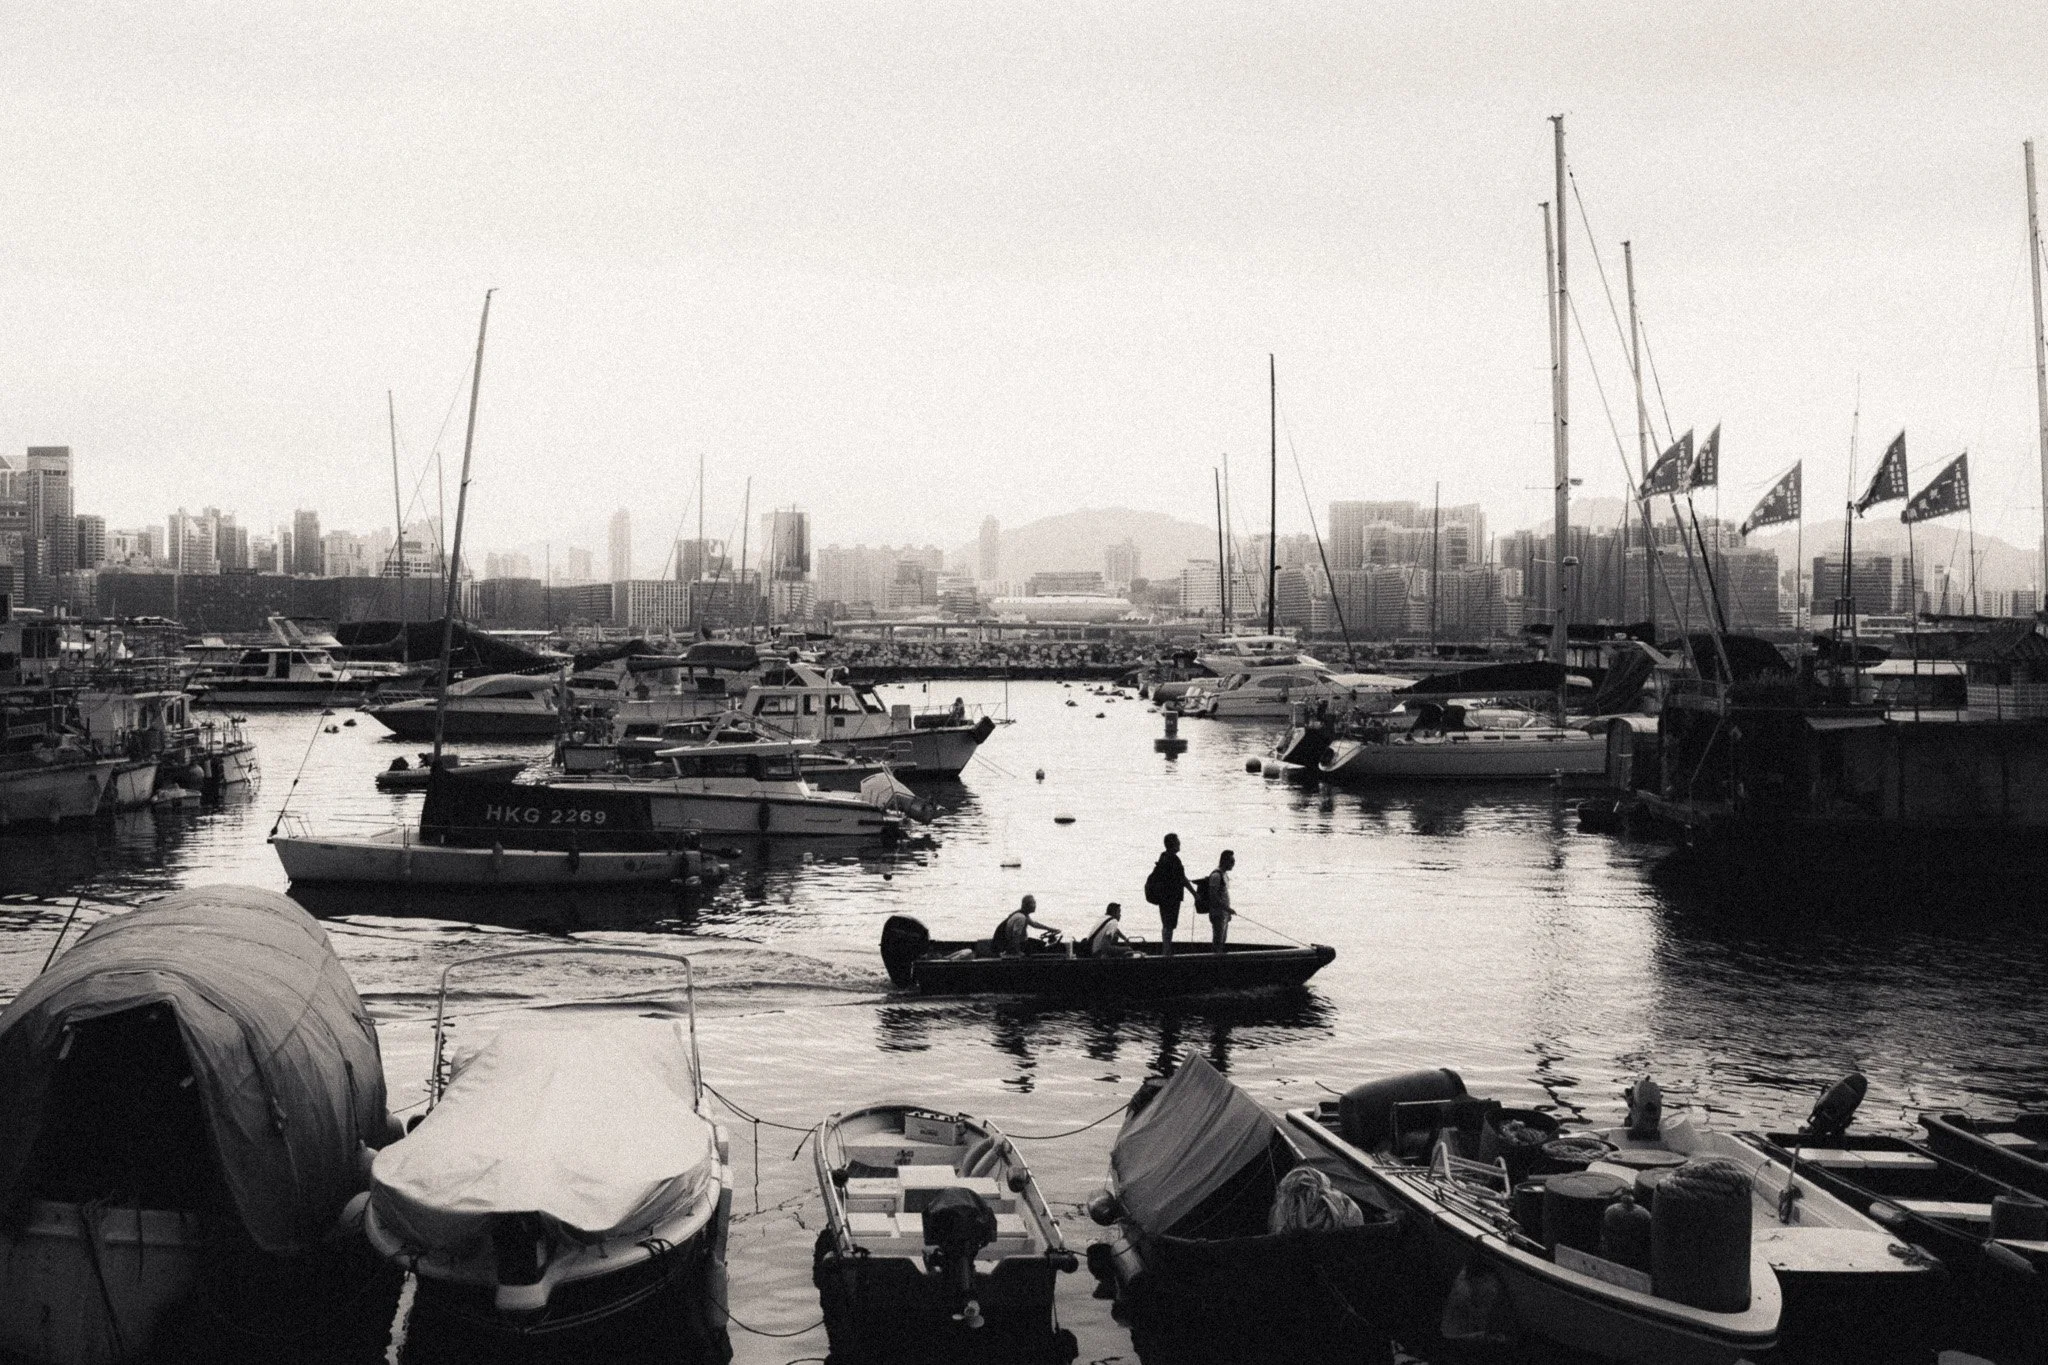
As for getting around, I found Google Maps to be sufficient. If using taxis, I suggest using Uber so you know exactly what you will pay. I had an issue with a local taxi where I got scammed out of nearly double what I should have paid for that ride, with similar stories happening to other tourists. Finally, I would say that Hong Kong is one of the most walkable cities I’ve been to, so bring a good pair of trainers, as you’ll need them.
Camera gear
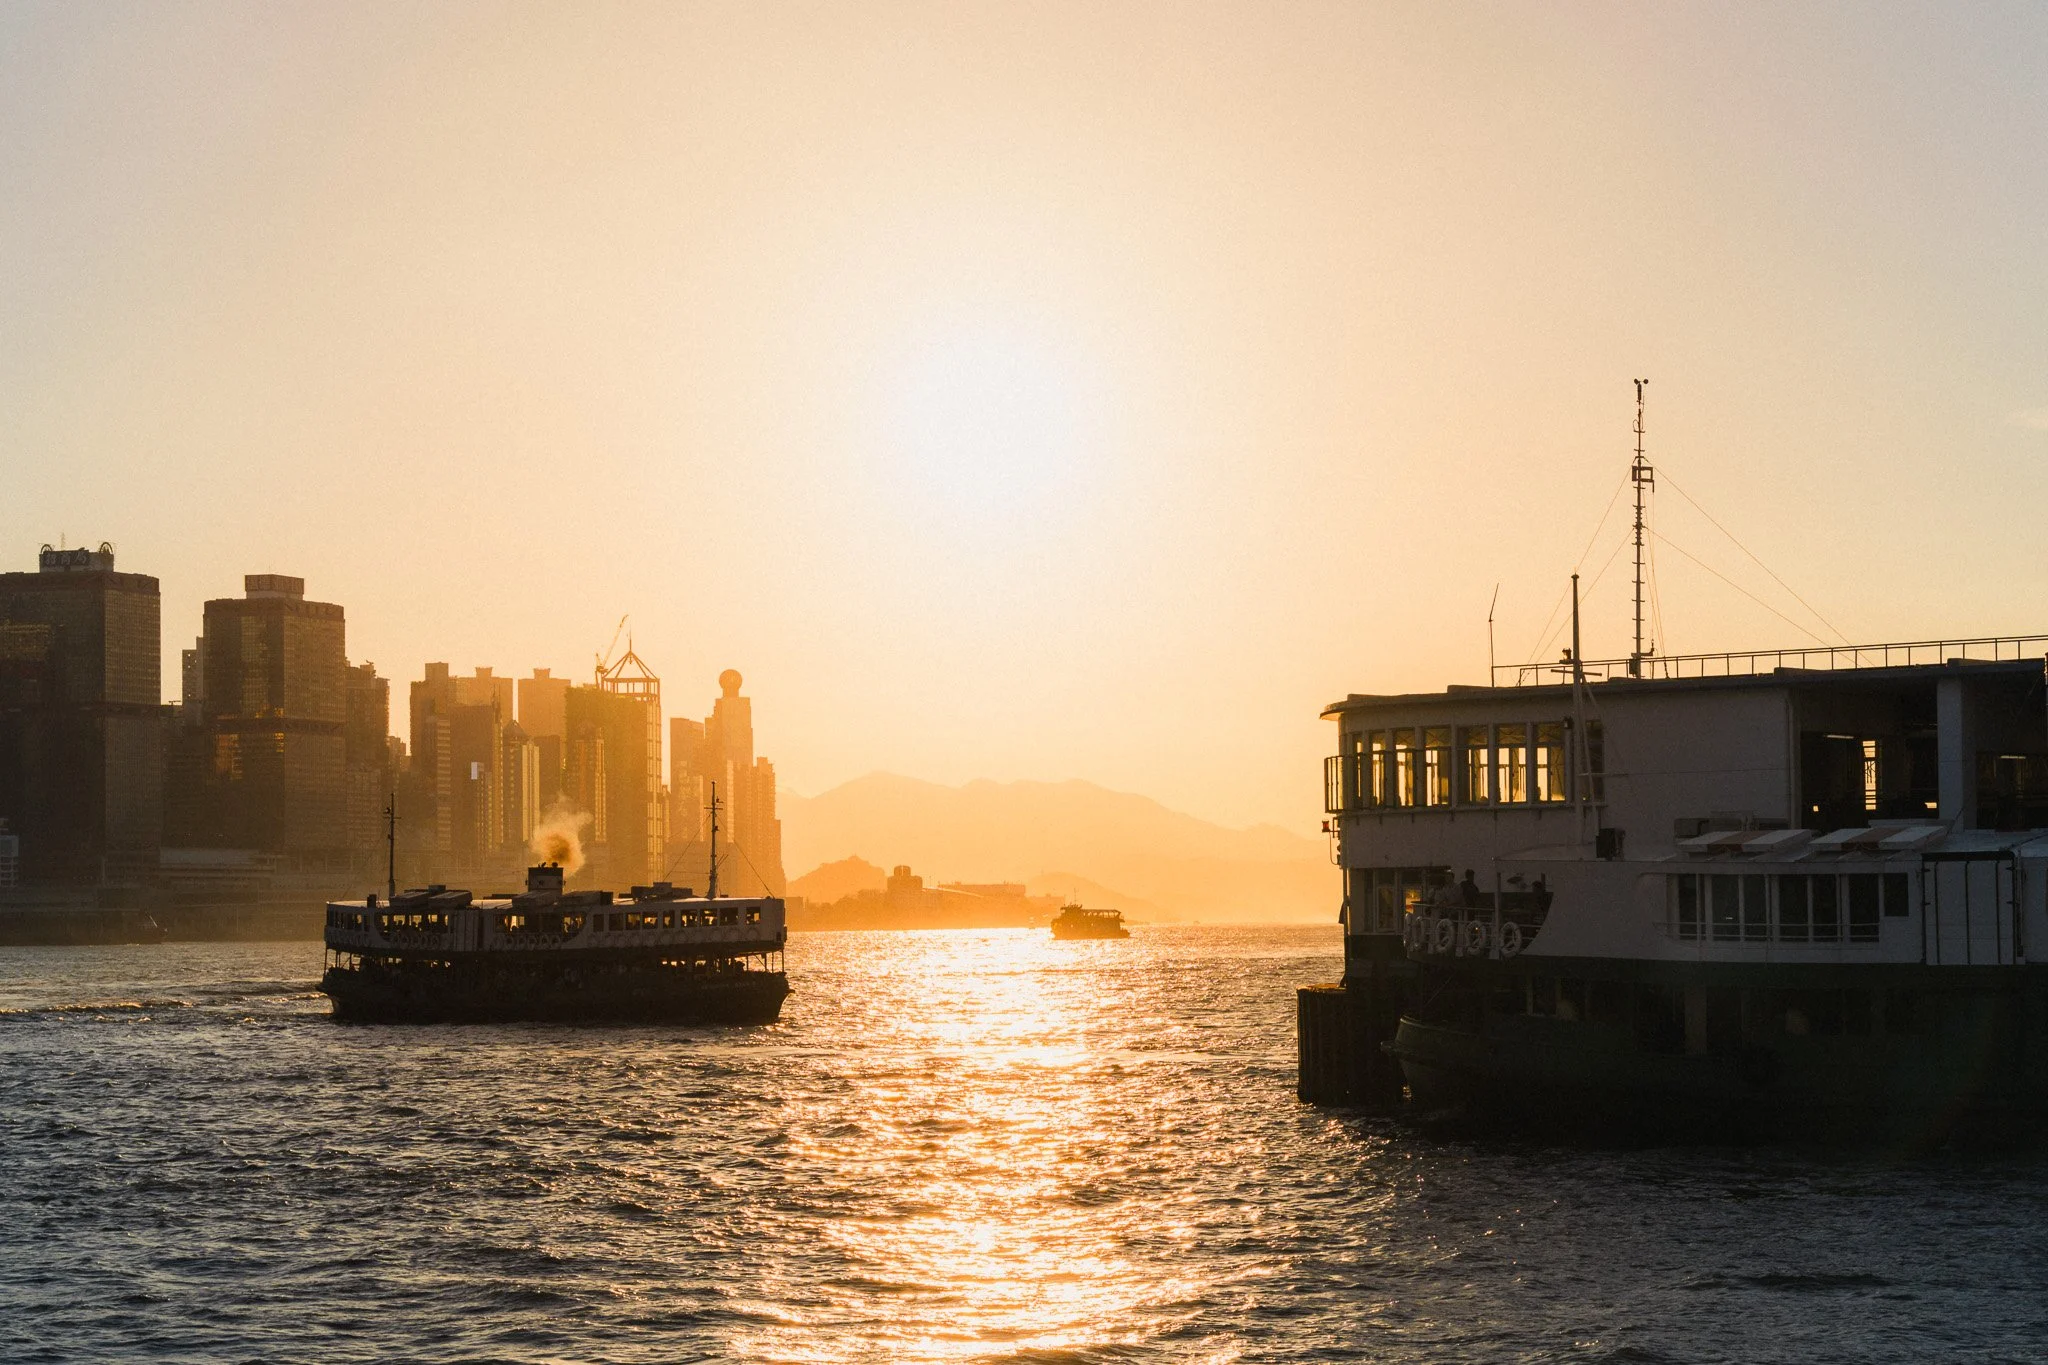
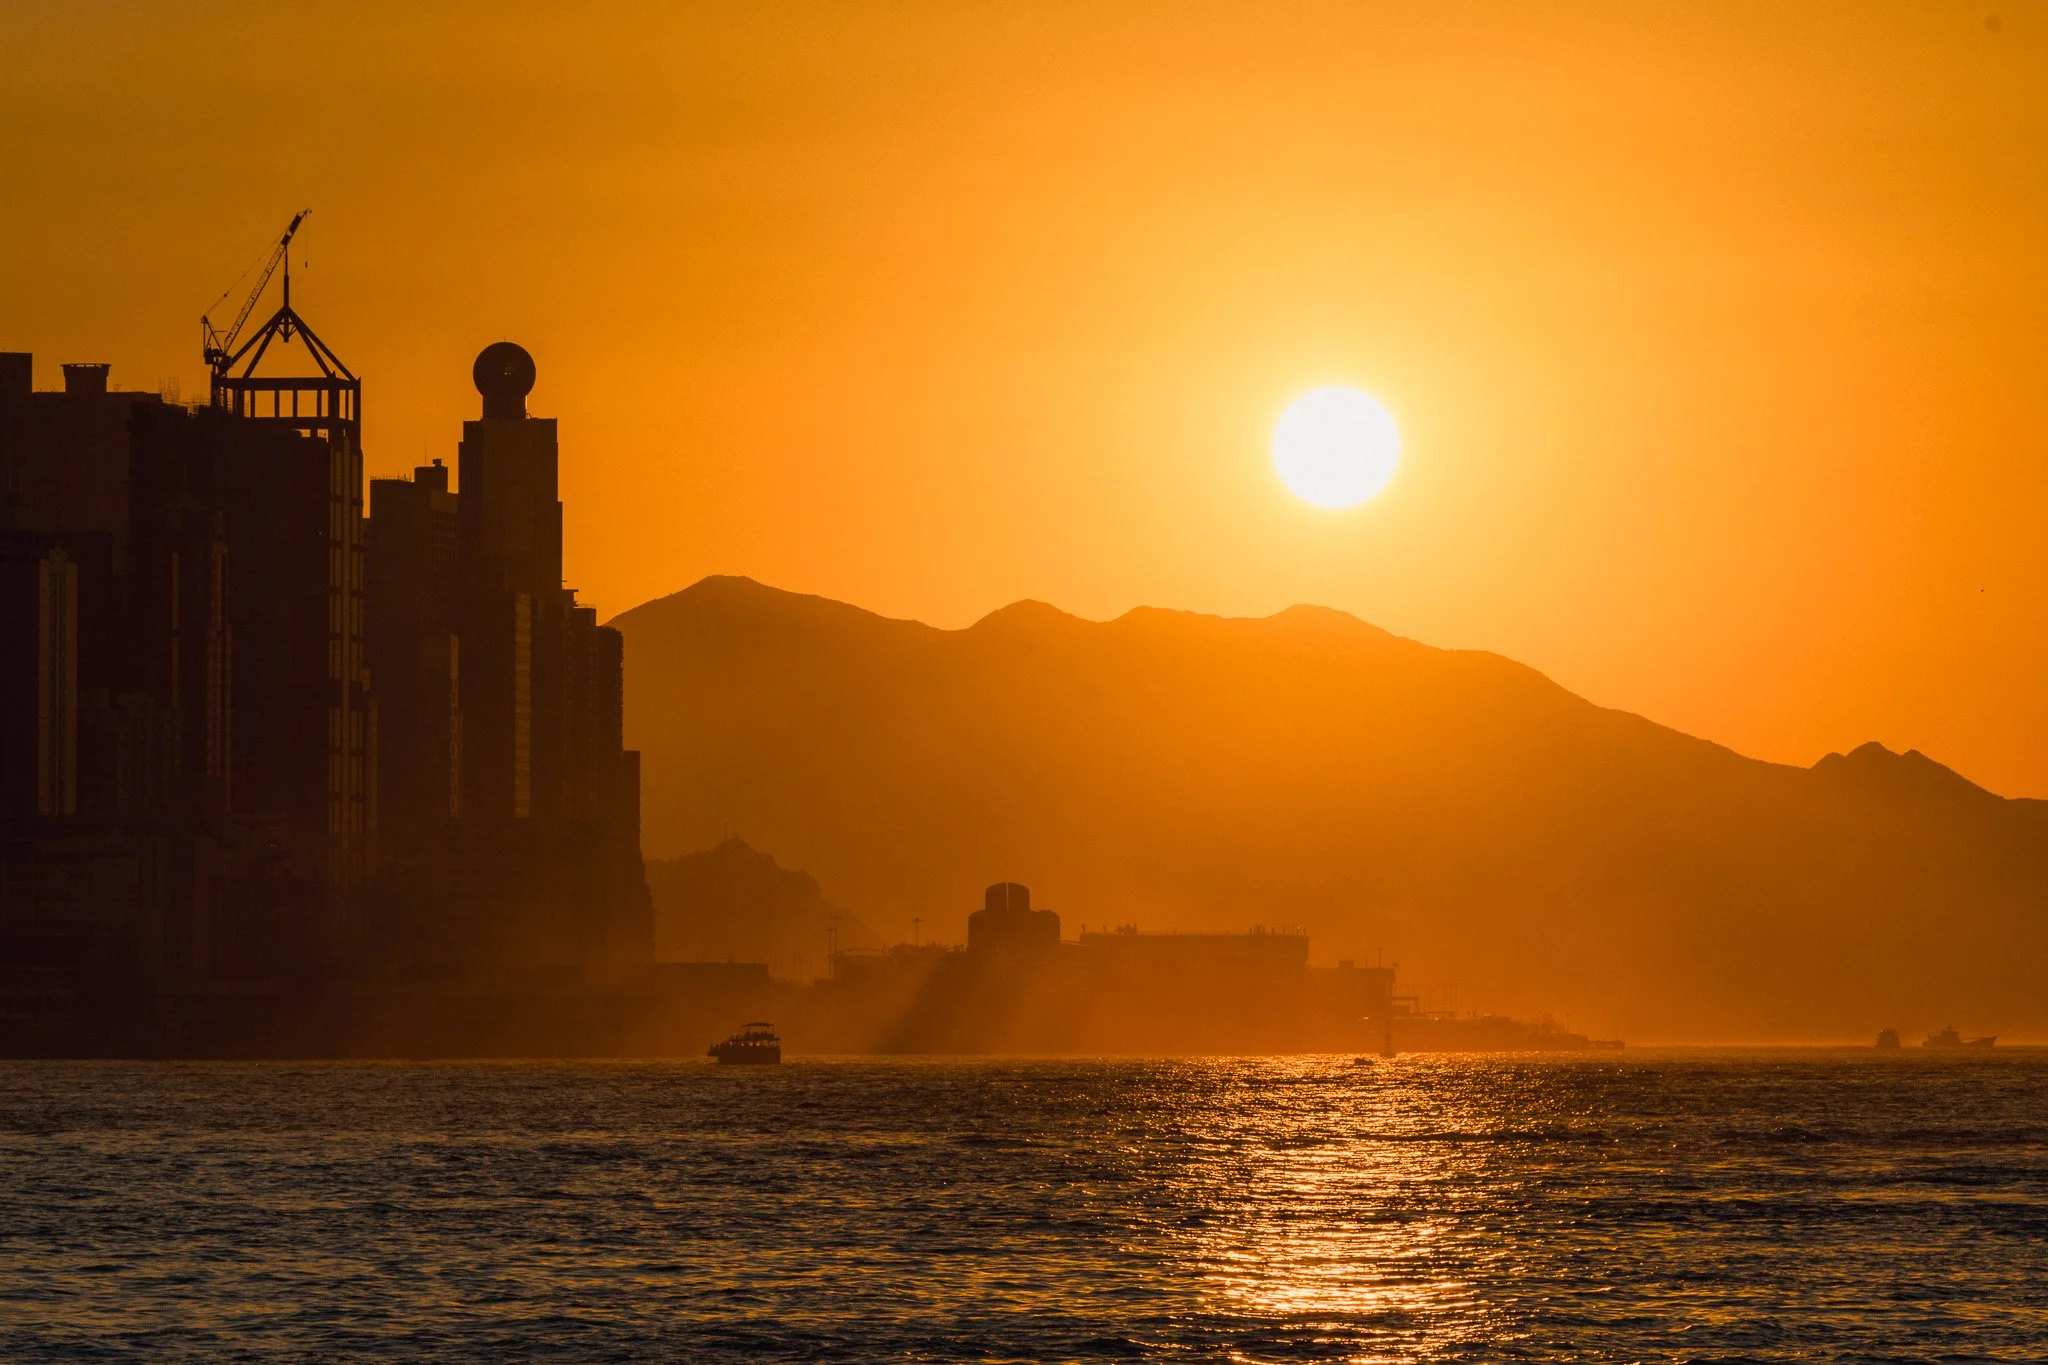
Most of my photography was on a 40mm pancake lens, however anywhere between 24 and 70 will get great results. If I were to return, I’d bring my Sony 24-50mm. With that said, I purchased a 70-200 in Hong Kong for another trip, however ended up using it along the pier for some amazing telephoto sunset shots.
Attitude to photography
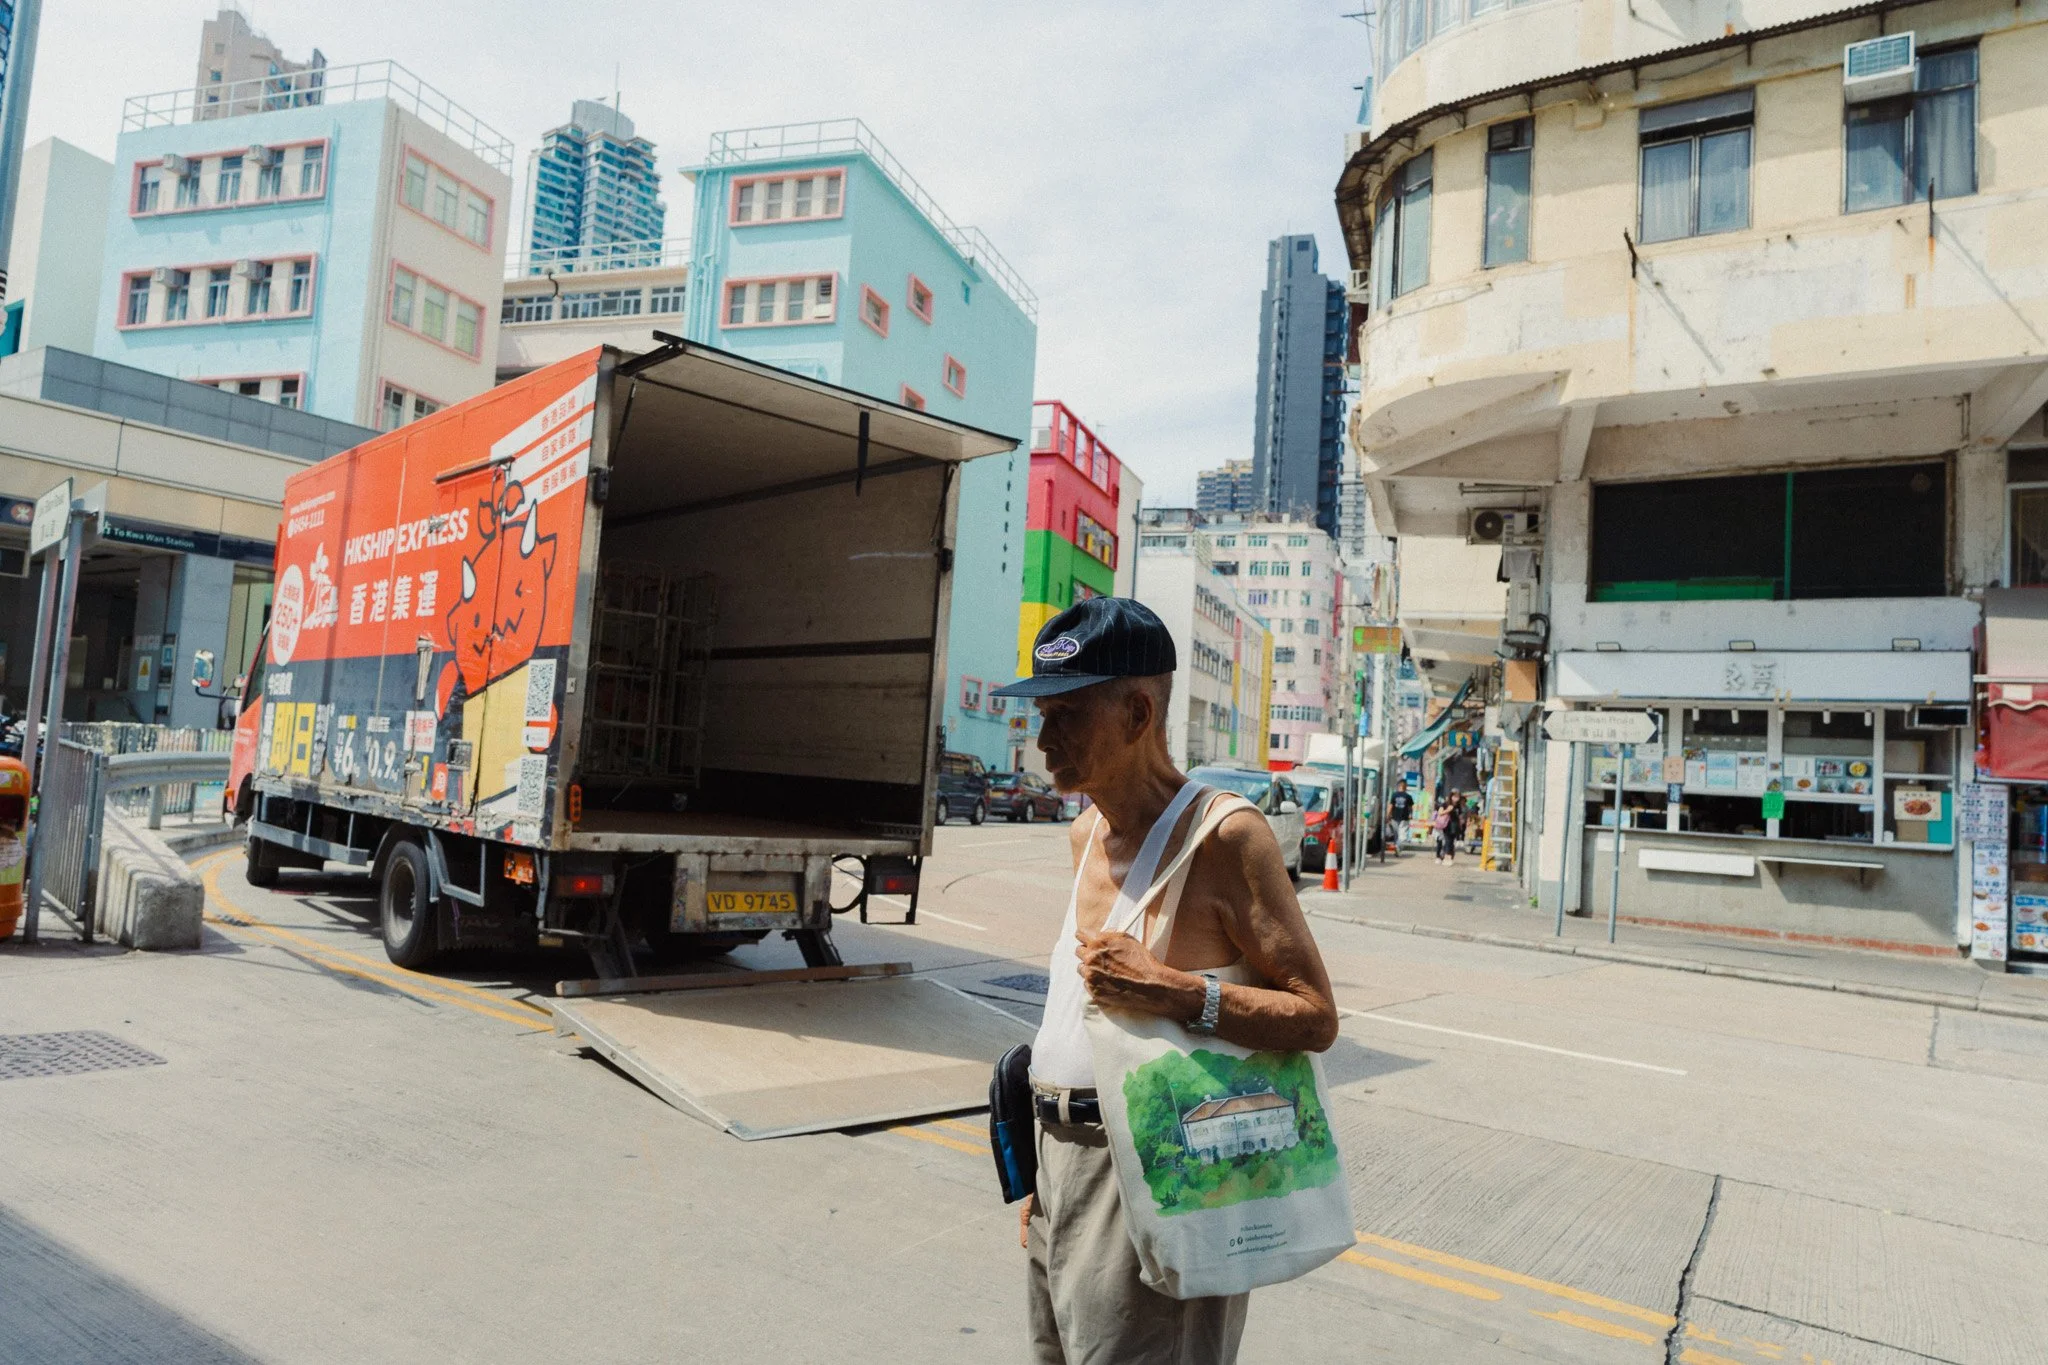
Generally photography is very accepted and I had no issues. The locals are generally more direct, so if they don’t want you taking photos they will make it known. My advice is the same as for any location, read the room, avoid bruising the scene, and have empathy for the fact that others don’t know who you are, what you are doing, and what your intentions are.
Financial bonus
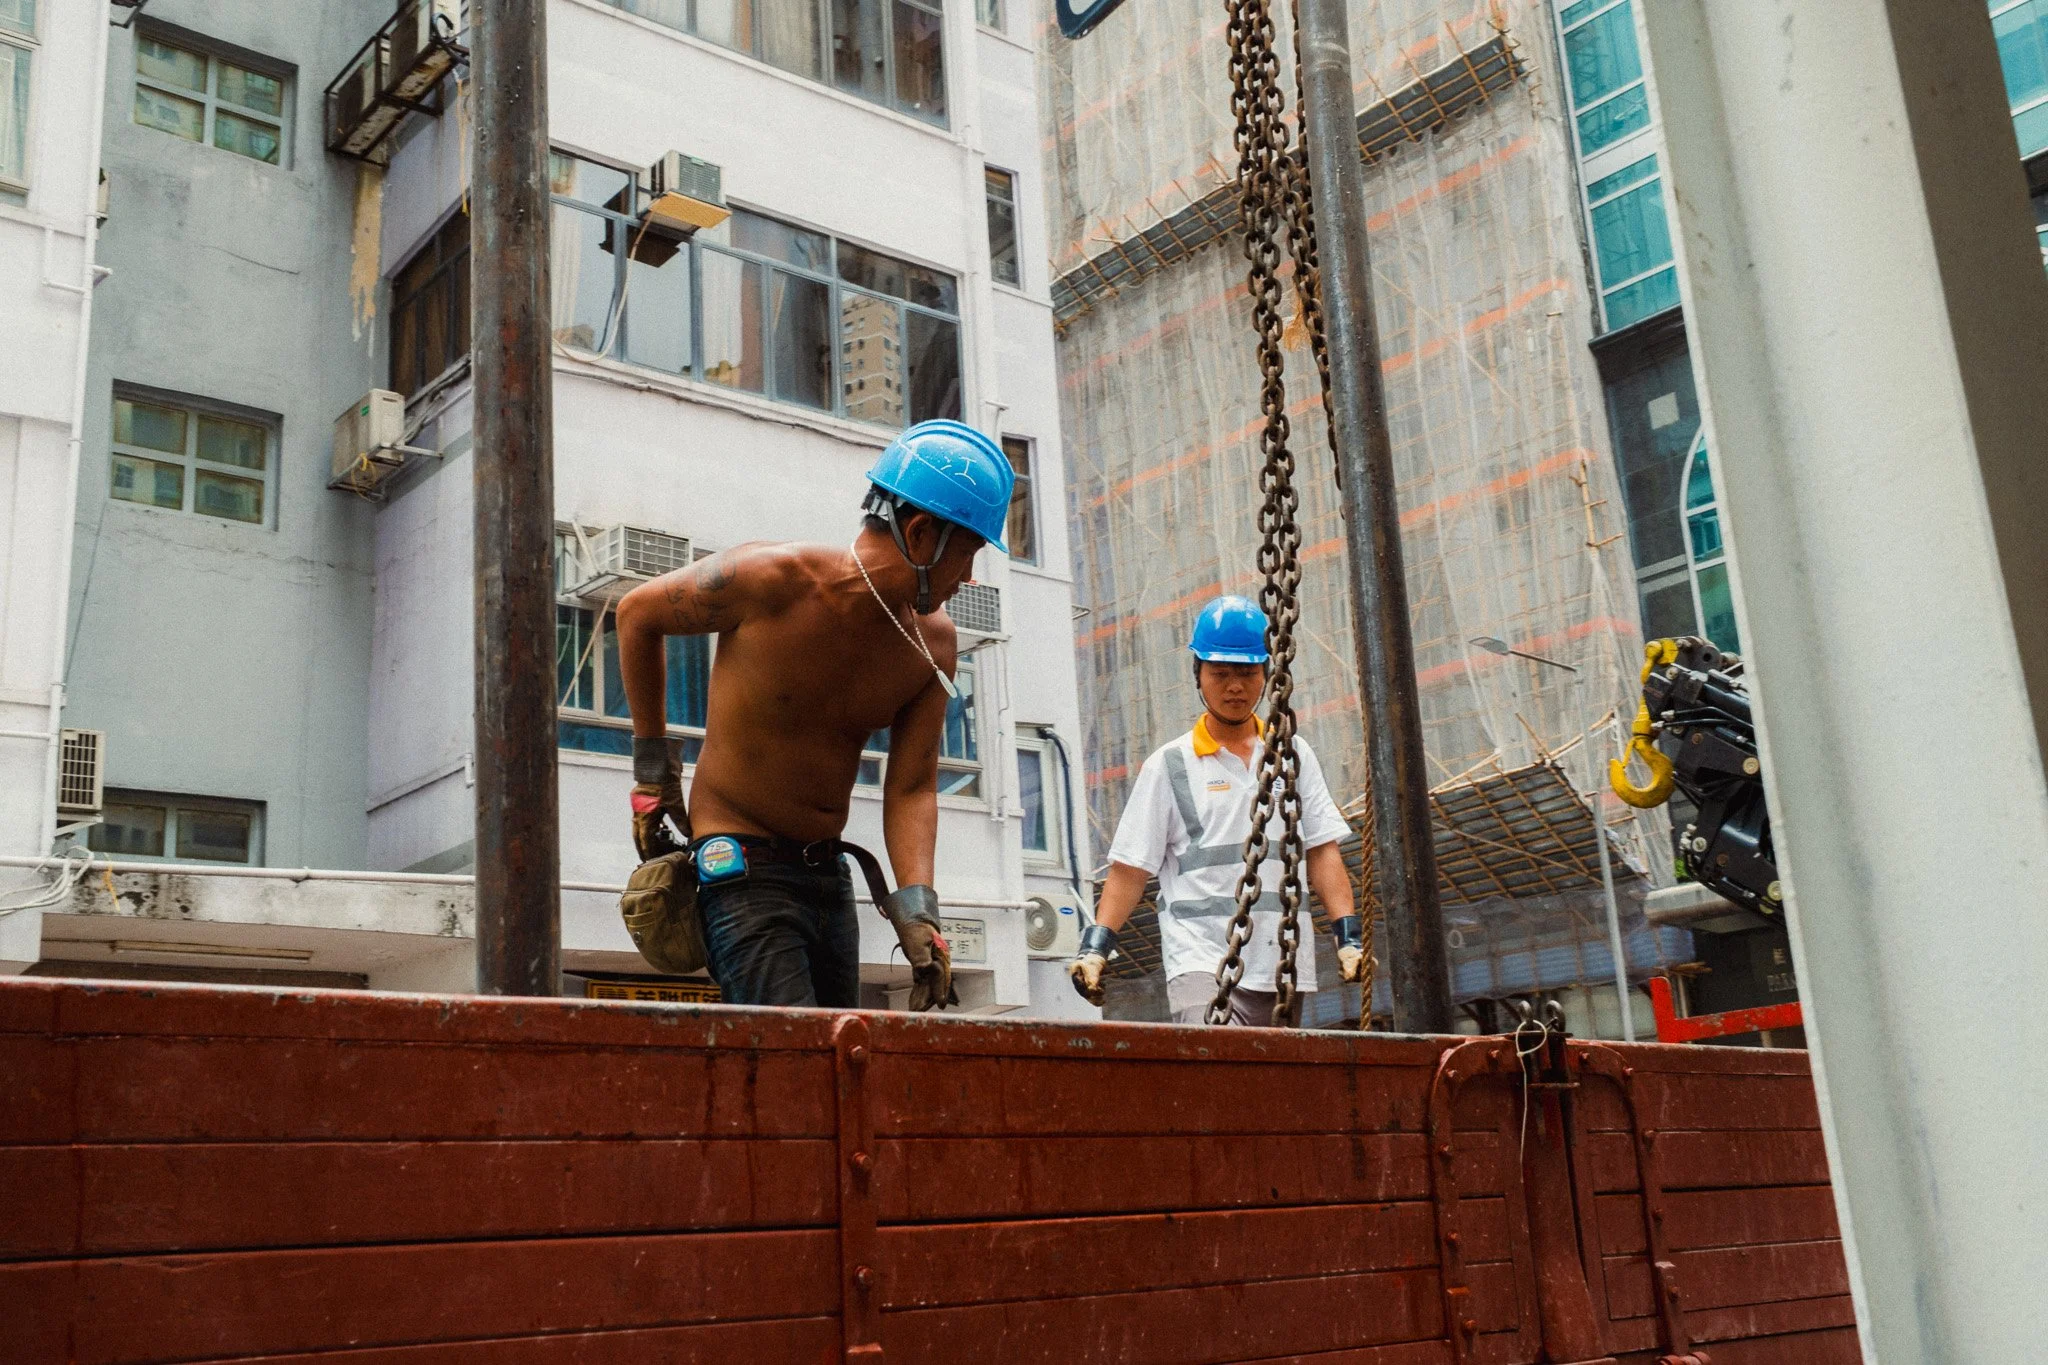
For those coming from many Western countries, Hong Kong is considerably cheaper when it comes to purchasing things, from perfume to camera gear. It’s not uncommon to save 20-40% off what you’d pay in your home country, and if you have a few things you need to get, it’s likely that a chunk of your flight would be offset by the money you saved.
Where to shoot
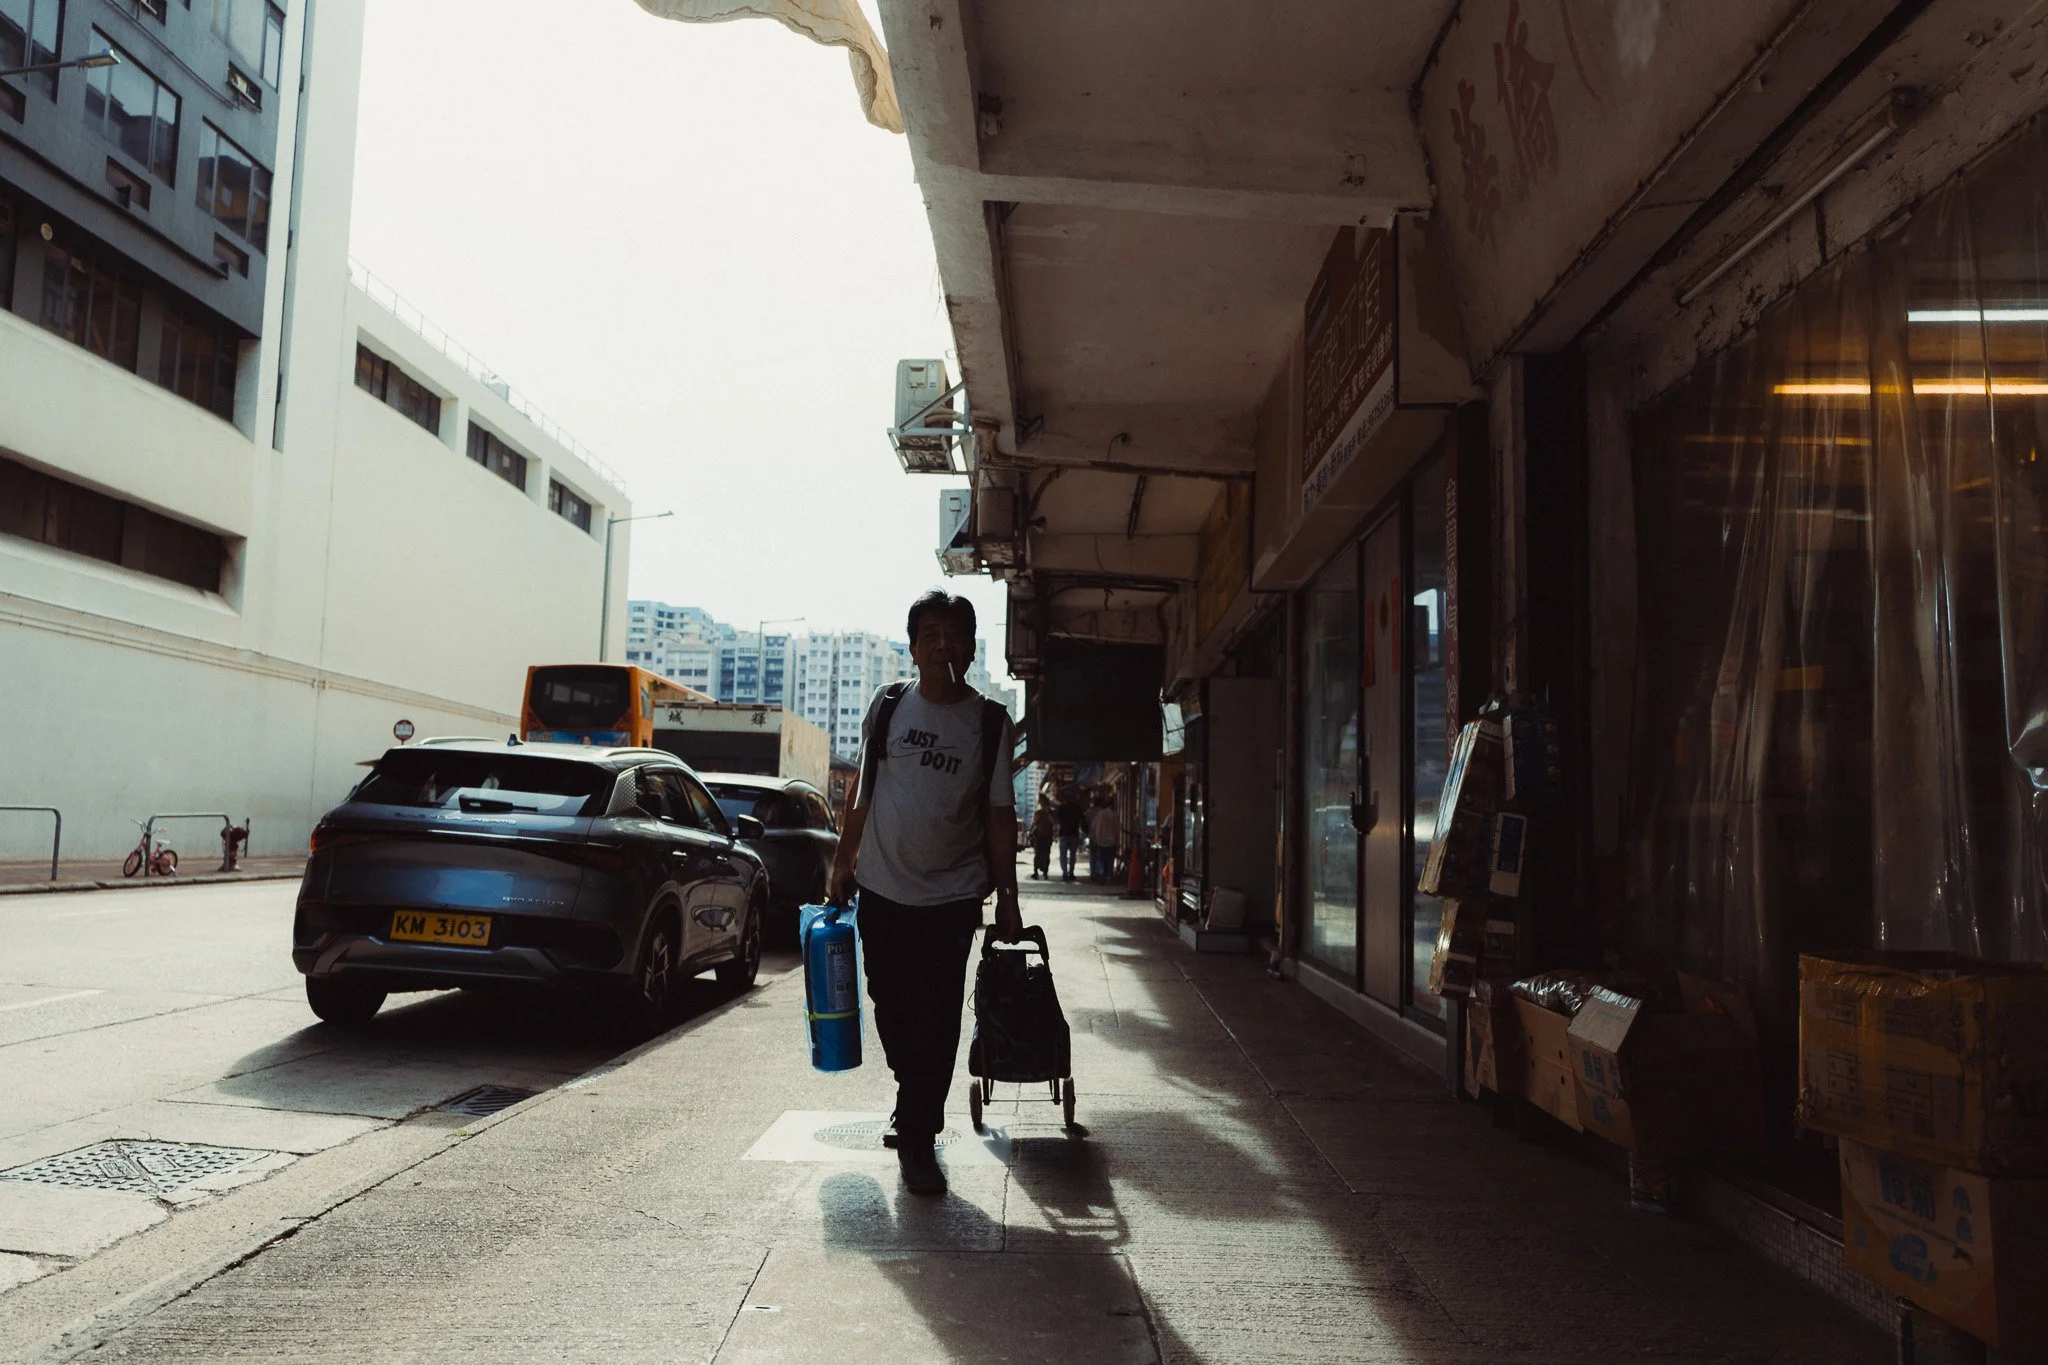
Hong Kong is a goldmine for photography, however it would take a lifetime to see it all. Furthermore, many of the areas are intertwined, so it’s hard for me to say “only focus on these areas”, as you will miss a lot if you do. After weeks of shooting in the city, my conclusion is the best way to get a good sense of what’s out there, and walk away with some great photos, is to spend the whole day on your feet wandering around instead of hitting certain photo spots. The days that yielded the best shots and experiences were days where I set a pin on the map and proceeded to walk there along any given route.
North Point to Kennedy Town walk
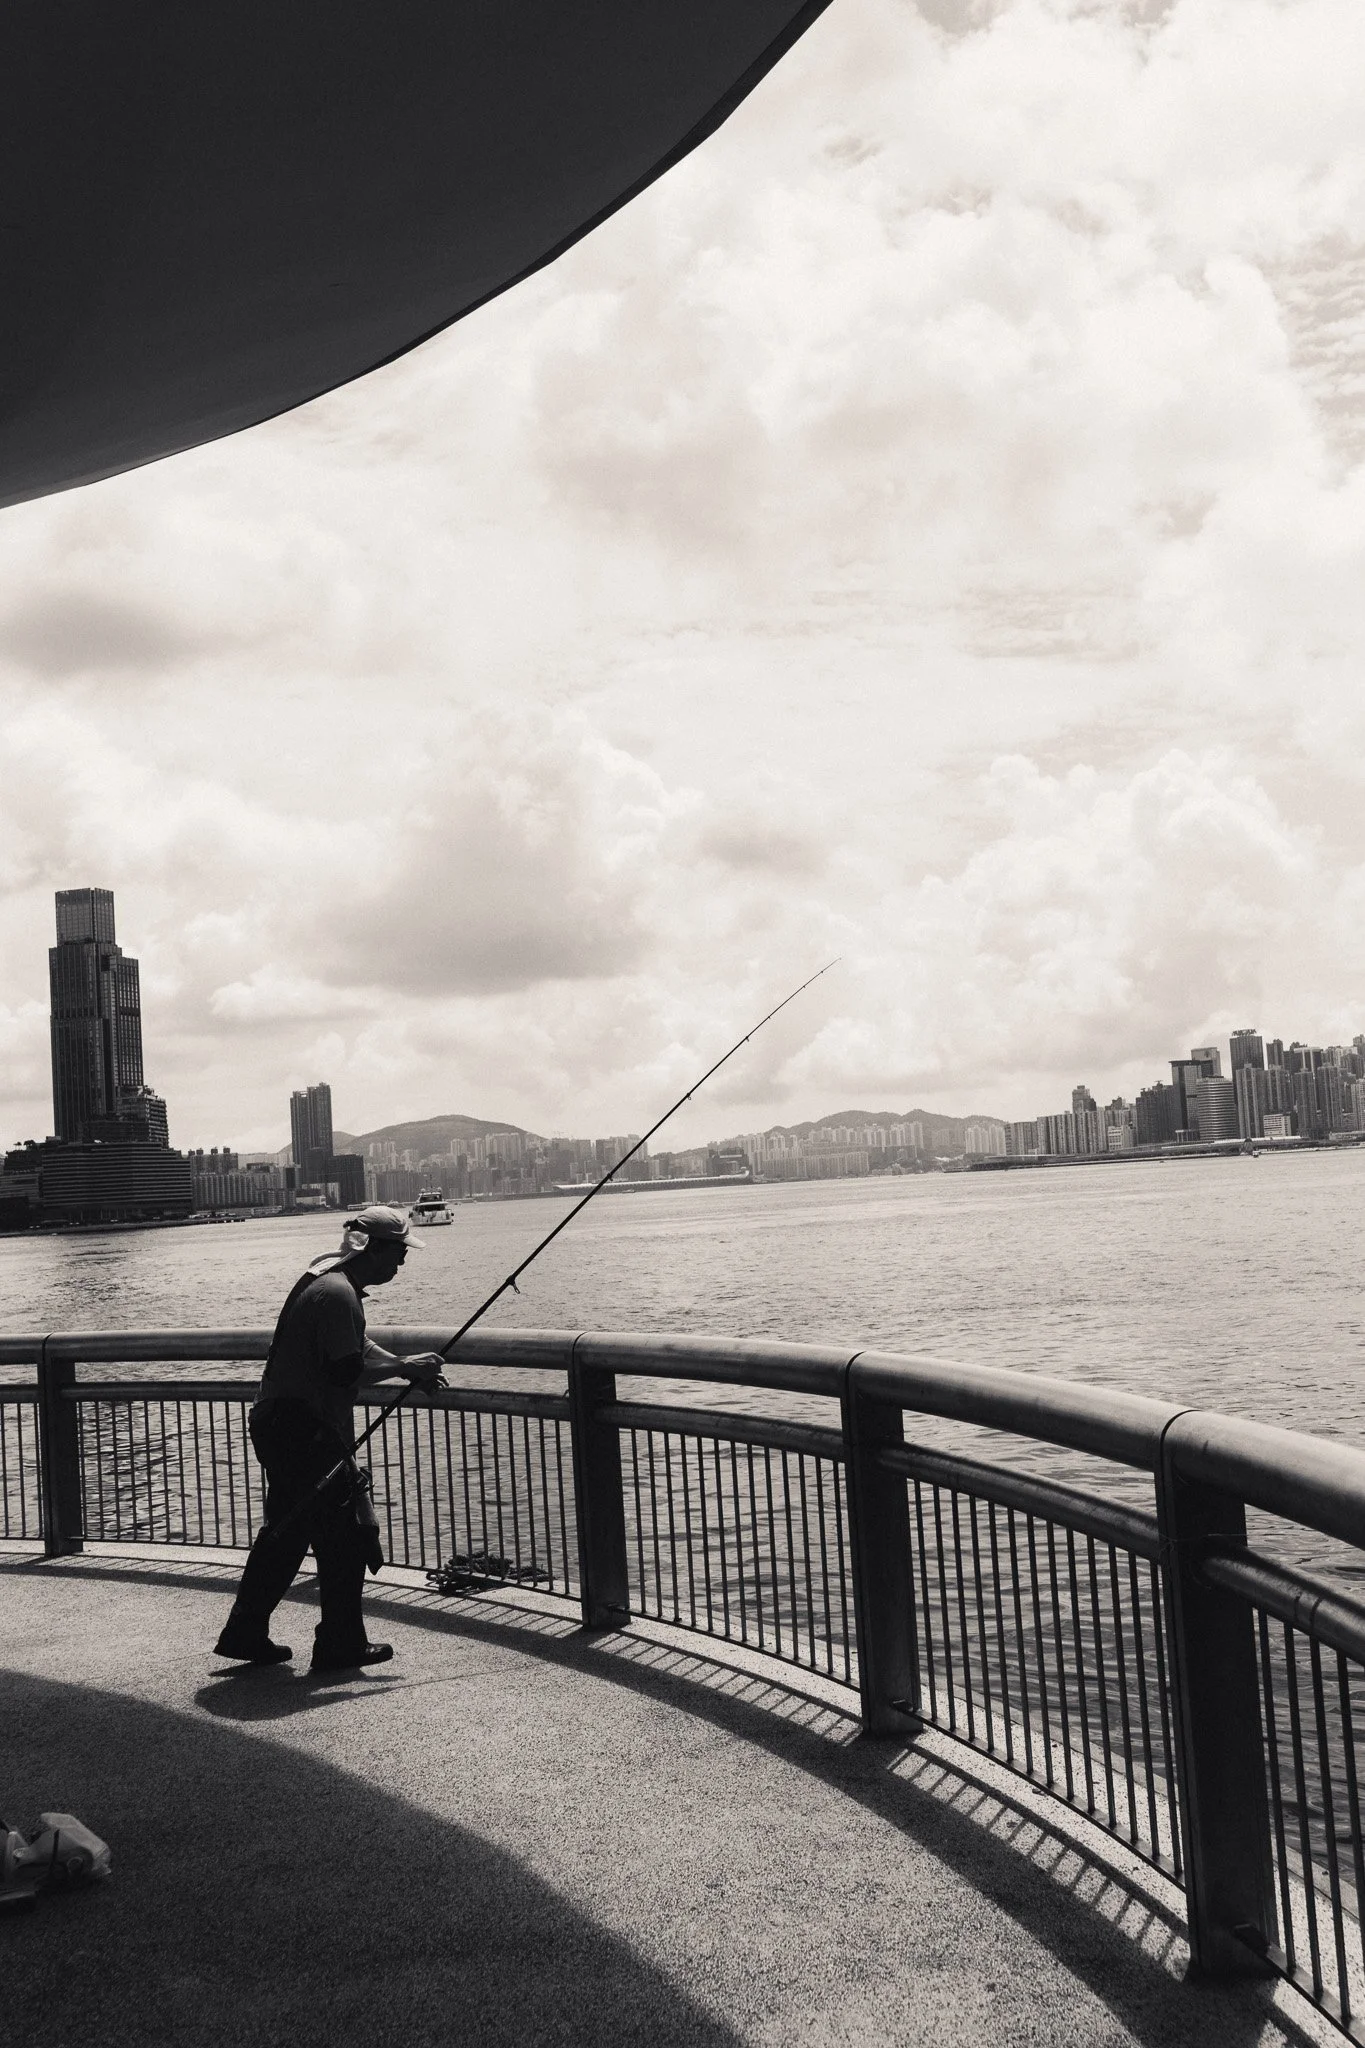
The first big walk is on the Island side and it will start in North Point. It’s a local area with a gritty feel and plenty of character. Since you’re nearby, I suggest exploring the East Coast Boardwalk for some great views of the city.

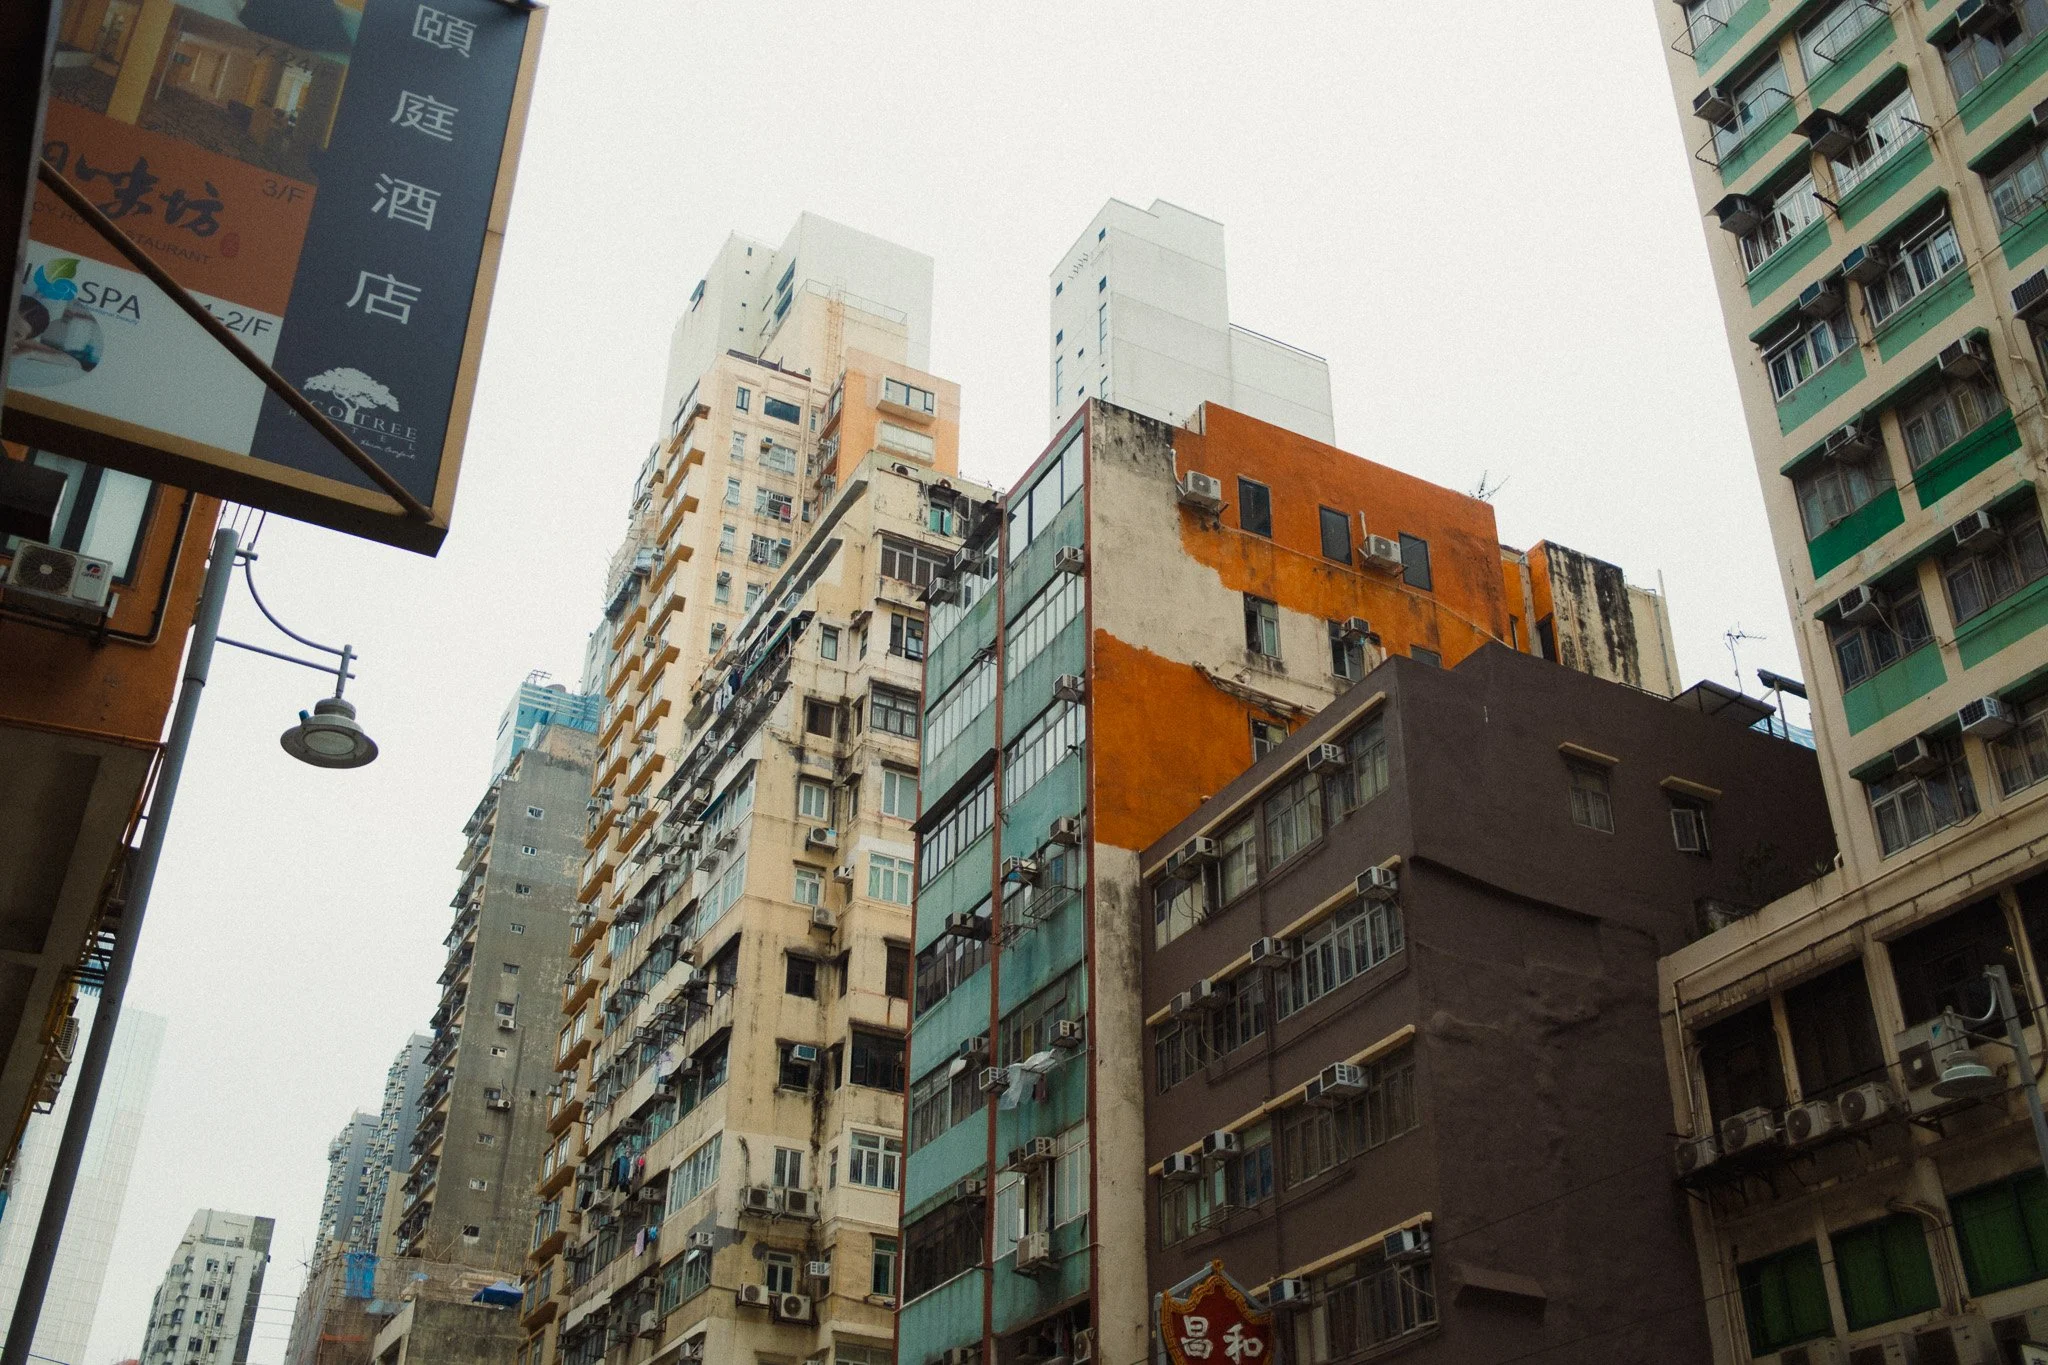
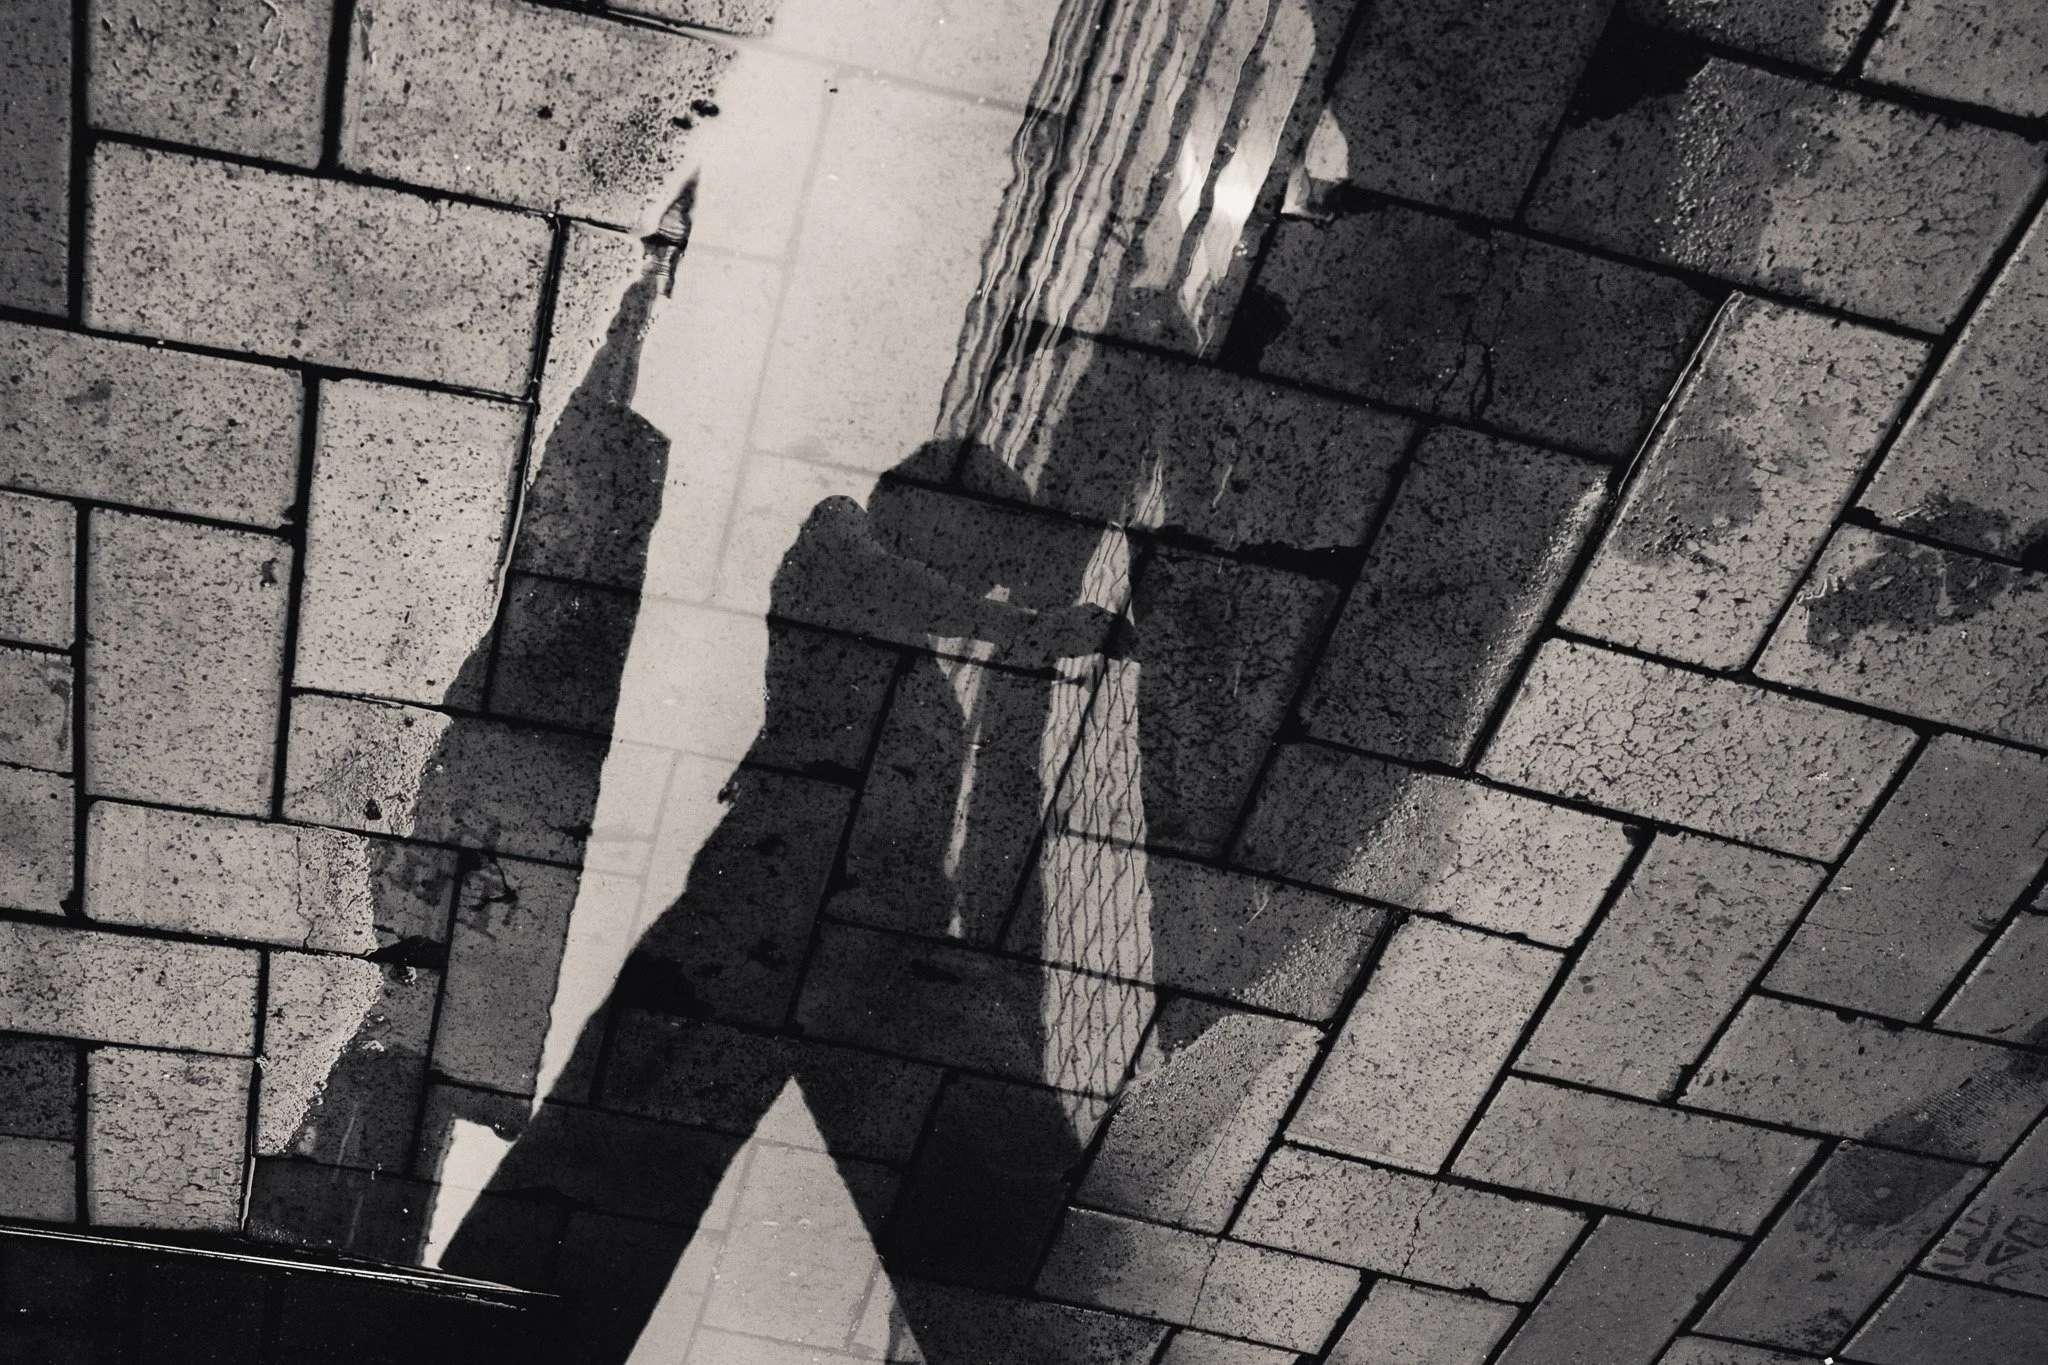
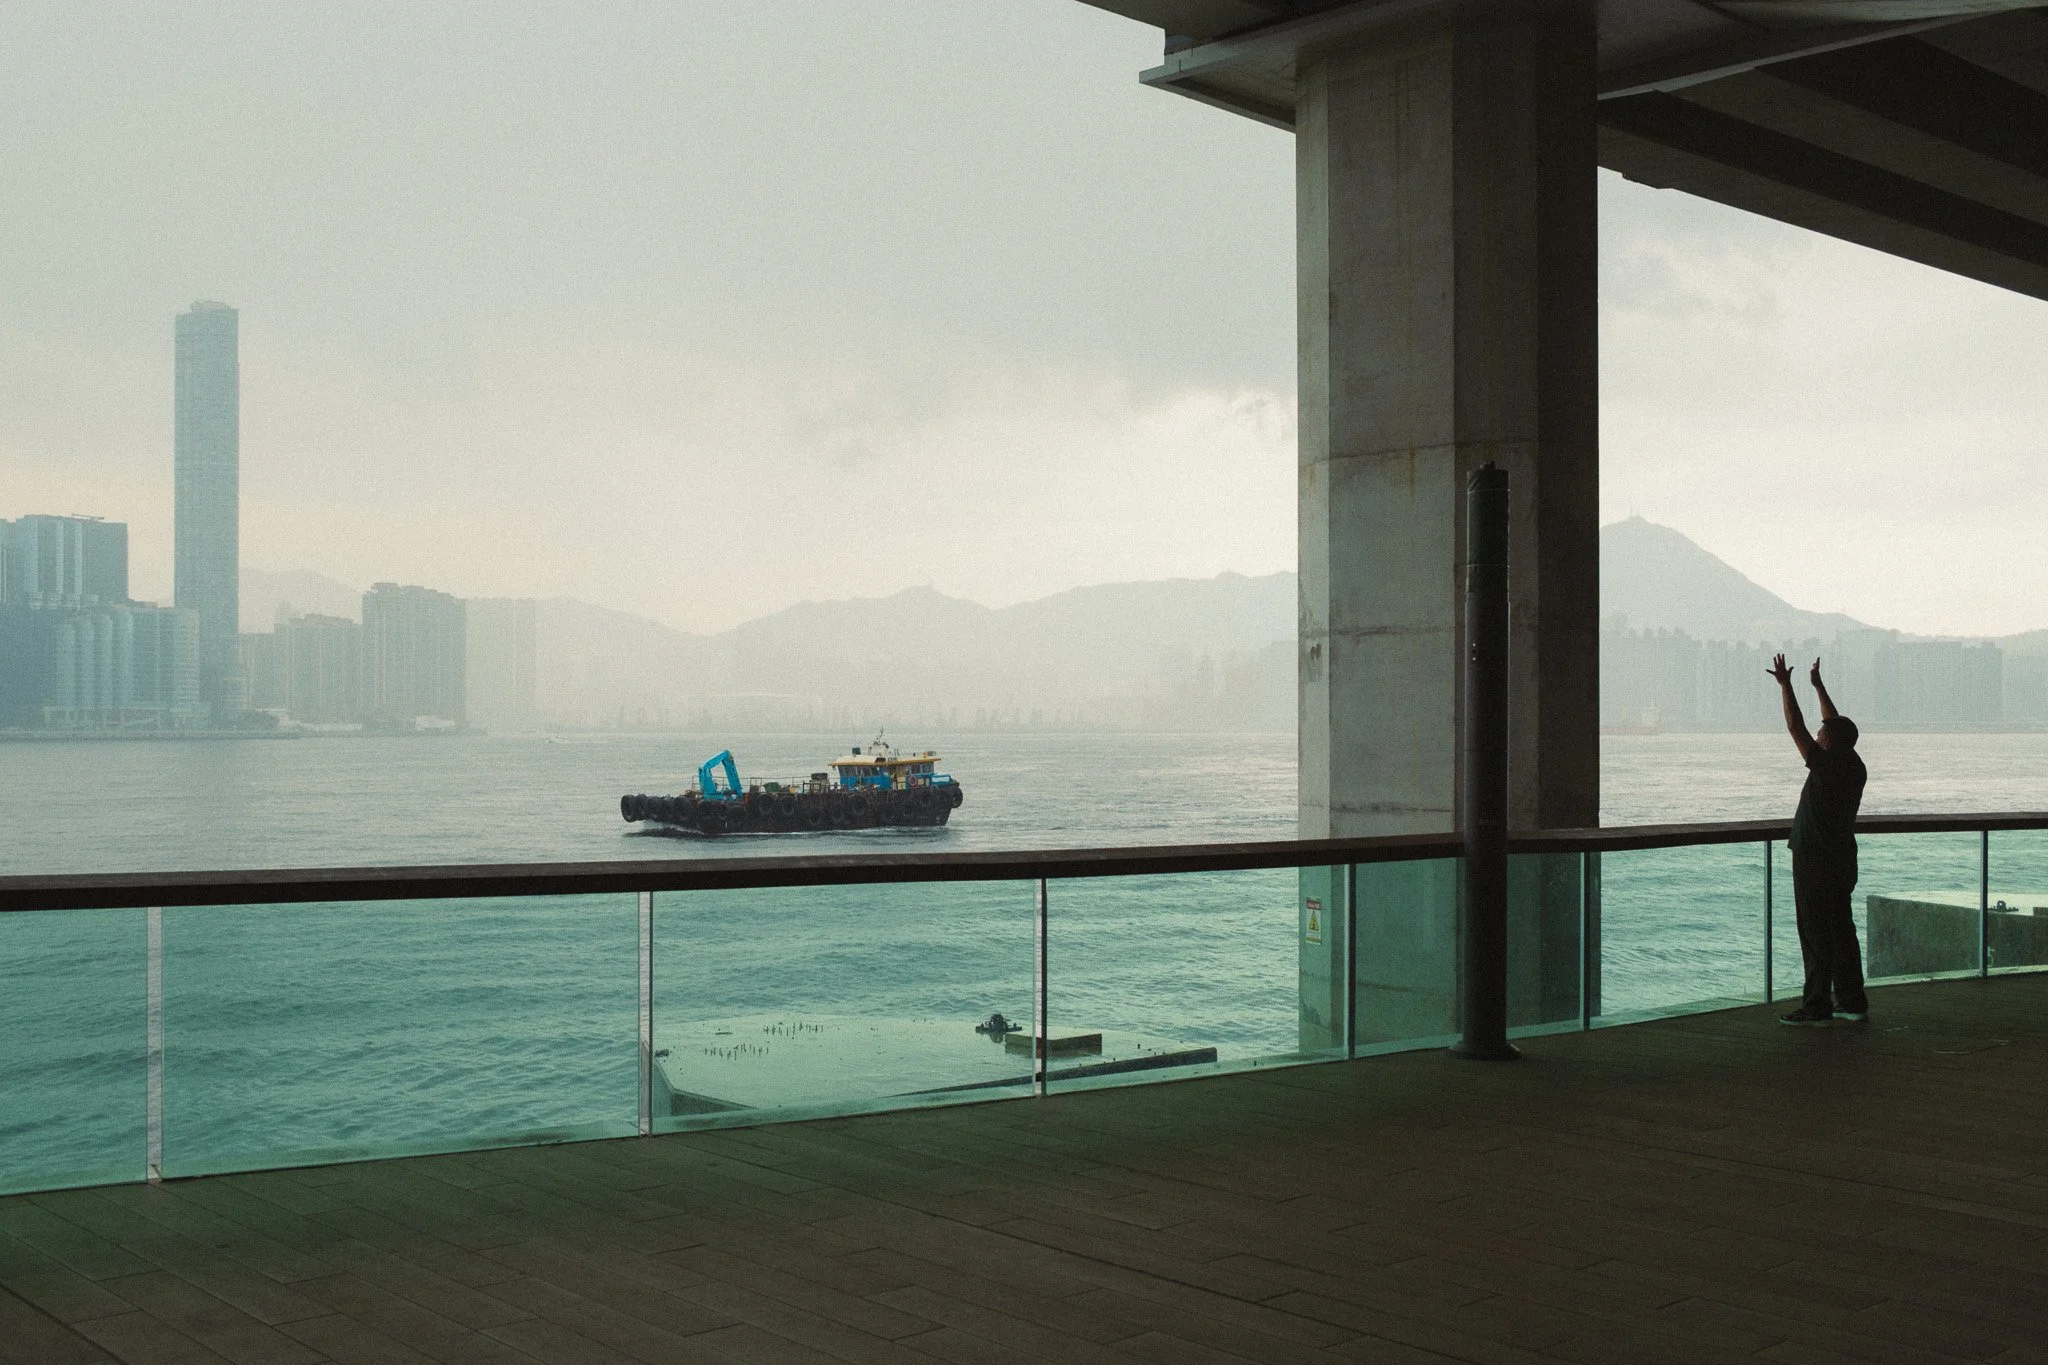
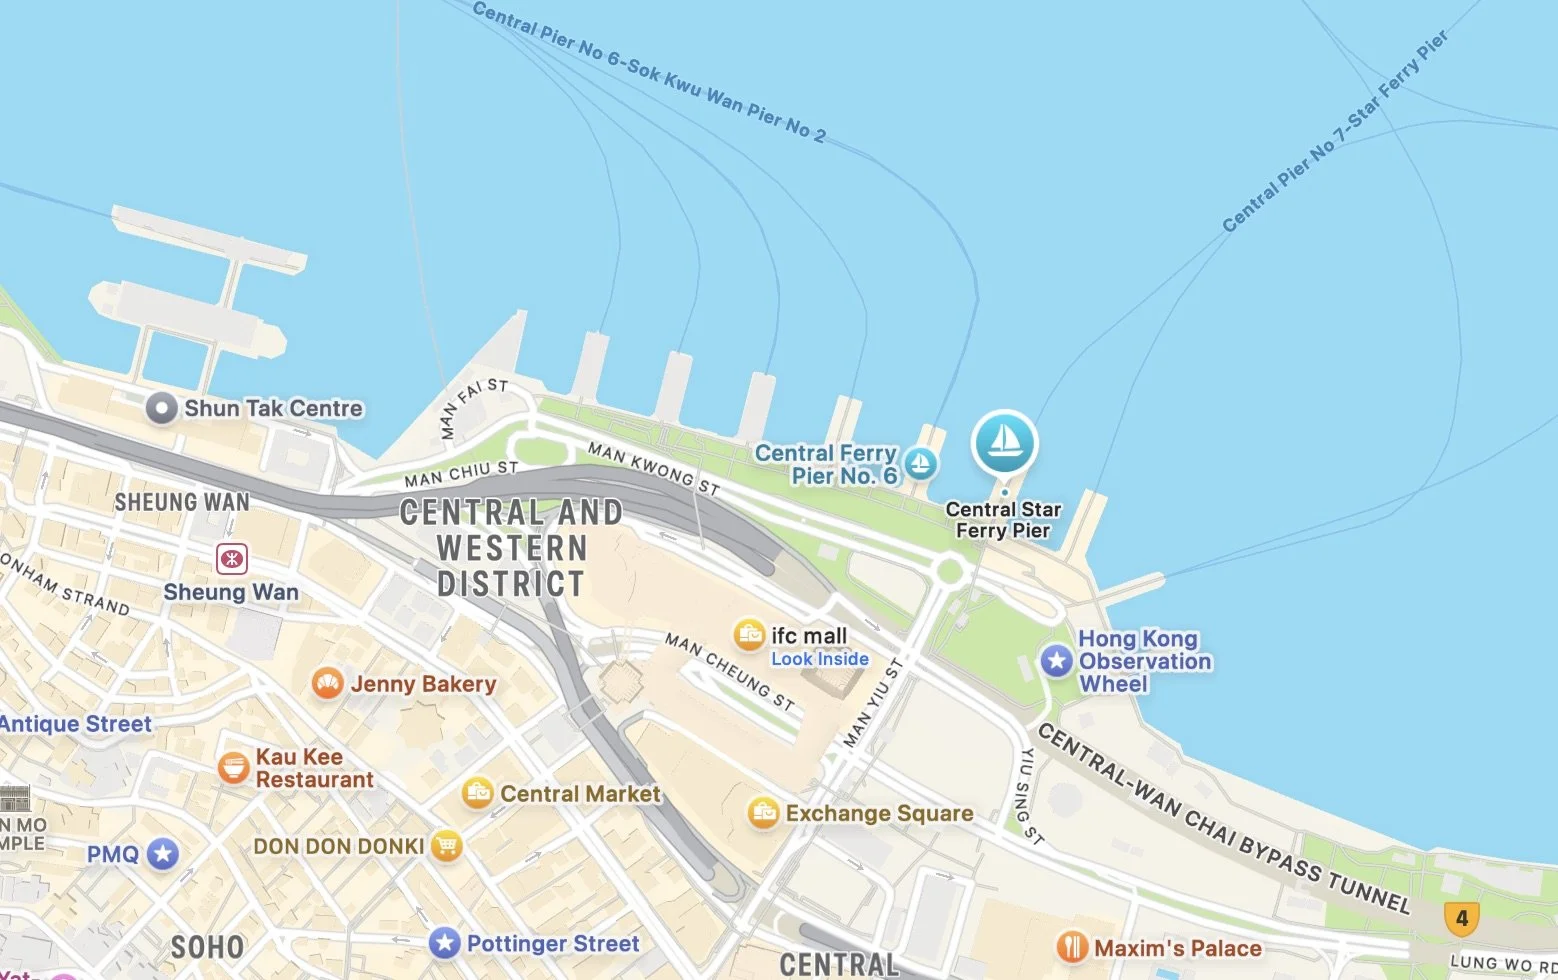
From there slowly head towards Wan Chai in a zig zag manner. Rather than walking directly, explore some of the smaller streets, follow the light or whatever piques your interest, and take your time. When you get to Wan Chai, slowly make your way to the water in order to see the ferry piers. I could spend ages exploring the area around Central Ferry Pier, especially as the old ferries come in and out.
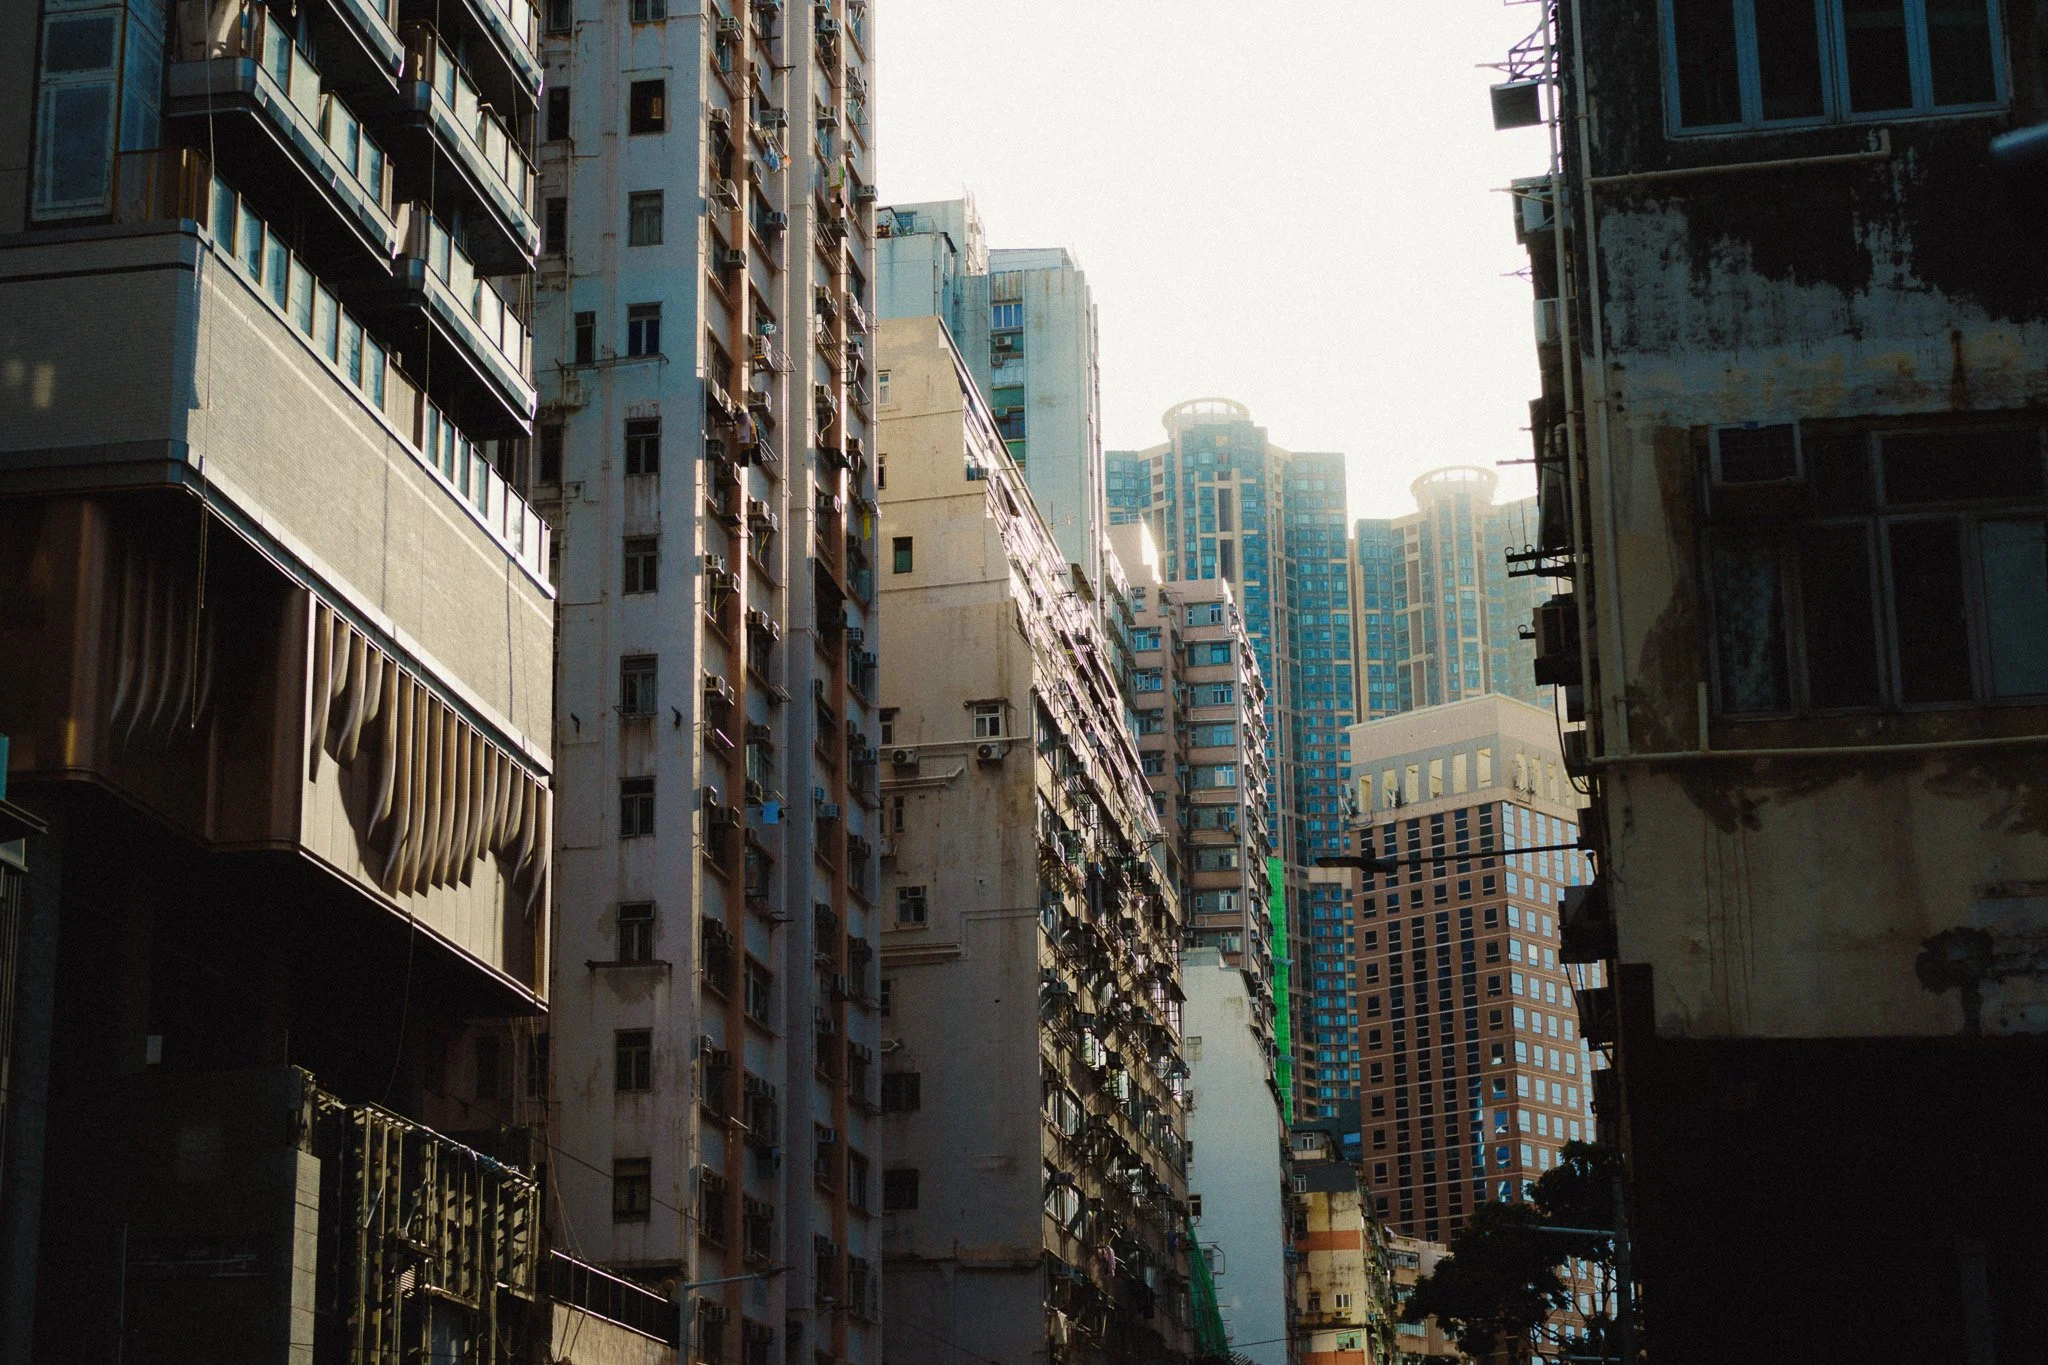
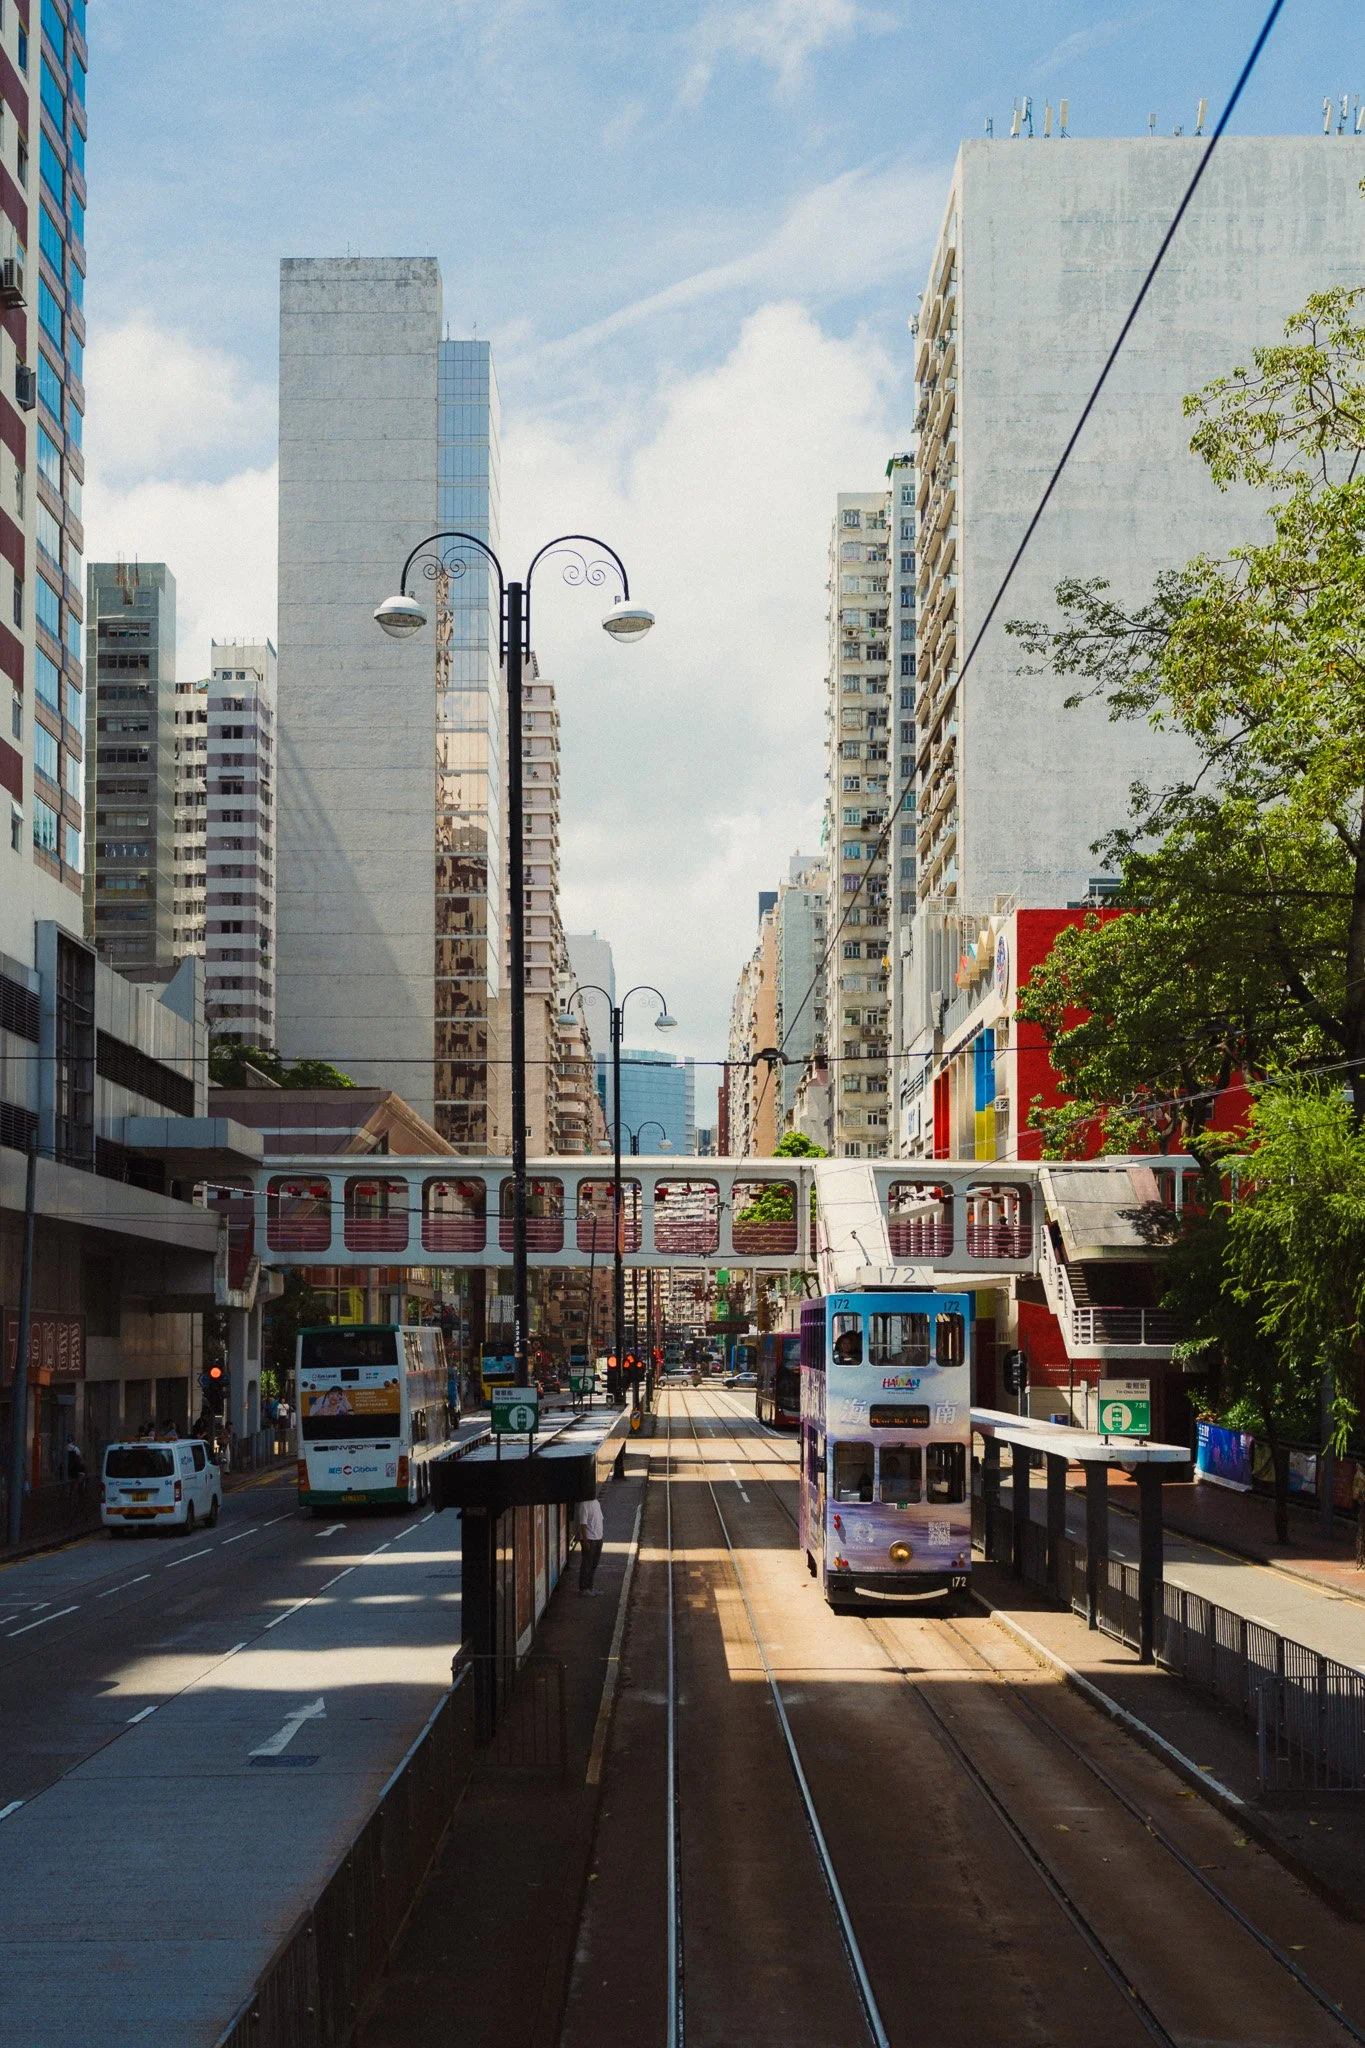
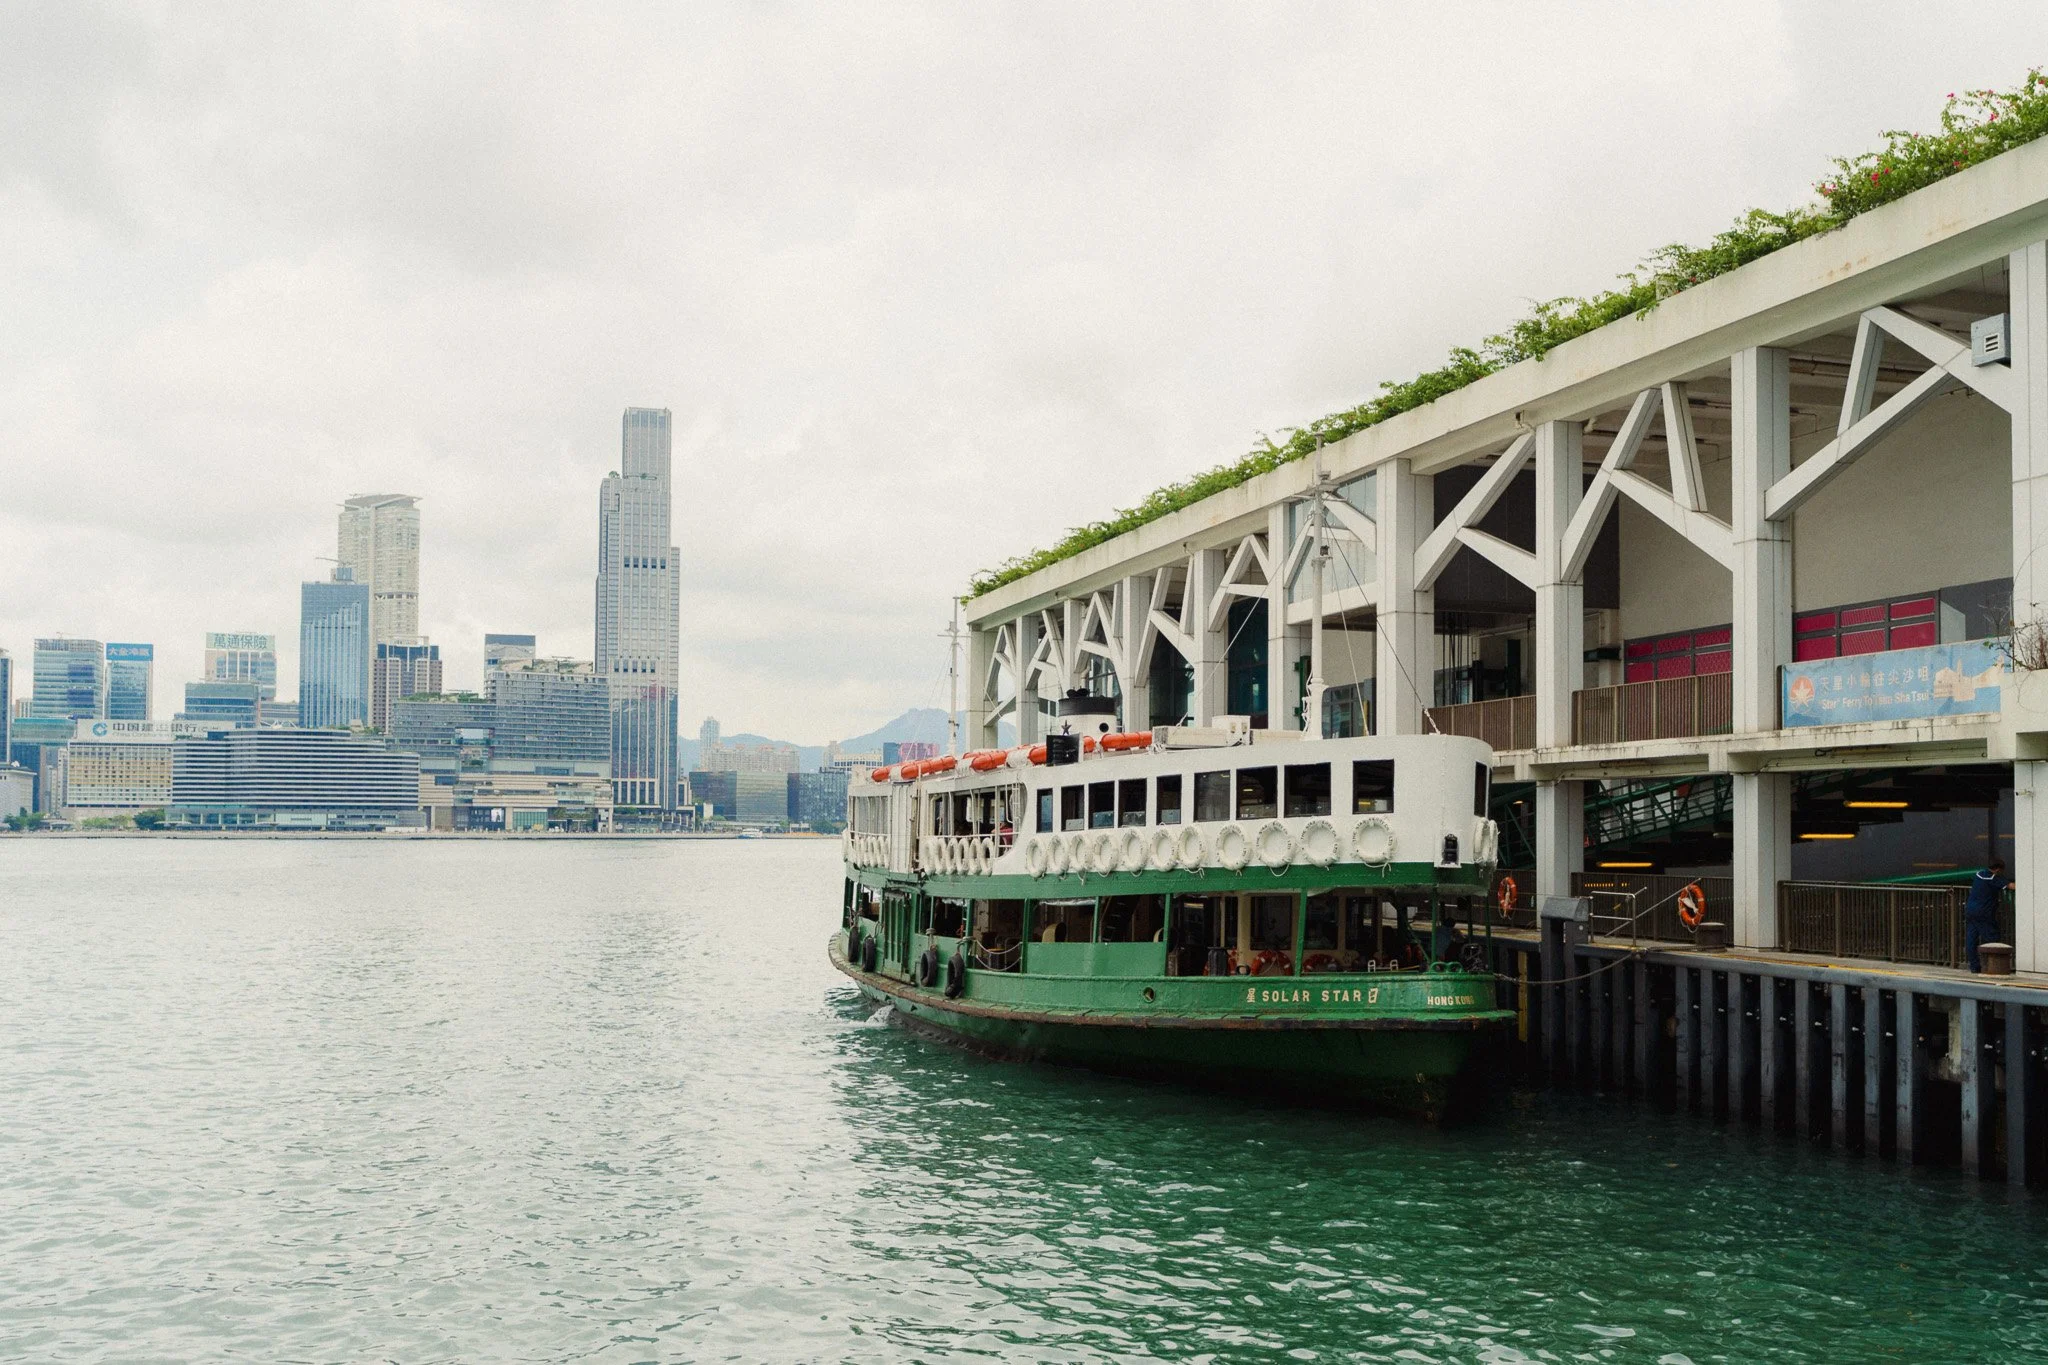
From there head back into town and carry on through the Central and Western District before popping into Soho. After that slowly head down towards Kennedy Town. Depending on timing, you might find the sunset at Kennedy Town to be amazing, so I suggest staying put and watching it there.
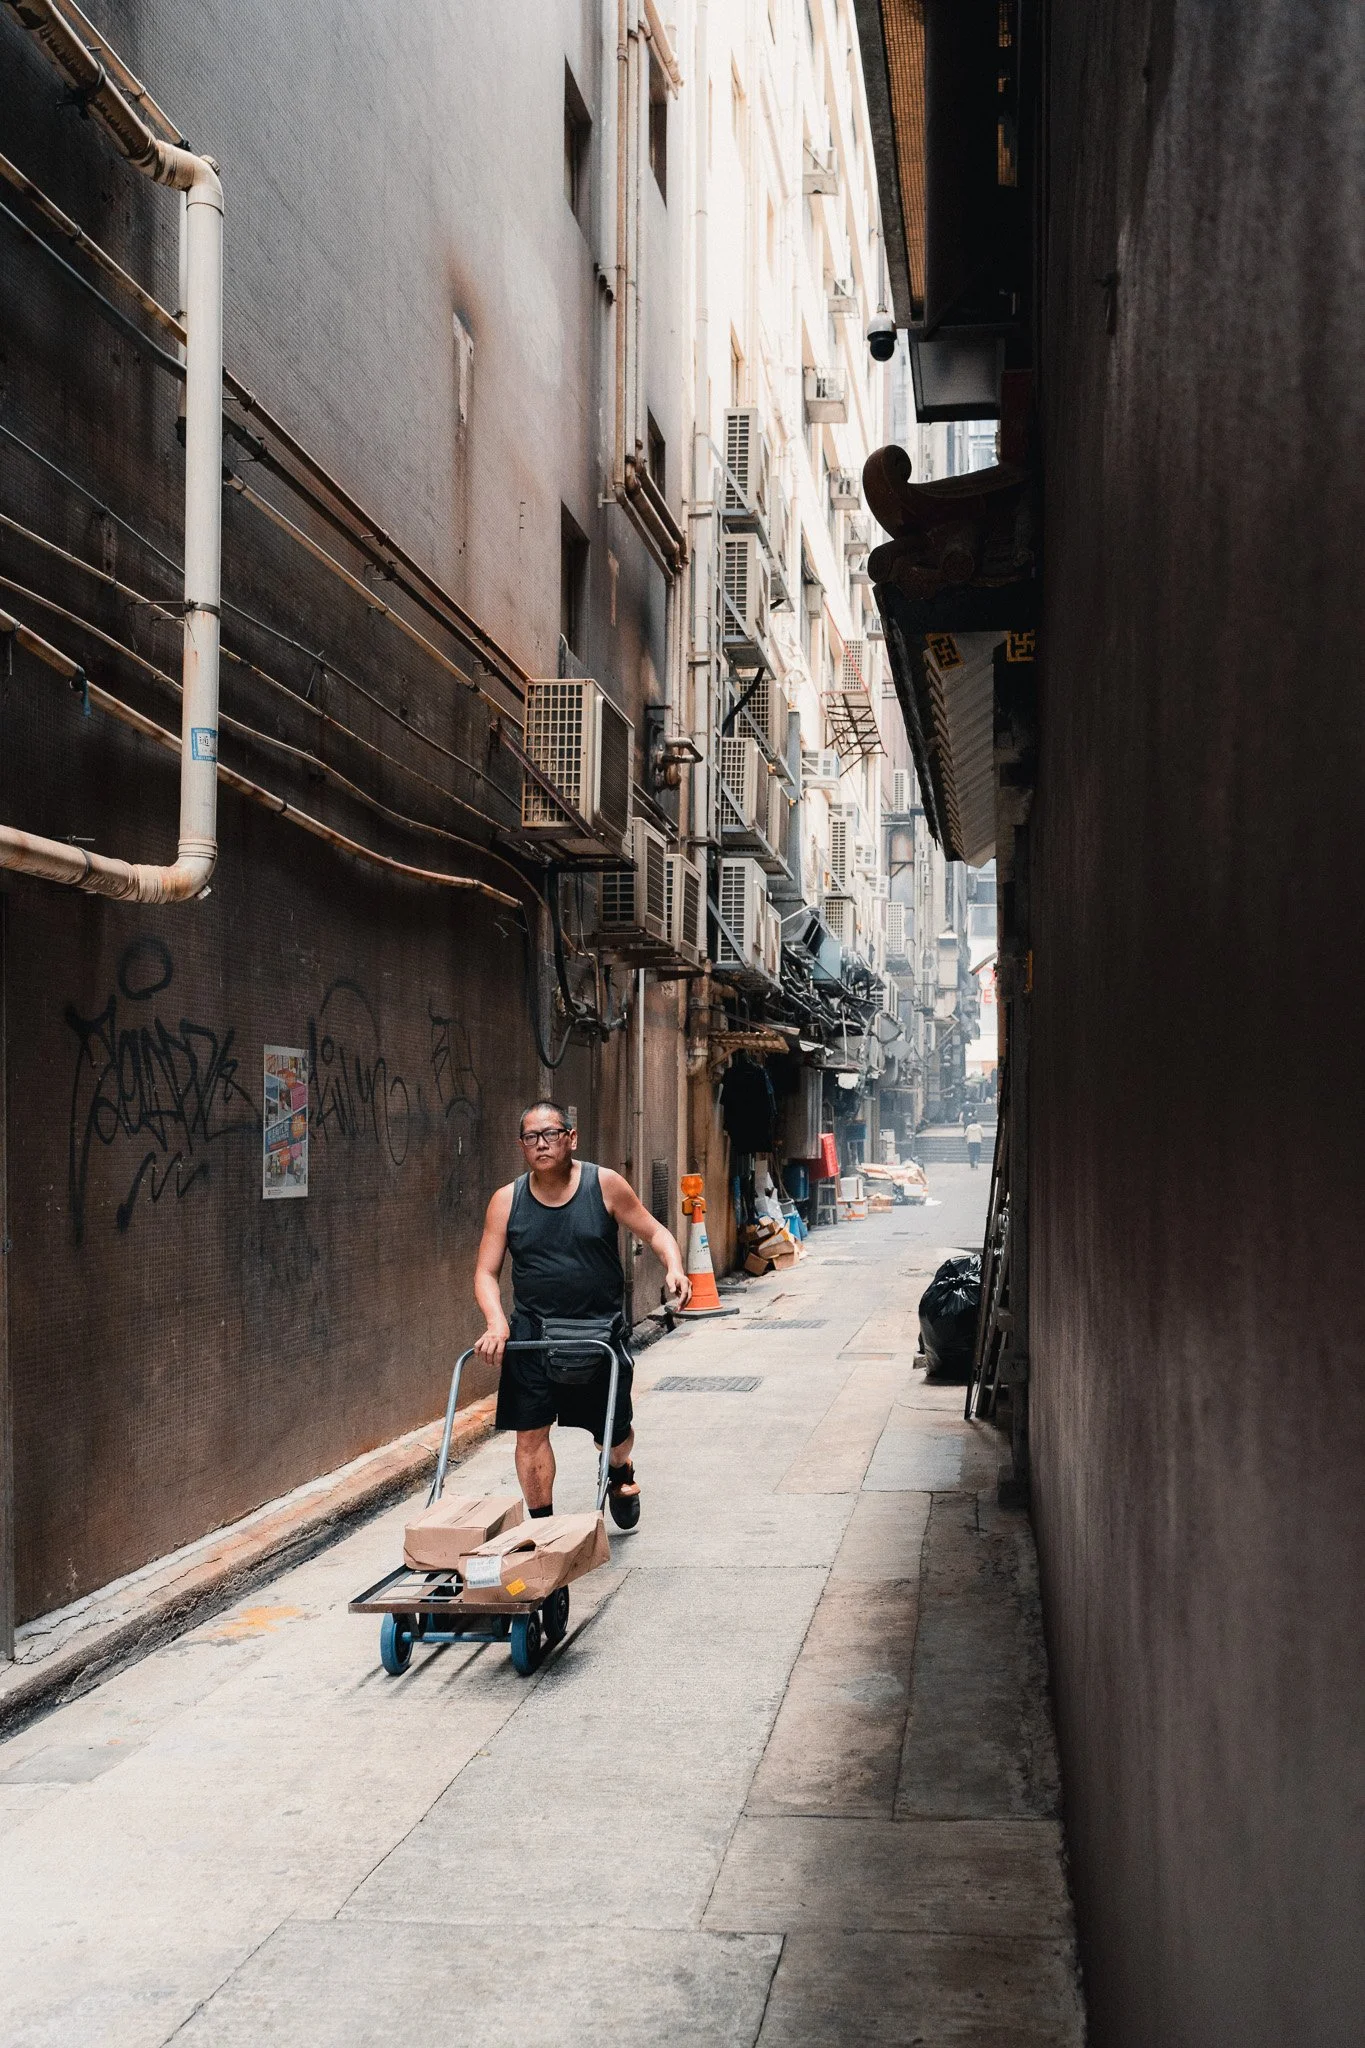
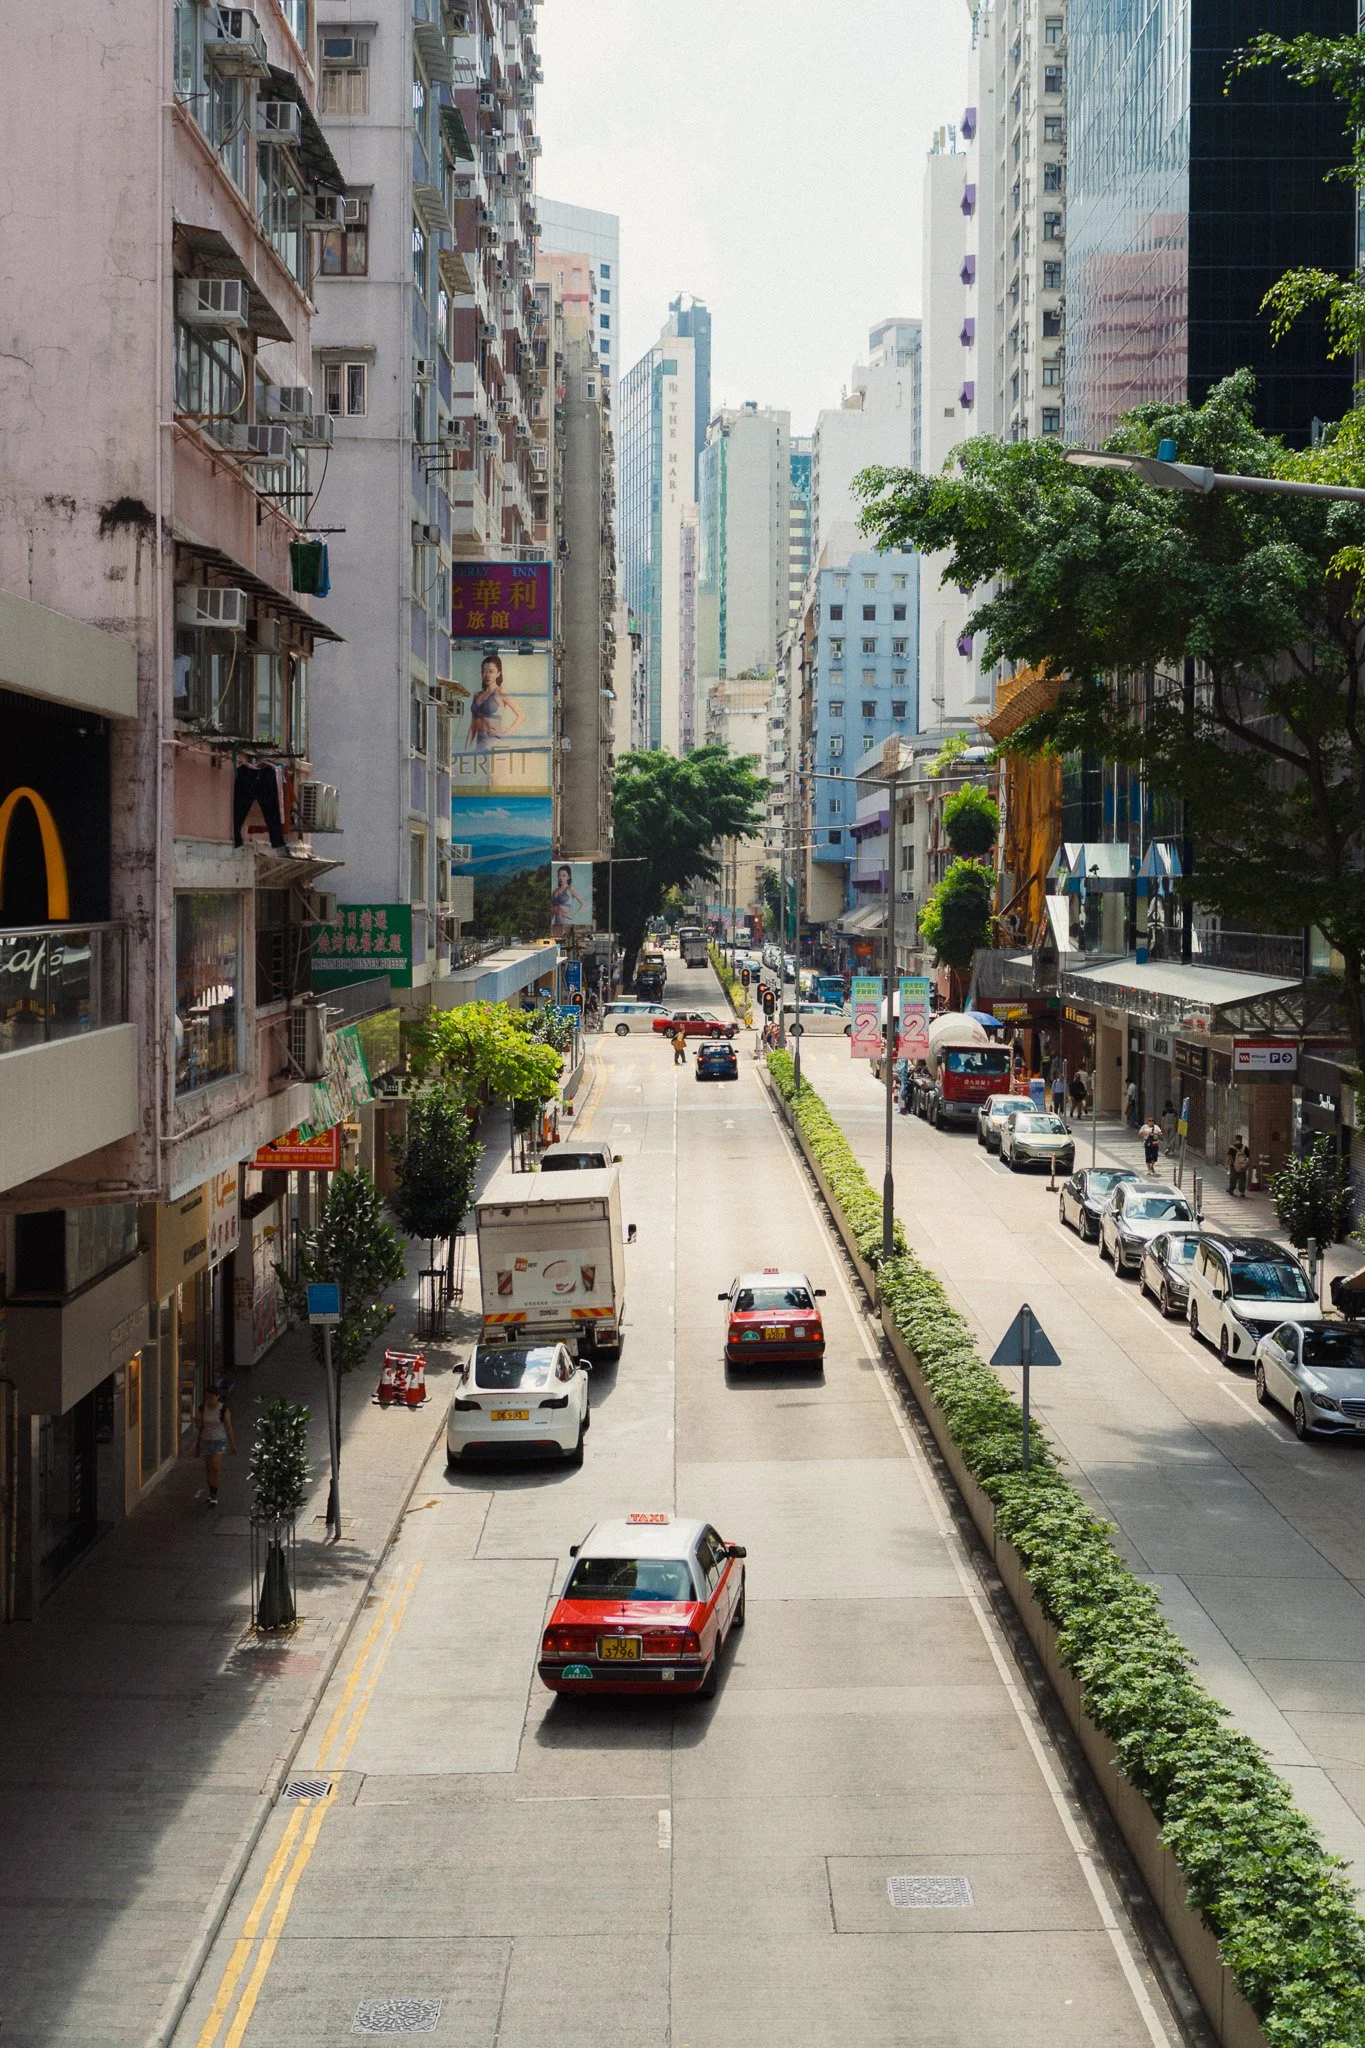
Depending on how tired your legs are, you can either walk back, or even better take the old tram from Kennedy Town back to where you started, or where your hotel is. If you start early enough, you can do this walk in a day, however I suggest splitting it over two.
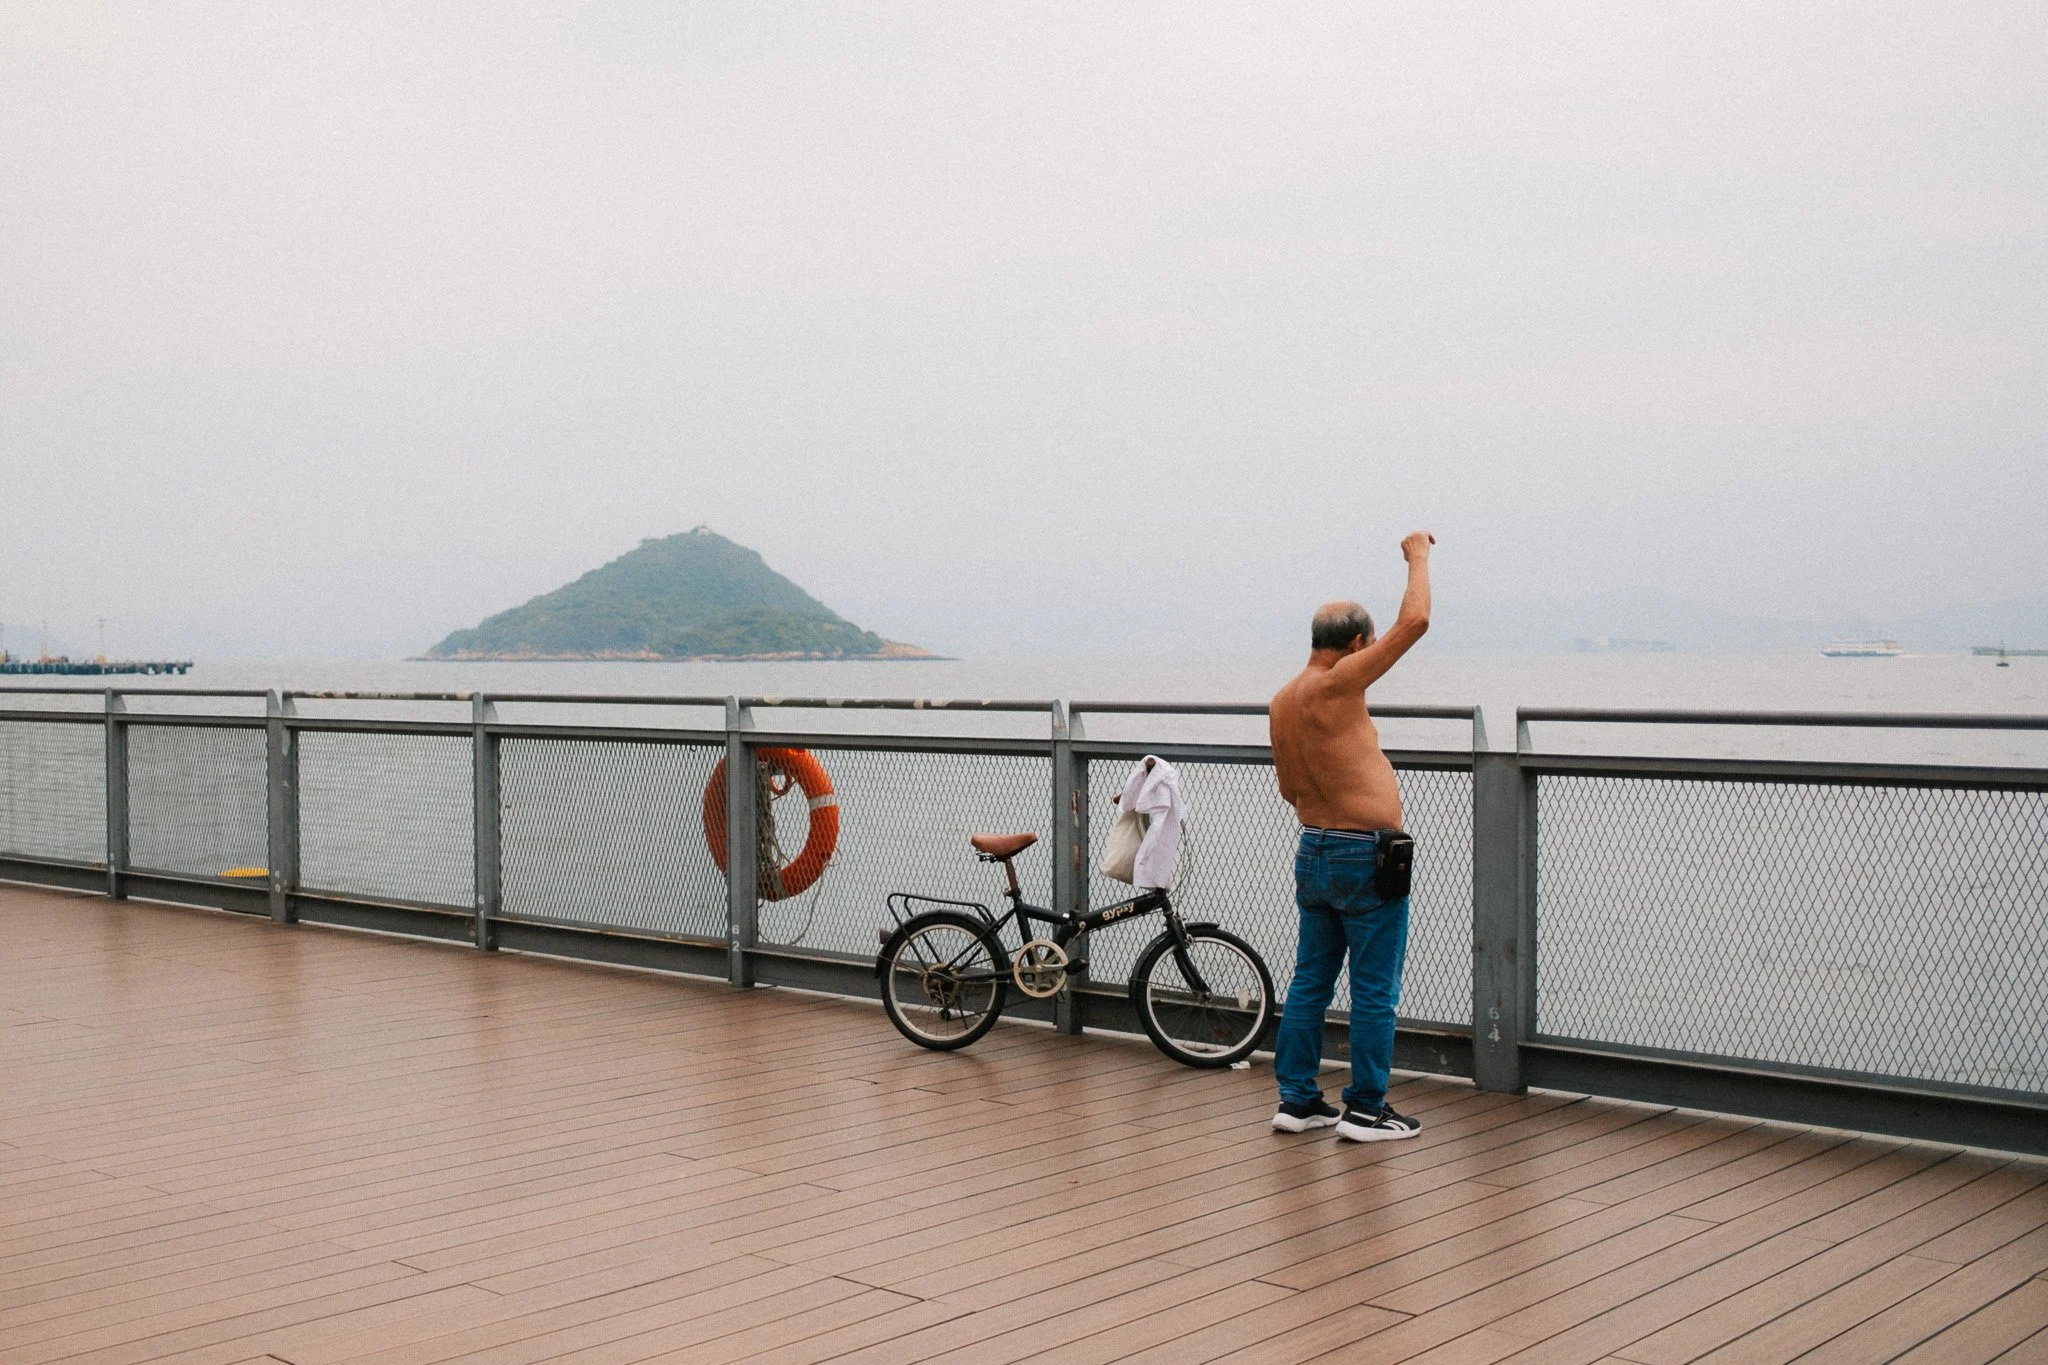
Exploring the Peak
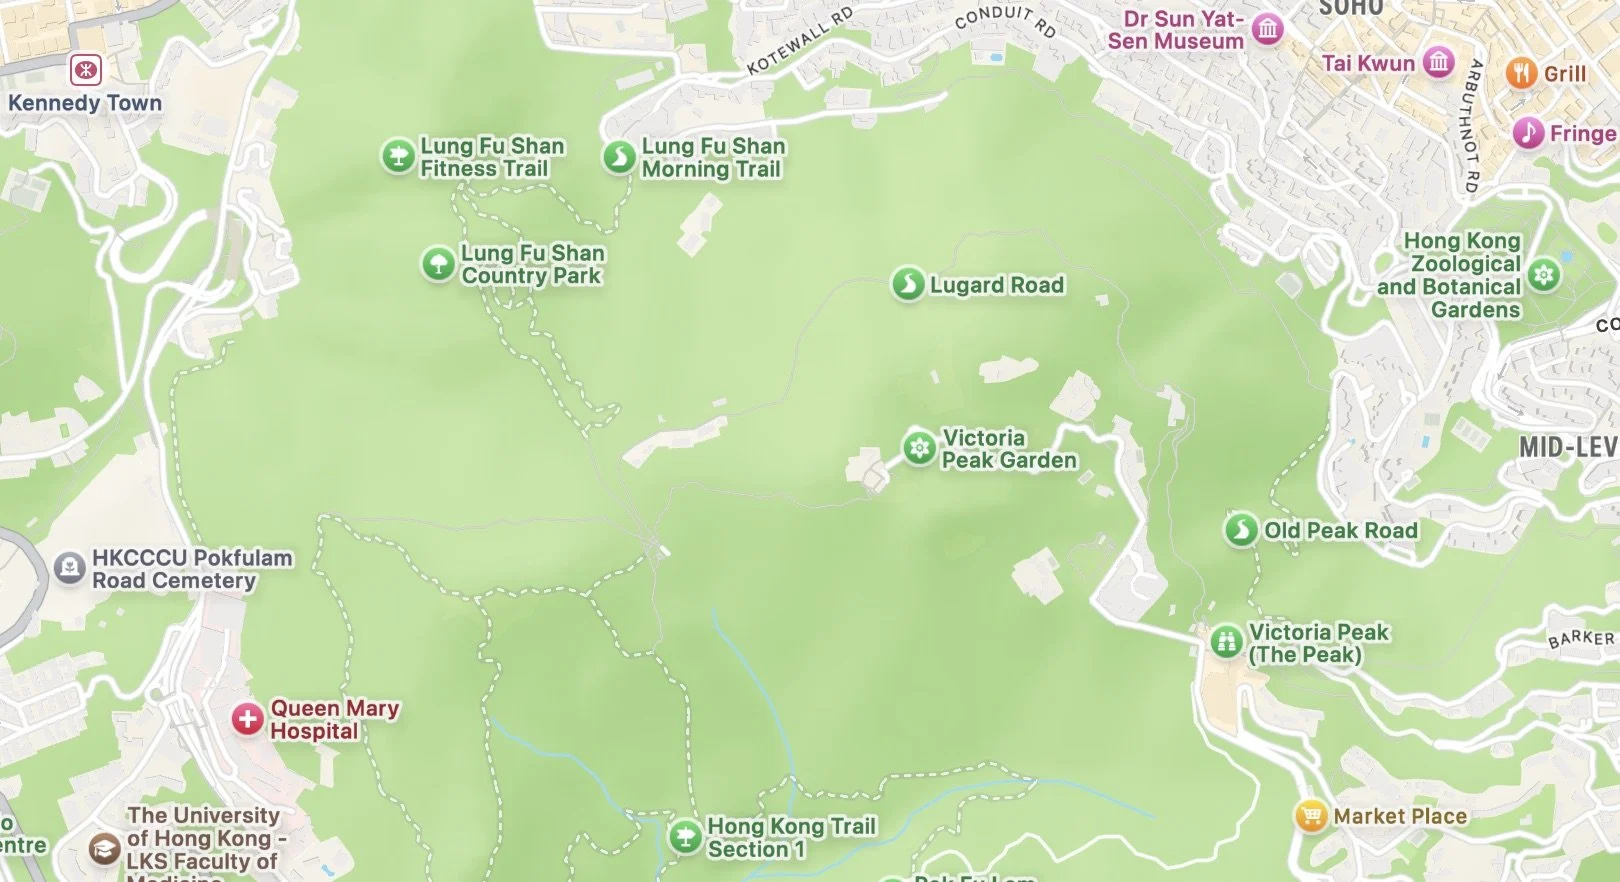
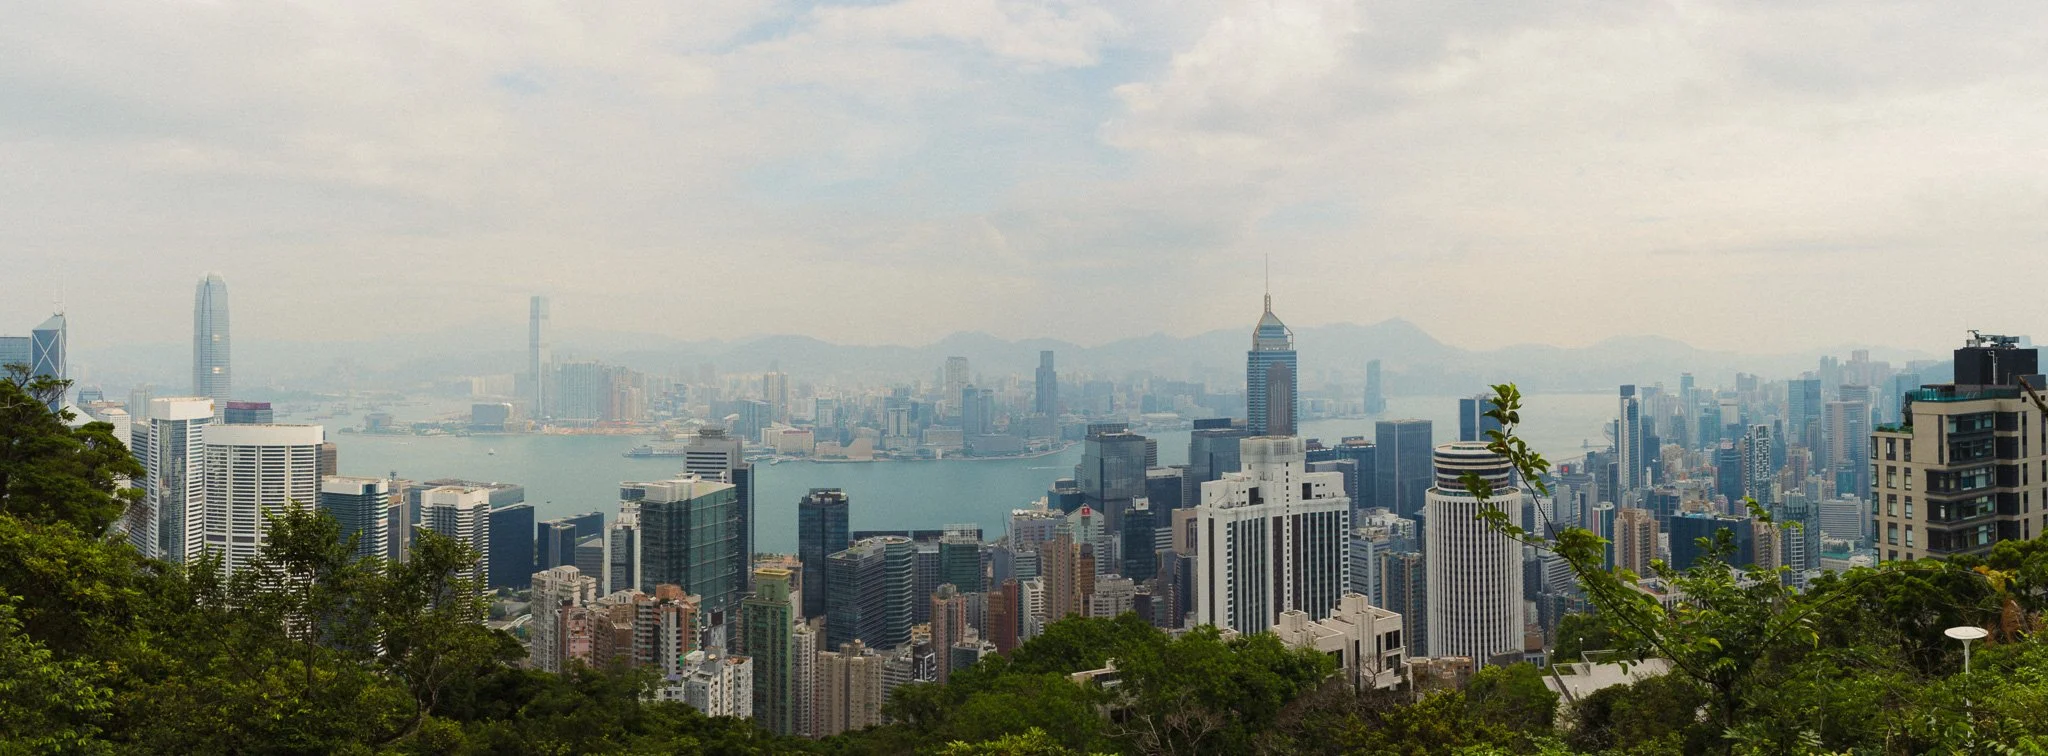
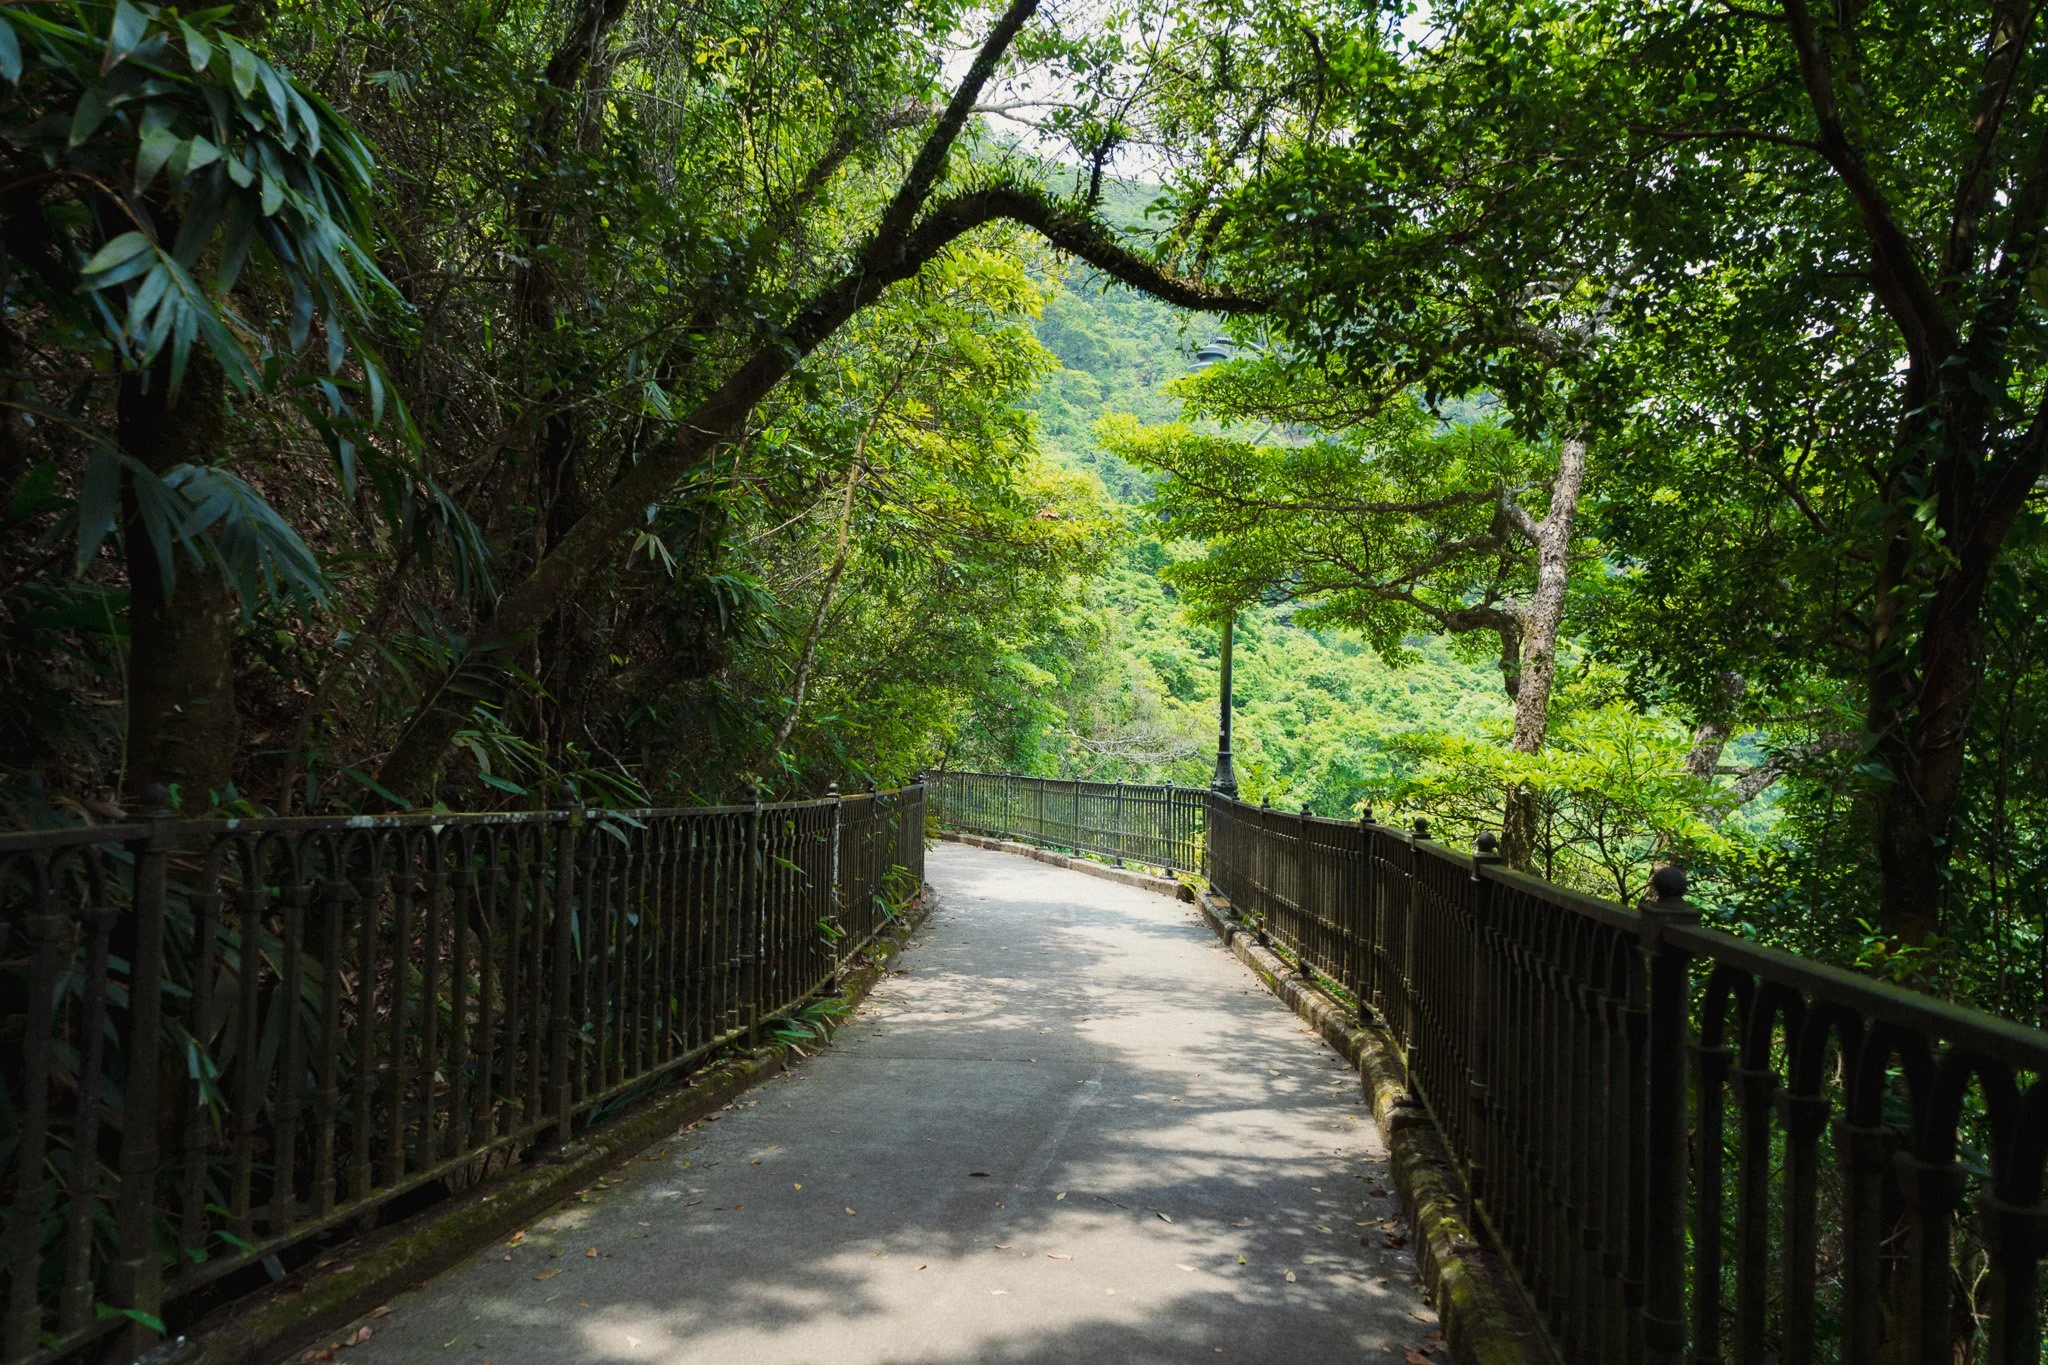
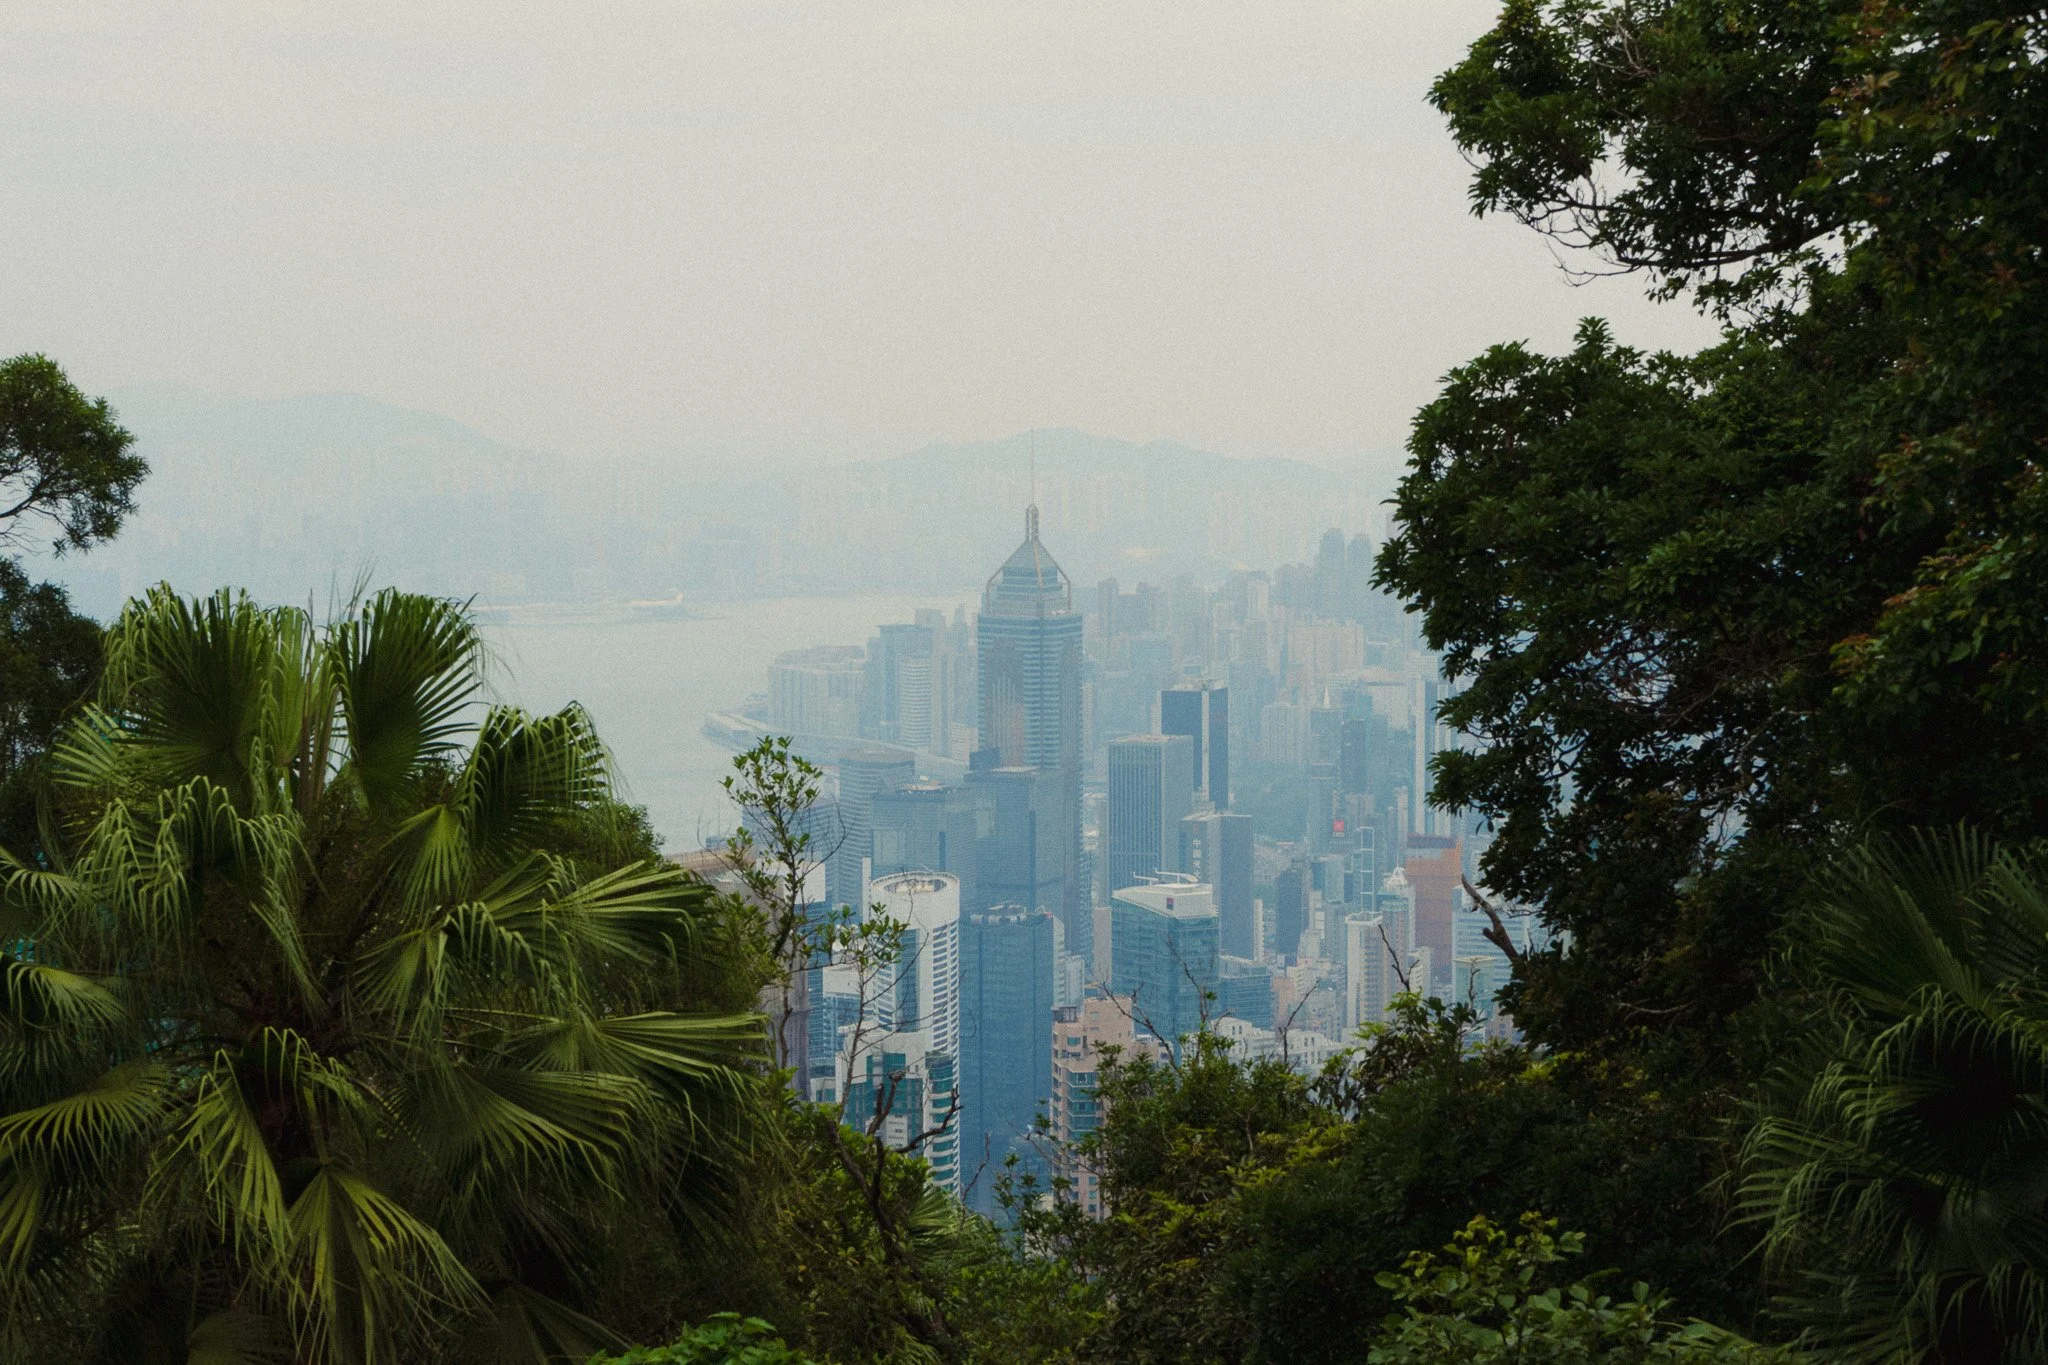
Staying on the island side, I highly suggest exploring Victoria Peak and the surrounding hills. Hong Kong is famous for cityscapes, and this is where you get those timeless shots. My favourite spot is Lugard Road which has the best views in my opinion. While the climb is steep, everything is well paved and it feels like a walk in the park rather than a hike.
Victoria Harbour sunset
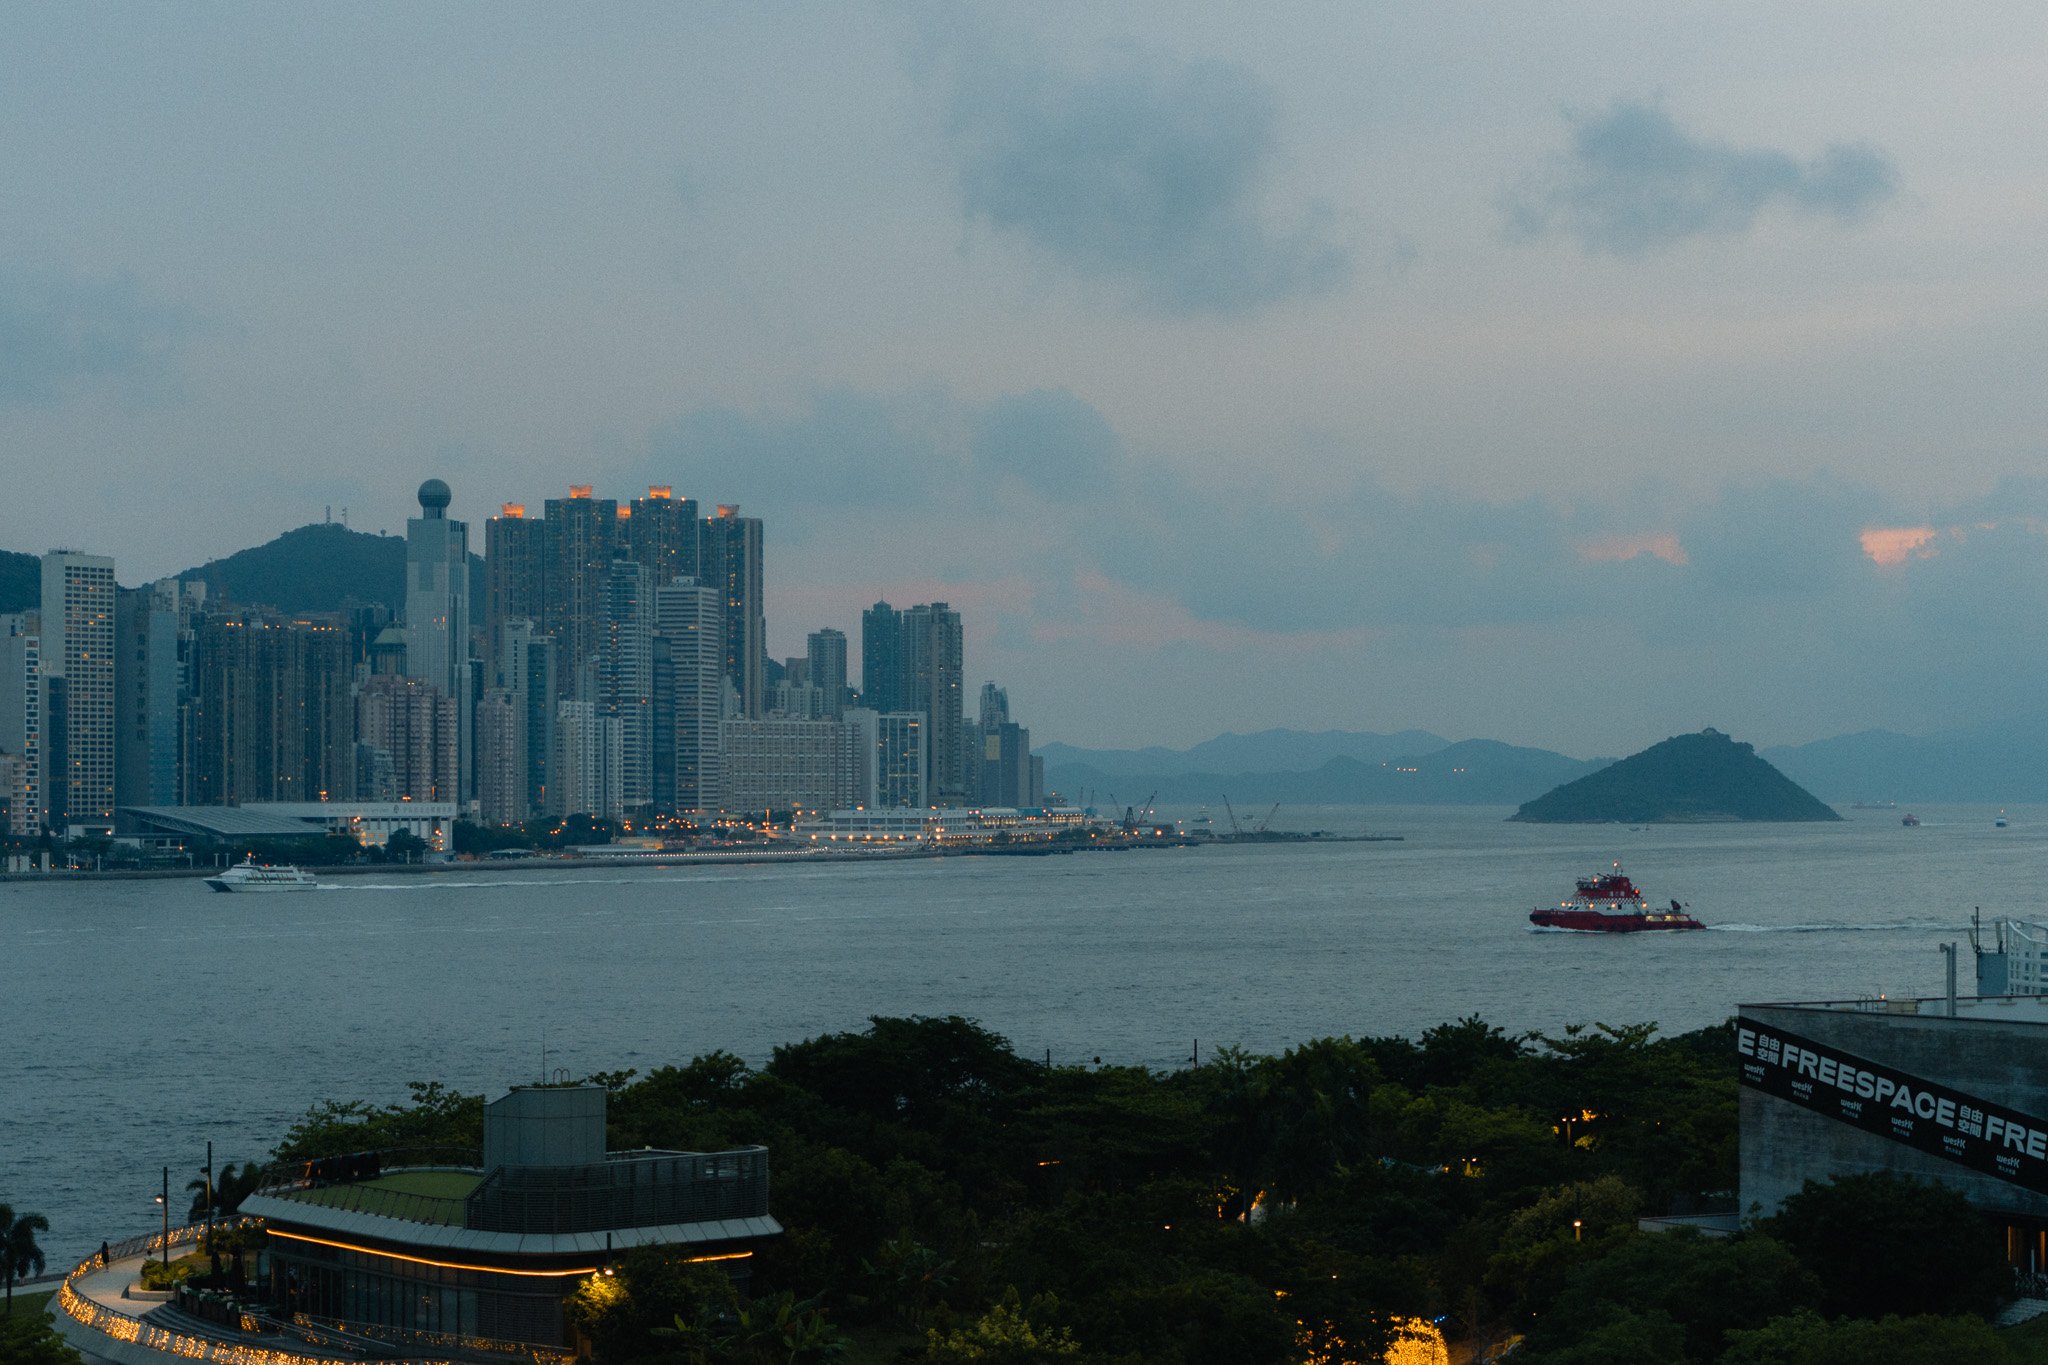
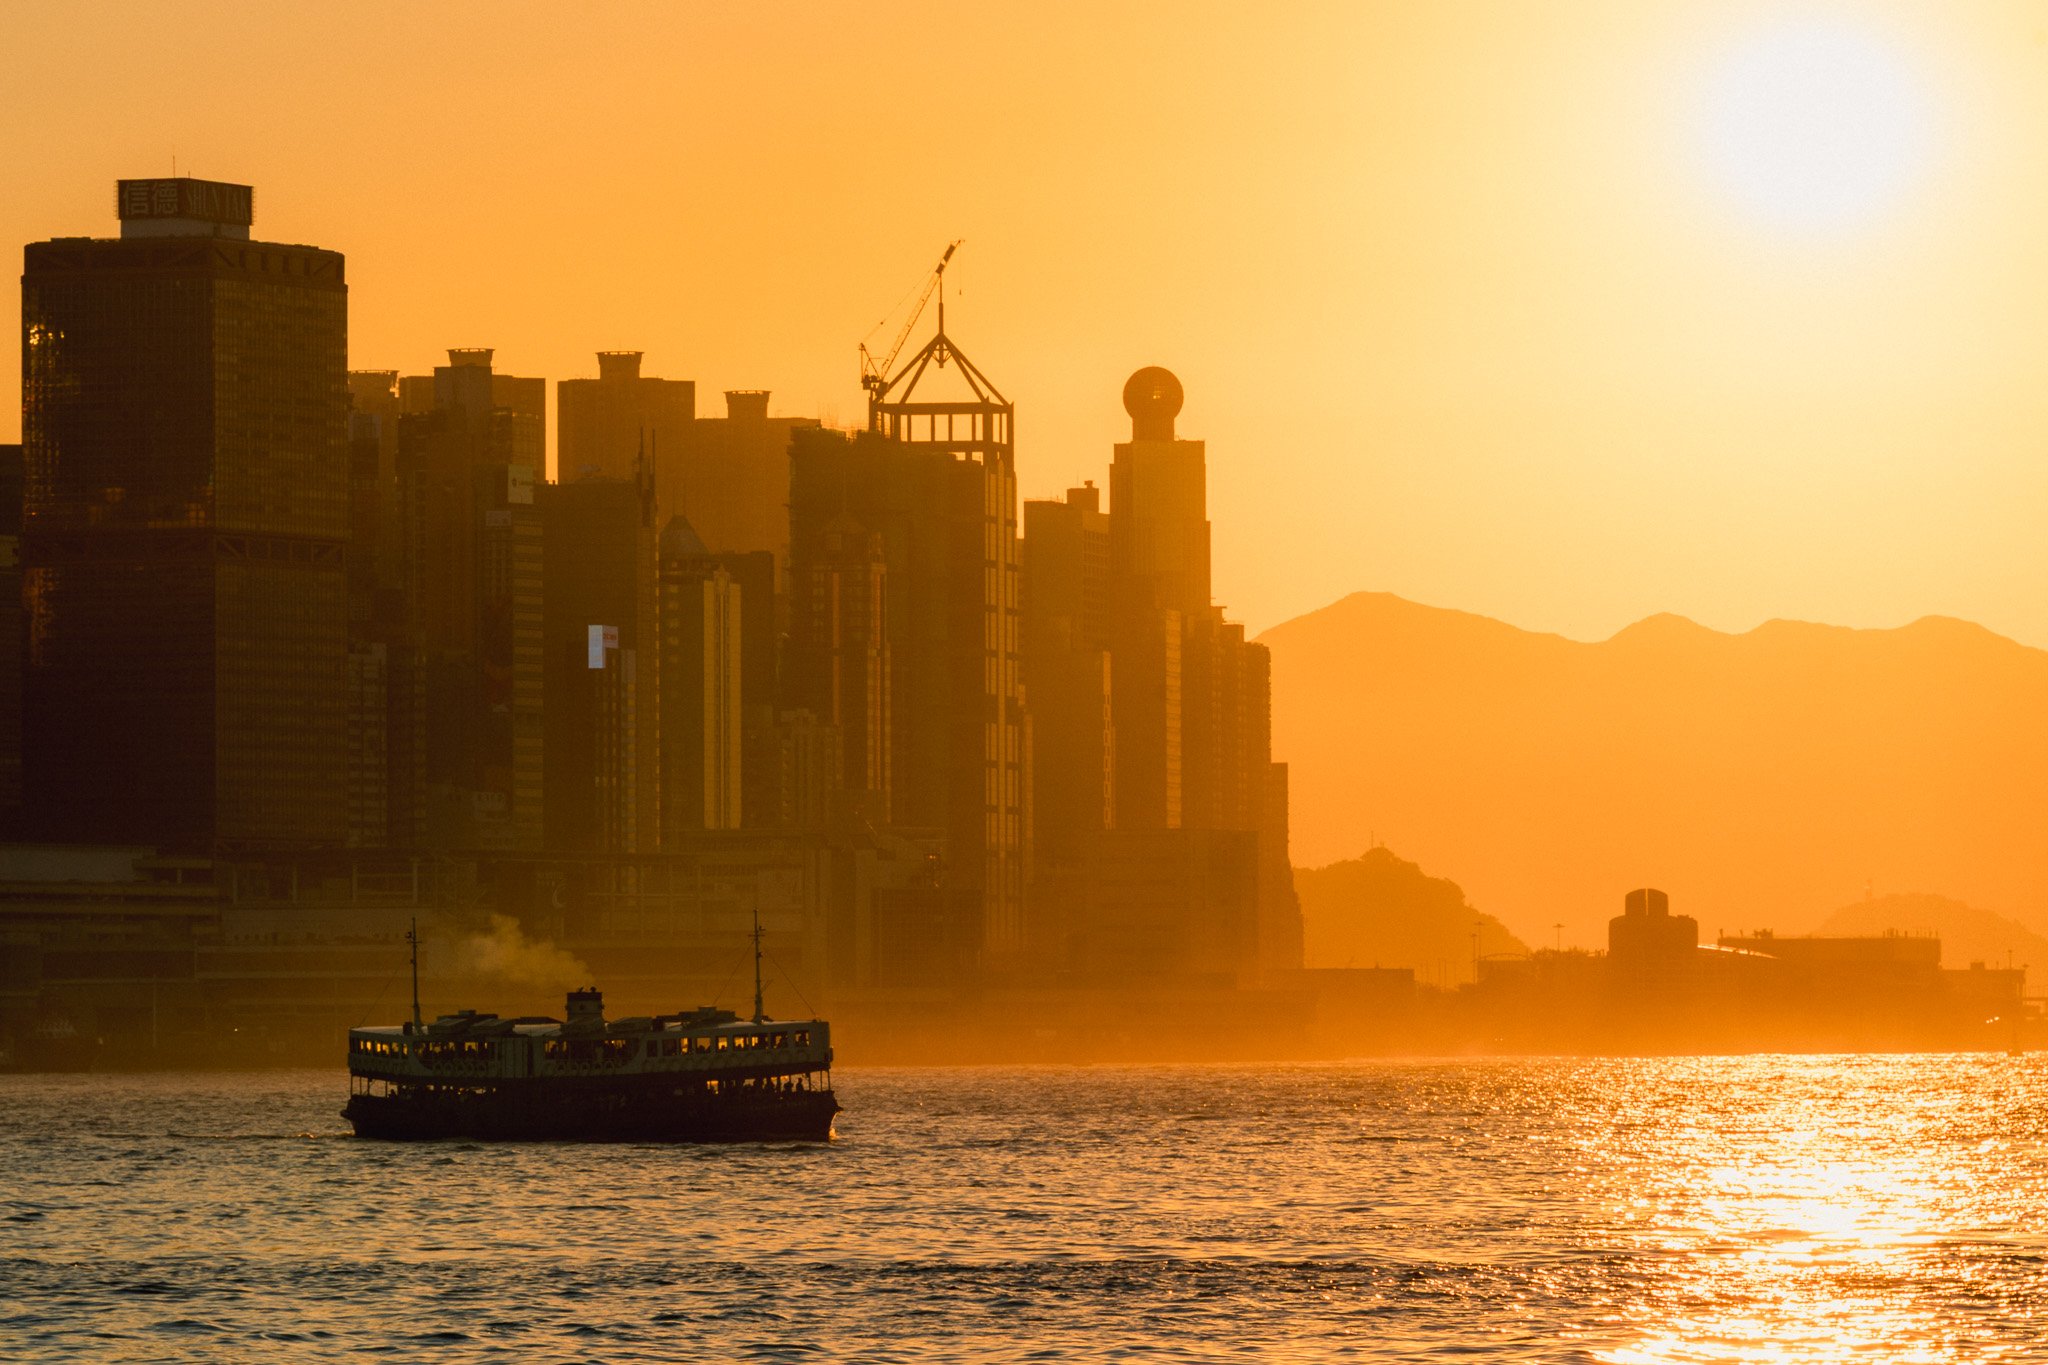
This is one of the few spots I will go to just to get a shot. The sunset from Victoria Harbour is amazing.
Victoria Harbour to Mong Kok walk
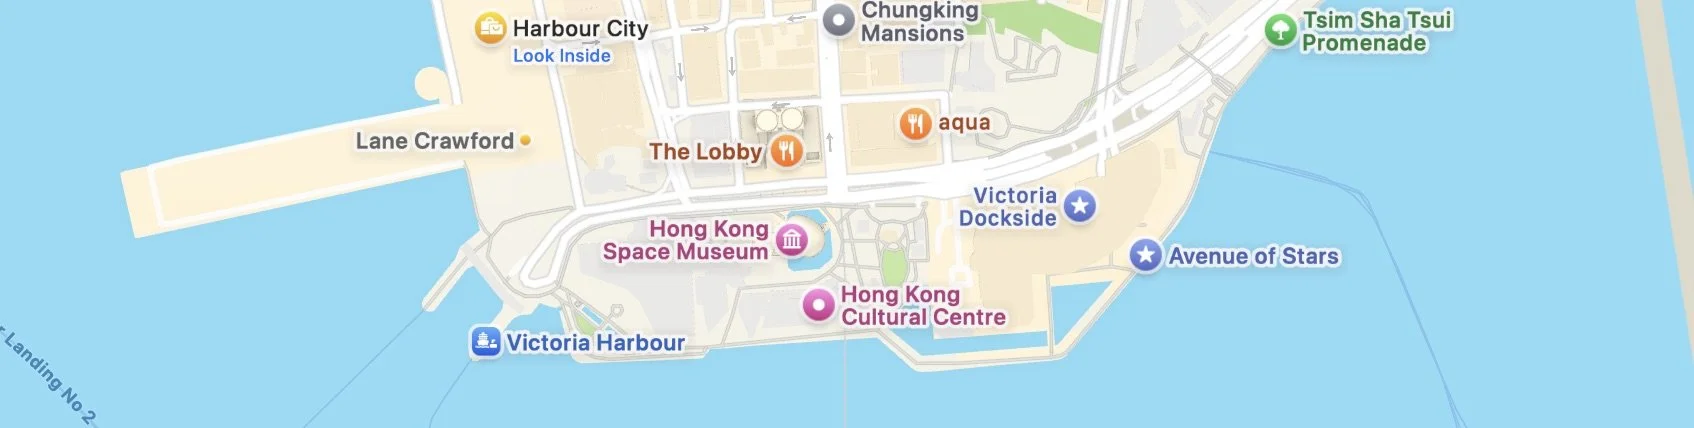
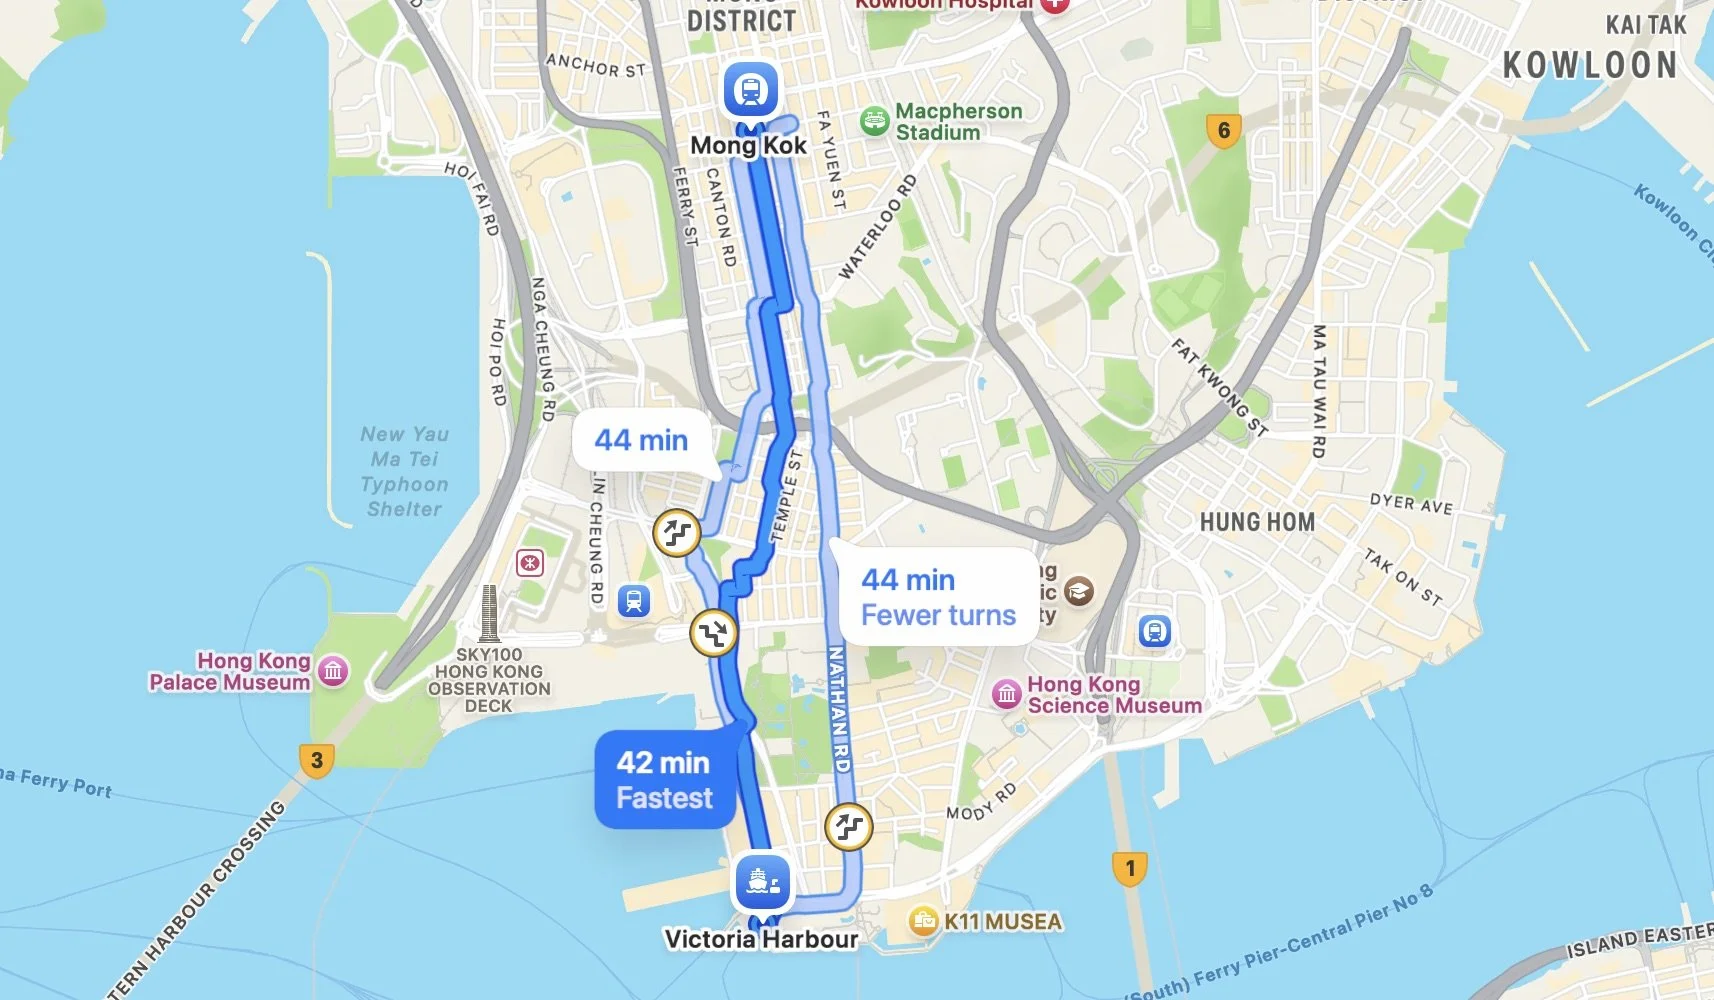
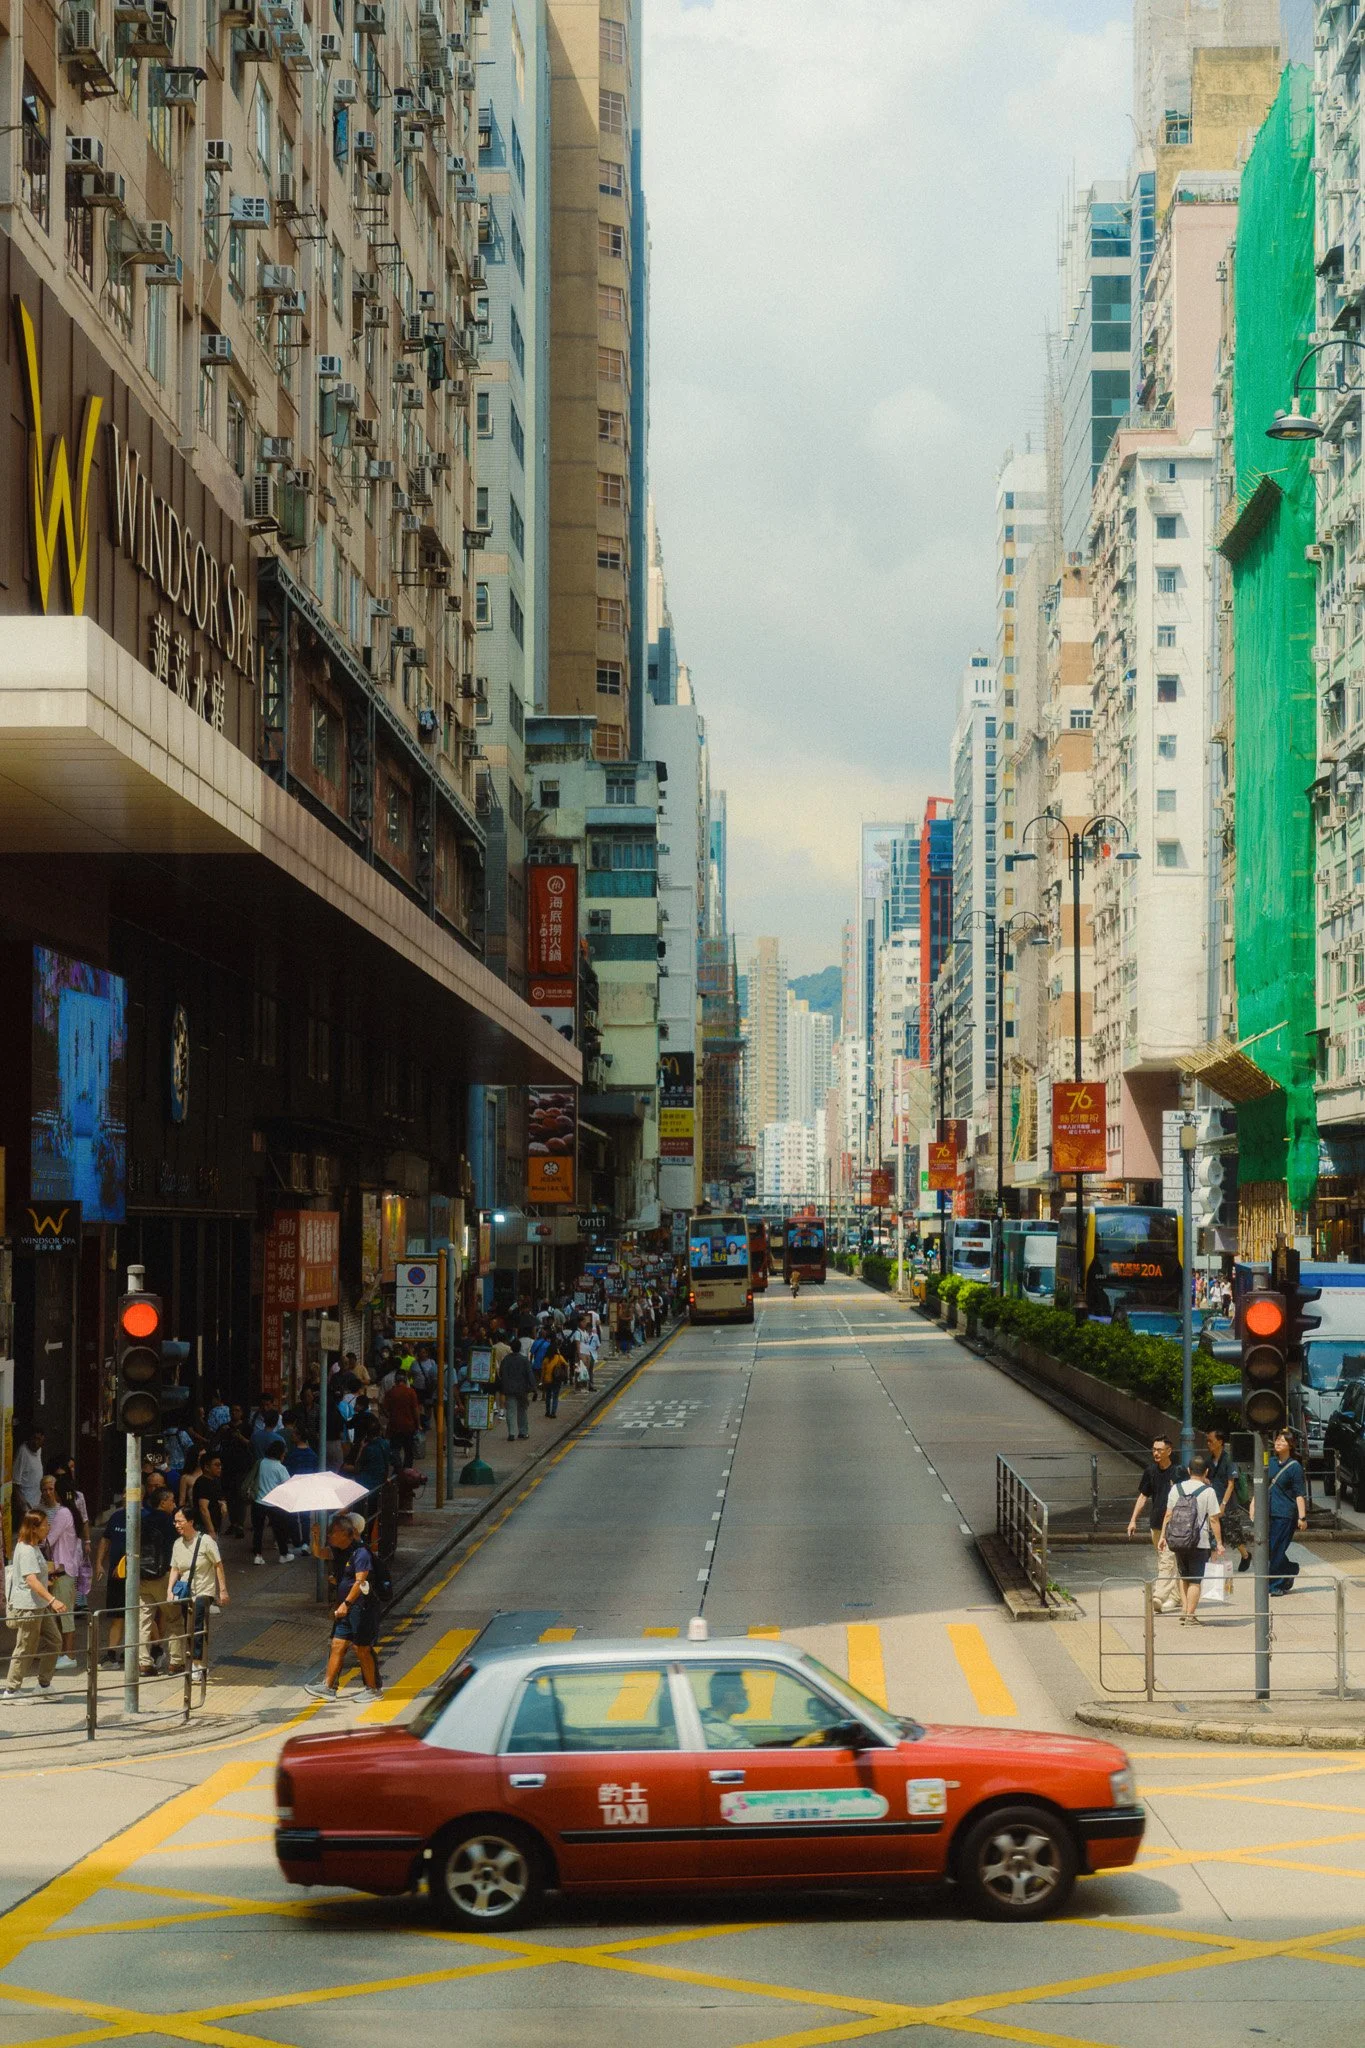
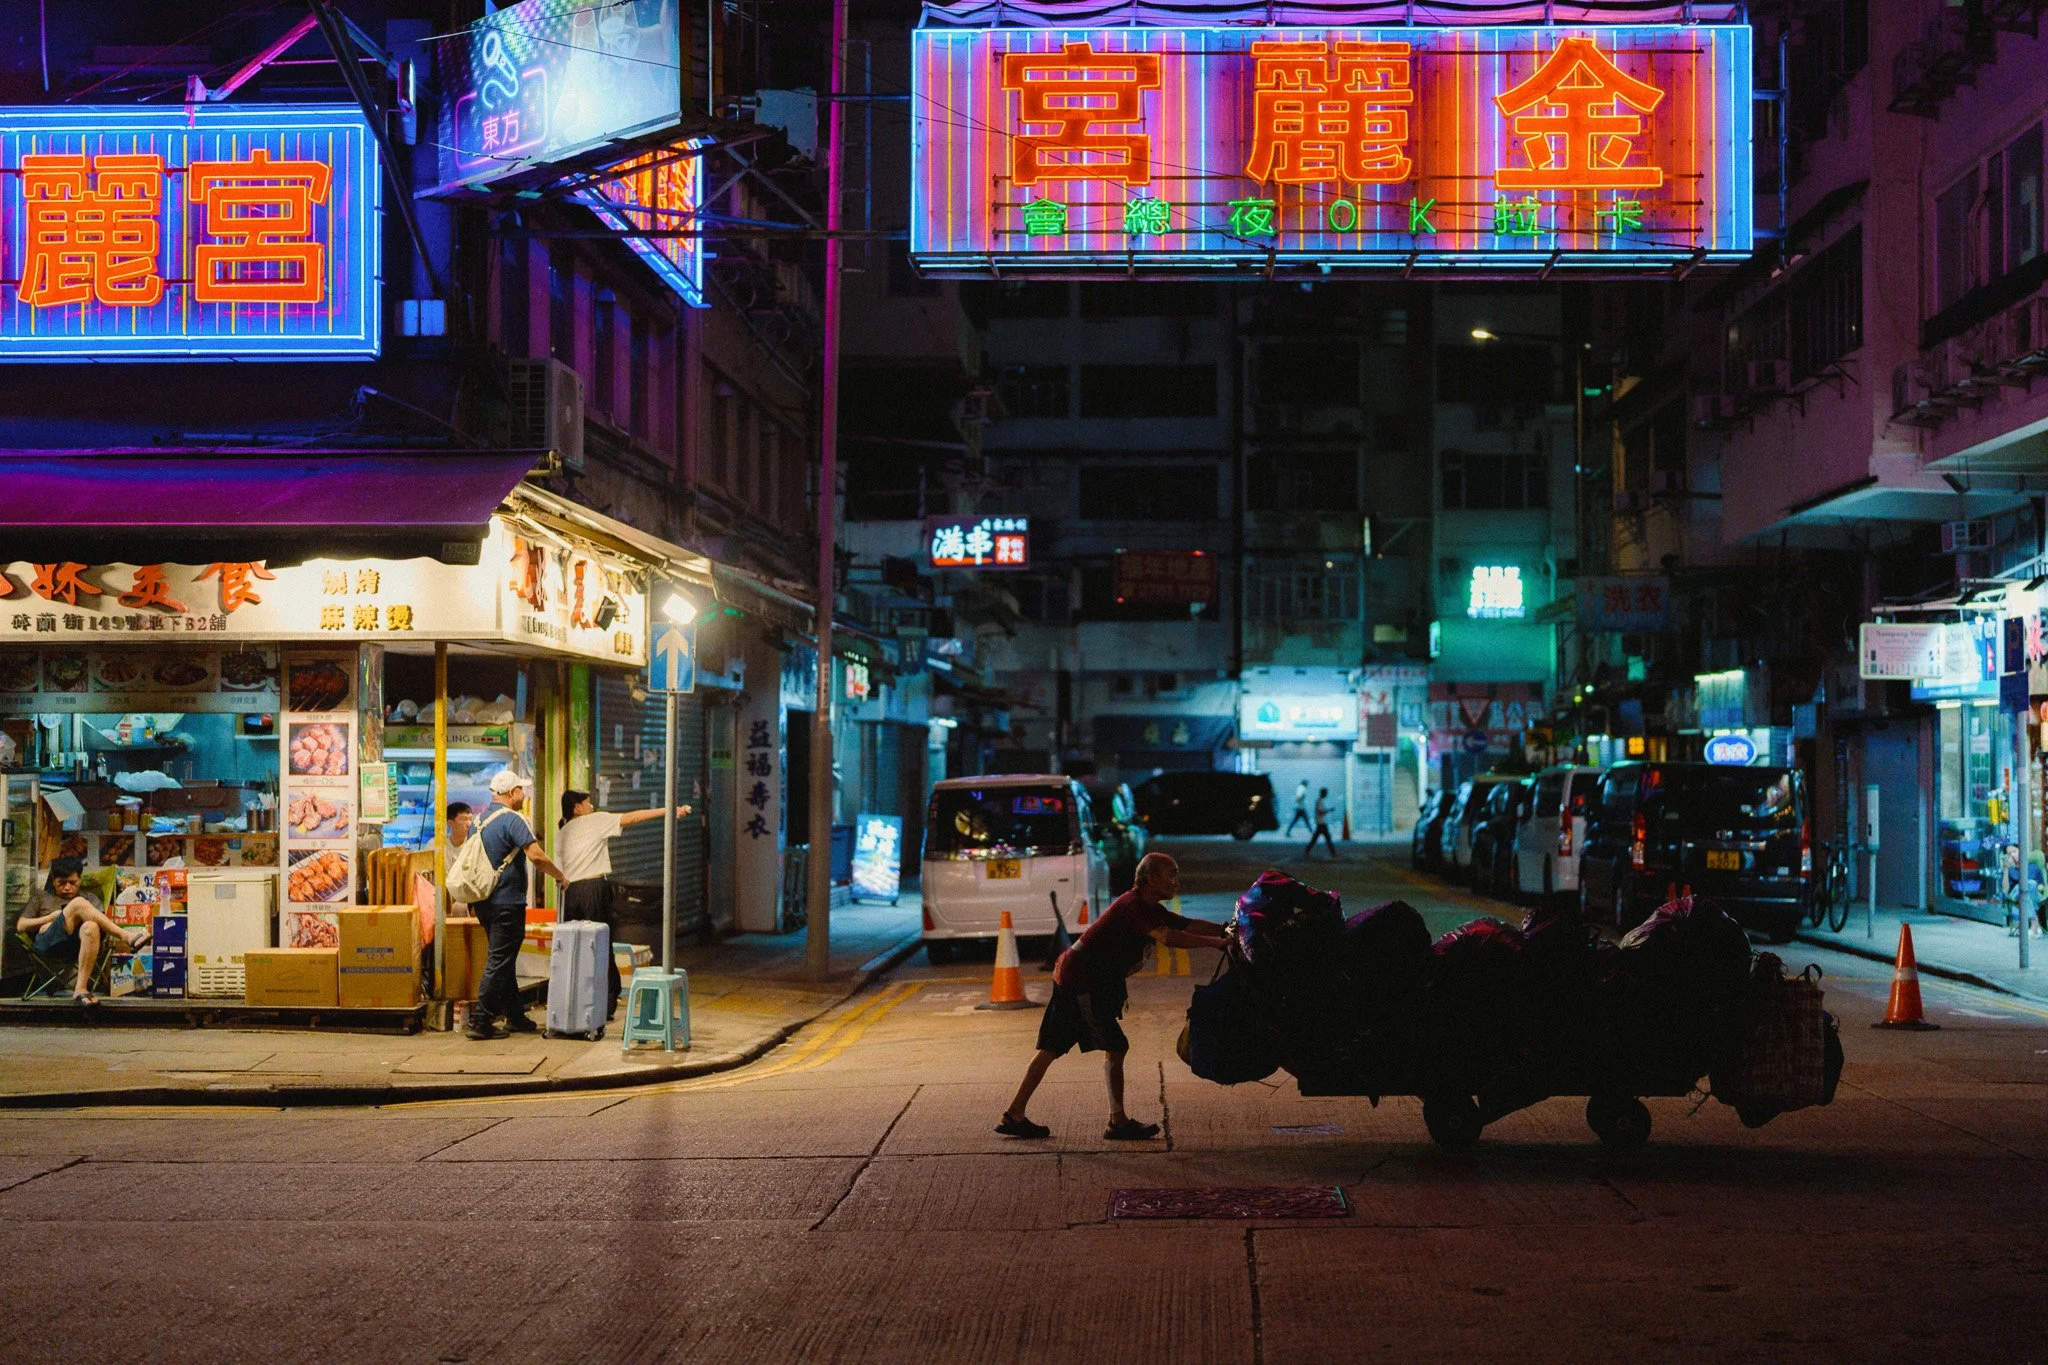
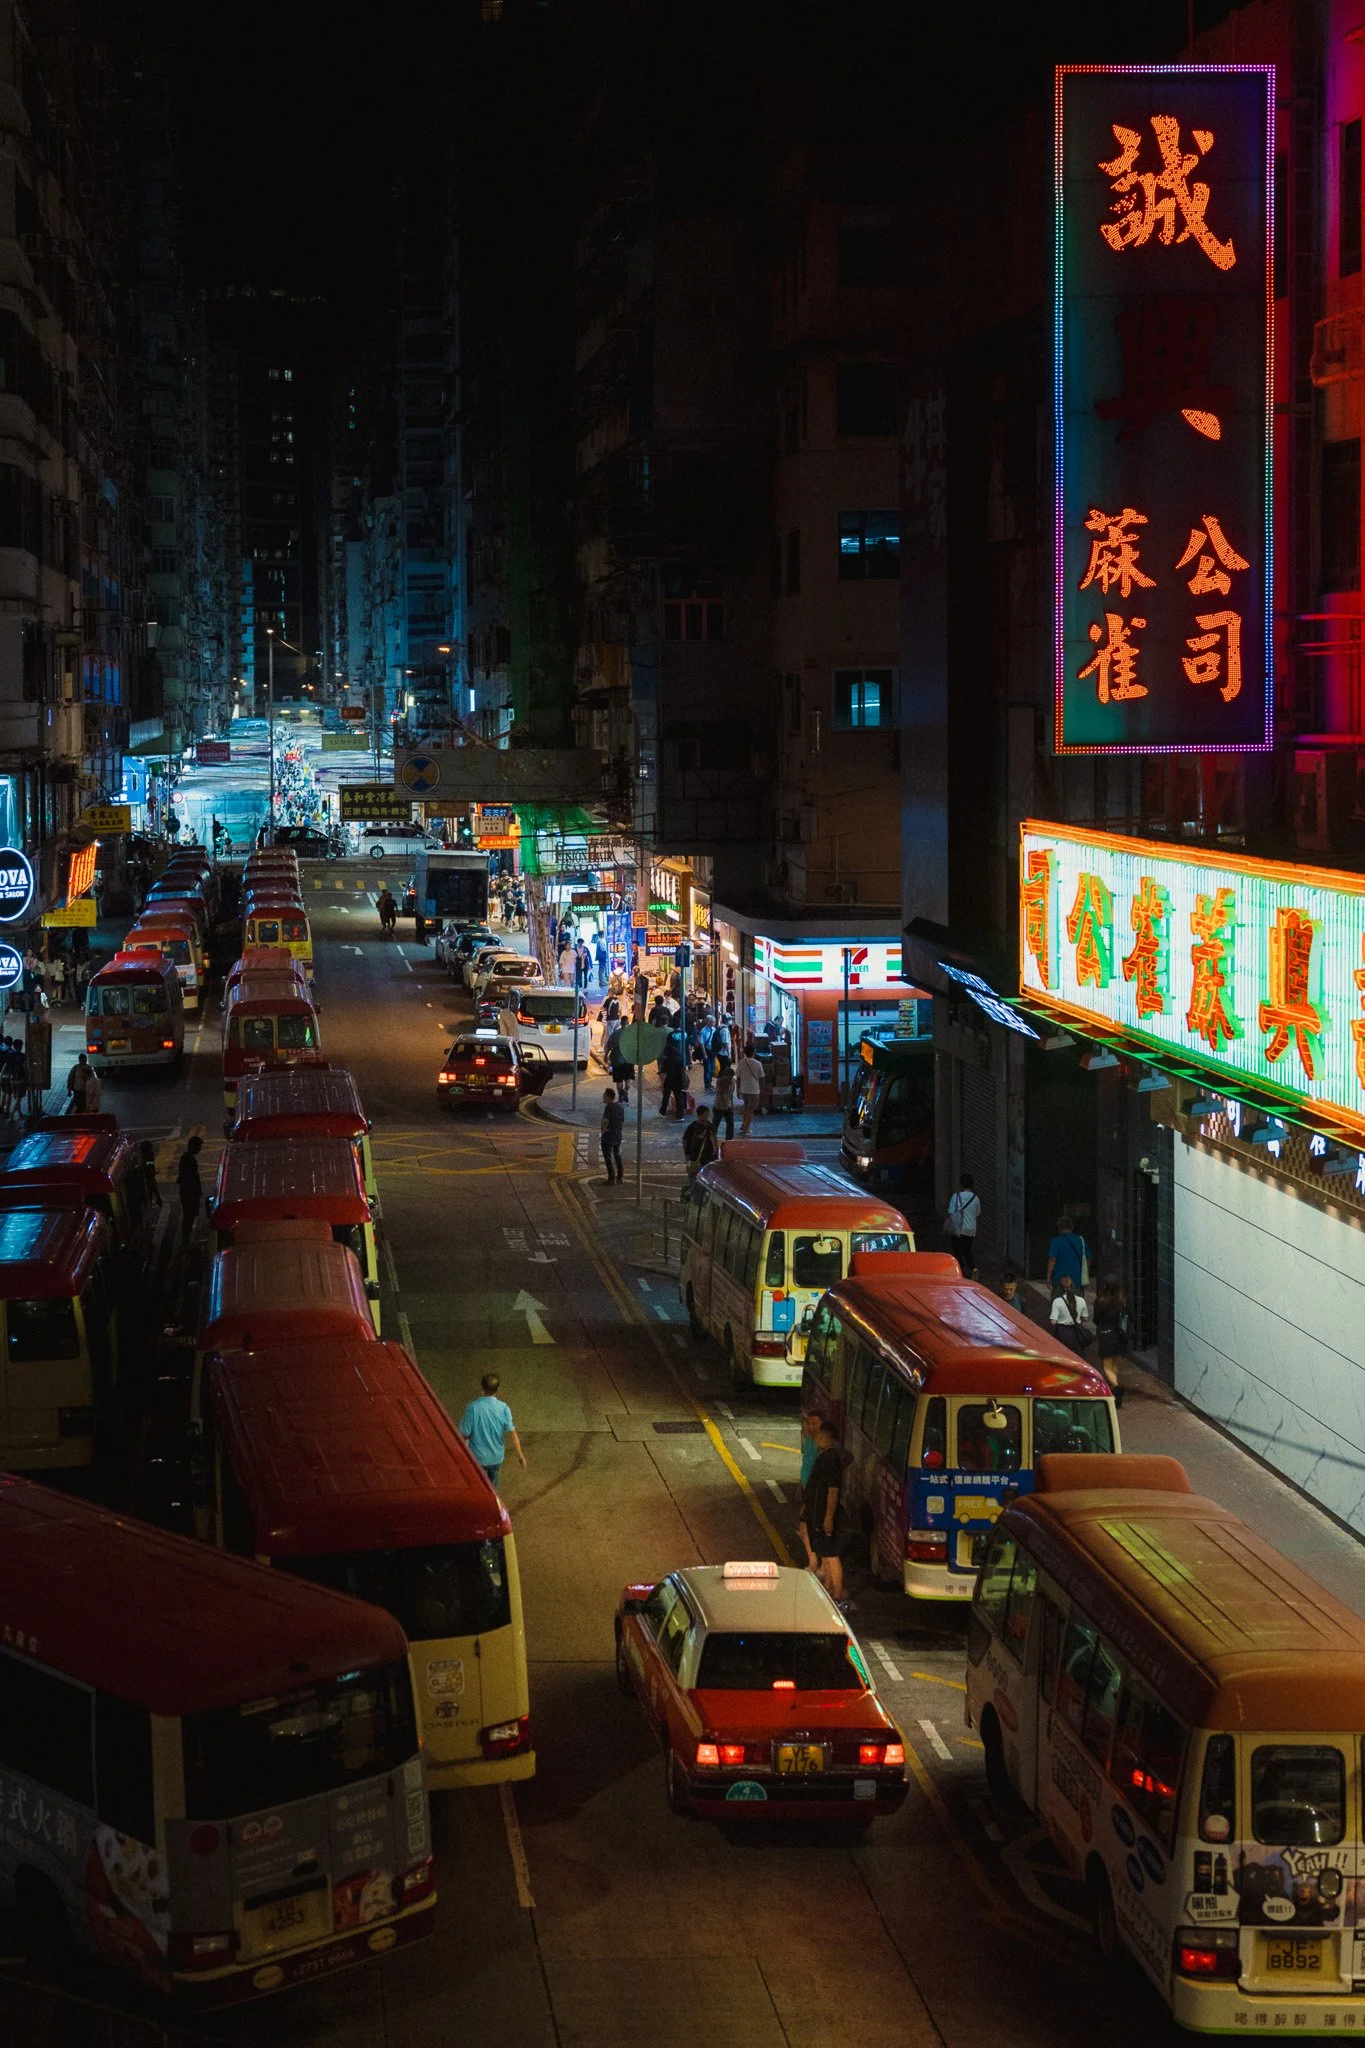
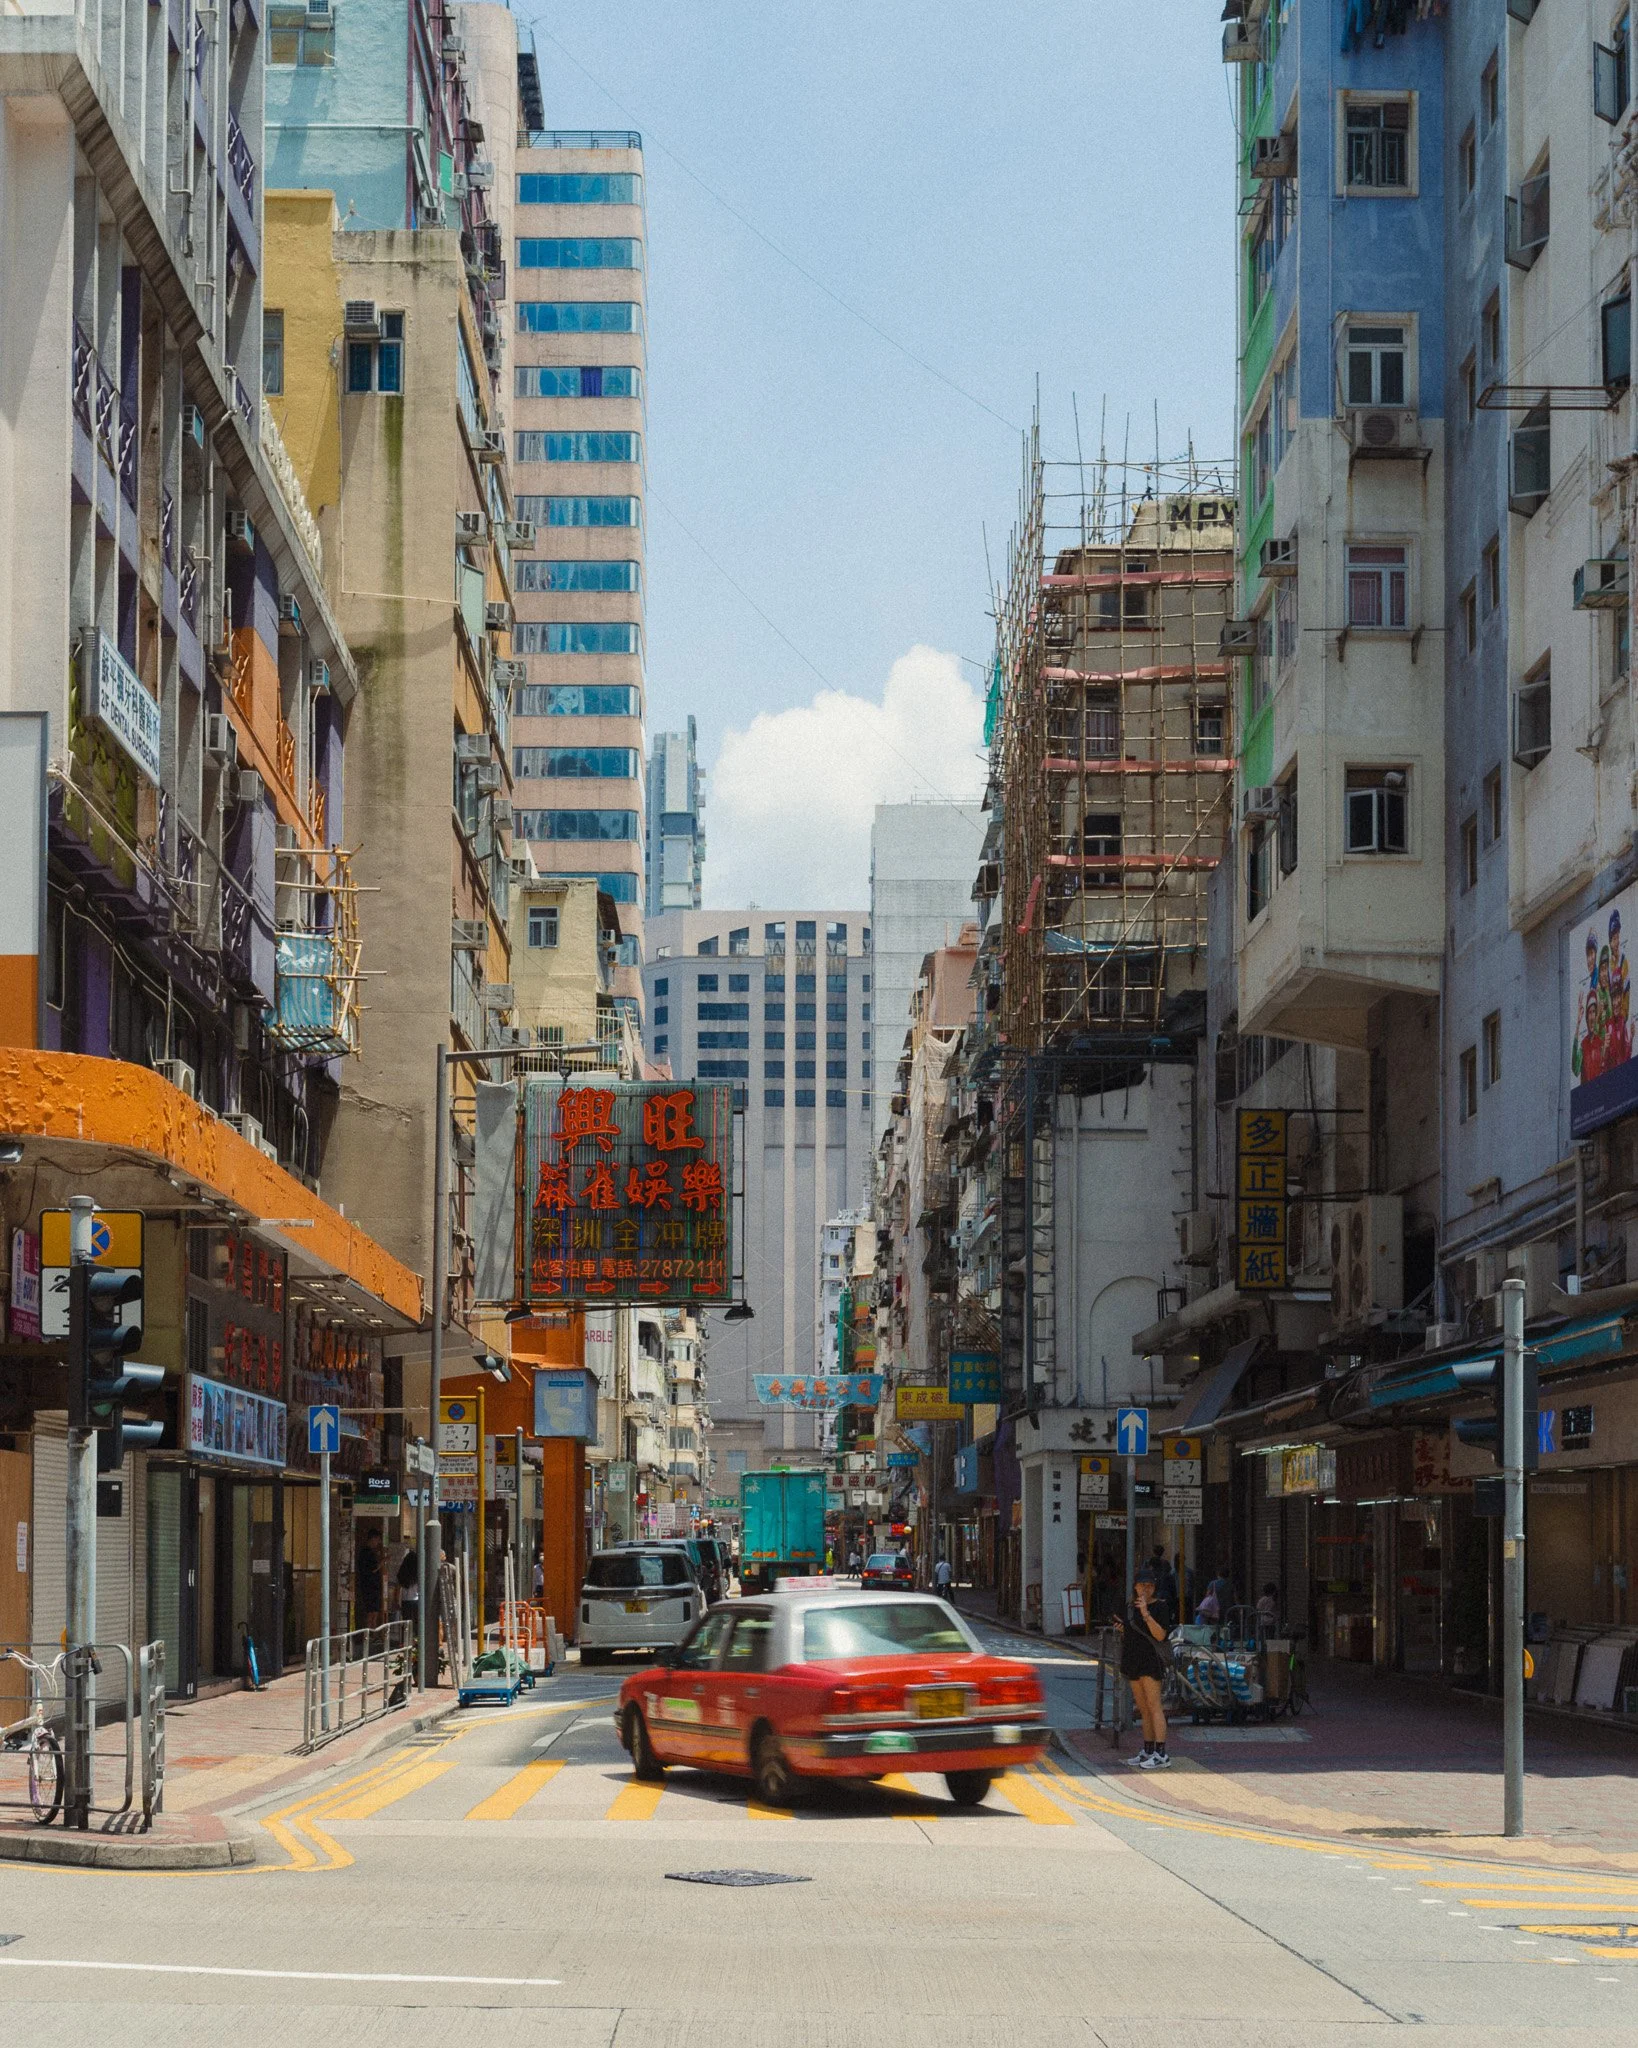
If you want to see a more traditional and old Hong Kong, head over to the Kowloon side. Start in Victoria Harbour and slowly make your way up to Mong Kok. Take the same approach as before and zig zag around the little streets. You will notice a distinct difference in the neighbourhoods compared to the Island side.
Star Ferry
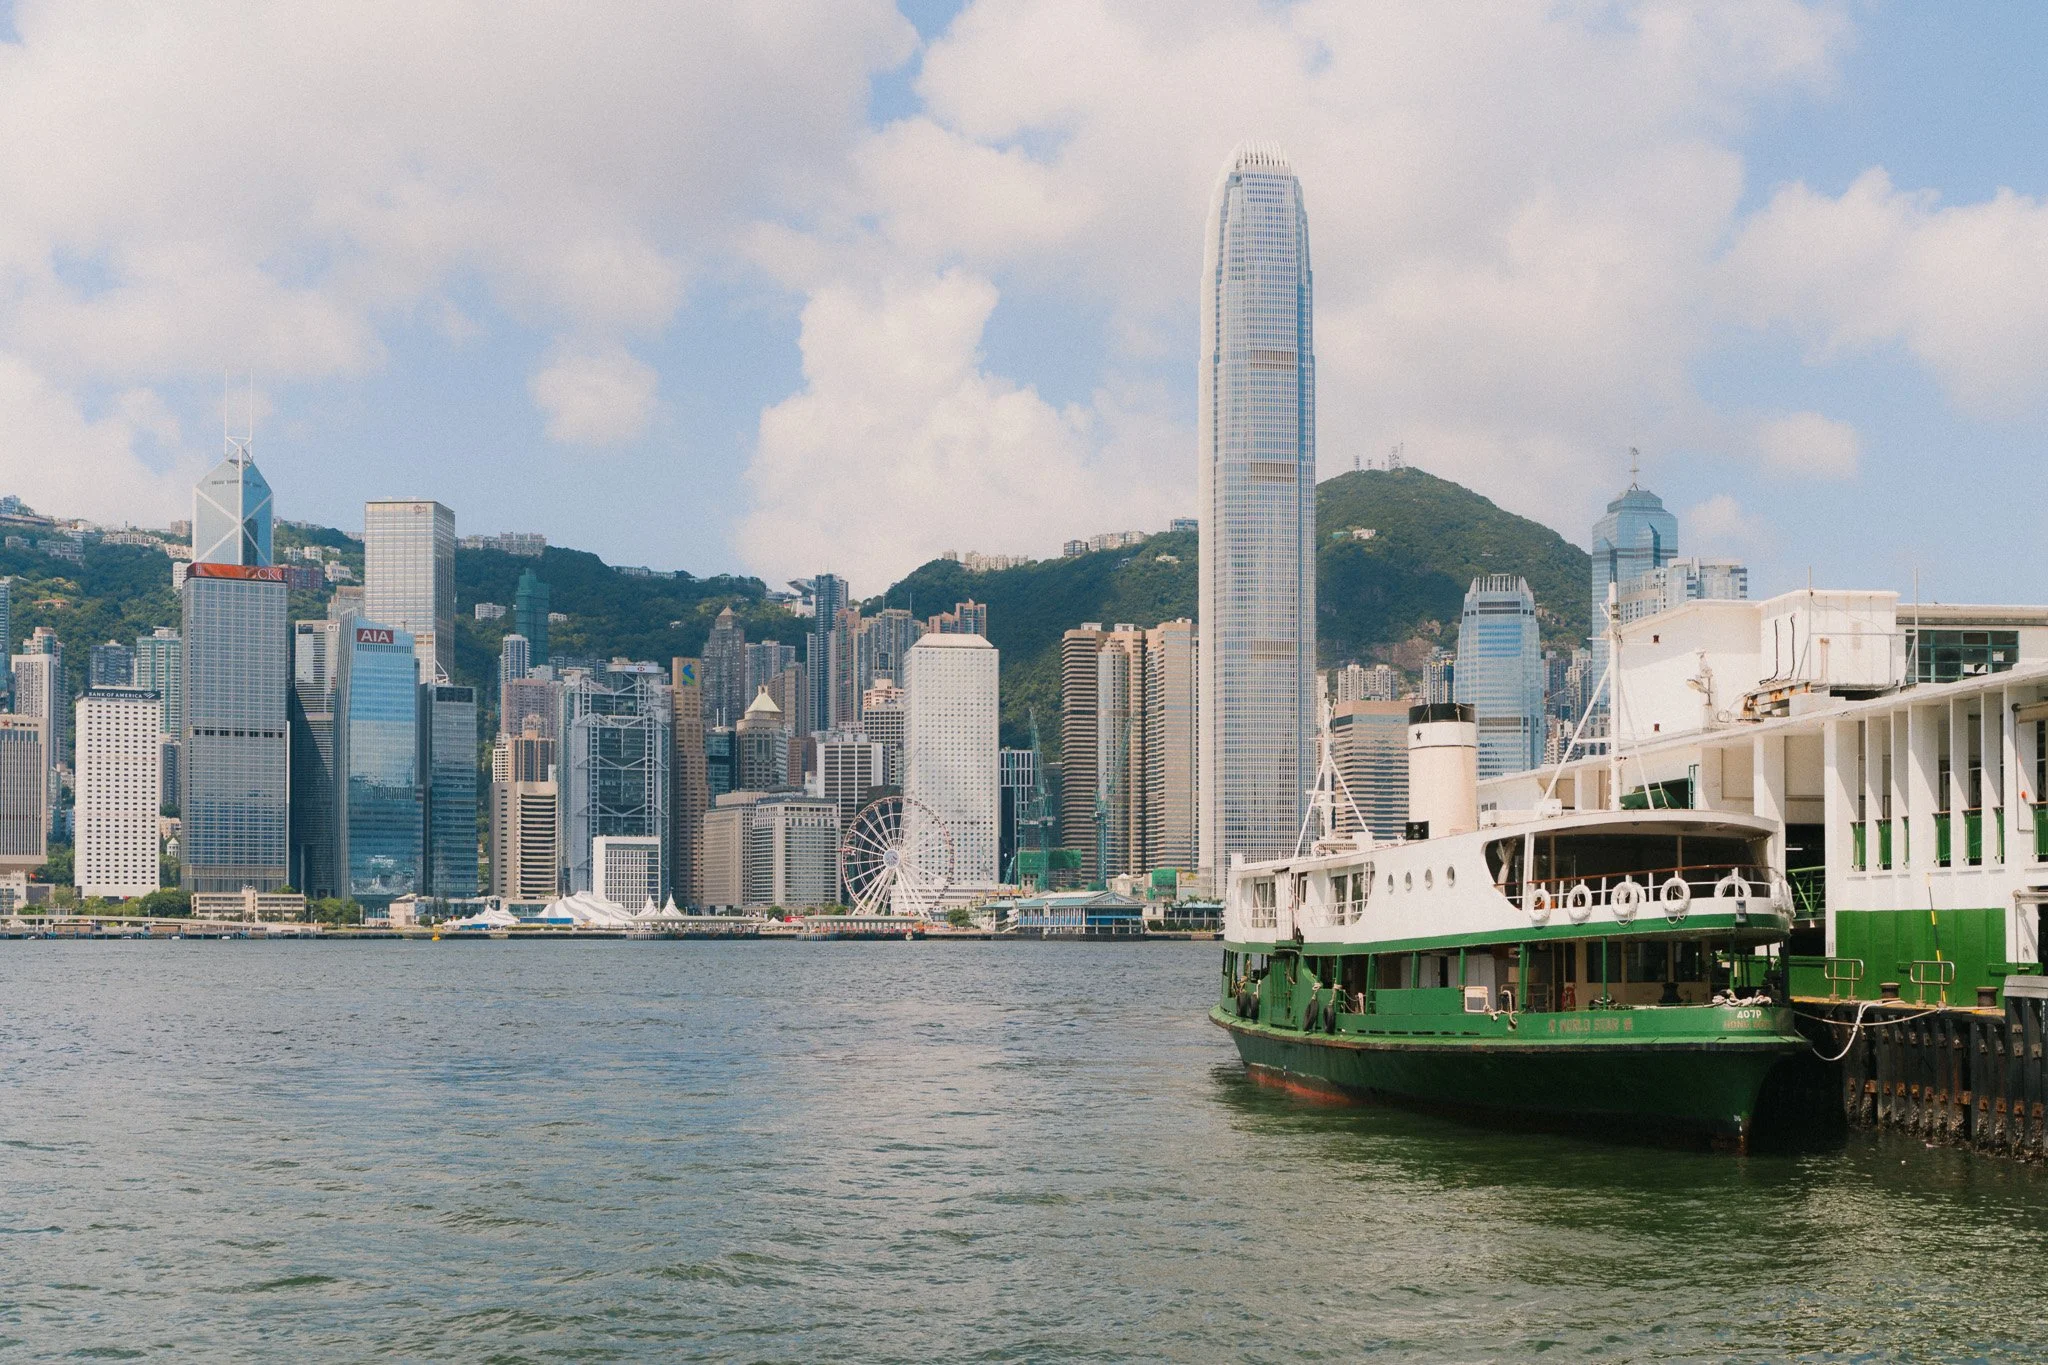
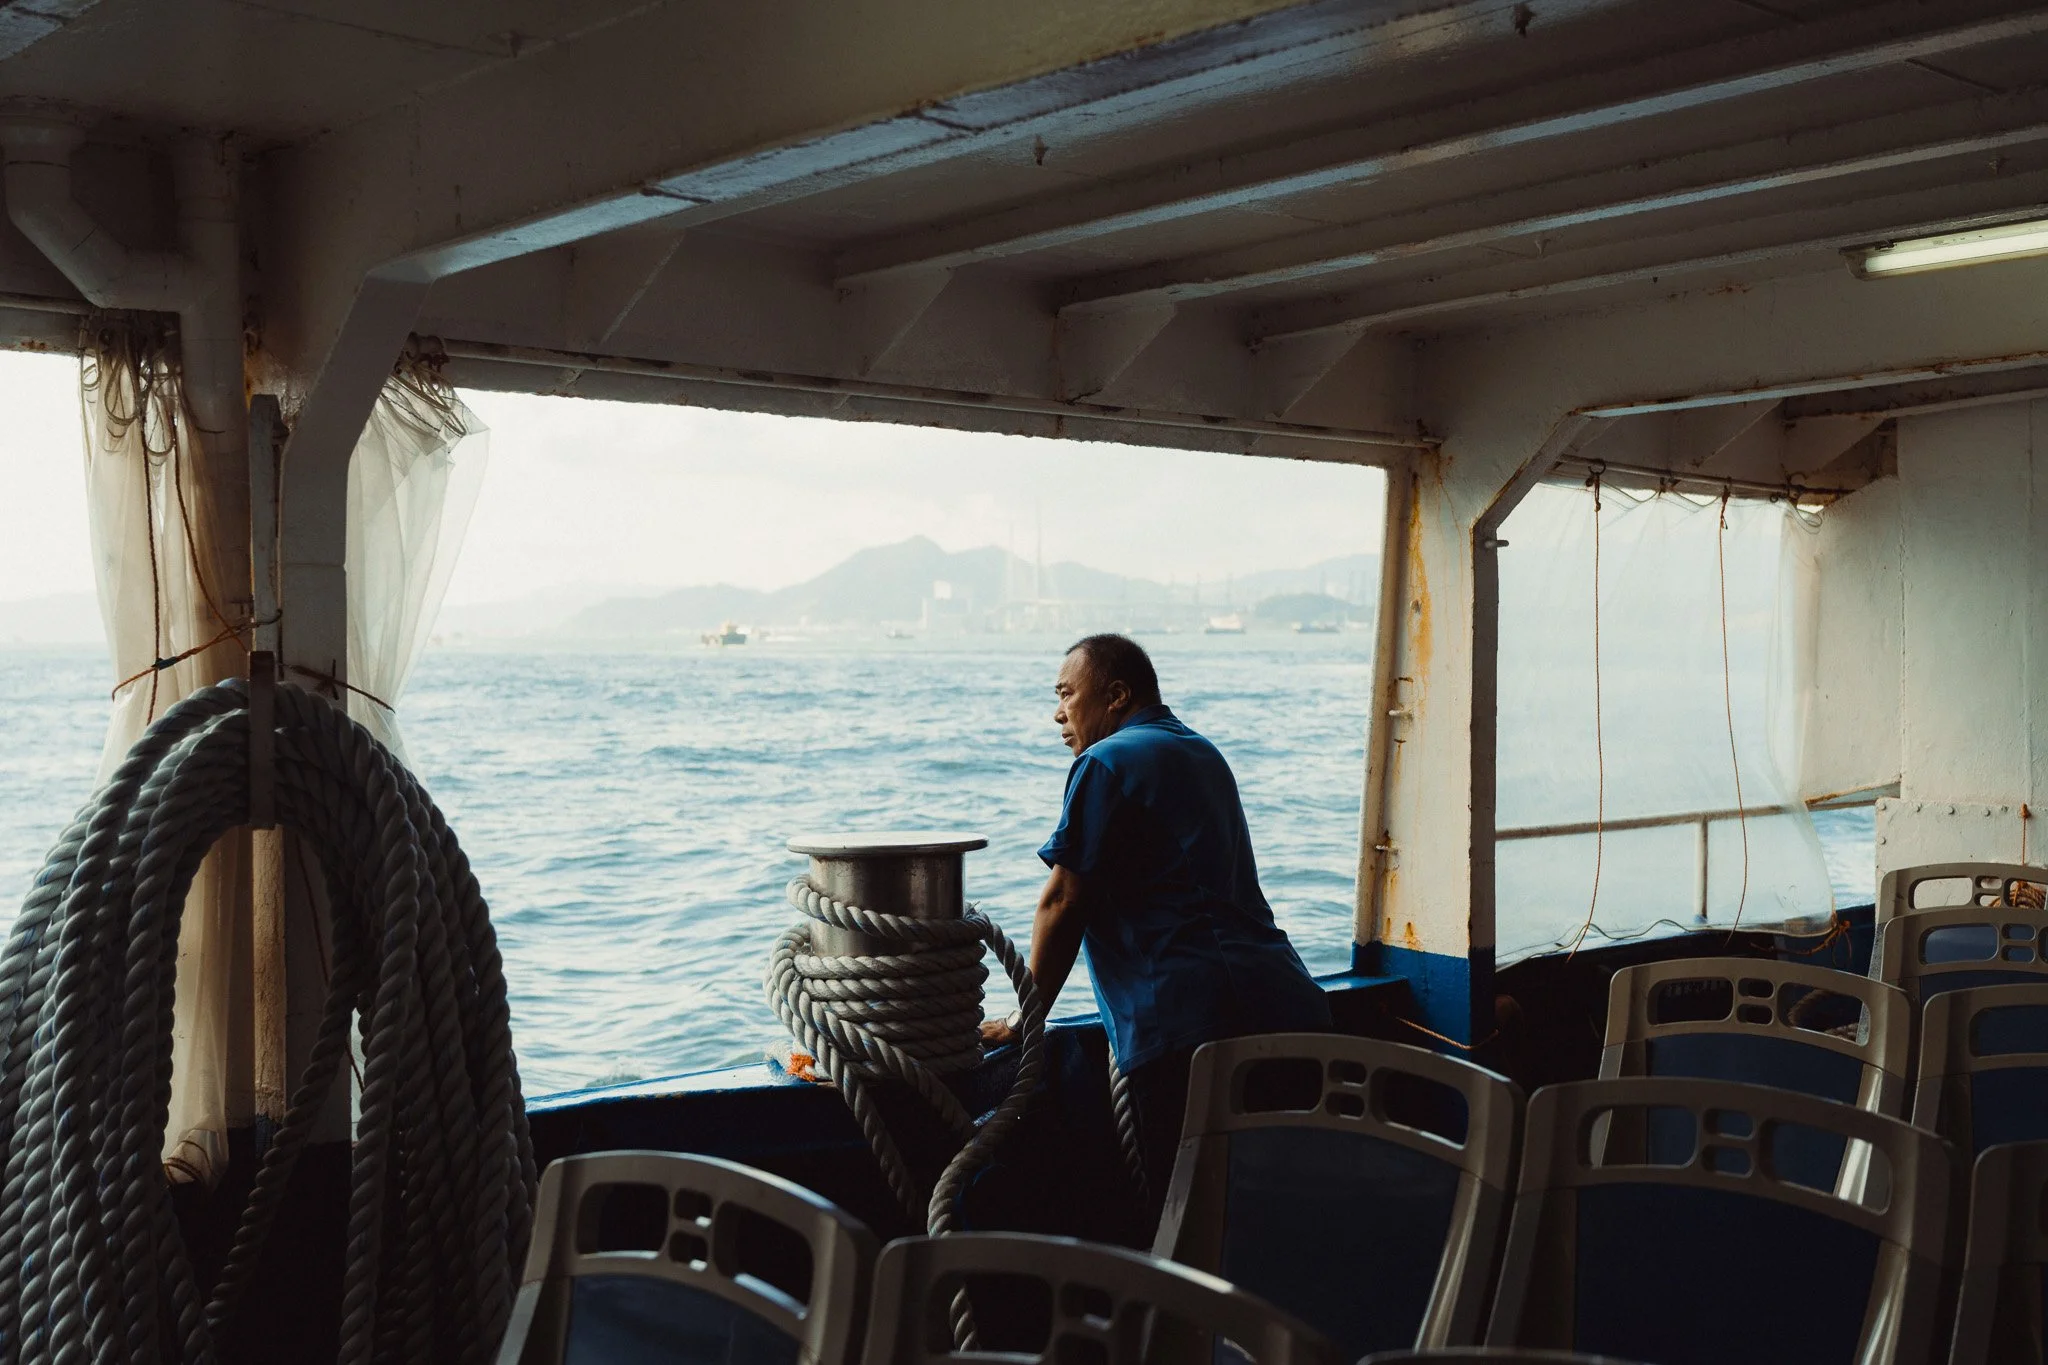
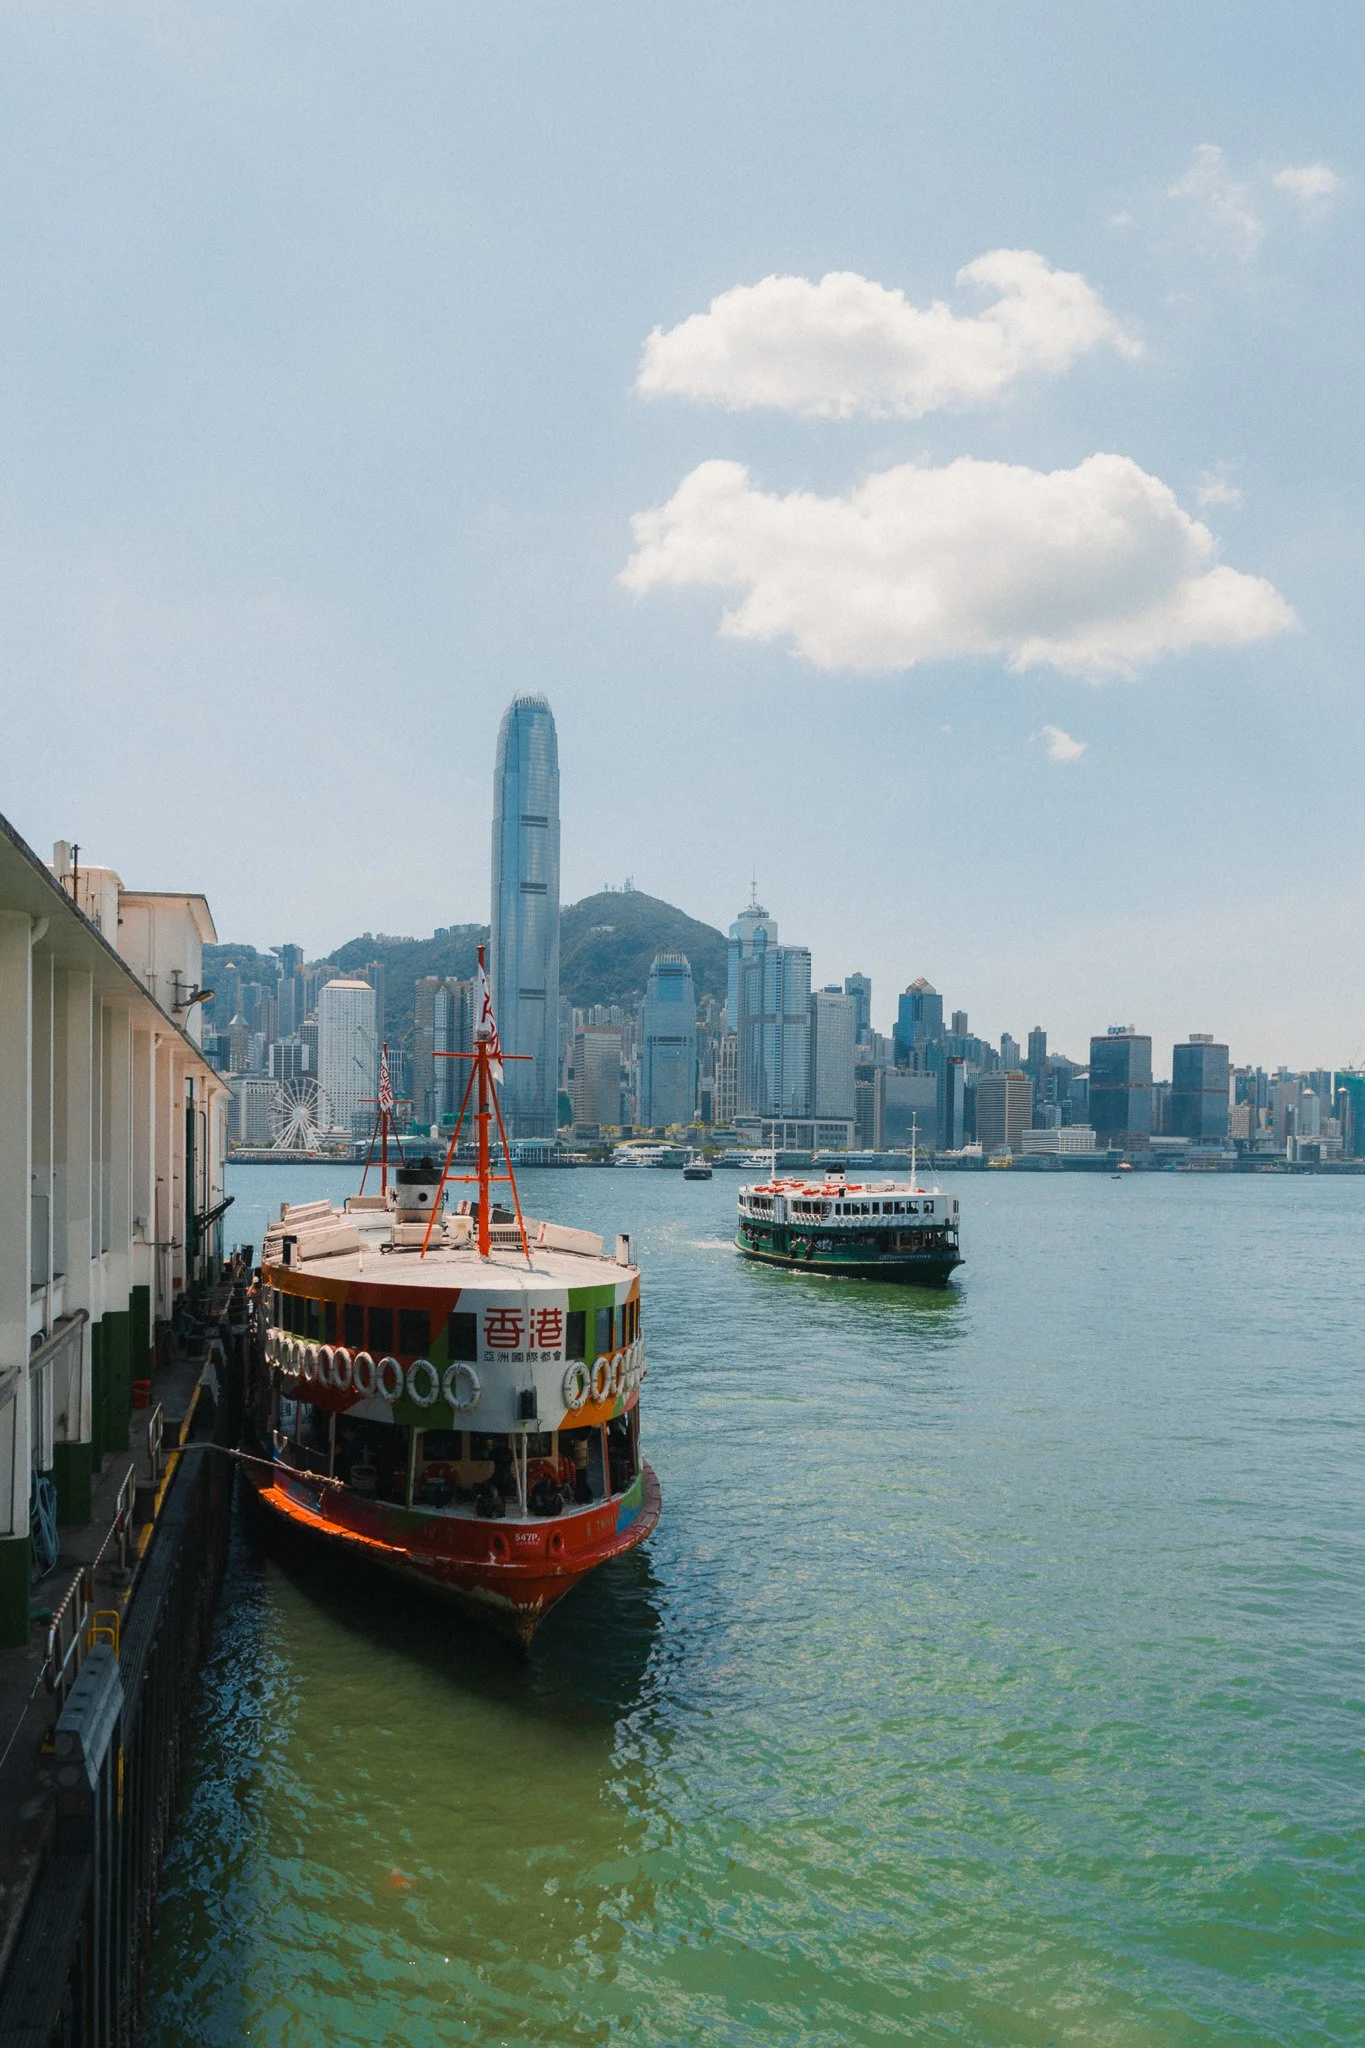
This is the traditional old school ferry that takes passengers between the two halves of Hong Kong. The journey is only 10-15 minutes but do it when the light is good for some great photos.
Cheung Chau Island
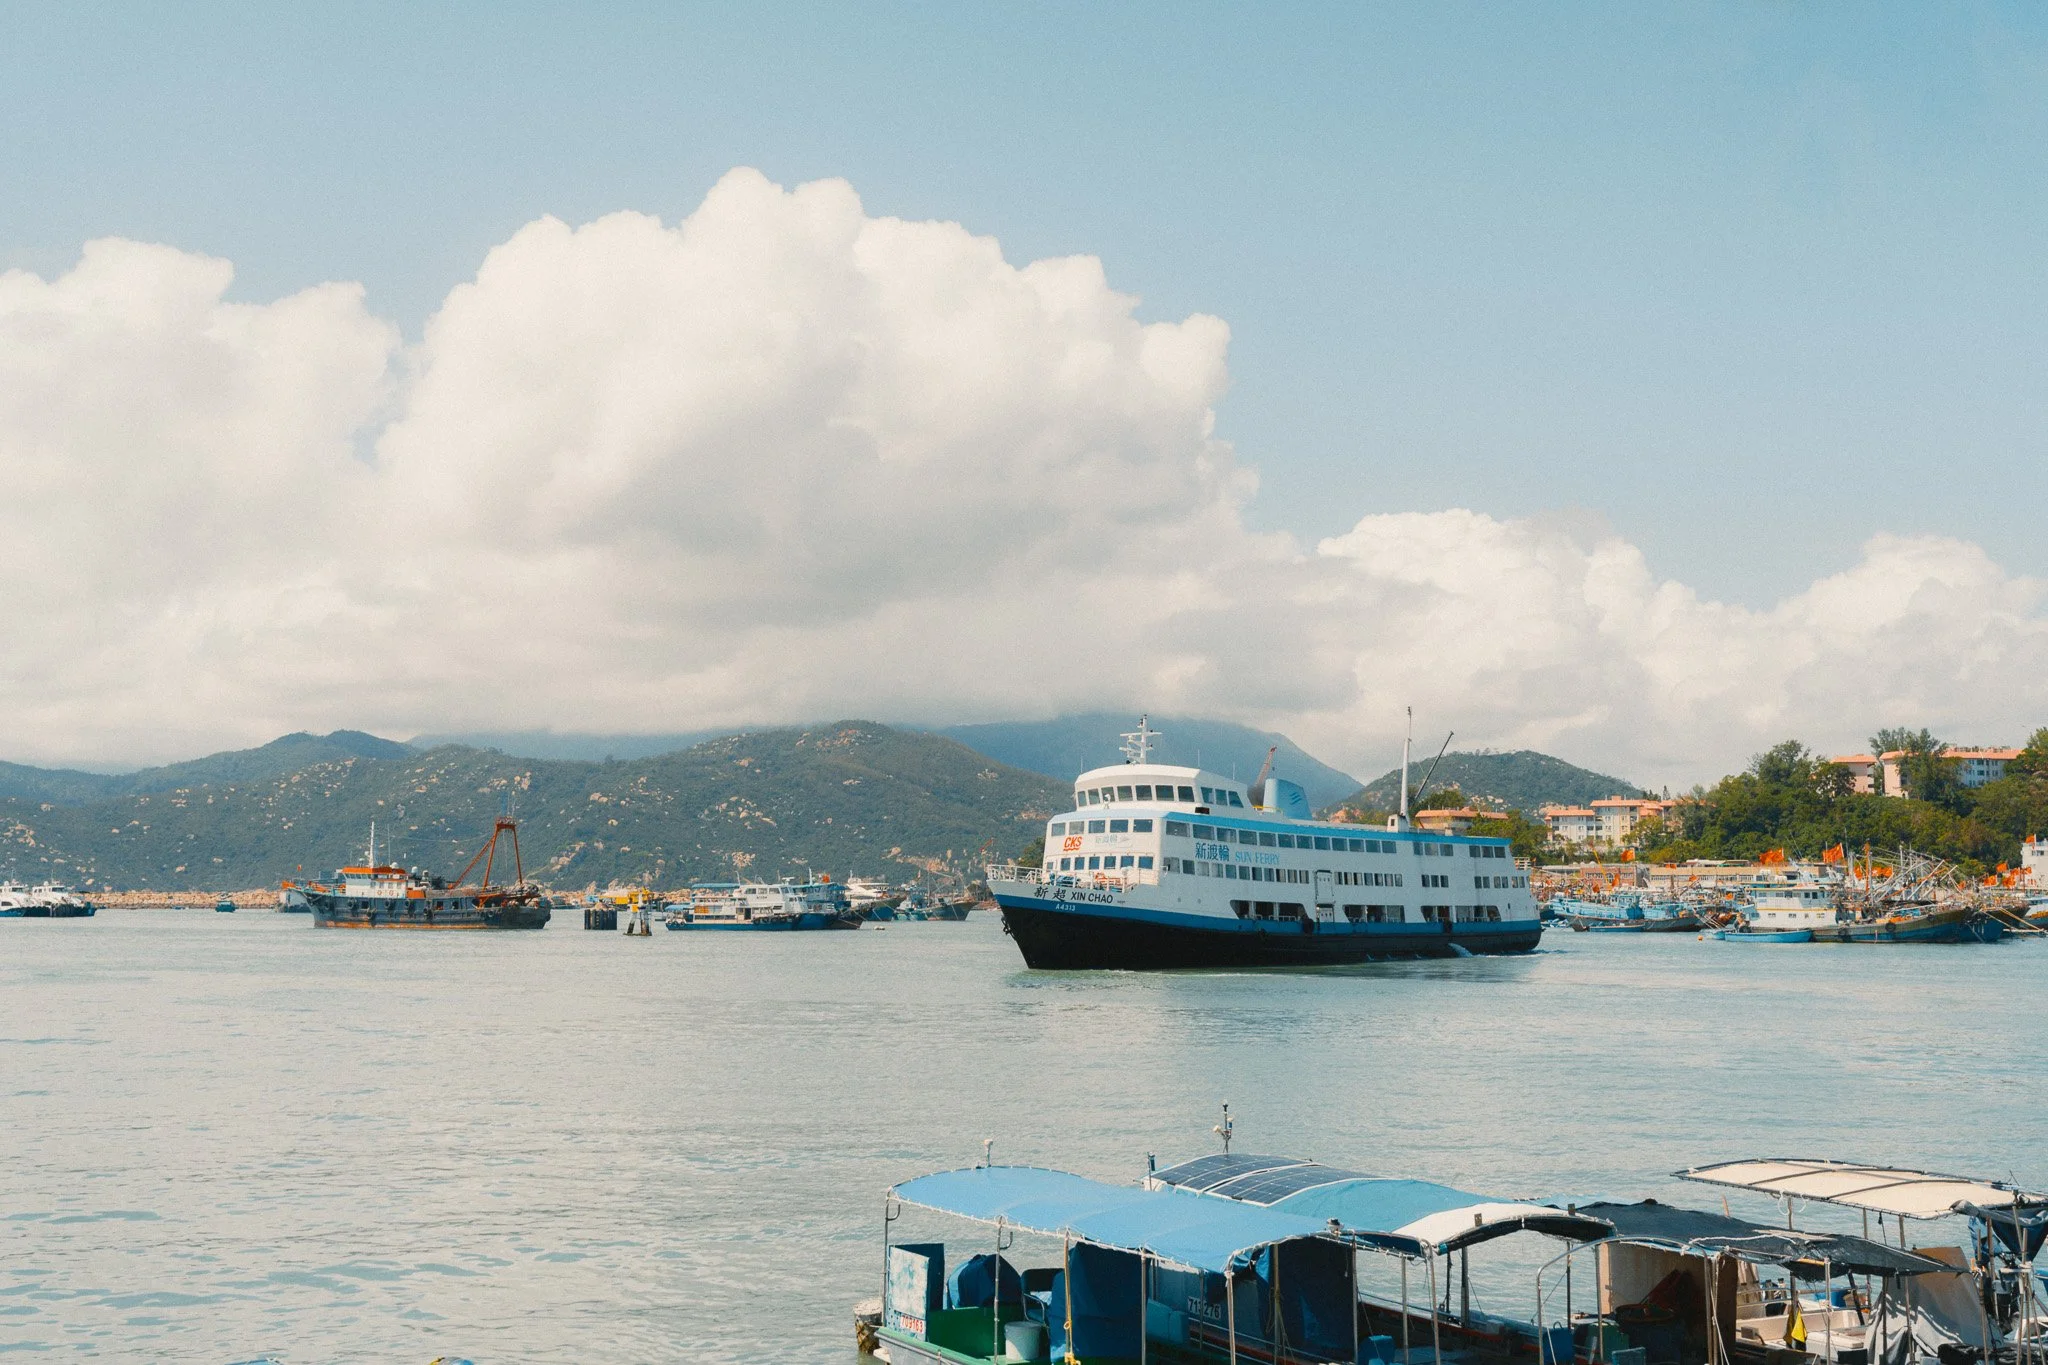
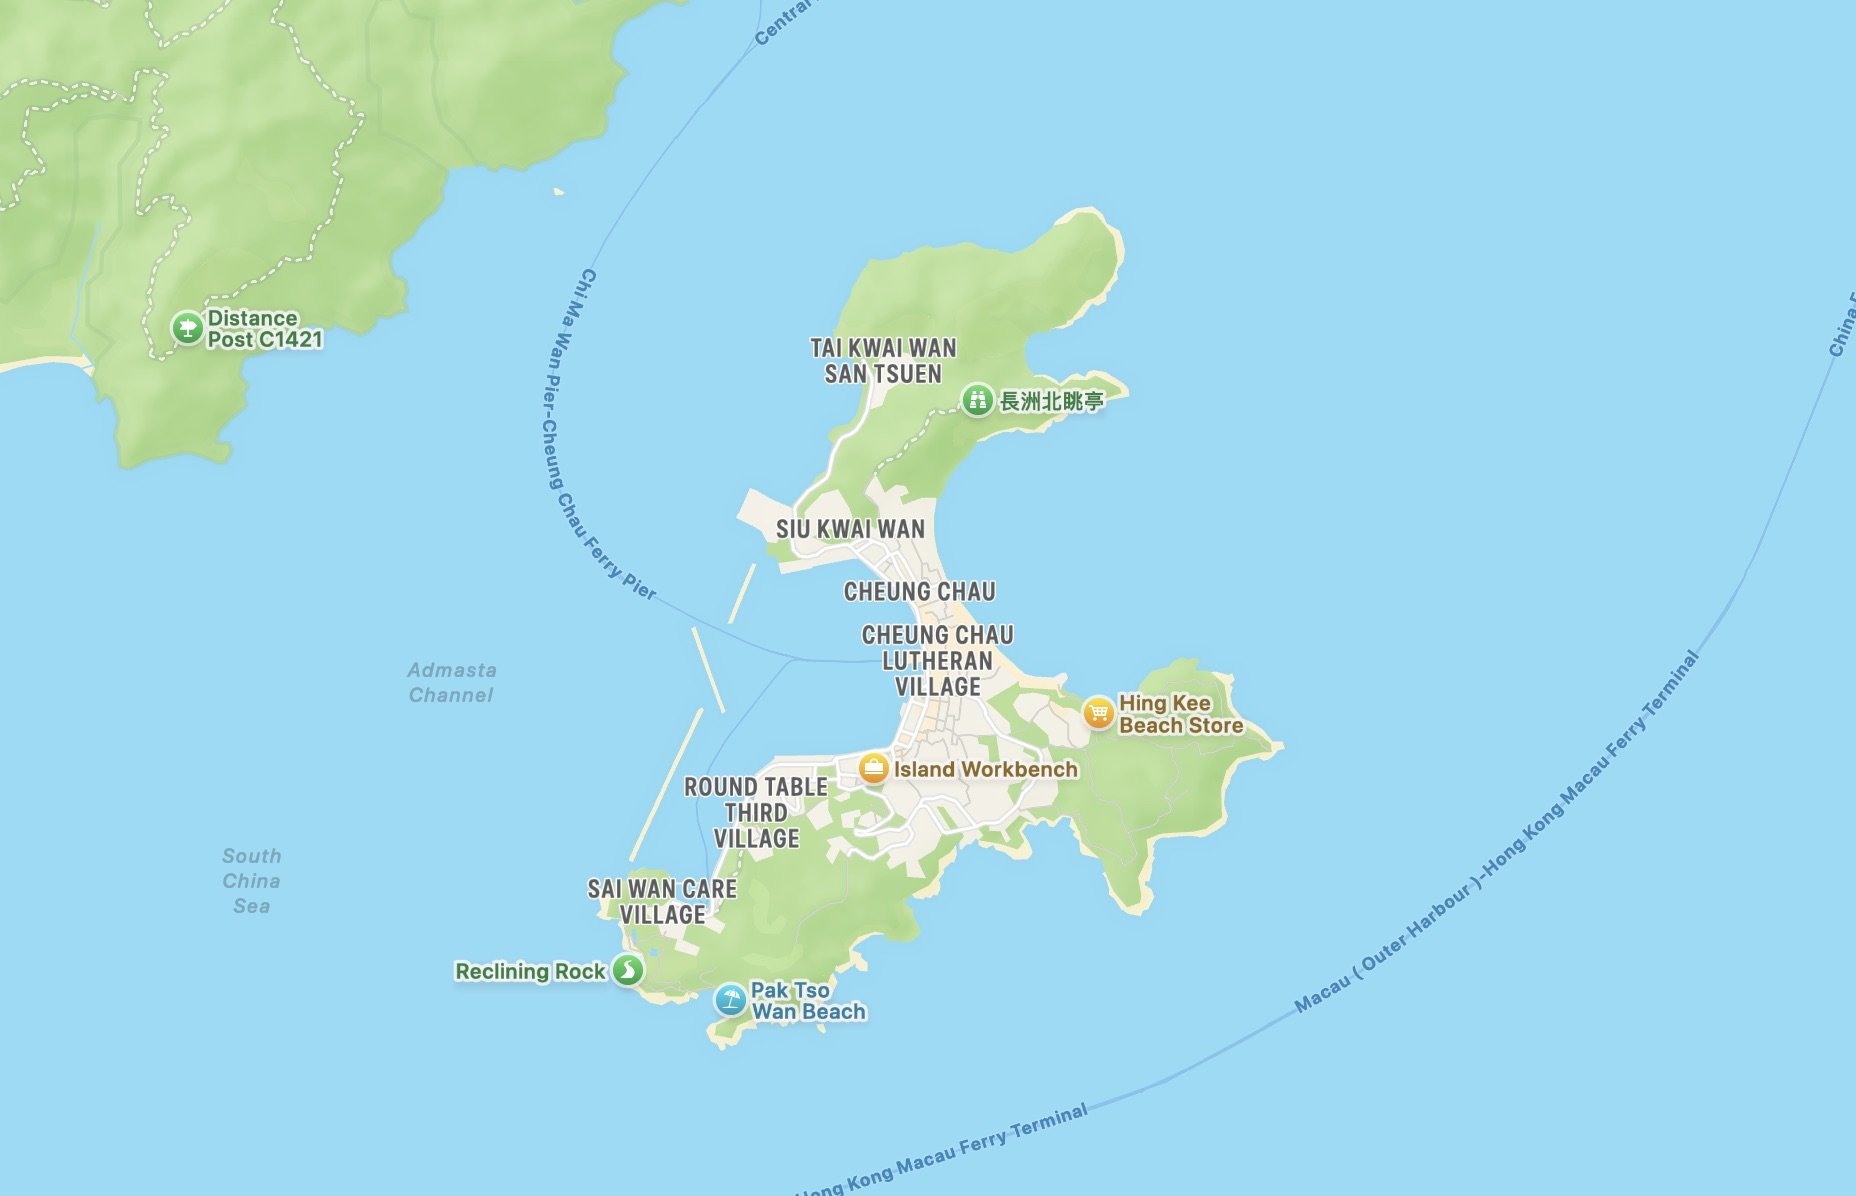
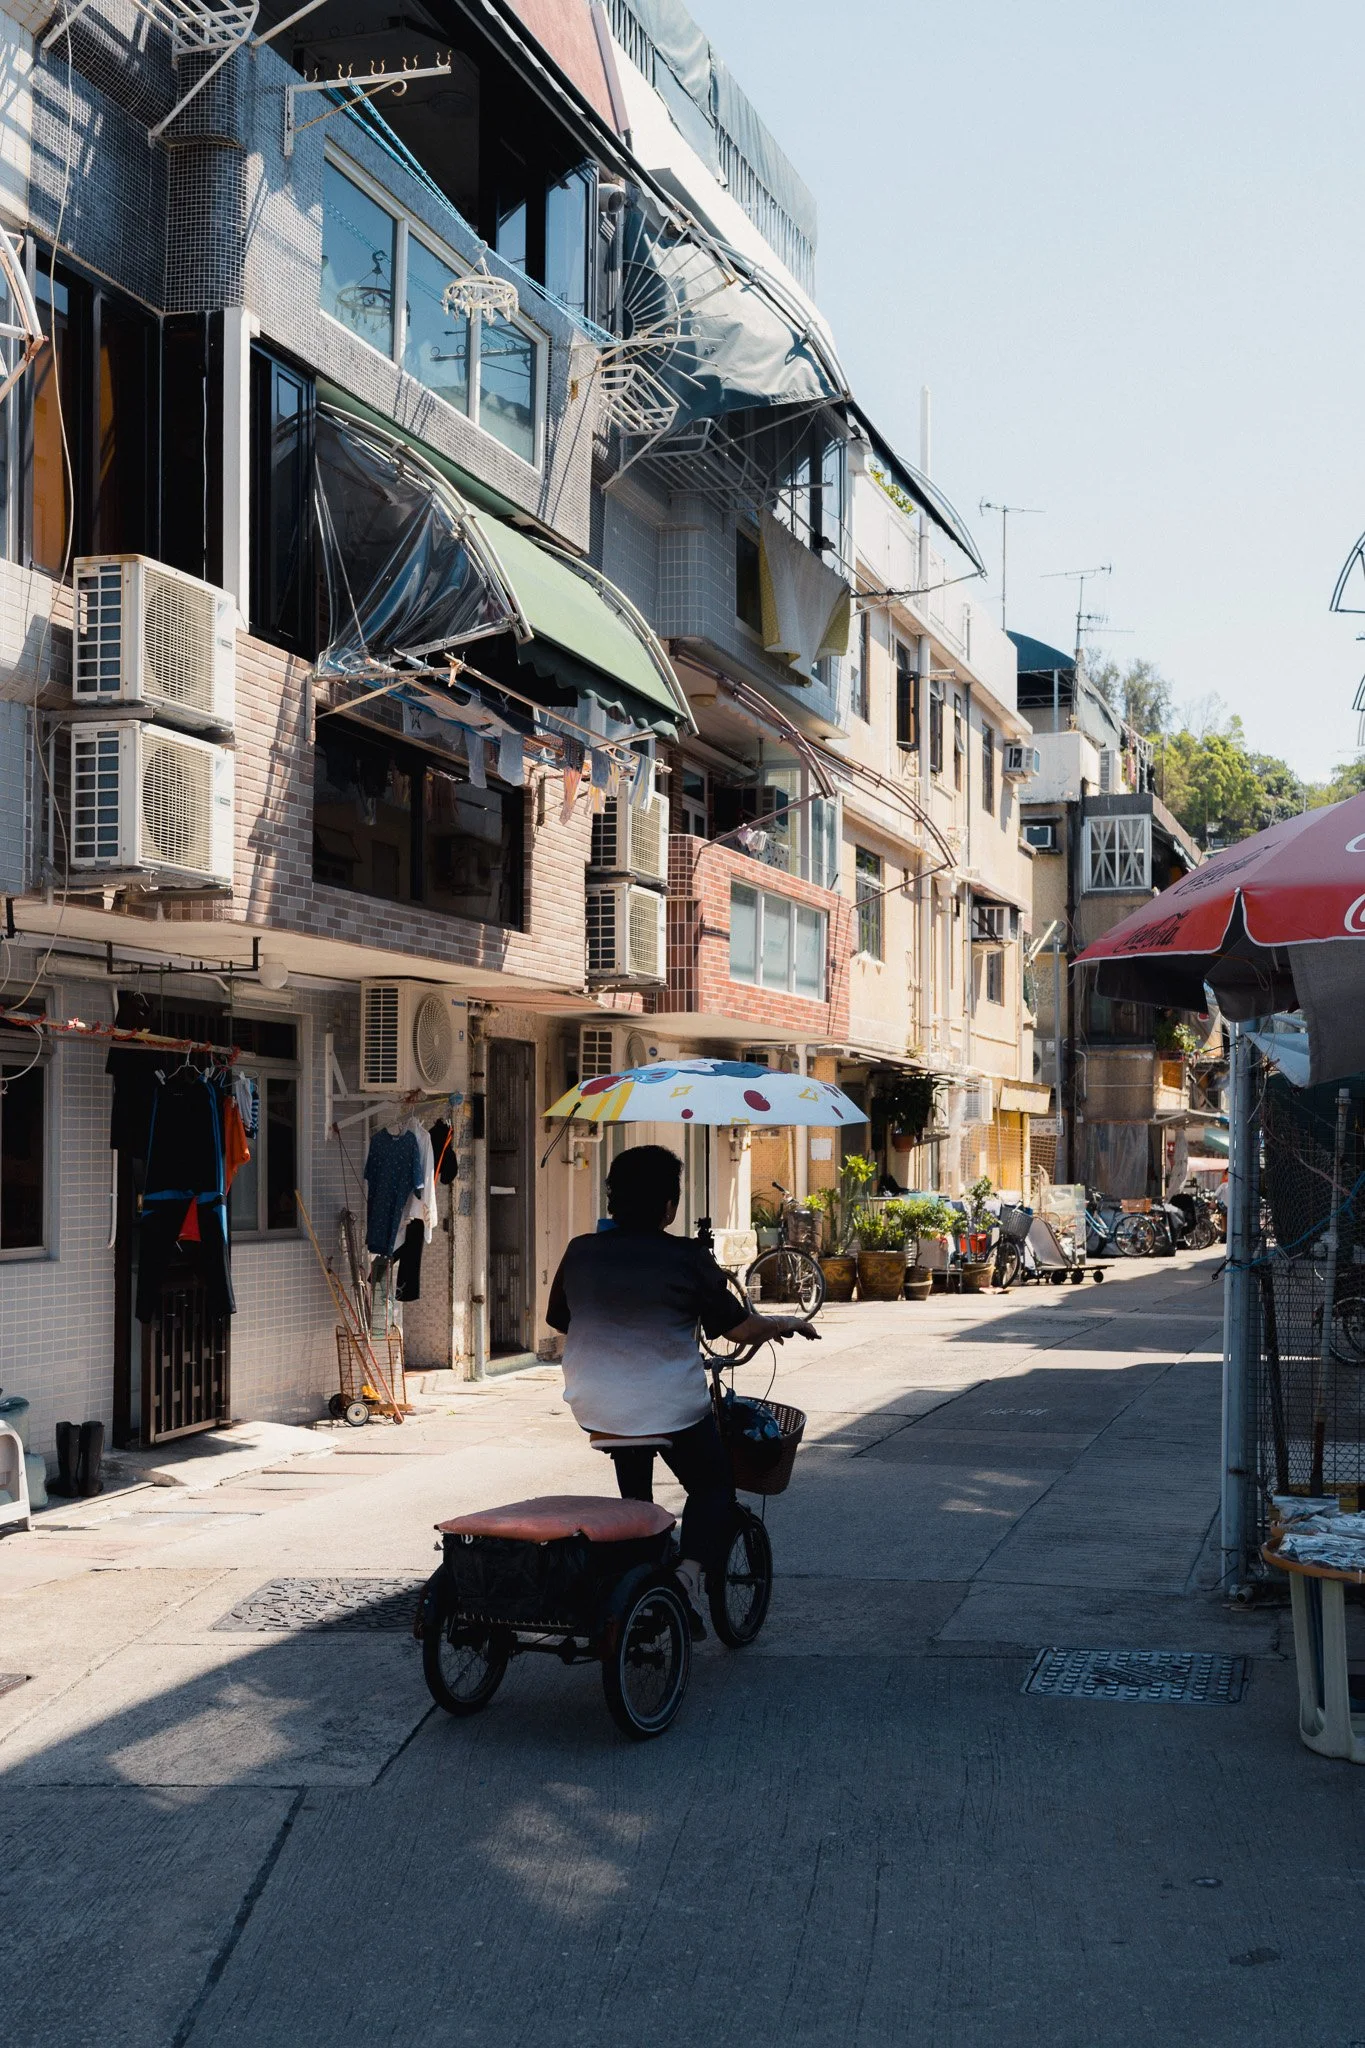
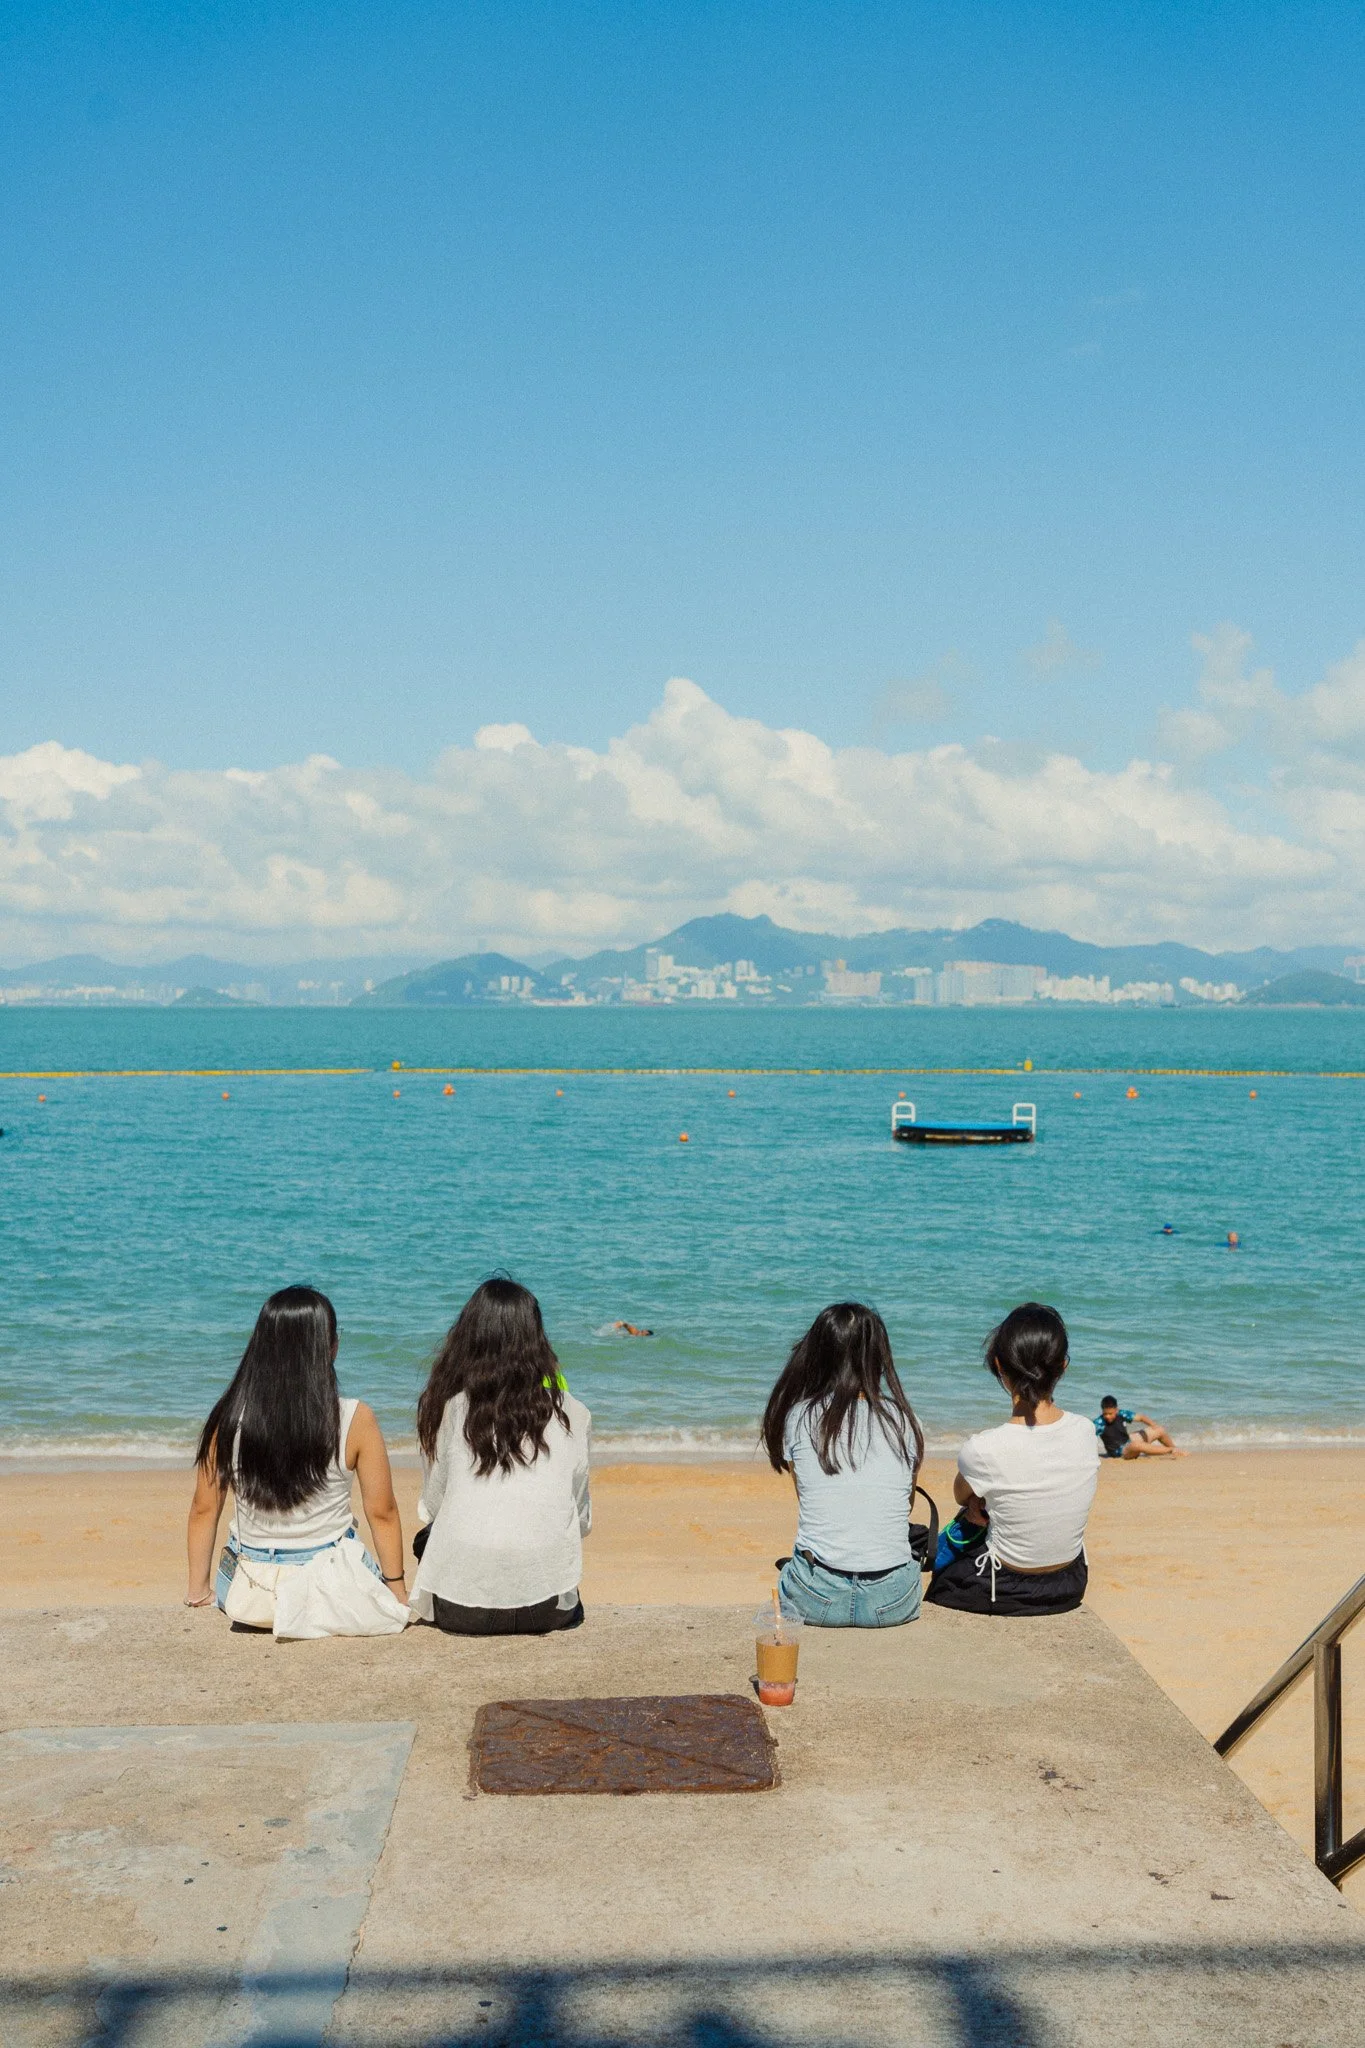
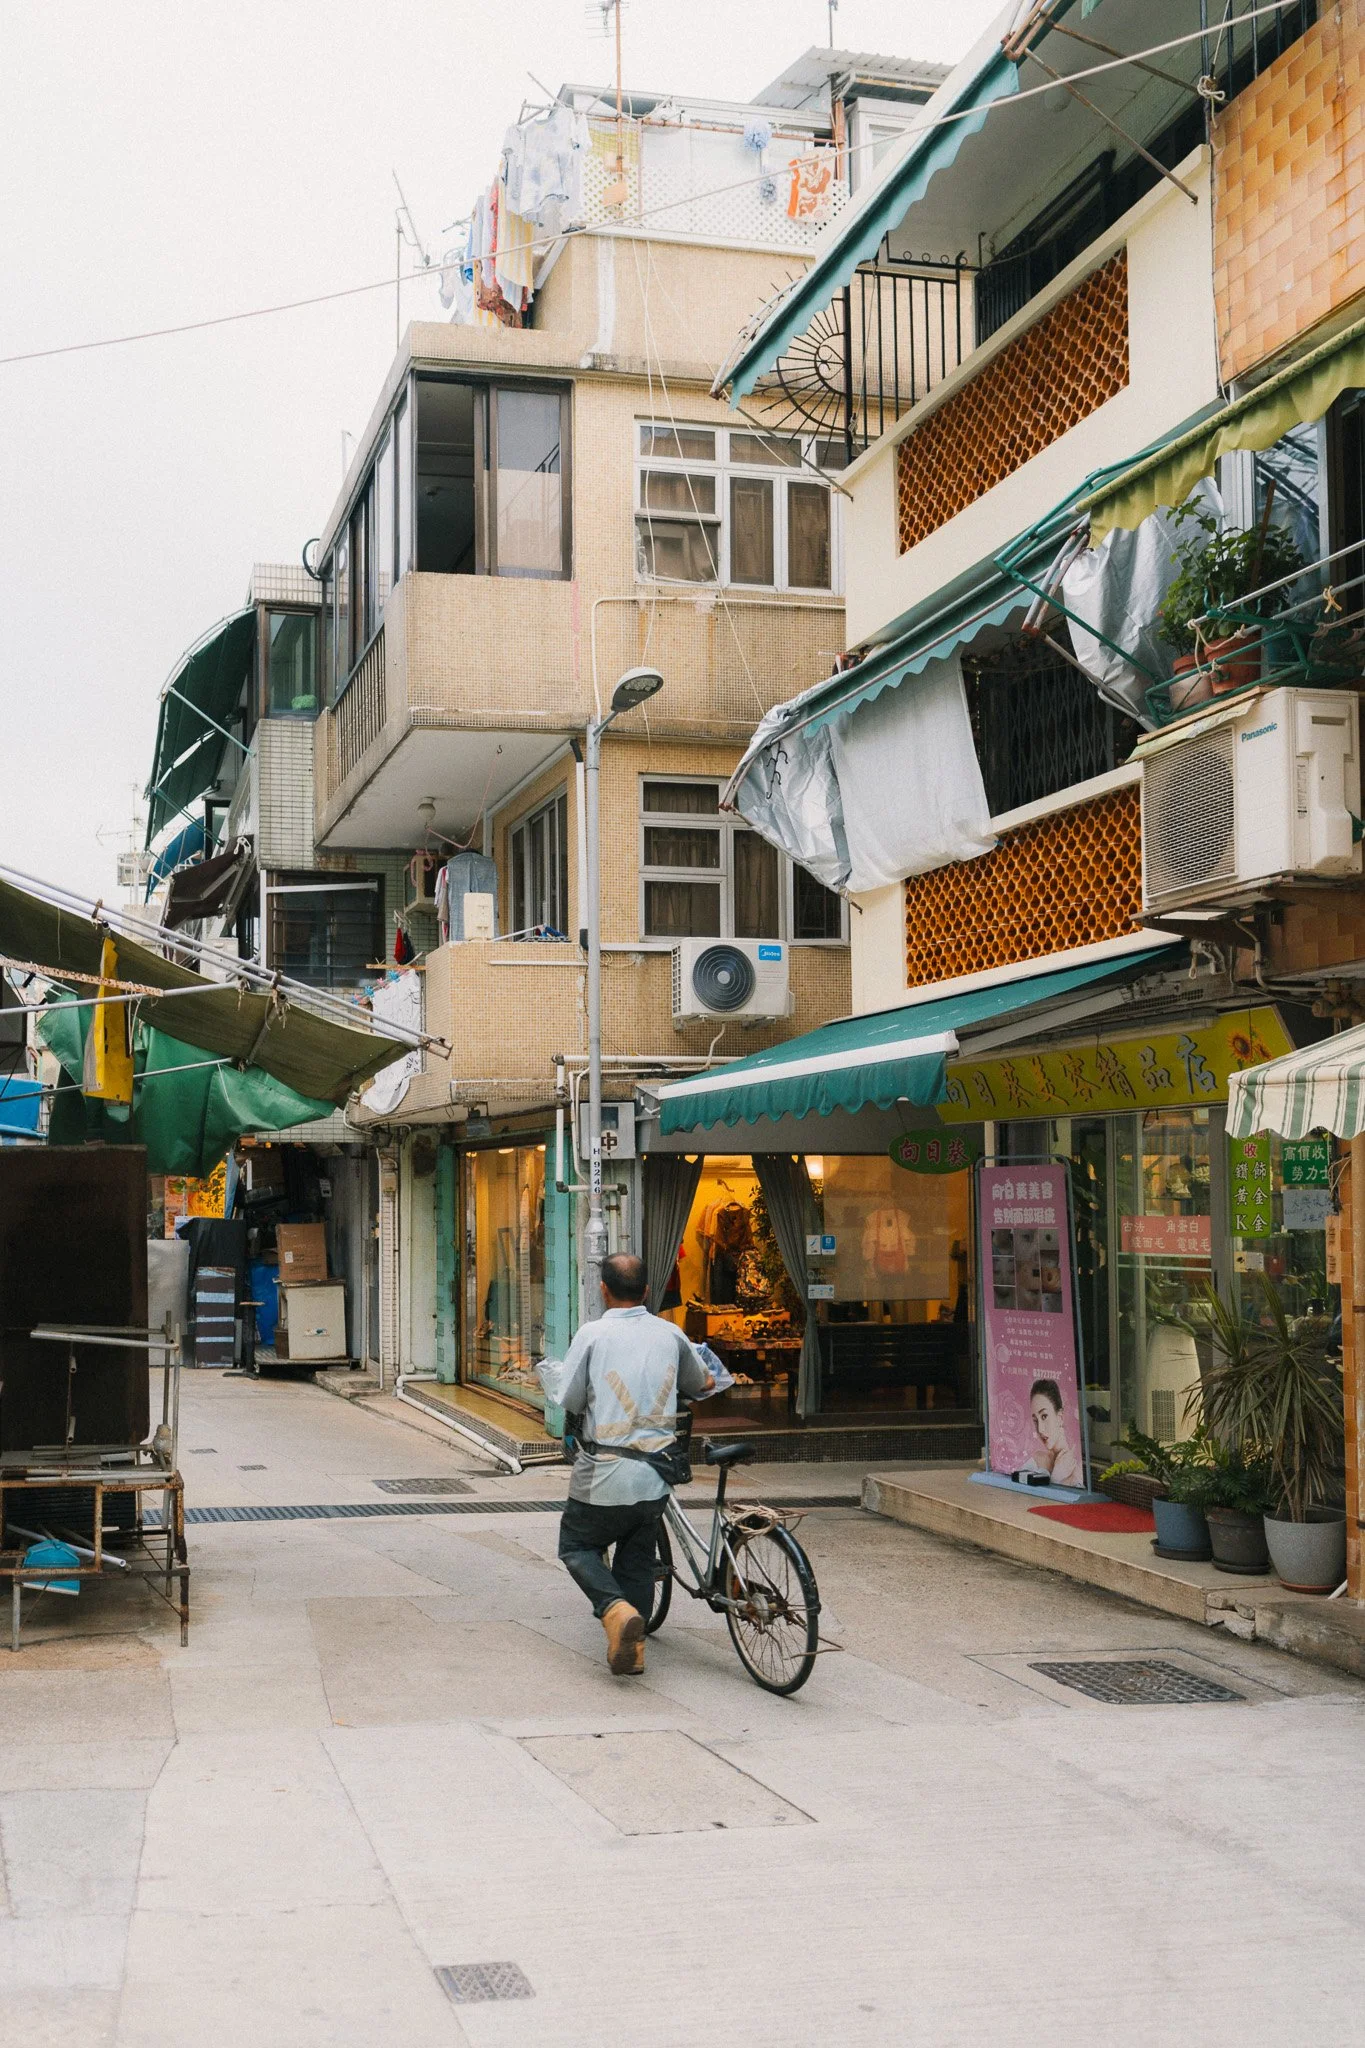
A short ferry ride from Central Ferry Pier you have Cheung Chau Island. This is a beautiful small spot that feels like a time capsule. Narrow old streets, bikes, street food, markets, and a beach. I visited a few times and it was a great place to shoot. While I can’t say it’s a must visit spot, if you have the time then I highly recommend it in order to get another perspective on Hong Kong.














Instead of telling you how these will change your life, I would rather be practical and answer the most common questions that people tend to have when buying presets.
What are presets?
They are editing settings that are saved in a file and can be applied to any image.
Why do people buy presets?
Sometimes because they like the work of the photographer and want that style for their own photos. Mostly because they would like to see how other people edit and learn by reverse engineering the presets. Other times it’s just to support their favourite photographers, thank you!
What’s the overall style of these presets?
- Filmic
- Warm
- Soft
- Bright
What are these presets suitable for?
Street & Travel Photography
Some Nature (with further editing)
Some Portraits (with extensive editing)
Do I actually use these?
Yes. This is the same pack I use right now for all my editing. This isn’t a pack made just to sell.
Do these presets get updated?
Yes, as my style changes, these presets will also be updated. Any time a new update is available, you will get a free update via email. Of course you also keep all the old presets in case you prefer the older looks. Only presets purchased from 2025 onwards will receive the updates.
What file types are these presets for?
- All RAW files
- JPEGs & TIFFs (not recommended)
What camera brands are these presets for?
These were designed around Fujifilm, Sony, and Leica sensors. With that said, they will work with all camera brands. While there might be differences due to individual camera colour science, the overall feel of the preset will carry over.
Will these work with JPEG files?
Yes, but you will need to reduce the intensity and make further edits. I strongly recommend editing RAW files.
Are these one click edits?
95% No. You would need to do some basic adjustments as each image is different. These adjustments can include exposure, colour balance etc. In 5% of cases you can just apply and leave it alone.
Do I need to know how to edit?
You need to have a basic understanding of adjusting exposure, highlights, shadows, etc. A more comprehensive editing skillset will let you get the most out of them.
How many presets are included?
10 in the main pack and 24 in the extras pack
Why two packs?
The main pack is what I use for 99% of my edits and is kept small to reduce wasted time scrolling through presets. The extras pack is everything I don’t use often.
What software do I need?
These presets will work with any of the following:
- Photoshop (adobe camera raw)
- Lightroom Classic
- Lightroom Desktop
- Lightroom Mobile
Will these presets work with free versions of the above software?
You need to research and double check before buying. These presets were designed for the full paid versions.
Will these presets work with very old versions of the above software?
You need to research and double check before buying. These presets were designed on and for the latest software.
What file type do I get?
XMP
What else do I get?
- Comprehensive PDF guide
Can I modify these and turn them into my own?
Yes! In fact I encourage you to modify them and play around. Use these to help you get your own style.
I have more questions…. What do I do?
Make a cup of tea and drop me an email on hello@snapsbyfox.com
Please note that due to the nature of digital products, refunds are generally not accepted. However, if you experience any issues, feel free to contact me and I’ll review your situation individually. You are welcome to use this product for personal or commercial projects, but you may not copy, distribute, or resell the files in their original or modified form.
Finally I want to say a massive thank you for supporting me. Buying these presets is the most direct way you can support my work.
Thank you!