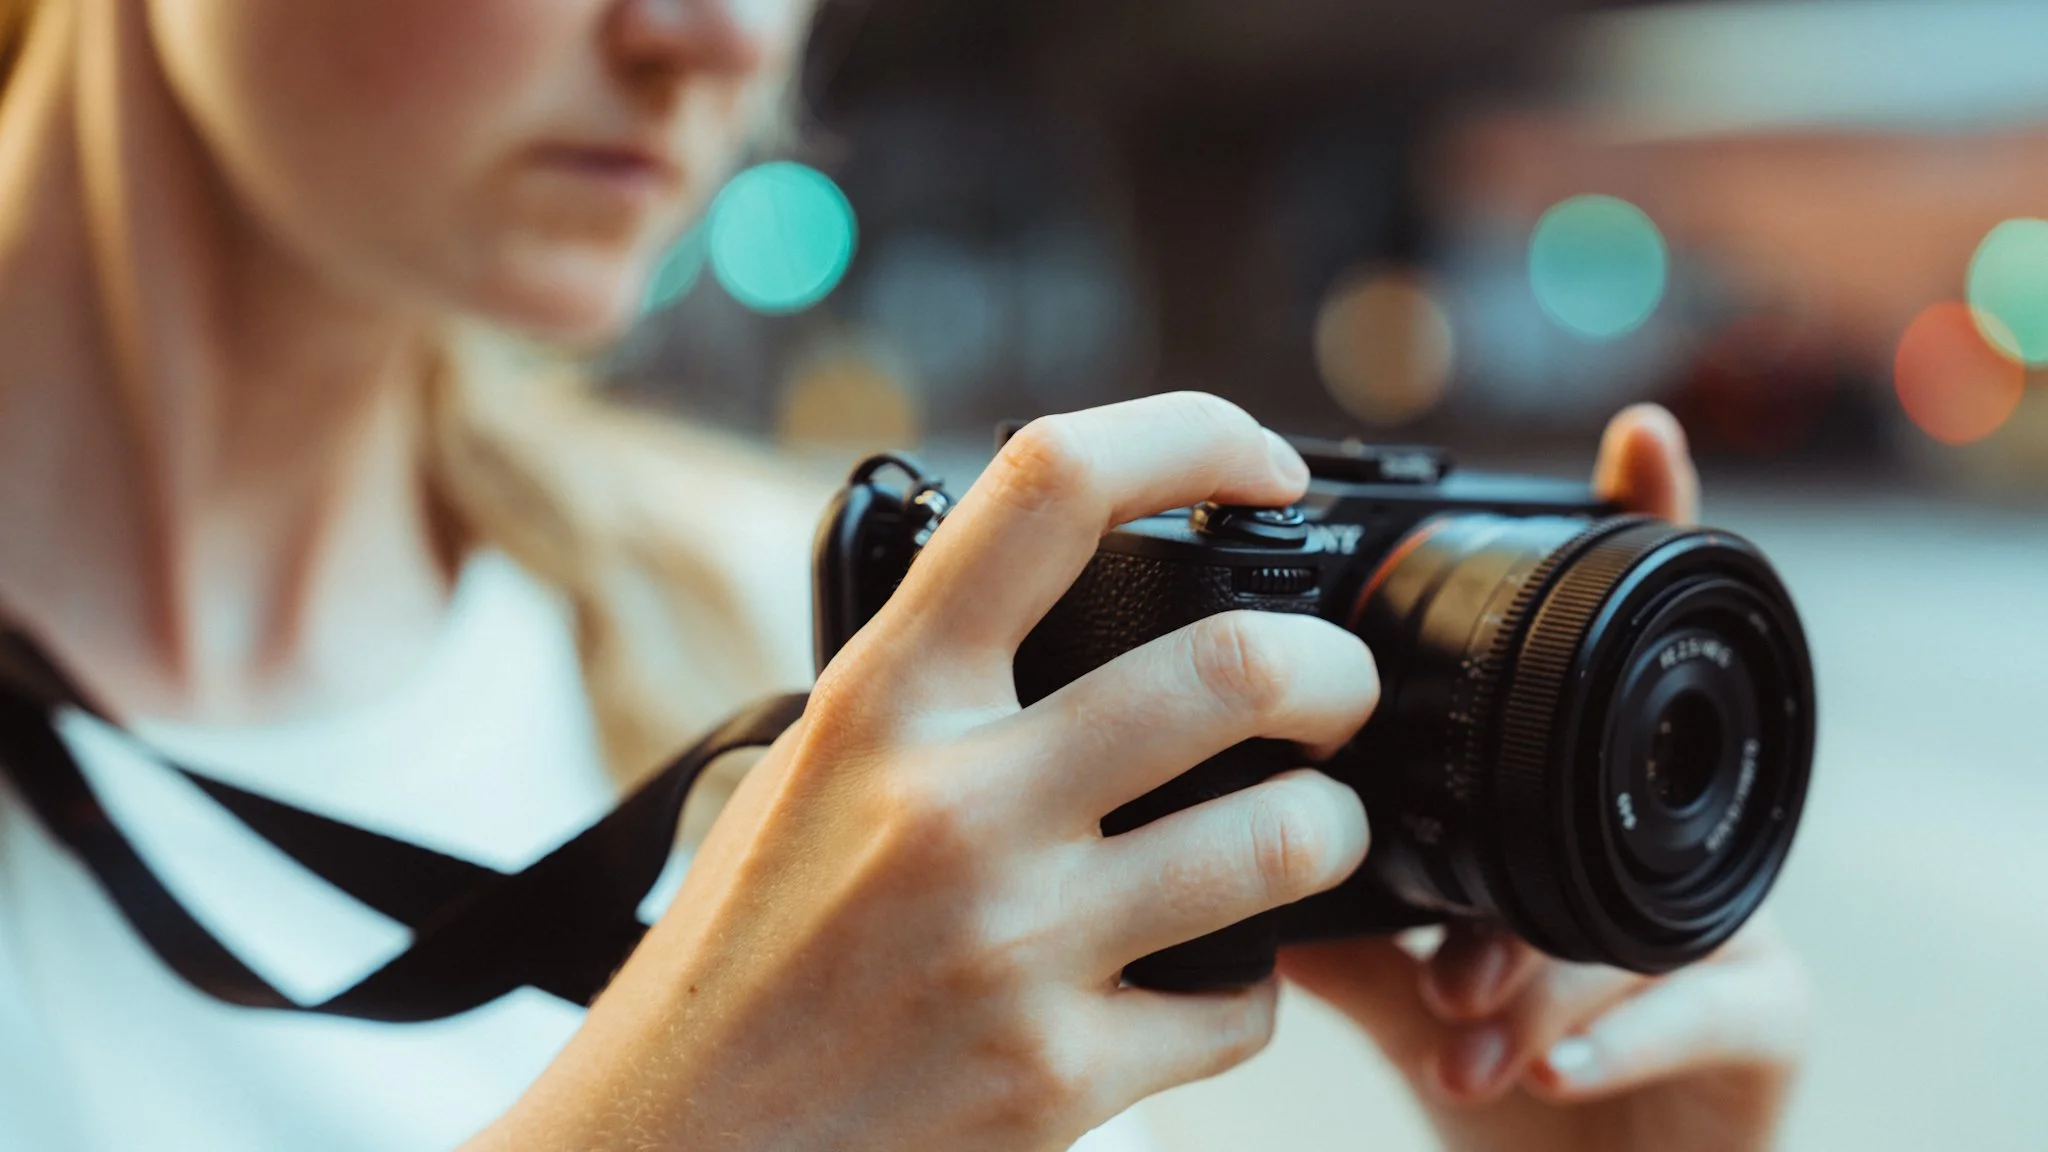
My Minimal Sony Travel Photography Kit
I’ve been shooting on the Sony system for over a year and after a lot of (expensive) trial and error, I can share my travel photography setup that’s served me very well, and hasn’t changed in a while. Of course, this is based on my own experience and preferences, so don’t take it as gospel. Furthermore, in no way am I saying that you need this kit. The same can be achieved with a much more affordable like-for-like solution. Finally, you will see links to the products throughout this blog. These are affiliate links that cost you no extra, but give me a small % kickback if you end up purchasing something. This allows my blog to stay ad-free for the best reading experience.
Sony A7RV & A7CR
Let’s start with the most important item, the camera. I travel with two systems, the A7CR and the A7RV. The 60mp sensor you get in both is utterly outstanding. The reason I personally go for such a high-resolution sensor is that it allows me to shoot in APS-C mode and still retain 26mp, thus extending the range of my lenses. The decision between using the A7RV or the A7CR, can be boiled down to the following key points.
I pick the A7RV if:
I need a bigger body because I will be using larger lenses, or shooting with thick gloves in a cold environment.
I need a joystick or more custom buttons.
I need an articulating screen, not one that can only flip out.
I plan on using the EVF extensively.
I need to shoot in burst, thus require the fastest buffer times.
I plan on shooting something important and need dual memory slots.
I need a more robust body that can withstand more abuse.
I need to get shit done.
I pick the A7CR if:
I need the smallest and lightest body.
I will be using small primes.
I want a camera that doesn’t scream “pro”.
I will be doing casual photography or want to bring a camera just in case.
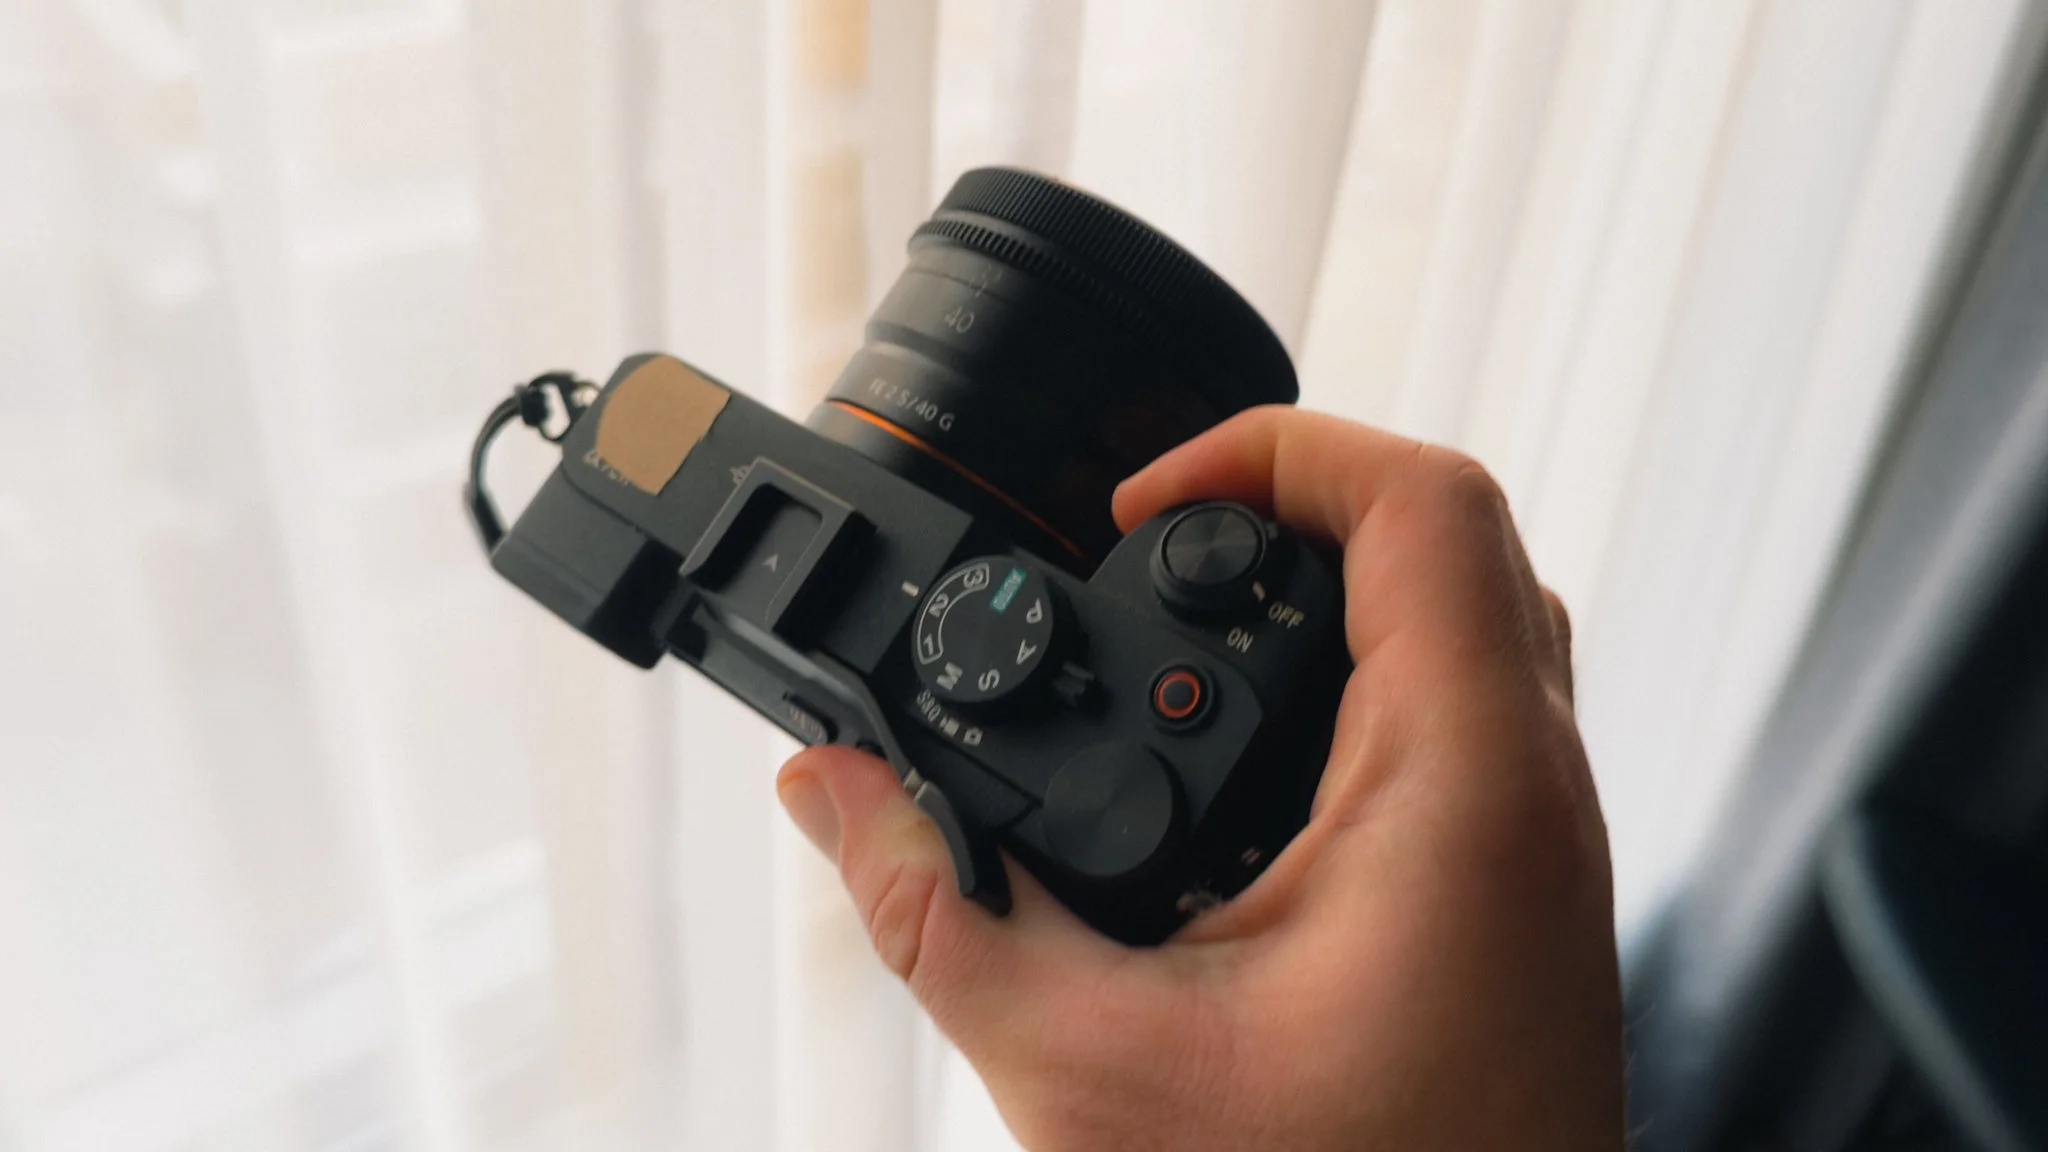
I personally travel with both, as they serve different purposes for me. The A7RV is the workhorse and is almost always used with the 24-70mm zoom. The A7CR is my lightweight daily carry, and is married to the 40mm pancake. The biggest reason for having both is for backup. Travel is expensive and time consuming. The last thing I want is to be without a camera due to breakdown, damage or even theft. Both of these cameras use the same battery, have the same lens mount, same sensor, same operation, and do the same thing. This gives me confidence knowing I have a backup, should the worst happen.
Essential Lenses
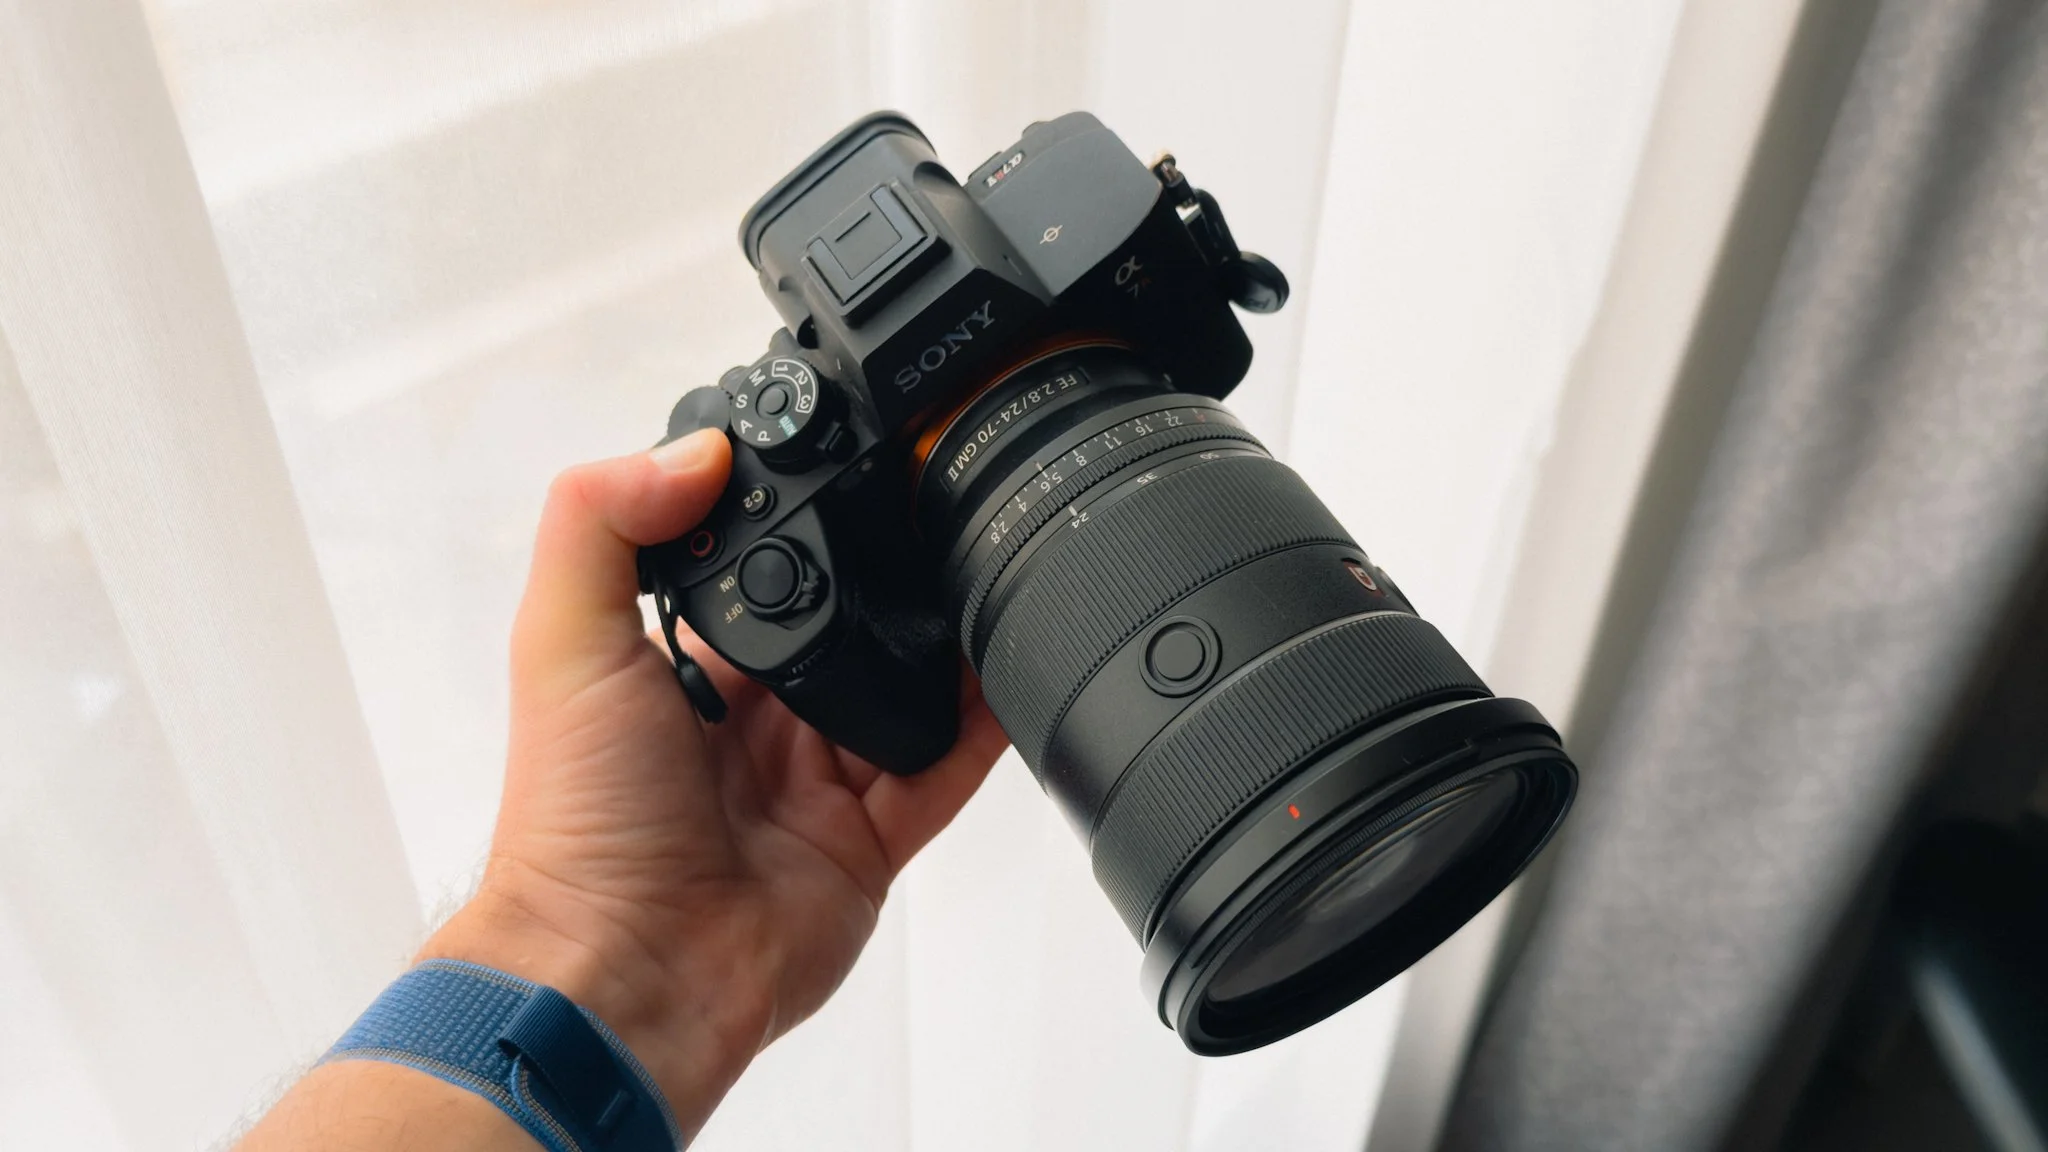
In most cases I travel with two lenses. The first is my 24-70 f2.8 GM II from Sony. This lens is perfection. The image quality is simply outstanding, it’s pin sharp, it’s built like an absolute tank, and it comes packed with some incredibly useful features such as zoom resistance control, custom buttons, and more. This is what I use for 90% of my travel photography and video. If I need to get shit done, this is the go to lens. I only use it with the bigger A7RV due to better ergonomics and balance with the larger body.
The second lens is my Sony 40mm f2.5 G. This is a tiny pancake lens that weighs absolutely nothing, and while it might not have the sharpest image in the world, it’s more than good enough for 99% of applications. This lens is glued to my A7CR and it’s what I throw around my neck for casual days out shooting. I love the 40mm focal length for every day, however you can get the same lens in a 24mm or a 50mm flavour if you prefer.

Optional Lenses
There are two lenses that only come with me when I know I will be going somewhere specific that would require them. The first is my Sony 70-200 f2.8 GM II. This is a telephoto beast that produces an insanely detailed image. It’s big and heavy, so I am very selective about where I bring it. This year I only used it in Nazare to shoot the giant waves because for safety, you can’t get too close to the sea. Plus being able to get the shots I wanted was only possible at such extreme focal lengths. Generally speaking this lens would come with me on road trips or if I’m going to be shooting in nature.

The second lens is my Sony 50mm f1.4 GM prime. This is the low light king and comes with me any time I know I will be shooting at night. It’s not that big or heavy, but I prefer to travel minimally, which is why it stays at home unless I know there will be low light shooting. At night I prefer 50mm, but it also comes in 24mm, 35mm, and 85mm versions. This year I’ve used this lens for two trips only.

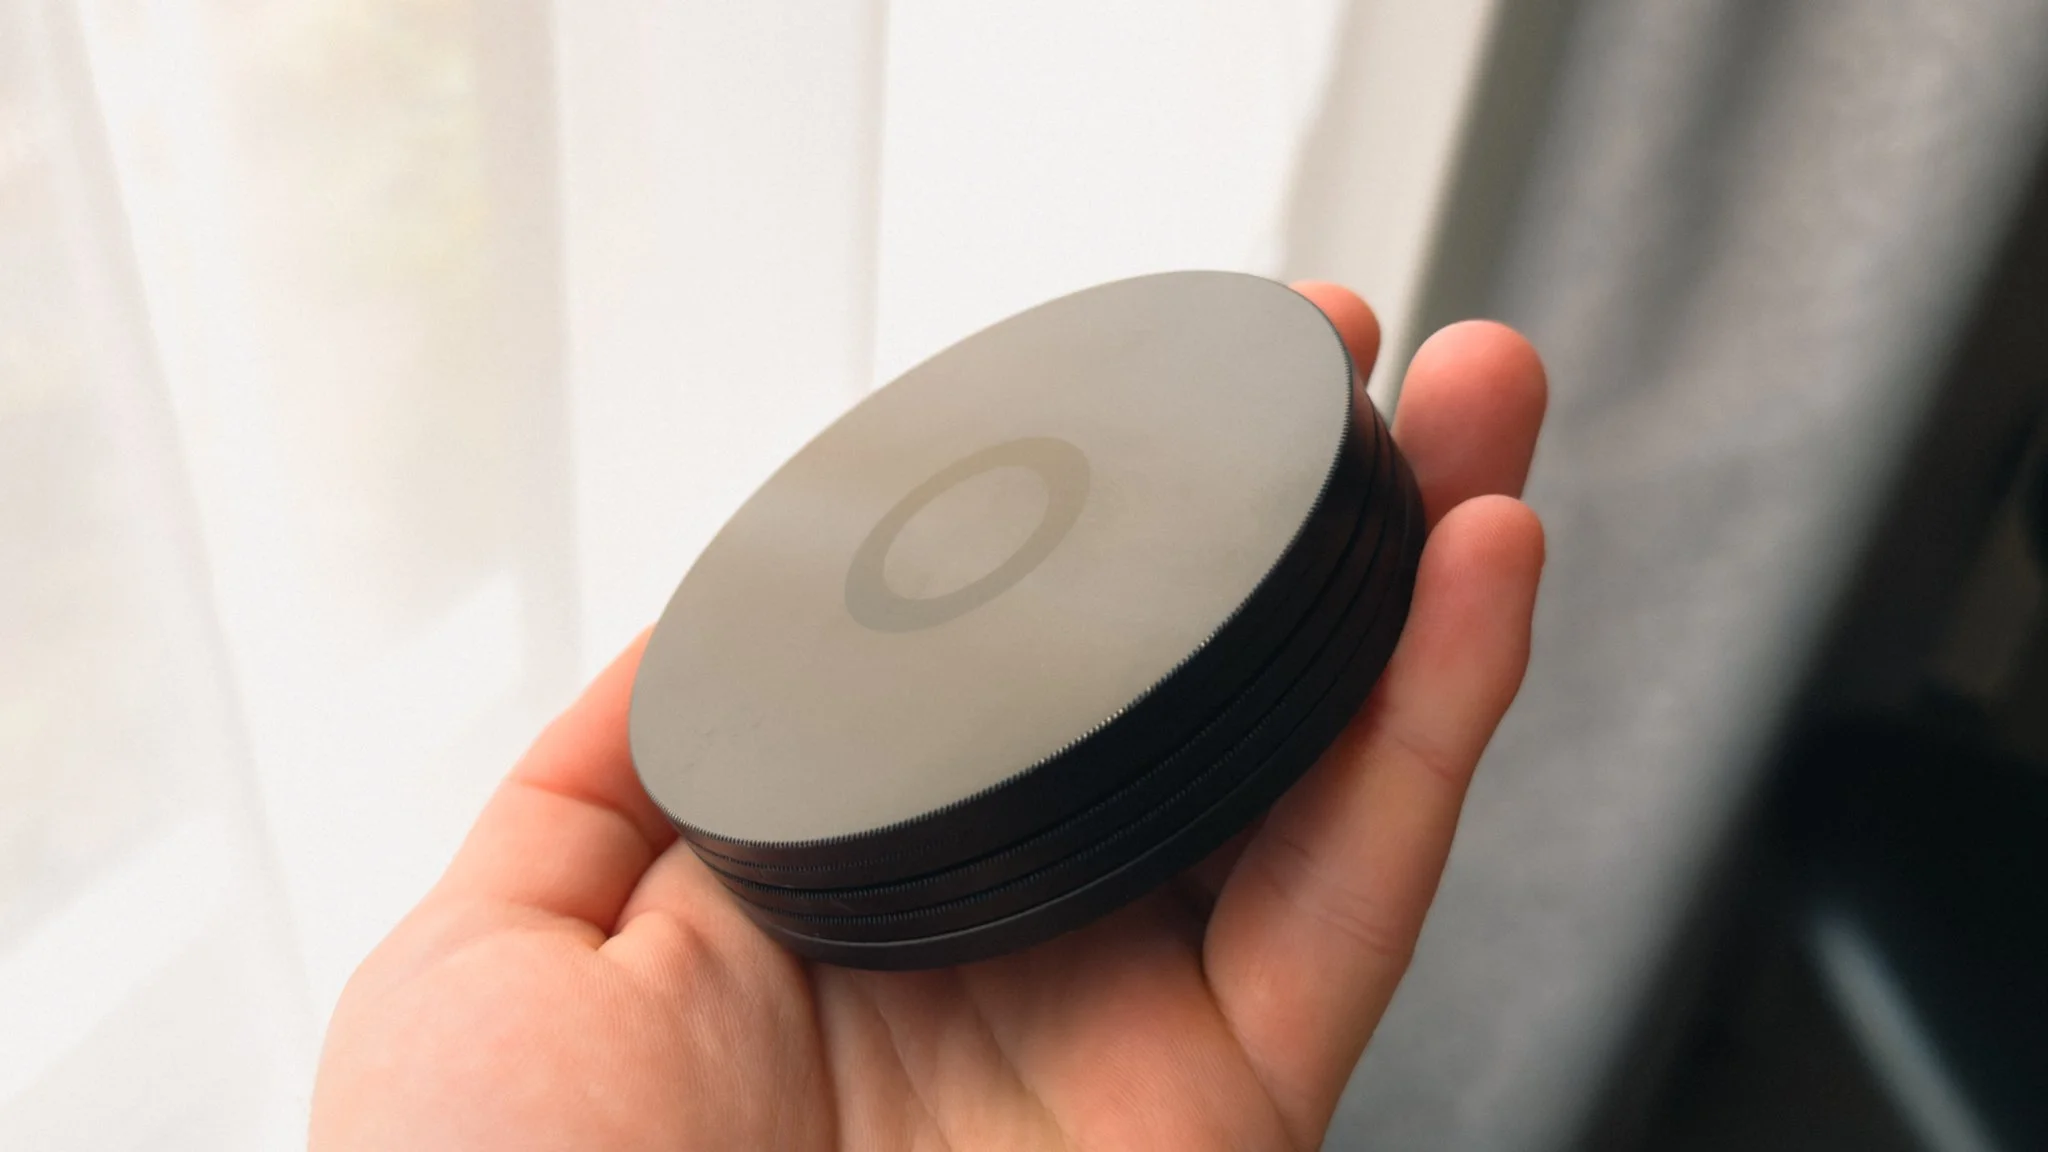
Urth Magnetic Filters
I only use two types of filters: ND8 and CPL. The ND8 is essential when shooting wide open in bright light or with a slow shutter speed. The CPL isn’t used as often, but it can do wonders for reflections, glare, and boosting some colours. The filters attach using a simple magnetic system from Urth. The overall footprint is small, and the kit even comes with a magnetic lens cap that’s sturdier and smaller than the original plastic one. https://geni.us/klGhyo5
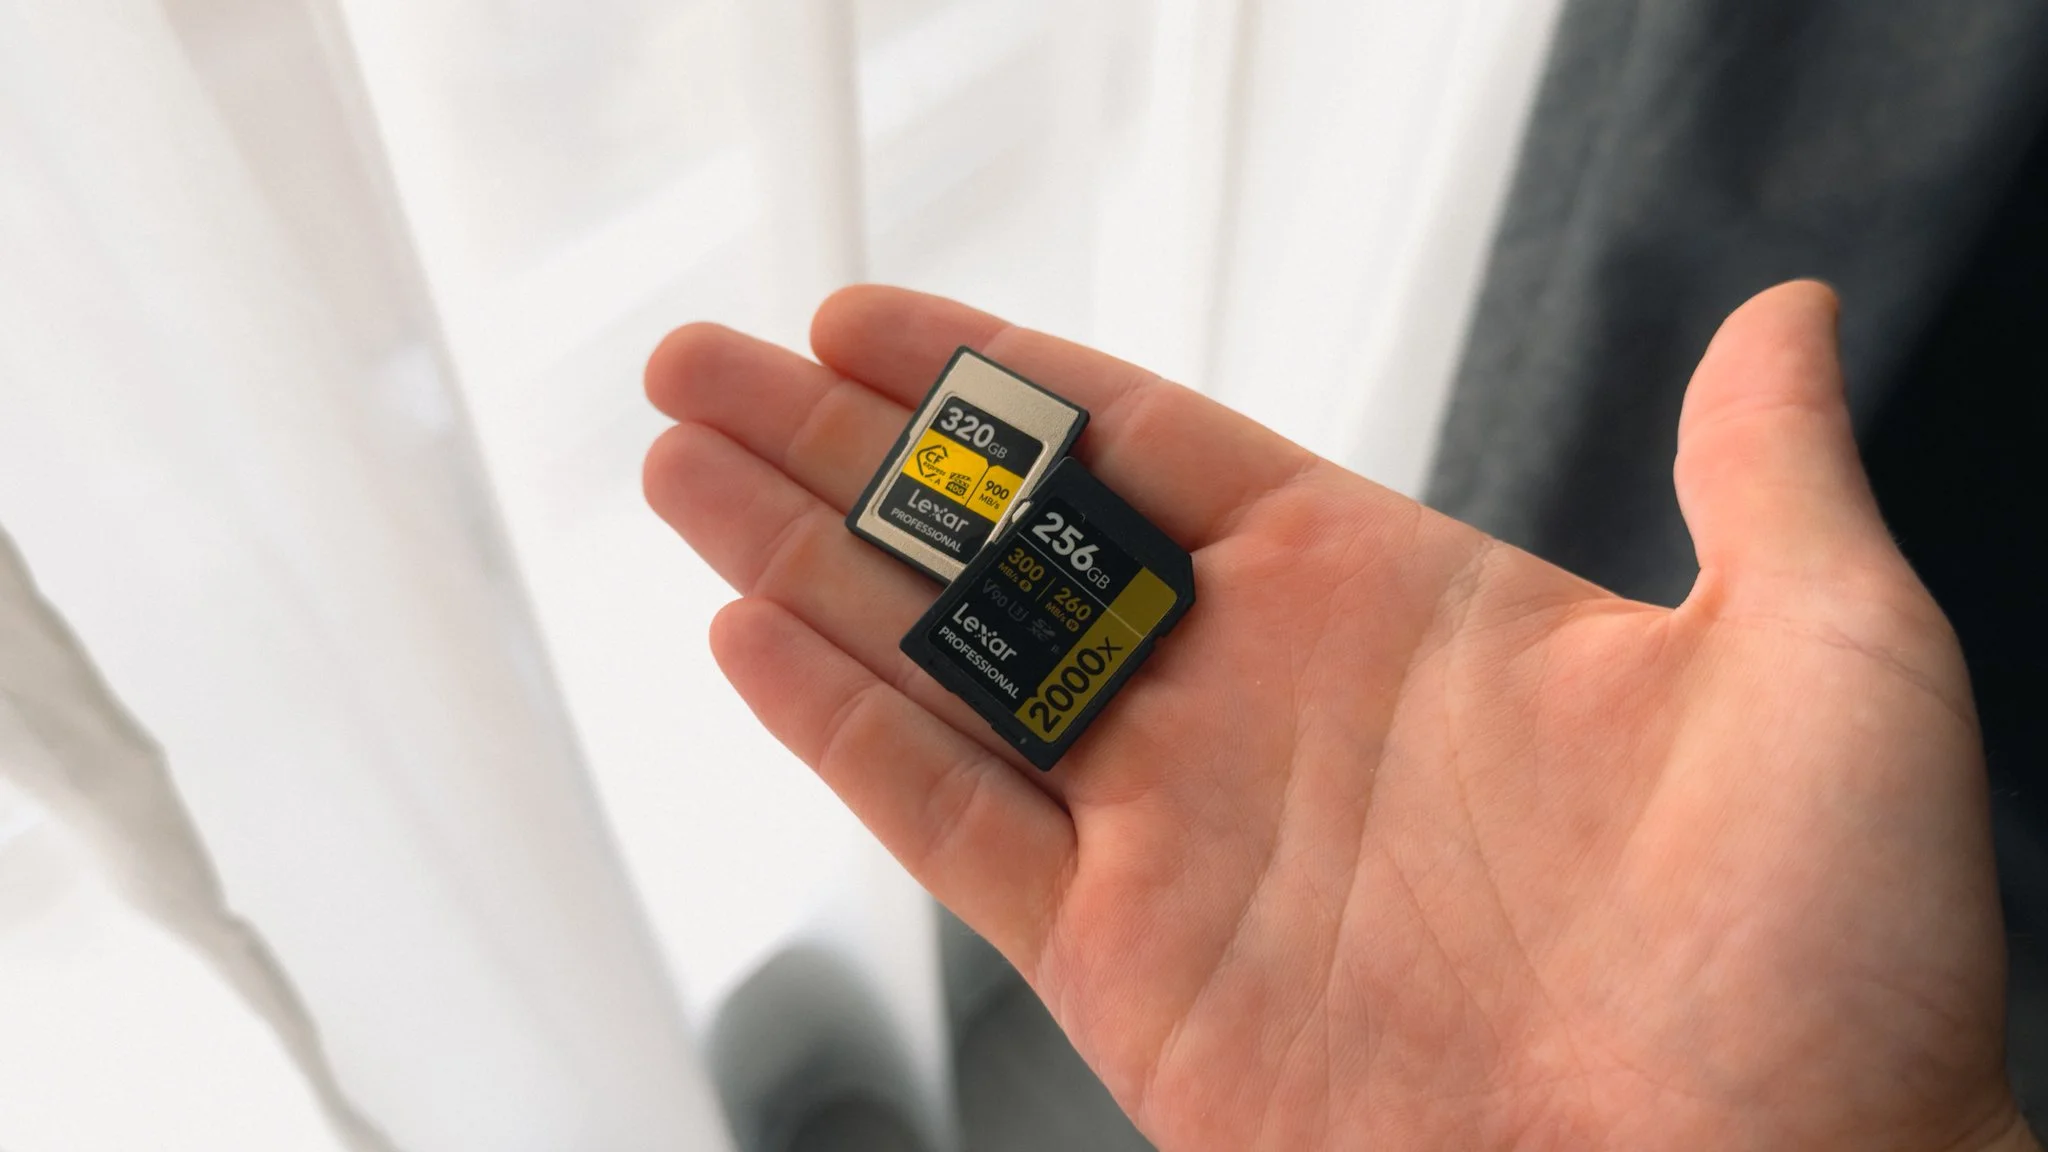
CF Cards & V90 SD Card
On the A7RV, I use CFexpress cards instead of SD as it unlocks the full potential of the camera. It also makes file transfers so much faster. On the A7CR, I use a V90 SD card for the same reasons. CF: https://geni.us/DXhy0B SD: https://geni.us/5bUNh
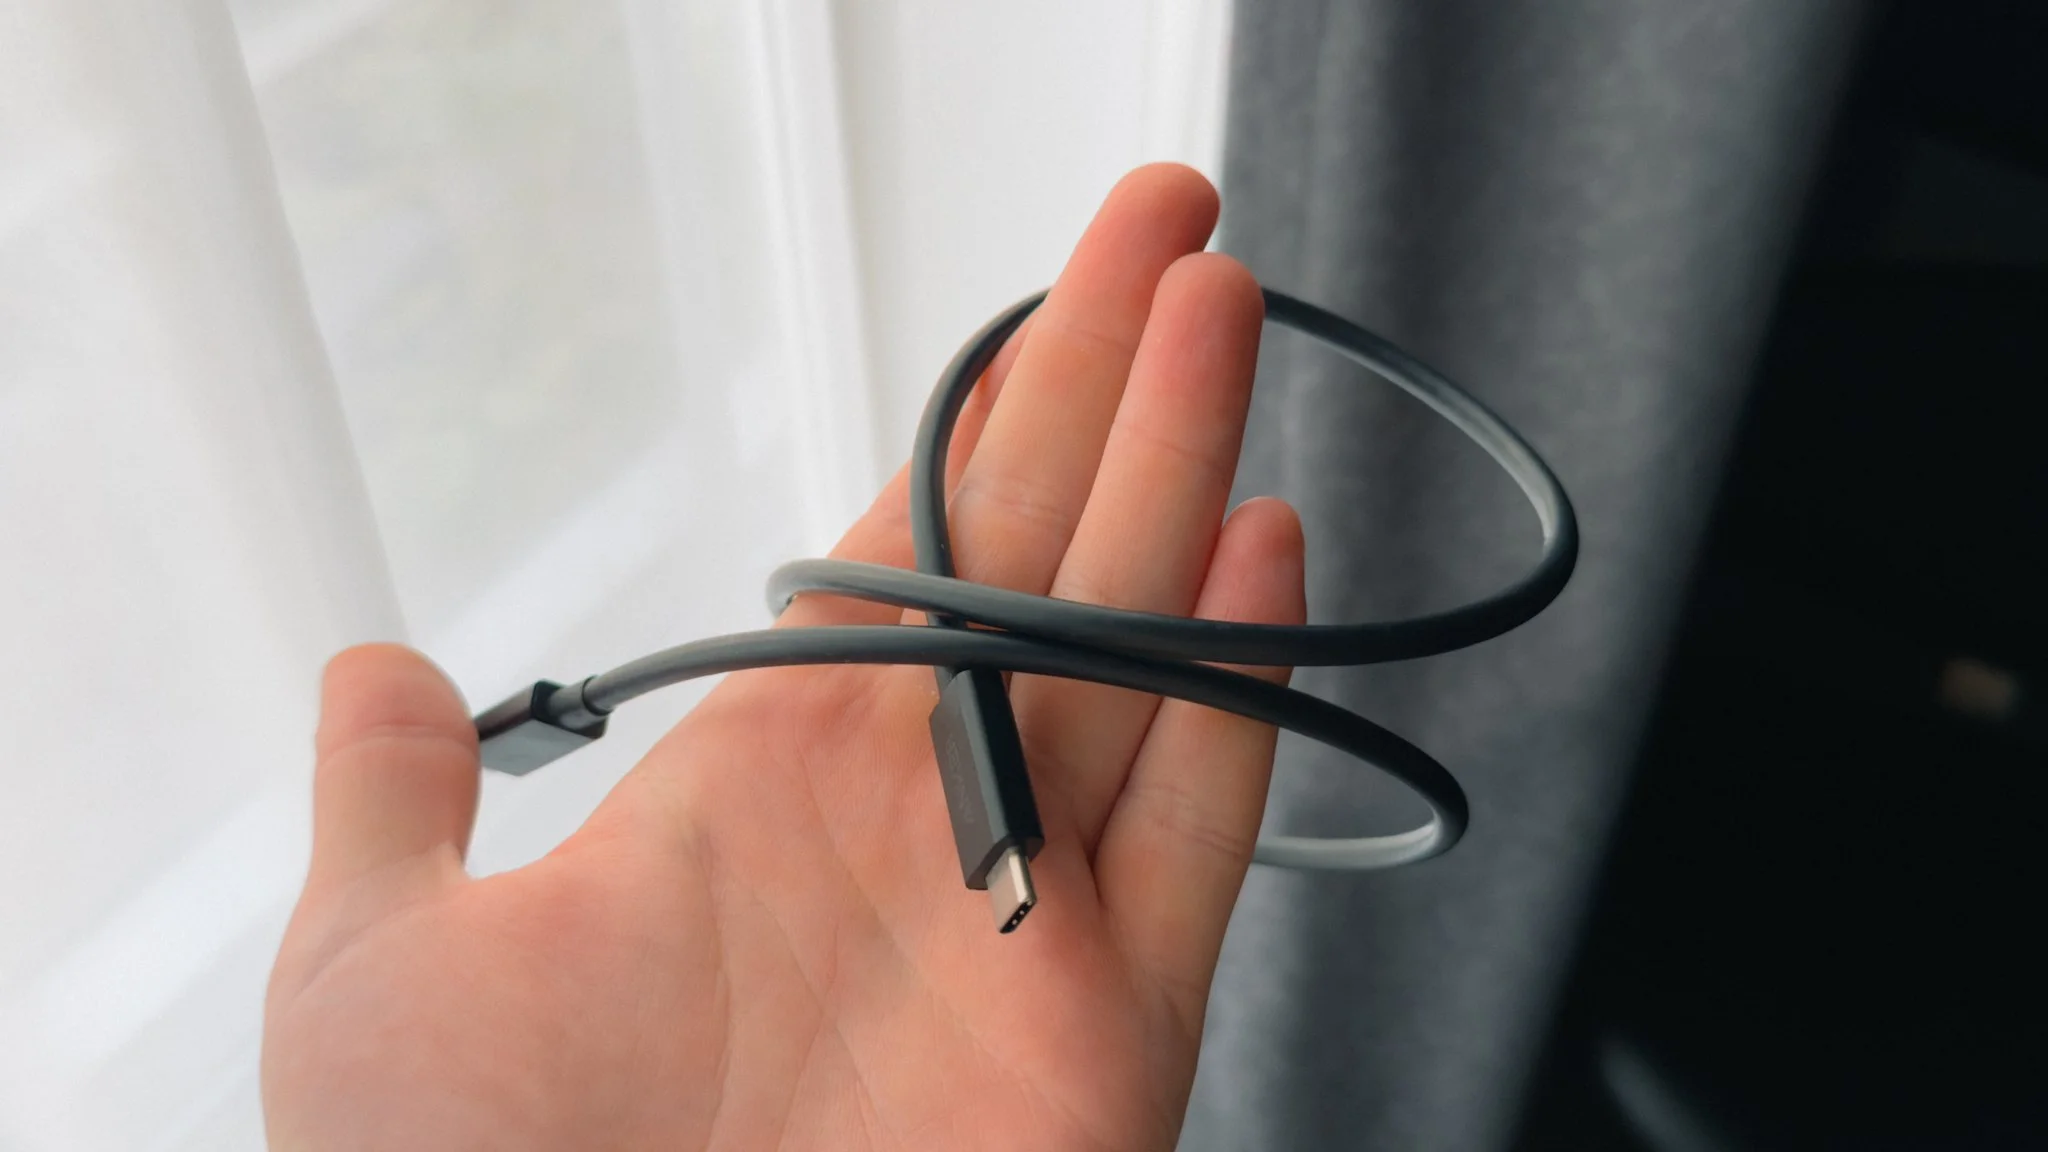
Thunderbolt Cable
When it comes to offloading your photos from your camera to a computer, I would highly recommend getting a Thunderbolt 4 cable. This allows you to plug your camera directly into your device and offload files at an incredibly fast rate. This is also better than always taking the memory card in and out. I use Thunderbolt 4 cables by Anker. https://geni.us/QNUHws3
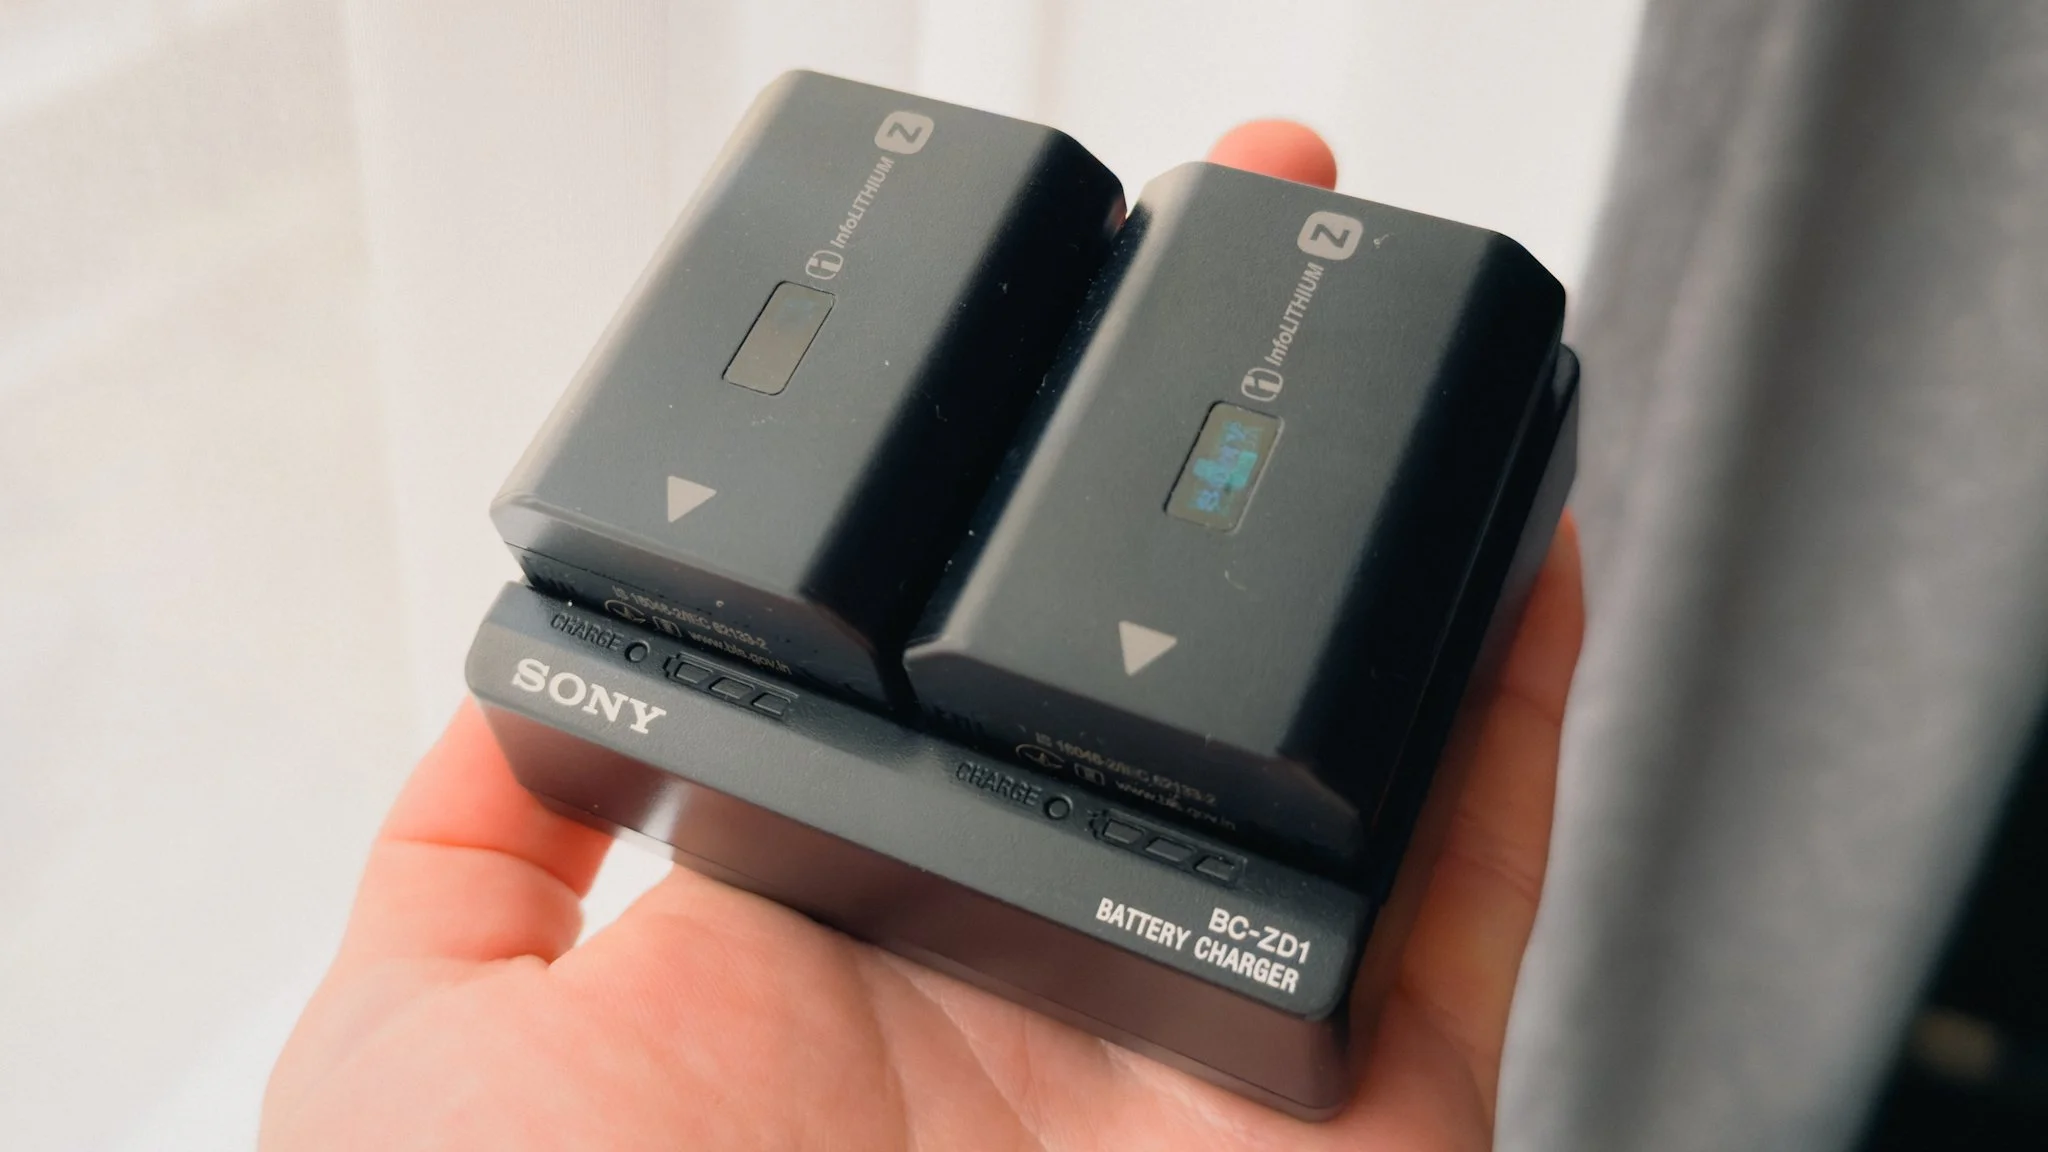
Battery & Charger
A spare battery is essential. I’ve always used genuine ones as I’m a bit paranoid about cheaper third-party ones playing havoc with the camera. I also picked up the rapid charger from Sony which is insanely fast.
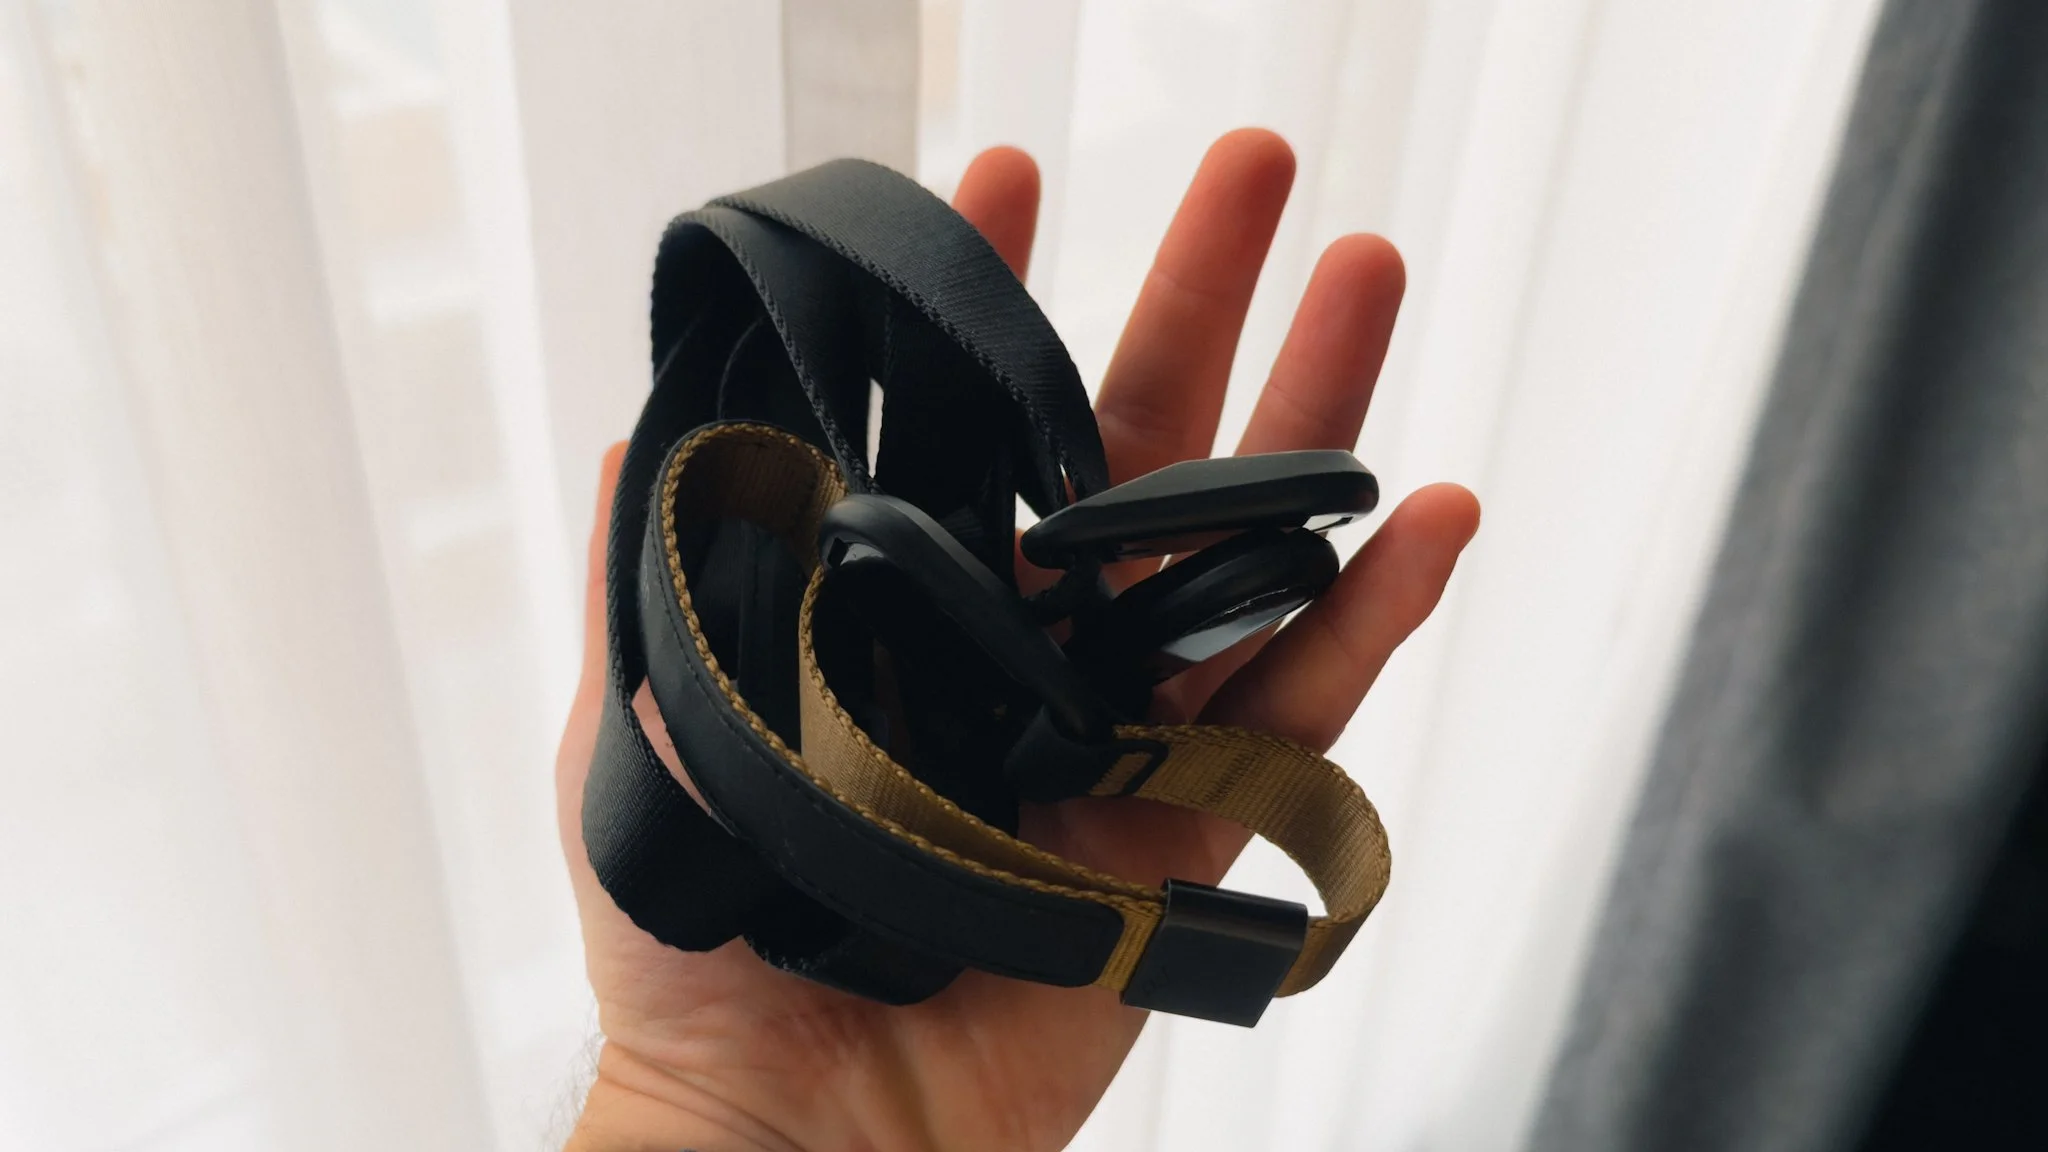
PD Neck & Wrist Strap
I have two straps from Peak Design, one for neck and one for wrist. Sometimes I want to throw the camera round my shoulder for a casual walk round town. Other times I want the camera to stay in hand if my main focus is photography. Wrist: https://geni.us/jpkNkQl Neck: https://geni.us/Jybbd1m
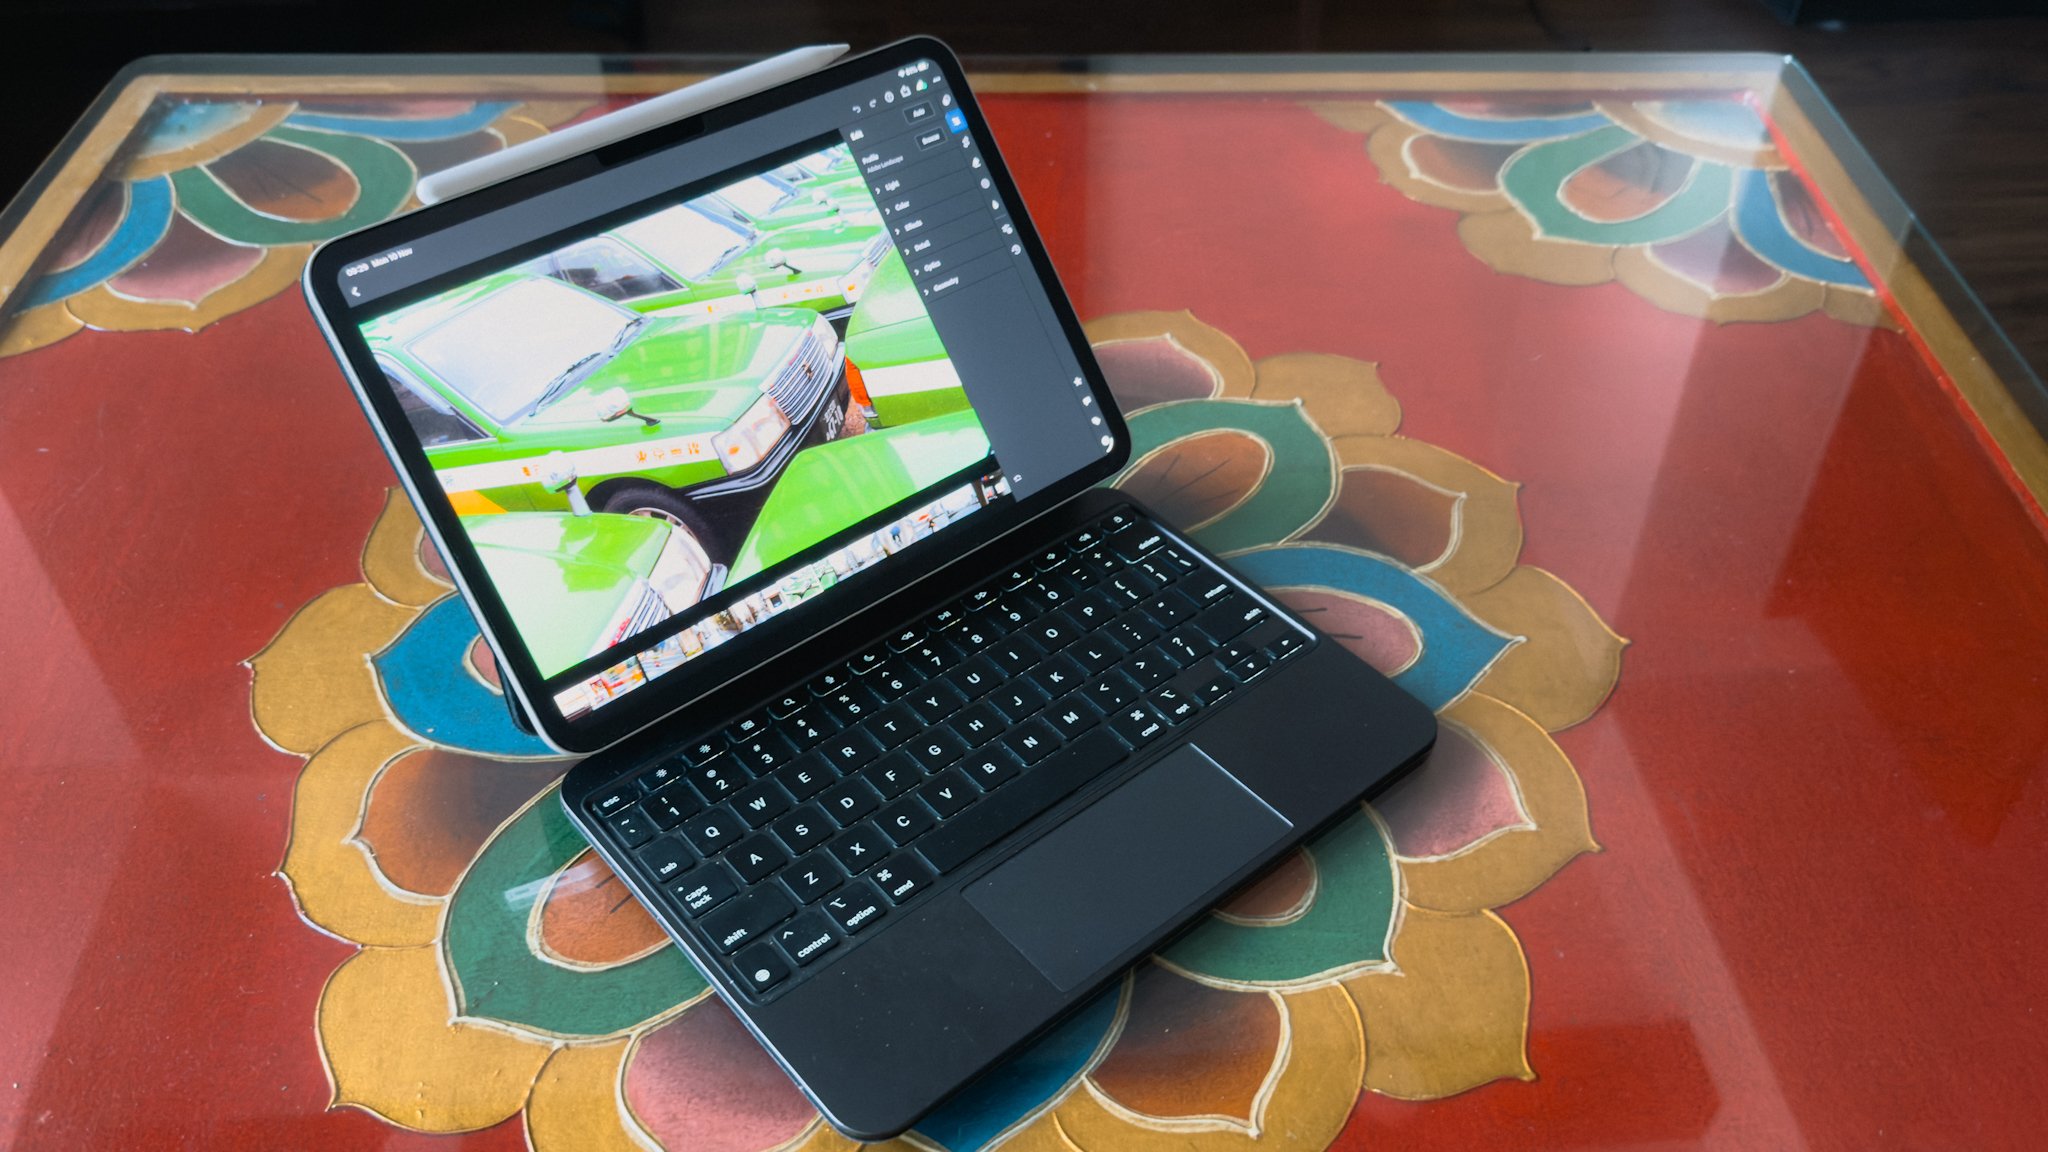
iPad Pro
Unless I’m going on a multi month trip where I need to get a lot of work done, my laptop stays at home, and instead I bring my 11” iPad Pro. When travelling, the iPad is a much more versatile tool. I’ve published a whole blog on it you can read here.
Sandisk 8TB SSD
I always bring my 8TB drive for backups of everything I shoot. My iPad has 2TB of storage inside, however the SSD is there as another layer of safety, plus extra storage just in case. 8TB wasn’t cheap, but having the peace of mind knowing I will never run out of room is worth more to me. https://geni.us/6TOH

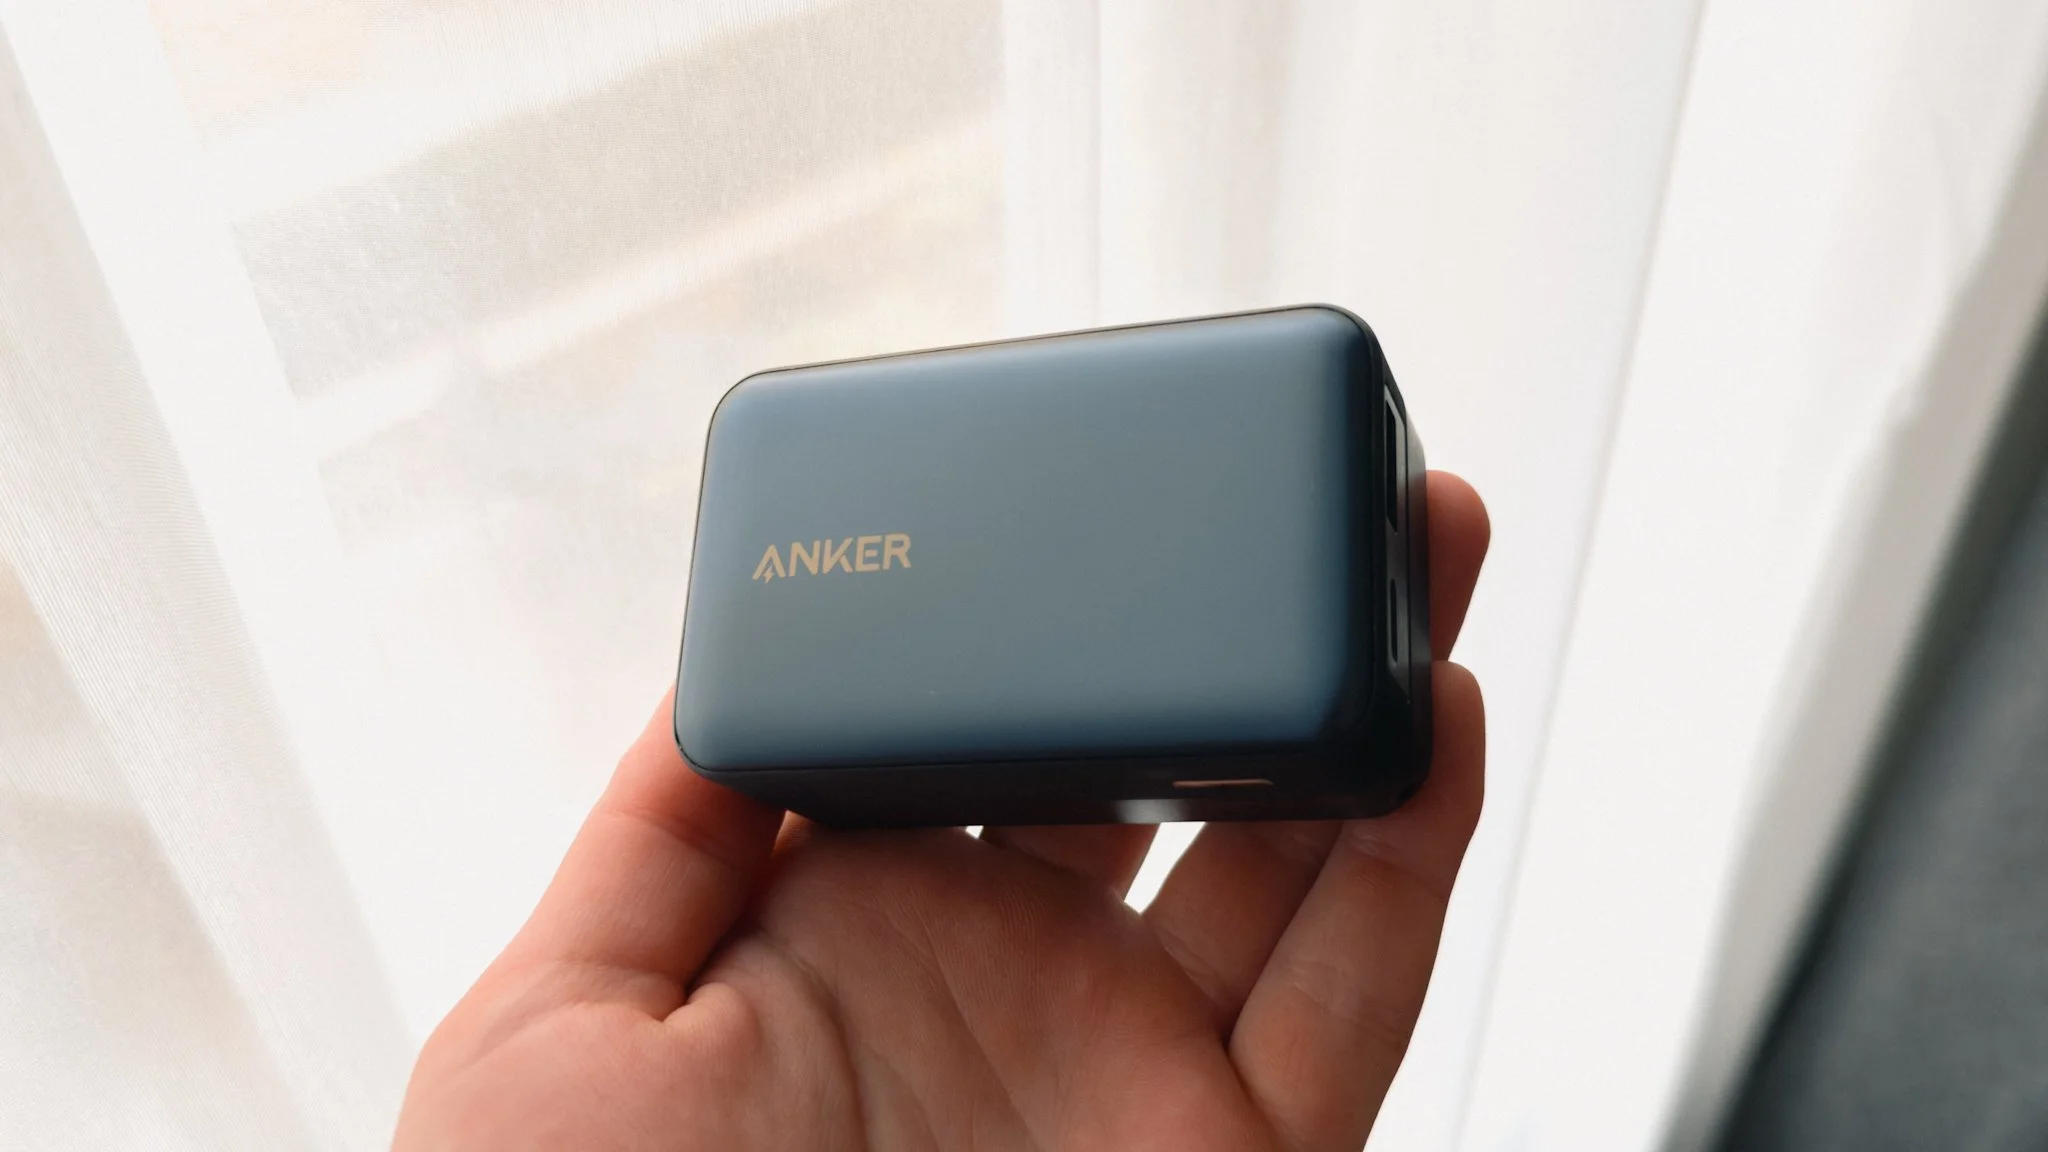
Anker Battery Pack
I wouldn’t leave the house without it. https://geni.us/Ob5HW
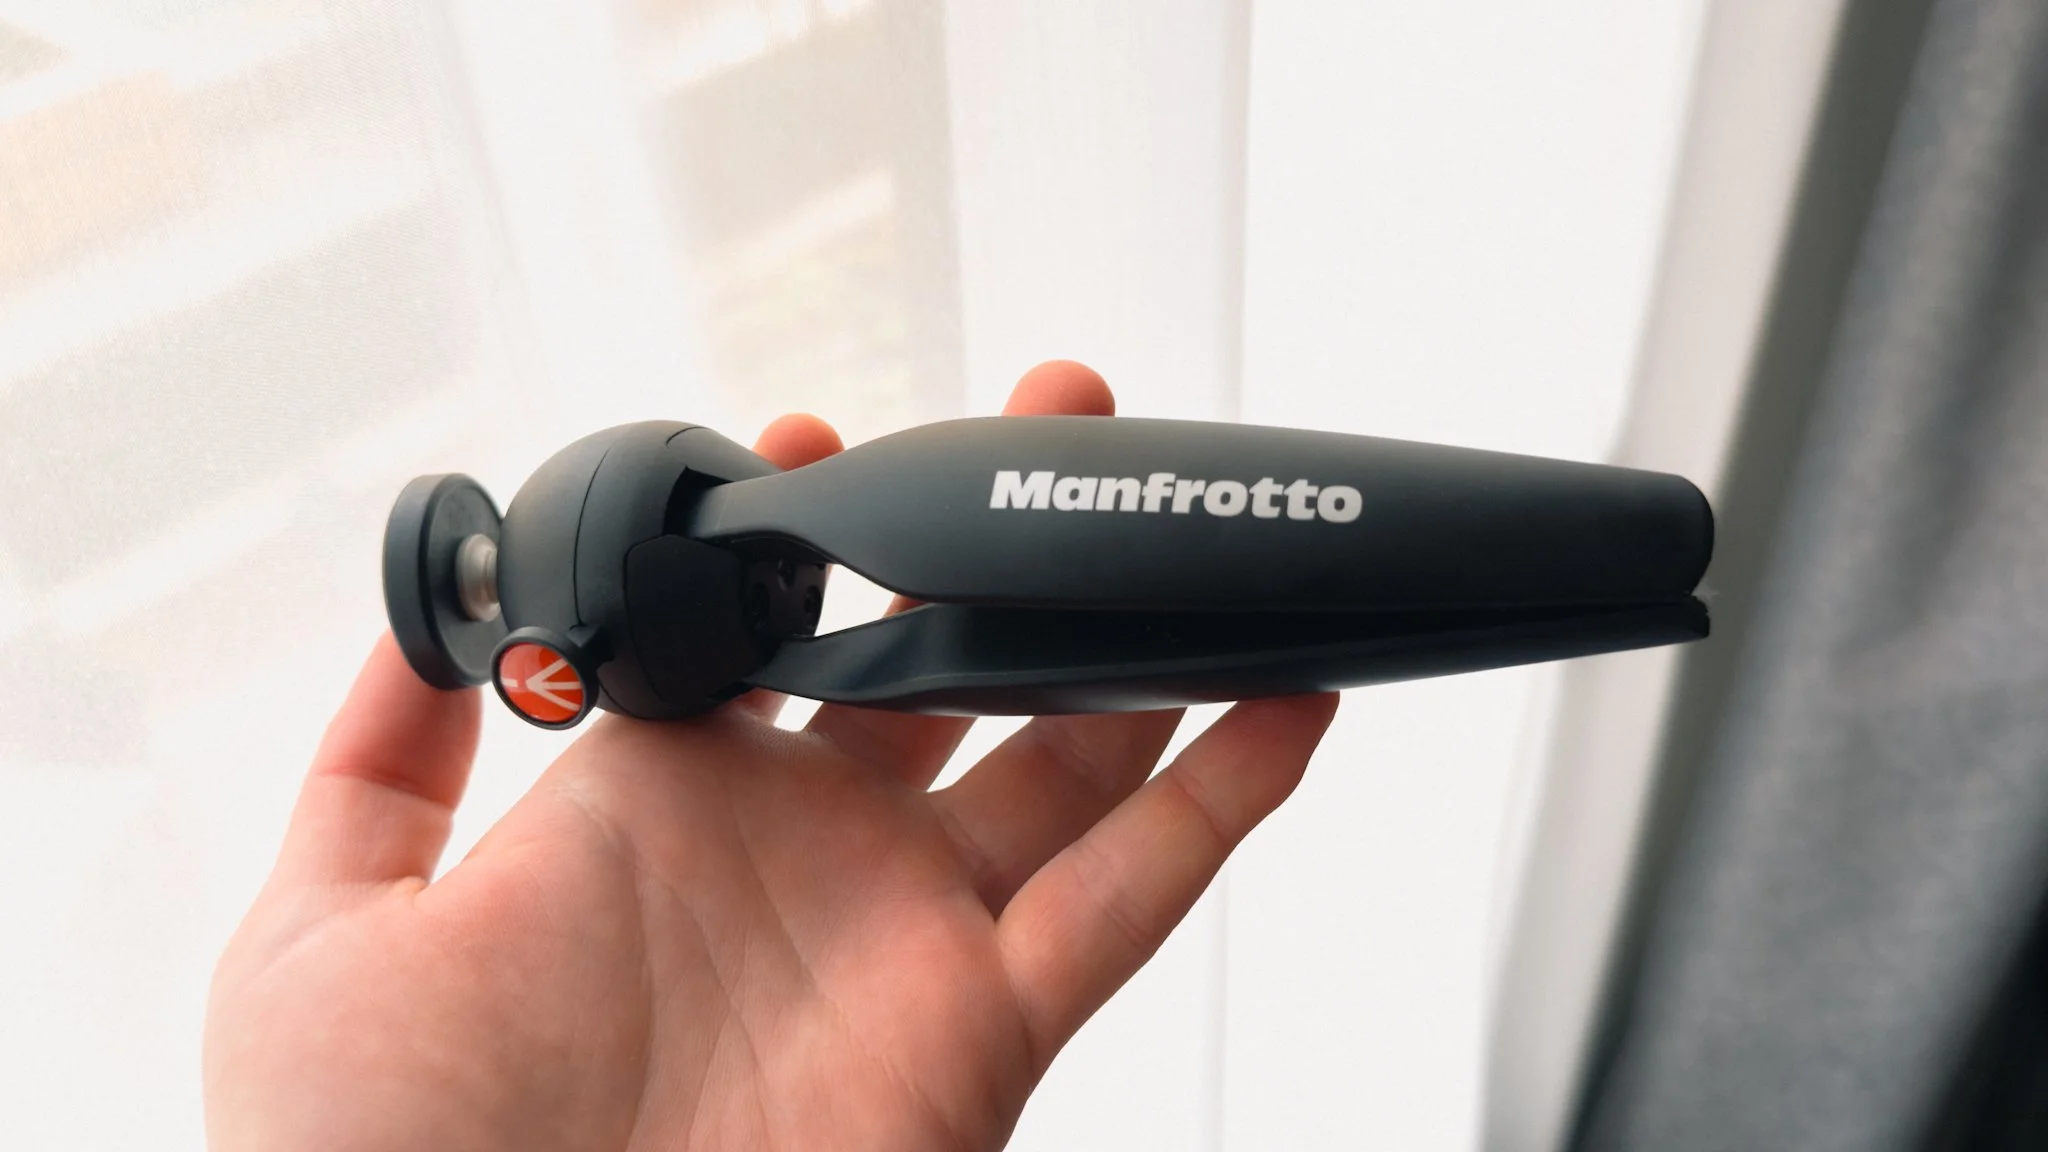
Mini Tripod
I don’t use tripods for photography what so ever, however I always travel with a mini tripod just in case. This was proved incredibly useful earlier this year when I needed a long shutter speed to get a photo of Etna erupting. I find the Manfrotto Pixie one to be the easiest to use, however they all do the same thing. https://geni.us/oLGgdOj
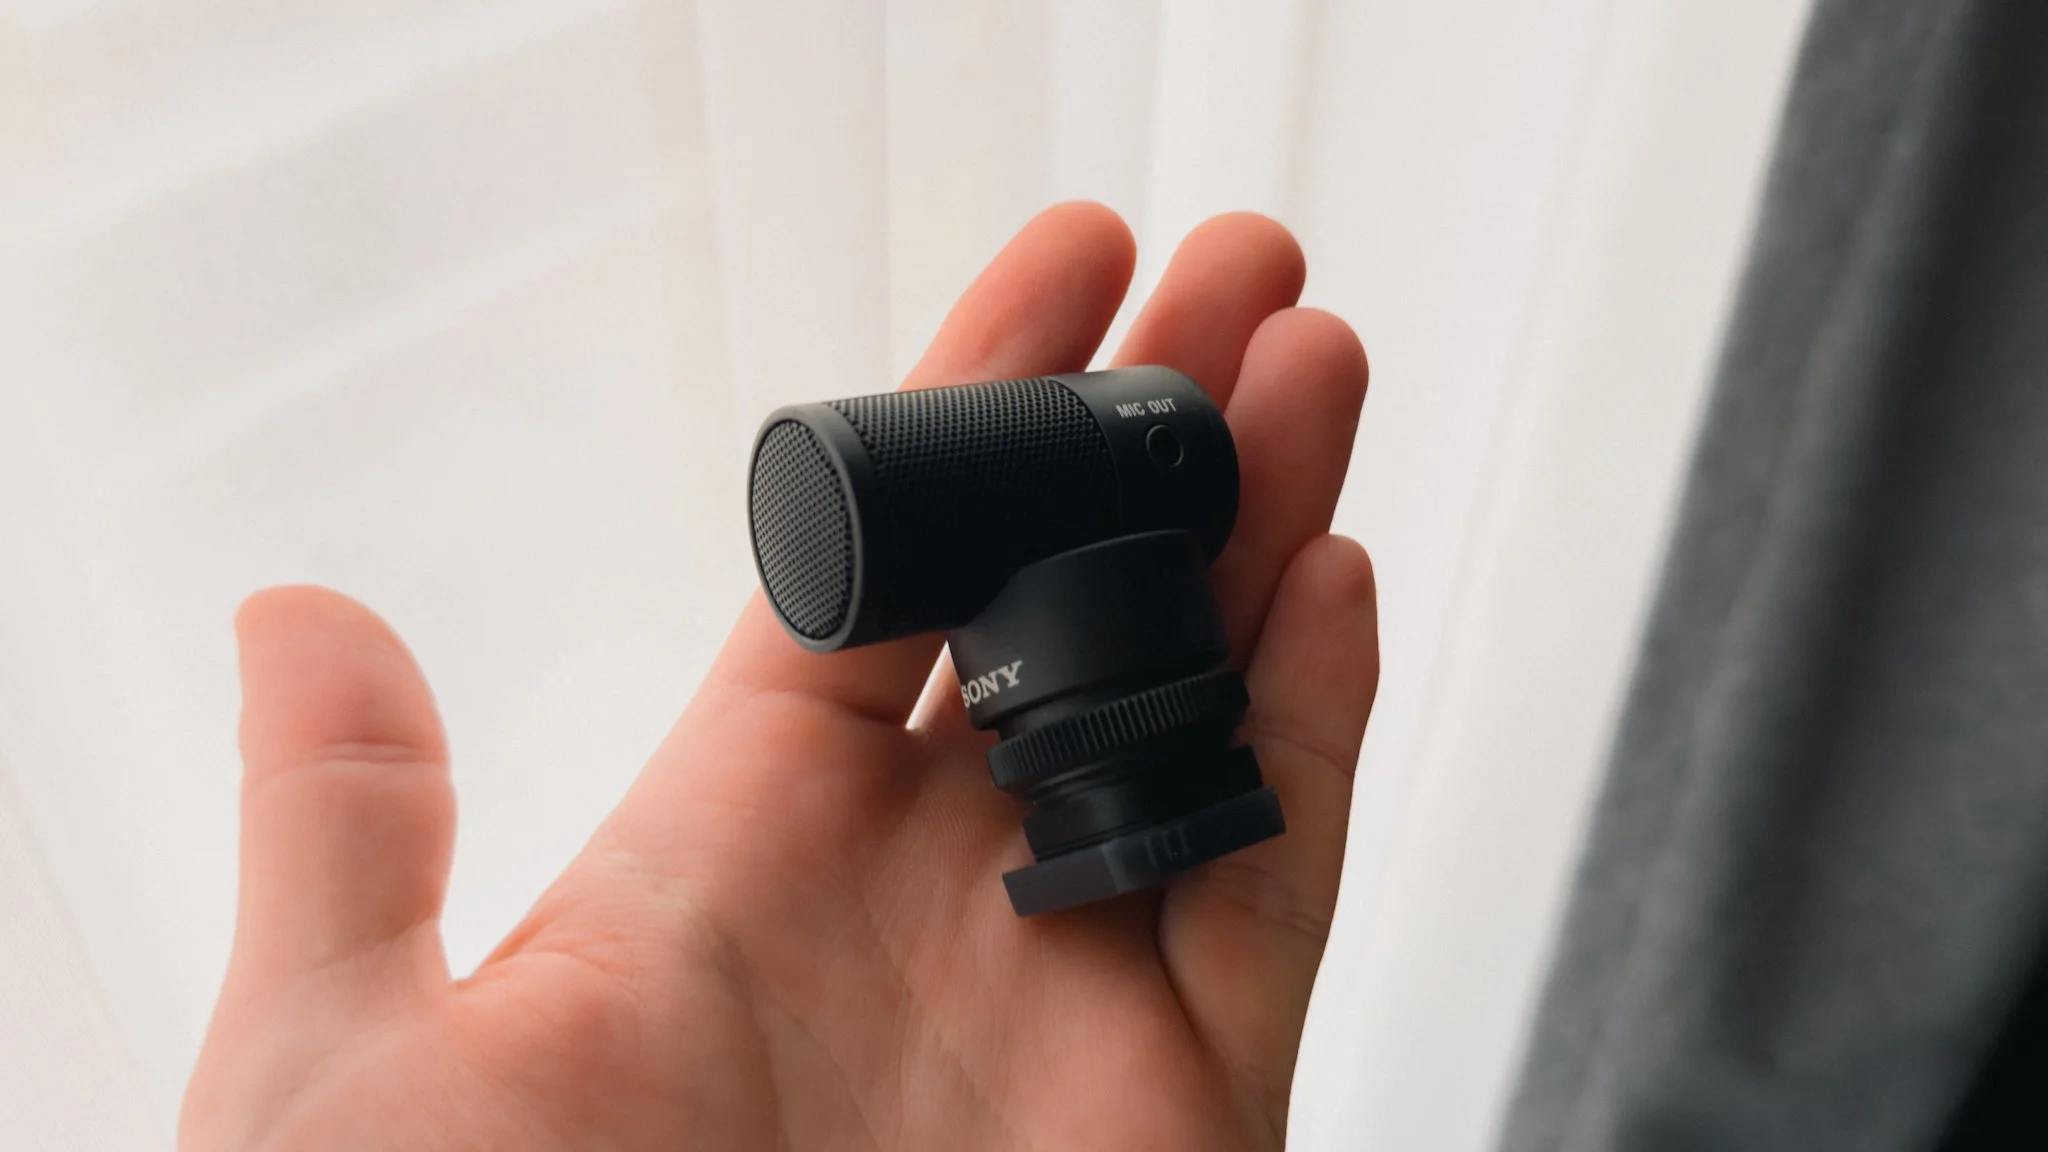
Small Mic
This isn’t a photography accessory, and if you don’t care about video at all, feel free to stop reading here. While the A7RV and A7CR are amazing photo cameras, their video capabilities are just as good. I often find myself taking small video clips of scenes as memories or to share alongside the photos. The built-in mics are fine, but on windy days can result in ruined audio. I picked up the tiny Sony ECM-G1 mic that connects via the hot shoe and gives clean, high-quality audio. https://geni.us/hf9QYE
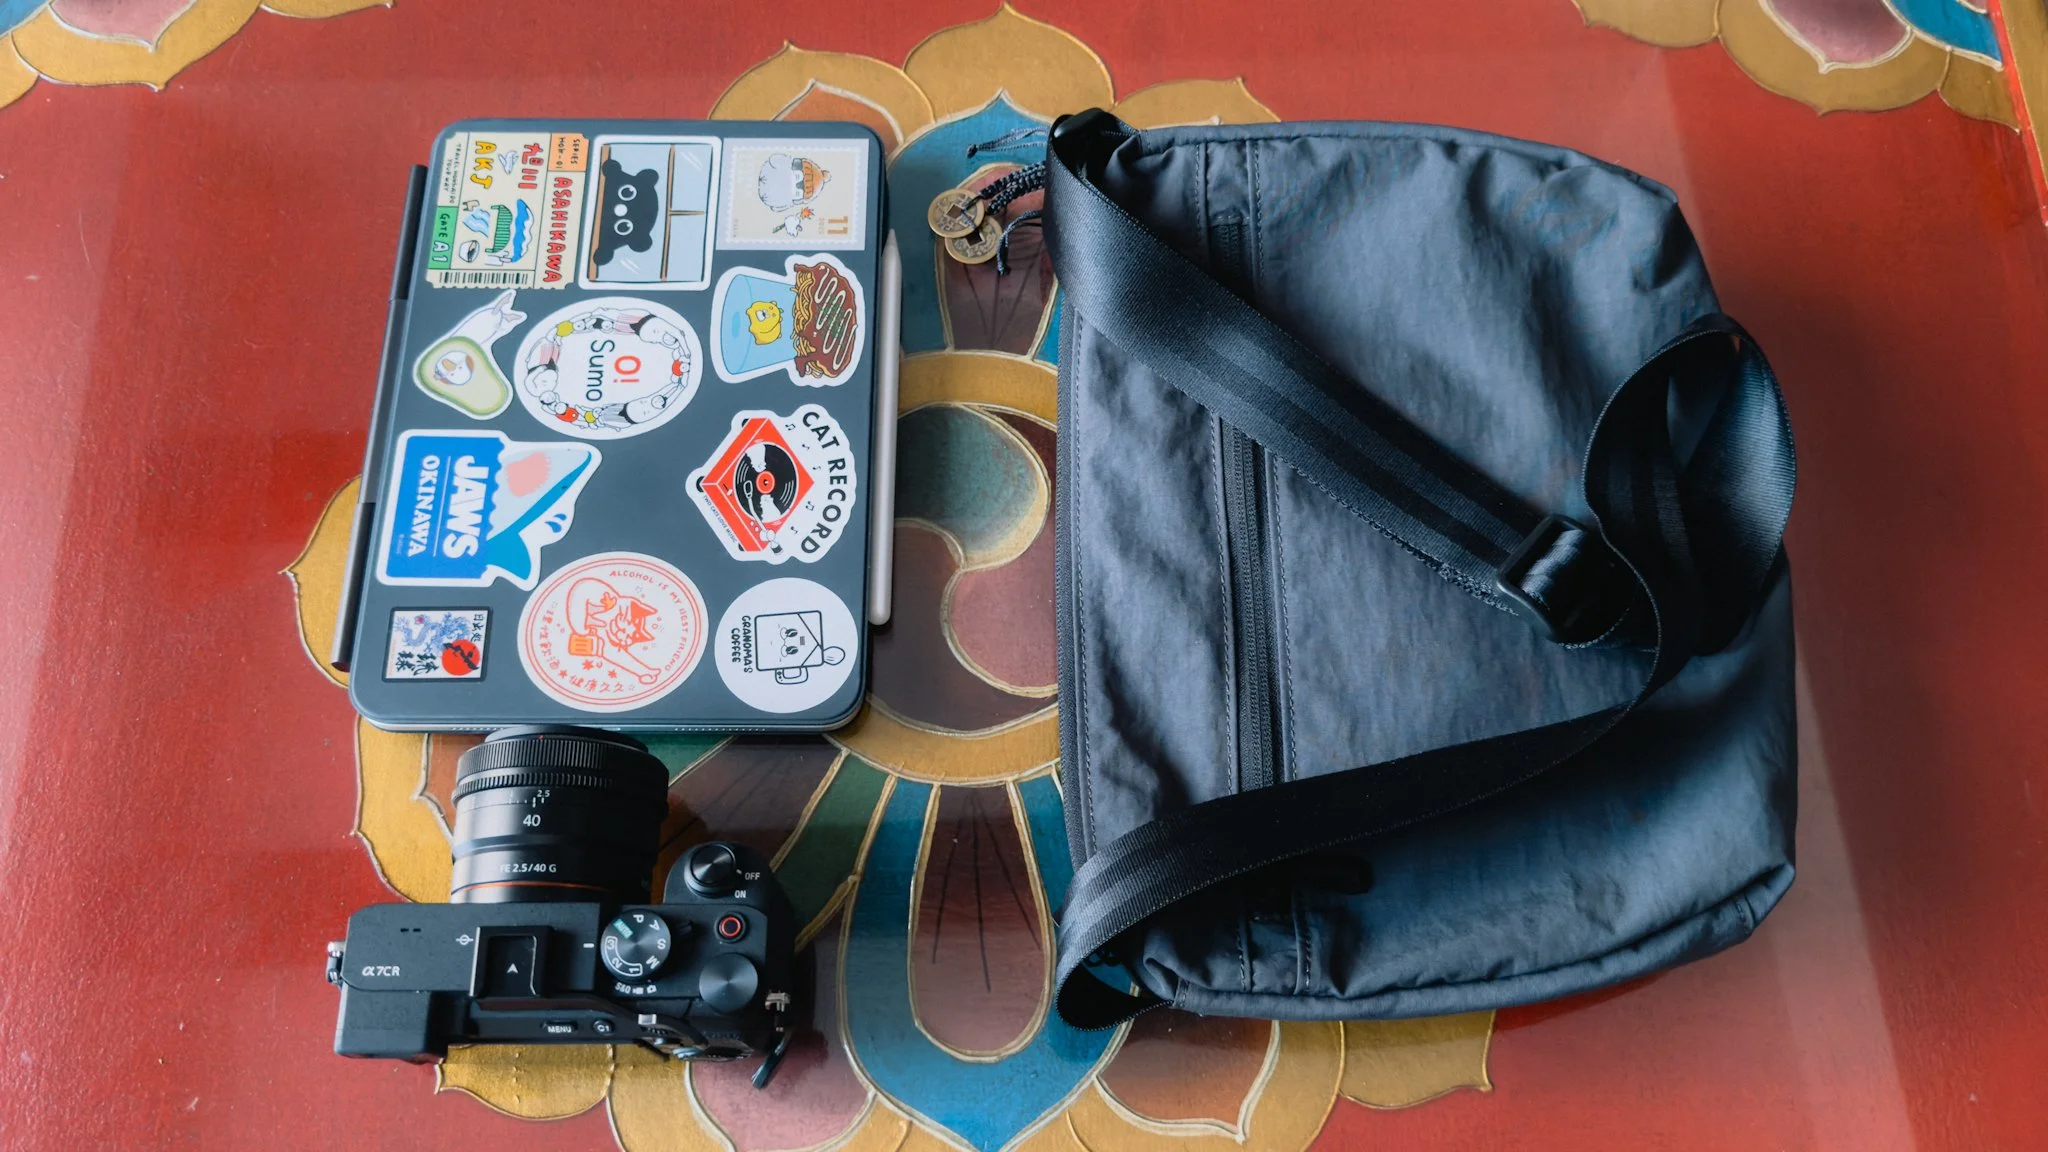
Bags…
In previous blogs I used to recommend specific bags I was using at the time, however these days I find myself using a bunch of different bags depending on destination, duration, and trip purpose. The brand of bag doesn’t matter, as after trying a bunch of different ones, I learned that they all do the same job. The most important thing is that it’s comfortable, secure, and suitable for the weight you are carrying.
I generally have a small backpack and a sling. The backpack is great for long walks, hiking, beach days, or if I am bringing big lenses. The sling is better some street photography and exploring the city. Backpacks offer better ergonomics if you have a heavy load, slings are preferred in cities due to their security.