iPhone 16 Pro Camera Review
In this blog I will review the camera system on the iPhone 16 Pro and share my thoughts on what this phone is like to use as a camera after 6 months of daily use. This isn’t a phone review, and I will only touch on the camera aspects. I will also only review the default apps that come installed with the phone. Finally it’s worth noting I use my iPhone 16 Pro as a daily carry point and shoot, and while I have my dedicated cameras for when I want to focus on photography, the iPhone is my trusty everyday companion. I don’t use it for any professional or serious work.

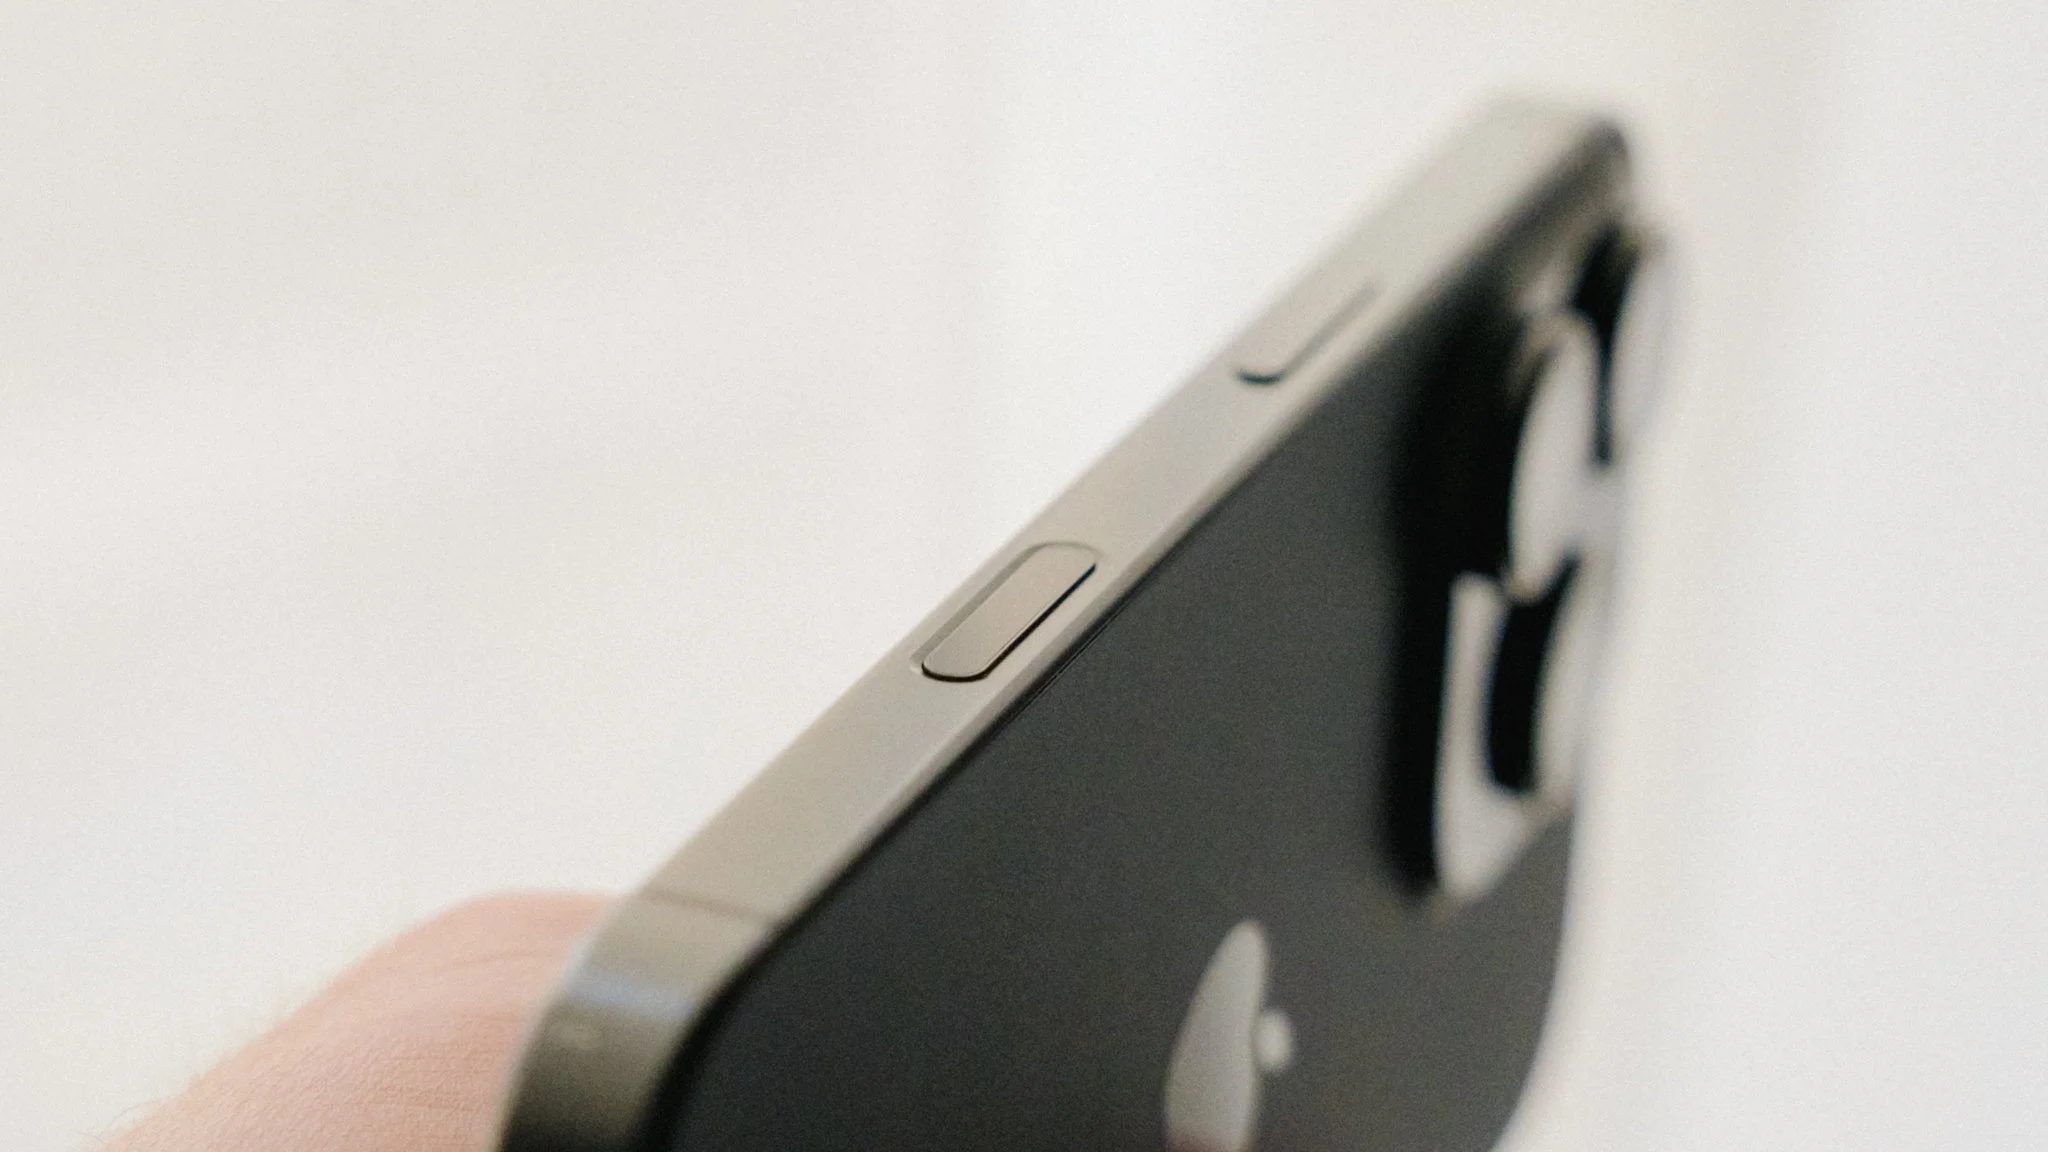
Camera Control Button
The biggest change has been the addition of the camera control button on the bottom right of the handset. The promise is that this is your dedicated camera button that can act as a shutter, as well as a control for a bunch of settings. In practice, the experience has been mixed. As a tool to launch the camera app and take a vertical shot, this button is incredible. I can launch the app as I’m pulling my phone out, and take a photo without moving my hand from the handset. It’s also great for locking the focus and exposure value by lightly pressing.
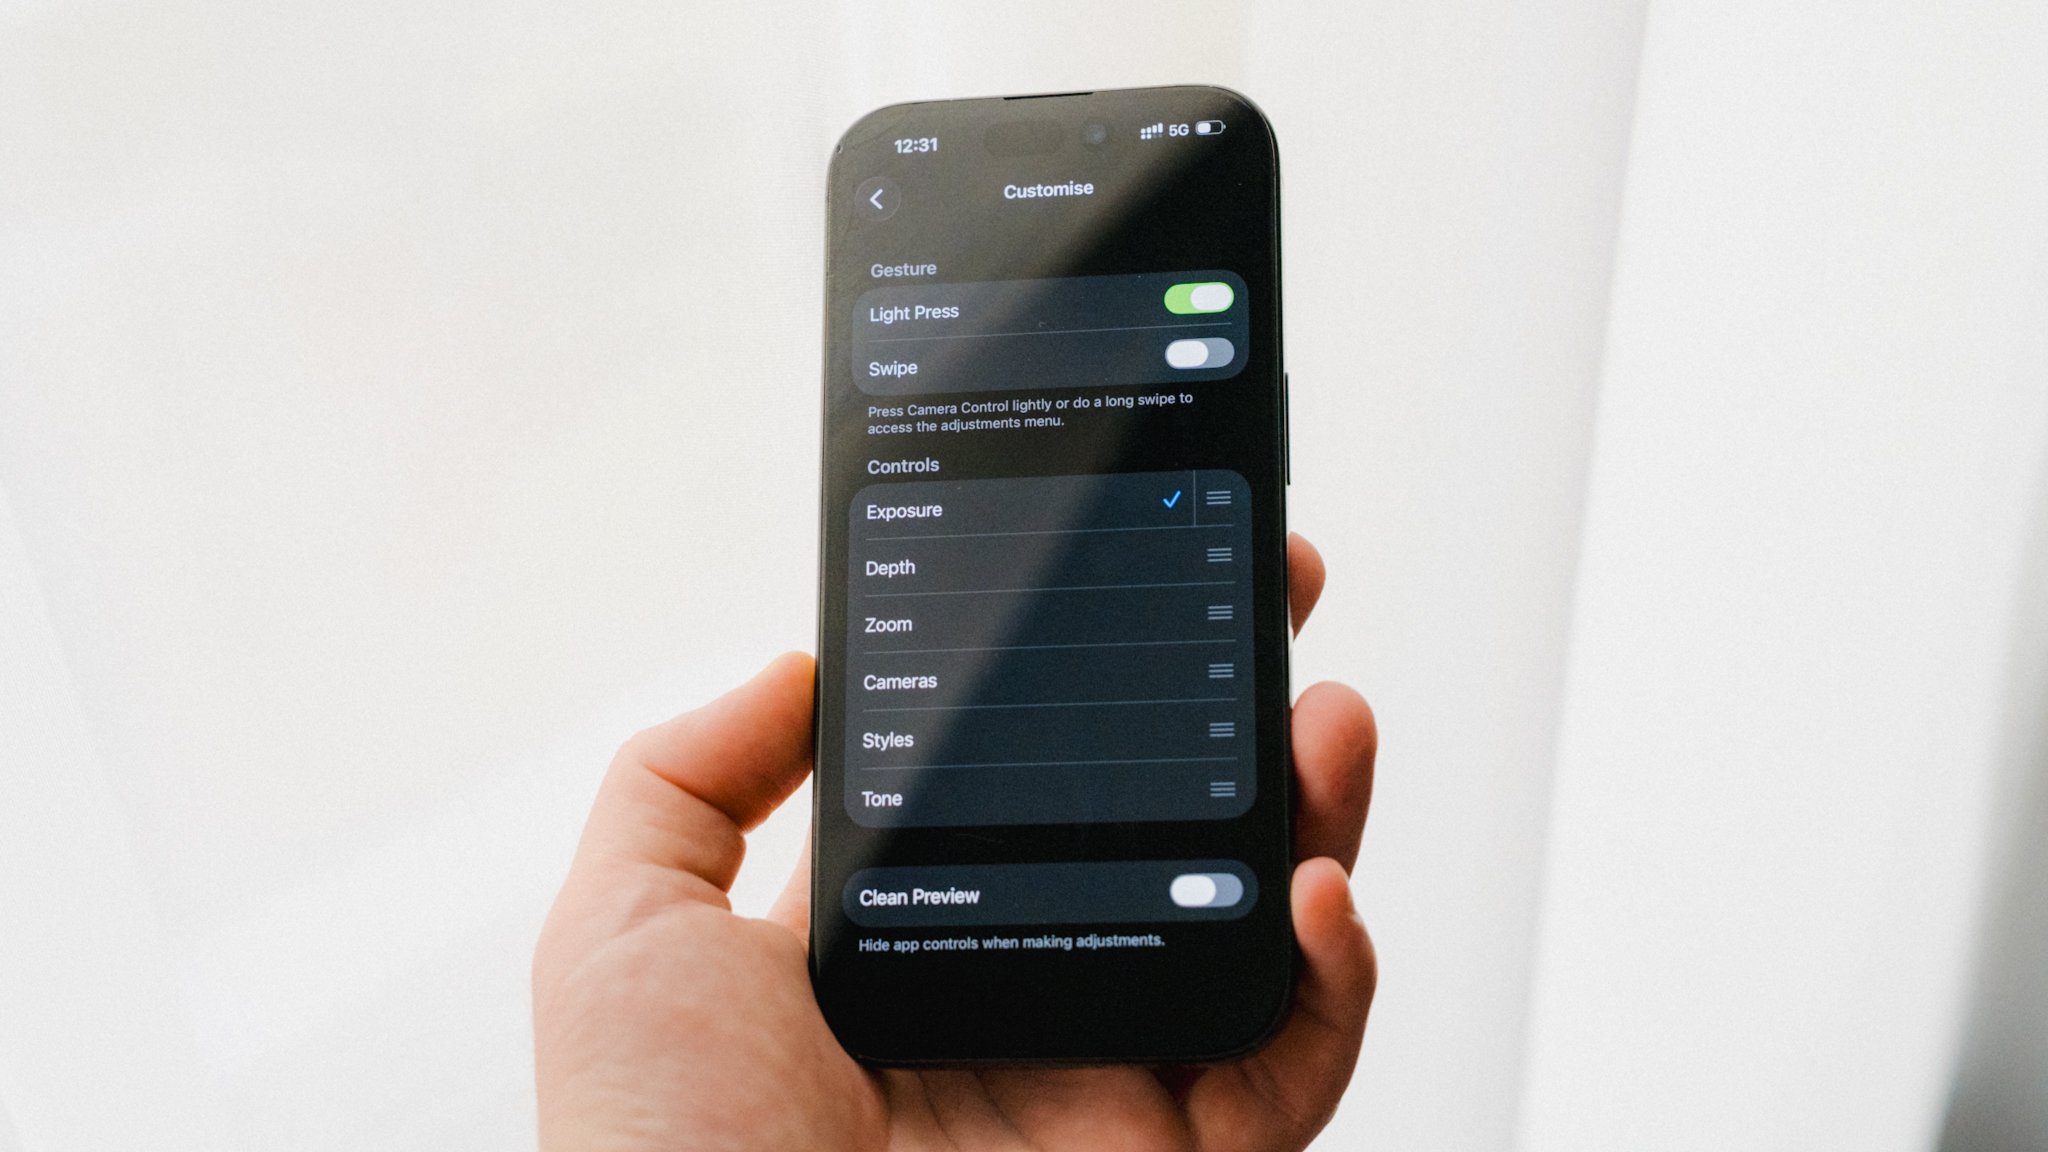
Where this feature falls a little flat is when it comes to adjusting settings. In the menu, you can set it to adjust everything from exposure, zoom, and a bunch of other parameters. It sounds great, but in reality it results in accidental changes, less-than-desirable performance, and a feature which feels too complicated. I ended up limiting the usage of this button to just taking photos and locking the focus by lightly pressing. Only then did it become a helpful addition, not a hindrance.
Know The Limitations
Before getting into details, it’s worth understanding the limitations of what an iPhone can do. While Apple is great at making it seem like the best camera in the world that can do everything, the reality is a little different. By far the biggest limitation is the small sensor size. Whatever fancy marketing wording Apple uses, and whatever AI computational 50-layer image processing software they implement, there’s no way to get around physics. To squeeze the most out of this sensor, you need to shoot in places with ample lighting. More light will result in cleaner, sharper images that are more pleasing to the eye. Lower light will prove more challenging.
Photography
You get 3 physical lenses and additional digital crops. The 1X lens is the primary wide lens and the one with the biggest sensor, highest resolution, fastest lens, and overall the best image quality. If you want the absolute best image out of the iPhone, this is the lens you need to use. The original focal length is 24mm, however it can be digitally cropped to 28mm and 35mm without noticeable degradation in image quality.
The 2X “lens” is nothing more than a digital crop of the 1X lens, and while it’s great in a pinch, it’s a feature I personally avoid.
The 5X equates to around 120mm, and while the overall quality is lower, it’s still plenty good enough assuming you have good light.
The 0.5X lens gives you a 13mm focal length, and just like the 5X, also has a reduction in overall image quality compared to the primary wide lens.


ProRAW has been around for a while and it’s still the single best feature to come to the iPhone. It allows you to remove that overly processed look and edit your files how you see fit without losing much data. It’s not a magic bullet to turn garbage into gold, however it can definitely help you get the most out of the iPhone sensor. While the additional picture profiles are fun, I only shoot in ProRAW.
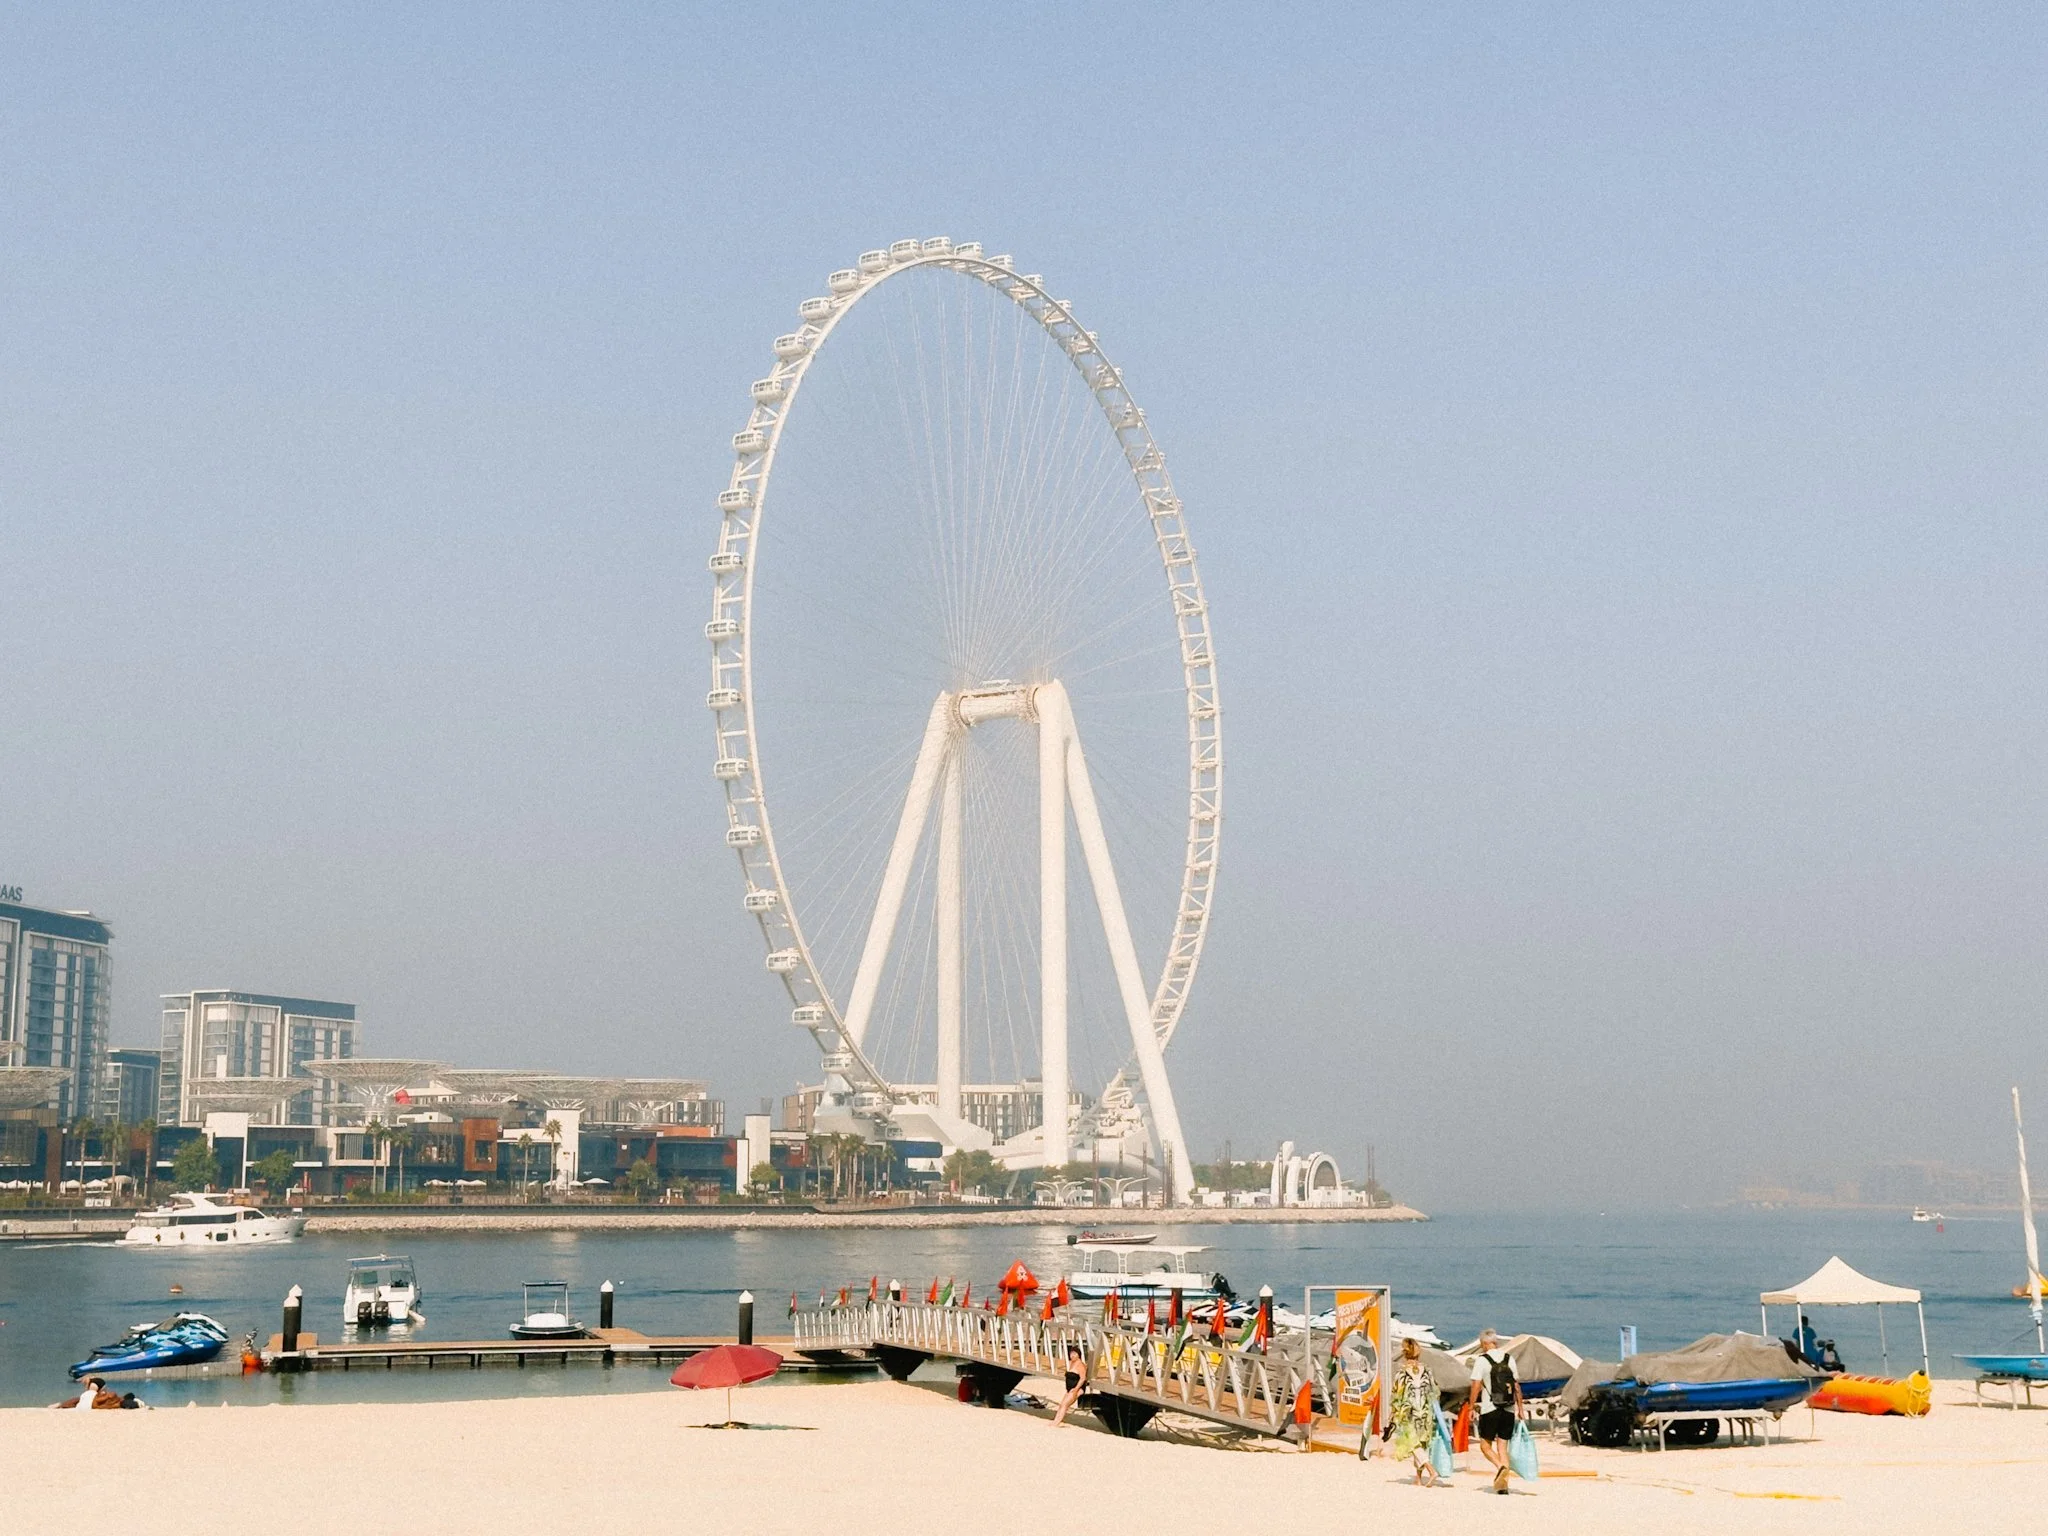
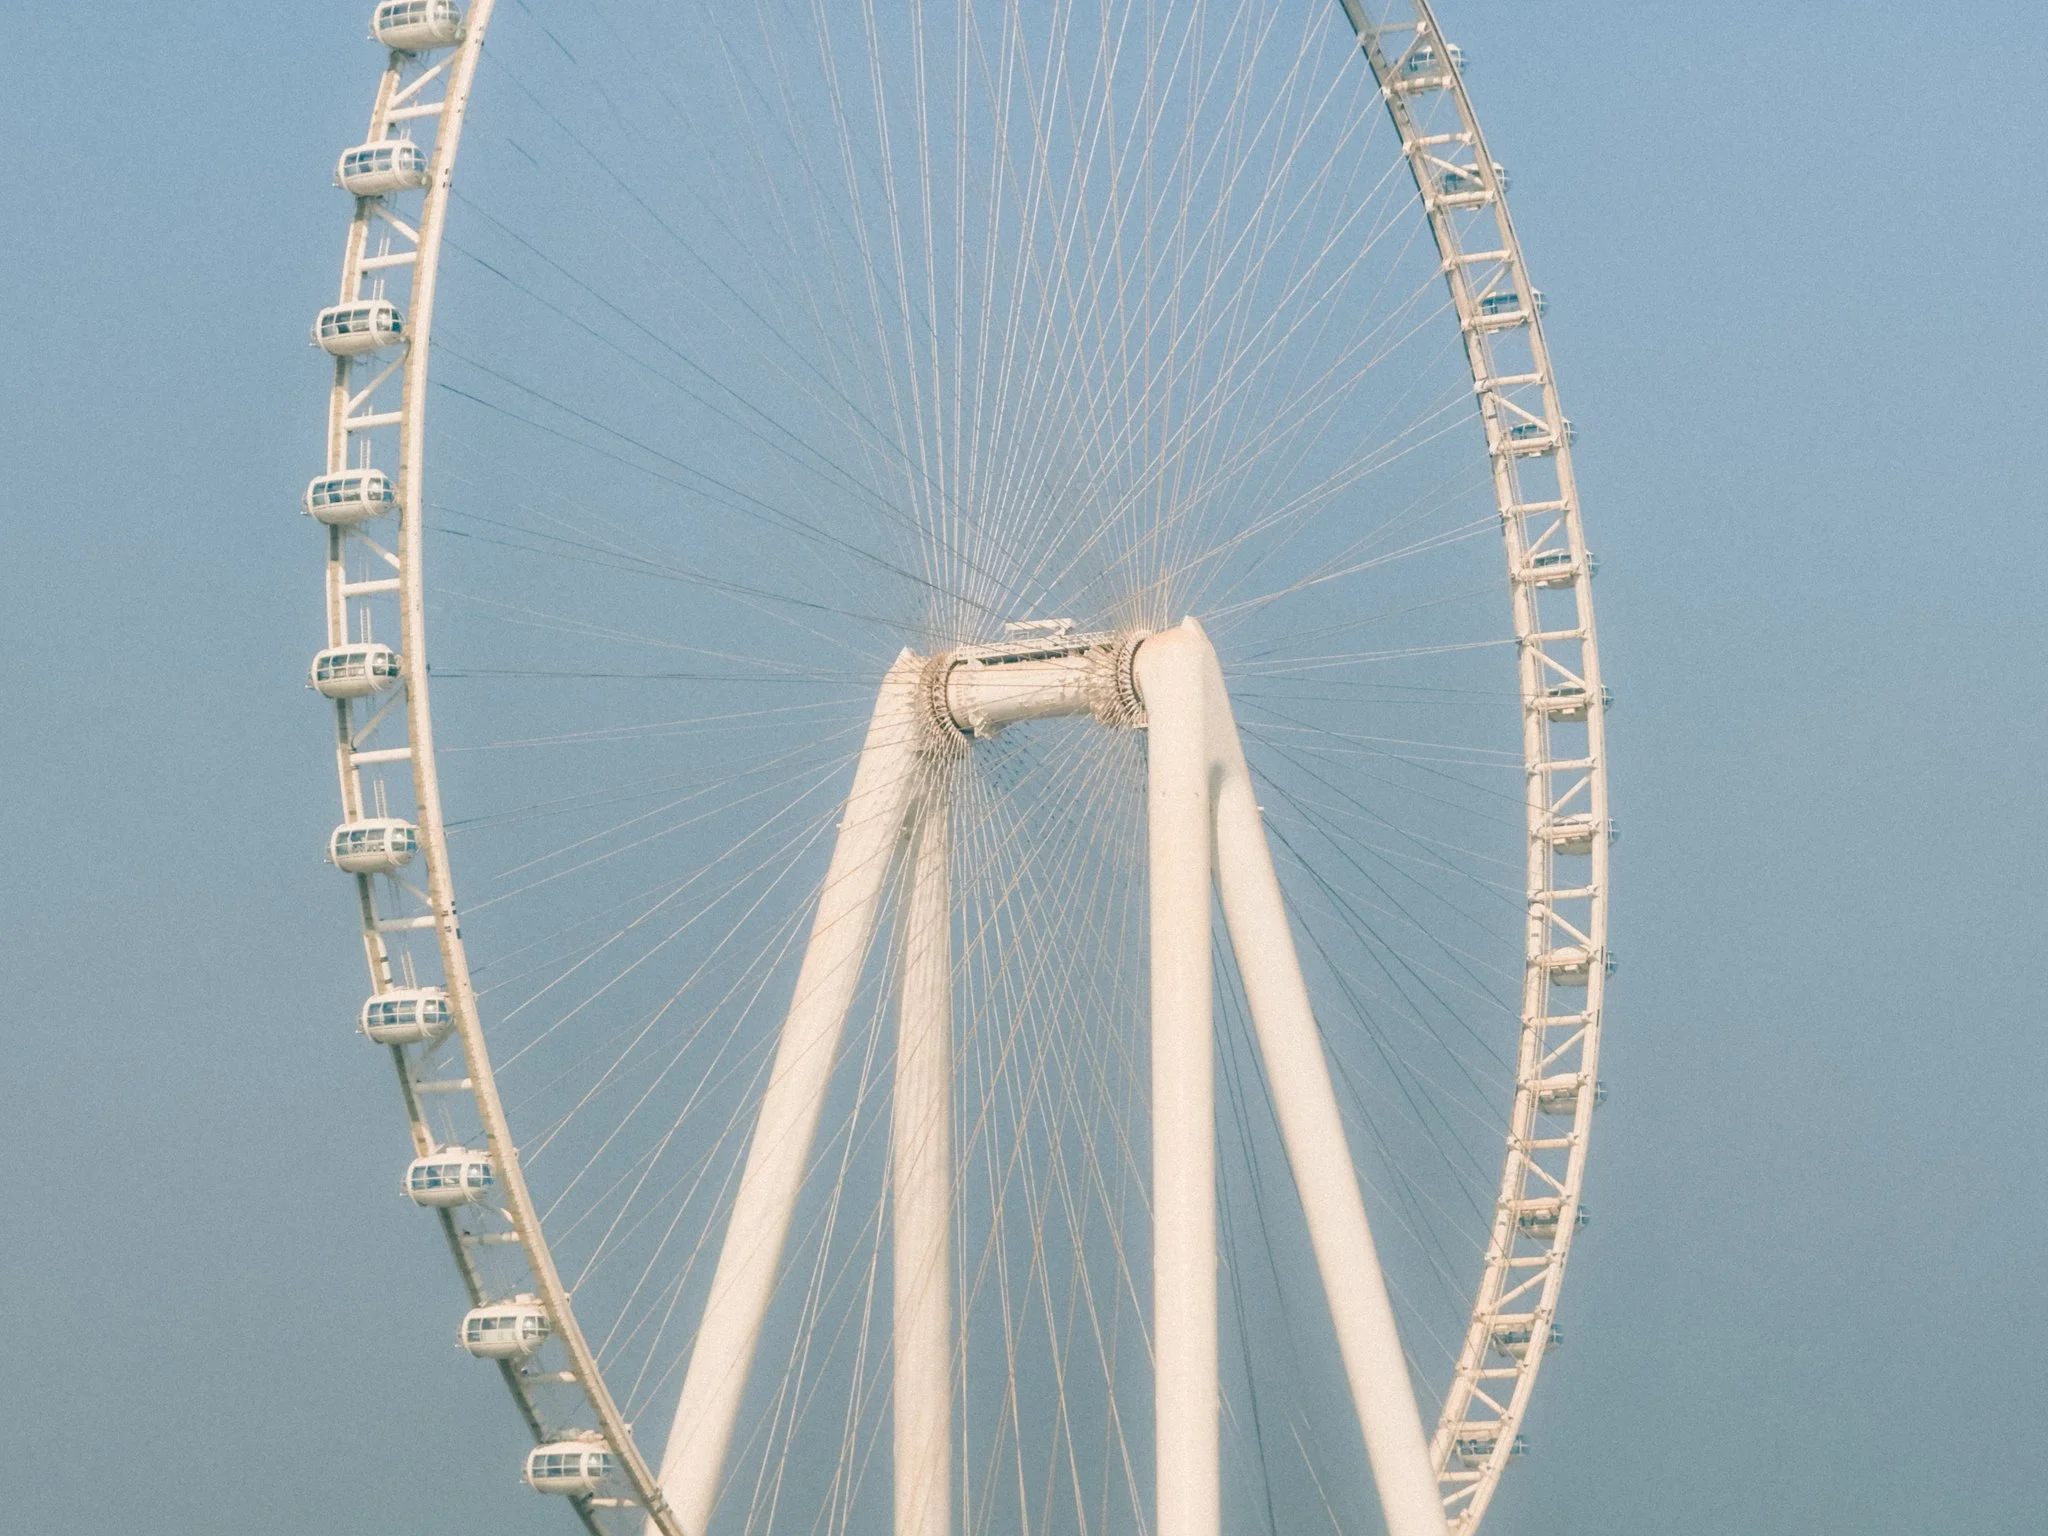
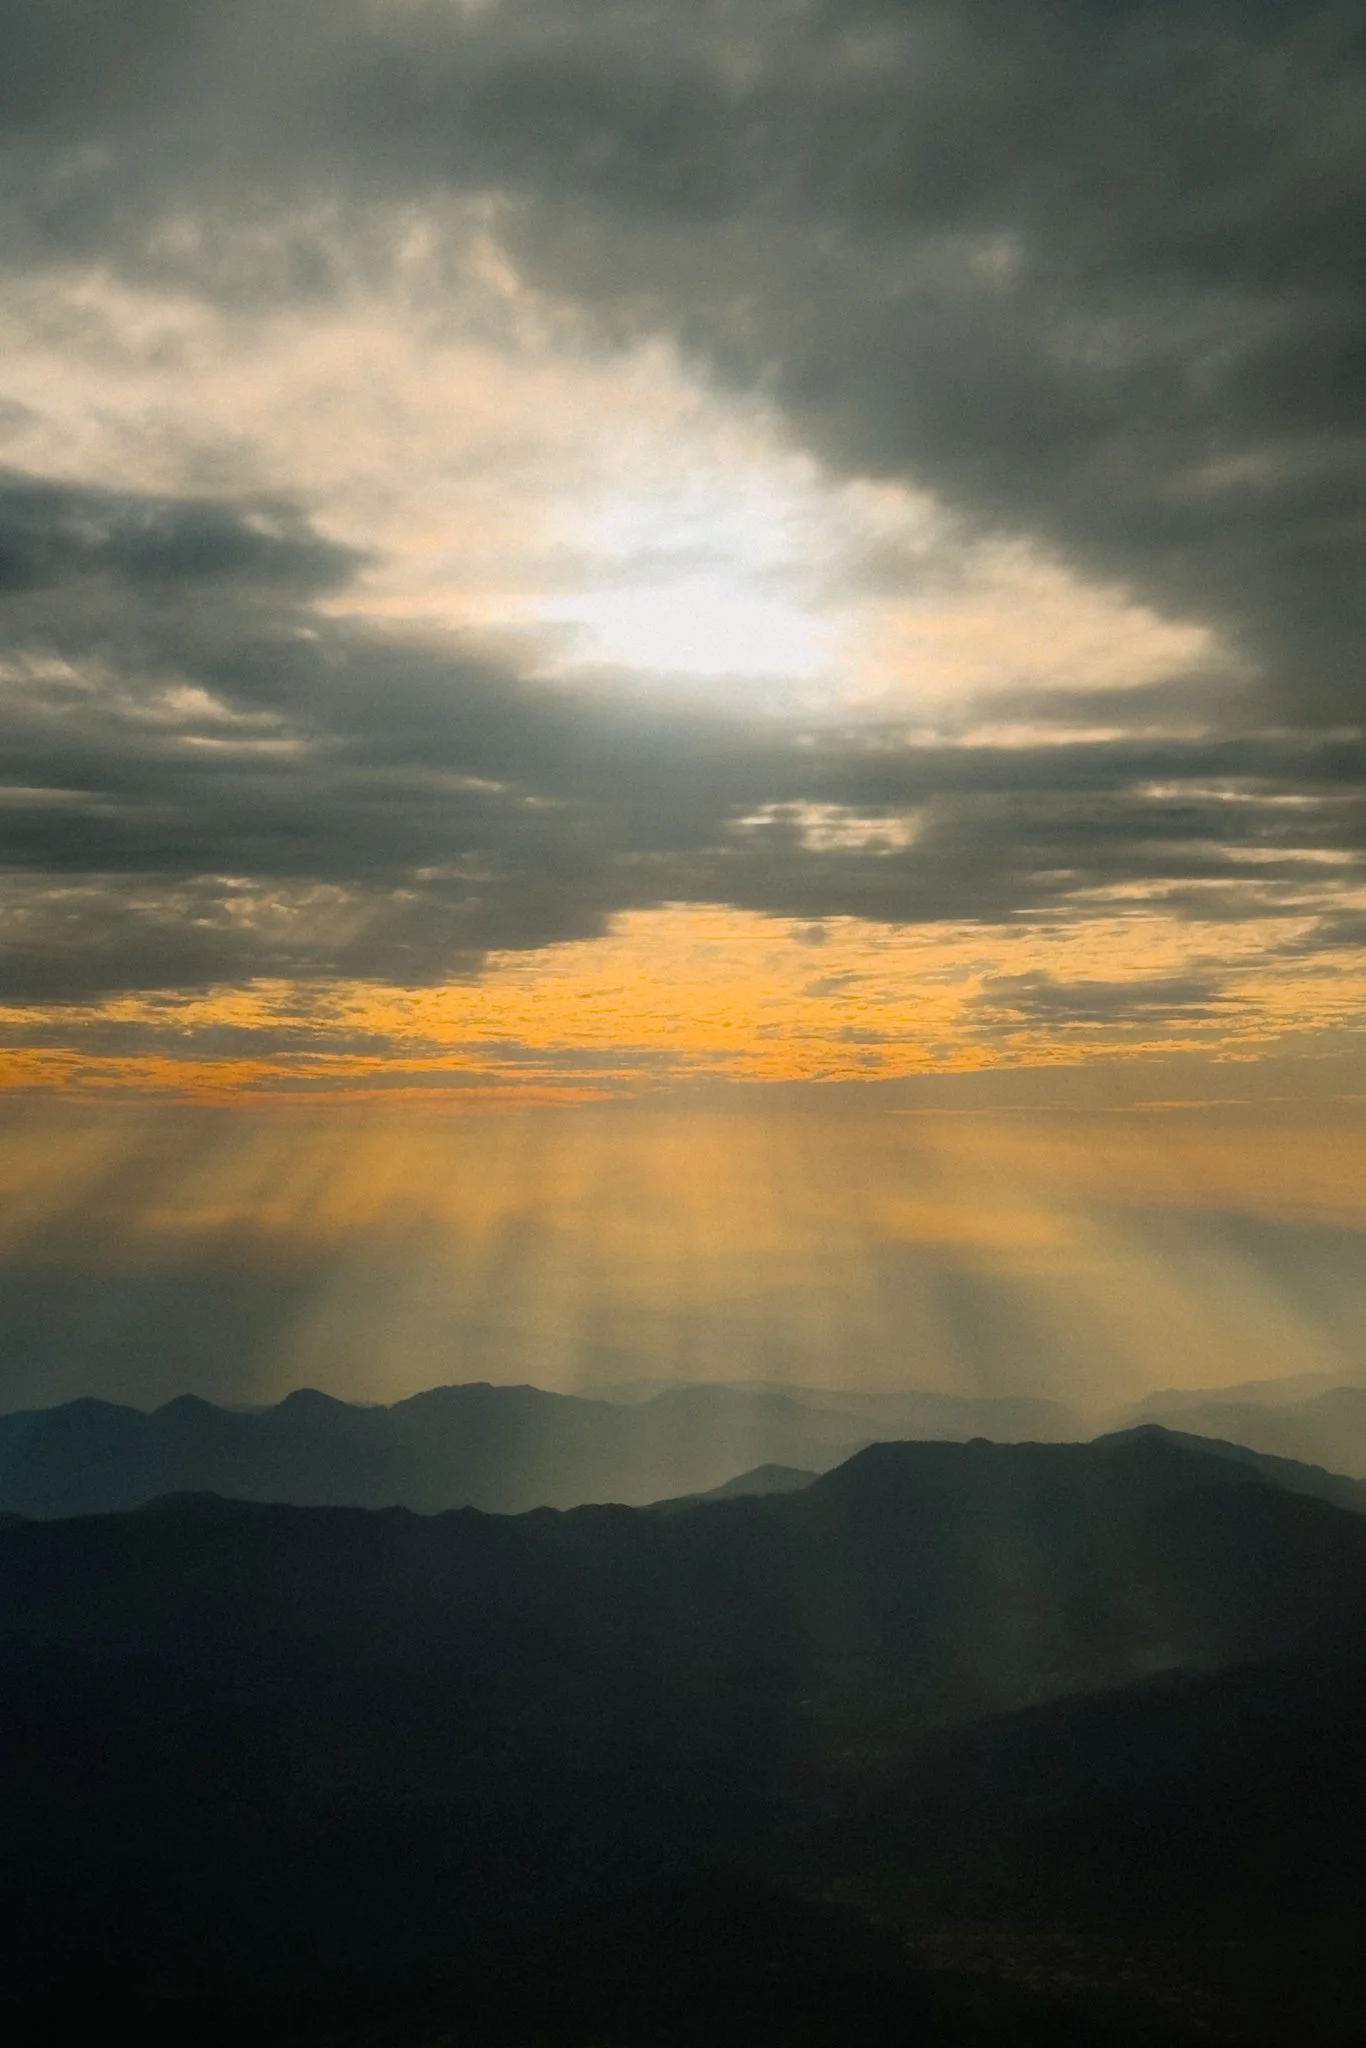
This brings us to the overall image quality, which is stellar. While there are some differences between the lenses and formats, on the whole, the image quality is fantastic, and plenty good enough for an everyday point and shoot camera. Below are some photos I took, and we can both agree that they are not too bad for a phone.


The AF is pretty snappy as long as you have good light and some contrasty details in the scene. If the light is poor, the contrast is very low, or there aren’t many details for the camera to reference from, then the AF can be a little slower and more prone to hunting. I also found that if a subject is extremely out of focus, especially on the 5X lens, then it can take the camera a while to figure out what’s going on, even if you tap on the area to focus on. While the system is not perfect, it’s more than good enough for its intended use, a daily point and shoot compact camera.
Finally the phone comes with two extra photography modes, Portrait and Pano. While I might get some criticism for this, I honestly feel they are gimmicks, and I never use them.
Video
Everything I covered in the photography section regarding the lenses also applies to video with one exception. The primary 1X lens is locked at 1X and you can’t enable the smaller crop modes. Other than that, consider the lens section a complete carry-over.
iPhones have long been known to have outstanding stabilisation and the 16 is no exception. While this isn’t a gimbal or an action camera, it’s incredibly good, certainly better than every proper camera I’ve tested. As long as you’re smooth, you can achieve a gimbal-like result when walking, or tripod-like stability when standing still.
For the last few generations we’ve had ProRes and LOG support. While these features aren’t aimed at your everyday user, they do open the iPhone up to more professional and creative workflows. This isn’t a technical guide, so in short, ProRes is a high-quality codec that gives you the best image quality in a file that’s the easiest to edit. It’s best used for professional workflows, especially if combined with footage from other cameras. The biggest issue is the size, and unless you have a 1TB iPhone, shooting in ProRes will destroy your storage. If you do plan on shooting in ProRes, I’m happy to report that external recording is supported. Simply plug in a supported SSD via USB-C, and you can record directly to the drive.
LOG is a flat colour profile that allows you to colour grade and edit your footage in software such as Final Cut or DaVinci Resolve. The LOG feature is much more useful than ProRes for most people, however annoyingly, the two are linked. This means that if you want to shoot in LOG, you must also enable ProRes in the default camera app. This seems to be a very bizarre decision, however thankfully there are apps like Final Cut Camera that allow you to shoot LOG in H.265.


I long had the opinion that the iPhone was a better video camera than a photo one, and while the photo quality has come a long way, I still feel that the video performance is the star of the show. The stabilisation, colour, dynamic range, and file flexibility all make this an outstanding video camera. There isn’t much more I can say, so below are some screenshots from a few video clips.


The AF for video is very good. It’s sticky, reliable, and hasn’t caused me any issues. The mics are great too, and as long as it’s not windy, the sound is clear and good quality.
Finally the phone comes with a few extra video modes, Cinematic, Slow-mo, and Timelapse. While I might get some criticism for this, I honestly feel they are gimmicks, and I never use them.
iPhone Camera Guide
If you’re enjoying this blog and finding useful information, may I recommend the iPhone Camera Guide. It’s your one-stop resource for getting the most out of the iPhone. It goes deep into setup, settings, and techniques, and also includes a collection of iPhone-optimised presets and free lifetime updates. As new phones are released, you’ll continue to receive updates automatically. This is the most direct way to support my work and keep this blog ad-free. Thank you.

This Apple iPhone Pro guide is designed to save you time and get your phone camera set up and working just like I do.
What’s Included:
Detailed set-up guide
A guide on how to light and compose your shots
Detailed guide on the best formats, codecs, frame rates and more
8 Lightroom Presets for ProRAW photos
Free lifetime updates as new phones / iOS comes out
What’s Supported:
iPhone Pro 17 and 16 running iOS26
iPhone Pro 15 running iOS18
Presets will only work with ProRAW files (unless modified by user)
You will learn what the major features do and why I chose to set them in a certain way. I will show you how I use the phone for photography and video, as well as run through the ideal settings for the best results. I will cover some photography essentials so even if you’re a total beginner, this guide will help you understand light, composition and storytelling. Finally there are 8 Lightroom presets specifically designed for ProRAW photos.
This guide covers the iPhone 17 and 16 running iOS 26. It also covers the iPhone 15 Pro running an older operating system. As new phones come out, an updated guide with the new phone and iOS will be released. The old guides will be archived and accessible for life.
This is a digital download and not a physical product. The download is around 70mb.
Please note that due to the nature of digital products, refunds are generally not accepted. However, if you experience any issues, feel free to contact me and I’ll review your situation individually. You are welcome to use this product for personal or commercial projects, but you may not copy, distribute, or resell the files in their original or modified form.
Finally, I want to say a massive thank you for supporting me. Buying this guide is the most direct way you can support my work, thus allowing me to make more videos, photos, and tutorials for you.
Thank you for your support!
Summary
Overall I feel this is a fantastic point and shoot camera attached to a phone. If you already have the iPhone 15, then there is no point in upgrading. However if you come from the iPhone 14 or below, then the upgrades are well worth it in my opinion.