
Photography In Okinawa
Earlier in 2025 we spent 2 weeks exploring the Okinawa Prefecture, and in this blog I will share my experience from a photographic and general visitor perspective. This isn’t a detailed guide, more a personal account of the visit.
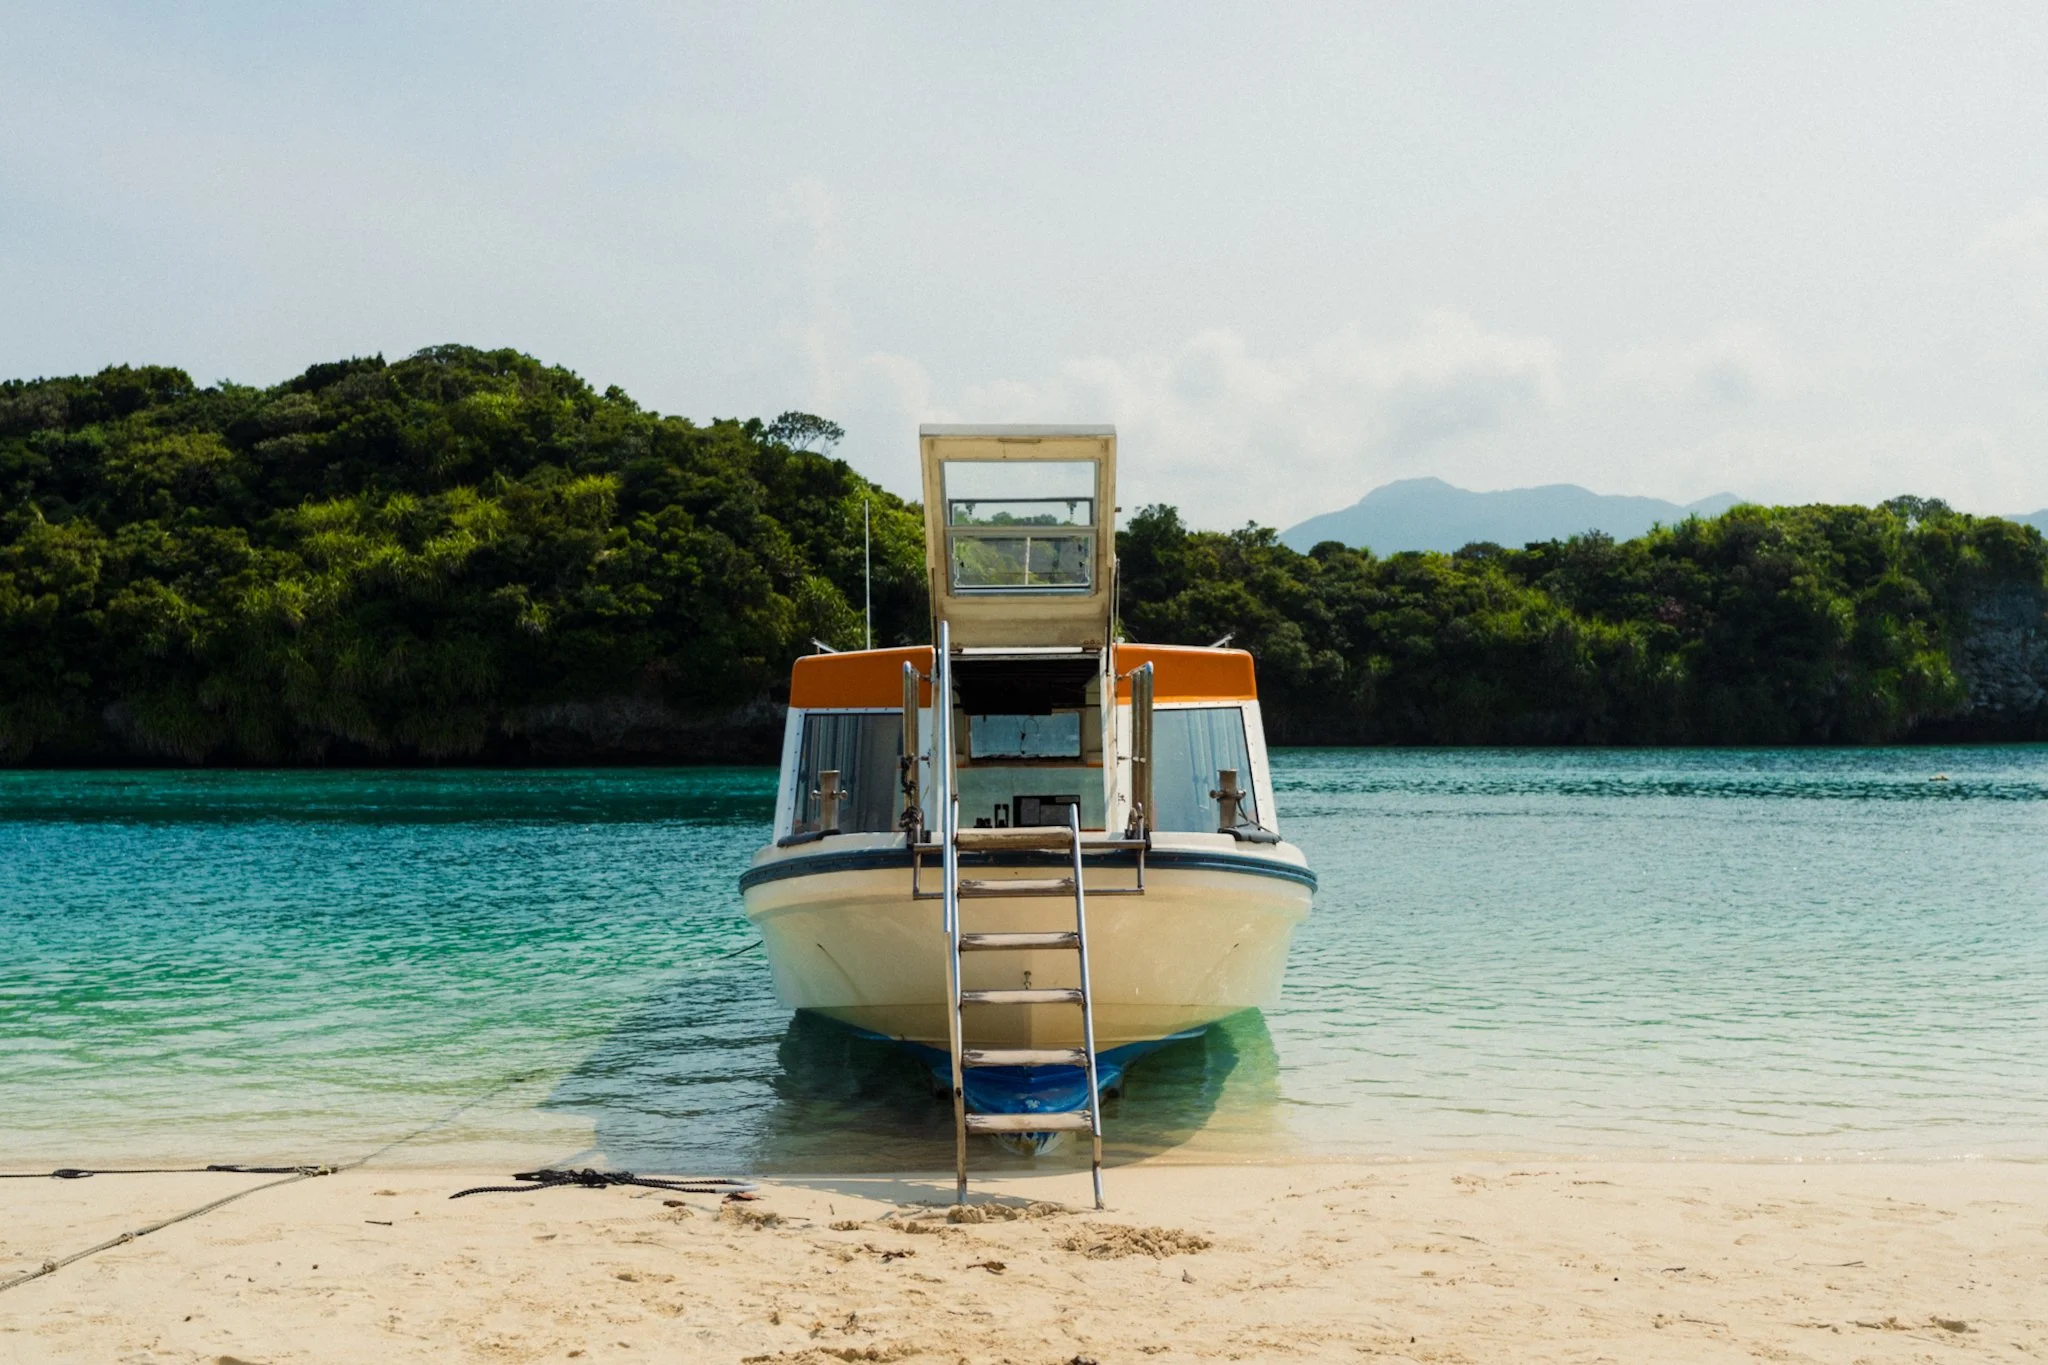
I want to start by separating Okinawa Island and Okinawa Prefecture. Okinawa Island is what most people think of when they hear Okinawa. It’s the main island with the most infrastructure, the highest population, the US Air Force base, and Naha, the capital. Okinawa Prefecture consists of a collection of islands which are all unique and offer a different experience. If you are considering Okinawa, I highly suggest looking at the other islands and not just the main one.
Before going into details, here are some quick tips and lessons learned from the trip:
It’s very hot and the sun is strong, so dress accordingly and bring plenty of sun cream.
Consider a sun hoodie and a hat if you’re planning on being out all day.
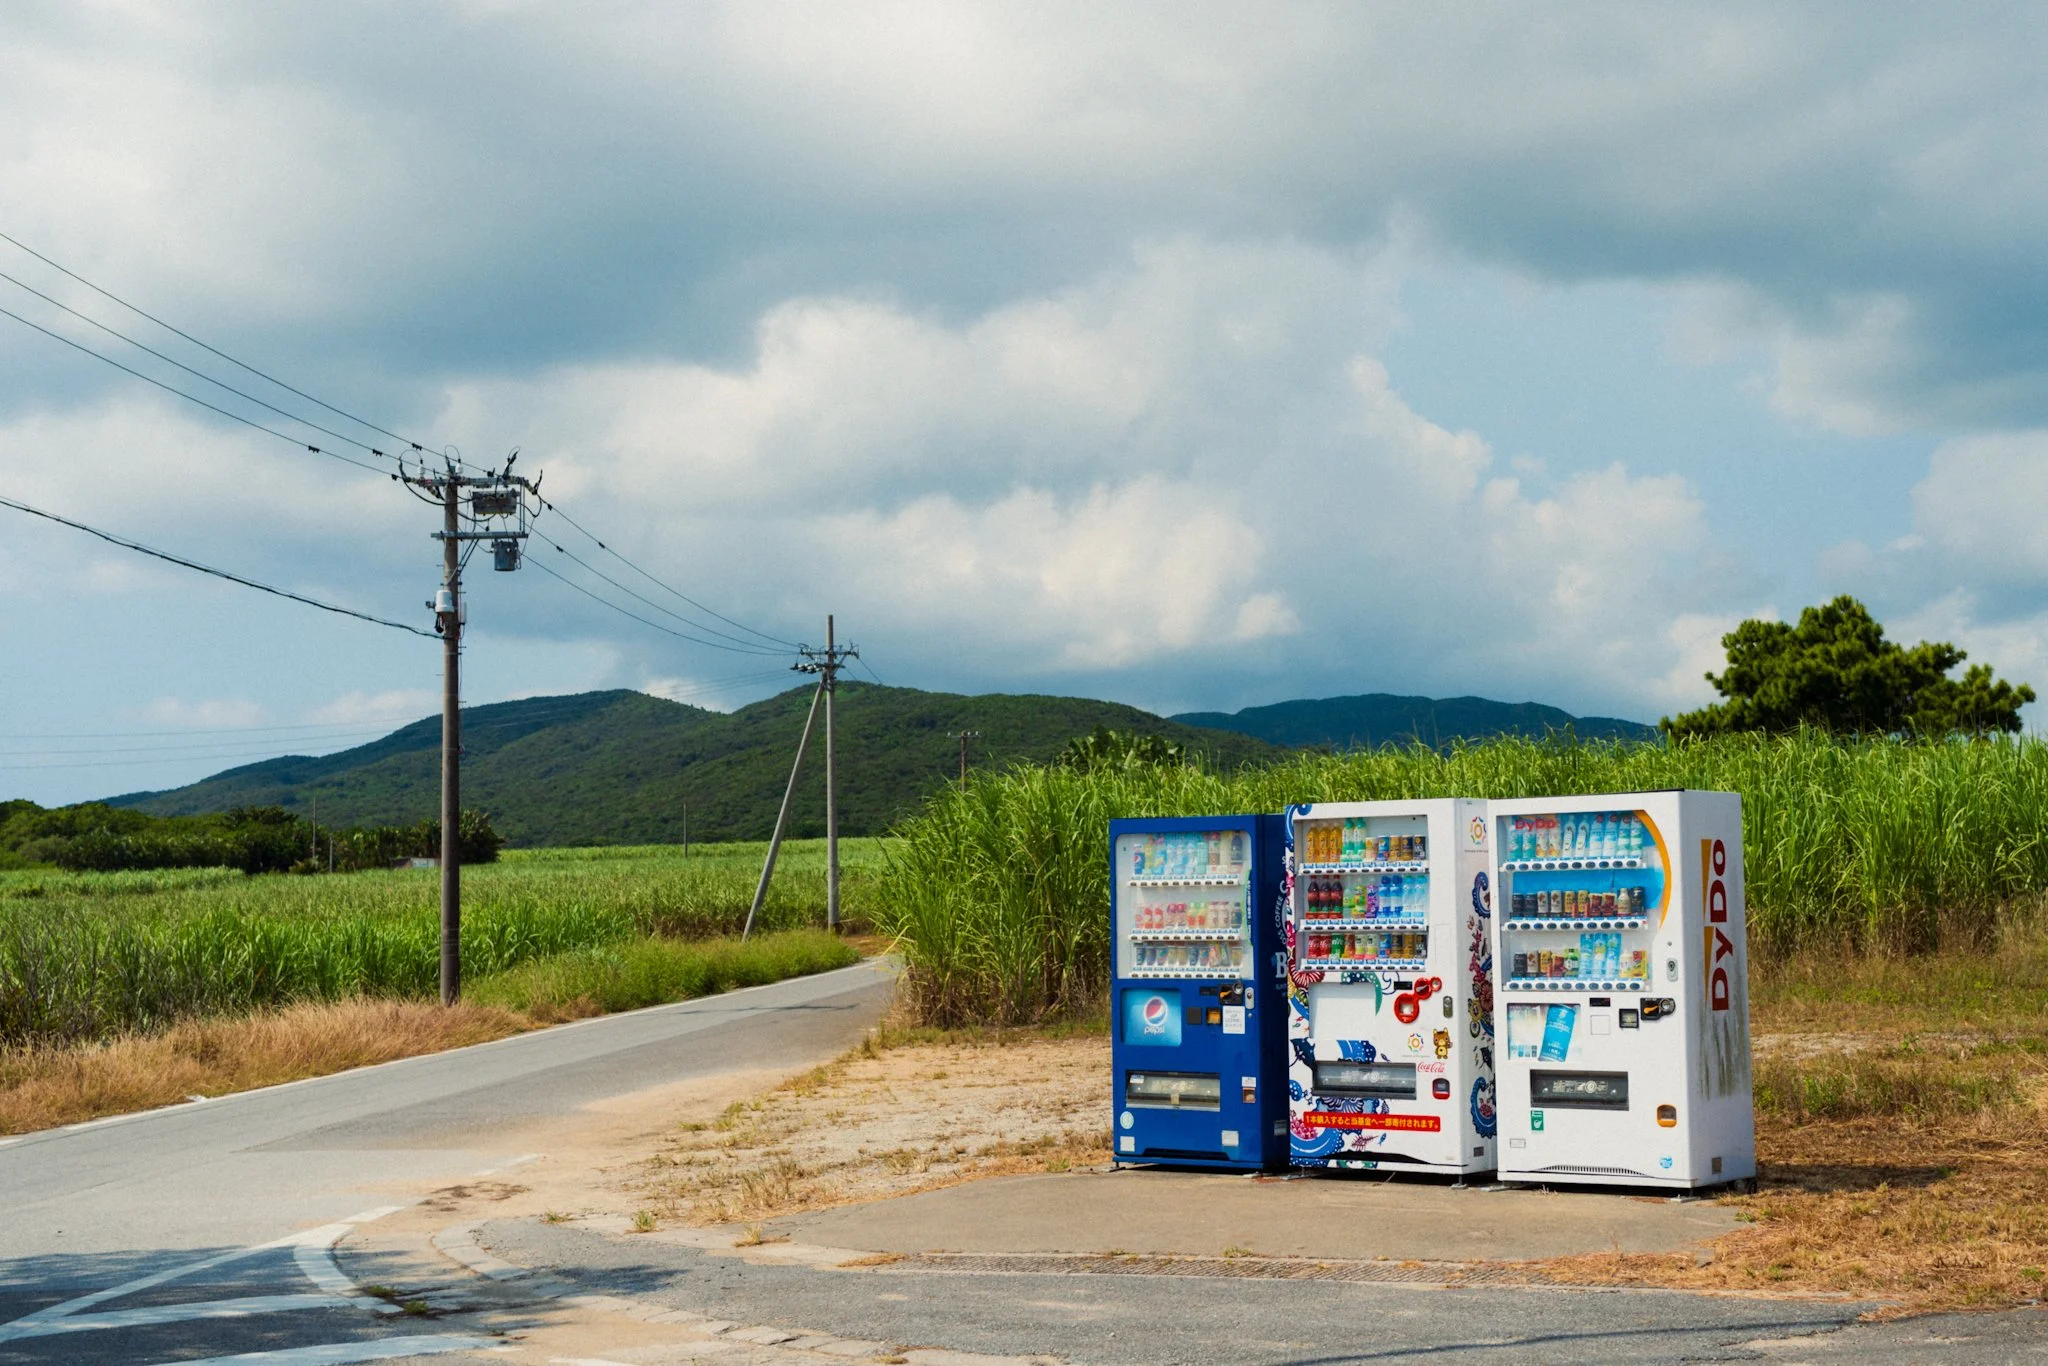
While there are vending machines and shops scattered around, they become pretty scarce once you’ve left any built-up area. Ensure you have plenty of water.
Unlike mainland Japan, cash is still king, especially on smaller islands. Make sure you have plenty of cash and coins.
Overall we had great reception, but offline maps are recommended.
Same goes for offline translation, as English isn’t as widely spoken as in larger mainland cities.
If you plan on spending time at the beach, make sure you have protective footwear for going in the sea. Okinawa is known for its corals, and this can be seen in all the dried pieces of coral on almost every beach. This makes walking on them painful and a constant gamble between making it back scratch-free or with a few cuts.
I would also encourage extra caution with some of the marine wildlife. In some parts you can find Stonefish and other venomous animals which can bring a painful end to your beach day. Don’t be naive like us and run around barefoot without a care in the world.
Getting around is best done by car, however we managed to rely solely on public transport and a few local taxis.
Buses run to a strict timetable, and not as frequently as you’d like, especially in remote areas. On average they seemed to run every 30–60 minutes. Some accepted card, but most were cash only. None accepted the digital money cards such as ICOCA that you’d find on the mainland.
Taxis can be found in town centres, ports, and airports. However they are not often seen driving around empty. You can pre-book them online.
You will find many small family-owned cafés and restaurants, which I highly recommend checking out. Luckily, western chains were mostly confined to major hubs and were few and far between.
The general pace is slow, so don’t expect Tokyo levels of efficiency.
You can travel between the smaller islands by boat, and between the bigger ones by plane. Although you can take boats between the bigger islands, flying is much quicker.
As for photography, I used my 40mm pancake lens the most, with the 24-70 only coming out on occasion.
Like with mainland Japan, attitudes towards photography are relaxed and open, as long as you are respectful.
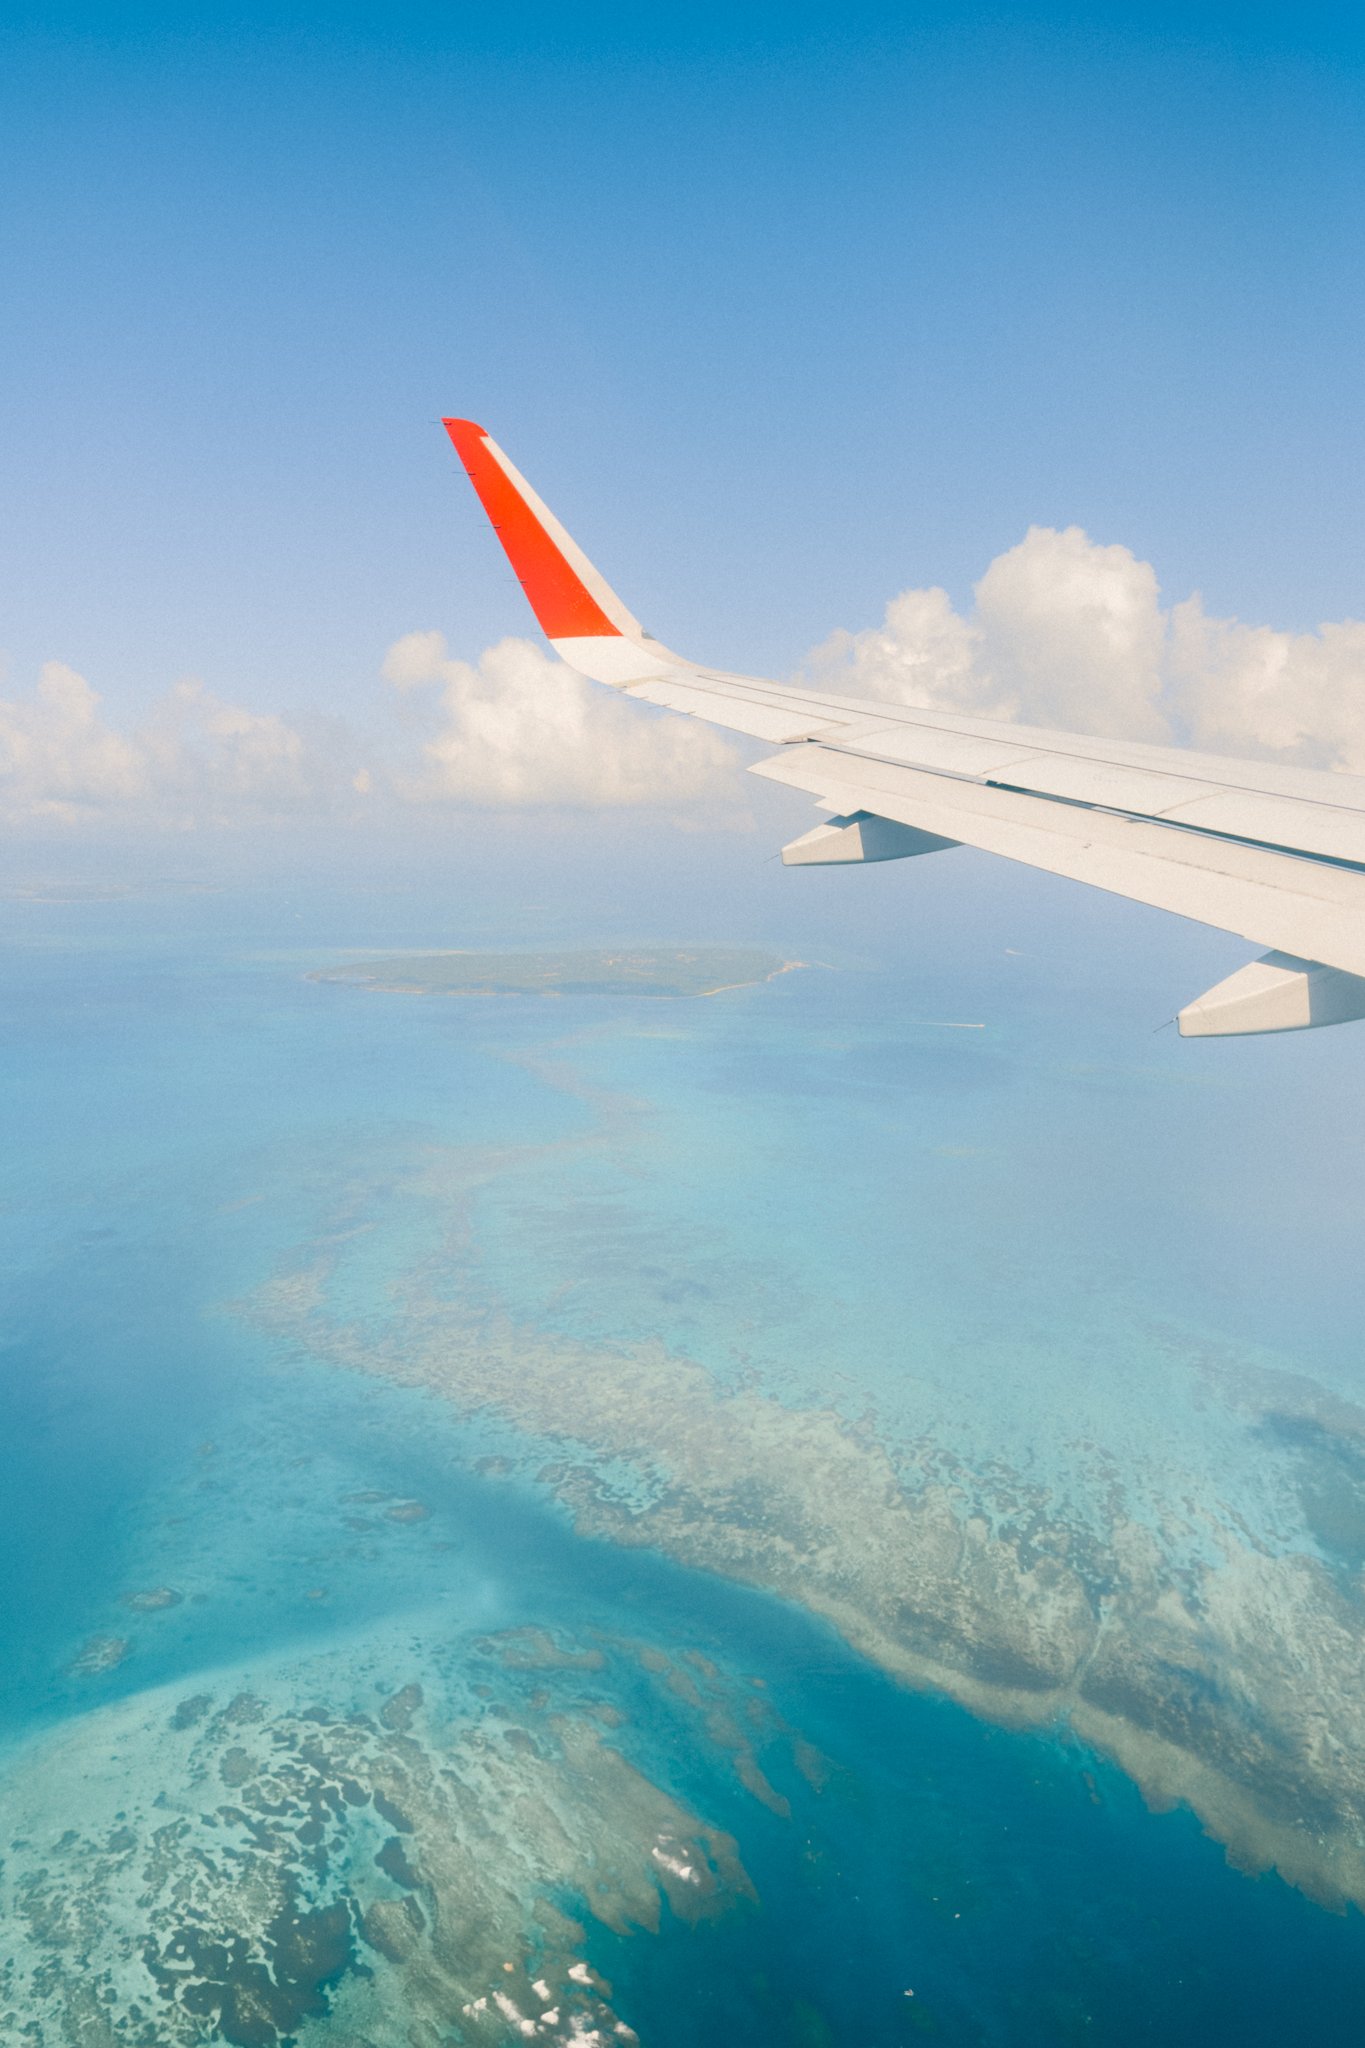
We started in Ishigaki, which ended up being our favourite island and one we wish we spent more time on. Ishigaki is one of the furthest islands away from mainland Japan, and in fact it’s much closer to Hong Kong than any major Japanese city. It’s also close to Taiwan, so if time permits, a quick stop in Taipei could be a great addition. We flew in from Hong Kong in under 2 hours, and if you’re the type to close the window blind and watch a movie, I highly recommend keeping it open for this flight, especially as you’re getting closer to landing. The same applies for all flights in the region.
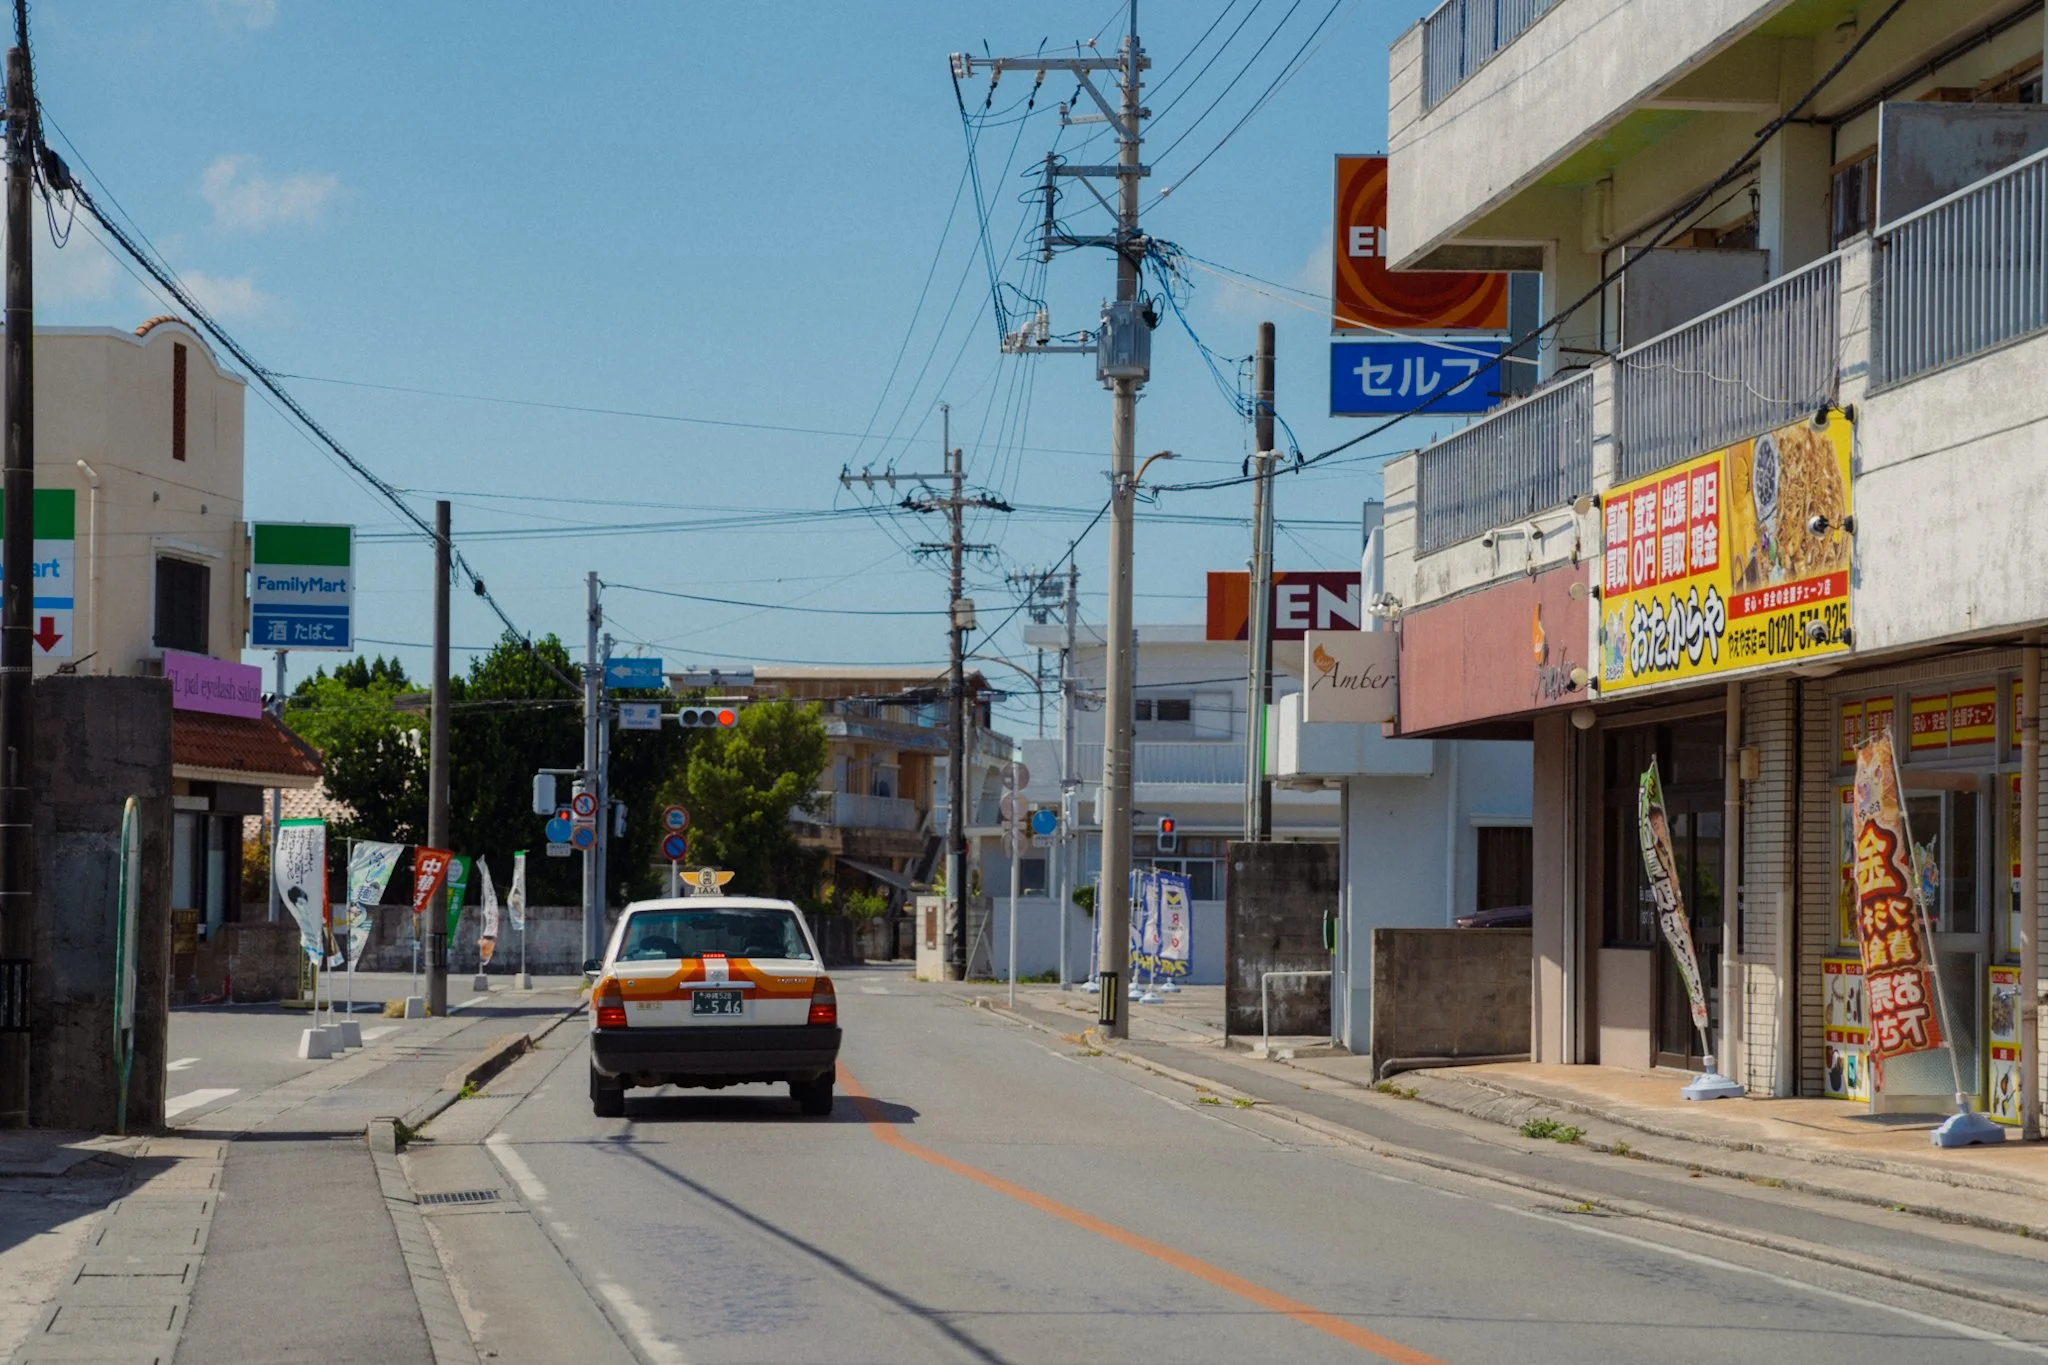
The island is extremely varied, with the main town providing ample photo and exploring opportunities. The town has everything you need, and it has a charm that’s hard to put into words. Make sure to pop into the Travellers Cafe for a delicious home-made curry in the cosiest little spot.
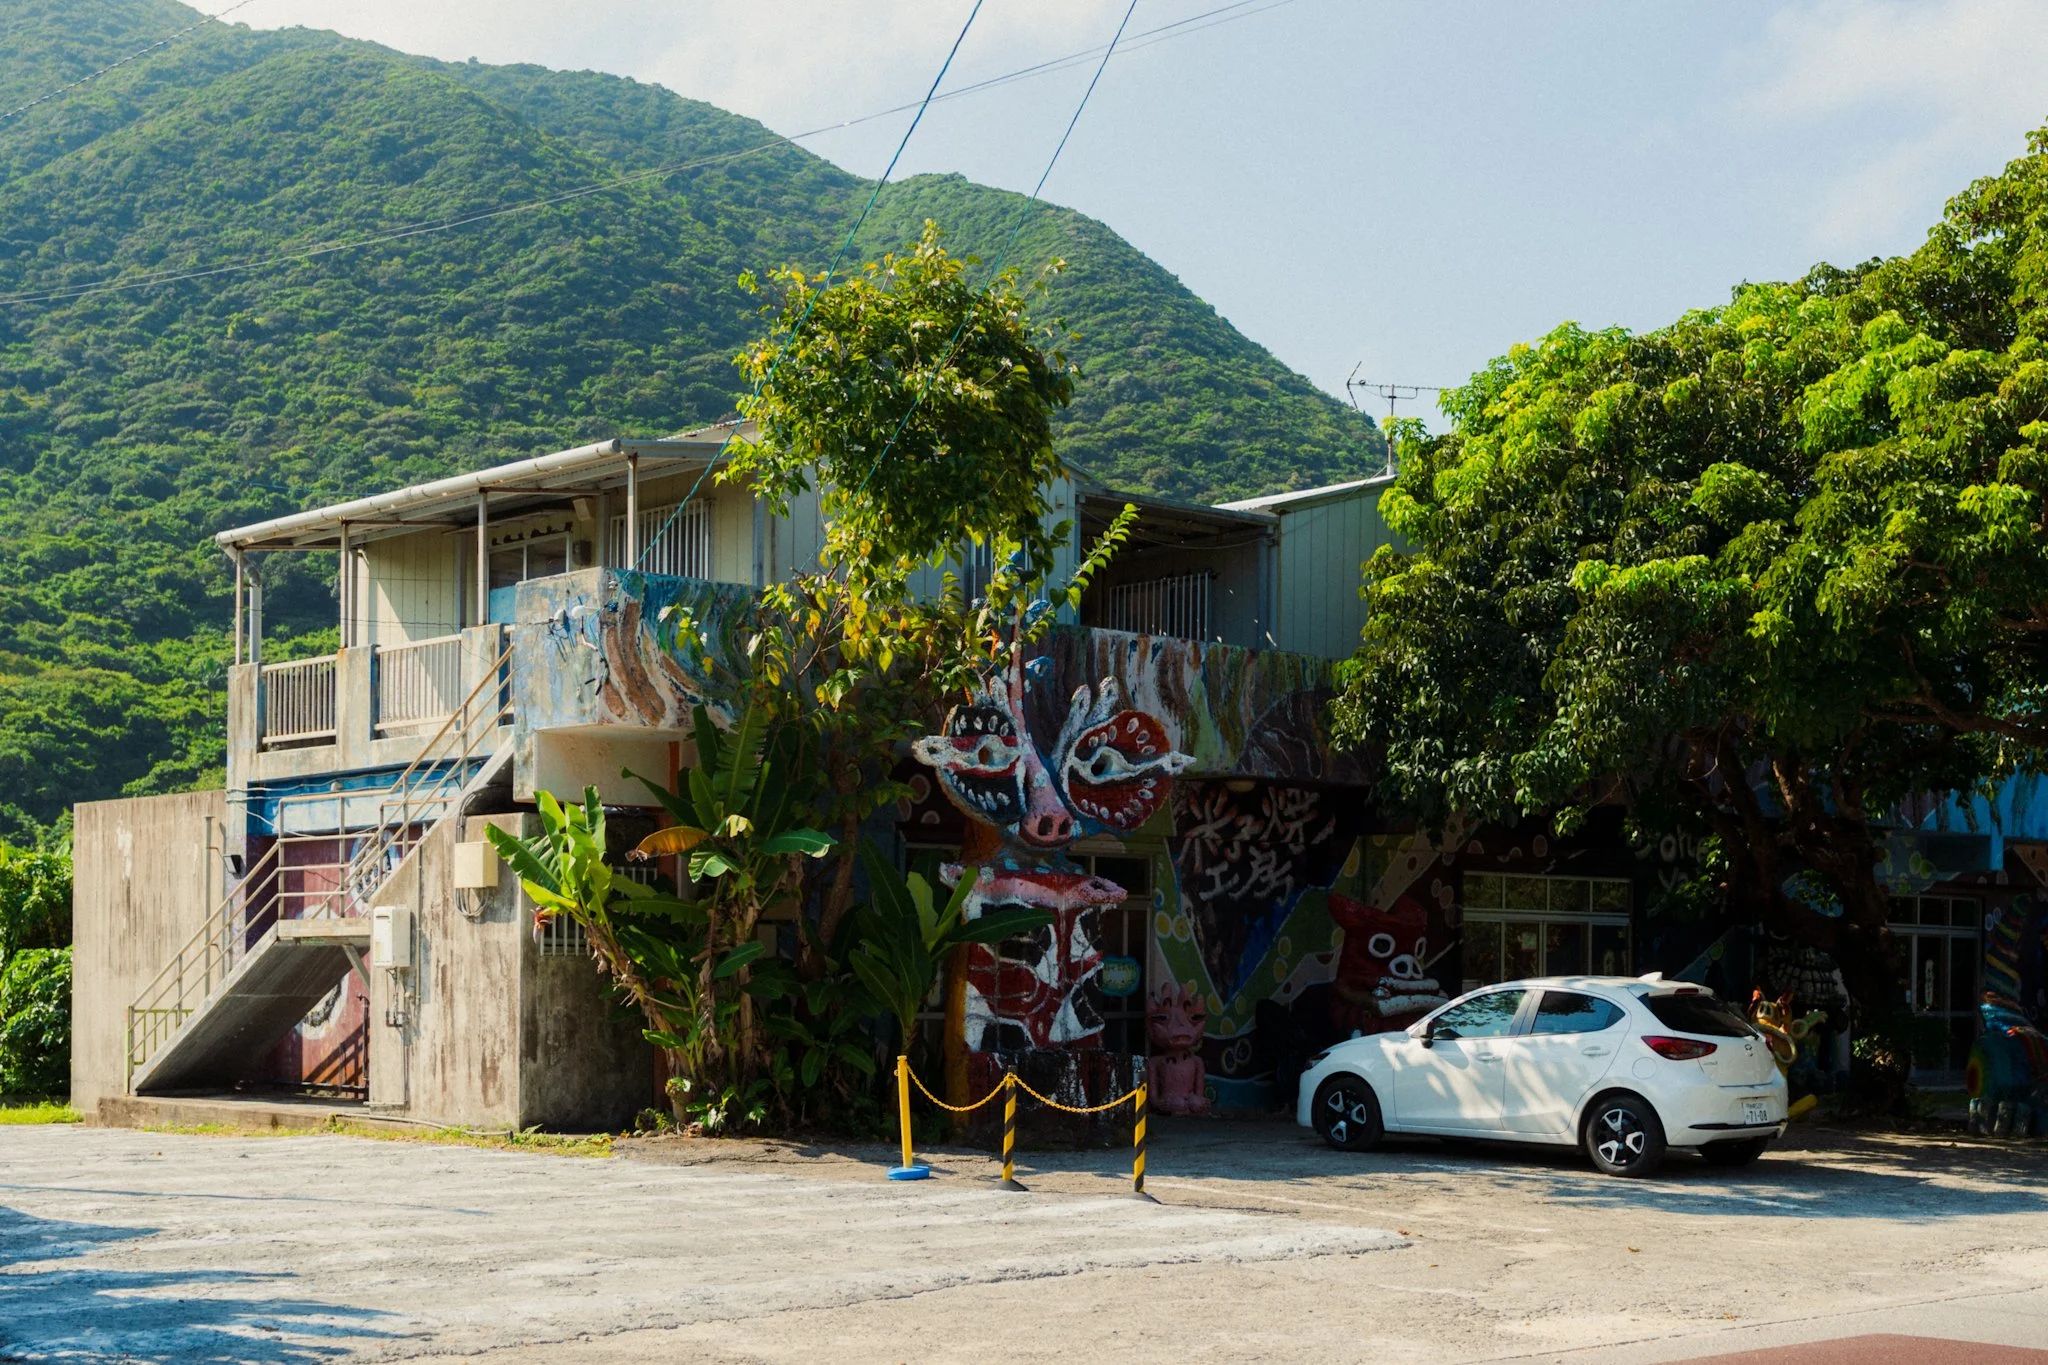
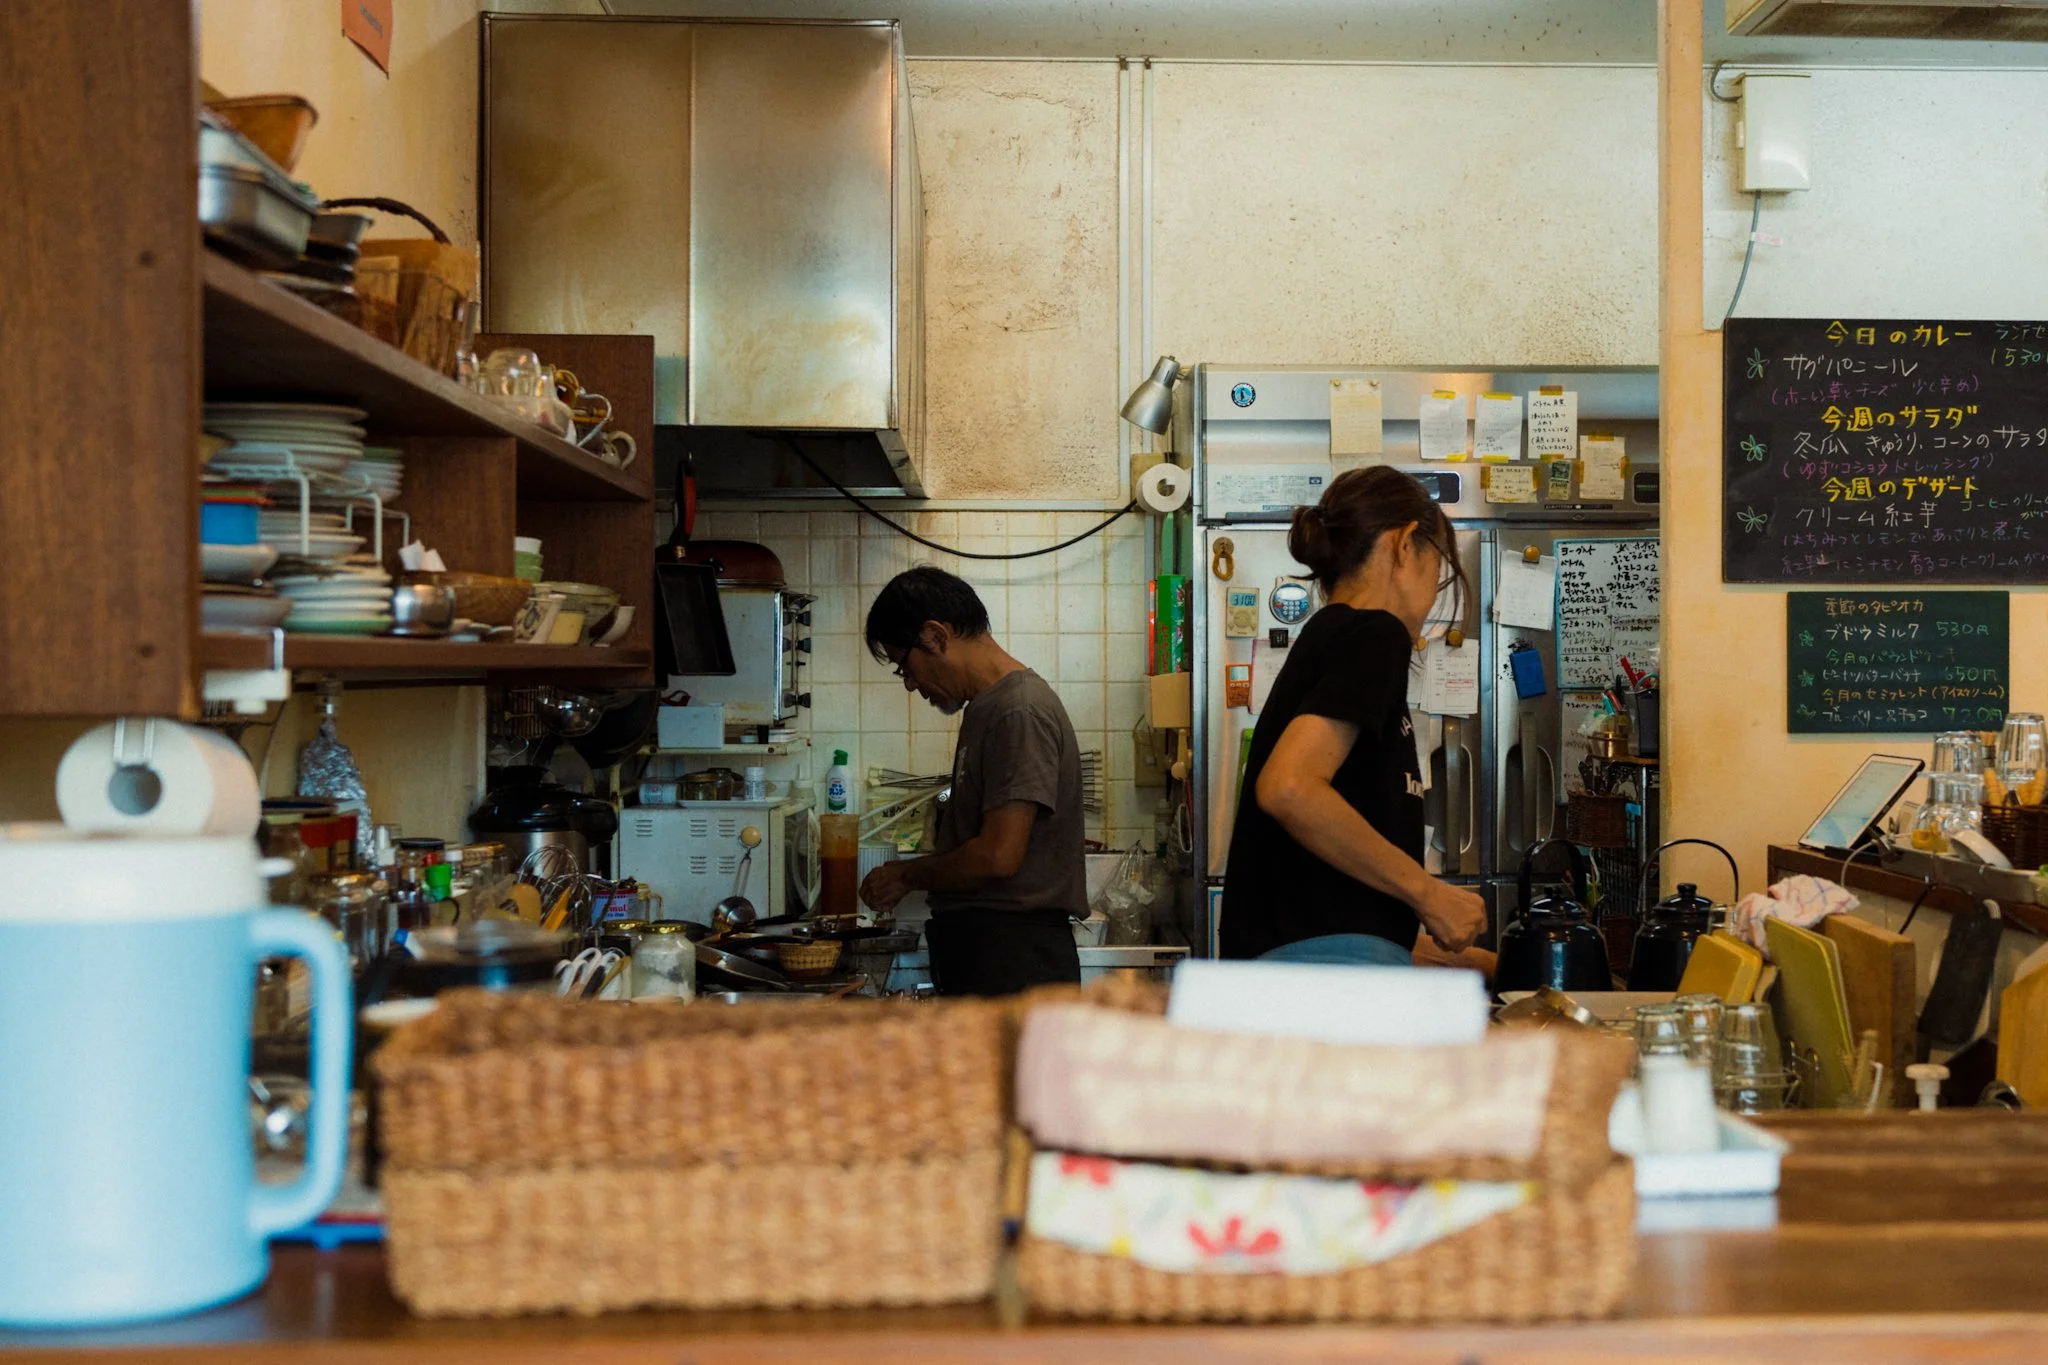
Jump on the bus and head over to the other side for some incredible beaches and nature trails, specifically Yonehara Beach and the surrounding area. You can also walk up and down the main road and run into small villages, nature walks, cafés, and even tiny museums. We dedicated a whole day to exploring that area.

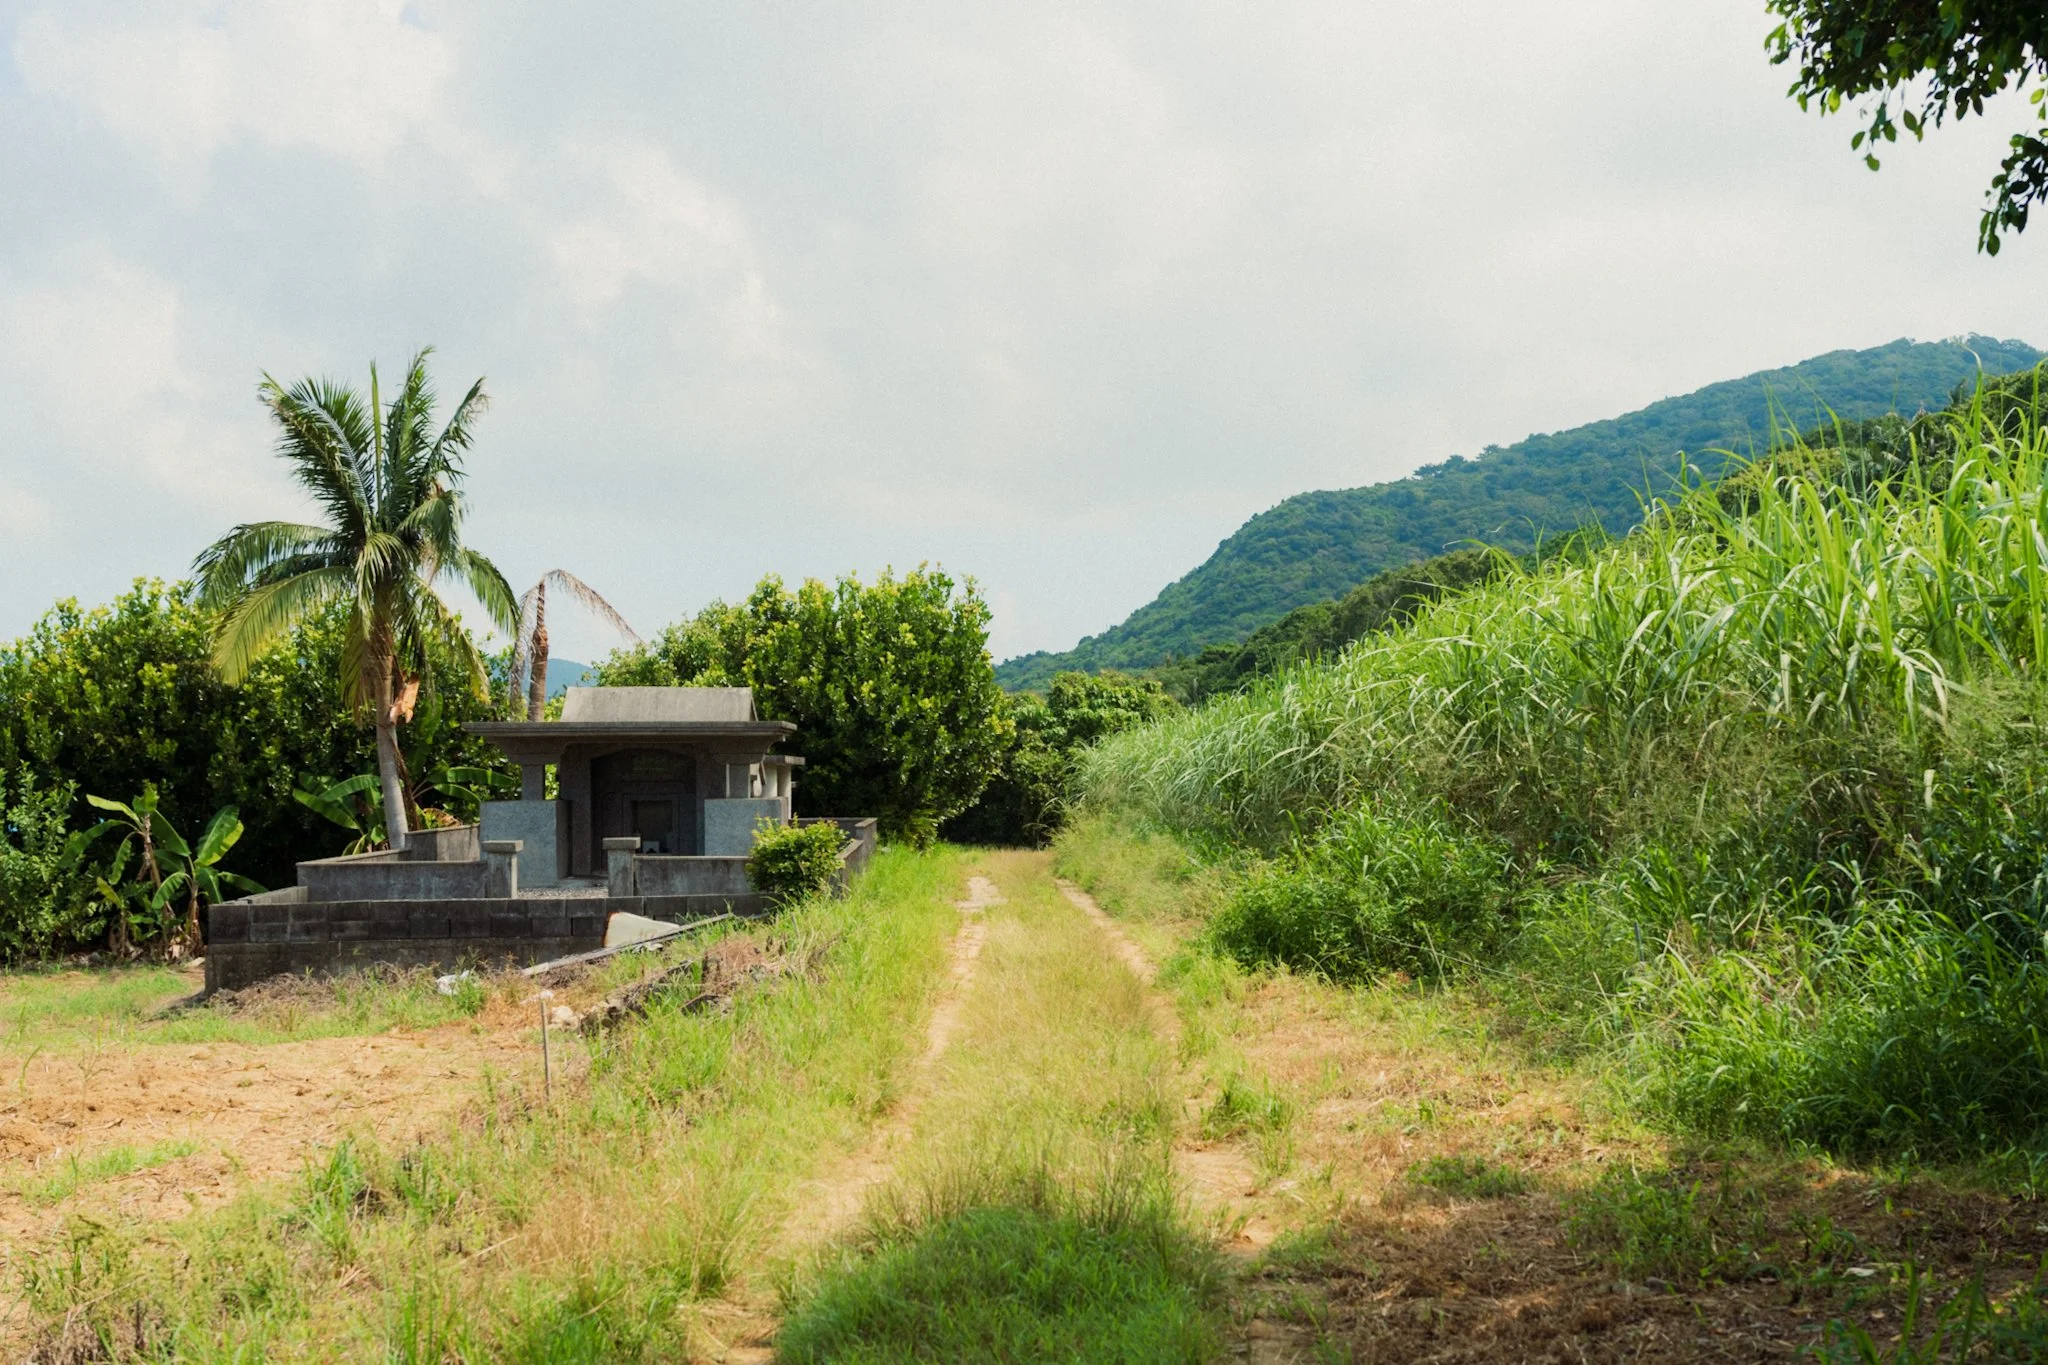
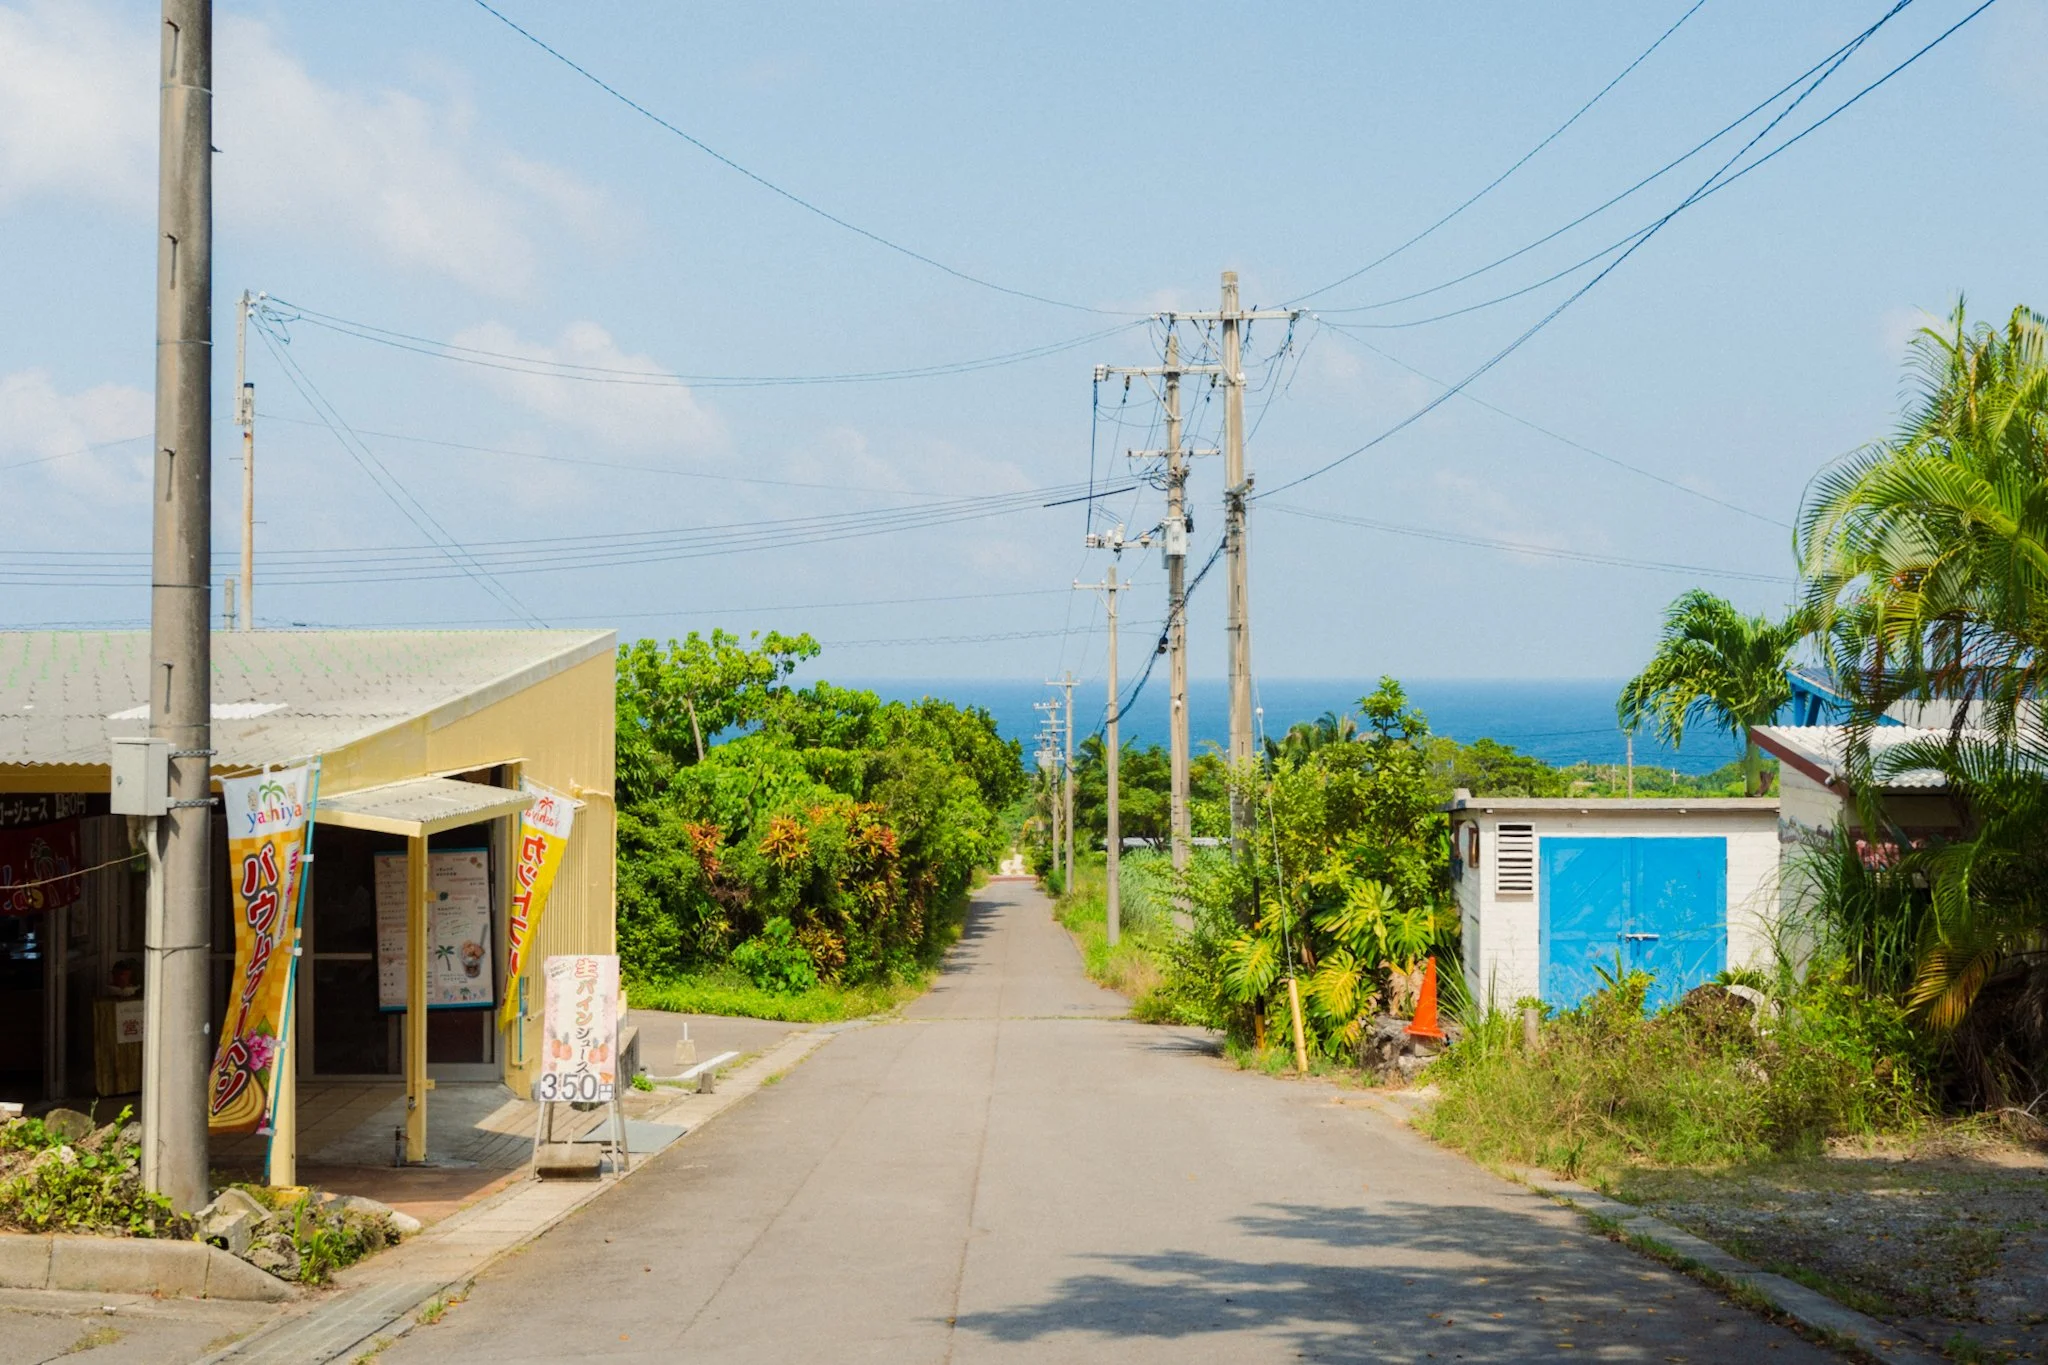
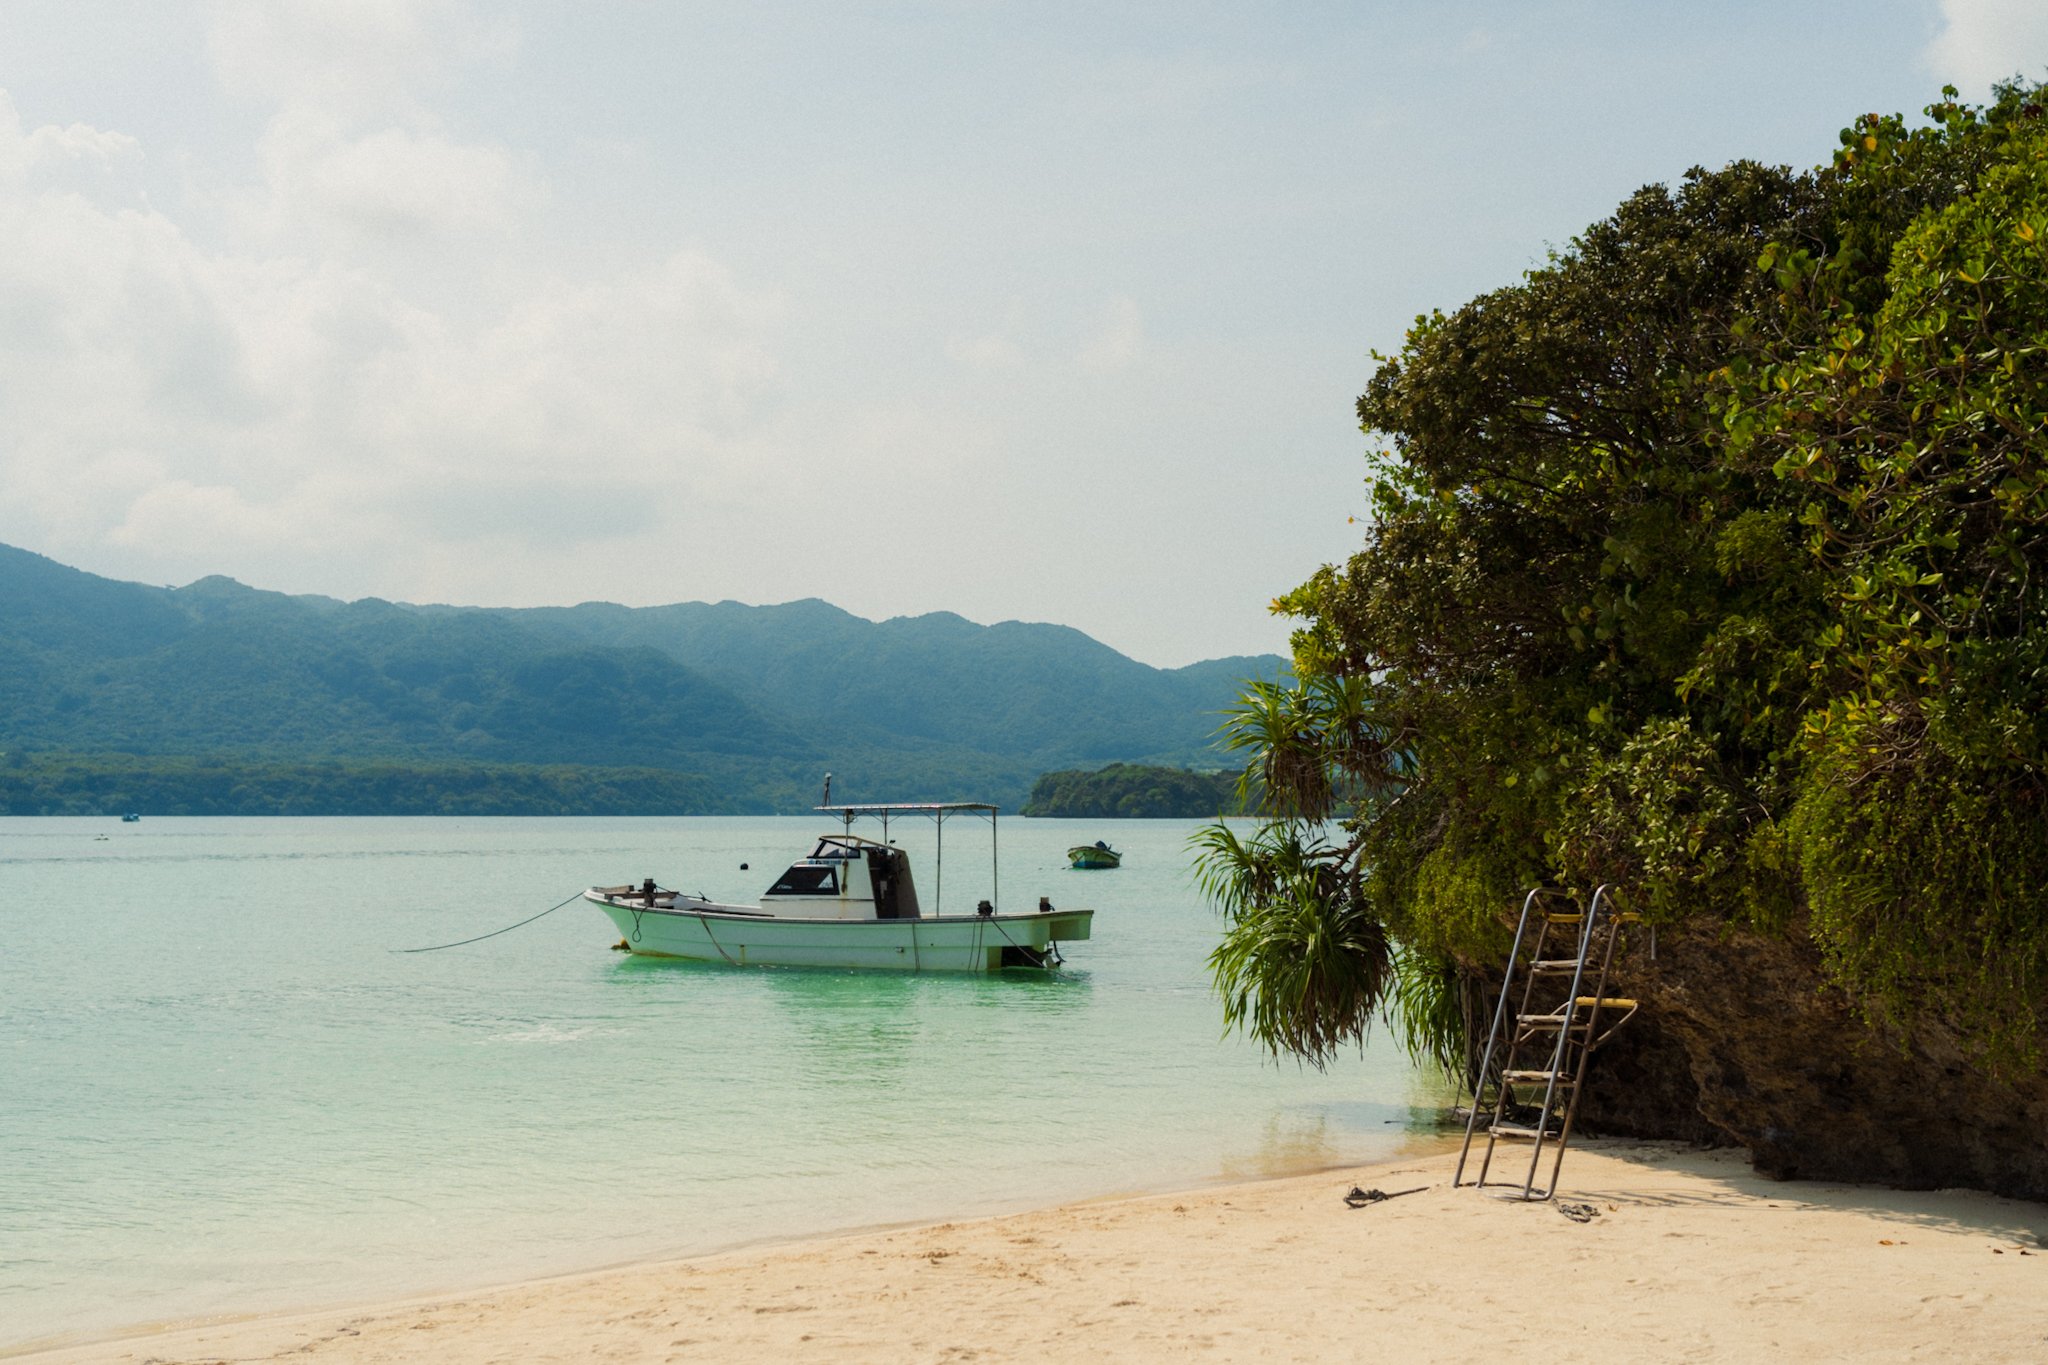
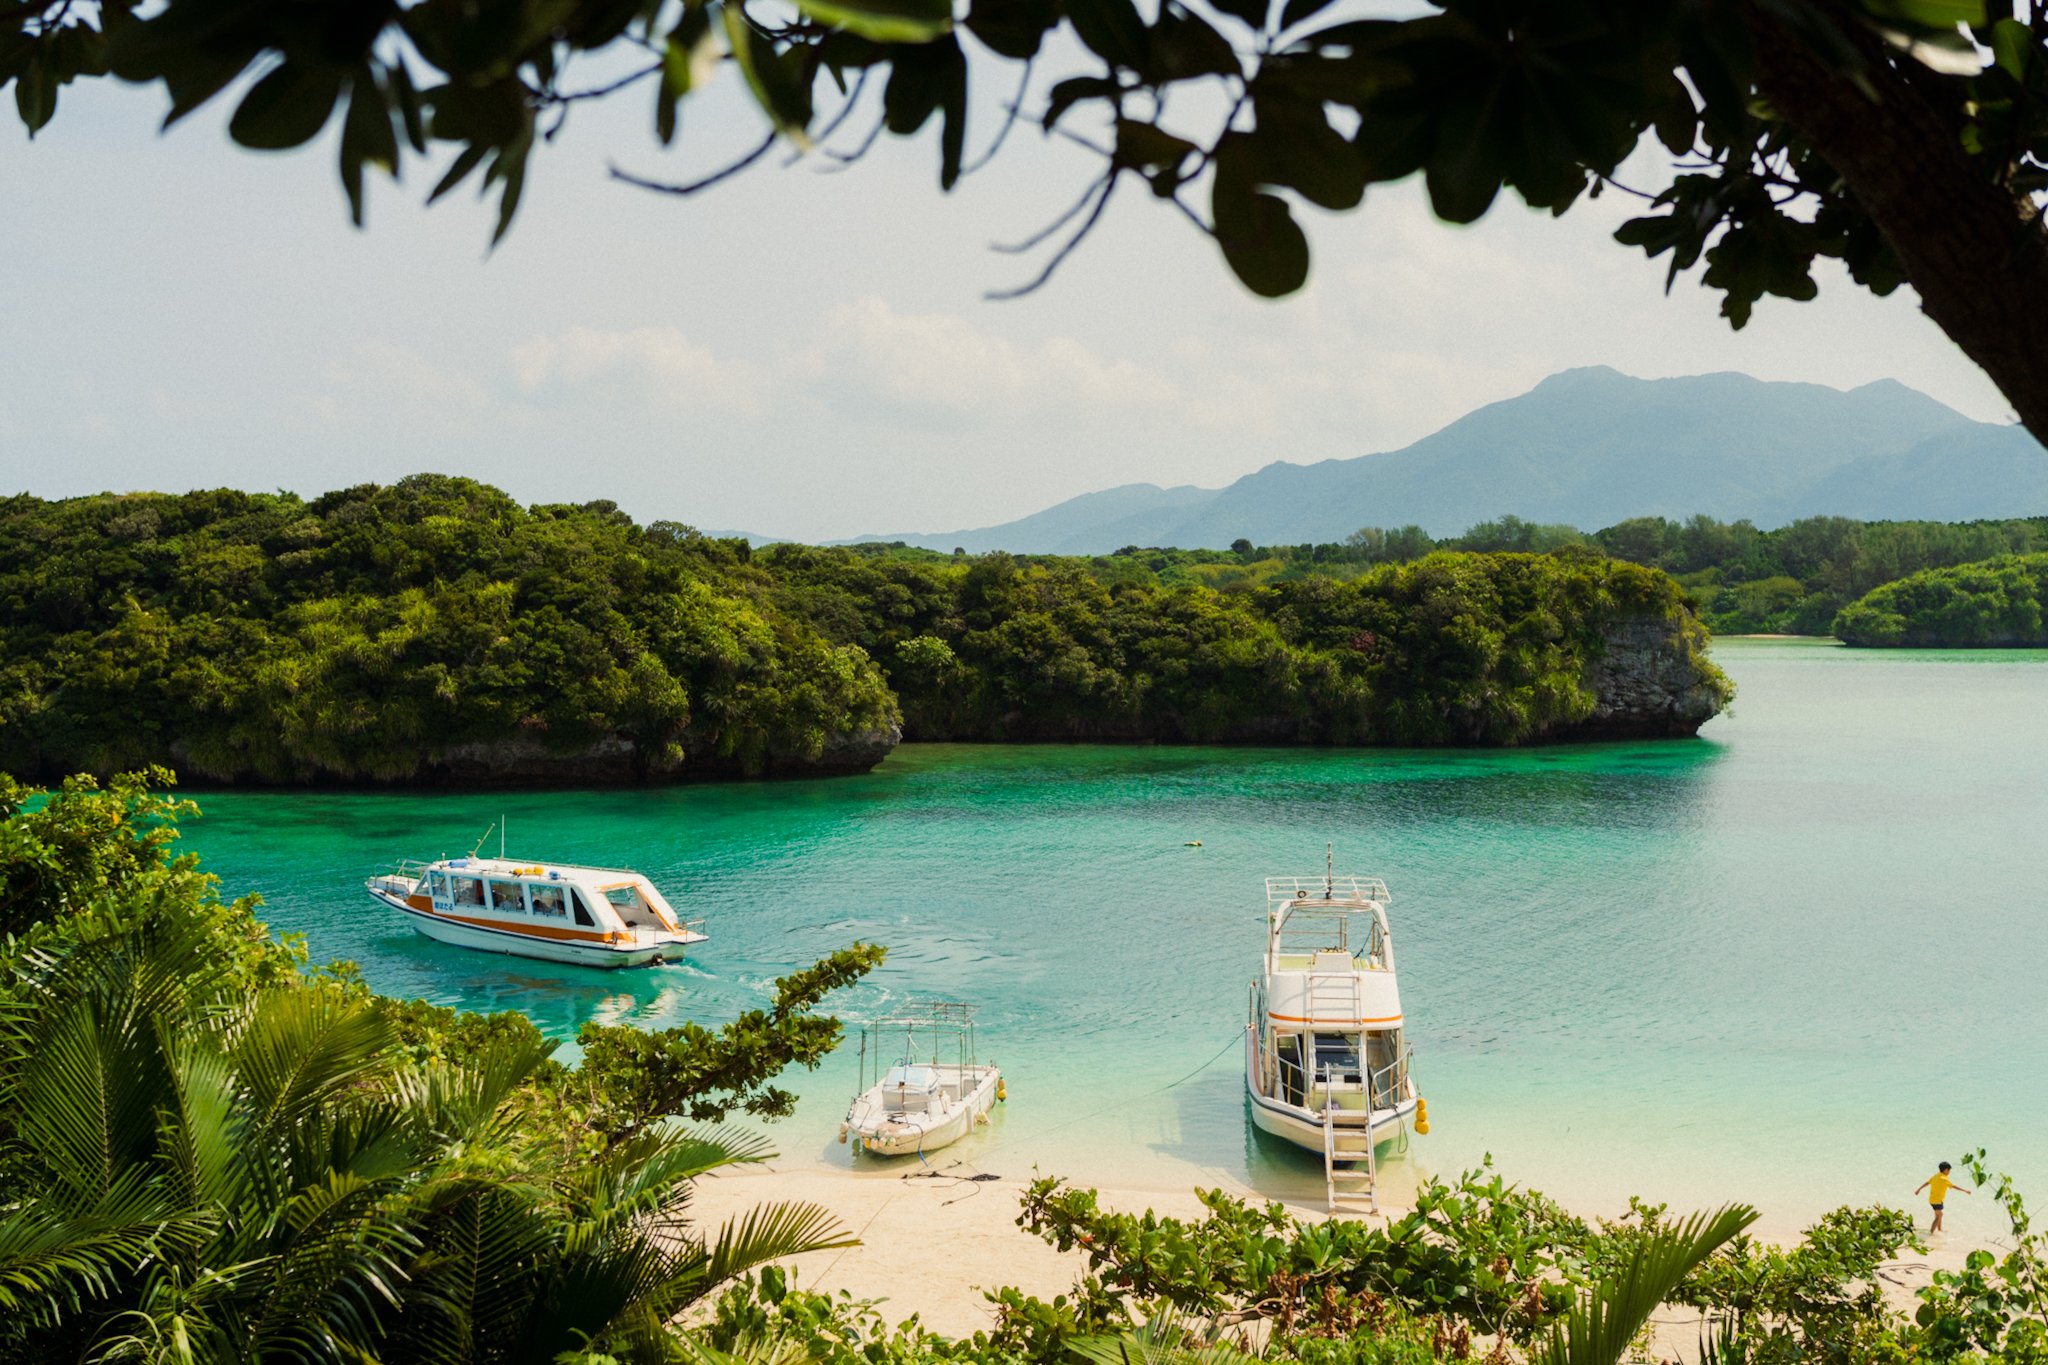
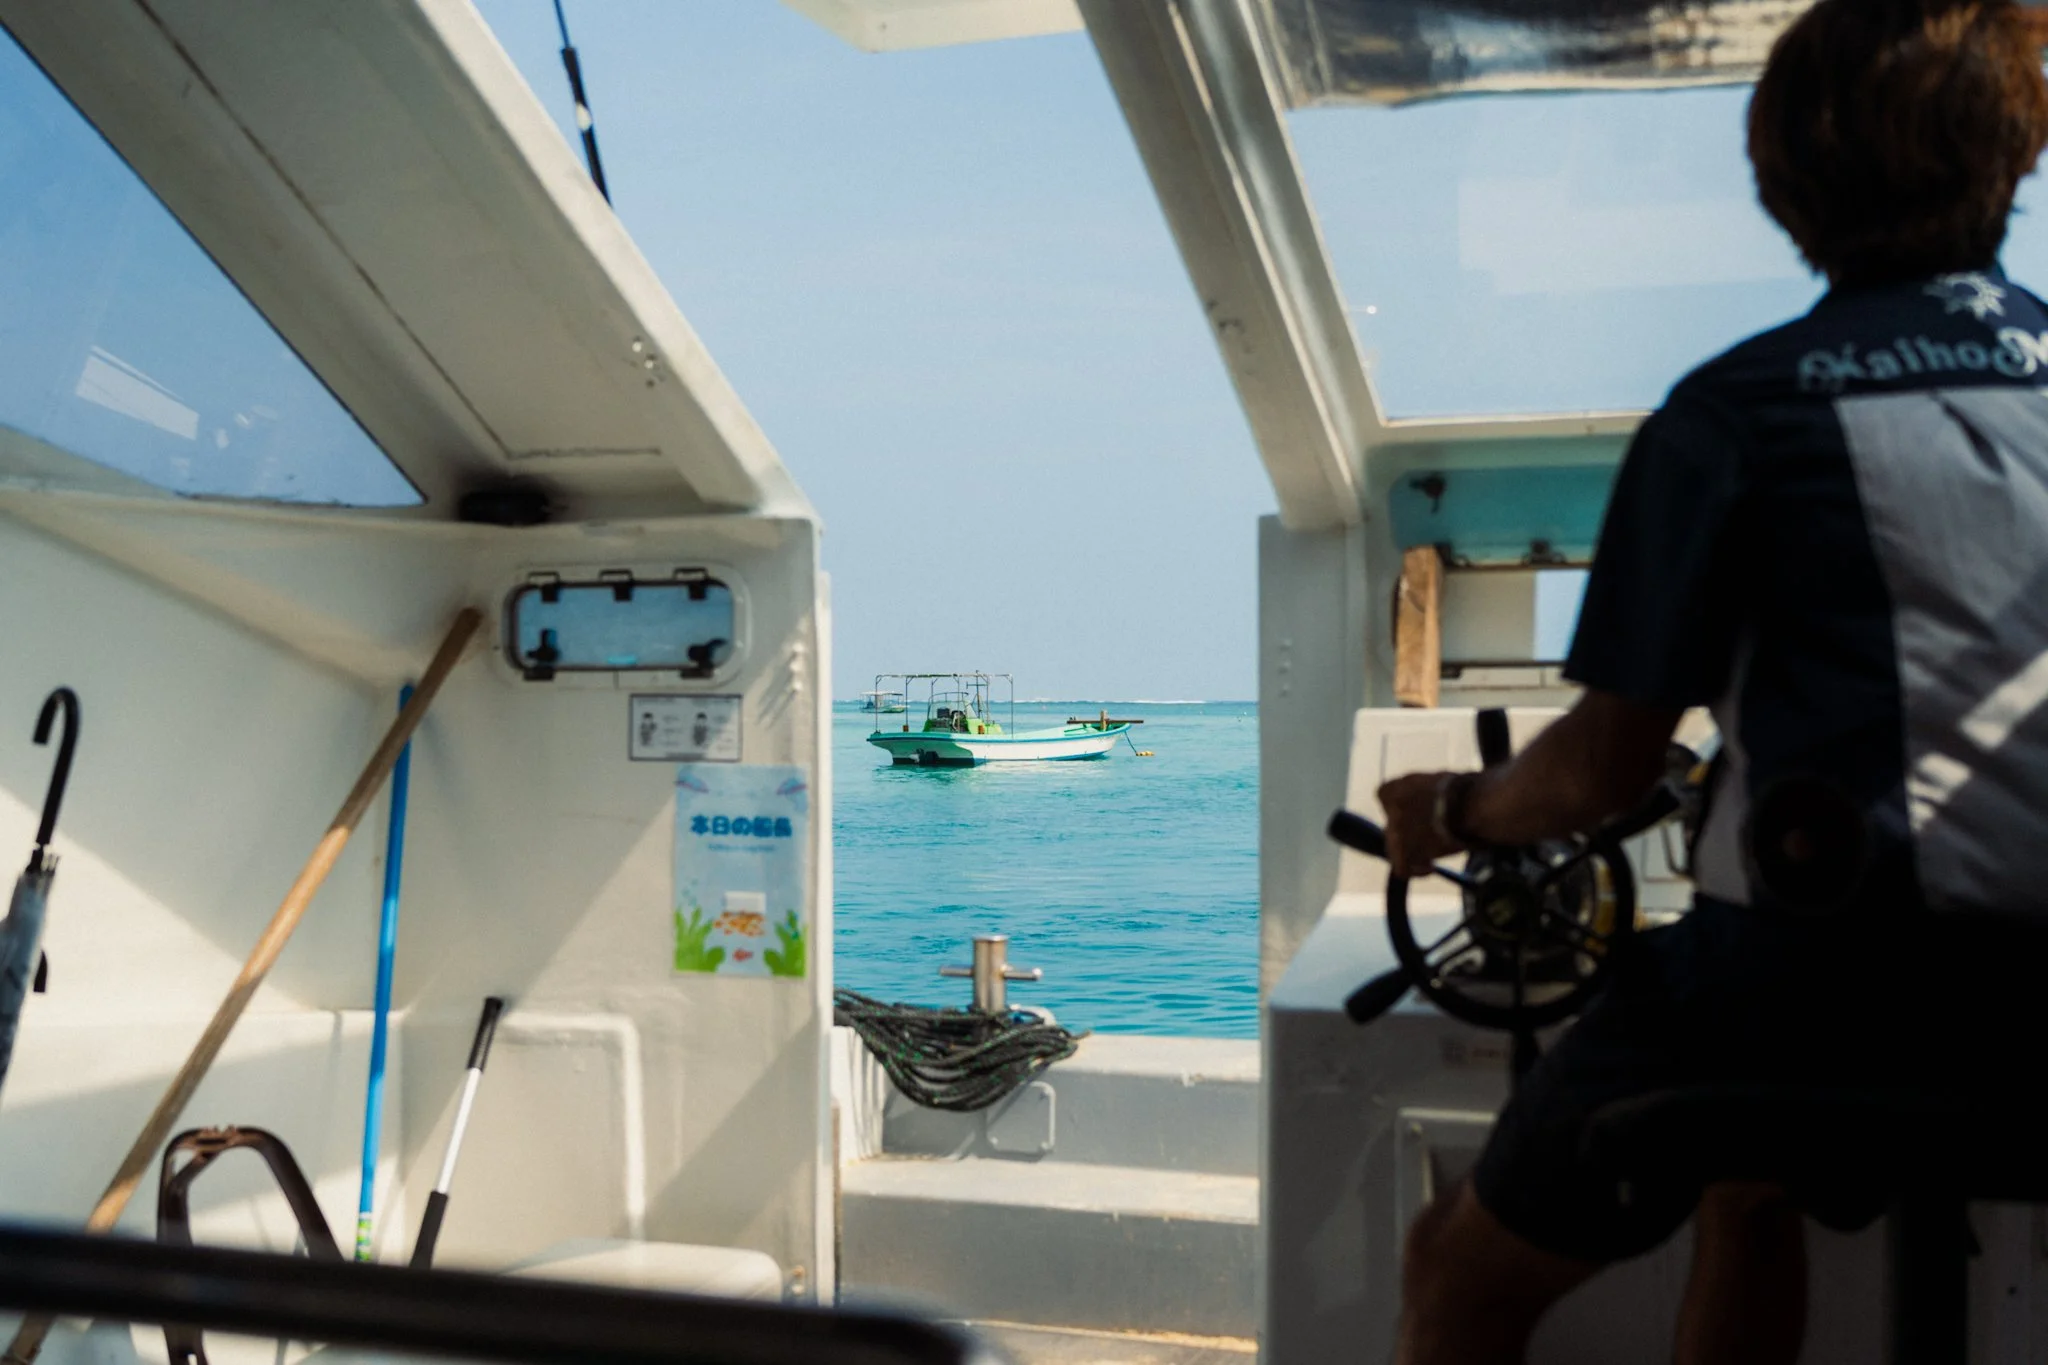
Not far from here you will find Kabira Bay, an immensely picturesque part of the island where you can take a glass-bottom boat to see the reefs.
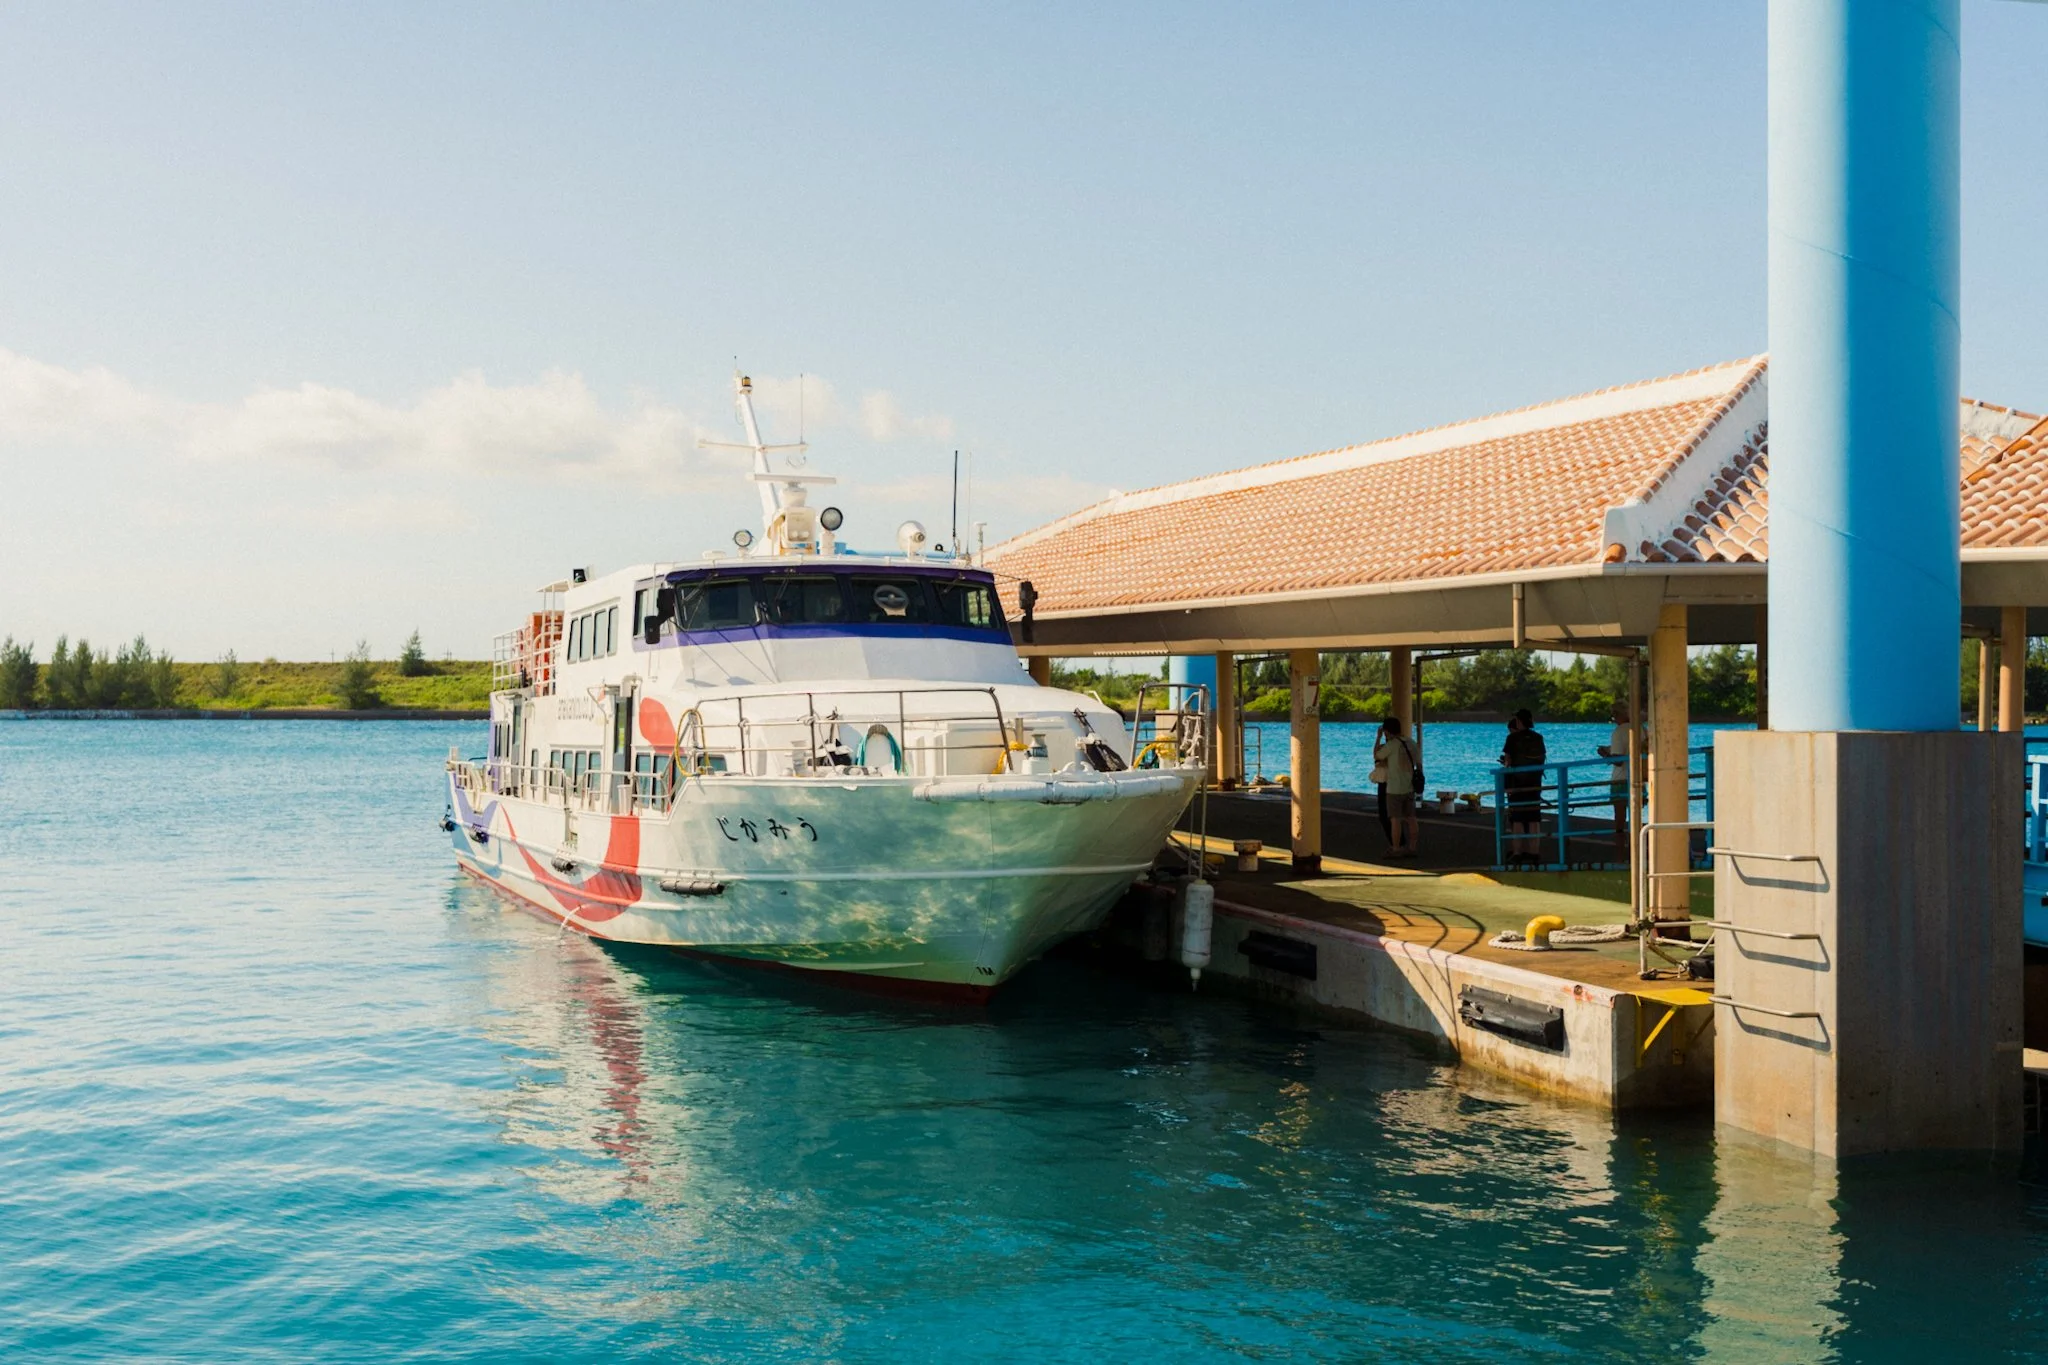
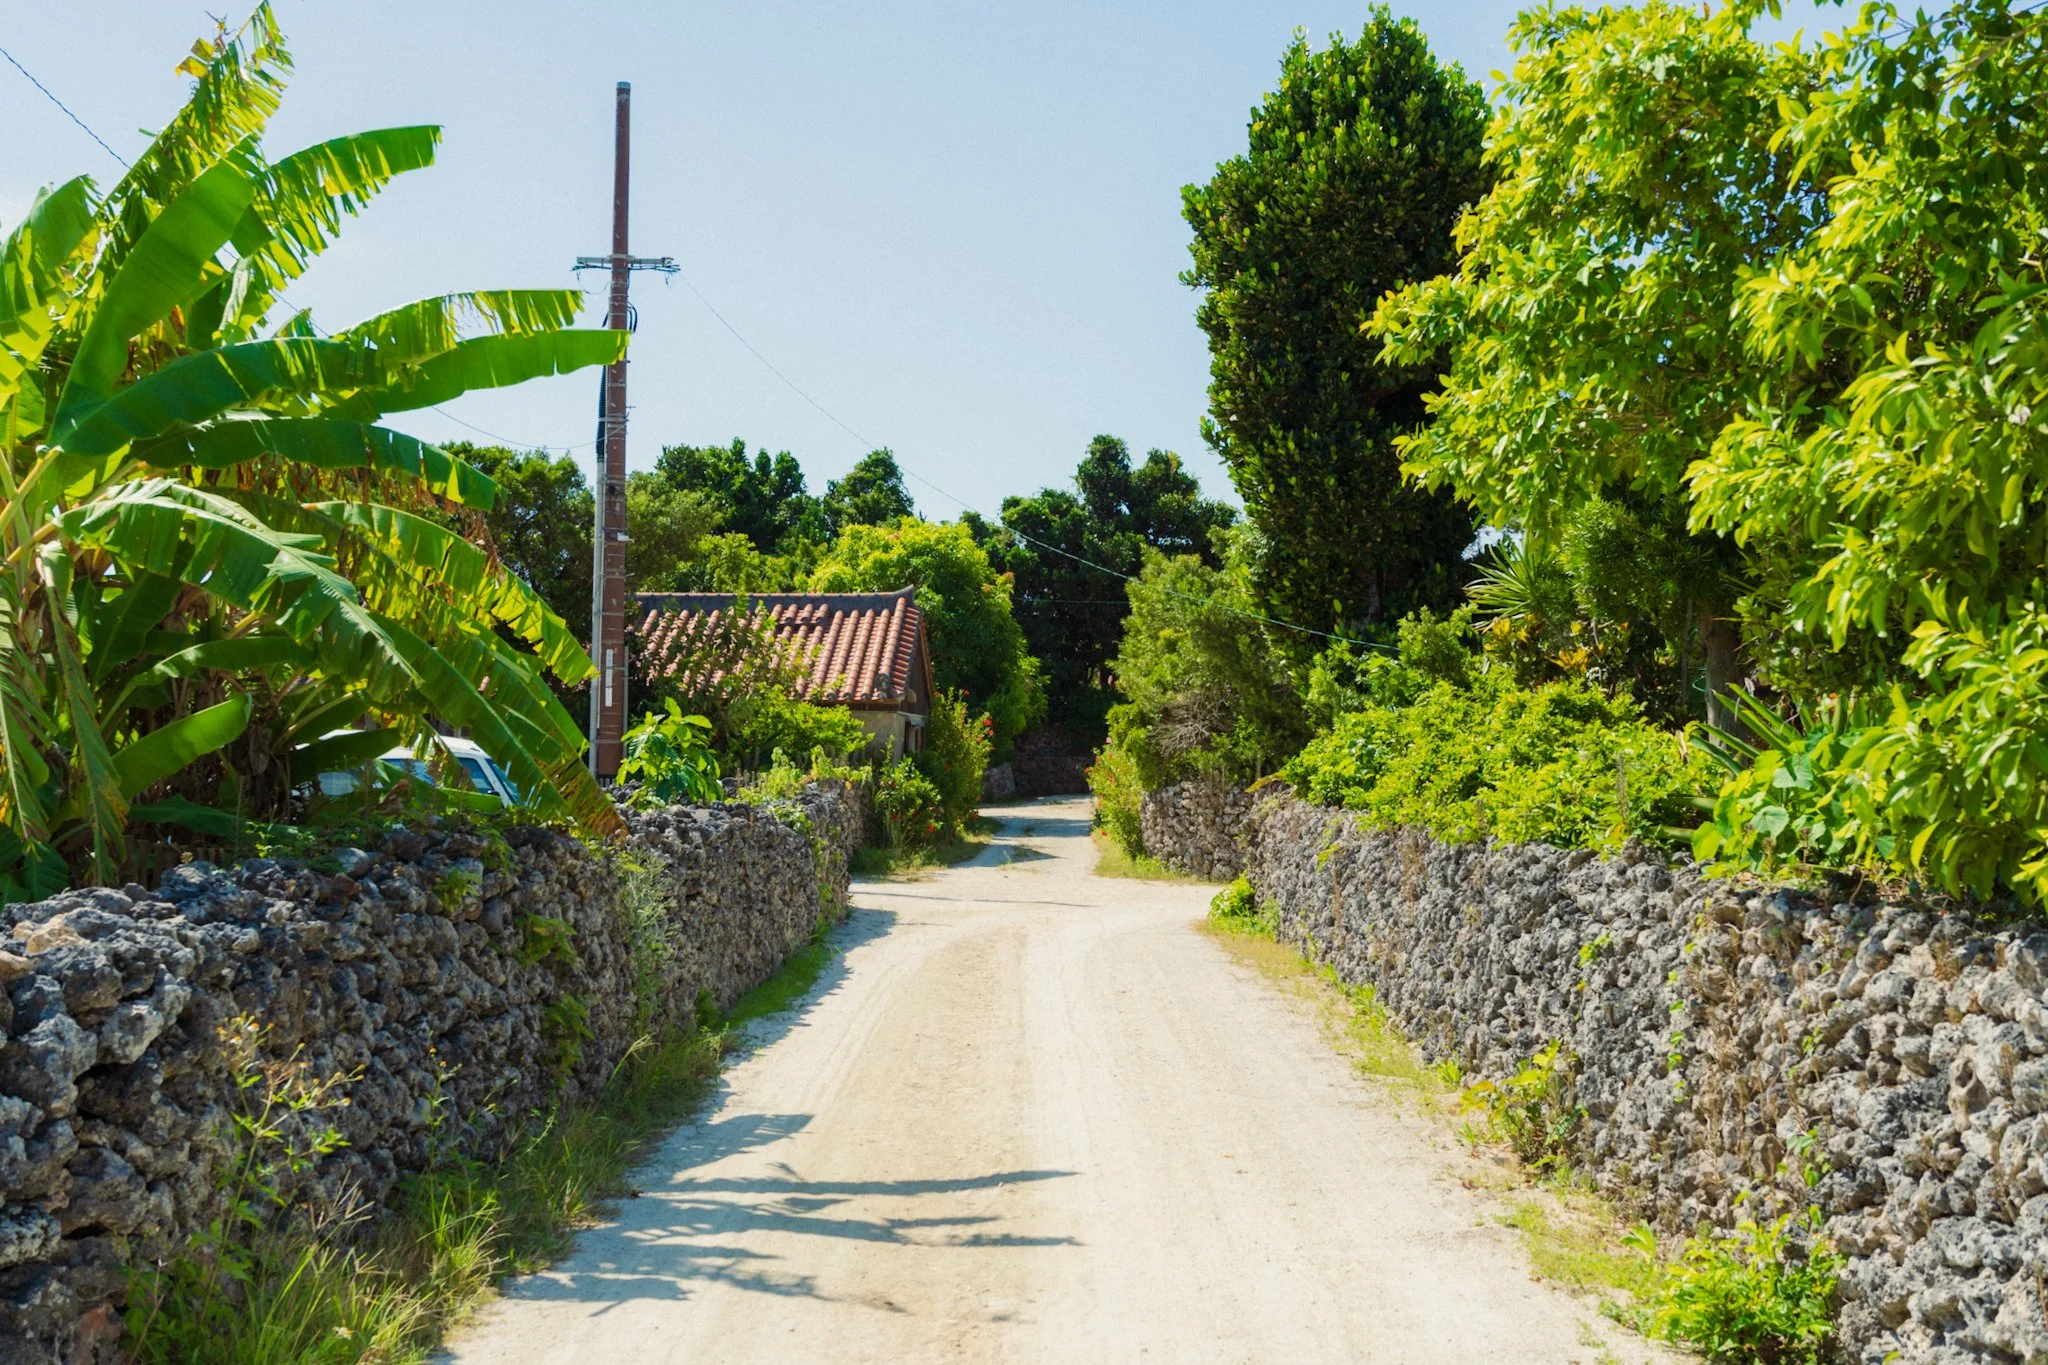
I suggest staying near the port in Ishigaki, as you will have quick access to the smaller islands. The first one has to be Taketomijima, which can be reached by boat in under 30 minutes. Keep in mind the boats run to a specific schedule and the last one isn’t as late as you’d imagine. You need to double-check times if you don’t want to spend the night on the island. This island is tiny, and you can either rent bikes or walk around if you have time. I suggest getting lost but roughly heading towards the other side where you will find Kondoi Beach, hands down one of the most beautiful beaches I’ve seen.
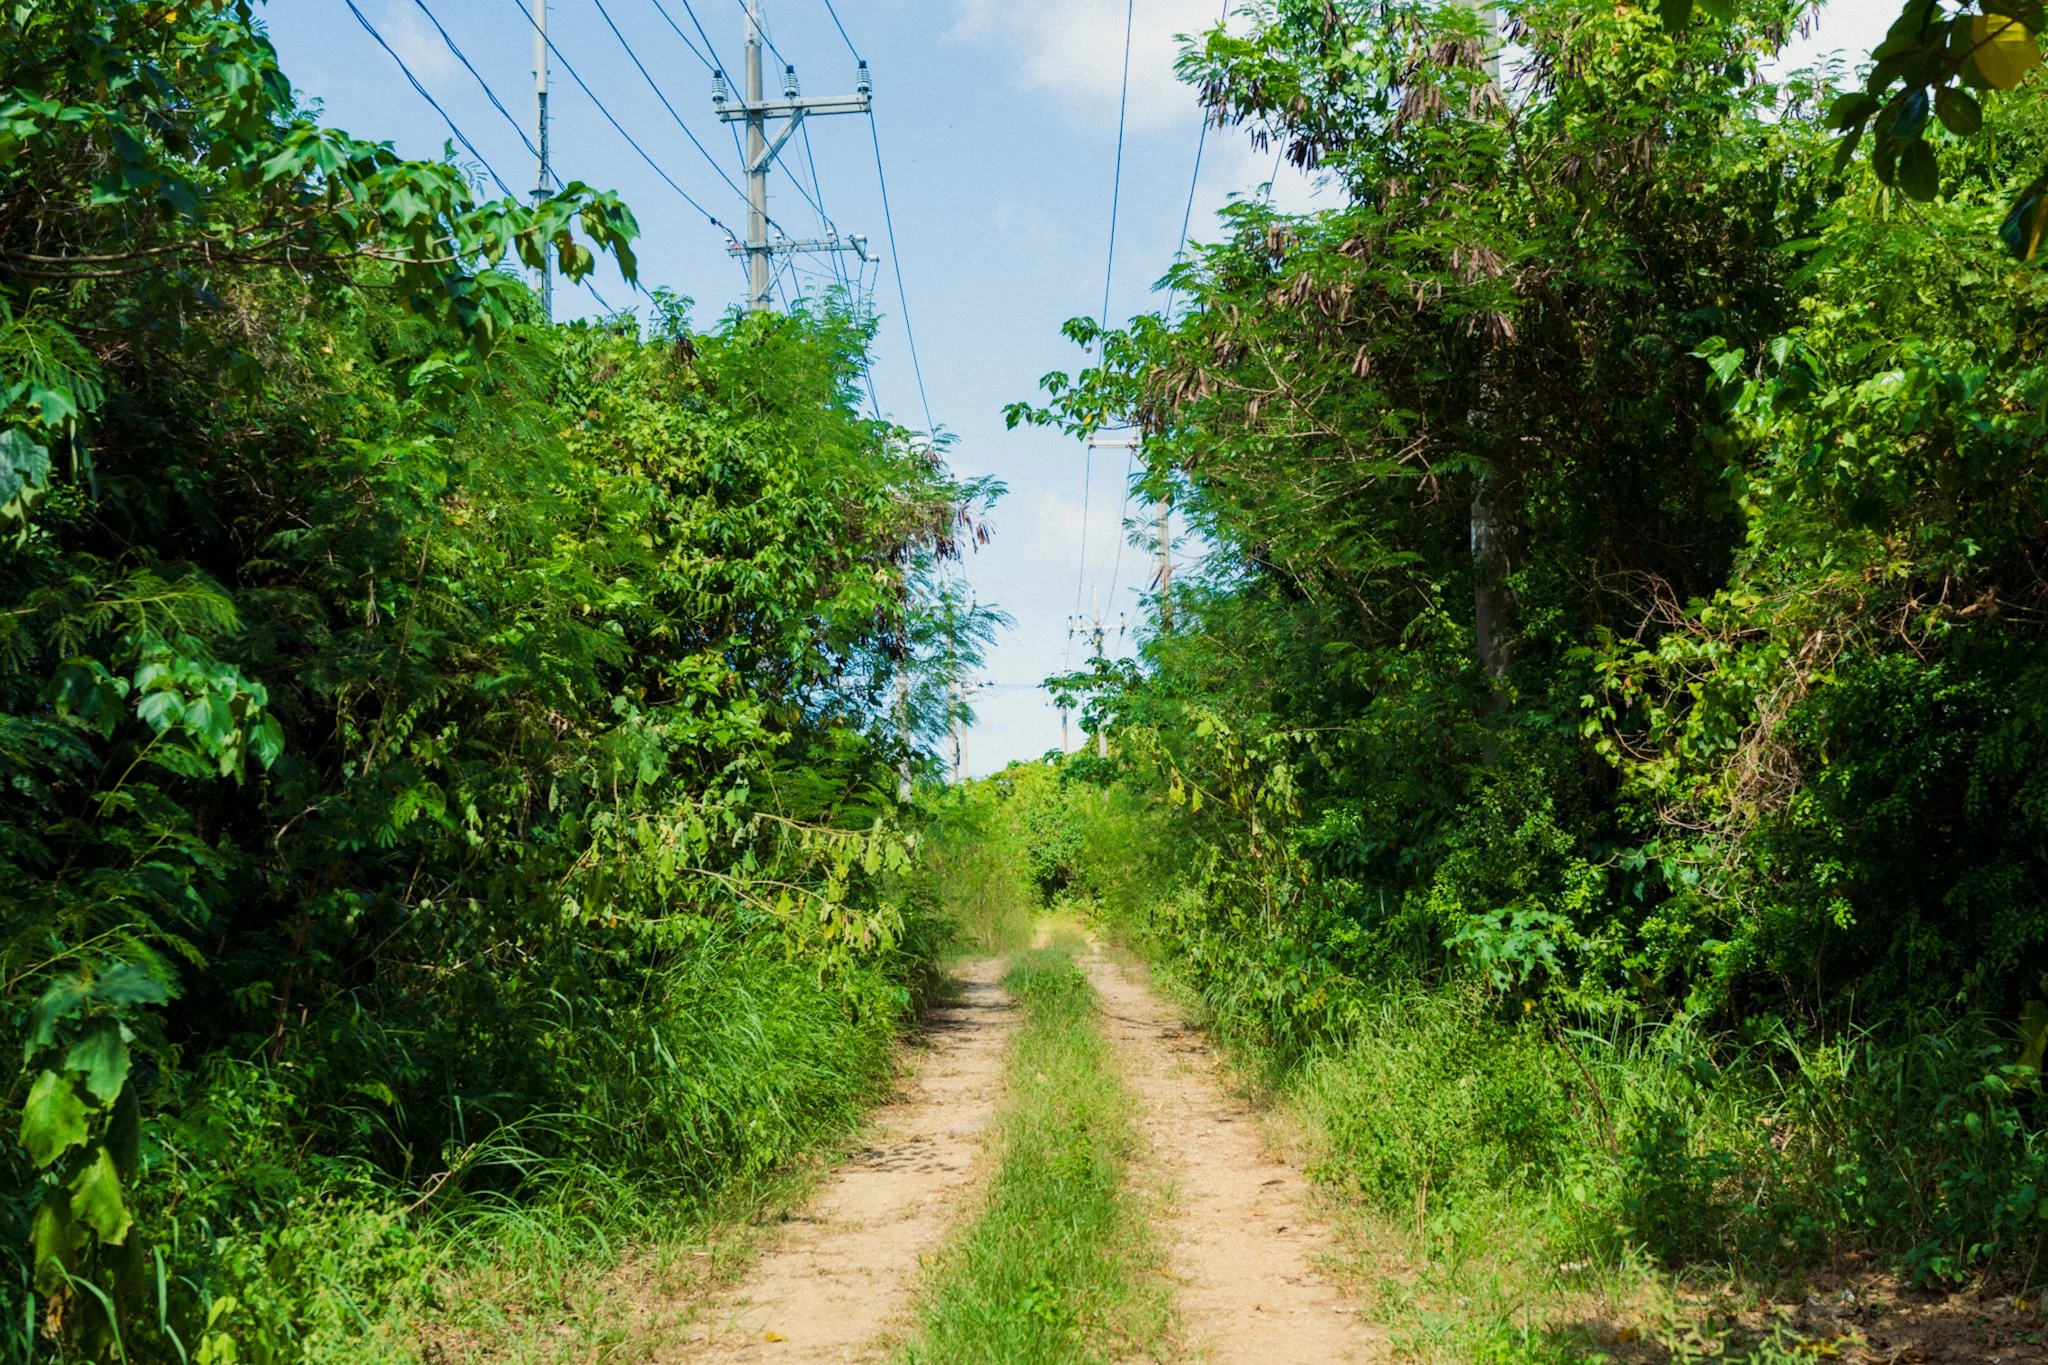
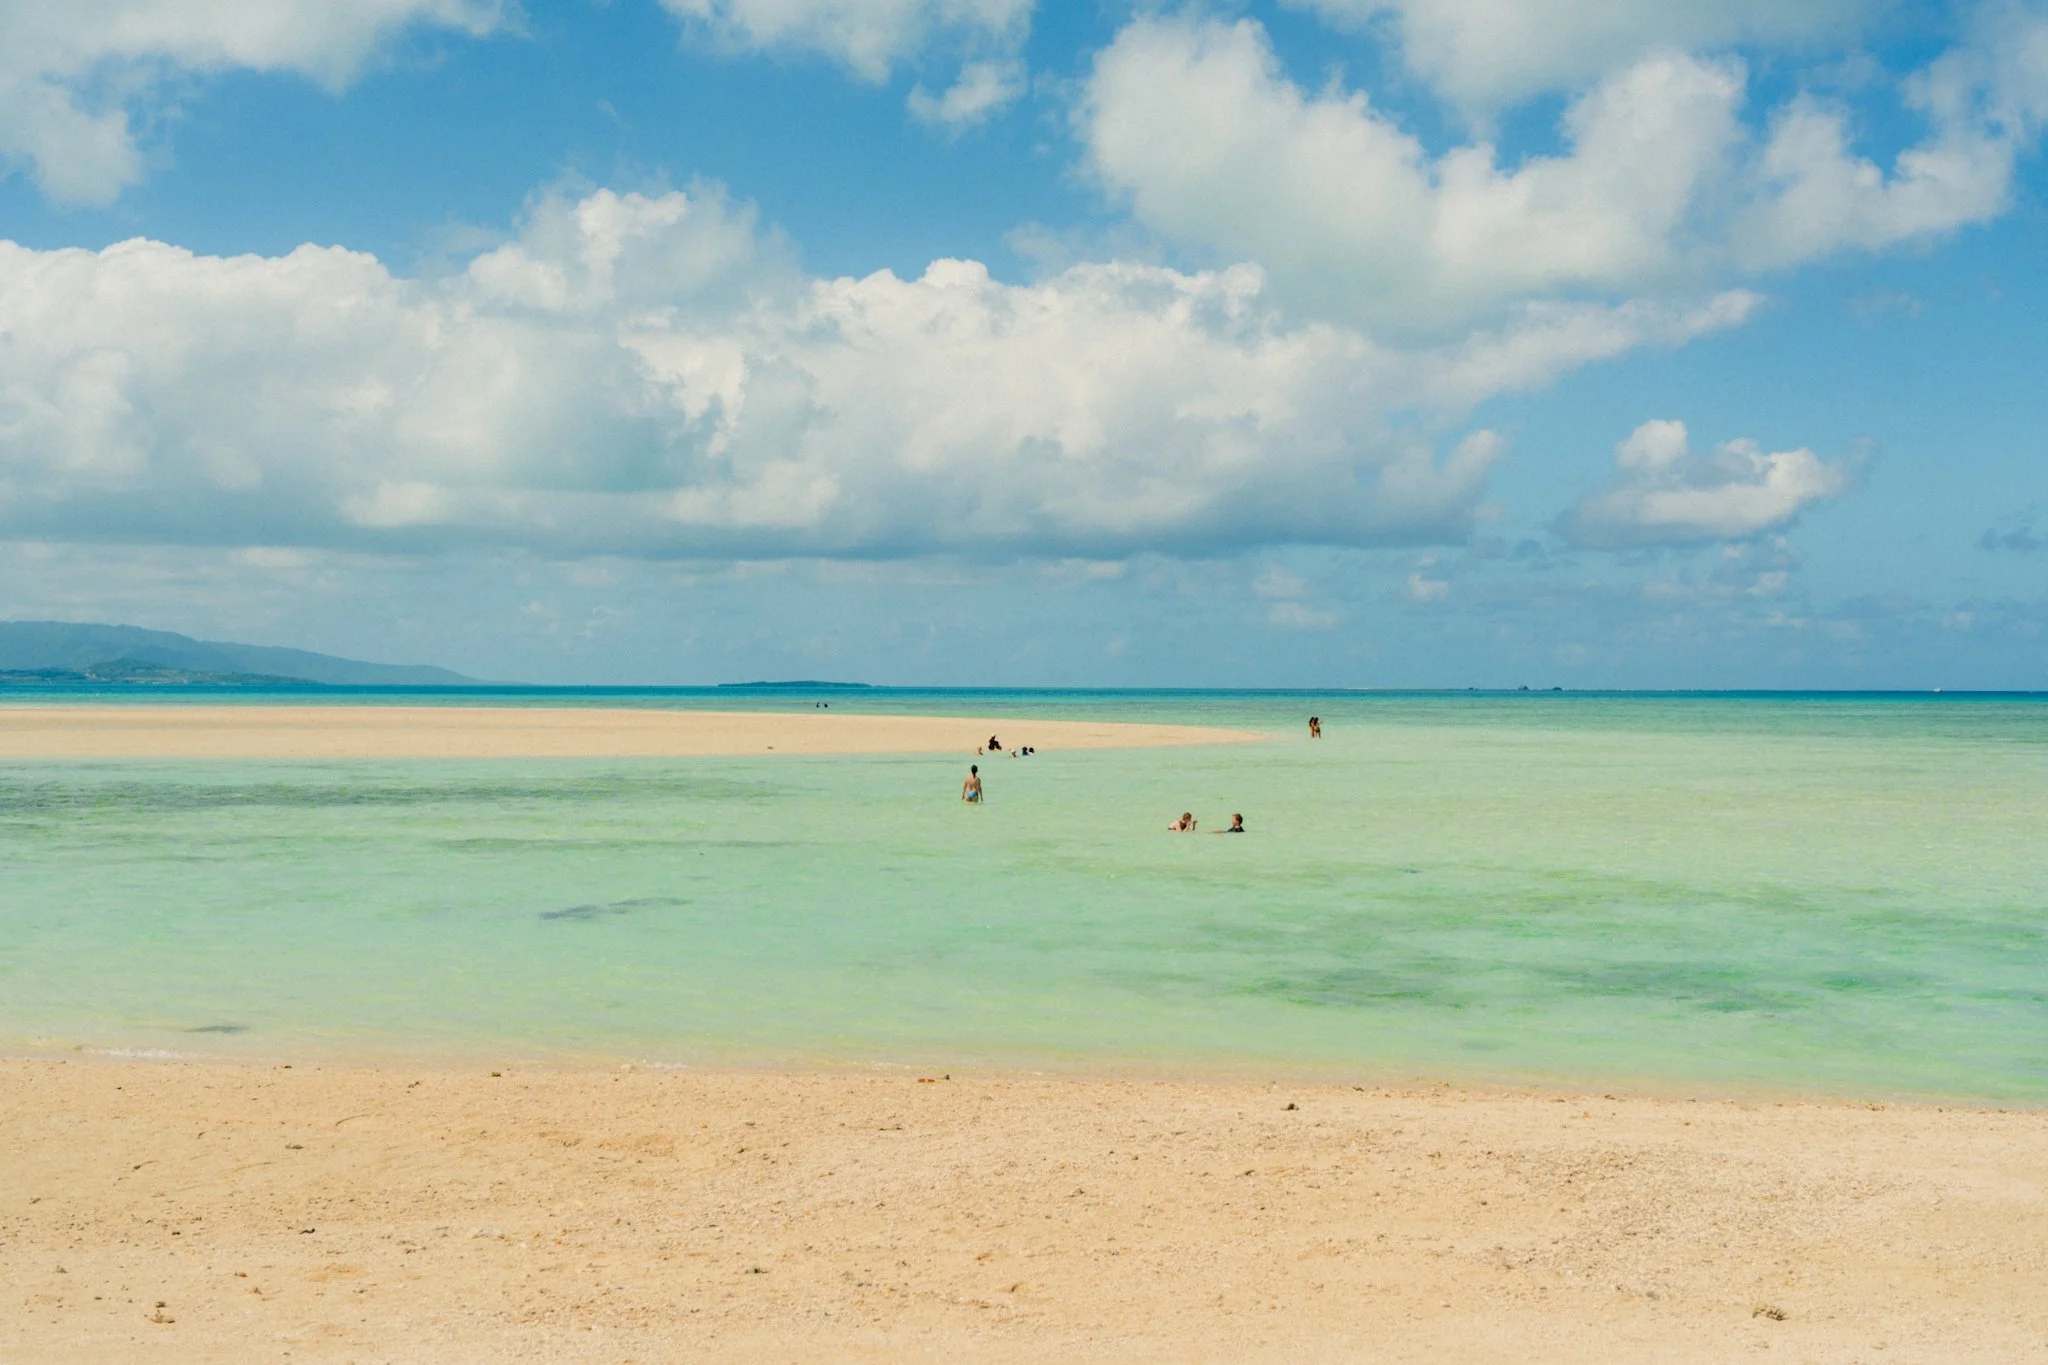
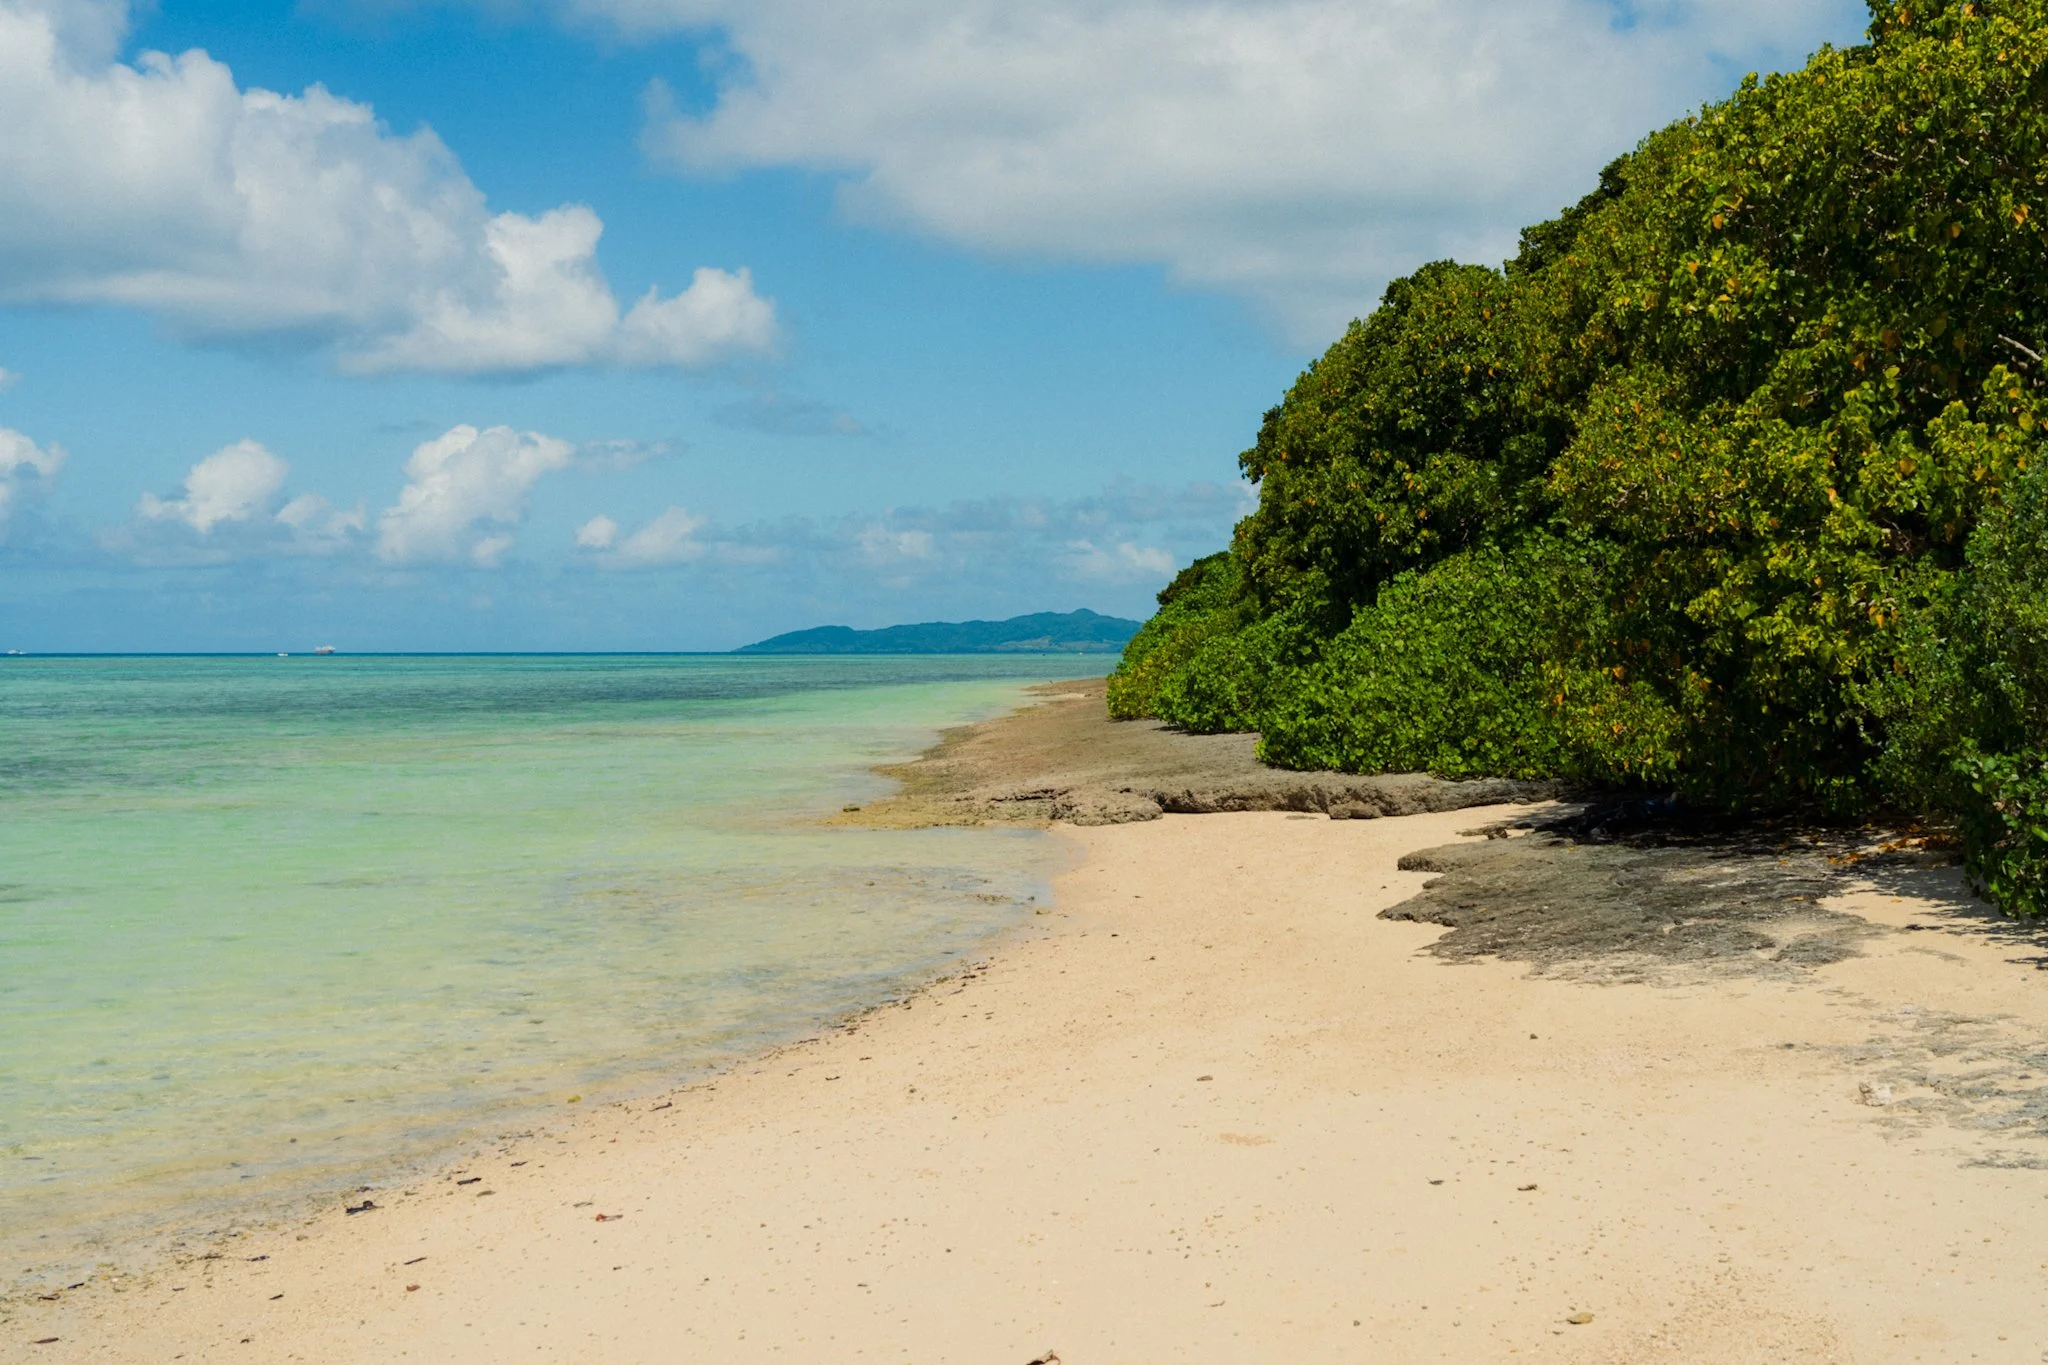
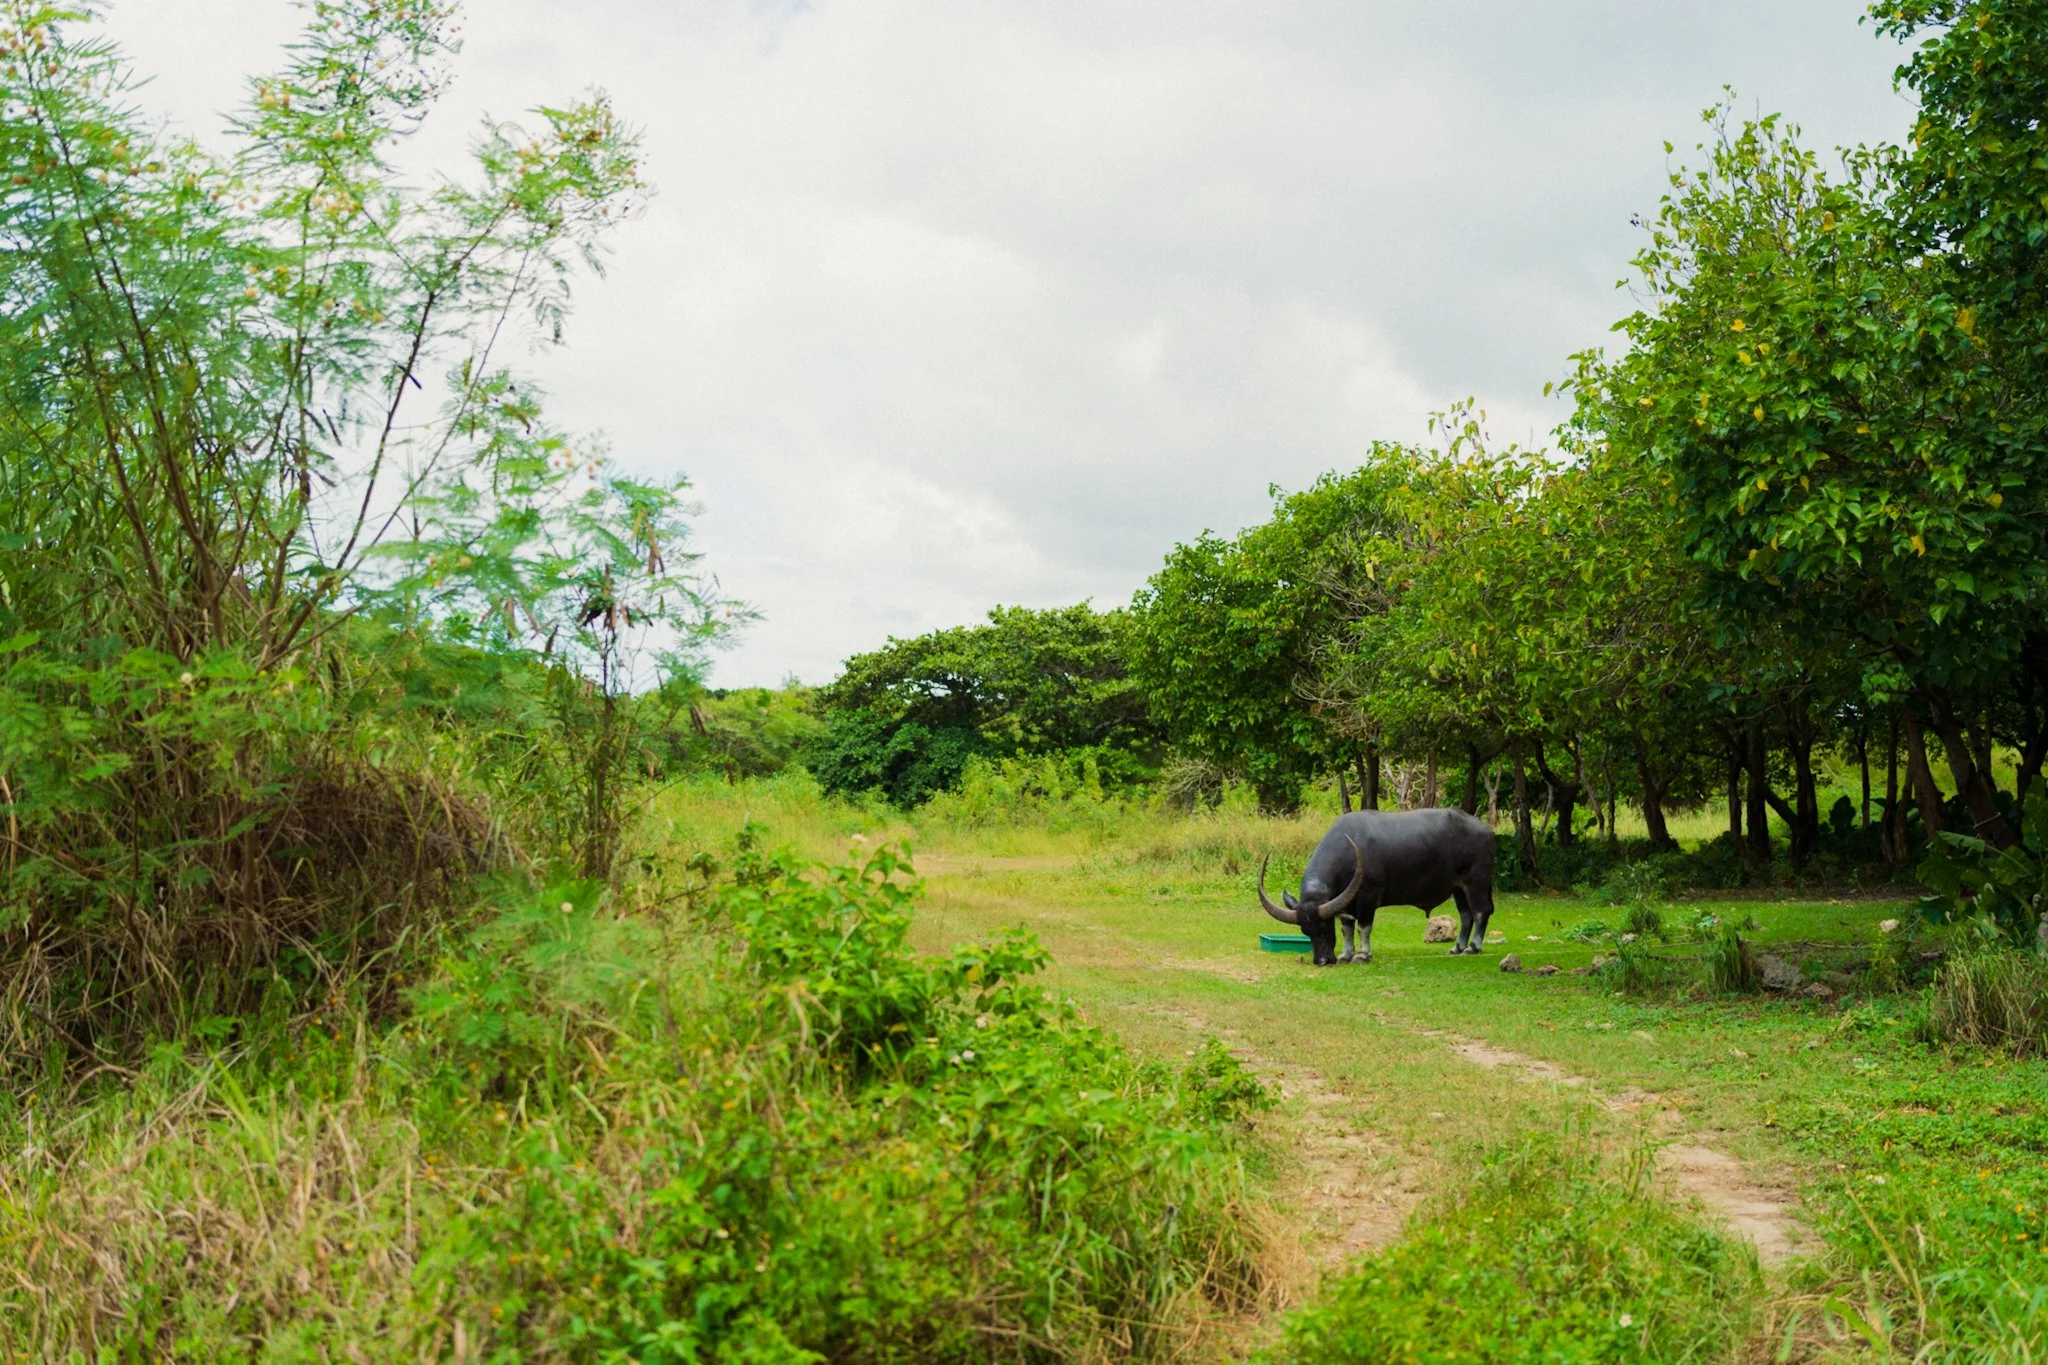
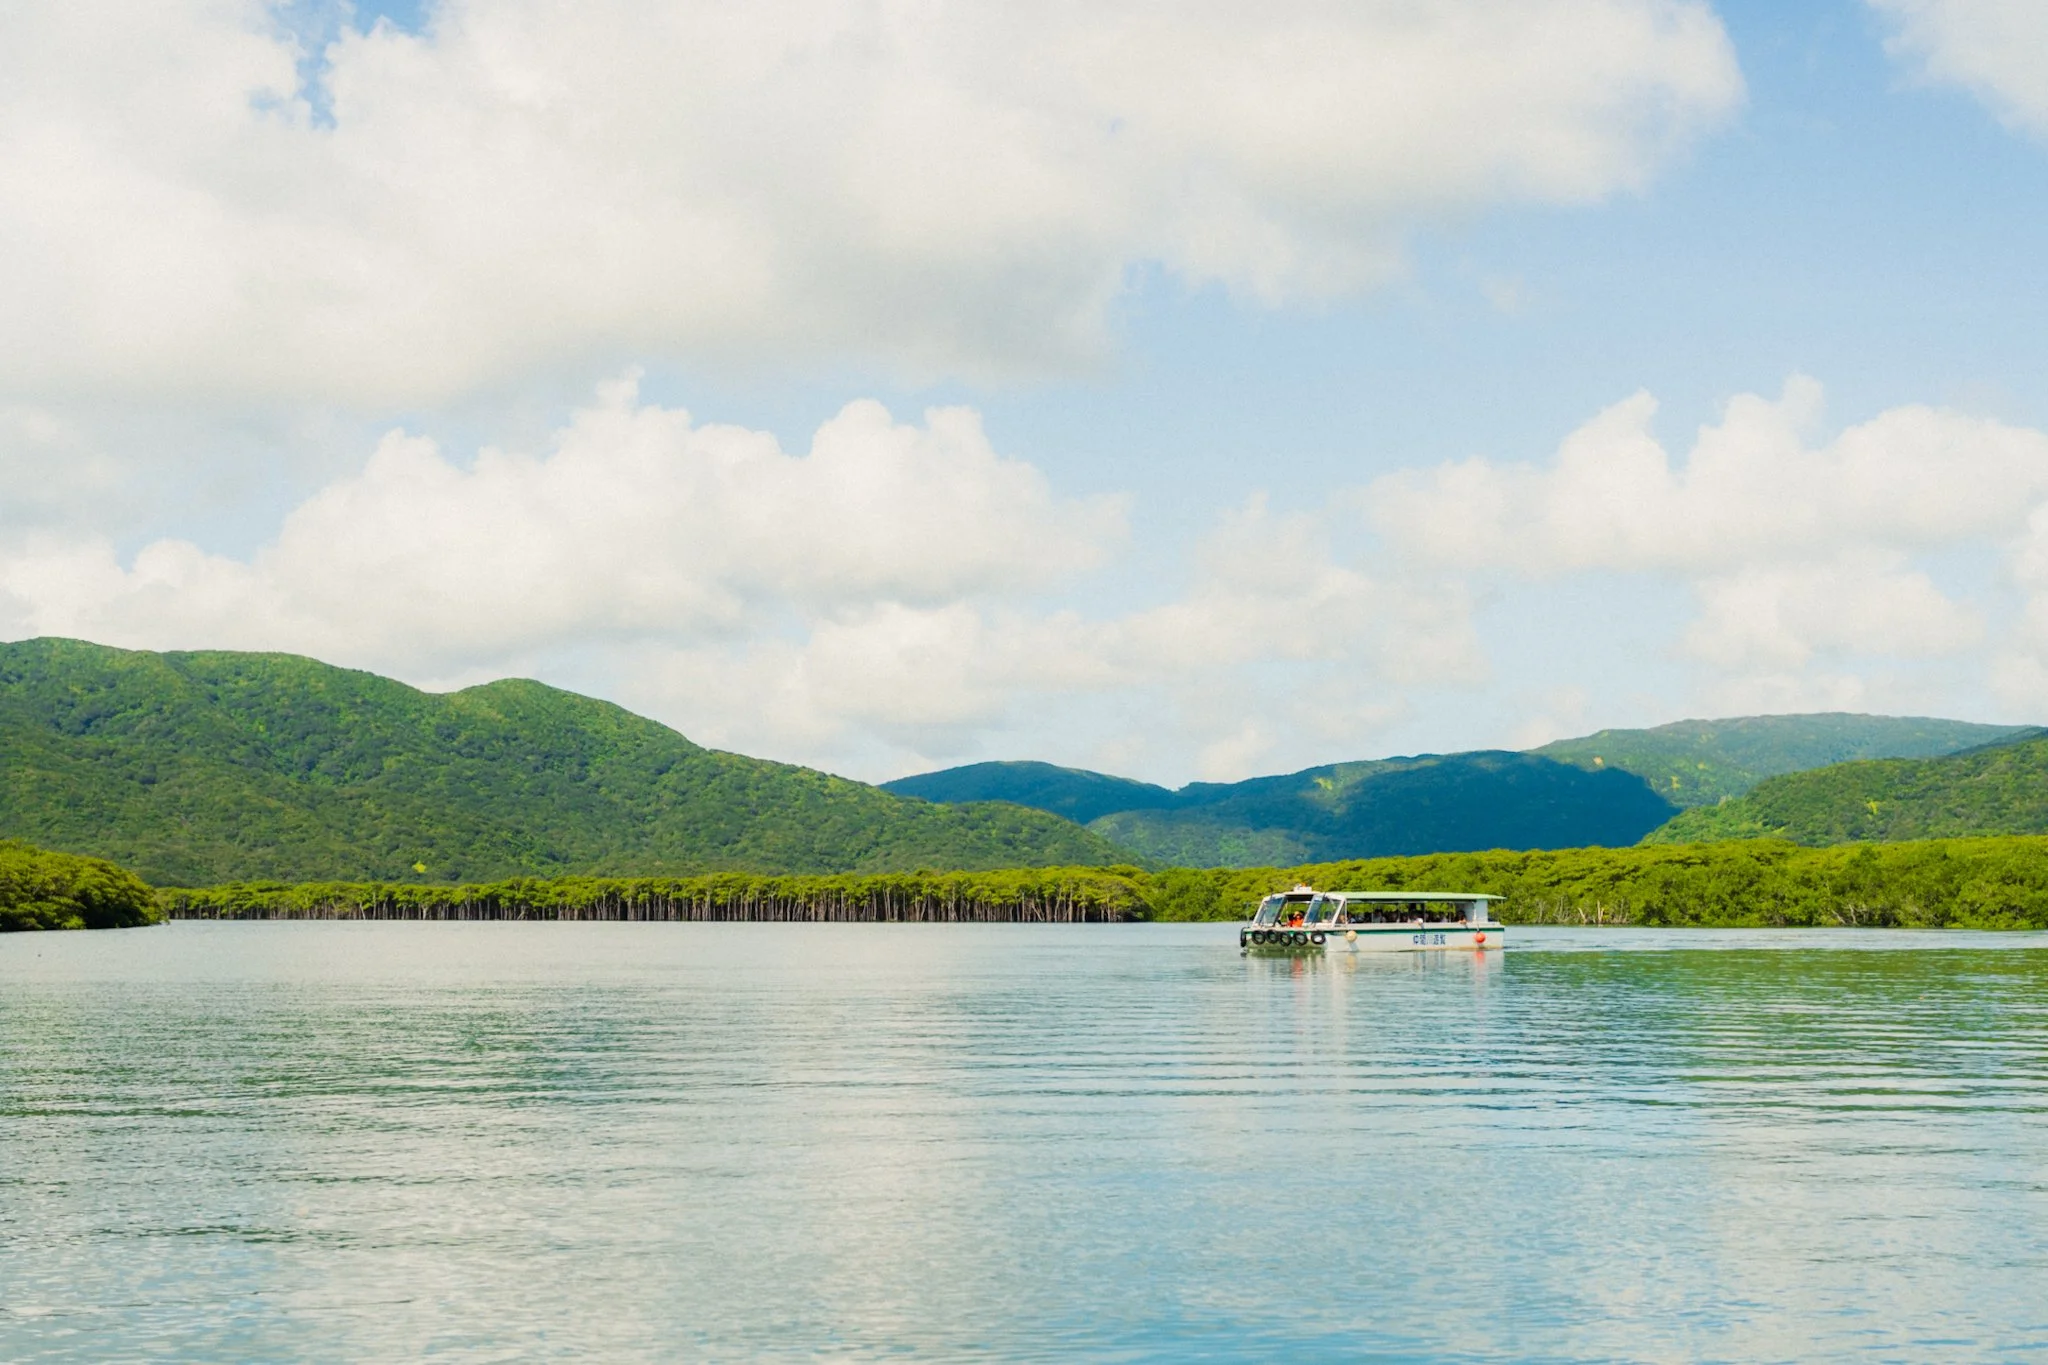
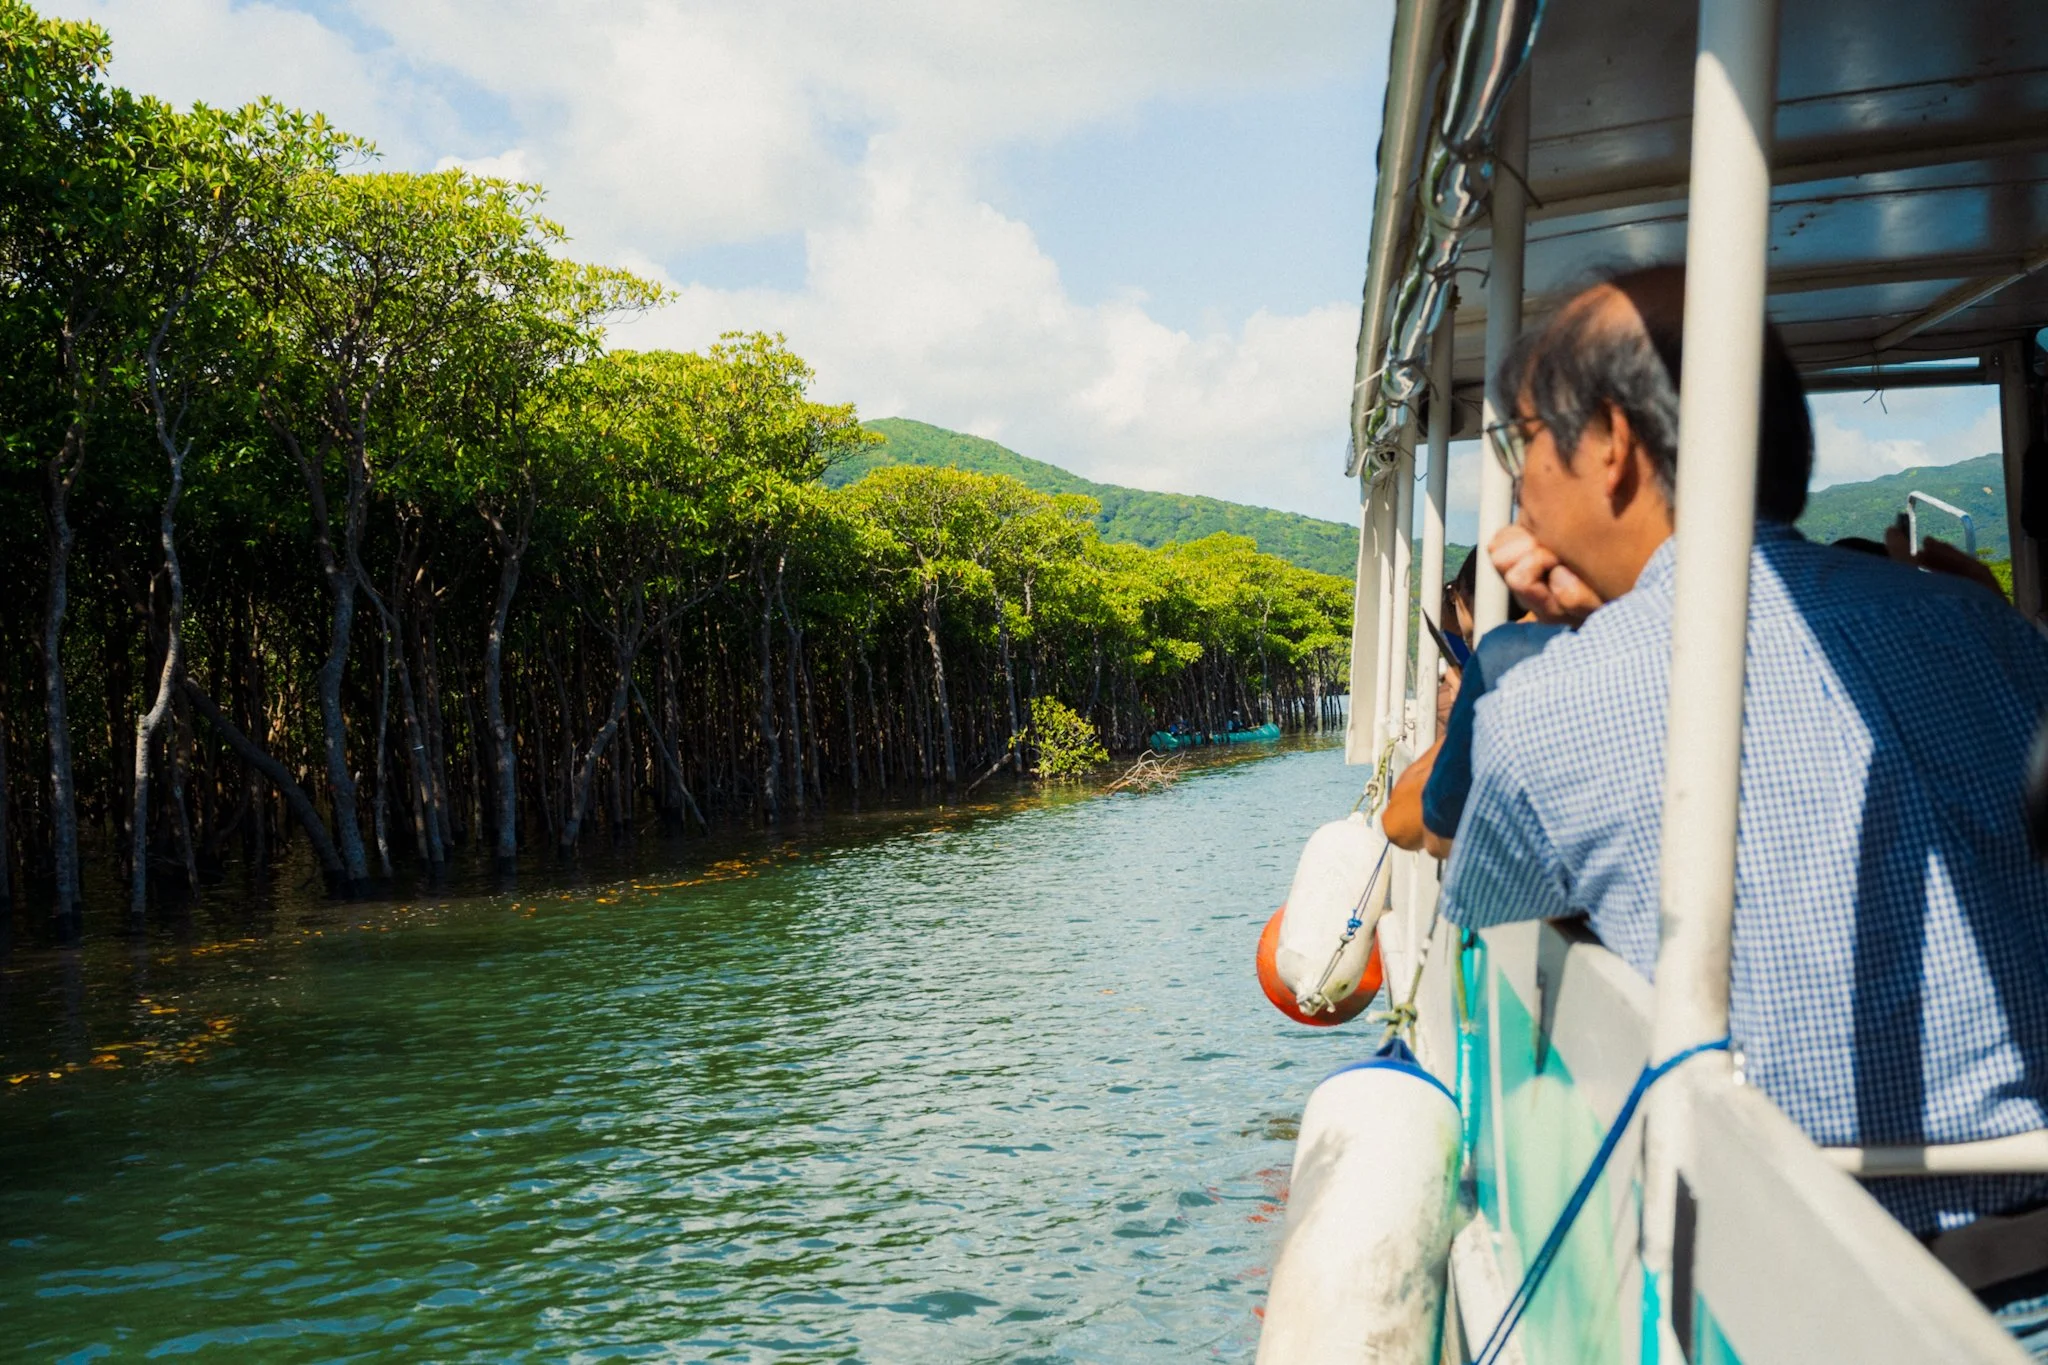
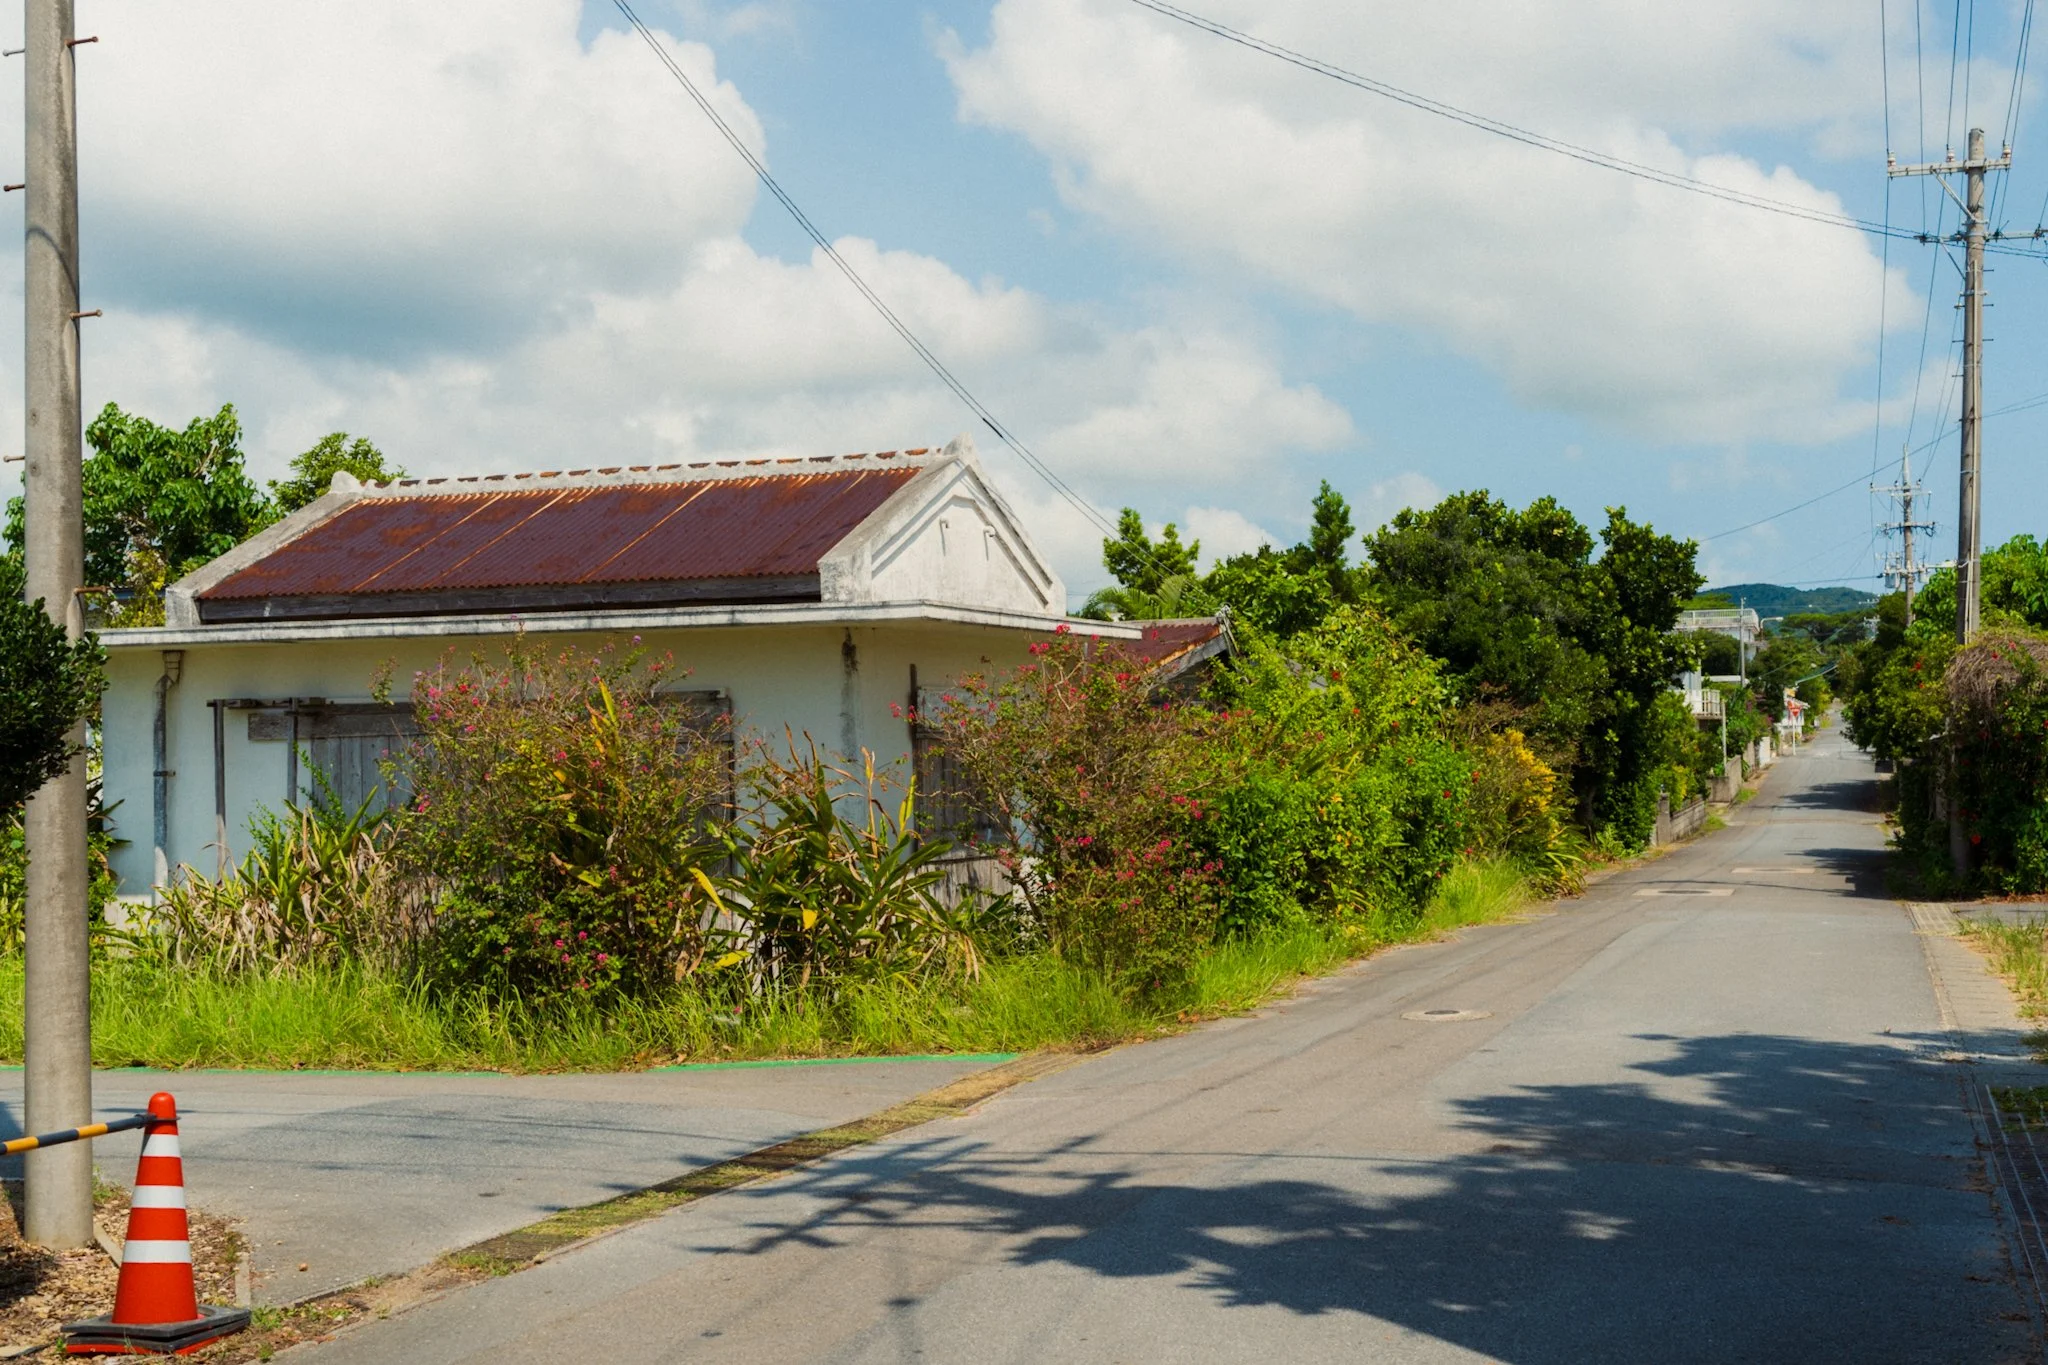
If you have time, take a slightly longer boat to Ohara, a tiny sleepy village. The main attraction is the mangrove cruise that takes you into the heart of the mangrove forest, and honestly it was amazing. After that, spend some time exploring the village and the nature around it. At first I didn’t think we’d spend much time there, but soon we found ourselves running back for the boat.
After this, we took a flight to Miyakojima, the next big island. We primarily came for the amazing snorkelling that can be found on the other side of the island, and sadly I didn’t have a diving housing for my camera, so you’ll just have to take my word for it. It was like being on the set of Finding Nemo. The town itself was ok, but we didn’t feel as drawn to it compared to the previous island. It felt more industrial with a bit of a party scene at night. Perhaps we stayed in the wrong area, but that was our takeaway.
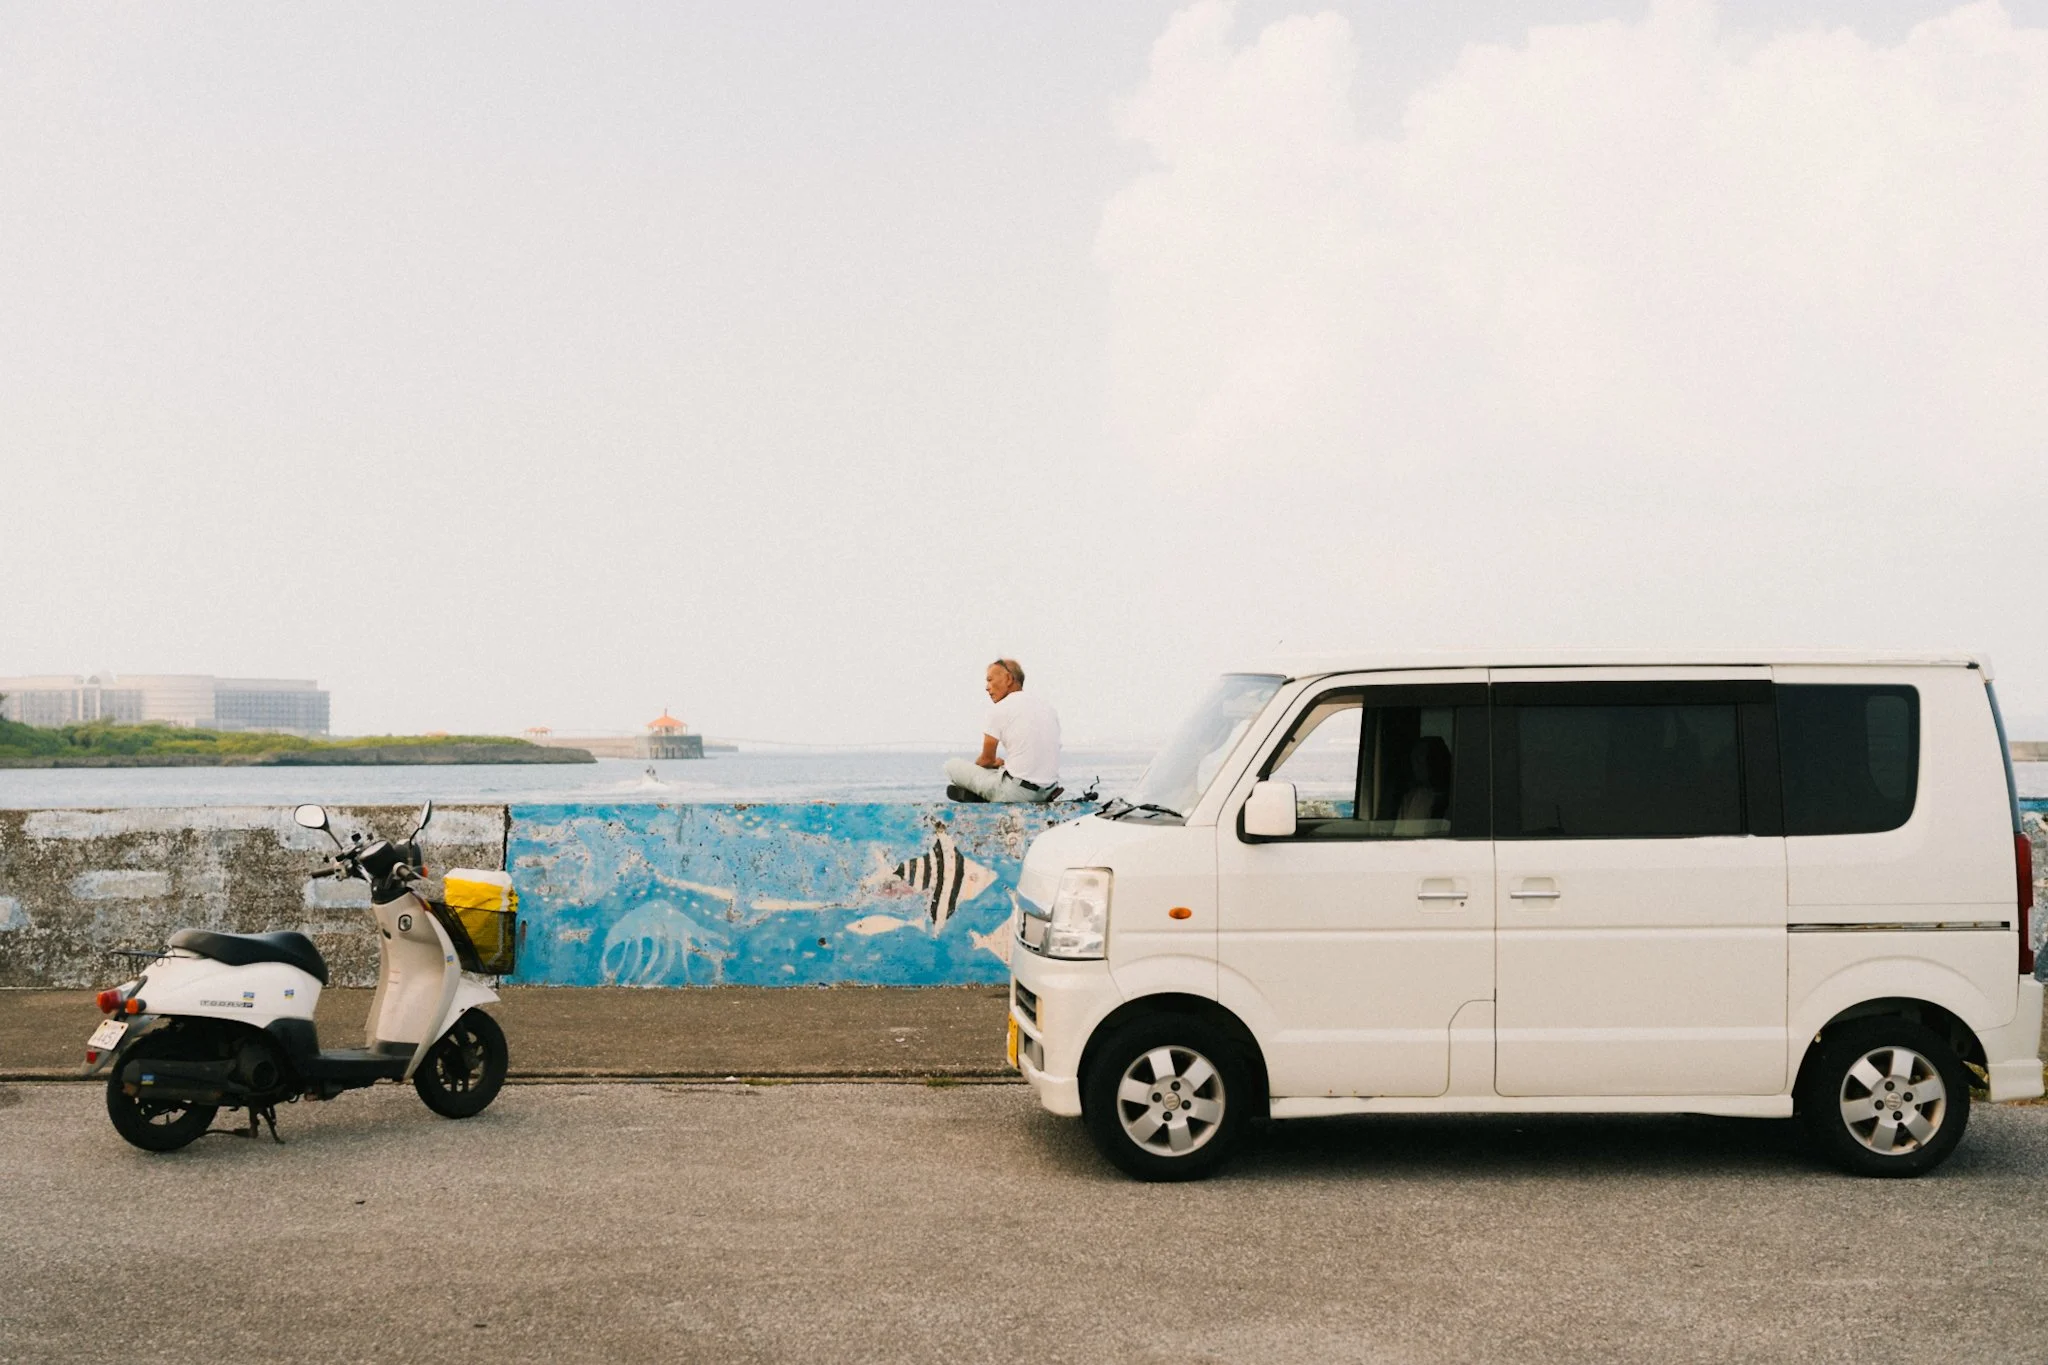
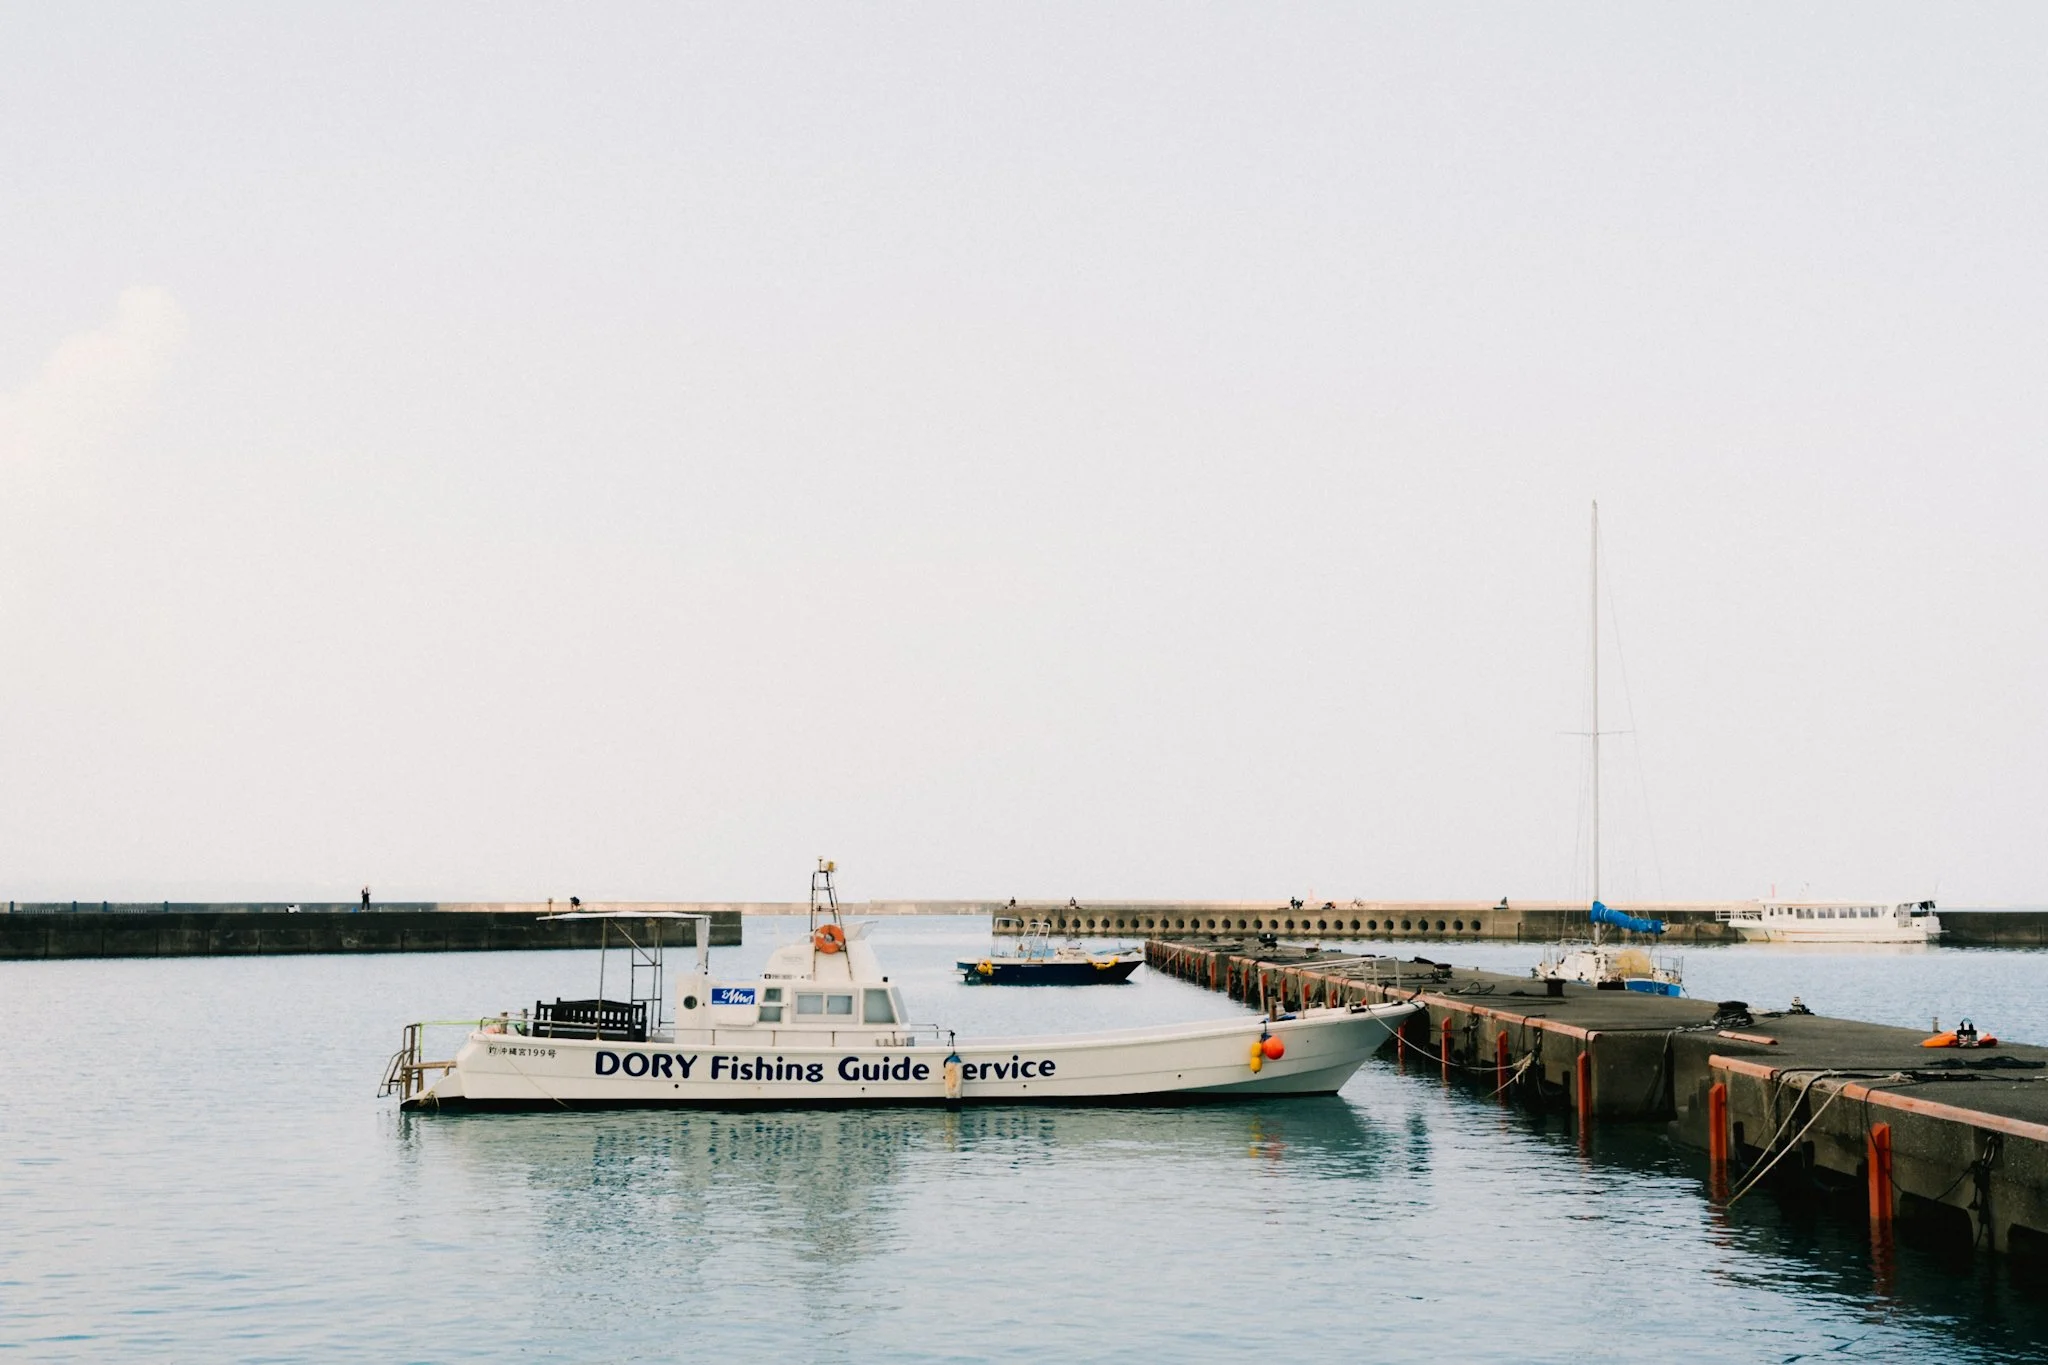
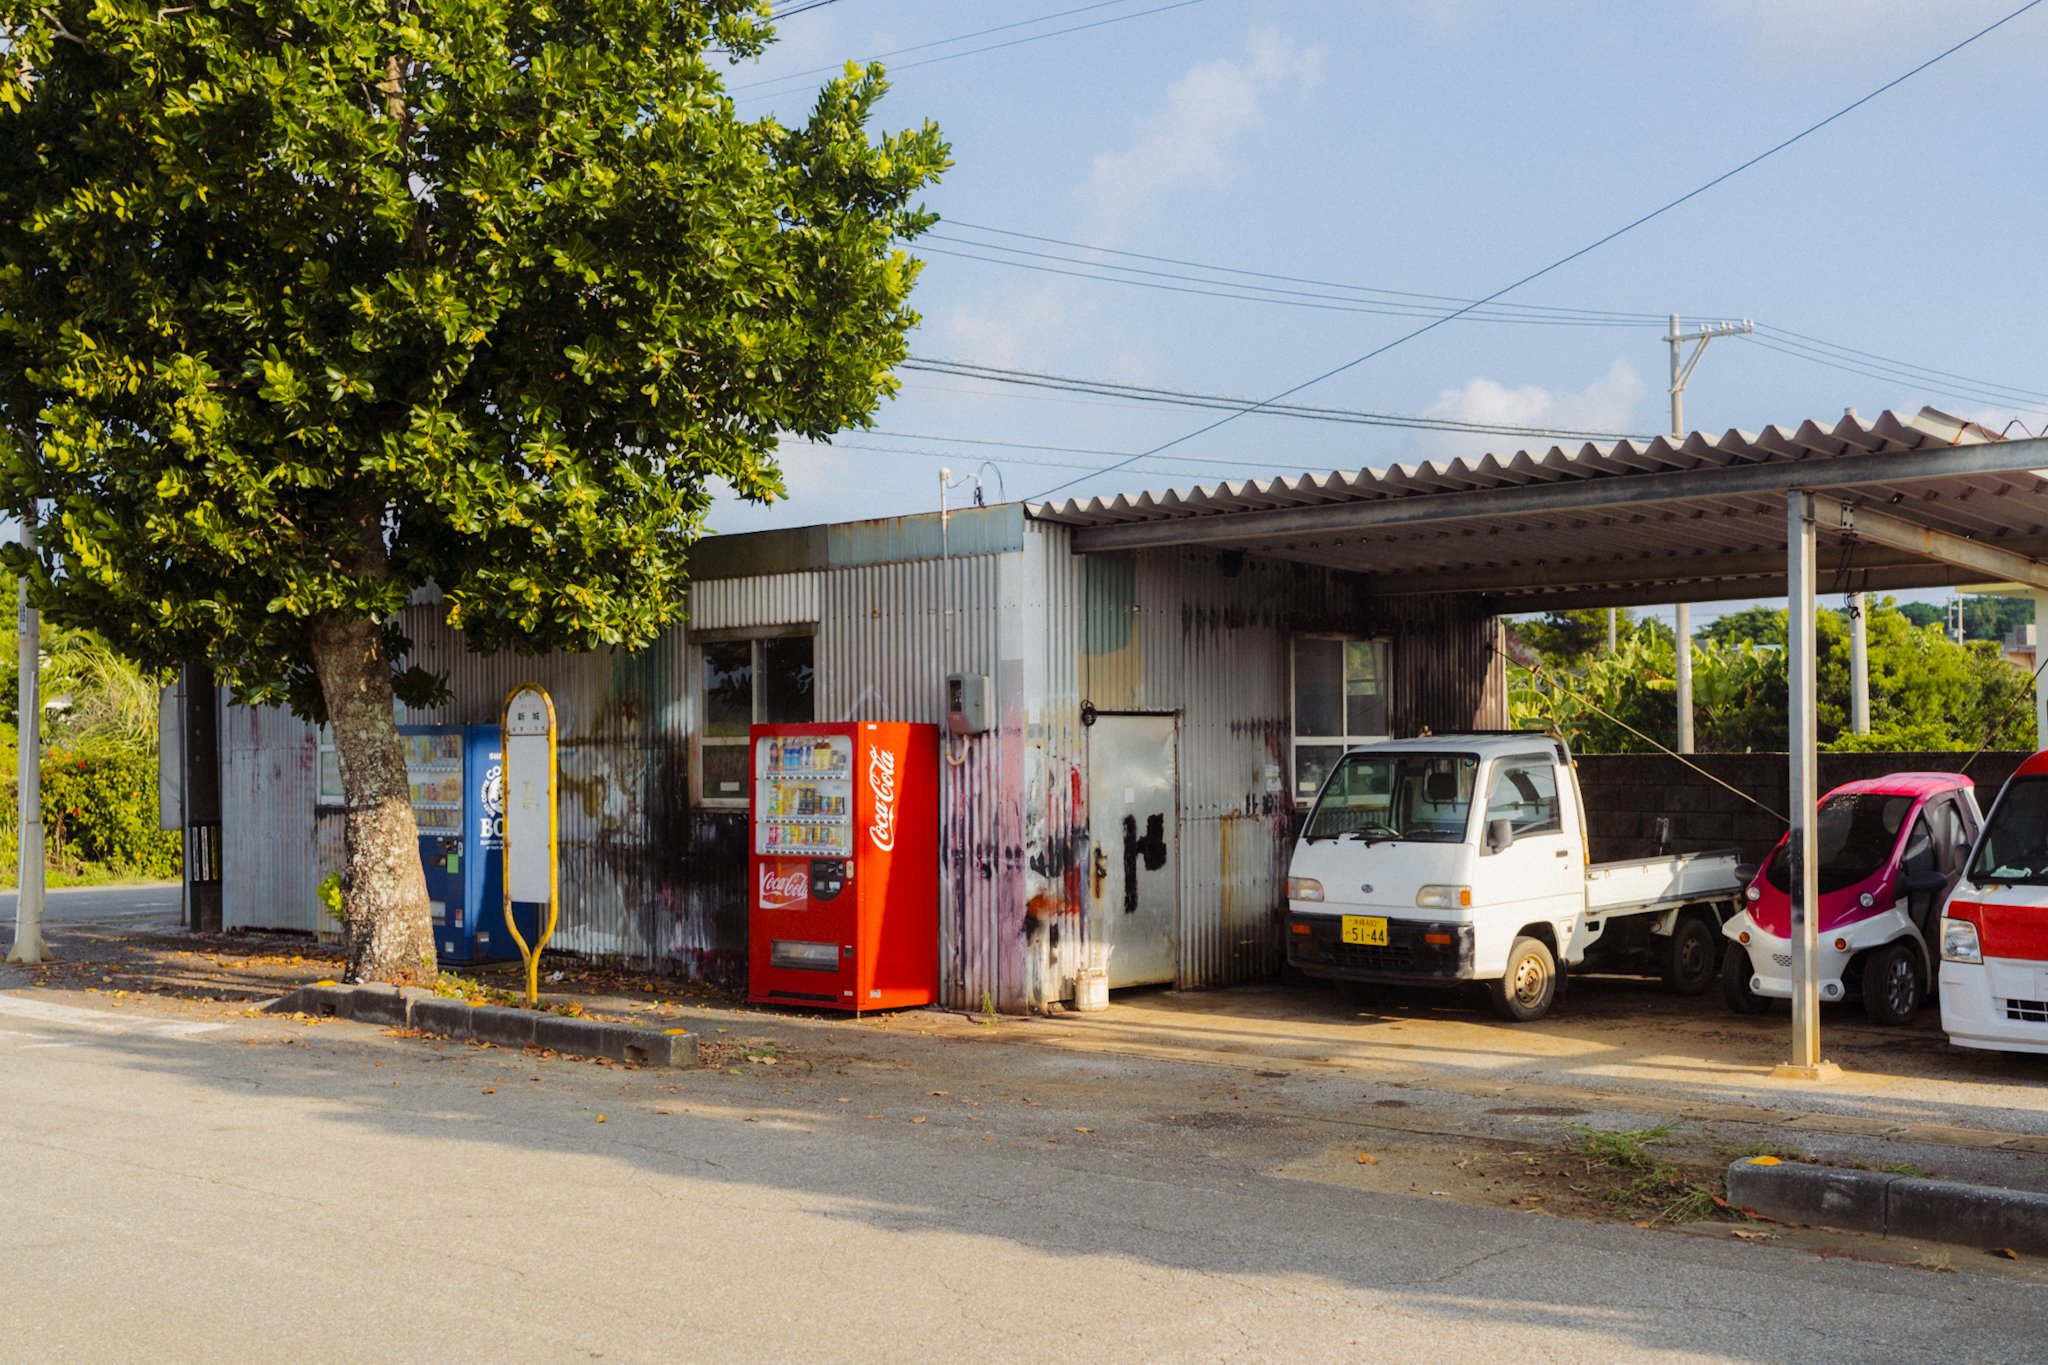
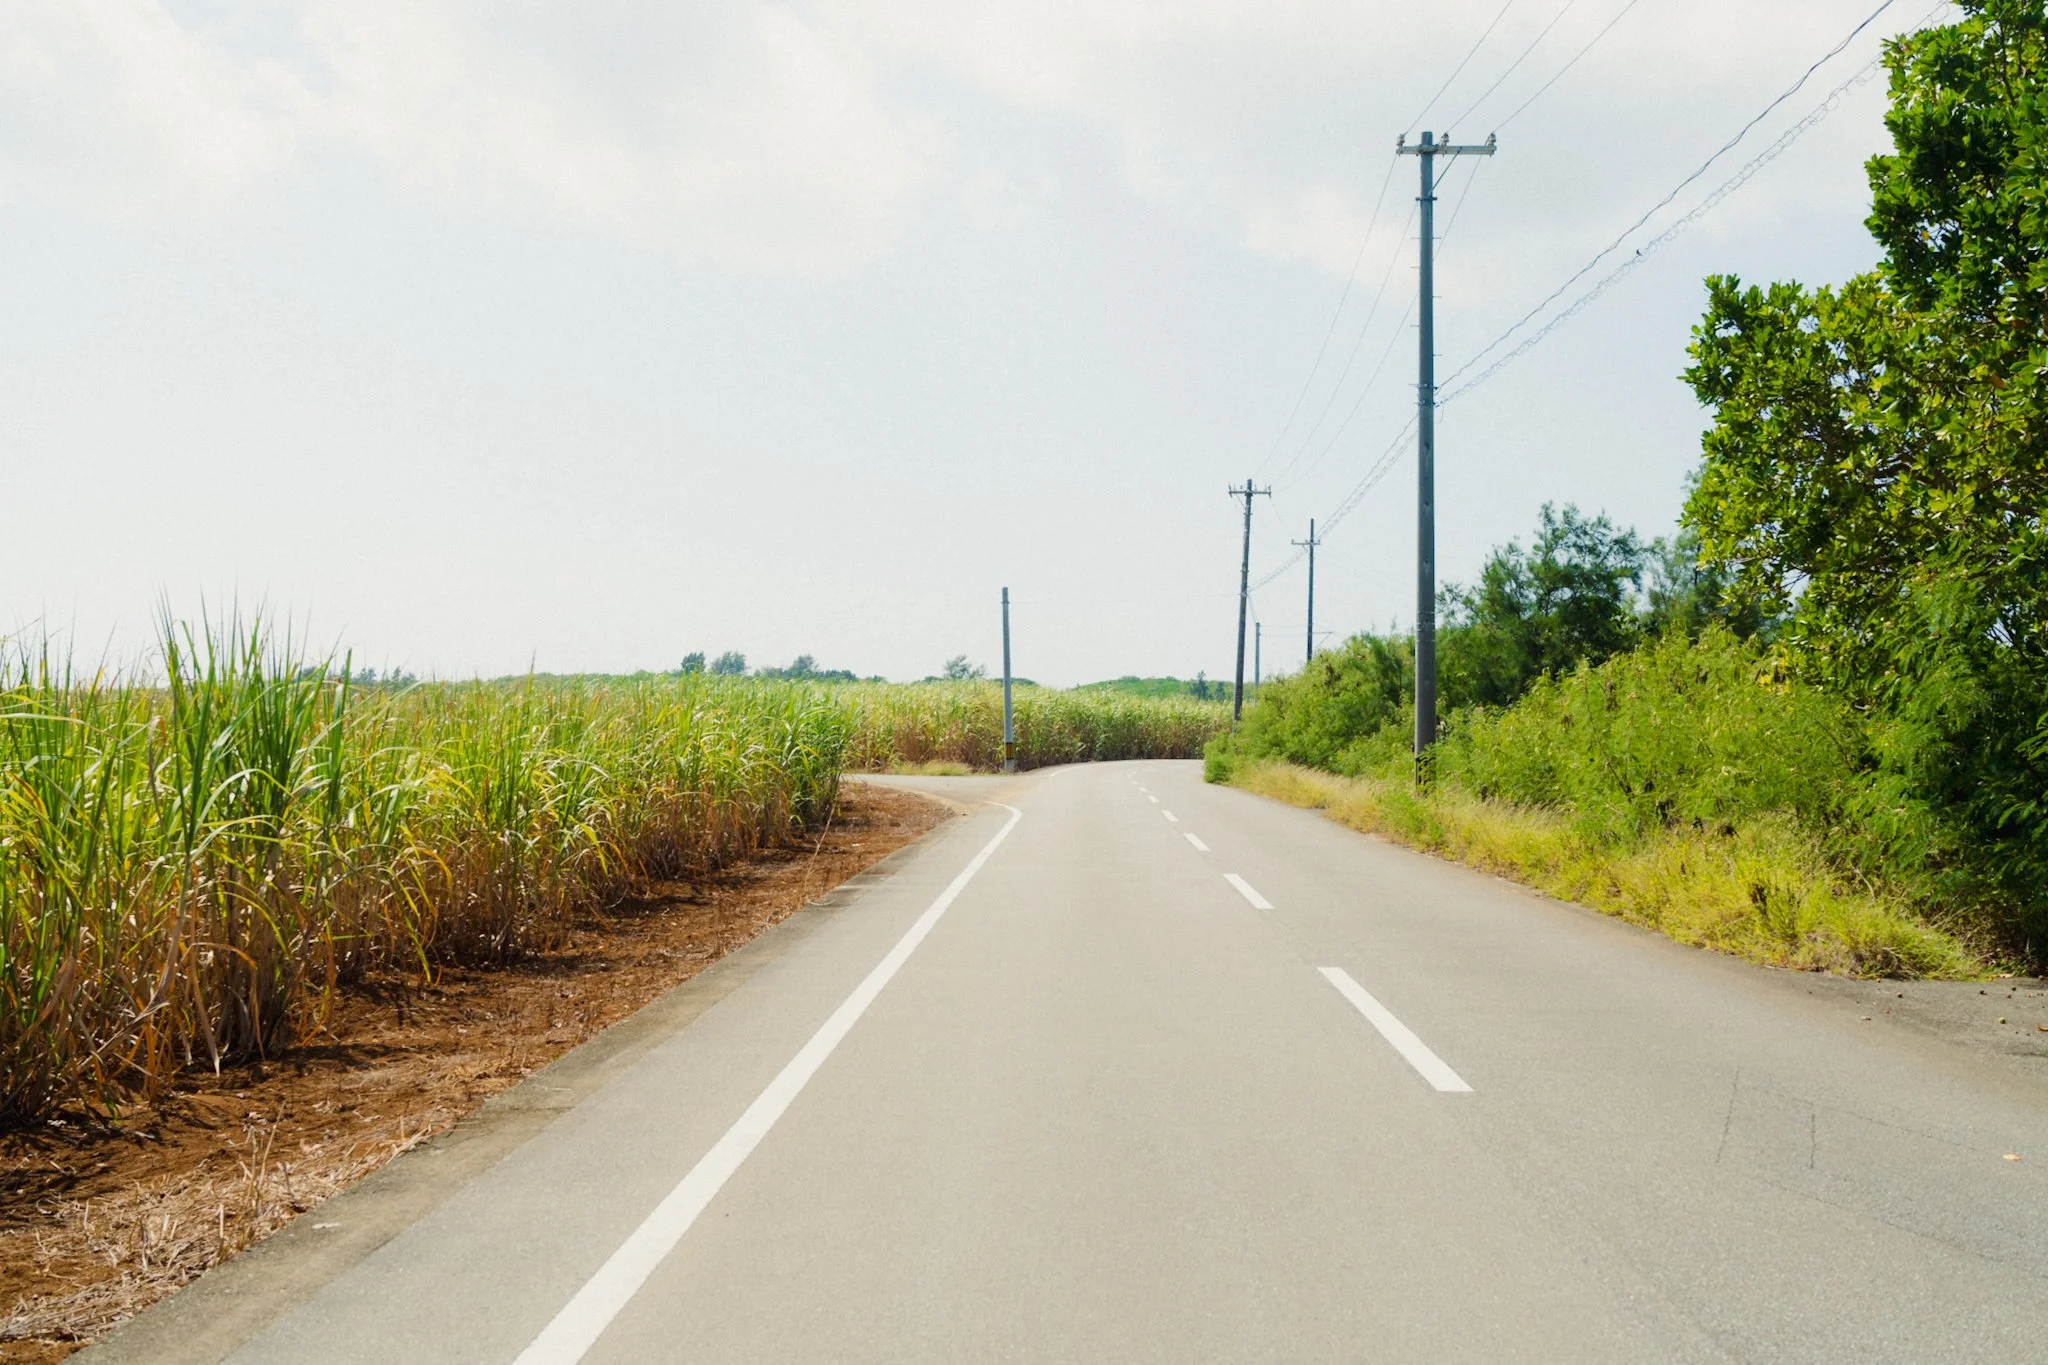
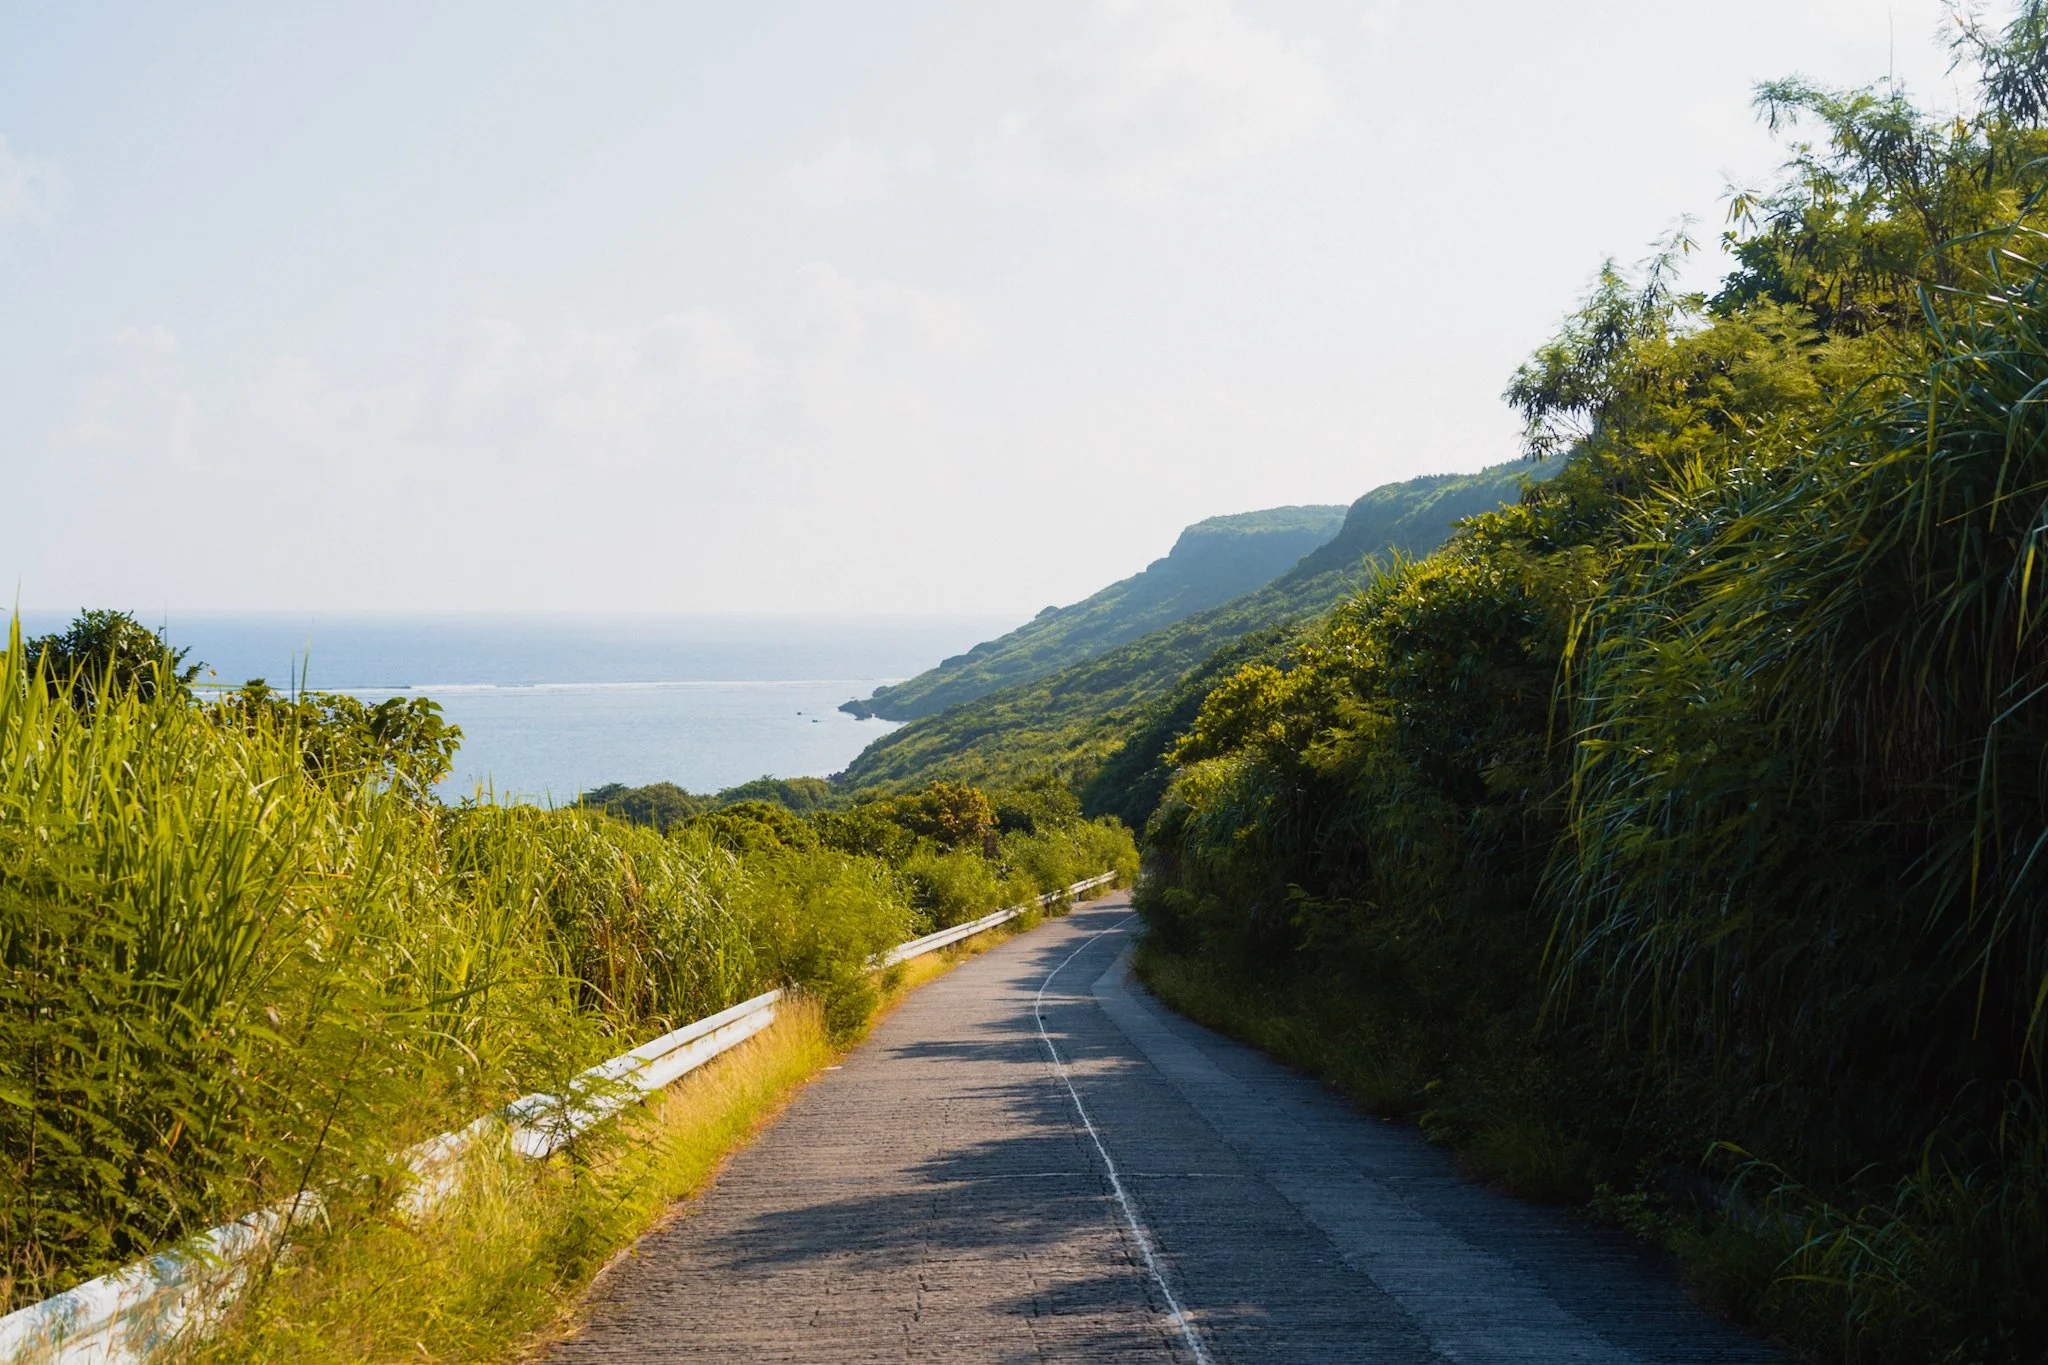
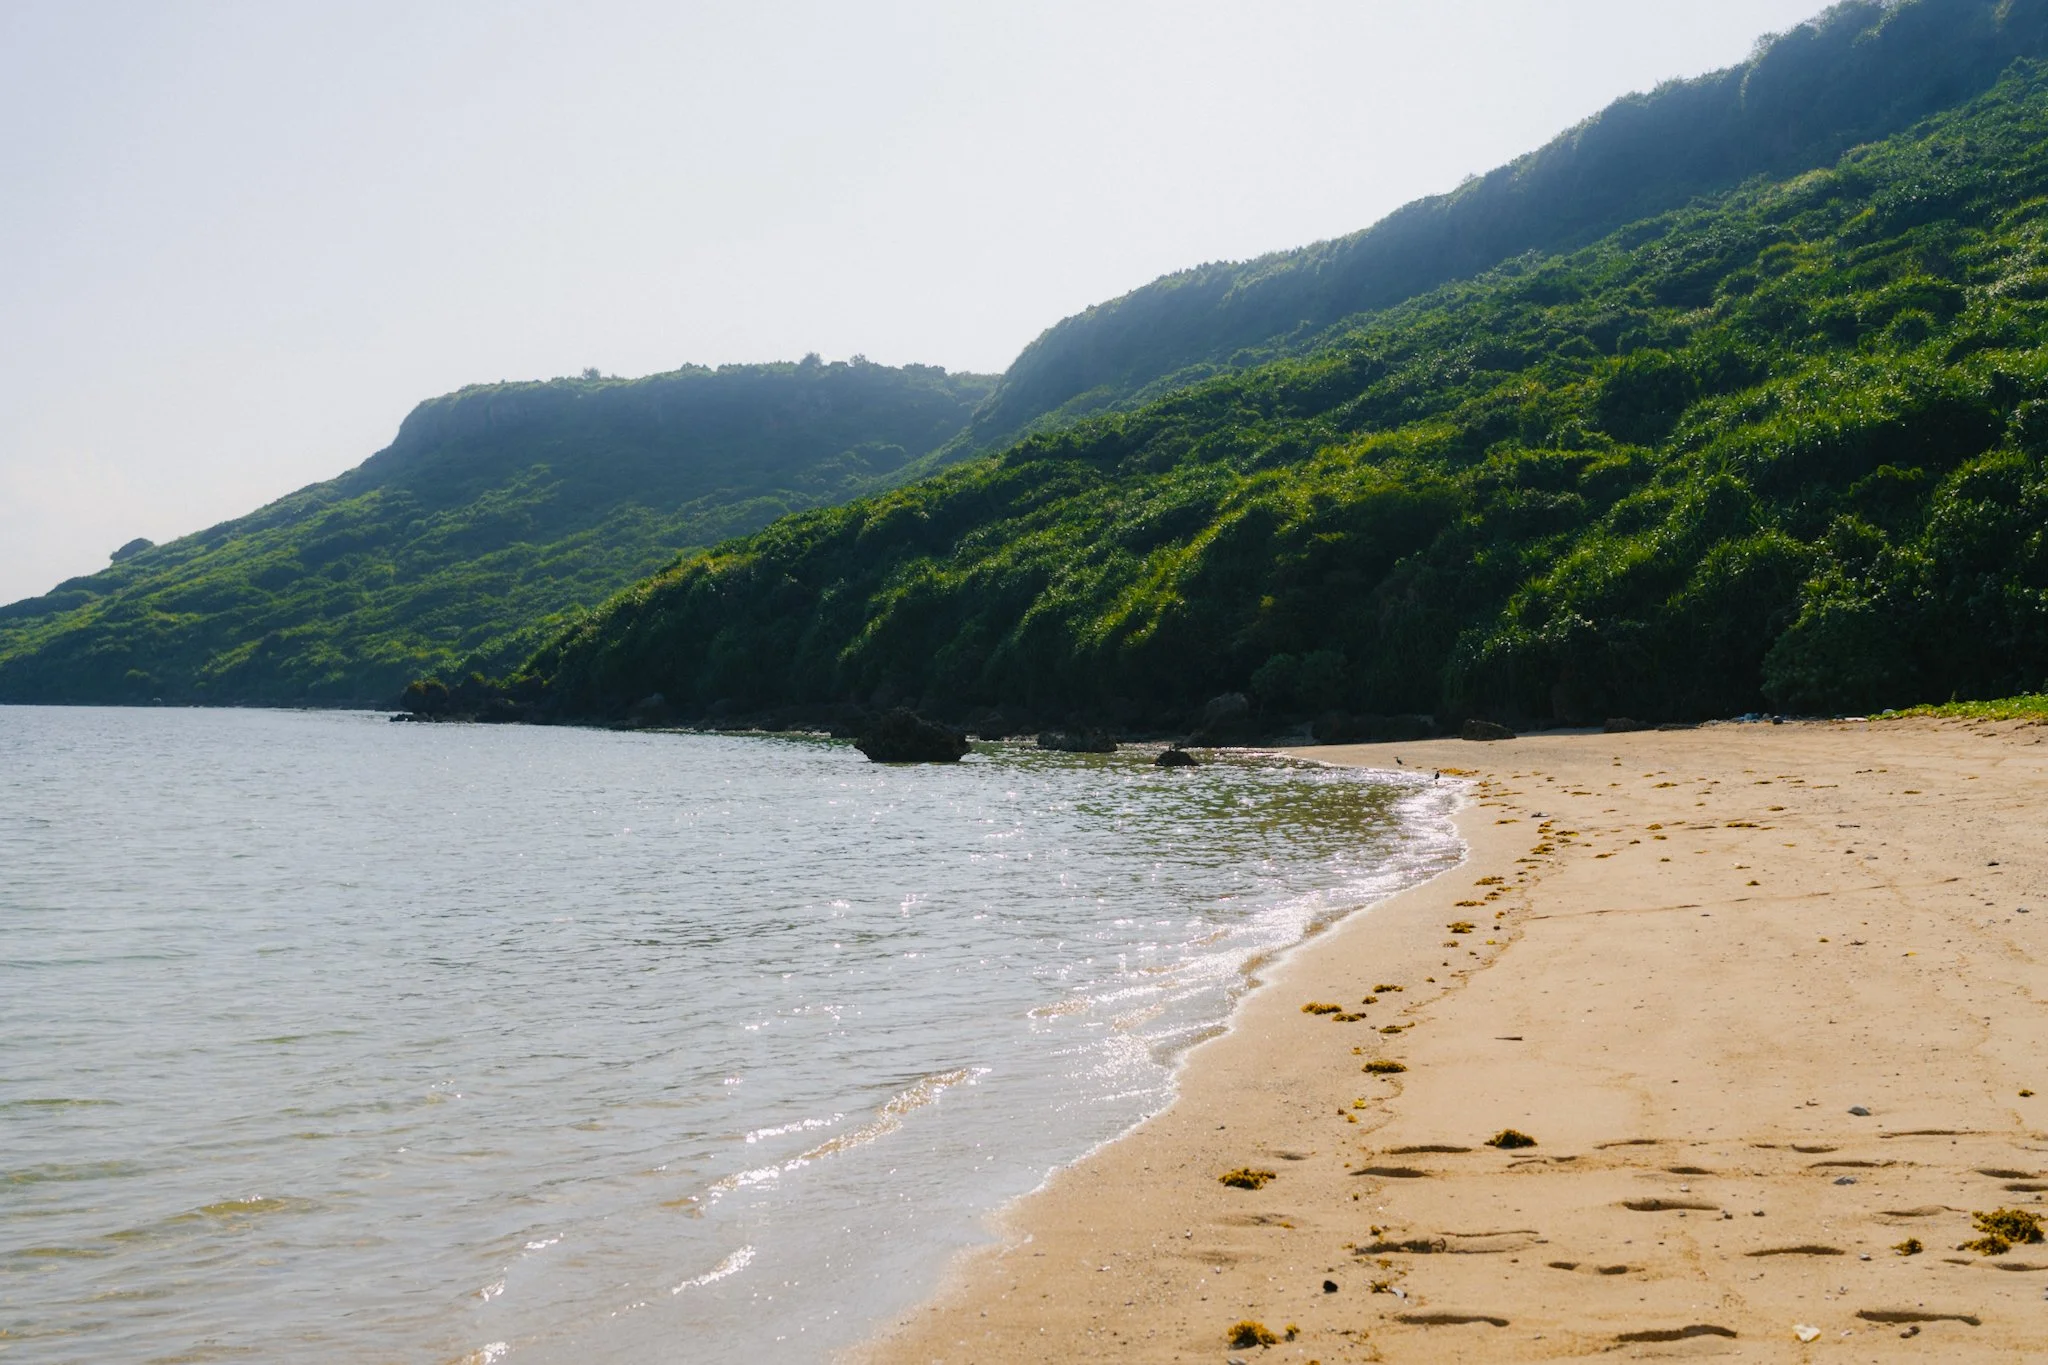
The final big island was Okinawa itself. Here we didn’t do any beaches and instead focused on museums and Naha. In hindsight, I wish we had an extra few days to explore more of the nature on this island, maybe next time. Naha feels like a proper city, with an overground train system, bigger buildings, and a much busier atmosphere with noticeably more tourism. The first two islands were mostly tourist-free, but Naha felt like a destination. The town itself is nice, with plenty of markets, museums and things to see. However a day or two max and you’re done.
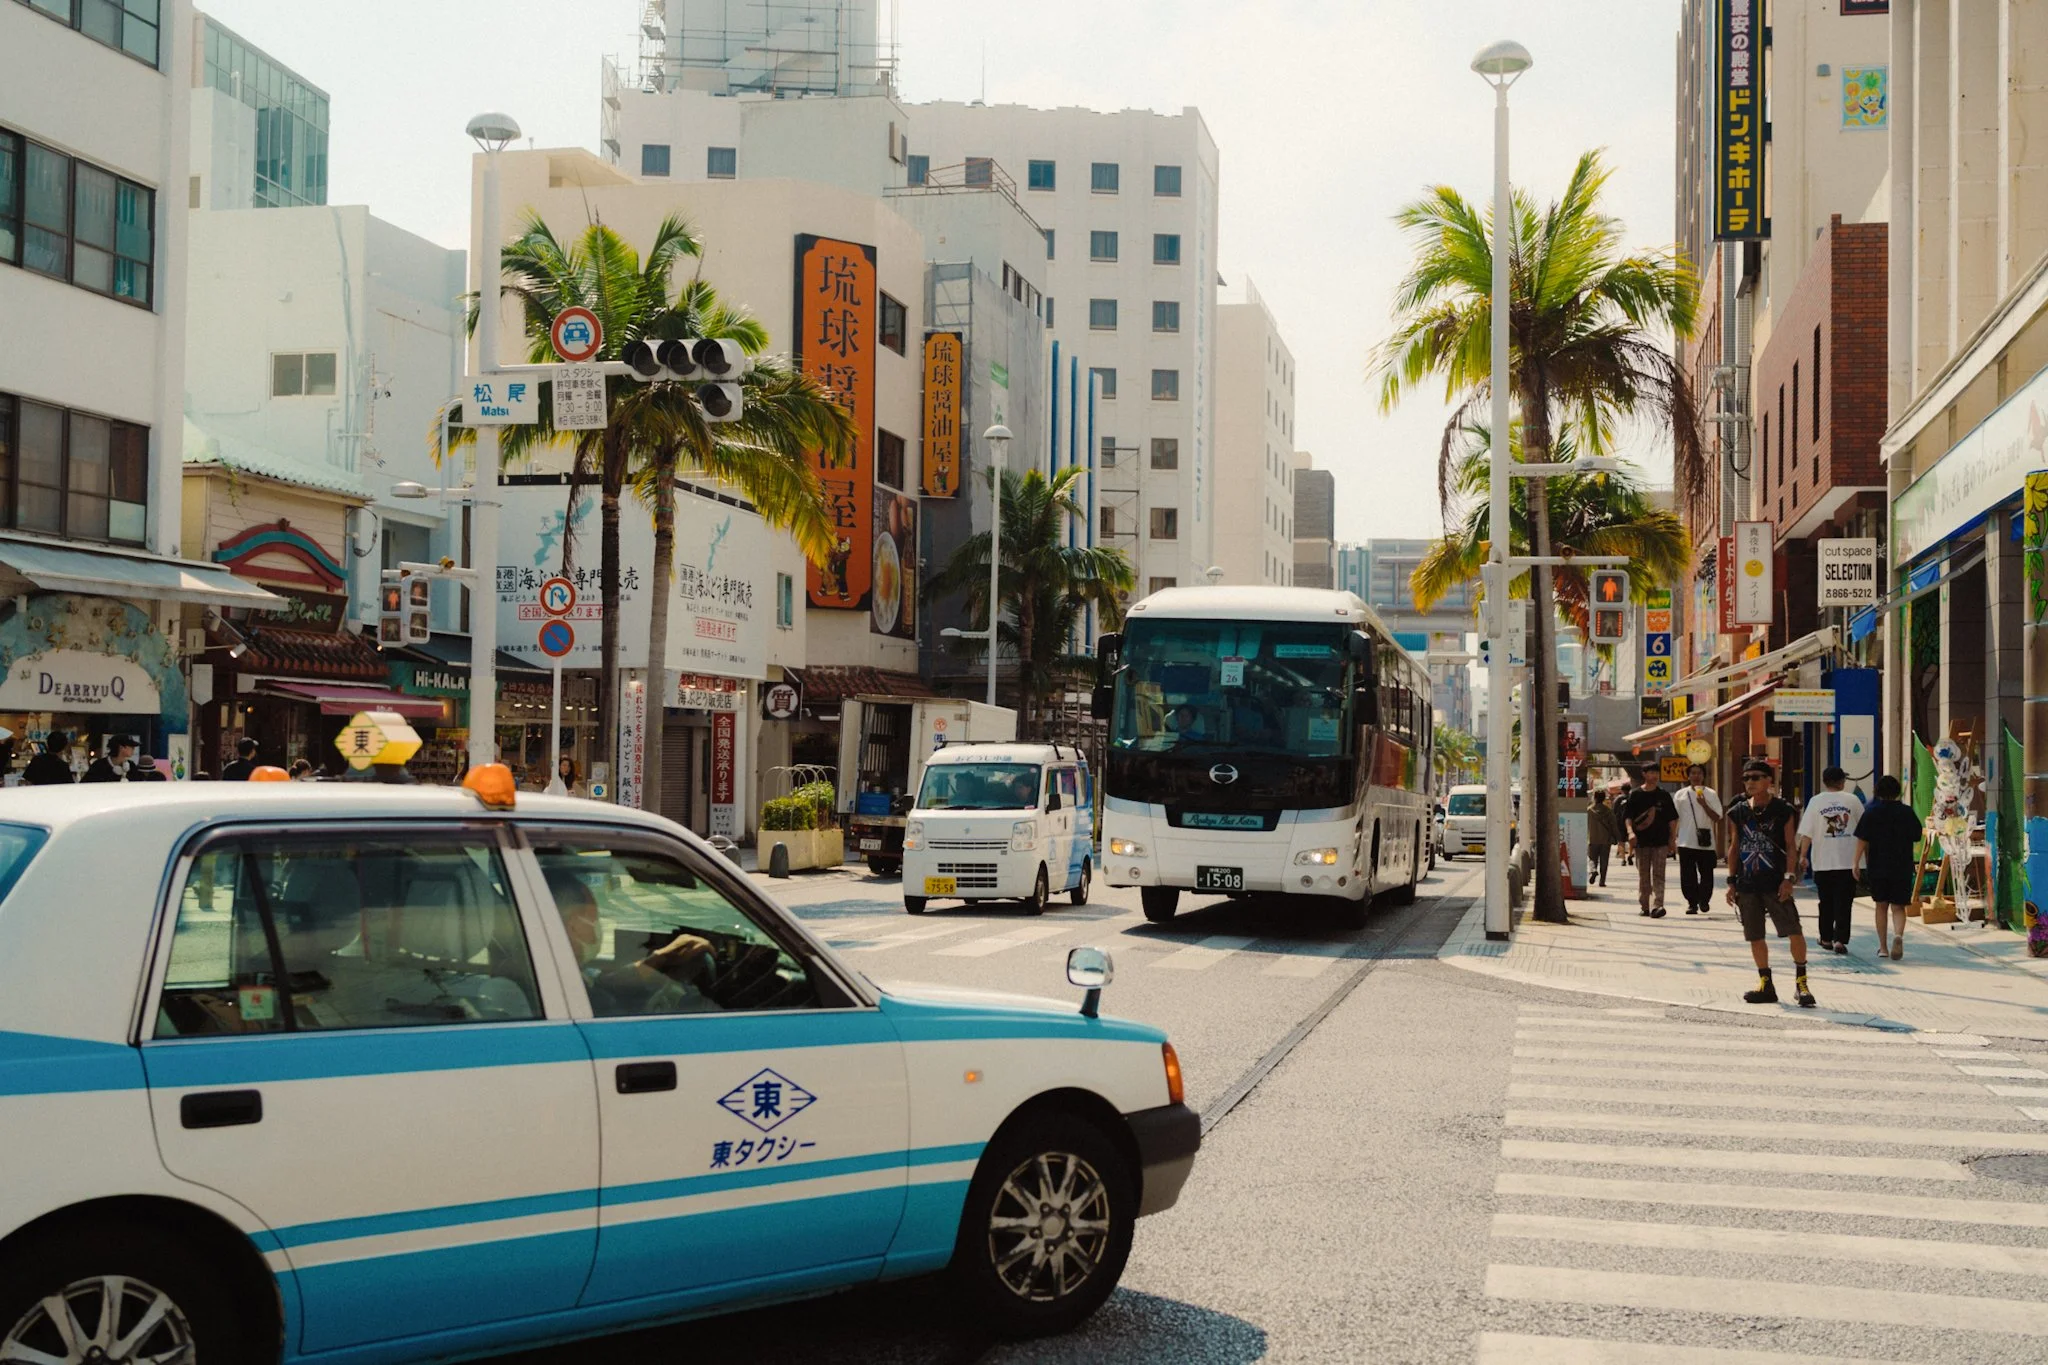
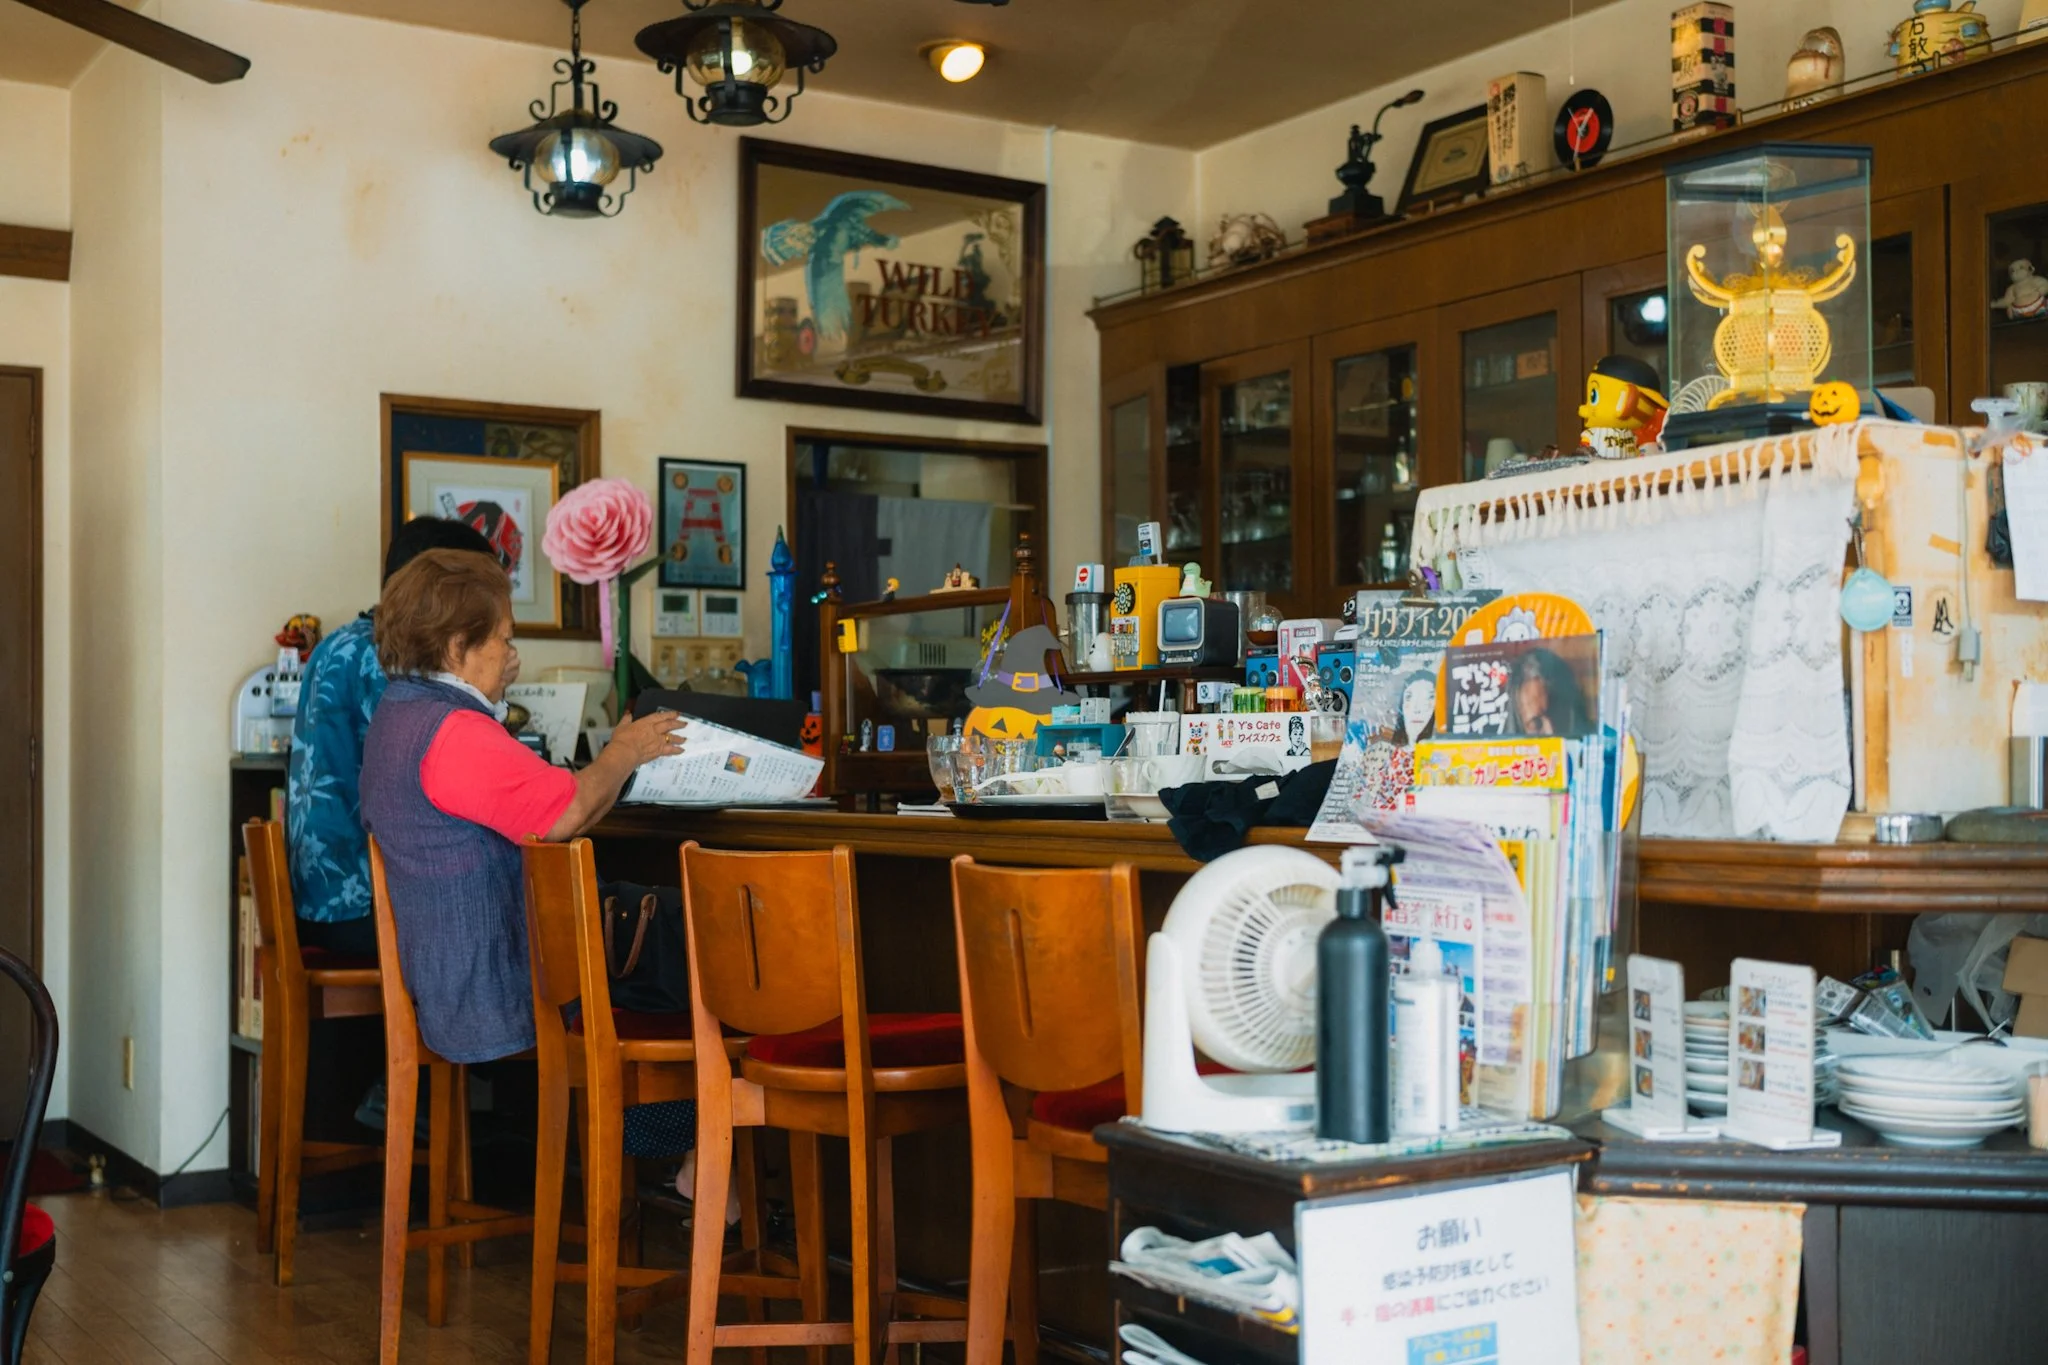
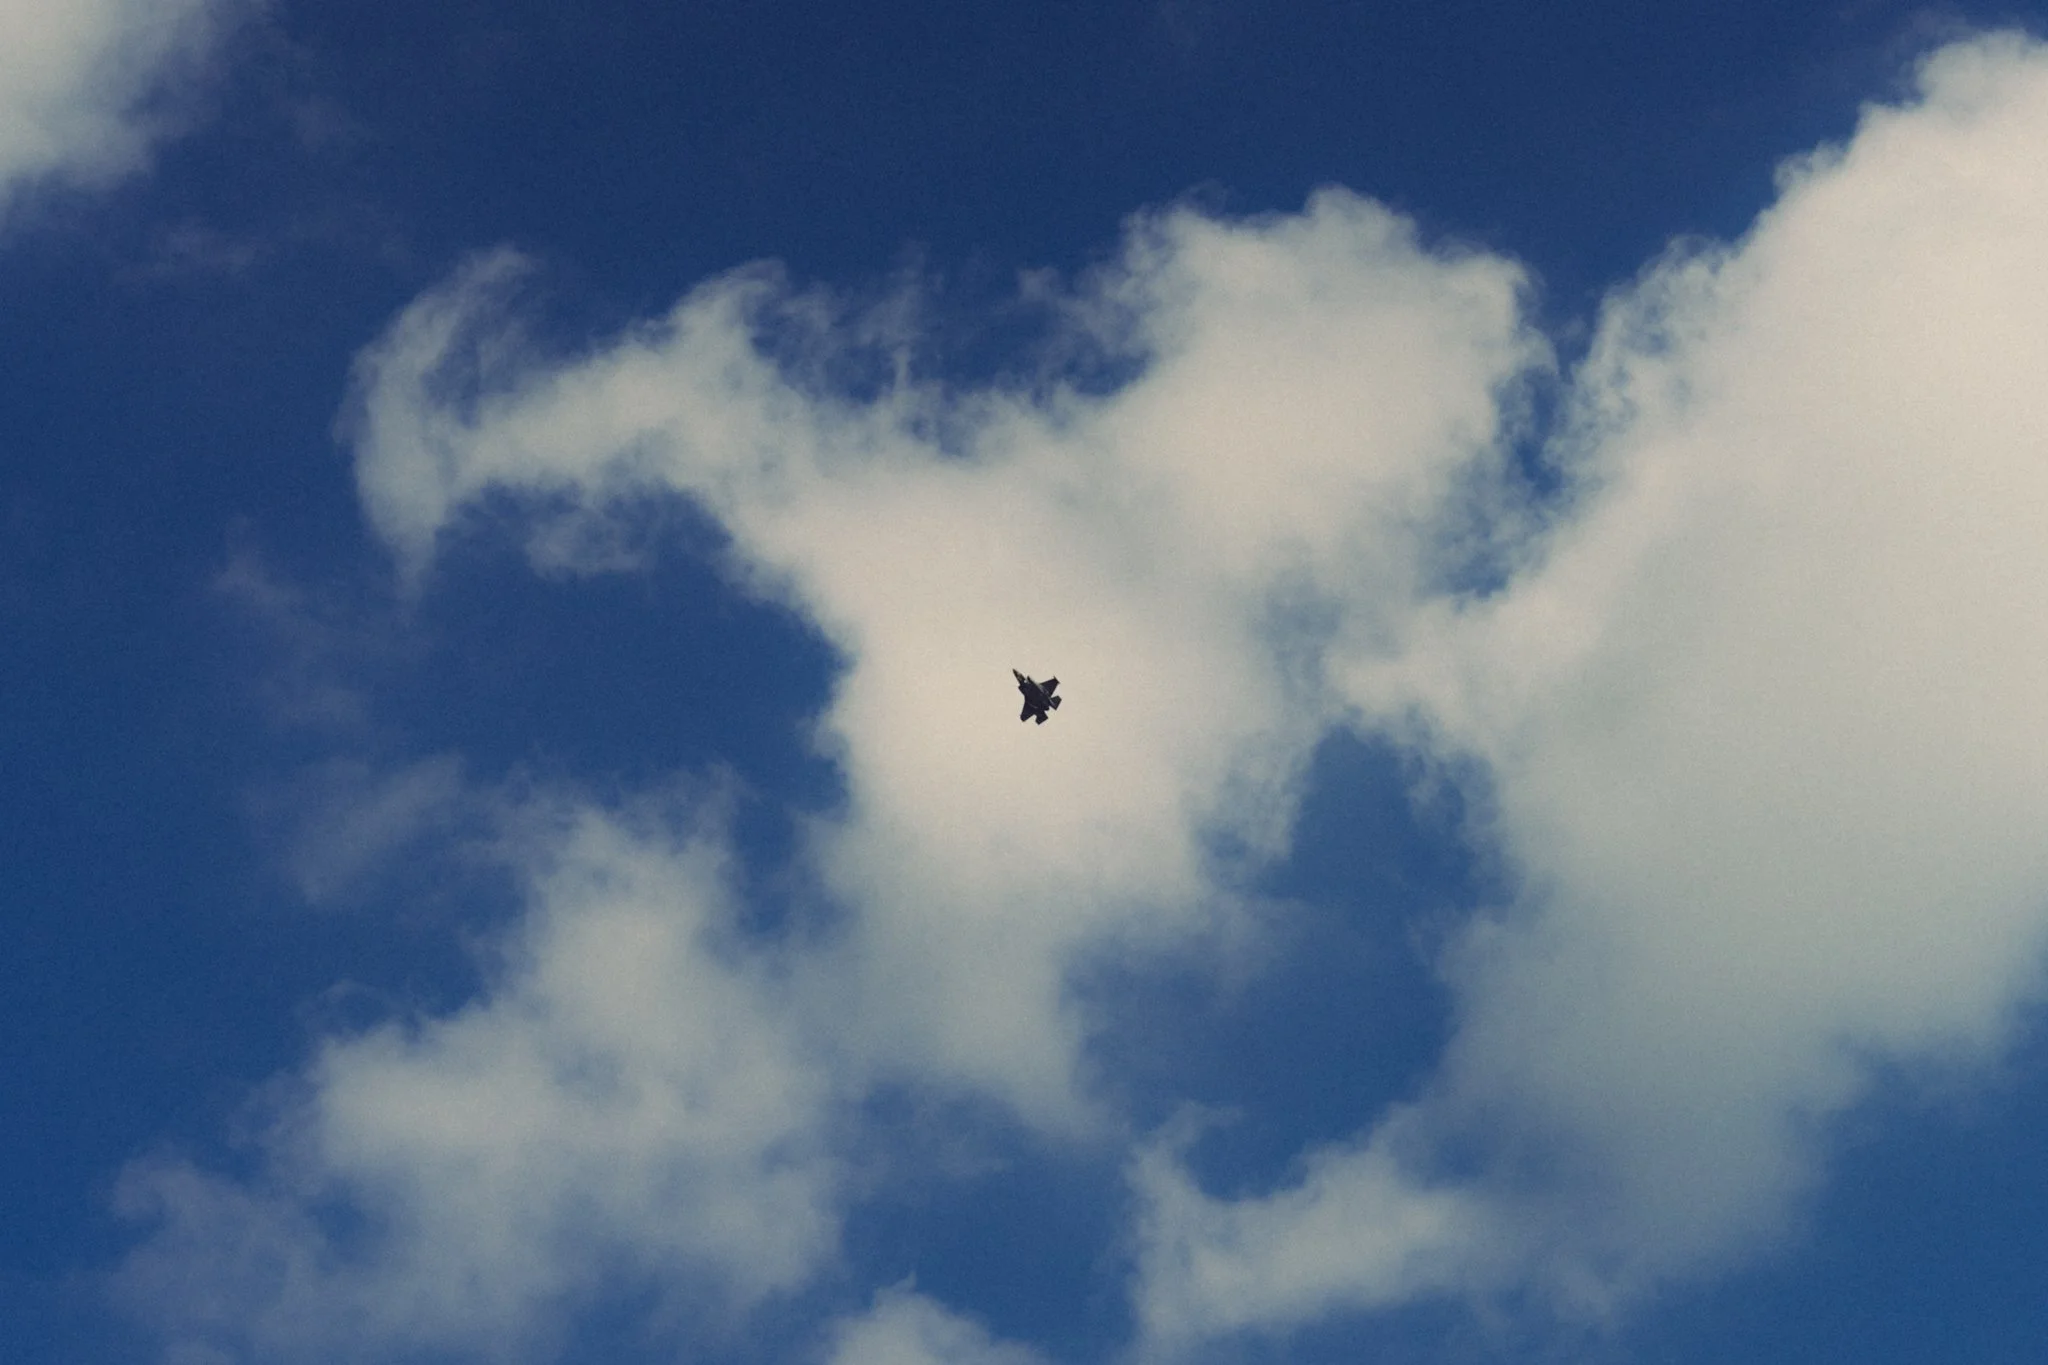
We then took a bus towards the American Village near Kadena Air Base. When we arrived it felt like a scene out of Top Gun with fighter jets in the sky, the sun beaming down, and a tropical beach town vibe. As for the American Village, we were disappointed as it turned out to be nothing more than a glorified shopping centre selling junk.
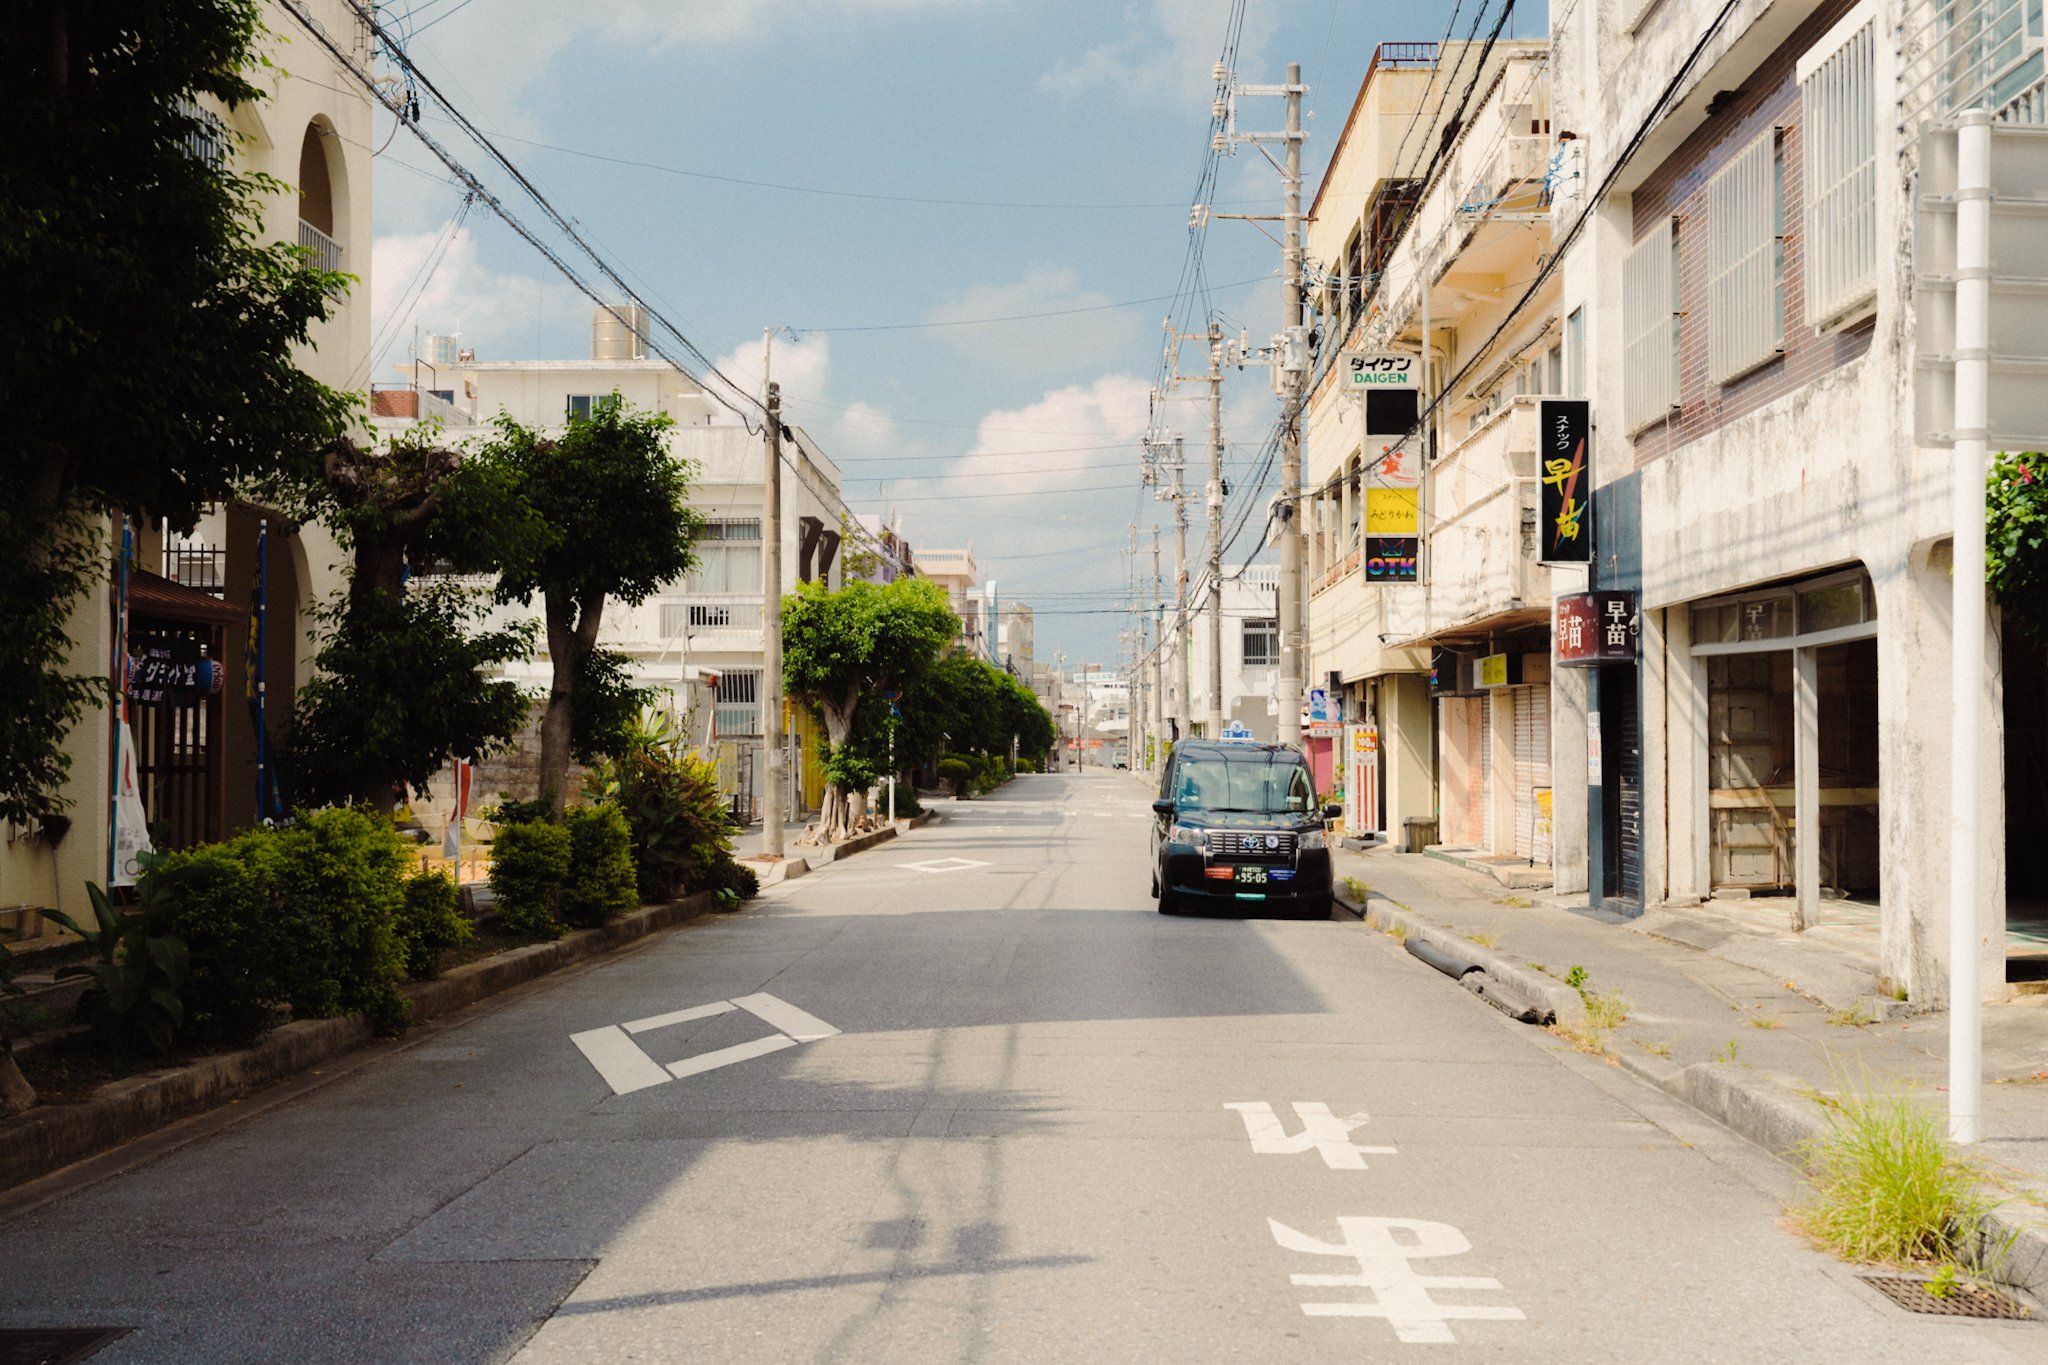
We then hopped on another bus and went towards Koza Gate2 Street. This was an experience, to say the least, and felt like we were in an American party town, not Japan. Strip clubs, fast food joints, sports bars and tattoo parlours lined the streets. It was clear who their primary visitors were, and while it was cool to see, I can’t say I’d go back. The final stop was the Peace Memorial Park, which I felt was a must out of respect. Just like the museum in Hiroshima, it wasn’t the easiest visiting experience, but it’s an important reminder of what should be avoided at all costs.
So with all said and done, if I were to go back to this region, I would focus mostly on Ishigaki, as I found it to be the best island with the most to see and do (for our taste).














Instead of telling you how these will change your life, I would rather be practical and answer the most common questions that people tend to have when buying presets.
What are presets?
They are editing settings that are saved in a file and can be applied to any image.
Why do people buy presets?
Sometimes because they like the work of the photographer and want that style for their own photos. Mostly because they would like to see how other people edit and learn by reverse engineering the presets. Other times it’s just to support their favourite photographers, thank you!
What’s the overall style of these presets?
- Filmic
- Warm
- Soft
- Bright
What are these presets suitable for?
Street & Travel Photography
Some Nature (with further editing)
Some Portraits (with extensive editing)
Do I actually use these?
Yes. This is the same pack I use right now for all my editing. This isn’t a pack made just to sell.
Do these presets get updated?
Yes, as my style changes, these presets will also be updated. Any time a new update is available, you will get a free update via email. Of course you also keep all the old presets in case you prefer the older looks. Only presets purchased from 2025 onwards will receive the updates.
What file types are these presets for?
- All RAW files
- JPEGs & TIFFs (not recommended)
What camera brands are these presets for?
These were designed around Fujifilm, Sony, and Leica sensors. With that said, they will work with all camera brands. While there might be differences due to individual camera colour science, the overall feel of the preset will carry over.
Will these work with JPEG files?
Yes, but you will need to reduce the intensity and make further edits. I strongly recommend editing RAW files.
Are these one click edits?
95% No. You would need to do some basic adjustments as each image is different. These adjustments can include exposure, colour balance etc. In 5% of cases you can just apply and leave it alone.
Do I need to know how to edit?
You need to have a basic understanding of adjusting exposure, highlights, shadows, etc. A more comprehensive editing skillset will let you get the most out of them.
How many presets are included?
10 in the main pack and 24 in the extras pack
Why two packs?
The main pack is what I use for 99% of my edits and is kept small to reduce wasted time scrolling through presets. The extras pack is everything I don’t use often.
What software do I need?
These presets will work with any of the following:
- Photoshop (adobe camera raw)
- Lightroom Classic
- Lightroom Desktop
- Lightroom Mobile
Will these presets work with free versions of the above software?
You need to research and double check before buying. These presets were designed for the full paid versions.
Will these presets work with very old versions of the above software?
You need to research and double check before buying. These presets were designed on and for the latest software.
What file type do I get?
XMP
What else do I get?
- Comprehensive PDF guide
Can I modify these and turn them into my own?
Yes! In fact I encourage you to modify them and play around. Use these to help you get your own style.
I have more questions…. What do I do?
Make a cup of tea and drop me an email on hello@snapsbyfox.com
Please note that due to the nature of digital products, refunds are generally not accepted. However, if you experience any issues, feel free to contact me and I’ll review your situation individually. You are welcome to use this product for personal or commercial projects, but you may not copy, distribute, or resell the files in their original or modified form.
Finally I want to say a massive thank you for supporting me. Buying these presets is the most direct way you can support my work.
Thank you!