Leica LUX App + LUX Grip Overview & Settings
In this blog I will give you a brief overview of the Leica LUX app and grip. I will also share how I set it up and use it for my photography. This is a more technical write up, however I already published a photography focused one you can read here.
For full transparency I want to state that this blog is sponsored by Leica. They paid me to use and showcase the Leica LUX app and grip. With that said, I only say yes to sponsorships that align with me, and as someone who is already a Leica owner, this partnership felt right.

Leica LUX / Grip Overview
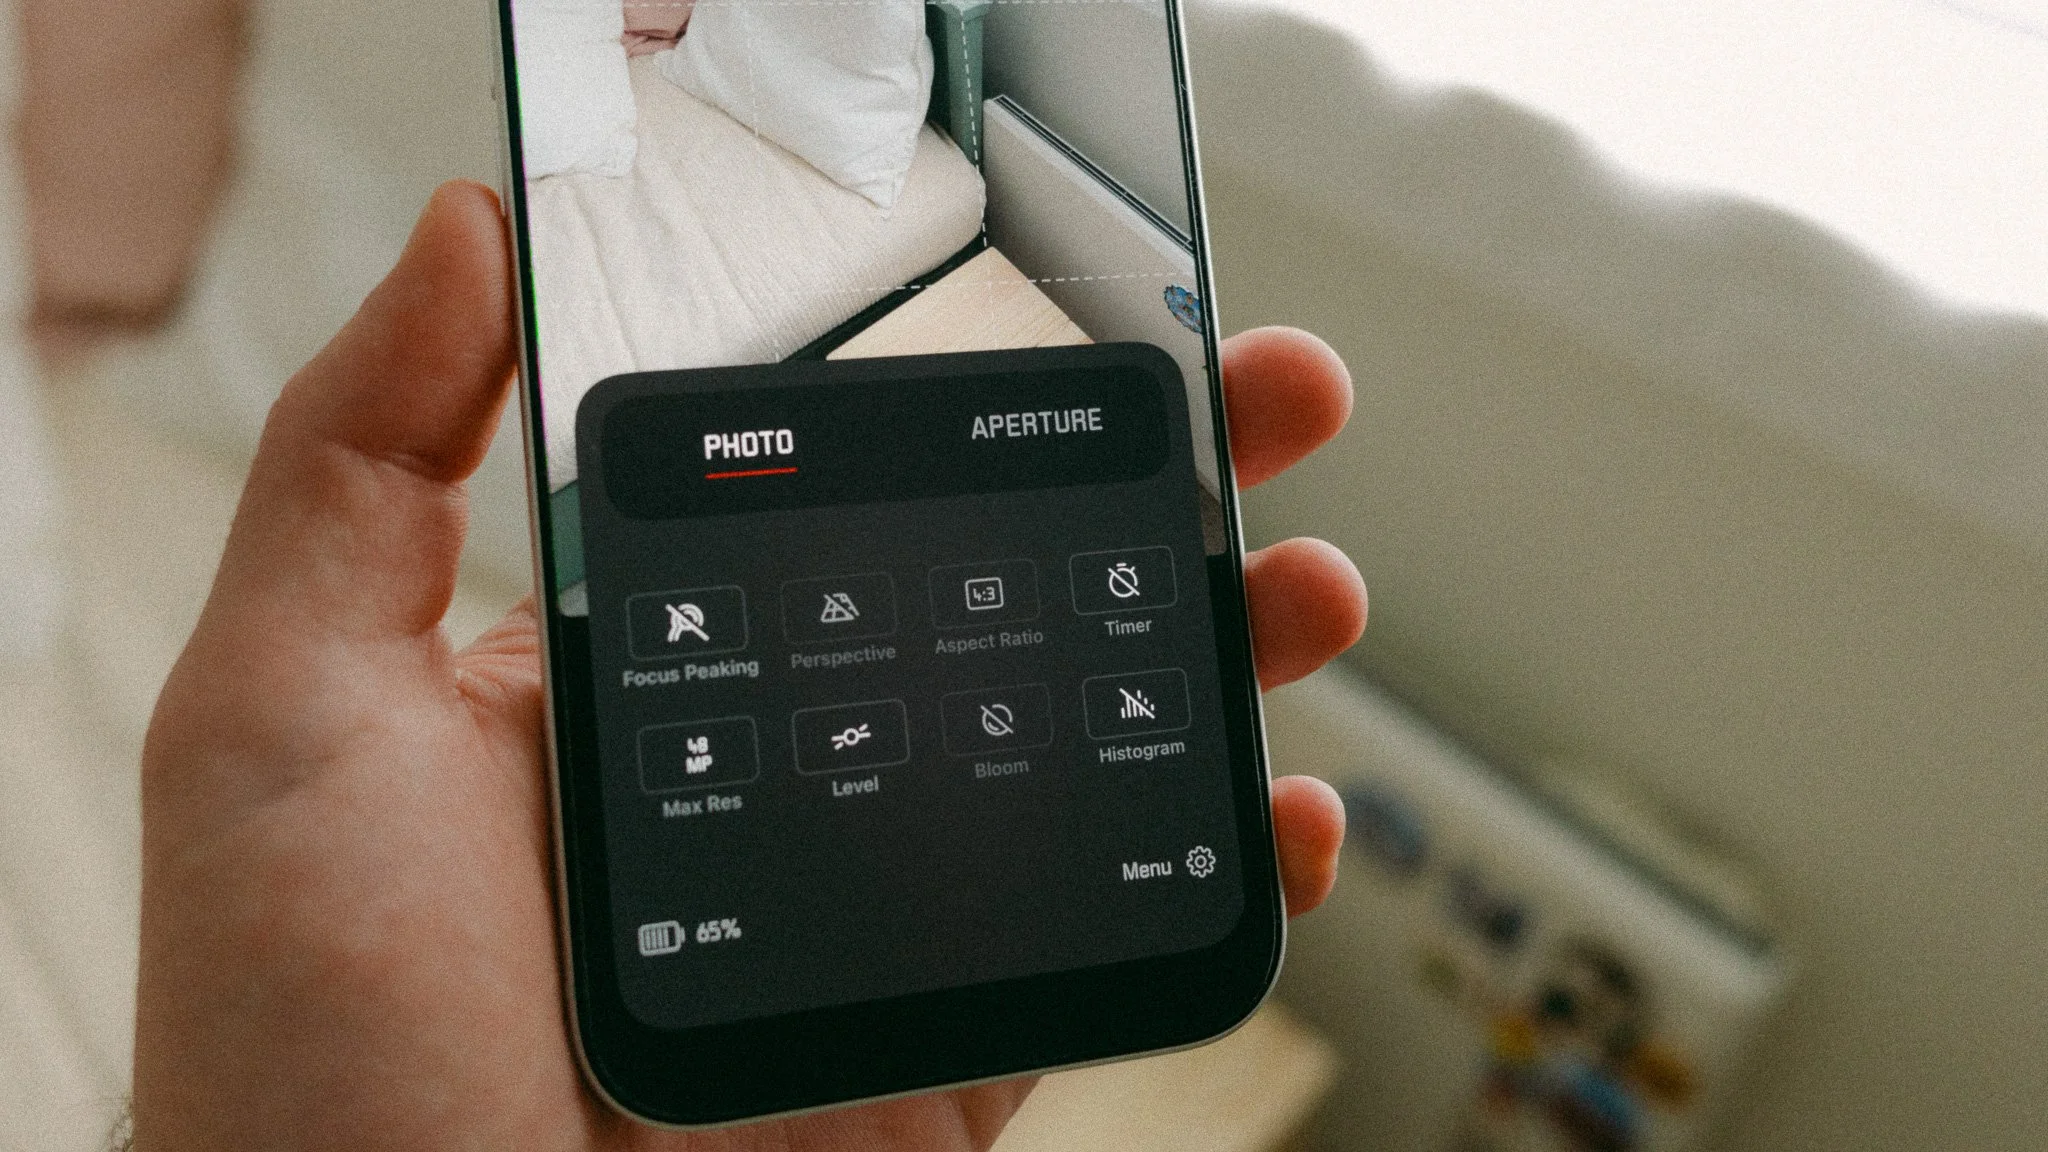
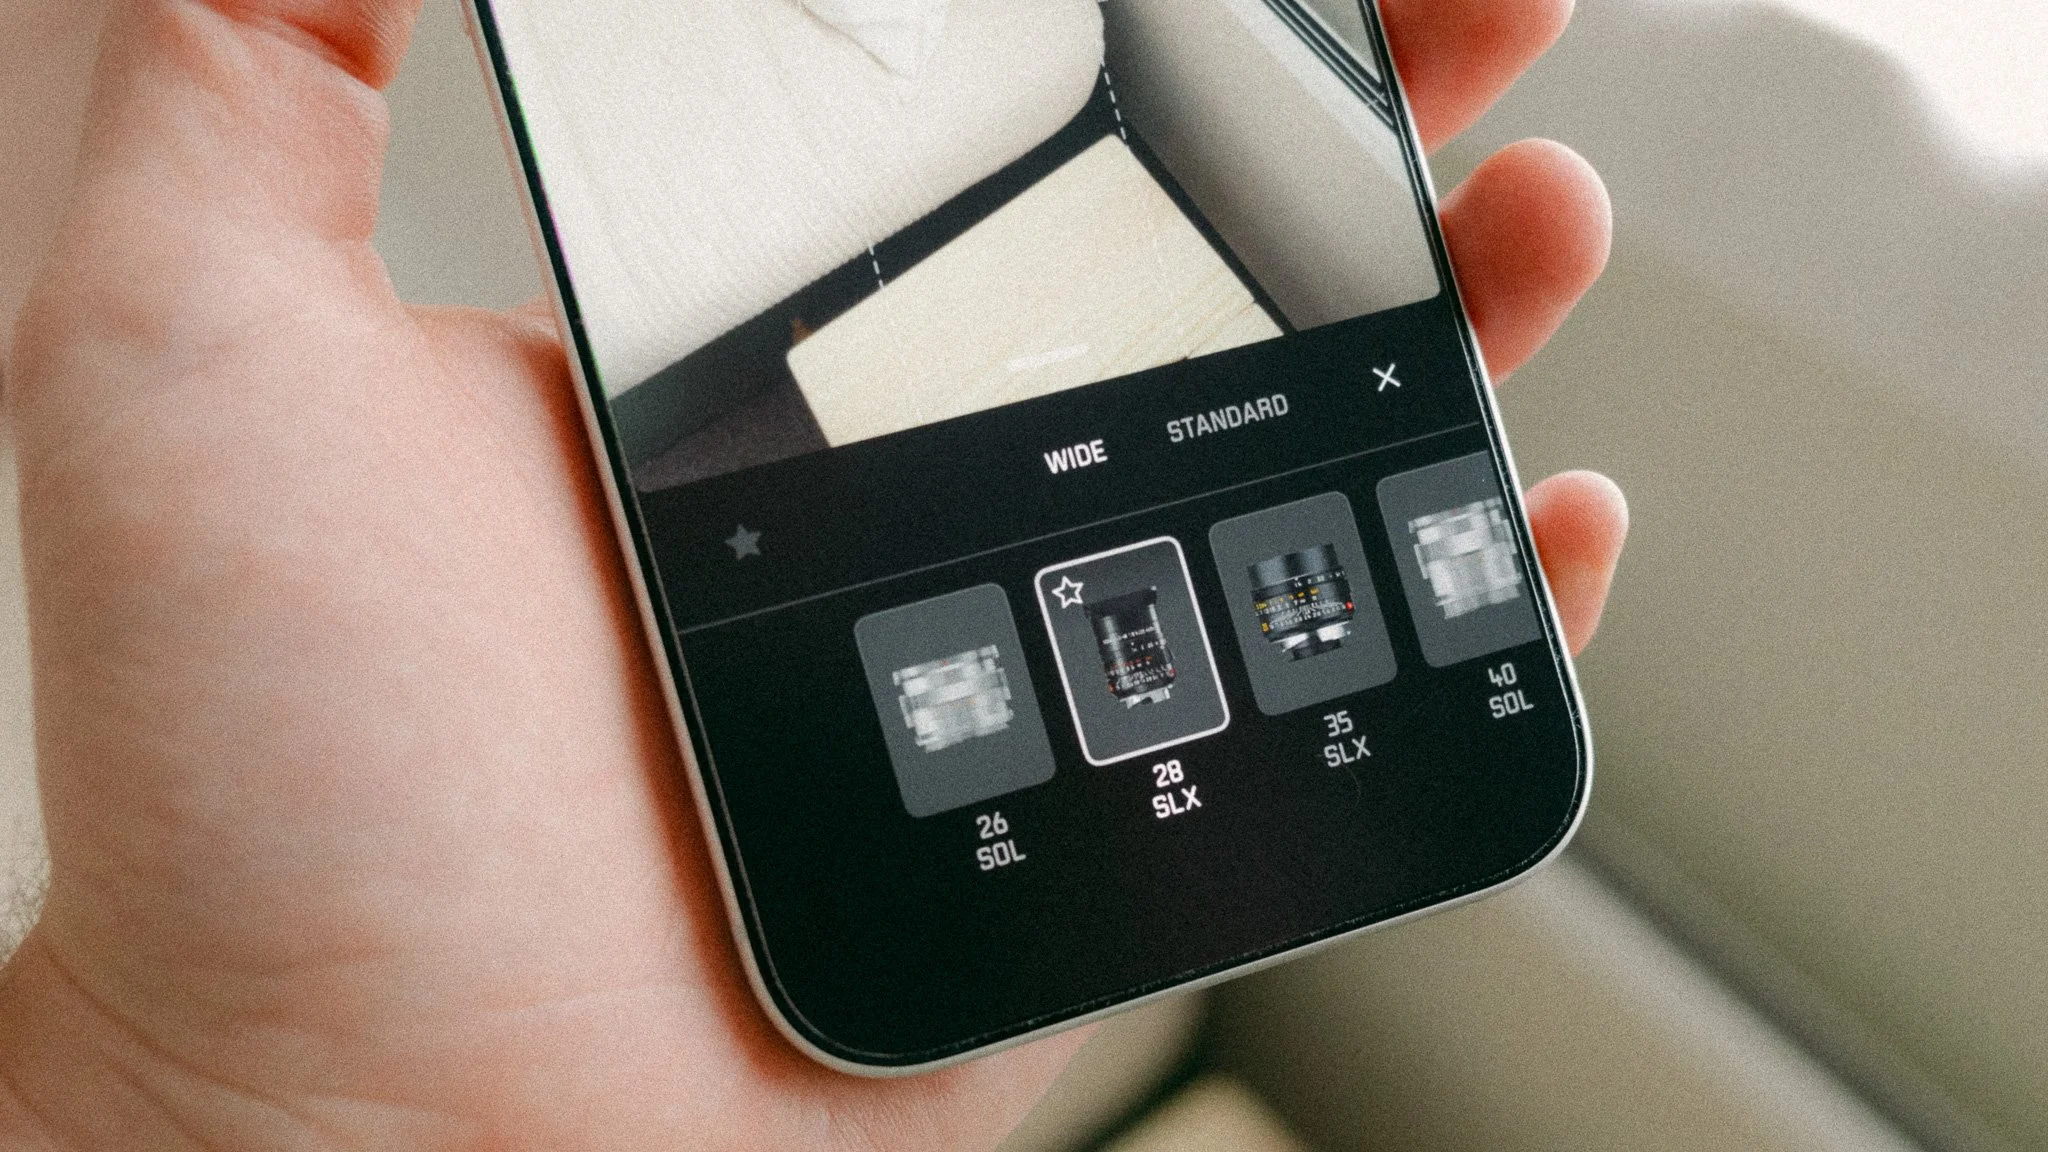
Leica LUX is a dedicated photography app designed to give you more creative options as well as remove distractions. The app has two modes that offer two different experiences. The Photo mode gives you full manual control, RAW photography, and a minimal interface. The Aperture mode introduces unique lens characteristics modelled around Leica’s physical lenses.
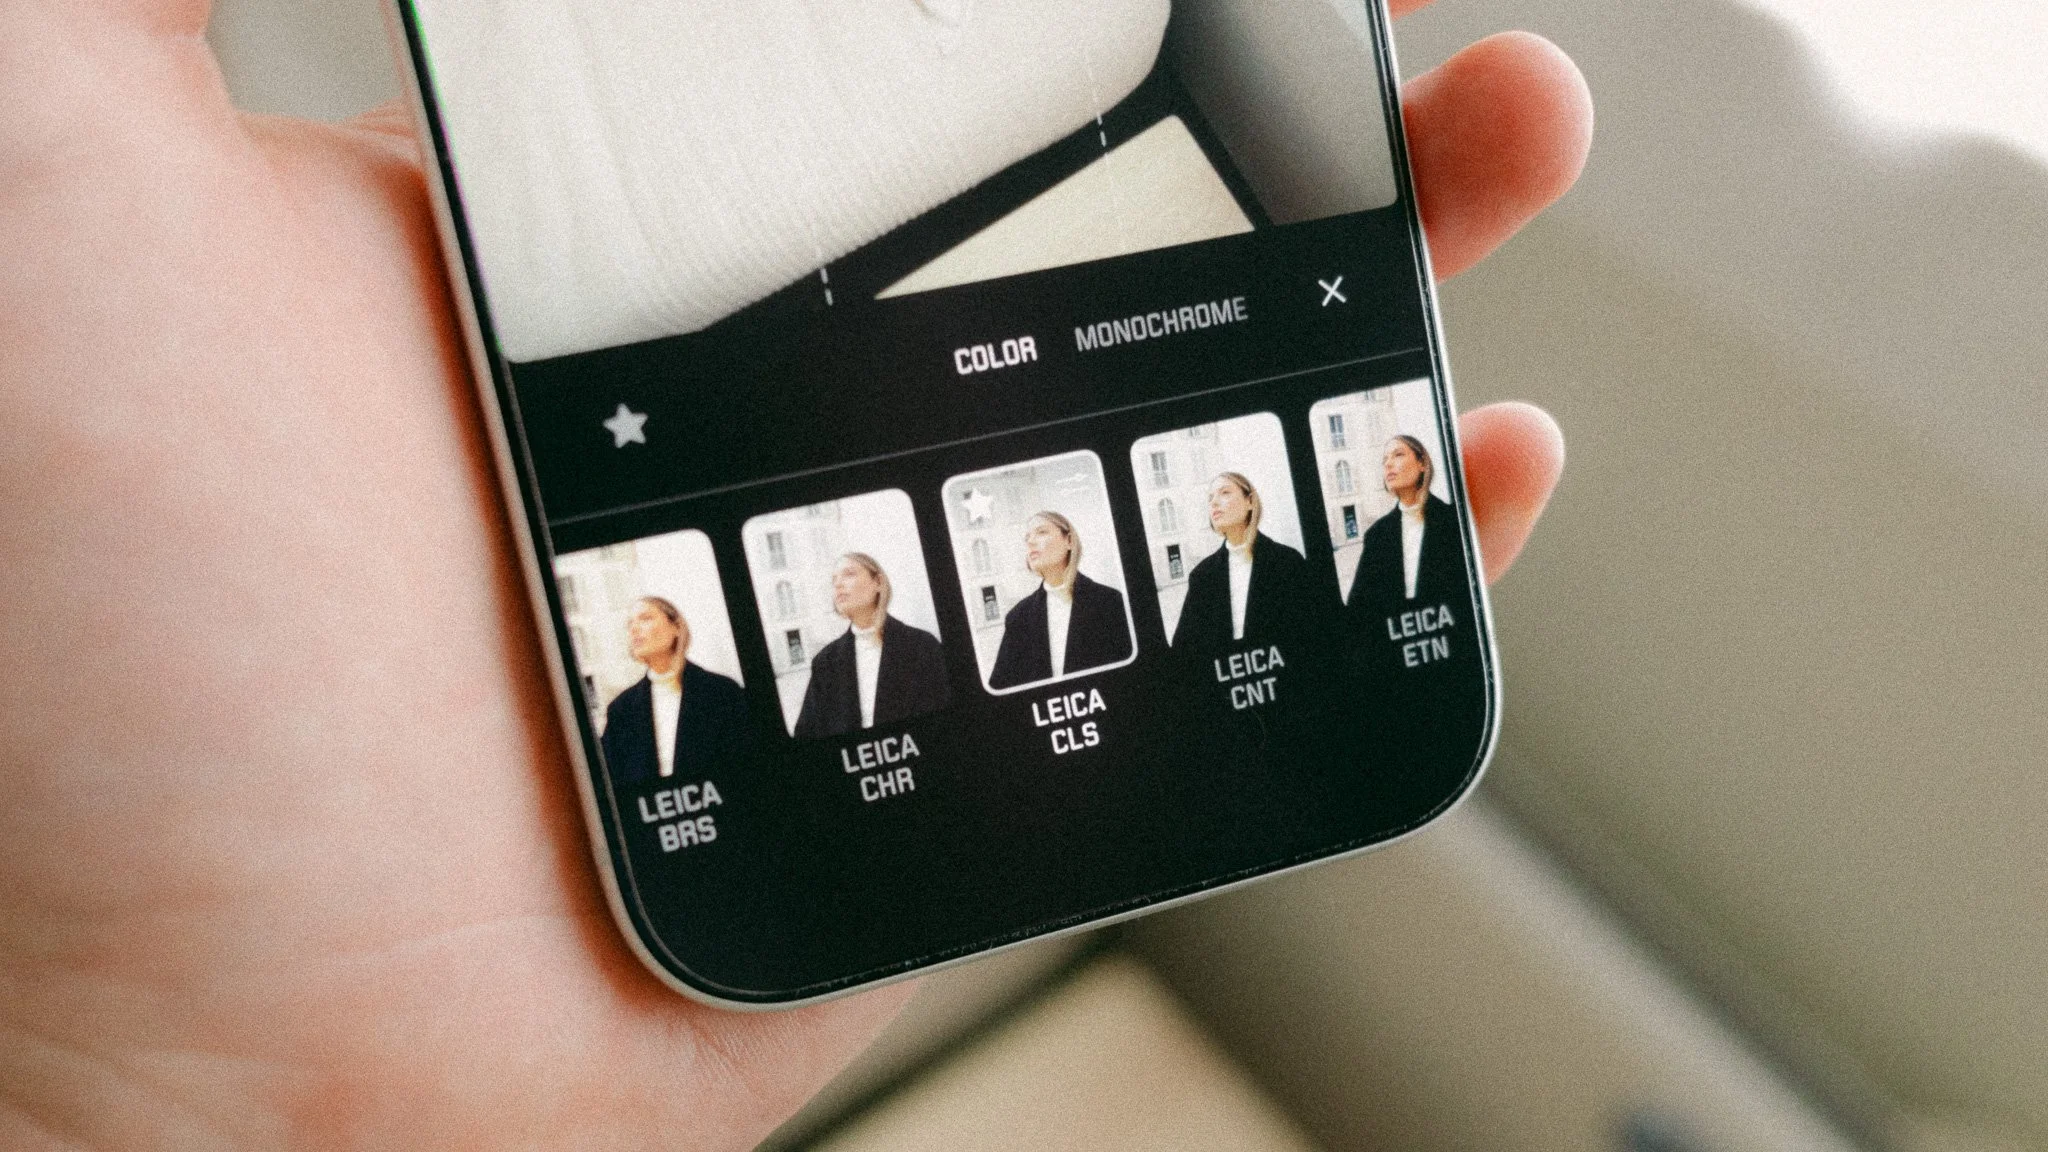
On top of that, you get Leica Looks which give your photos that distinct Leica colour science and feel. The Photo mode is what you use for work, manual shooting, and RAW photography. The Aperture mode is for fun and stylised photos you can share right away.
Why use this app over the default camera app? The default Apple Camera app is great, however it’s more of a content creation app that offers everything under one roof. The Leica LUX app is a photography only experience that removes all other distractions. The Leica LUX app is also the choice for those wanting more control over the final image straight out of camera.
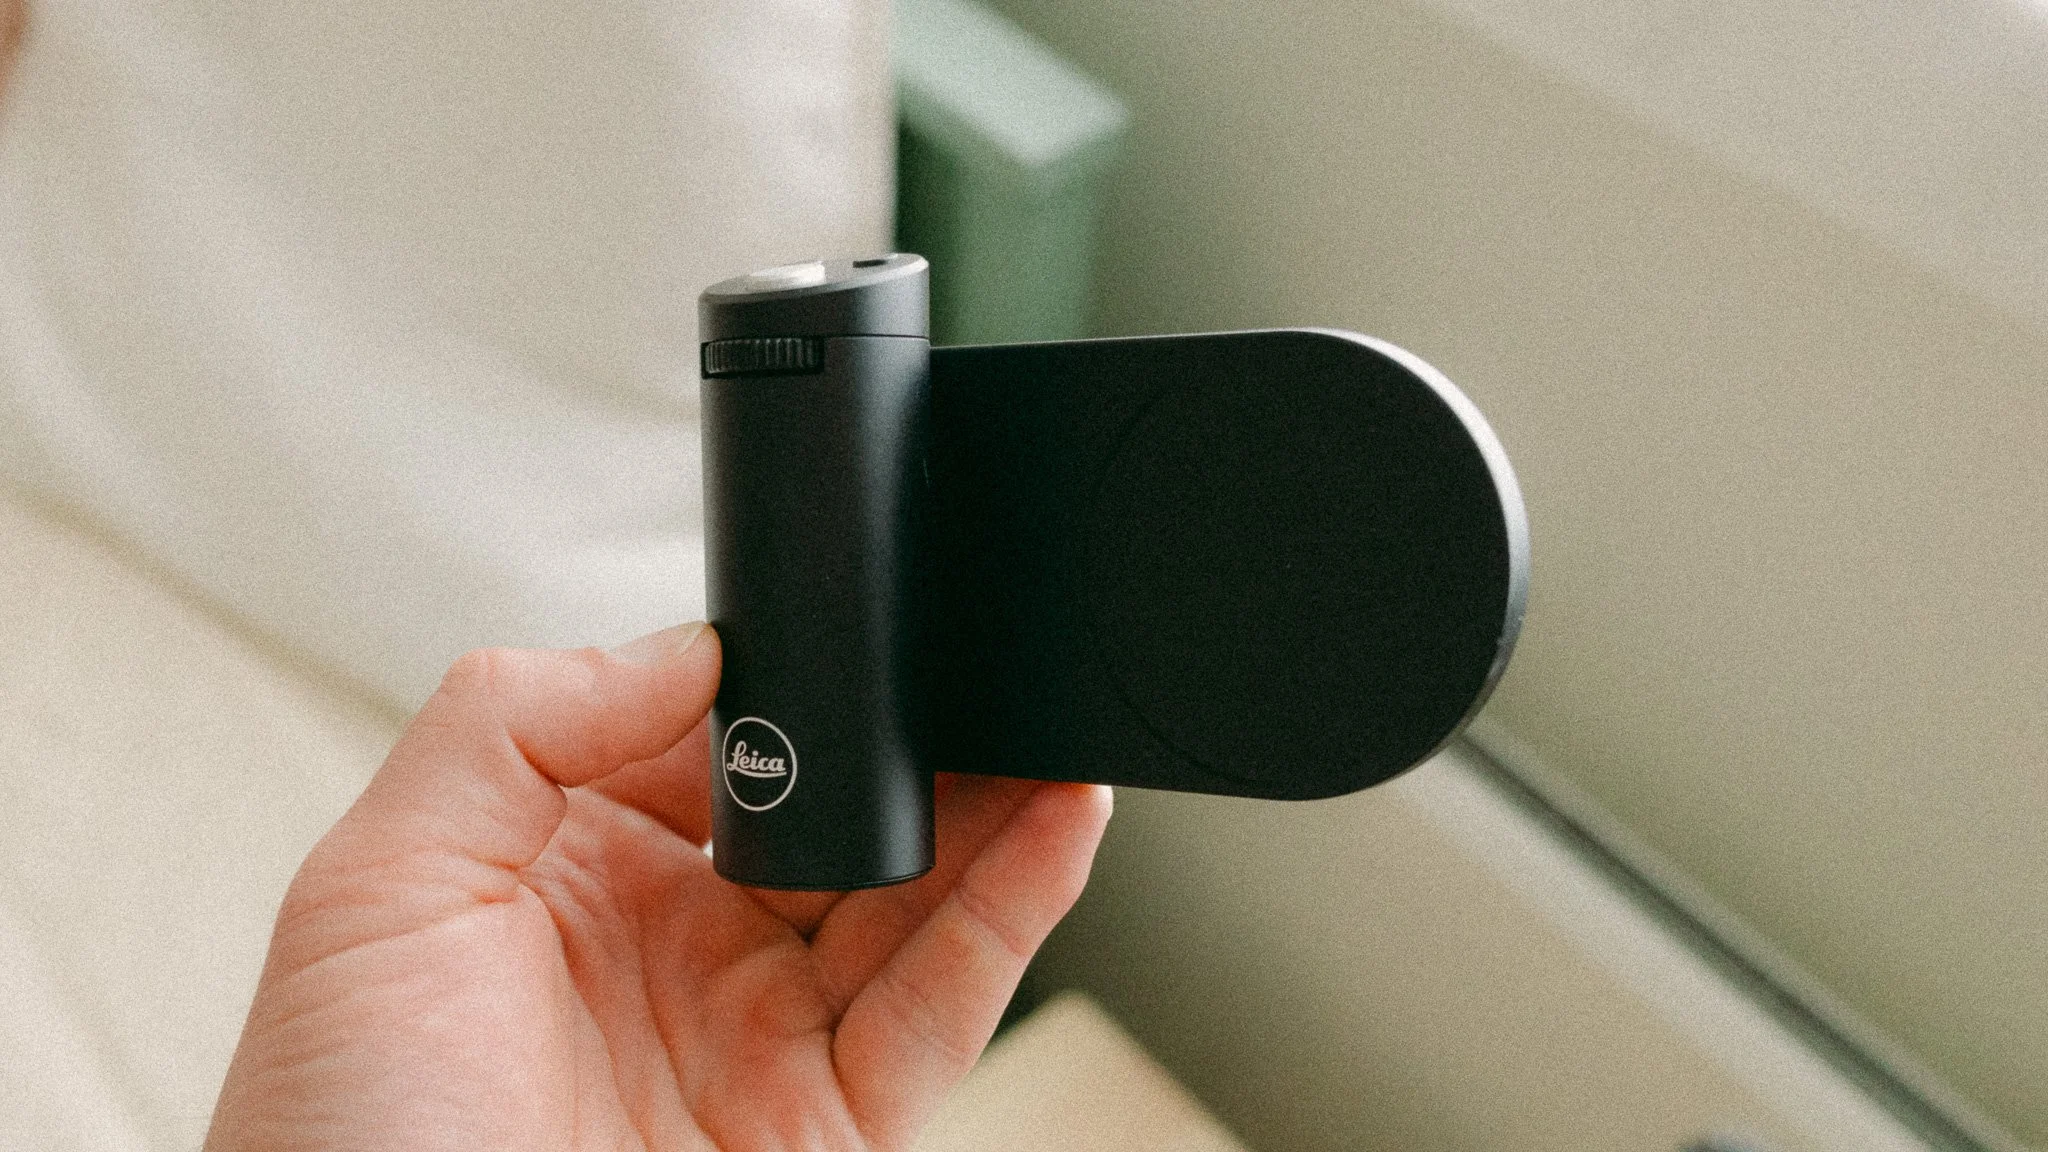
The Leica LUX Grip is designed to build on the app experience by giving you physical controls and a proper grip. You get a two stage shutter button, a dial, and two custom function buttons. The shutter allows for focus and exposure lock, as well as shooting. The dial lets you adjust settings such as exposure, and the function buttons can be customised to a number of tasks.
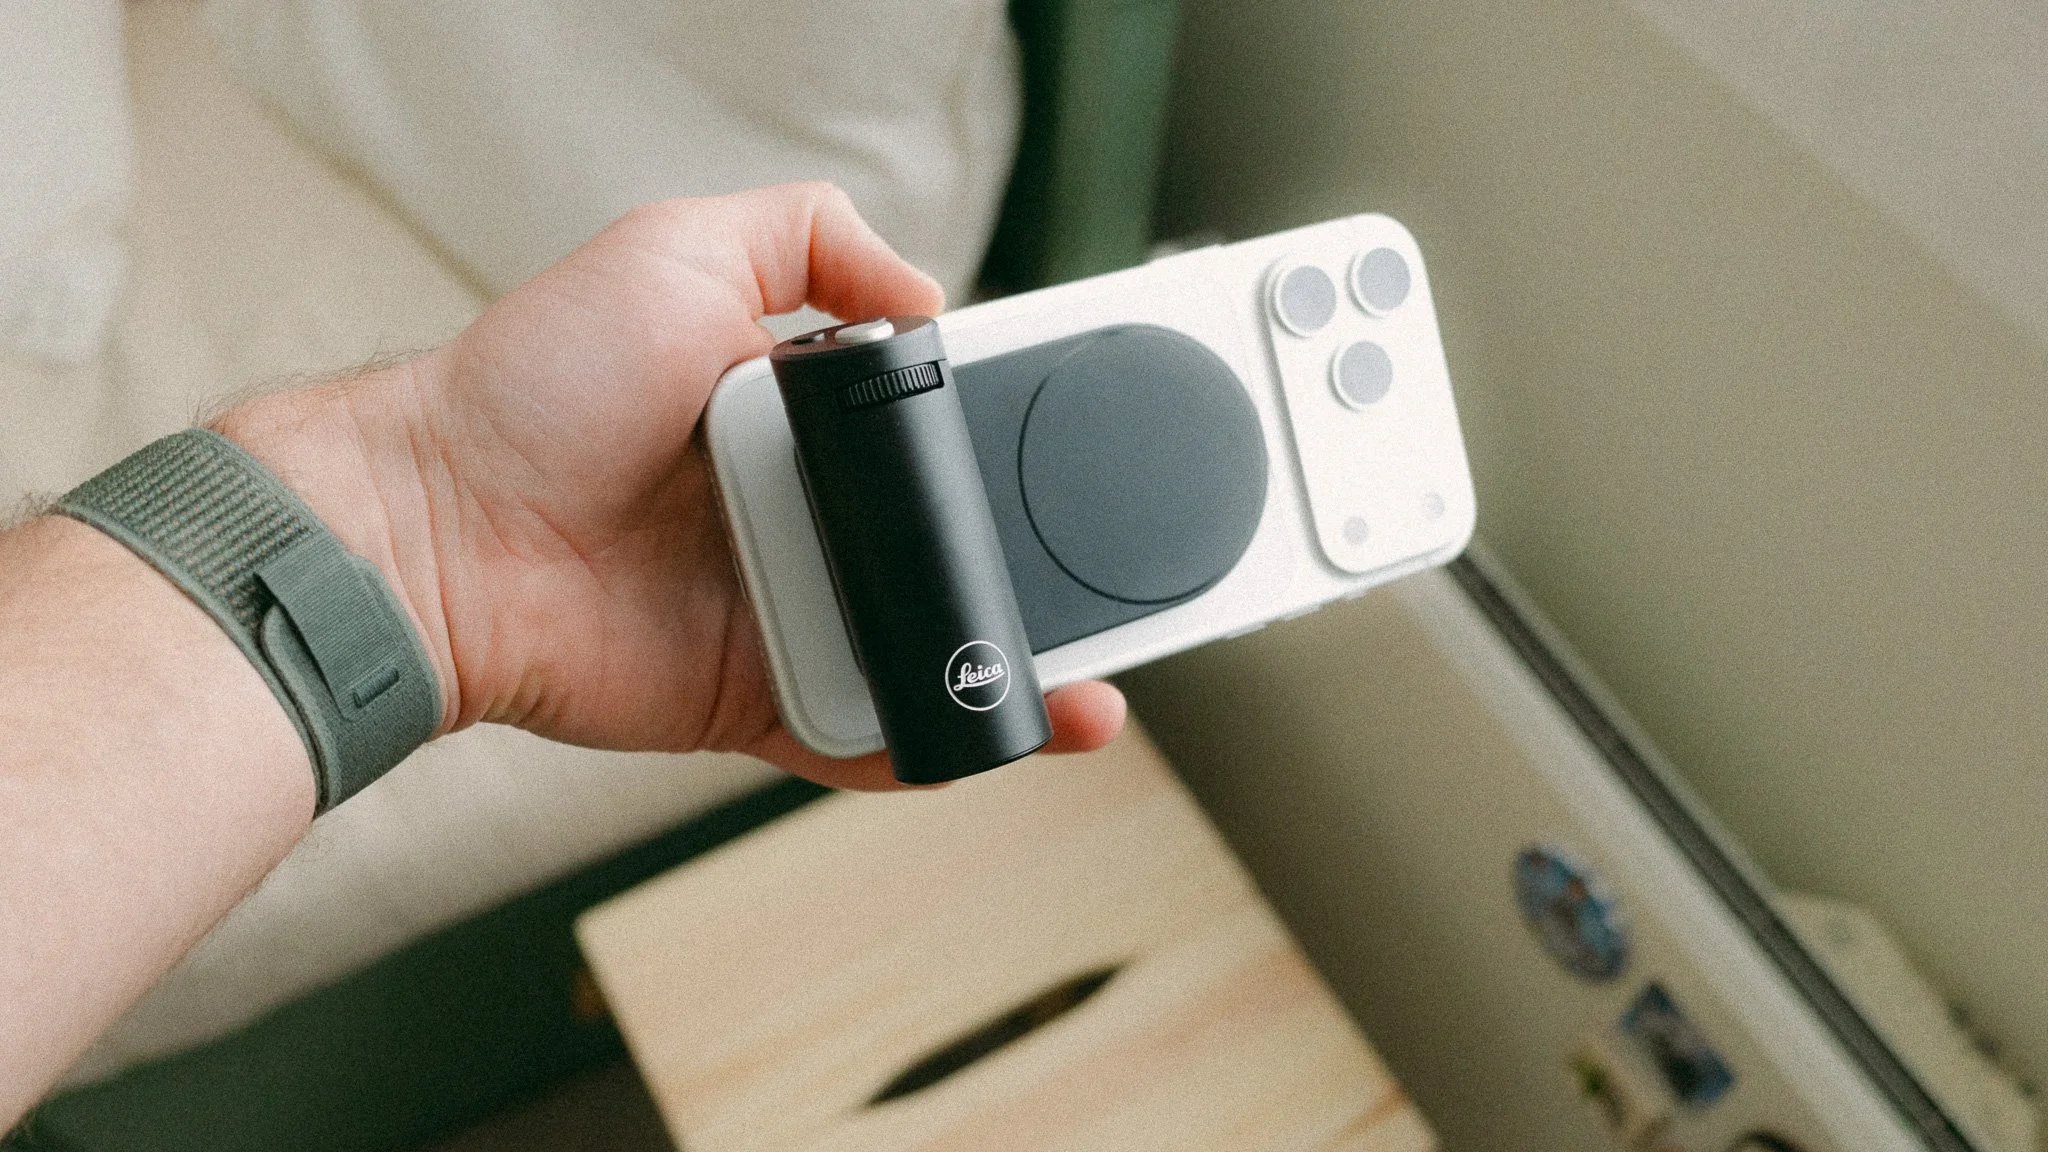
The grip connects via Bluetooth and attaches using MagSafe. It can be mounted vertically or horizontally, or even used as a remote trigger. The grip has a full metal build and just like the cameras, feels very premium and durable.
App Settings
I will now cover the settings that make the biggest difference to me. There is no such thing as the correct or best settings, as it’s very personal.
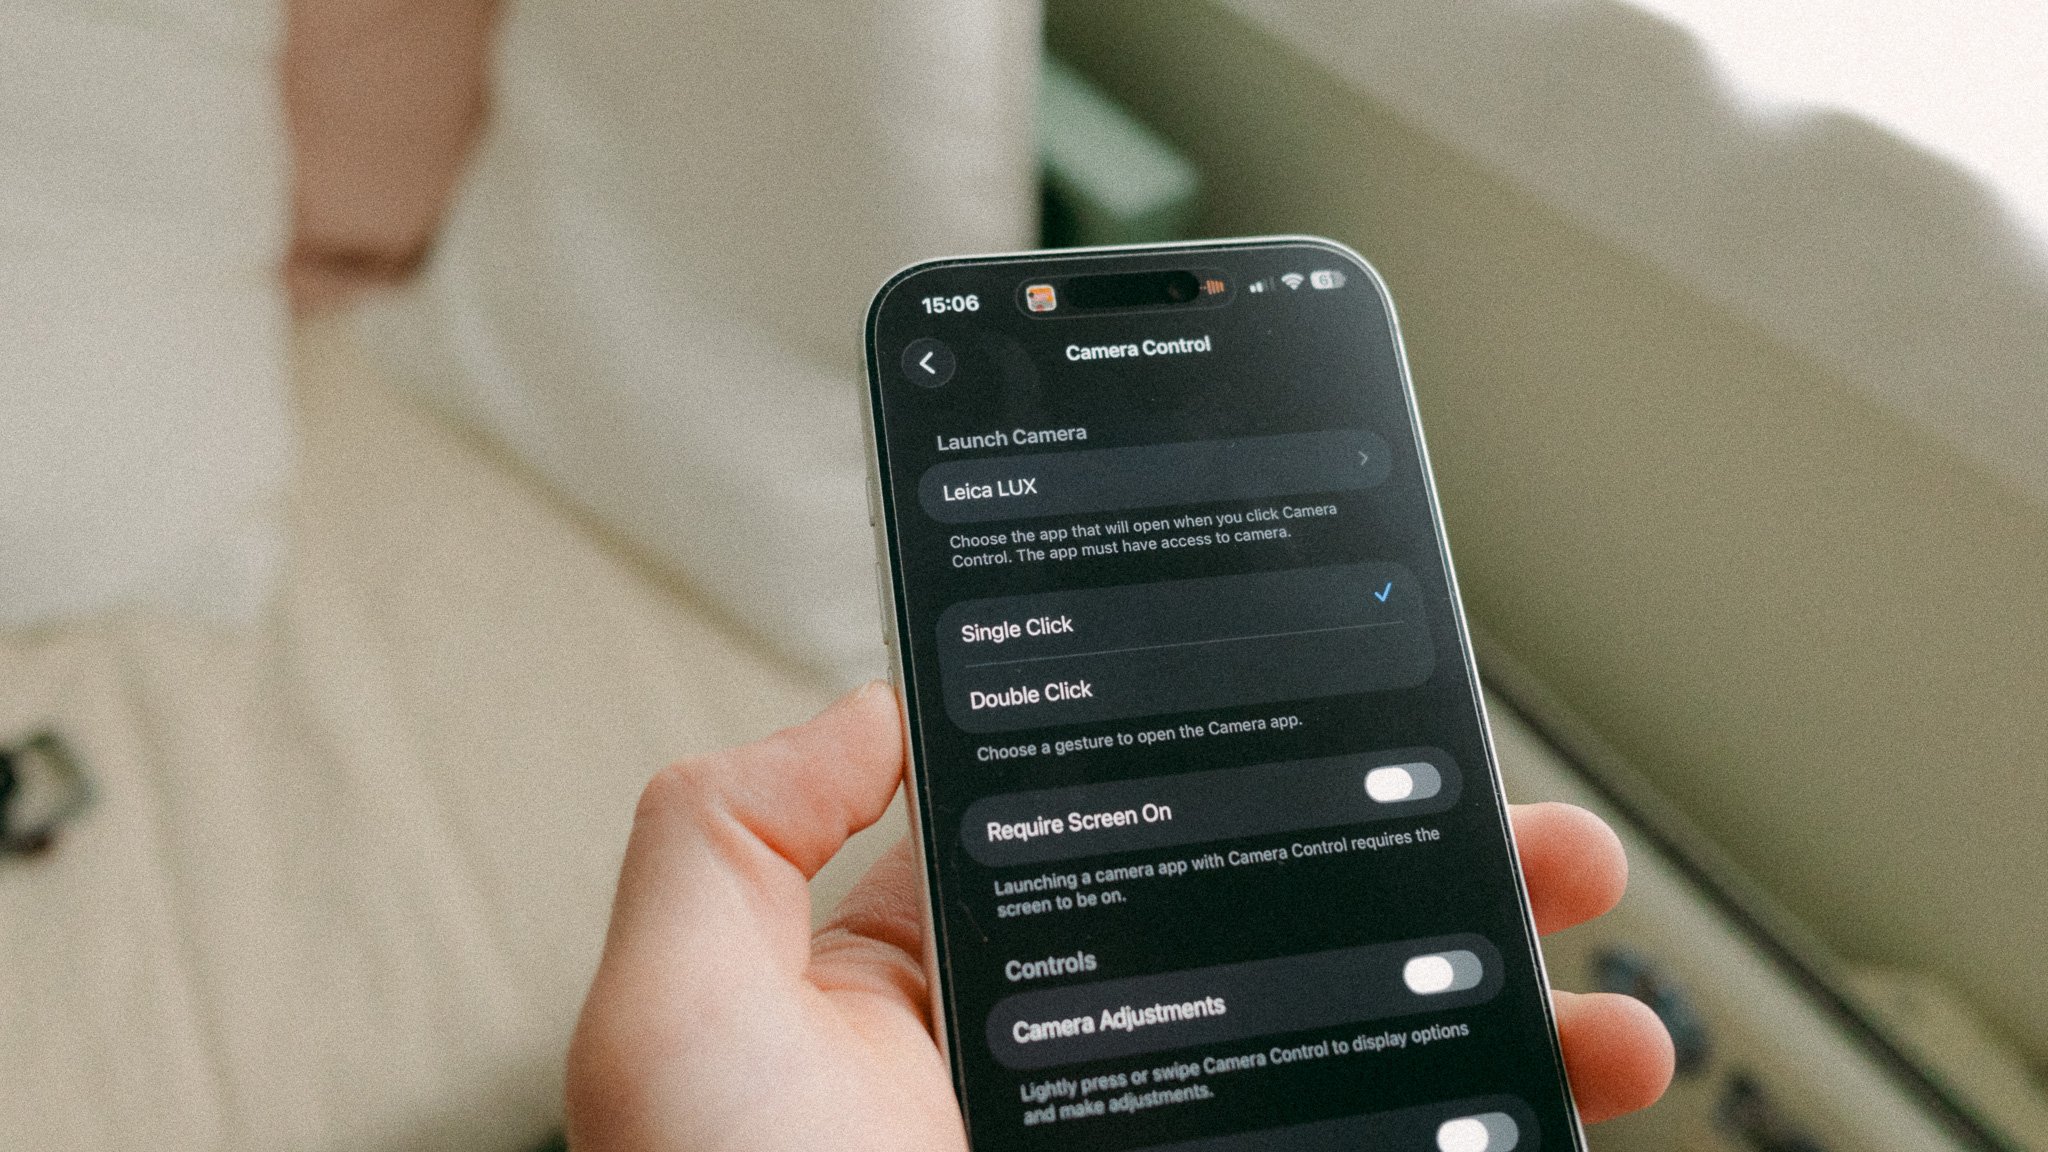
Camera Control - If you have an iPhone 16 or 17 with a camera control button, you can customise it to trigger the Leica LUX app instead of the default one. Furthermore, you can set it to trigger the app without needing to unlock the phone first. This saves so much time and allows you to get the shot much quicker, as you can trigger the app even when the phone is still in your pocket. You can access this by going into Settings > Camera > Camera Control > Launch Camera. Make sure Single Click is switched on and Require Screen On is switched off.
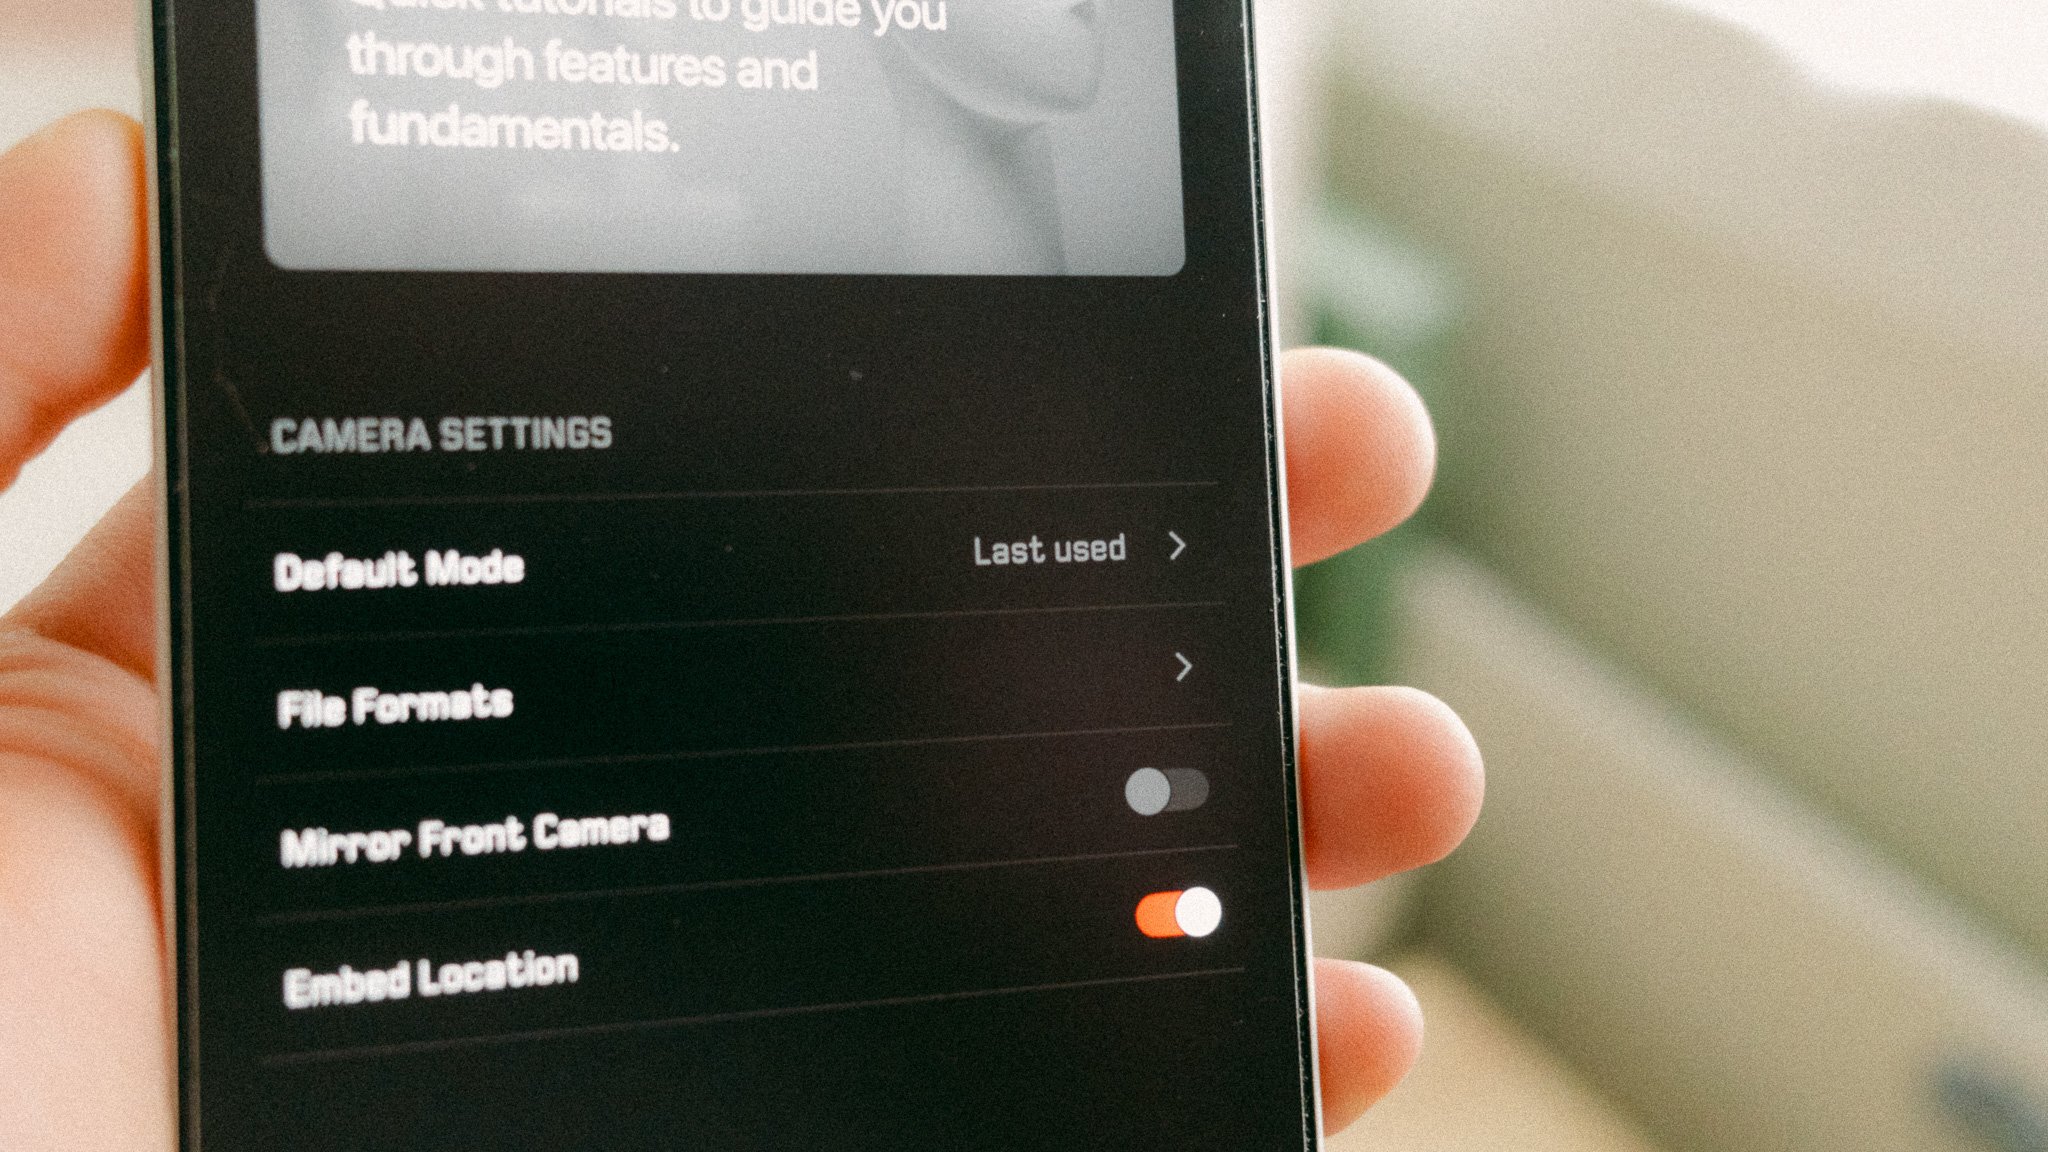
Default Mode - Now it’s time to open the LUX app and head into the main settings. The first thing is to set the default mode. This is where you tell the app what mode to open in when you boot it up. I set it to last used.
File Formats - For compressed format I set it to HEIF. You can use JPEG if you plan on sharing photos online, but I prefer HEIF due to the smaller file size and the fact that everywhere I share my work now accepts this format. RAW format is set to ProRAW as I personally like this format and get great results. Max resolution is set to 48 and smart processing is set to default.
Haptic Feedback - I leave this on as it helps confirm a photo was taken when using the grip.
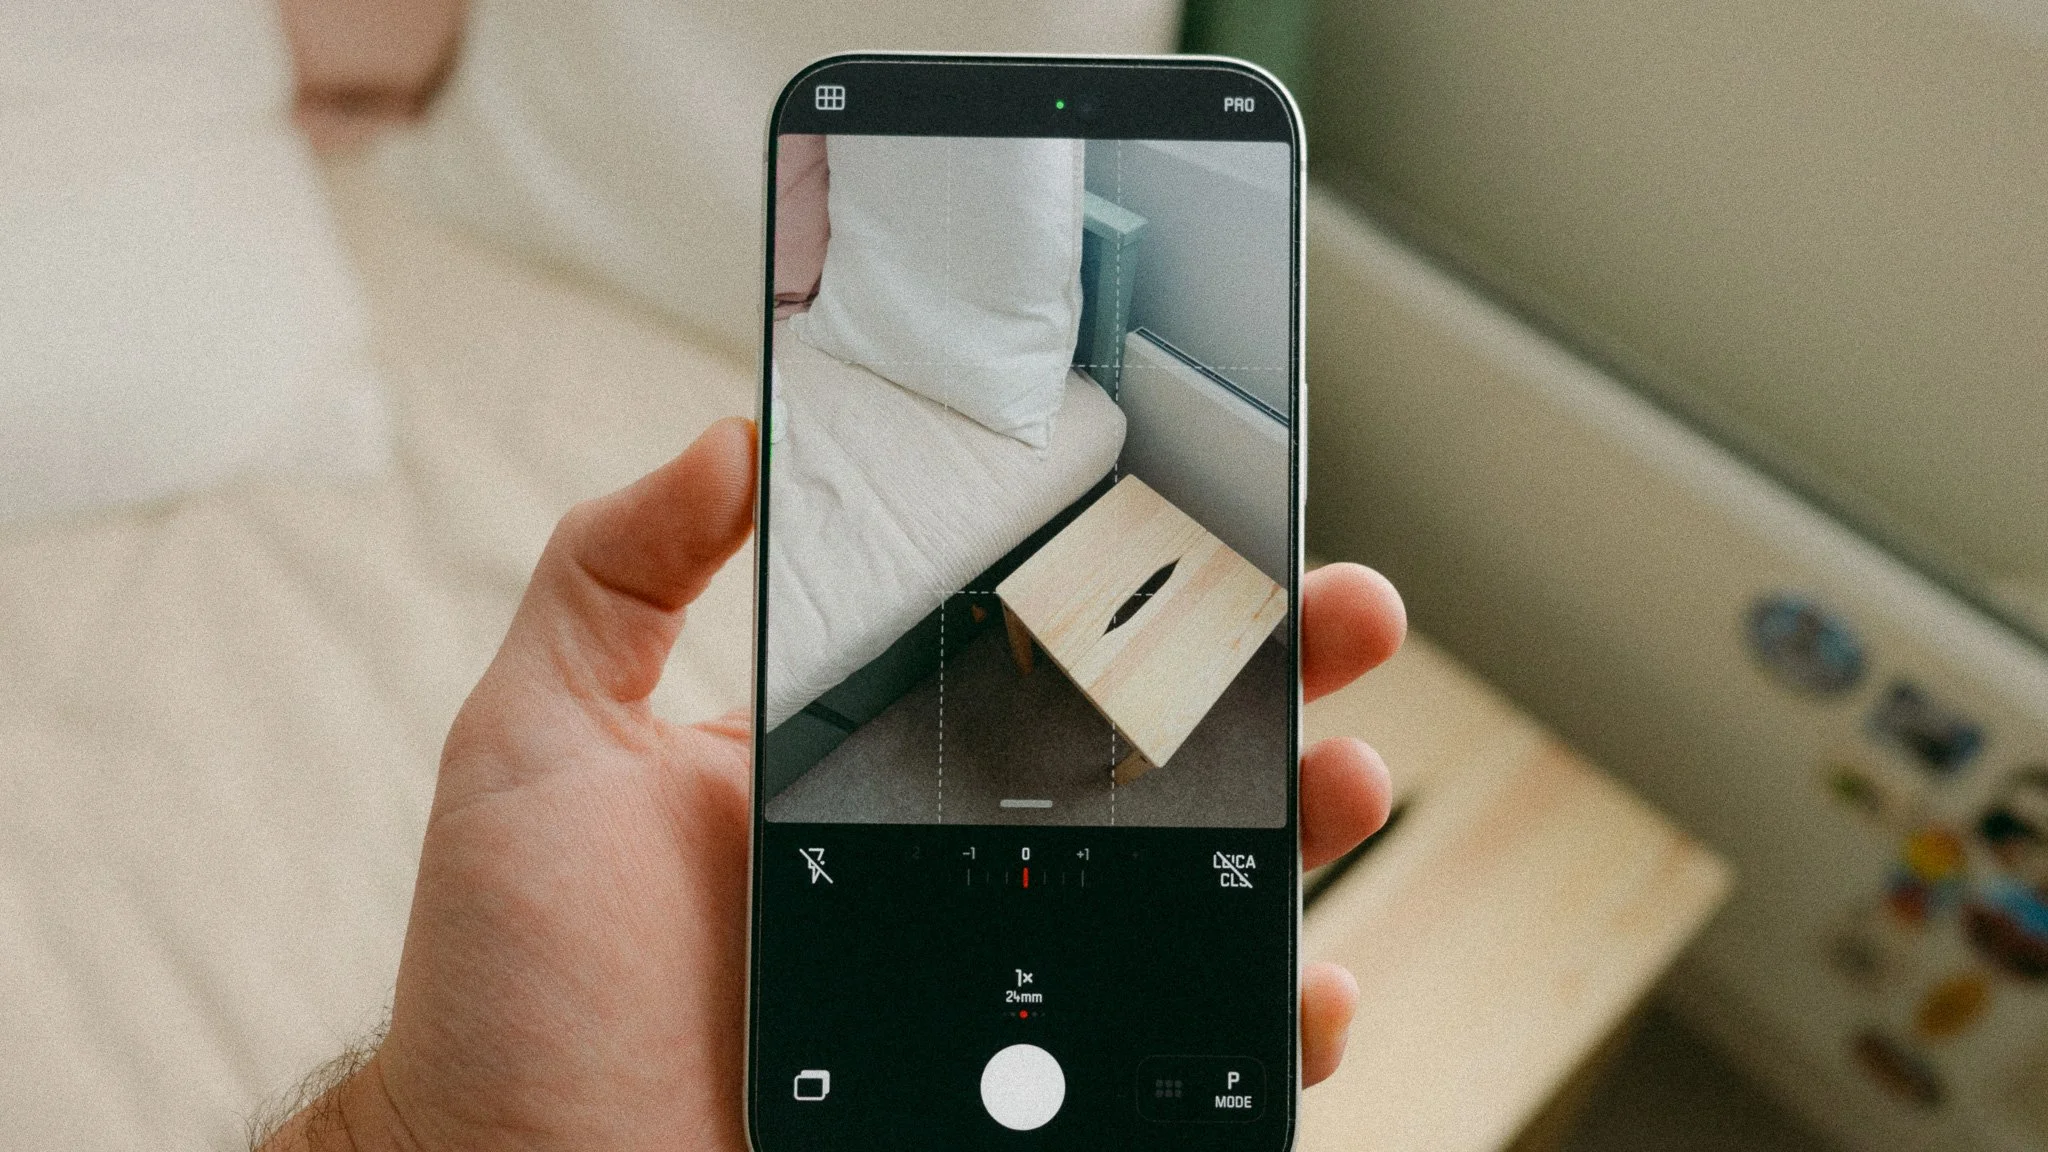
Shooting Screen
When you launch the app, you would notice 4 shortcuts, one on each corner of the display. 3 of them can be customised by long pressing and choosing from a list of options. I have mine set as follows:
Top Right - File Format (to quickly switch between RAW / JPEG)
Top Left - Grid On / Off
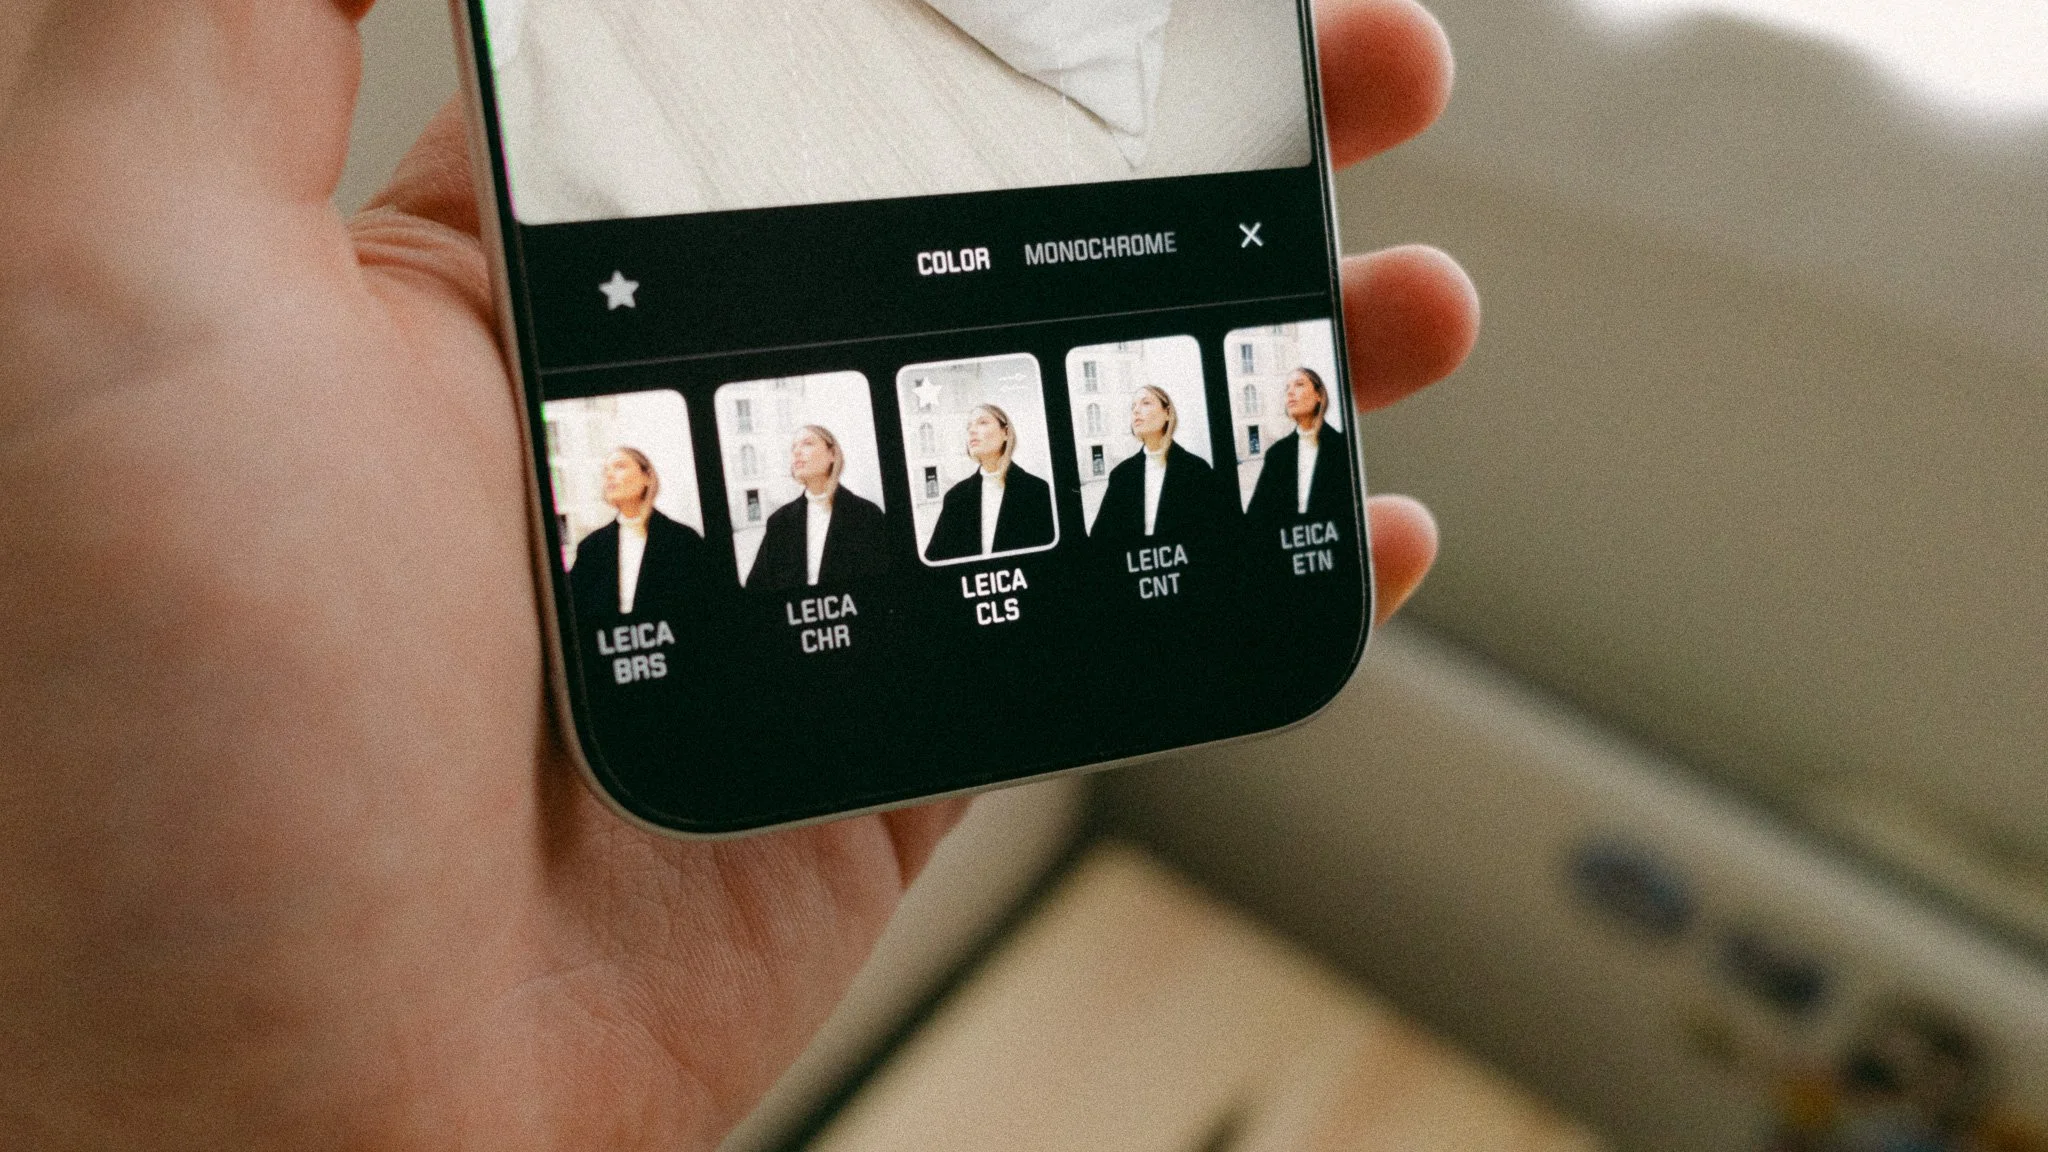
Bottom Right - Leica Looks (this is always there and can’t be changed)
Bottom Left - Flash On / Off
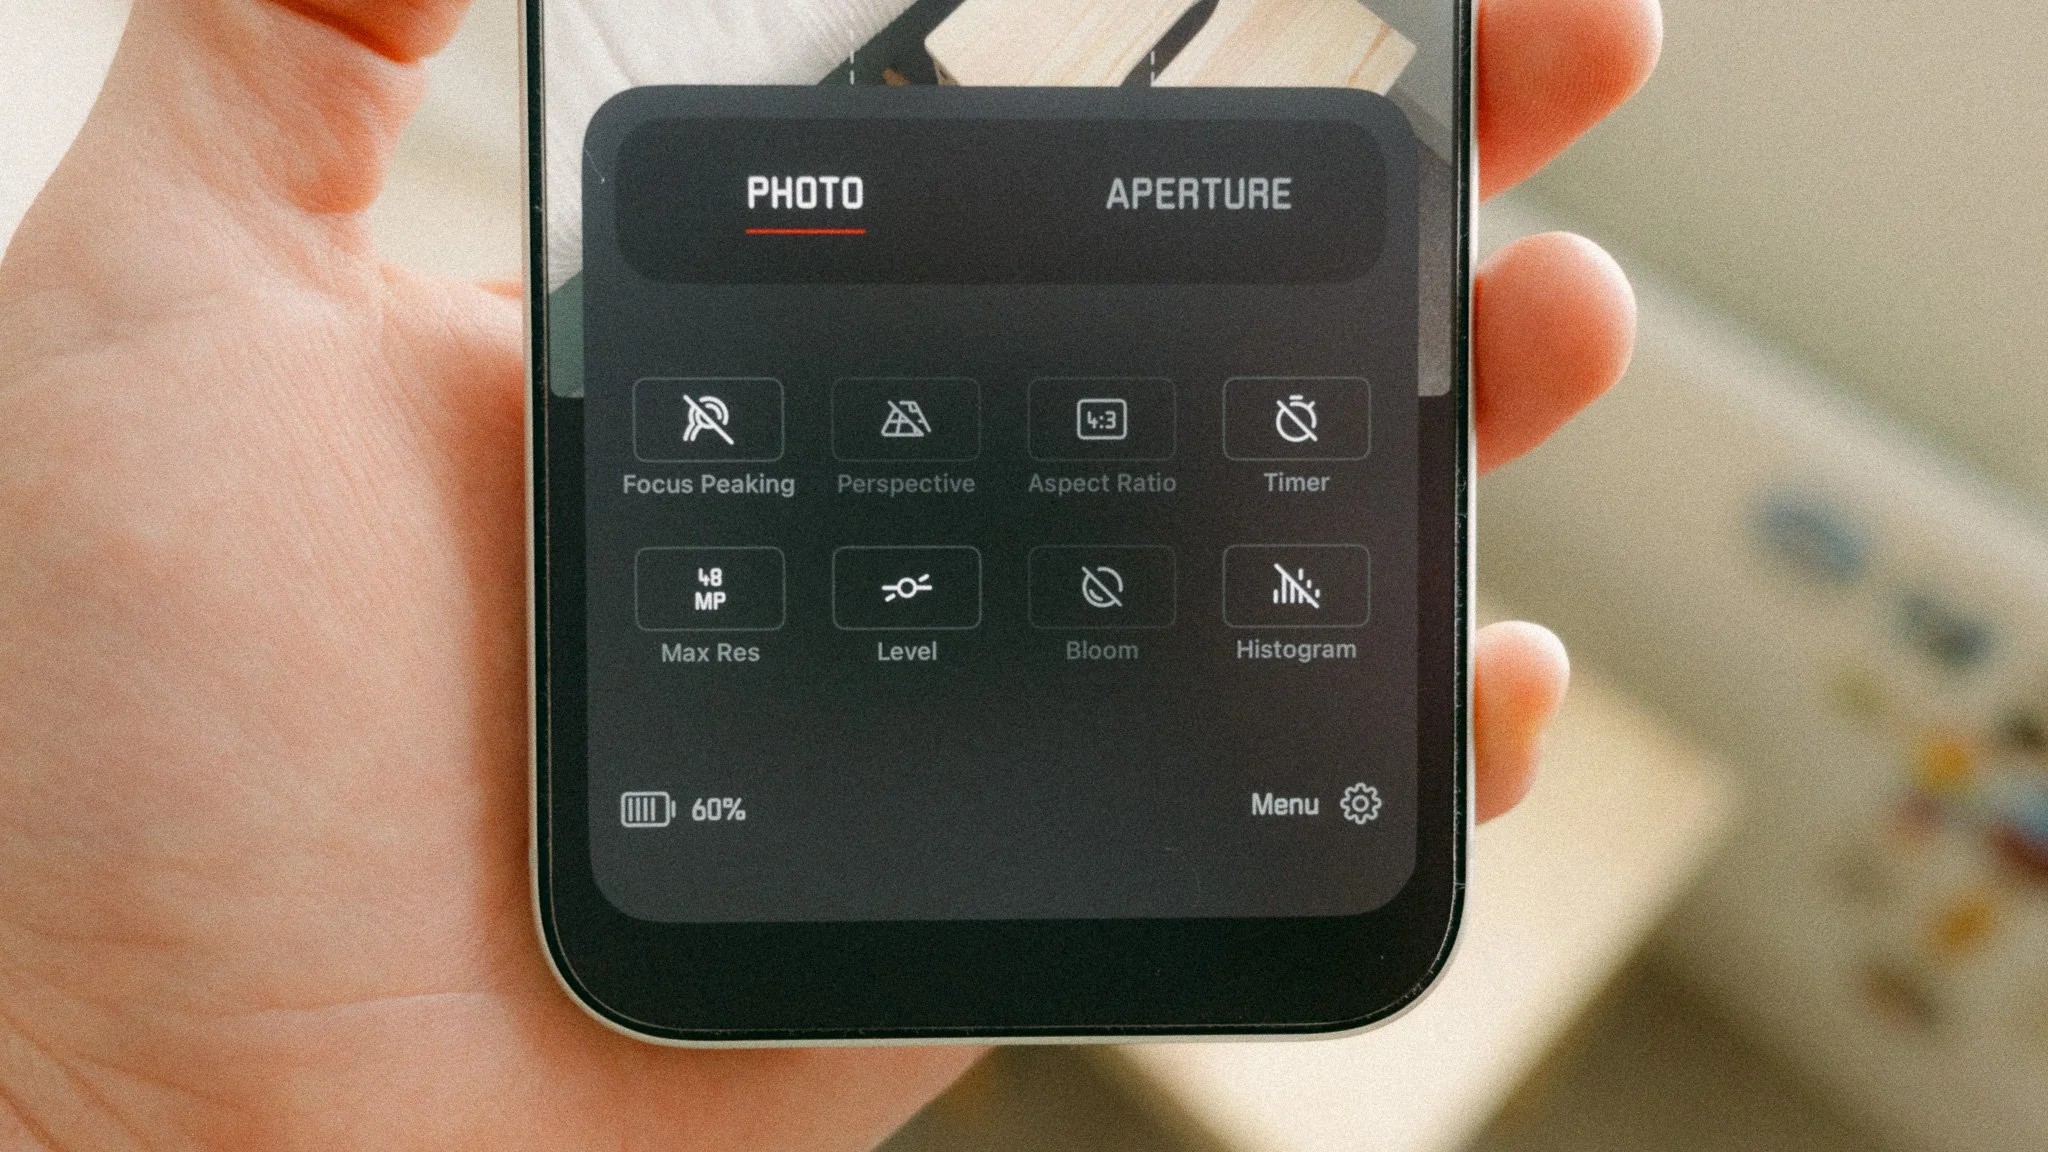
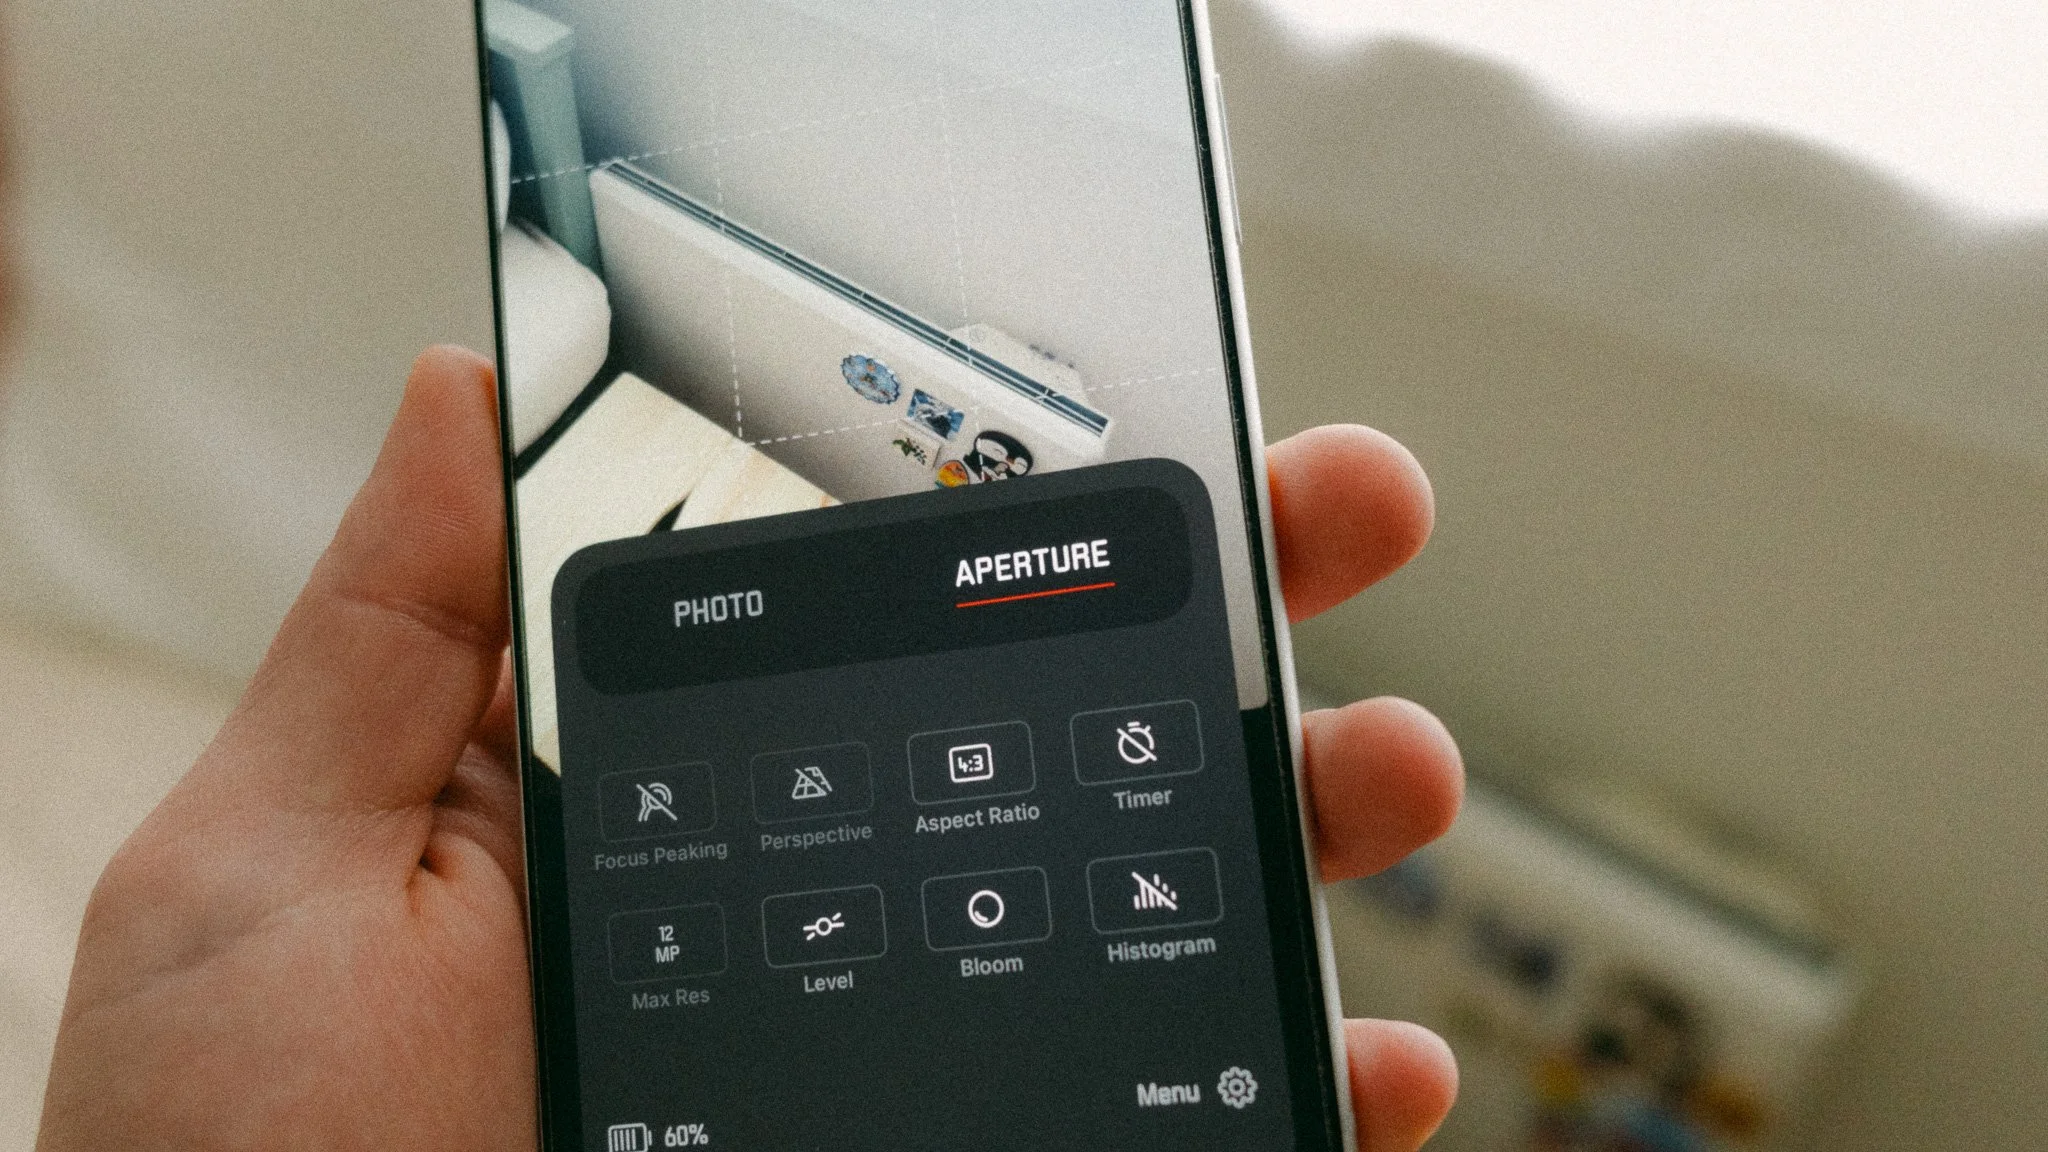
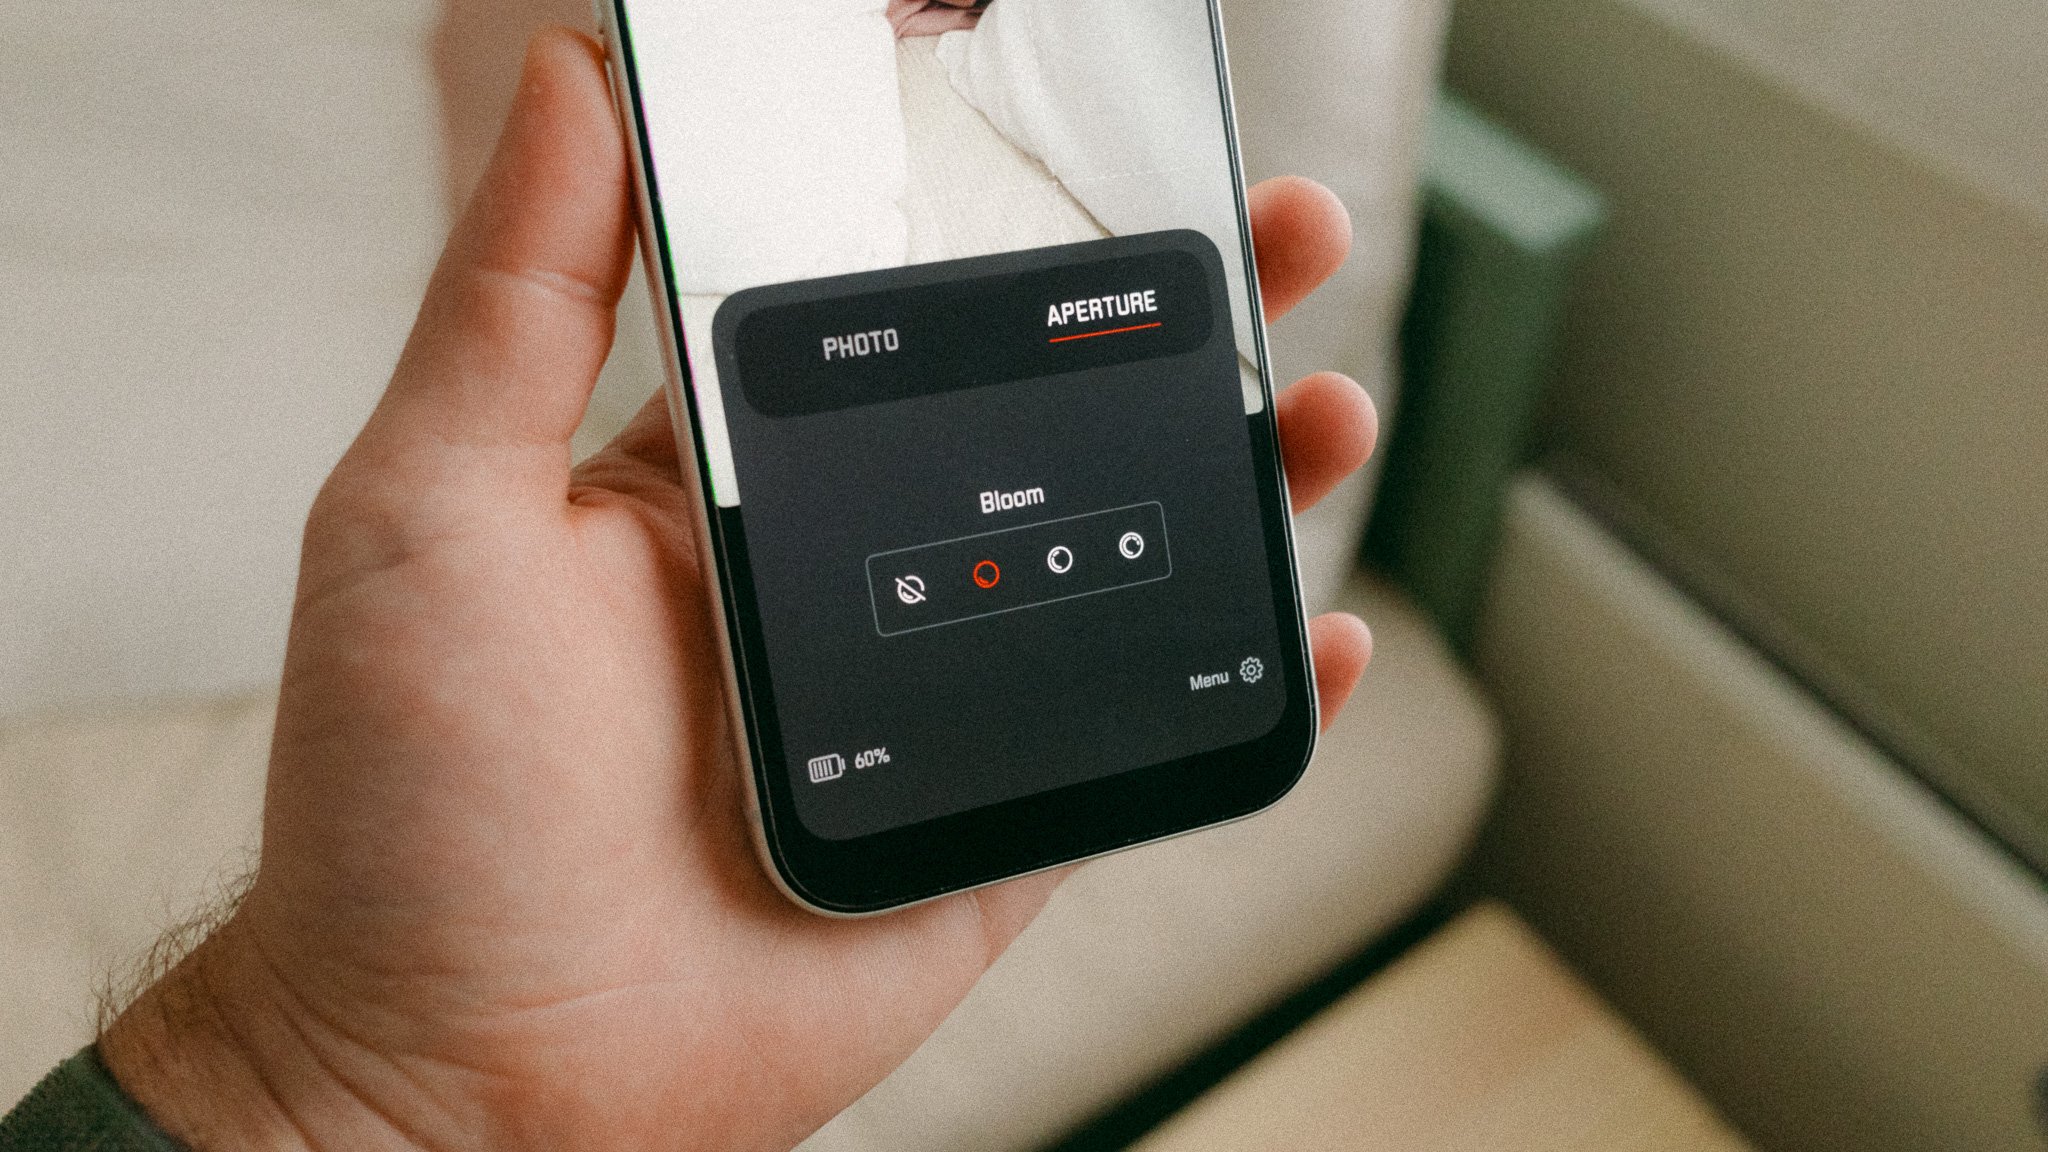
Splash Screen / Quick Menu - When you are on the main shooting page, you will see a button with six squares right next to the P mode / A mode button on the bottom right. Clicking this will open a quick menu or splash screen that houses a few more options. If you press and hold any of the menu items, you can change them to something else. This is how I have them set.
File Formats - When you tap the file format icon, you will cycle between three options: Pro, HEIF, and Pro HEIF. The first one is for full RAW photography and you will get a neutral RAW file. The Leica Looks will not be available for this format. The HEIF (or JPEG) mode will open up the Leica Looks as well as other features such as Perspective, Blooming, etc. The last one combines RAW and HEIF, however I don’t like using it, as I prefer to keep them separate because my approach to photography changes based on the mode I’m using. I will cover this more in the upcoming sections.

Manual Controls - Just above the exposure compensation dial you will see a small toggle. If you swipe it down, you will get more options that enable manual shooting. Please note that this only works in Photo mode. You can click on each item to lock a specific setting such as shutter speed, or to set it manually to a different value. The same applies to focusing and white balance. Keep in mind that enabling some of the manual controls will reduce the resolution from 48 to 12MP. This is due to iPhone limitations.
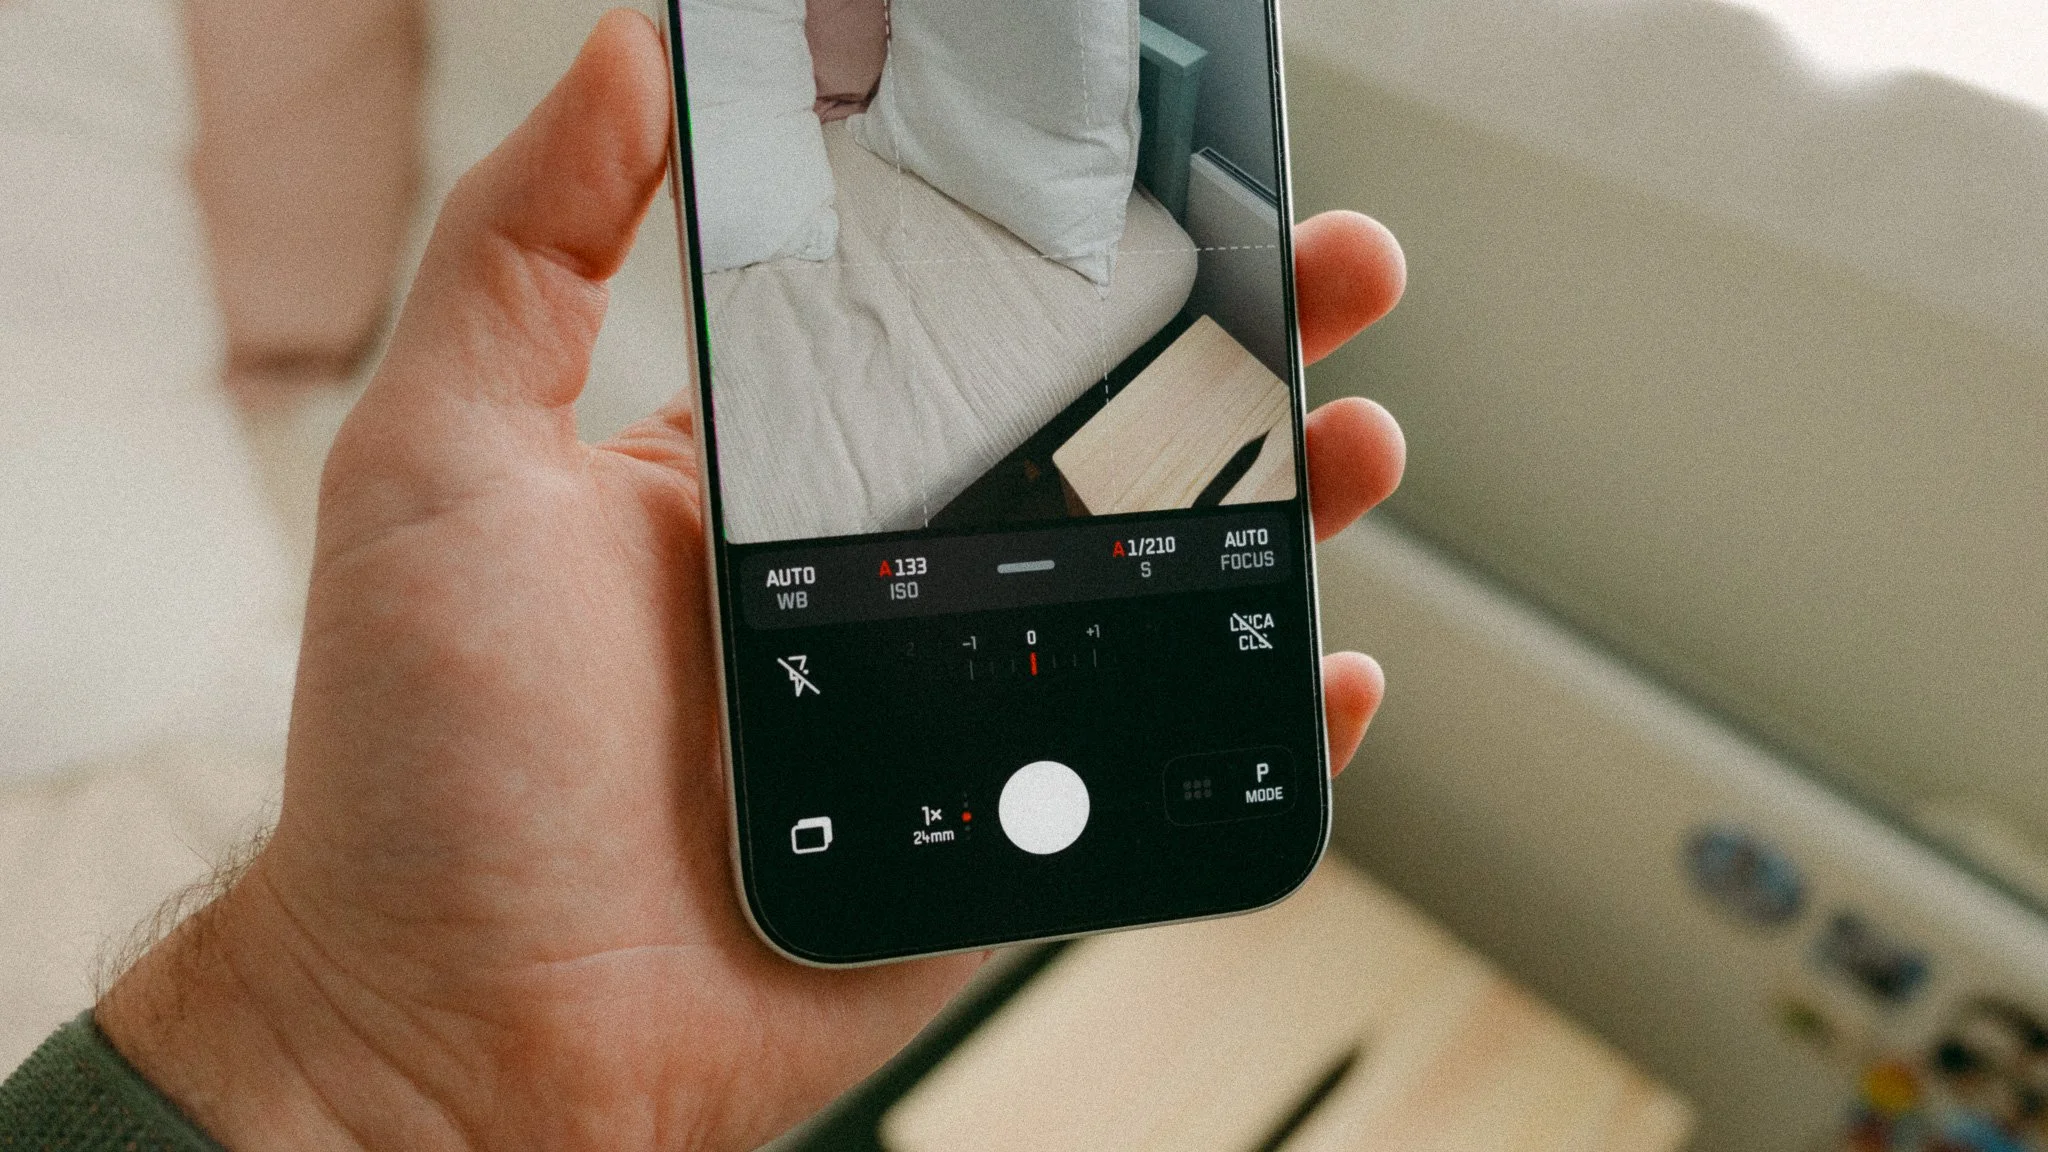
Photo Mode
The Photo mode is where you go for a minimal photography experience and the best image quality. If you want a RAW 48MP file, then this is where you need to be. This is the mode I use for serious photography that I plan on editing later in Lightroom. I shoot exclusively in RAW and treat it like a real camera. When you shoot RAW, you will lose all creative features such as Blooming, Leica Looks, Perspective, etc. You will also get access to the default lenses just like any other app. I spend most of my time in this mode.

Aperture Mode
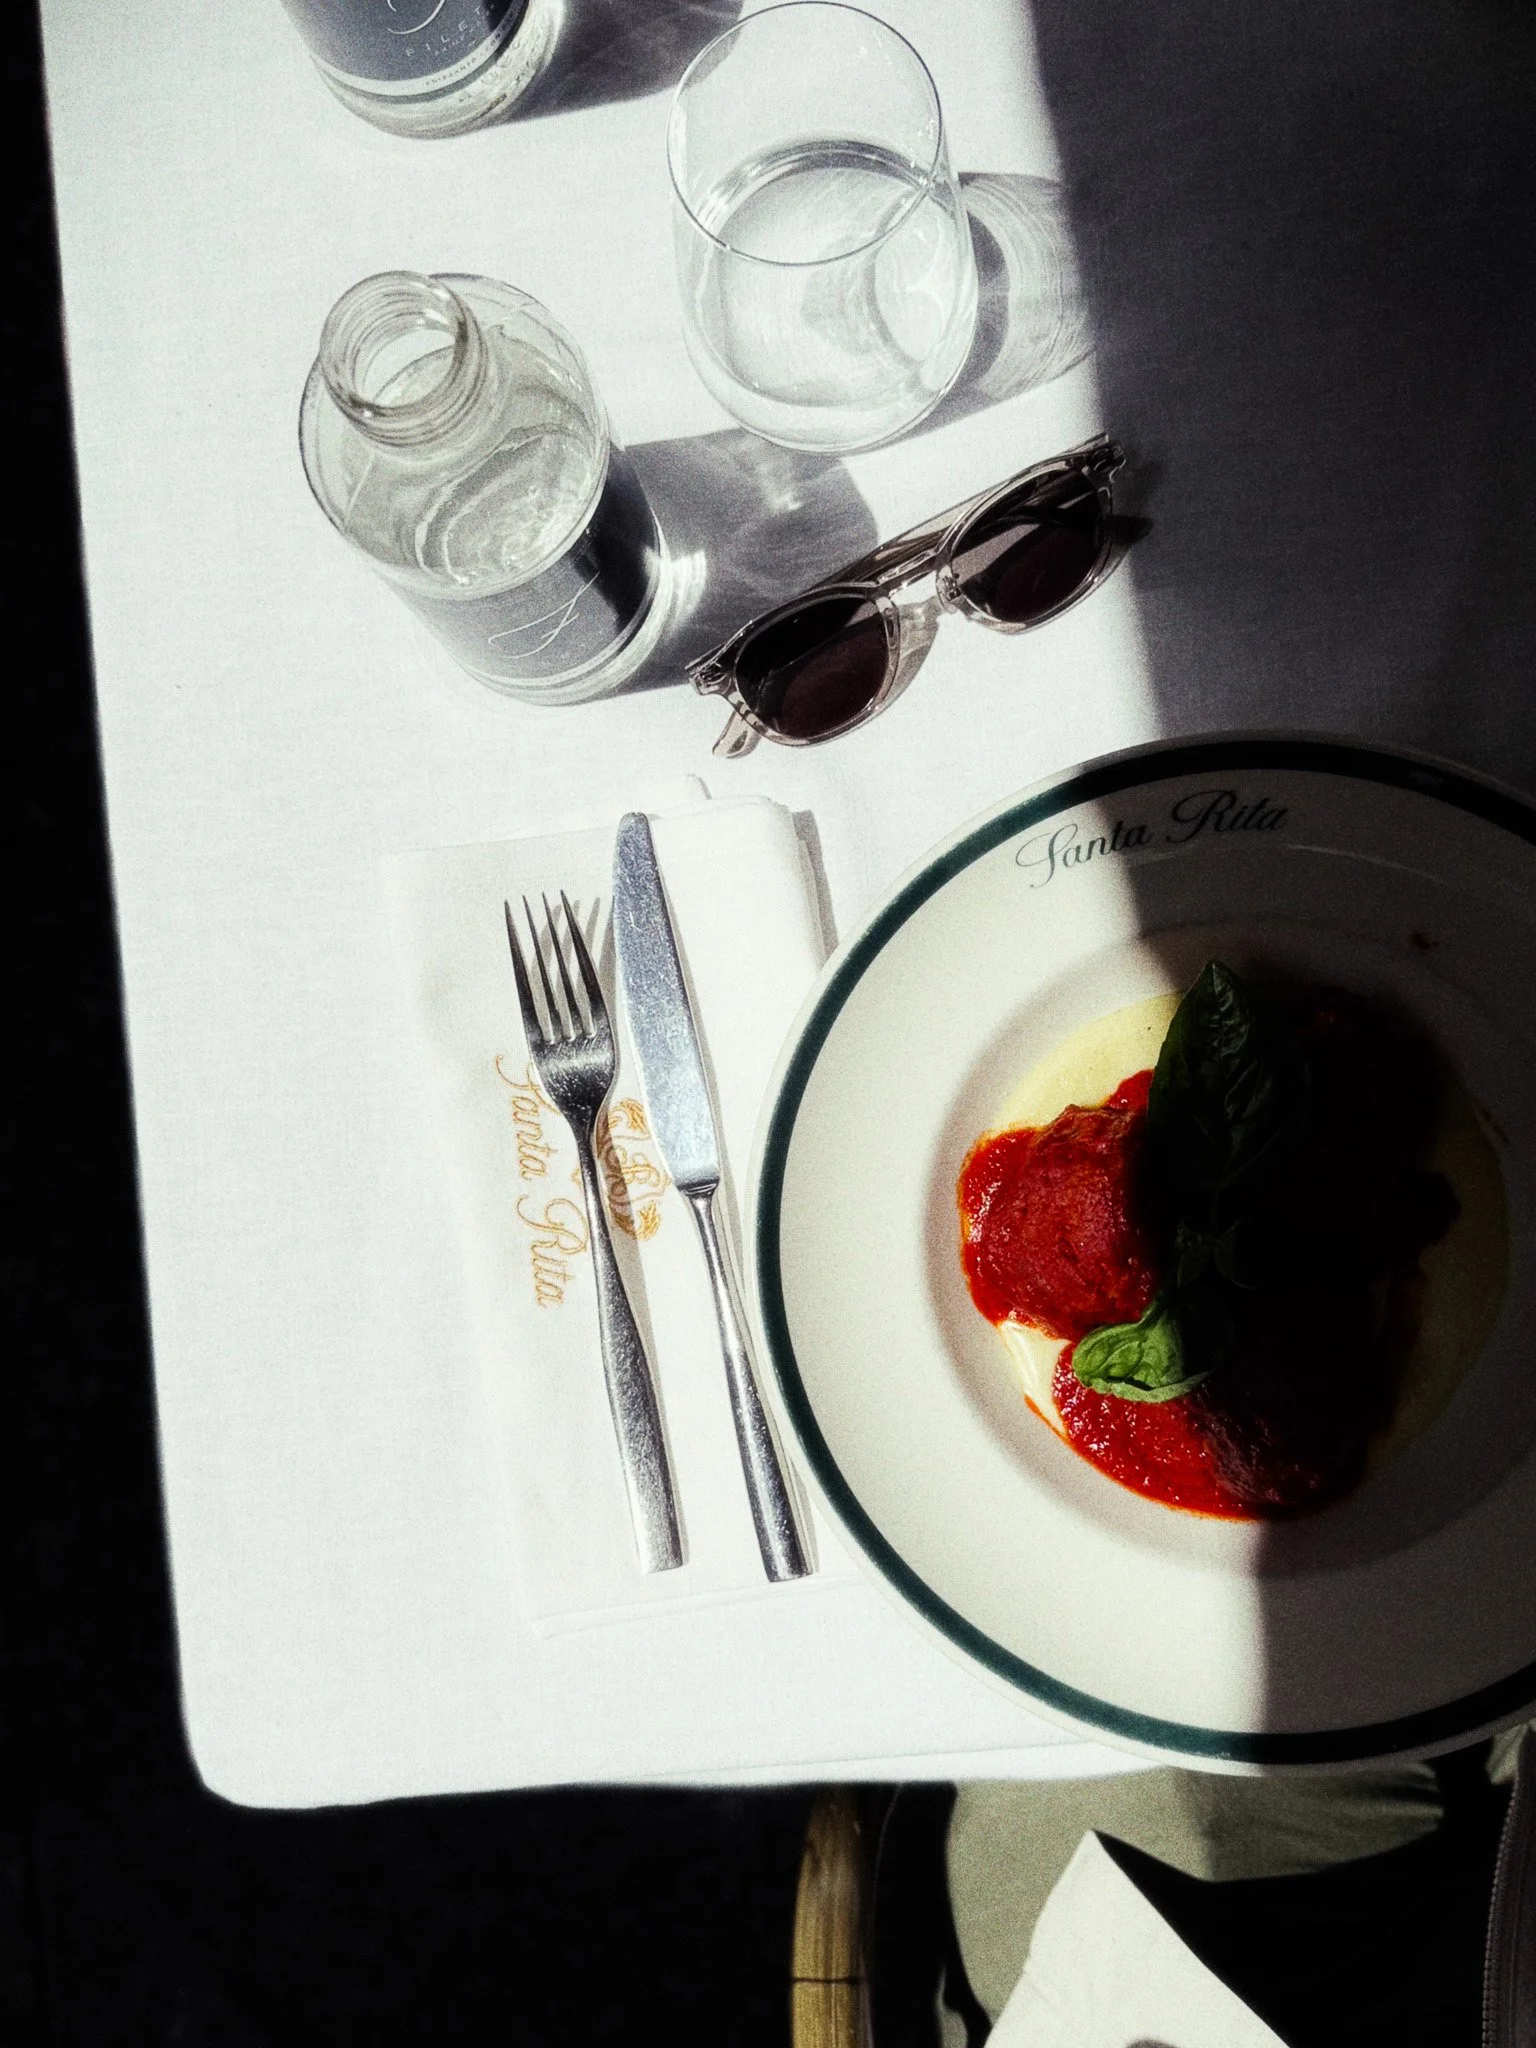
This is the fun mode for me. It’s where I can experiment with different Leica Looks and even simulate some of their classic lenses. I use this for random snapshots and not for my serious photography. I can see most people shooting in this mode because of all the creative choices and the fun aspect of it. Of course everything is 100% software based, which means you can change the look even after you’ve taken the shot. Think of this like the recipes and simulations on Fuji cameras, but for your iPhone and in Leica style.
My Go To Looks
After some time playing with all the options, I’ve summarised my favourite looks and settings.
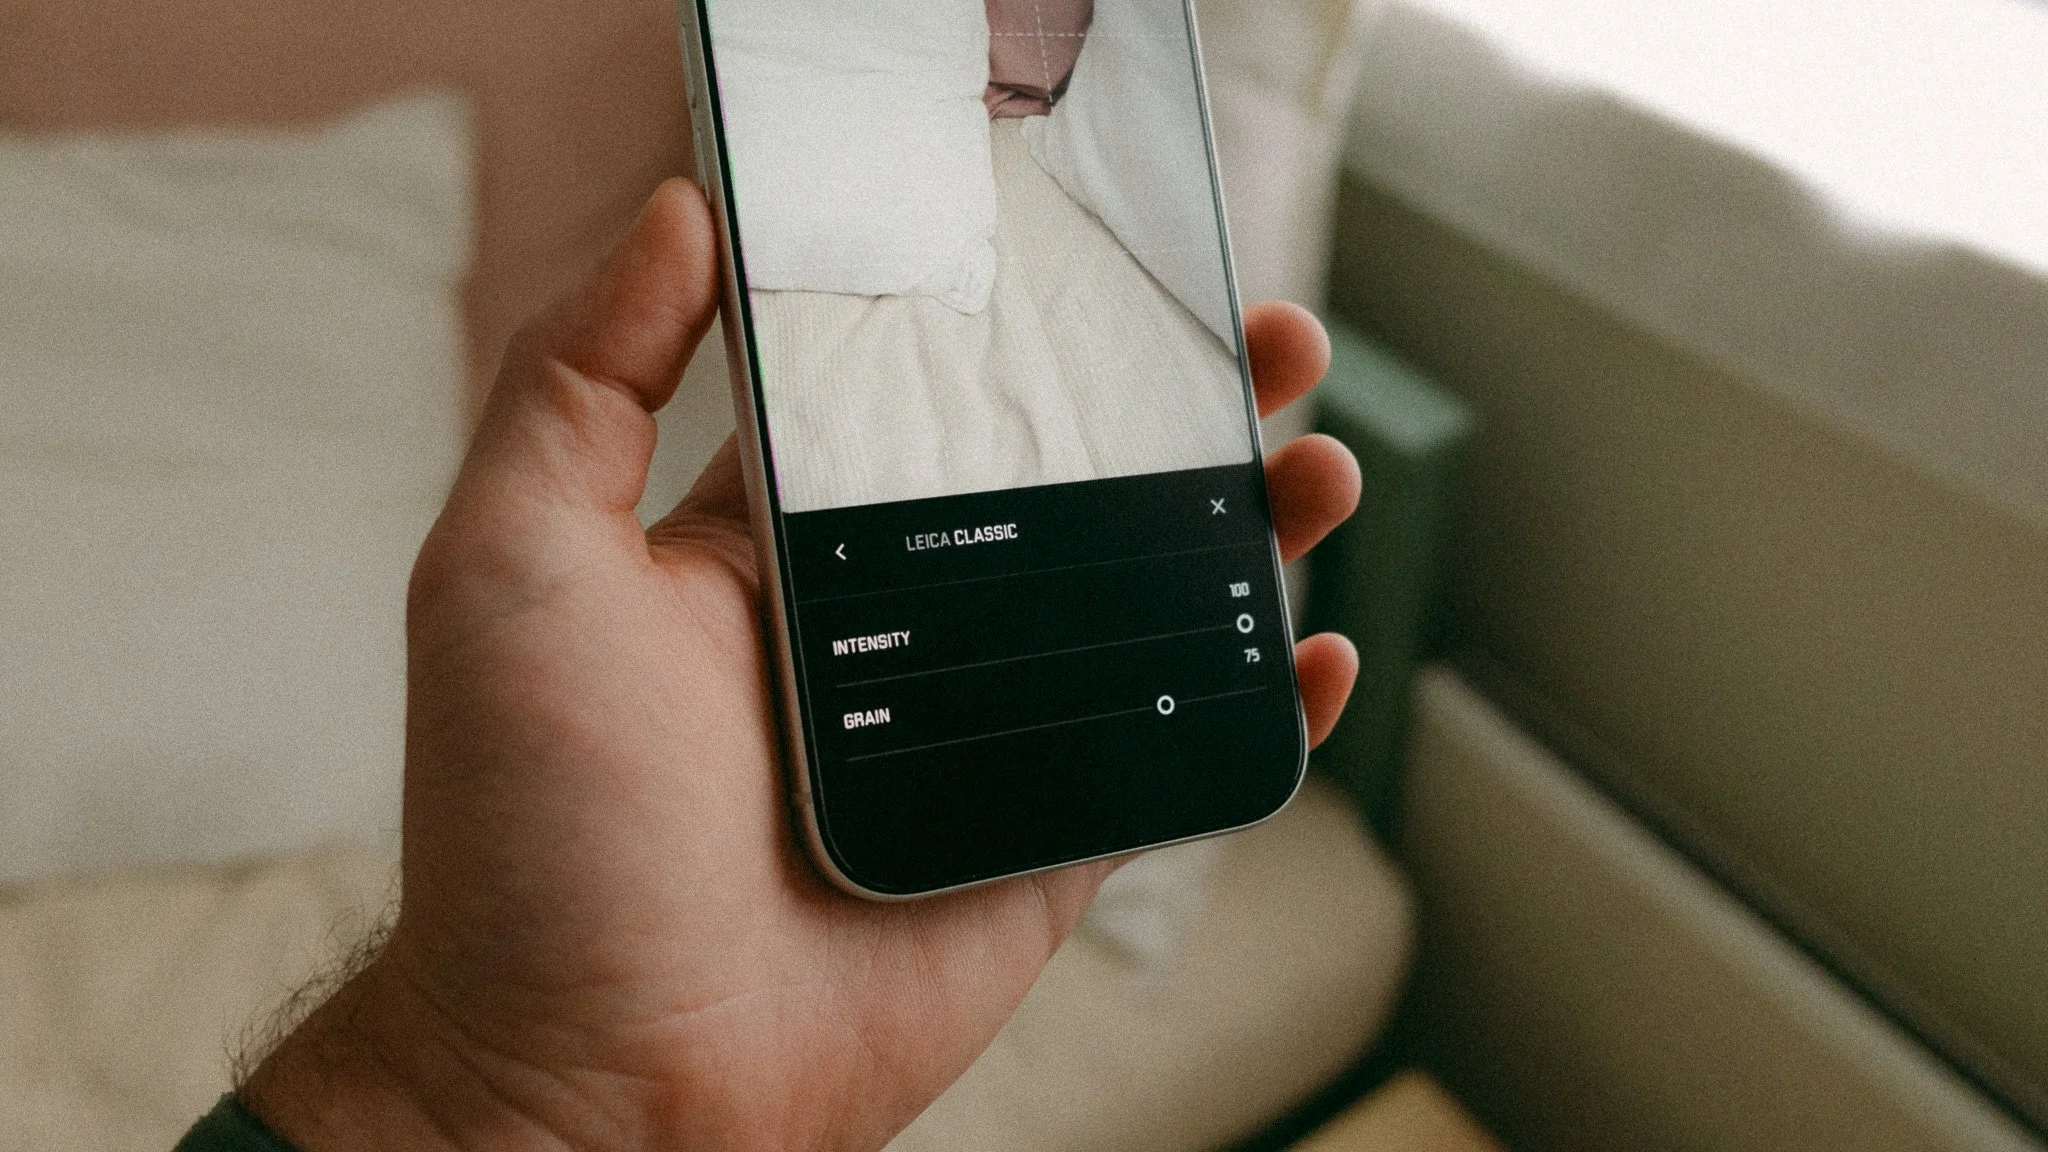
Look 1 - Classic | Intensity 100 | Grain 75 | 40mm SOL / 35mm SLX | Low Bloom | f2
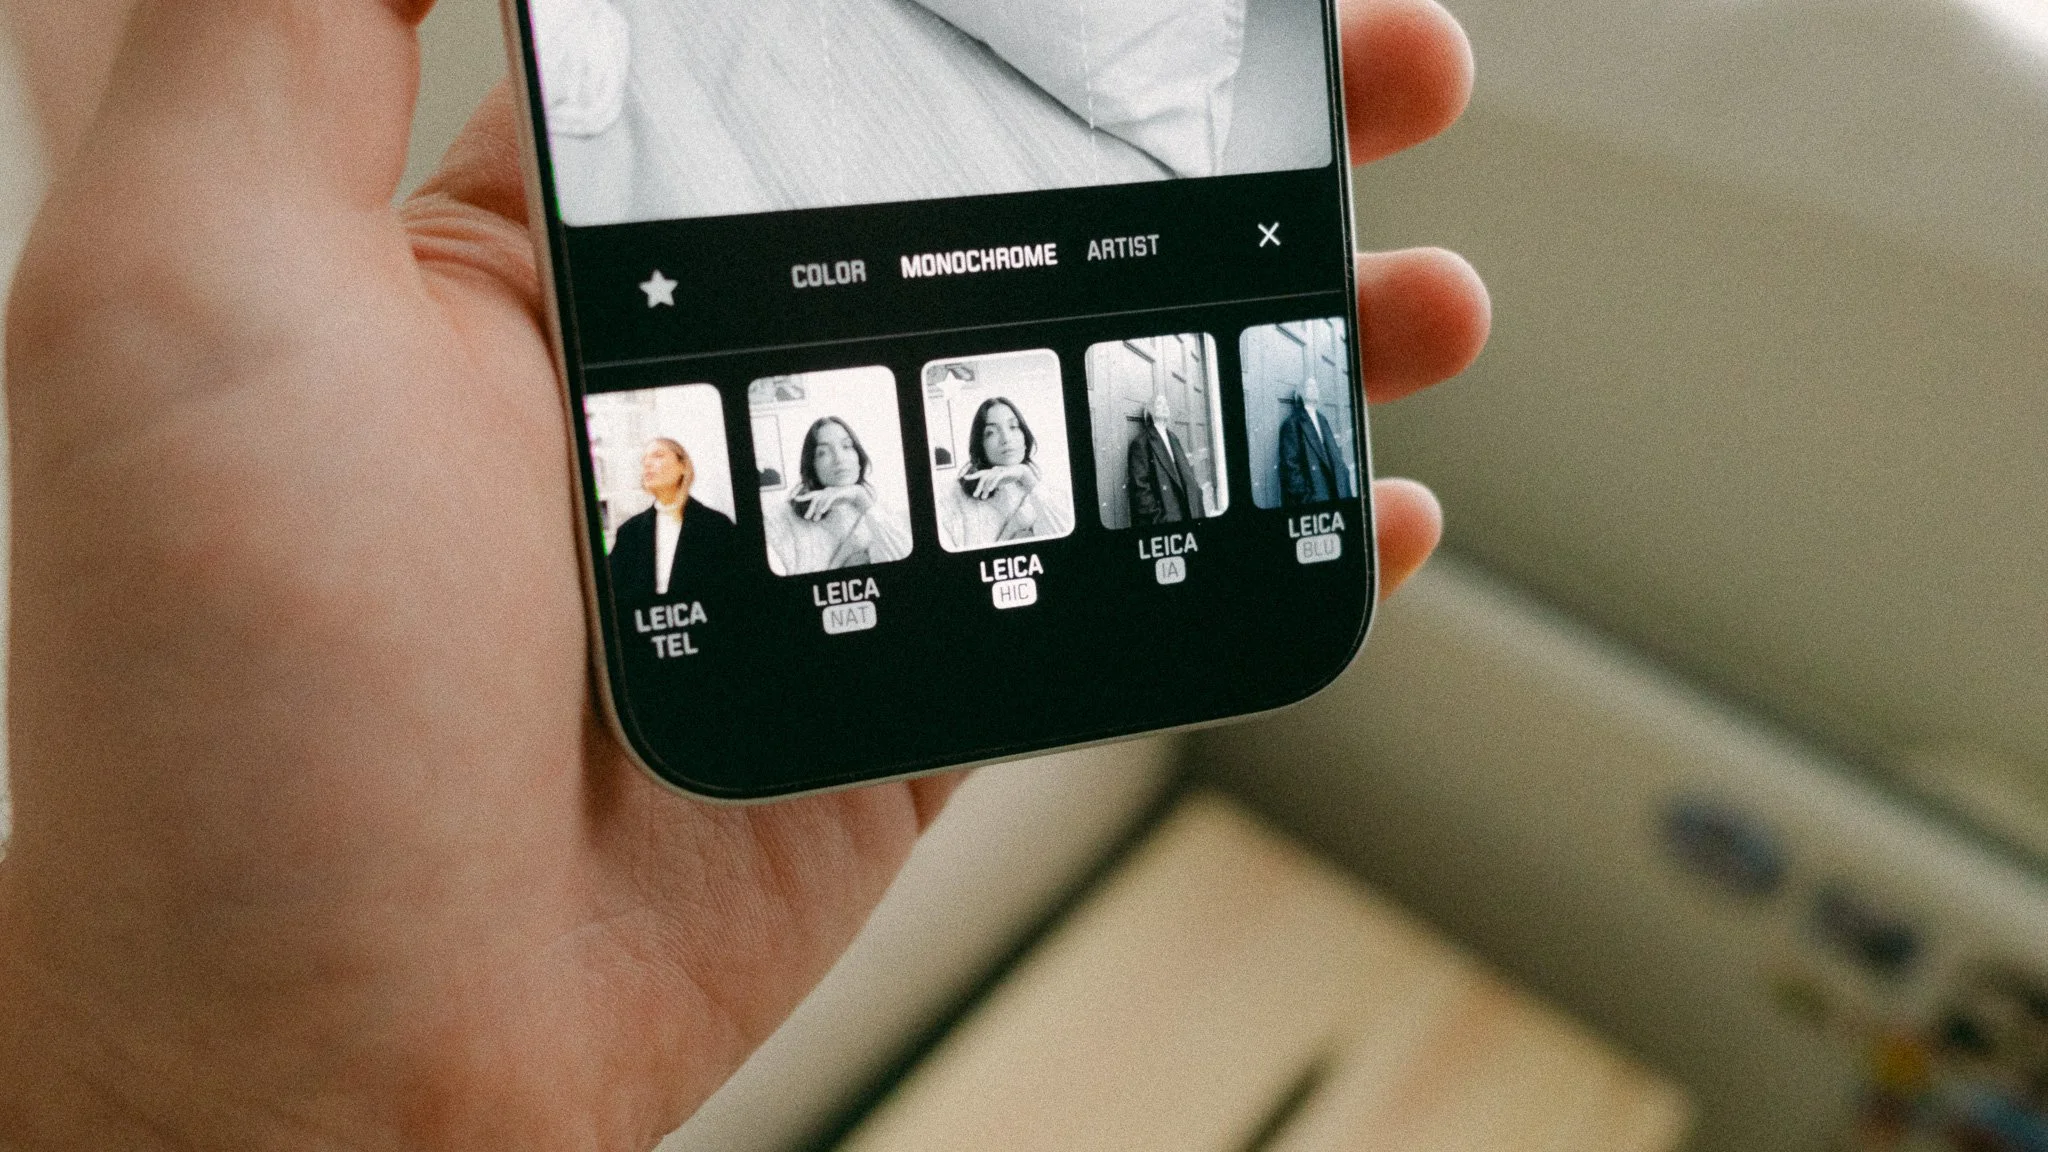
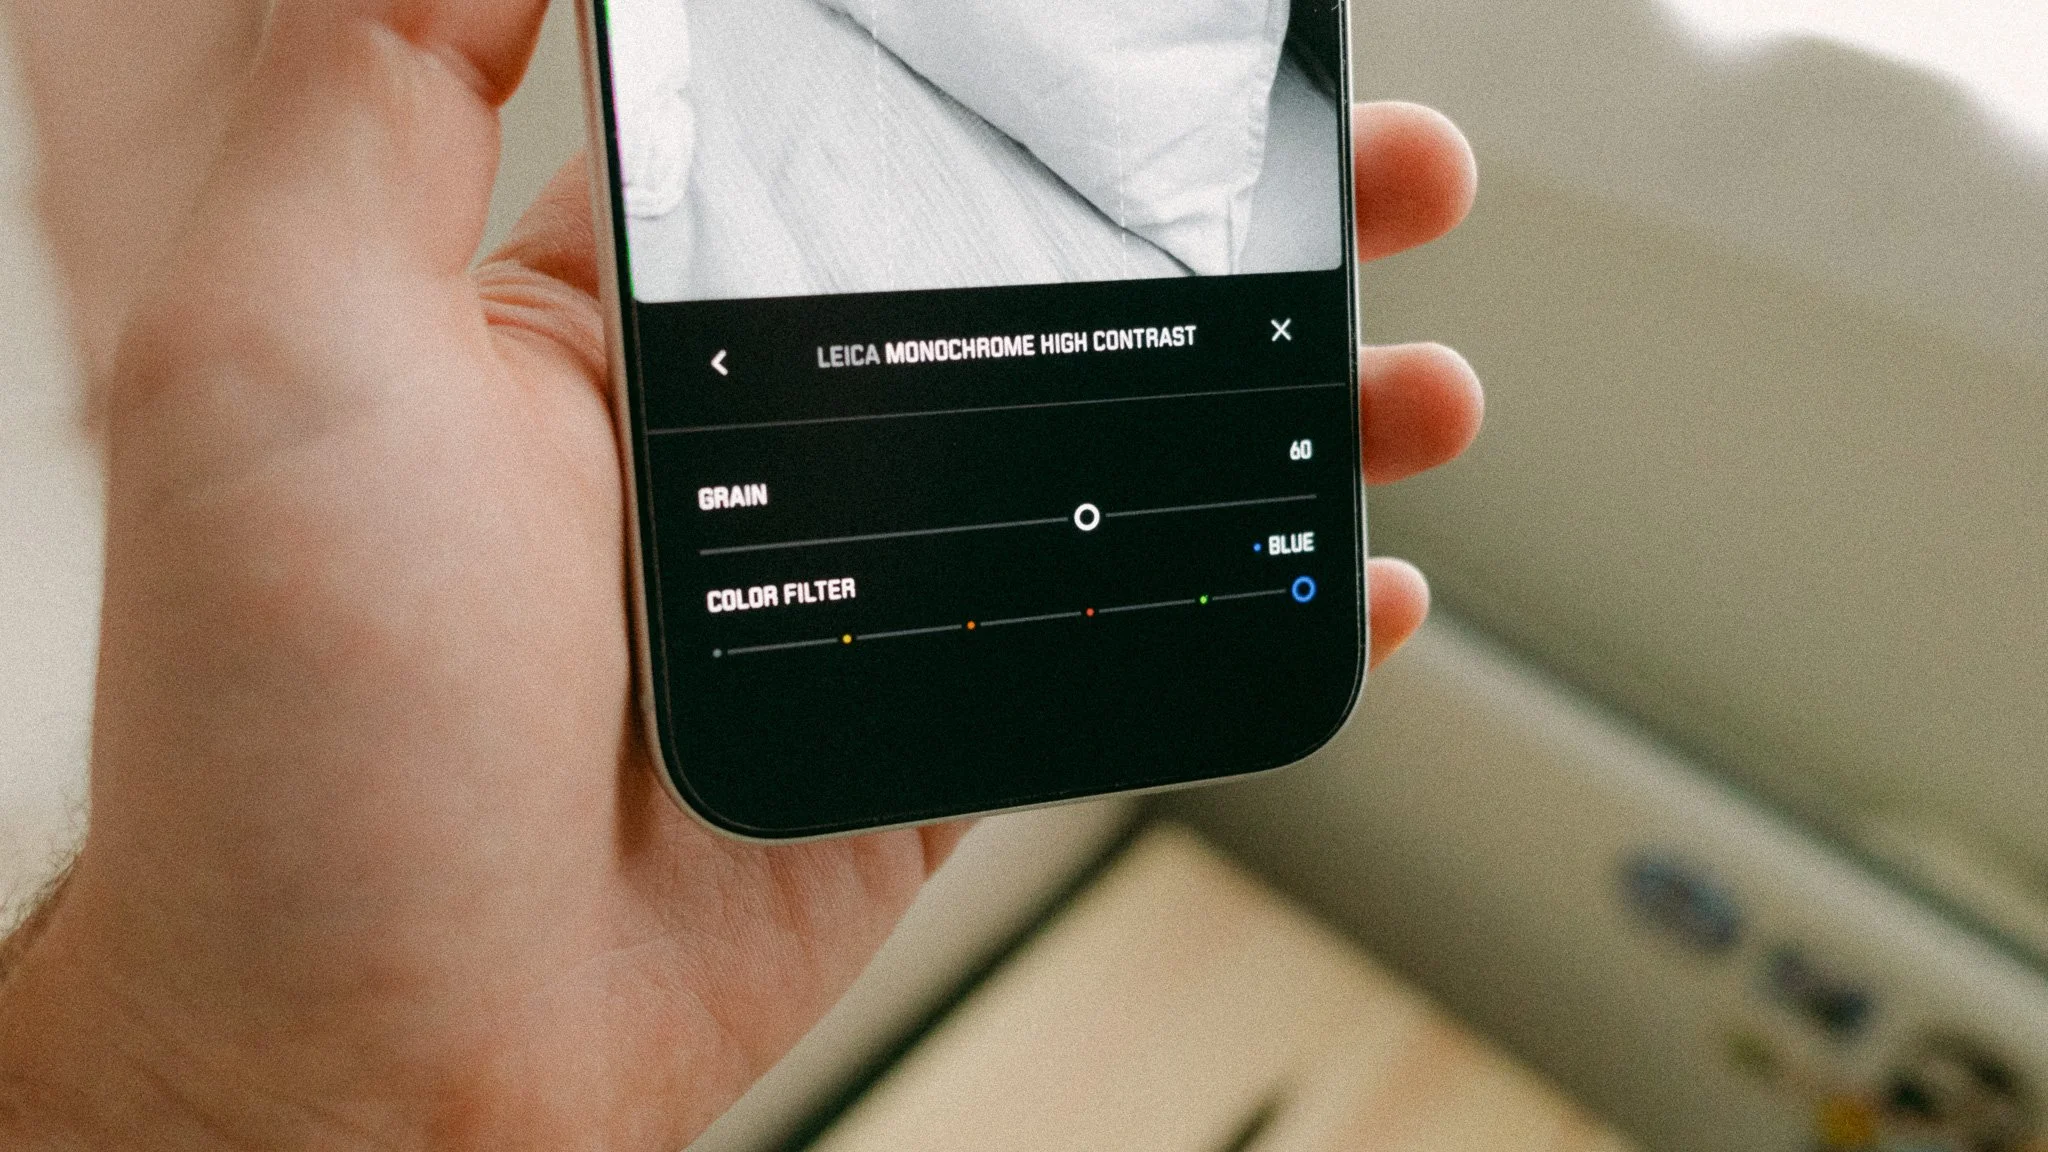
Look 2 - Monochrome High Con | Grain 60 | Blue Filter | 50mm NTX | Low Bloom | f2


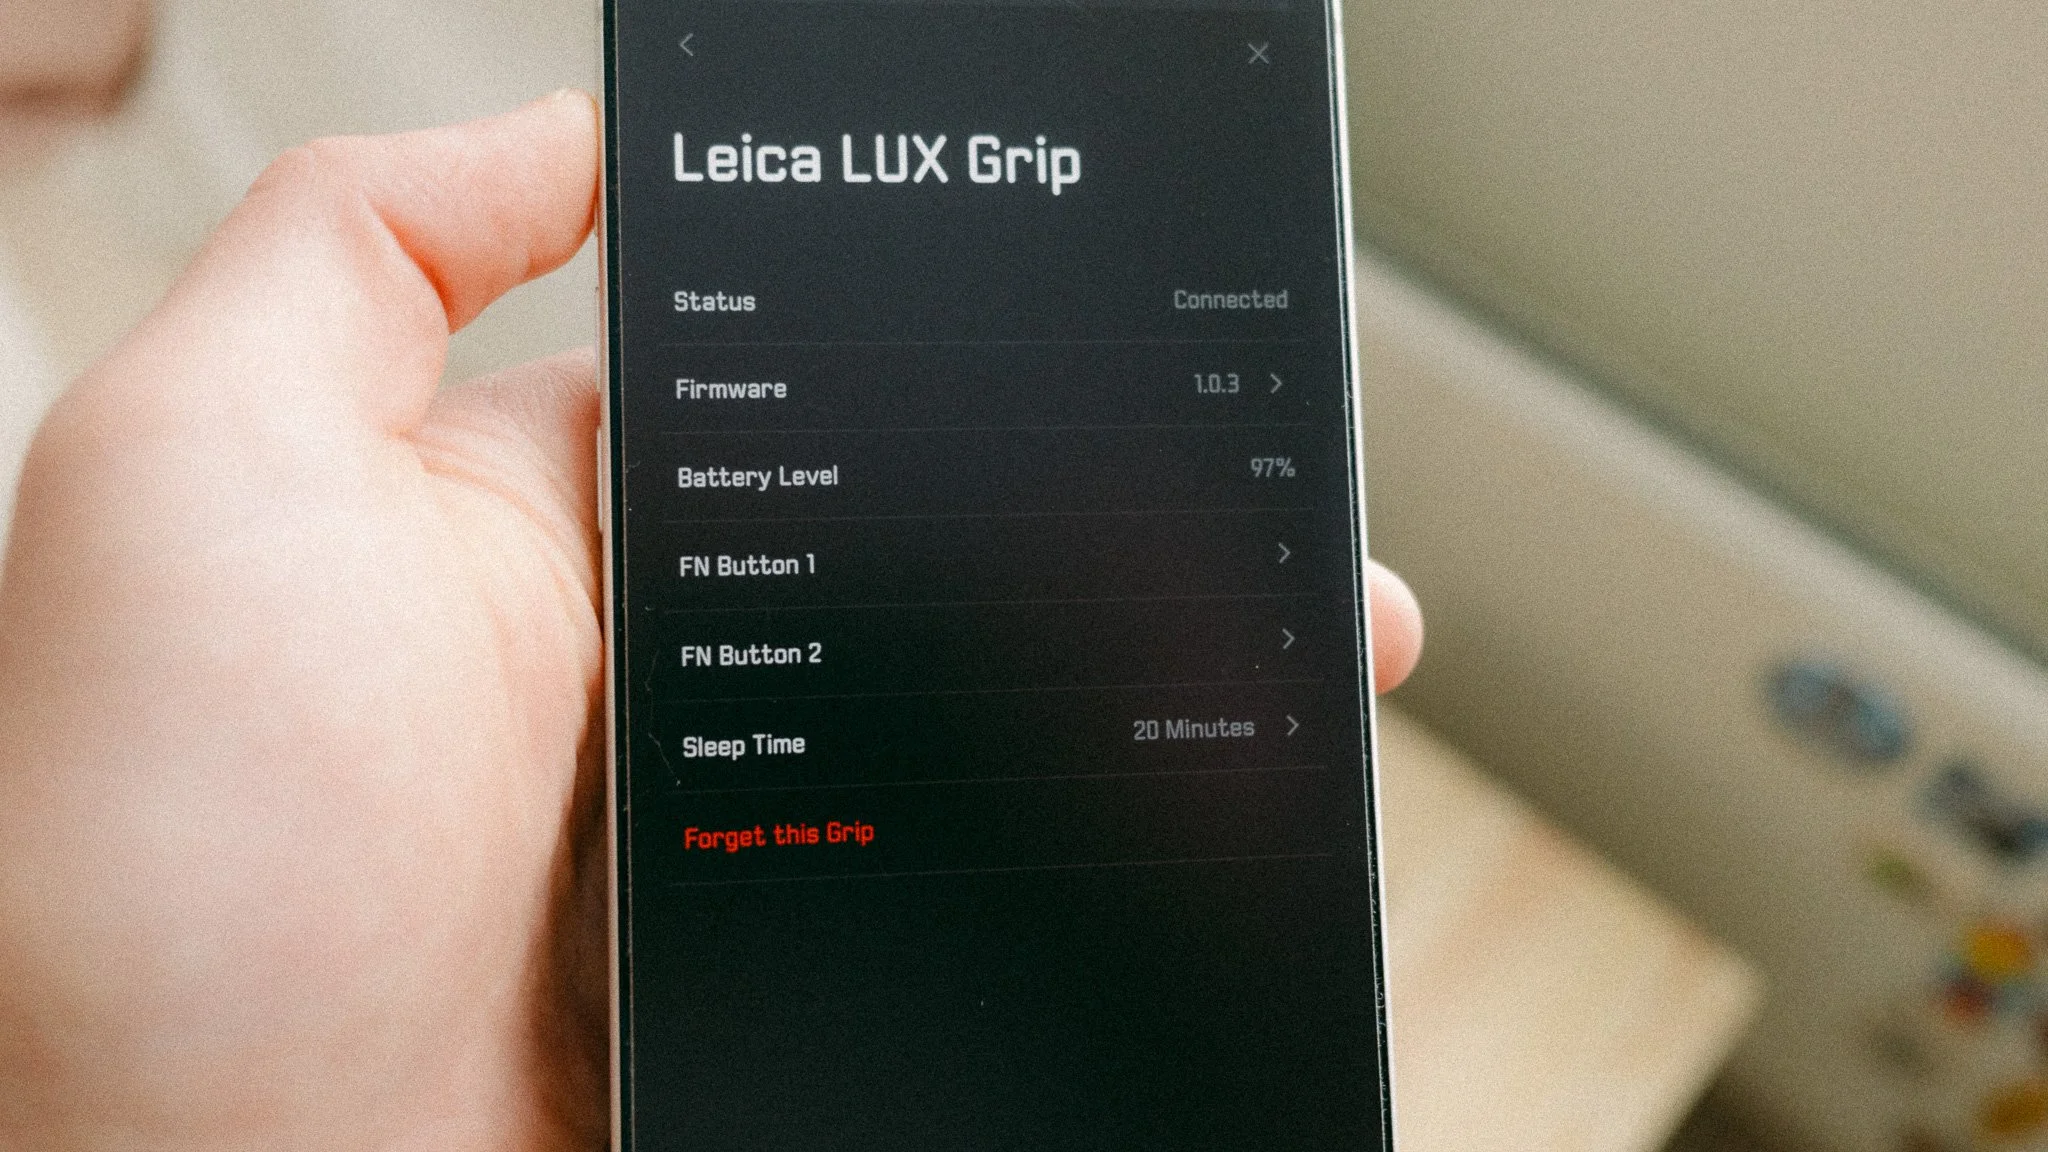
Grip Settings
Now let’s look at grip settings. To adjust them, you first need to pair and connect the grip, and then head into Leica LUX Grip menu. I use the FN Buttons to cycle through the lenses as it makes the most sense given I often need to change them in a hurry. The sleep time is set to 20 minutes.
FN Button 1 - Cycle Through Lenses (Forward)
FN Button 2 - Cycle Through Lenses (Backwards)
Sleep Time - 20 Minutes
Grip vs No Grip
I’ve used this app equally on its own, as well as with the grip, and honestly I can’t say one is better than the other. I think the grip makes a huge difference to dedicated photography outings. It makes the process more enjoyable, ergonomic, and effective. Basic tasks such as locking the focus and exposure are more efficient with the grip. Being able to cycle through the lenses using the Fn buttons and adjust the exposure using the dial are also nice. However, the grip adds bulk and you no longer have a device that slides into your pocket. While I don’t think the grip is essential, it does unlock the full potential of the app.
If you wish to give the app a go, please use the following link. It won’t cost you any extra, but it would tell Leica that people have come from me. Thank you! https://download.leicalux.app/rf0420