How I use DJI Action 6 & Osmo Nano For Travel & YouTube
In this blog I will share how I use DJI’s two action cameras for documenting my travels as well as making YouTube videos. I find it utterly staggering the level of quality you get from these devices, and how you can run a very successful YouTube channel based on these two cameras. I am referring to the DJI Action 6 and DJI Osmo Nano.

Use Case
There are 100s of different use cases for the DJI Action 6 and Nano. This blog is aimed at vlogging, travel, and documenting your life, as this is what I use these cameras for. Lastly, this blog only focuses on video.
Why Both?
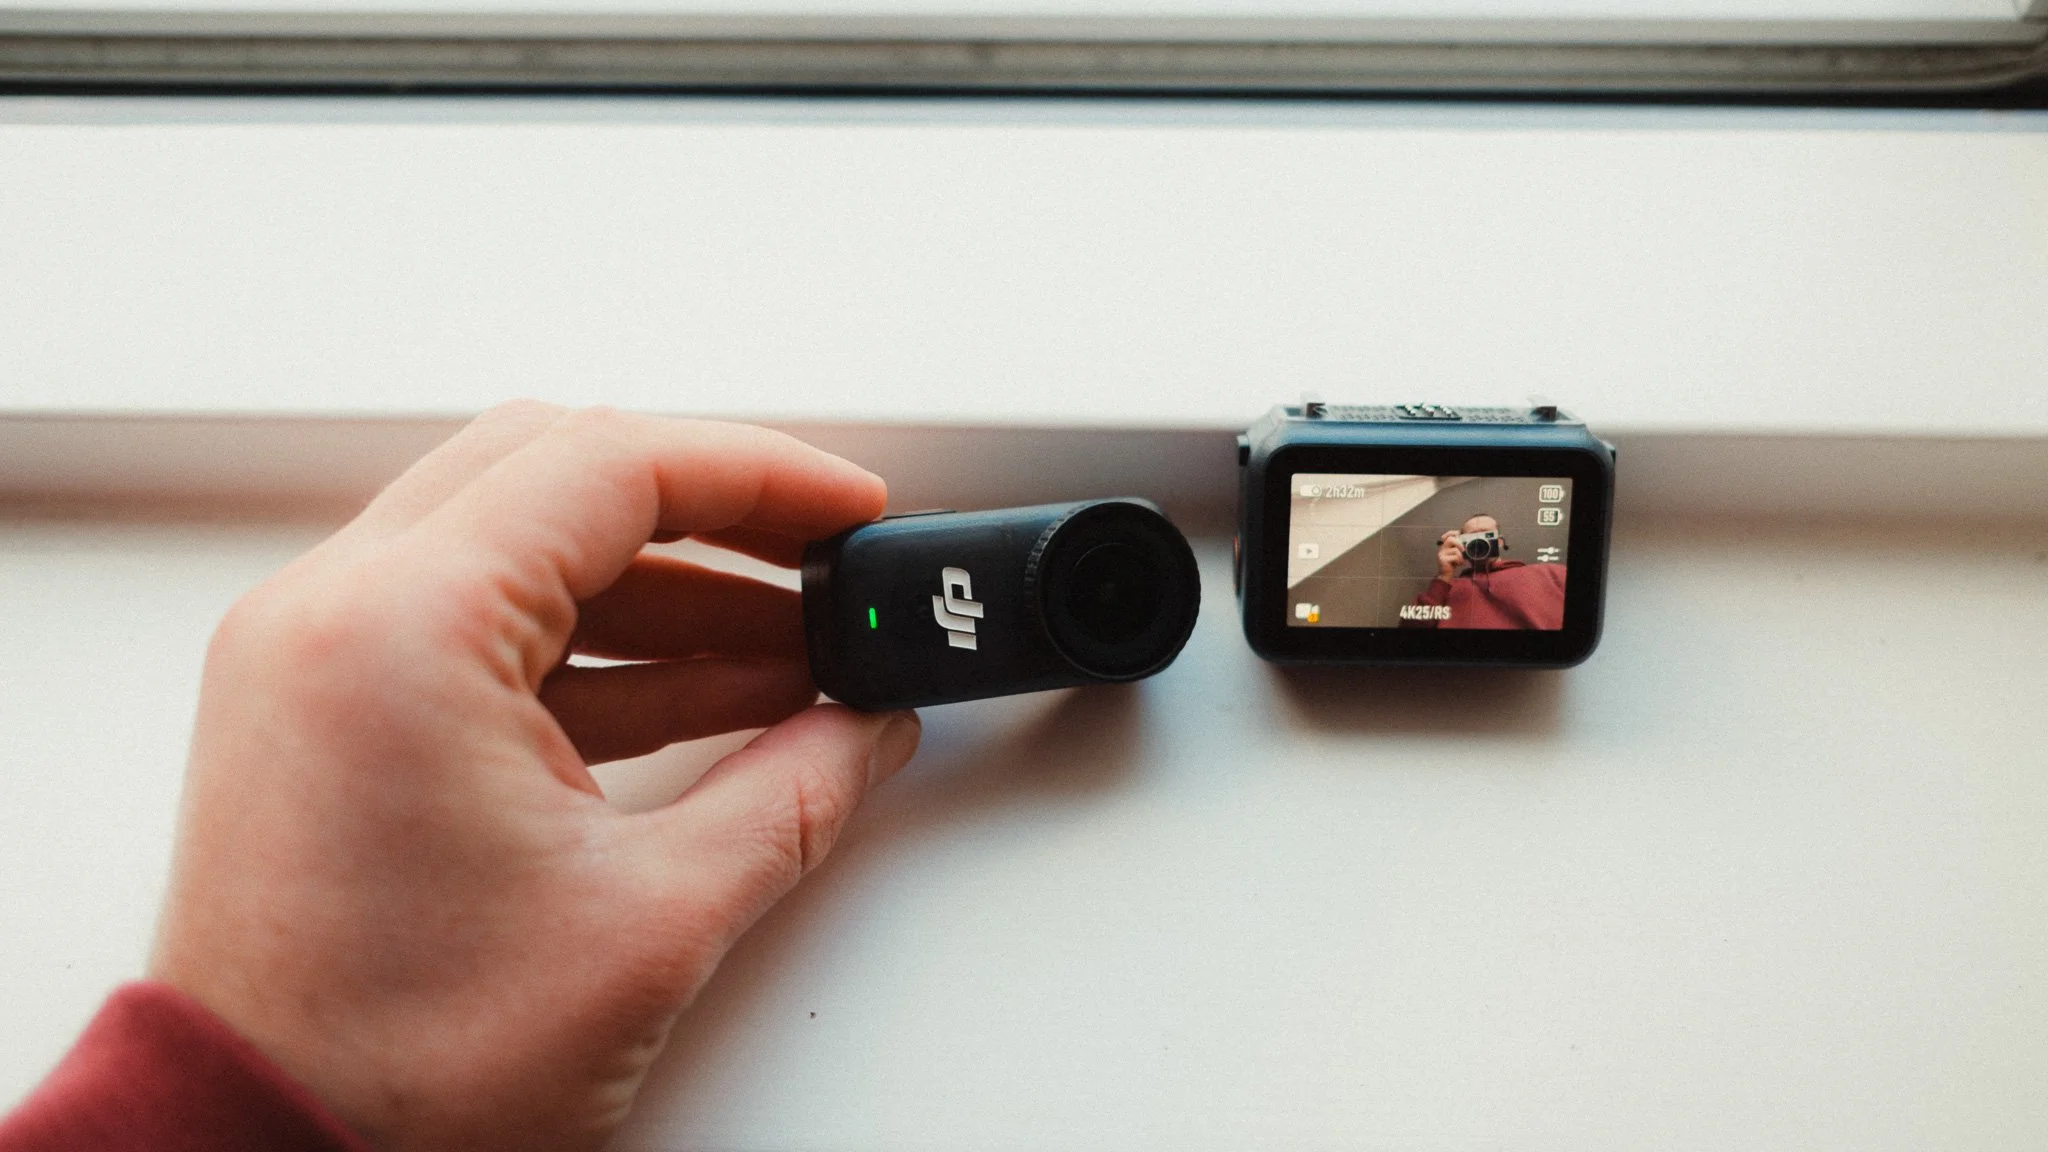
I have both cameras because even though there is a lot of crossover, they serve two different purposes. The Action 6 is my “A-Cam”, in other words my primary camera that I use for vlogging, talking heads, and the majority of the footage.
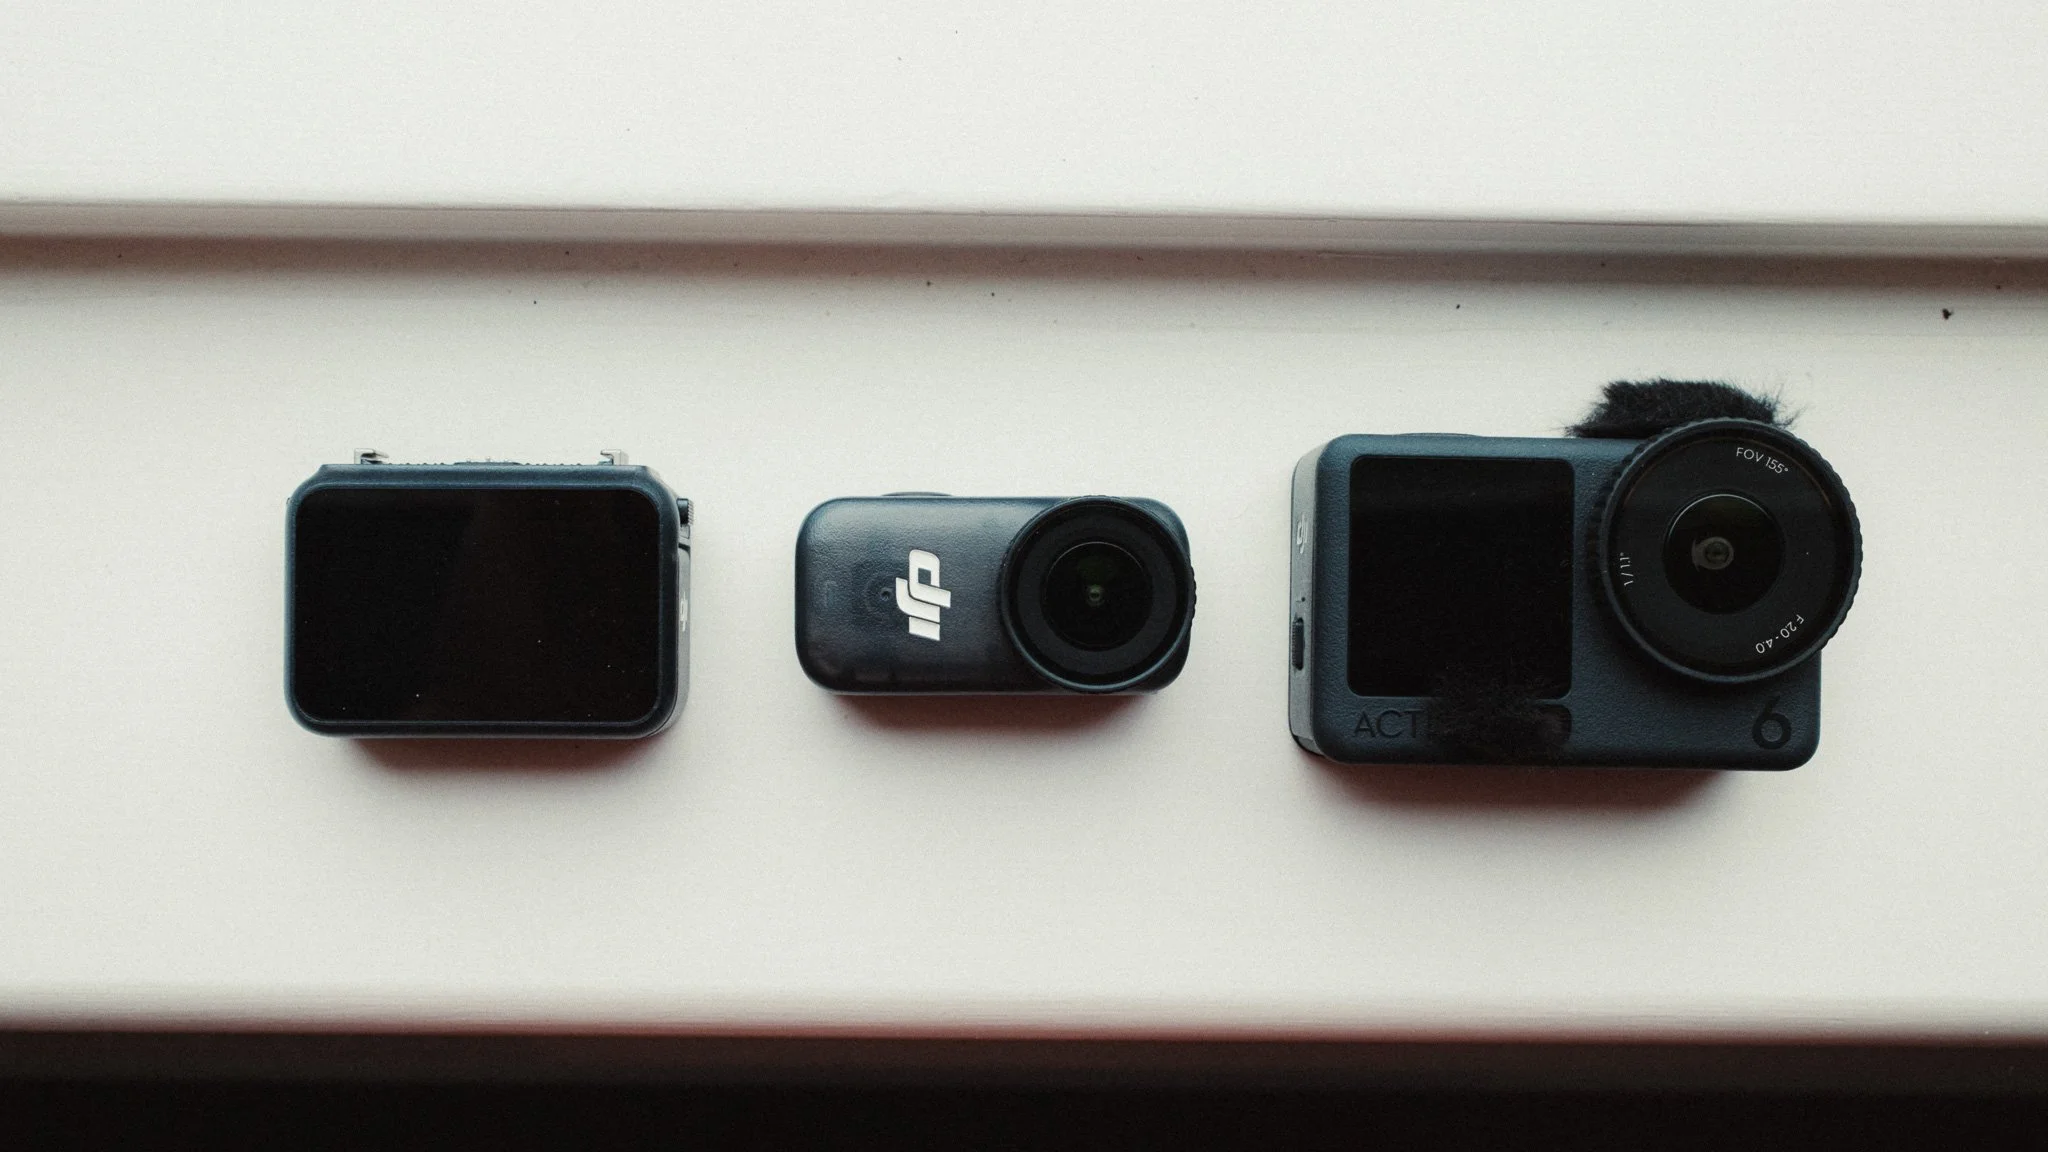
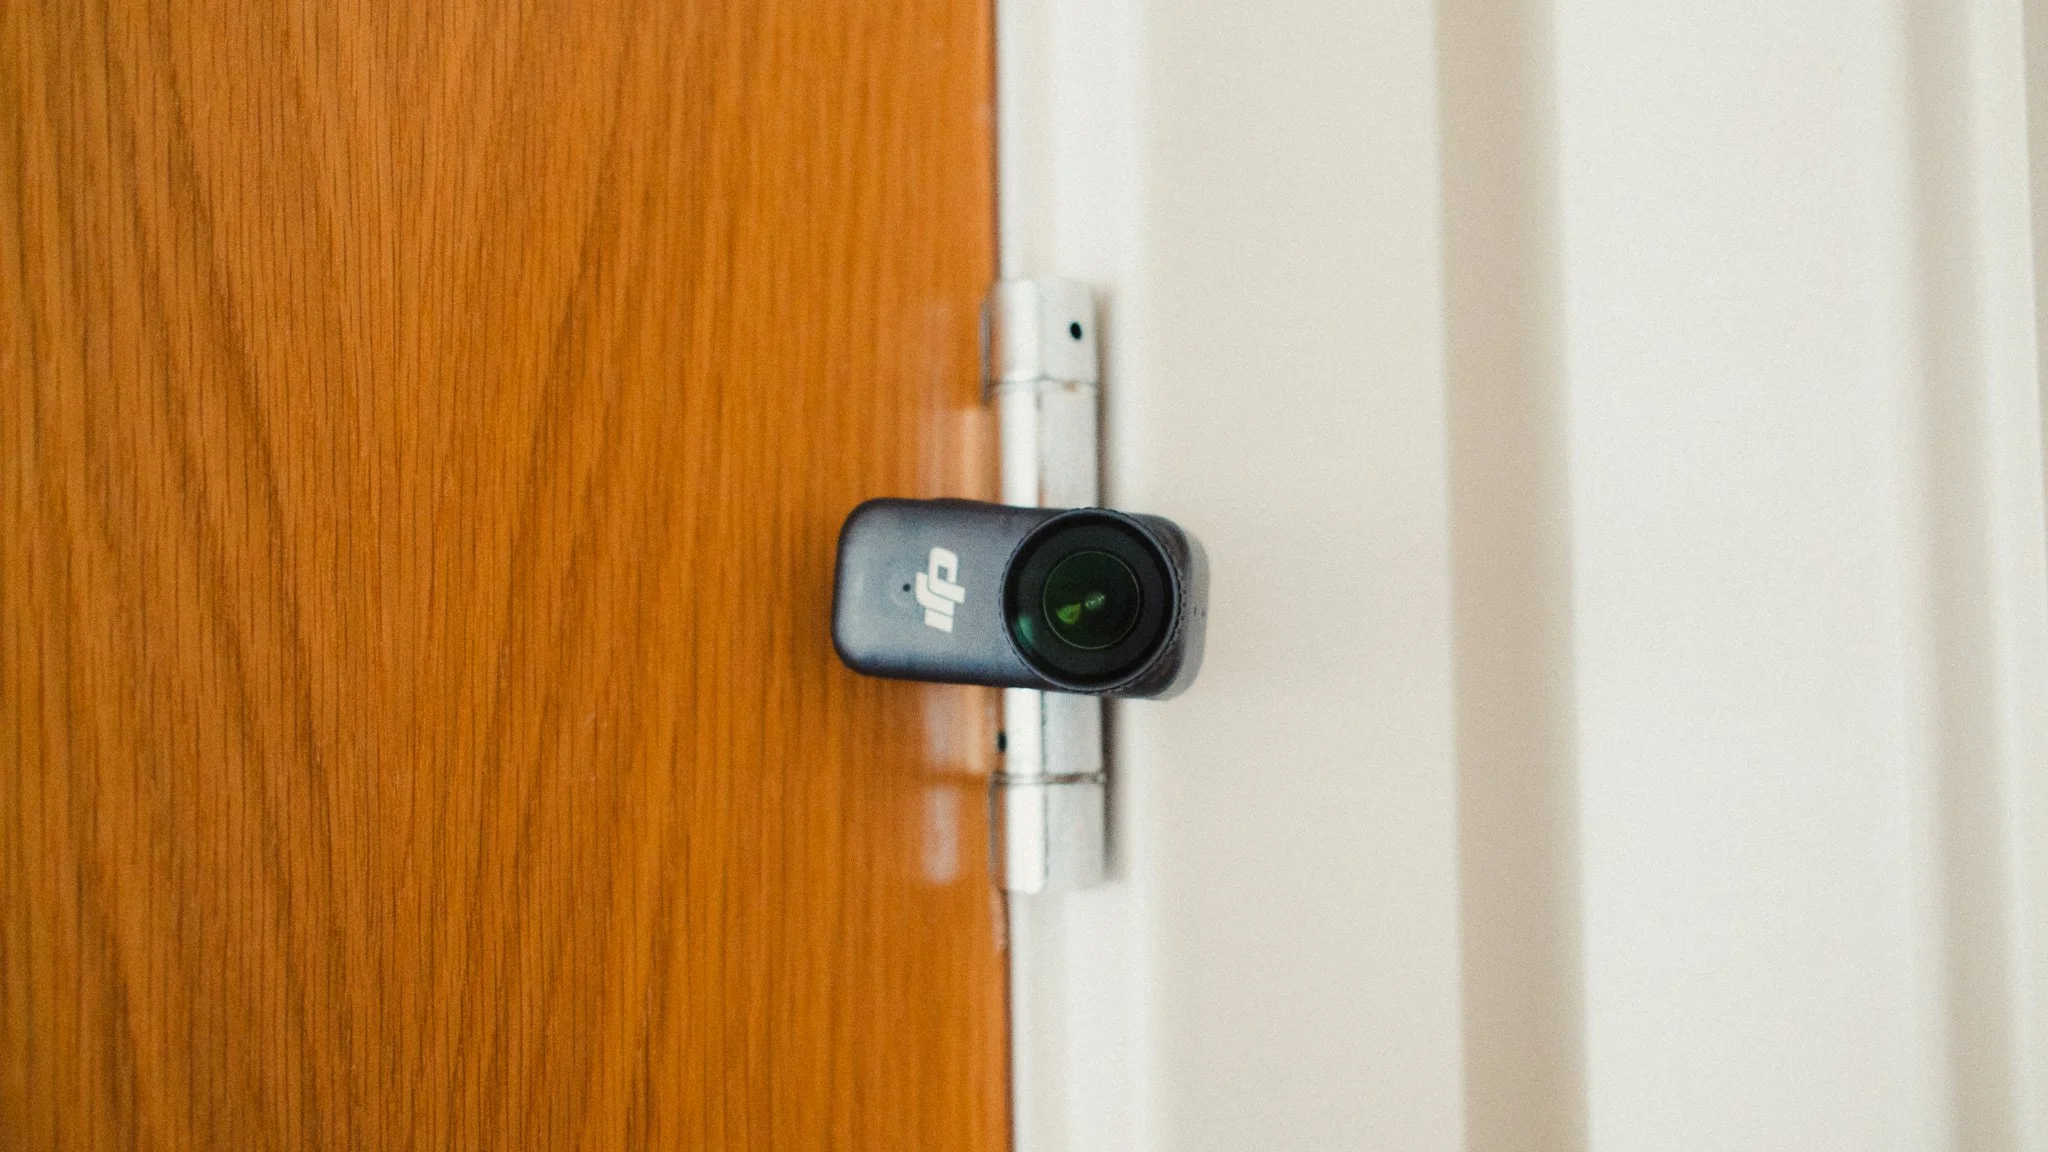
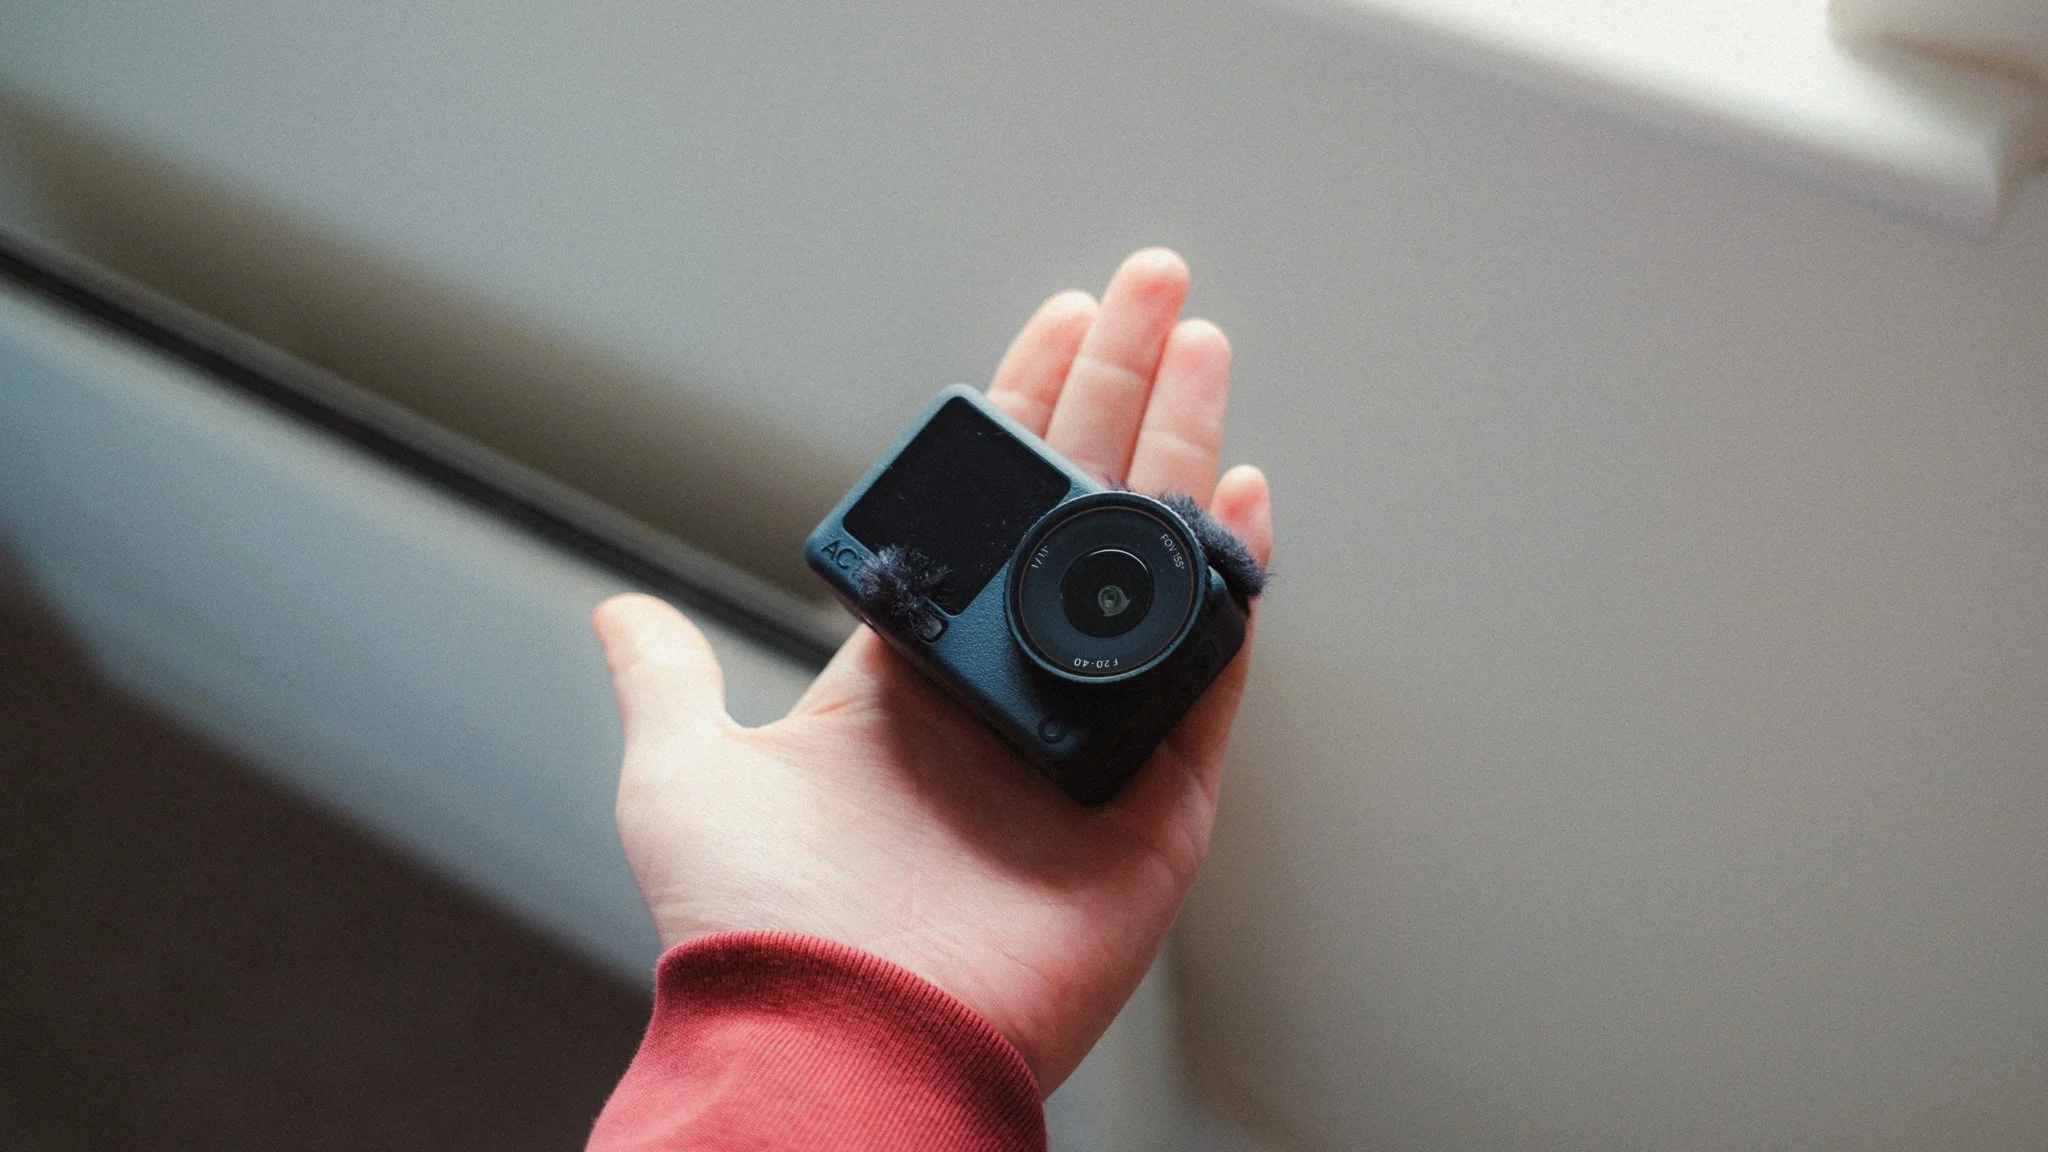
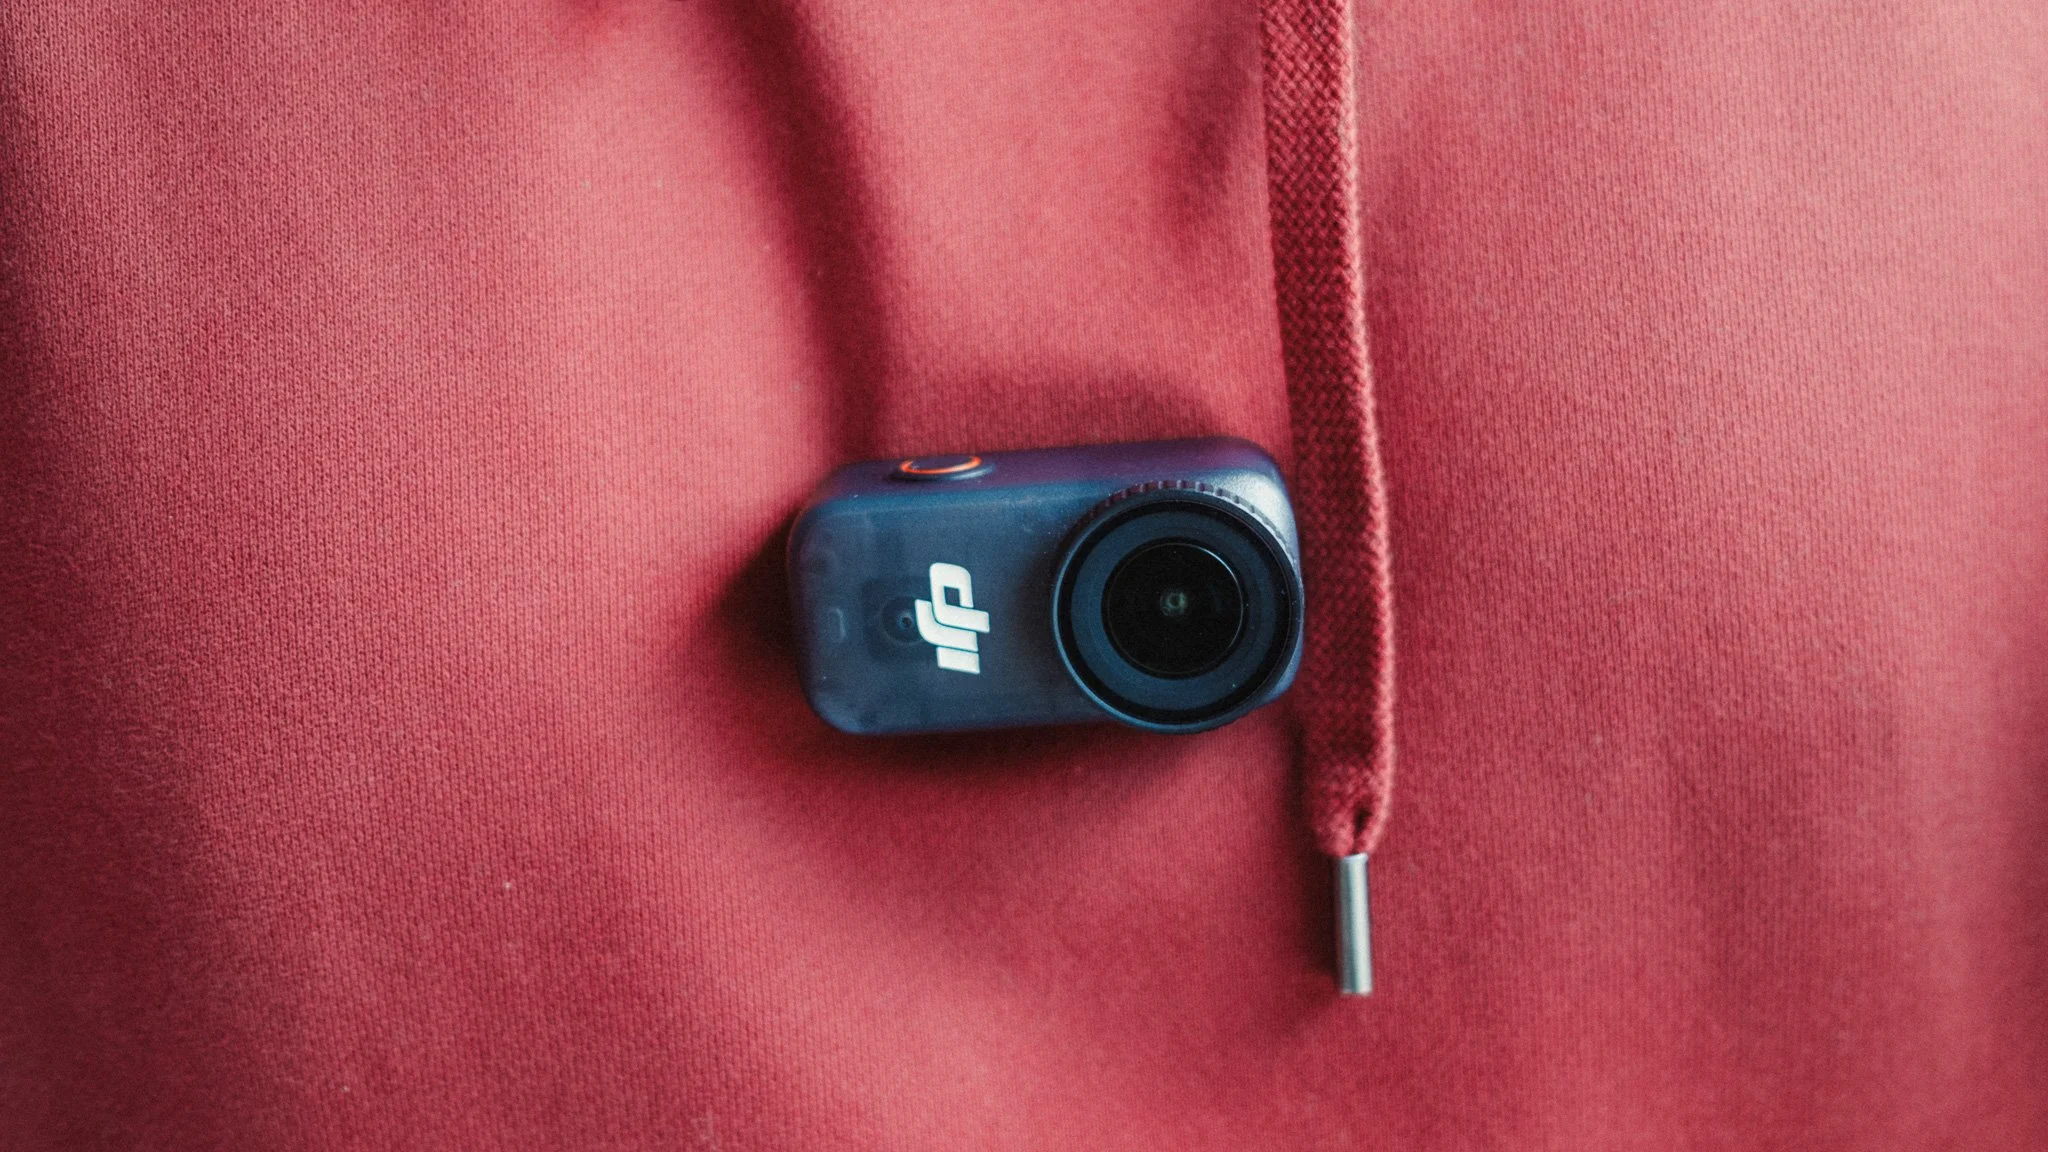
The Osmo Nano is my “B-Cam”, which is used specifically for getting video of me. Given how small the Nano is, I can magnetically stick it to random surfaces in the city and not worry about theft or people seeing it. I can then get footage of me or of the location in a discreet way that doesn’t bruise the scene.
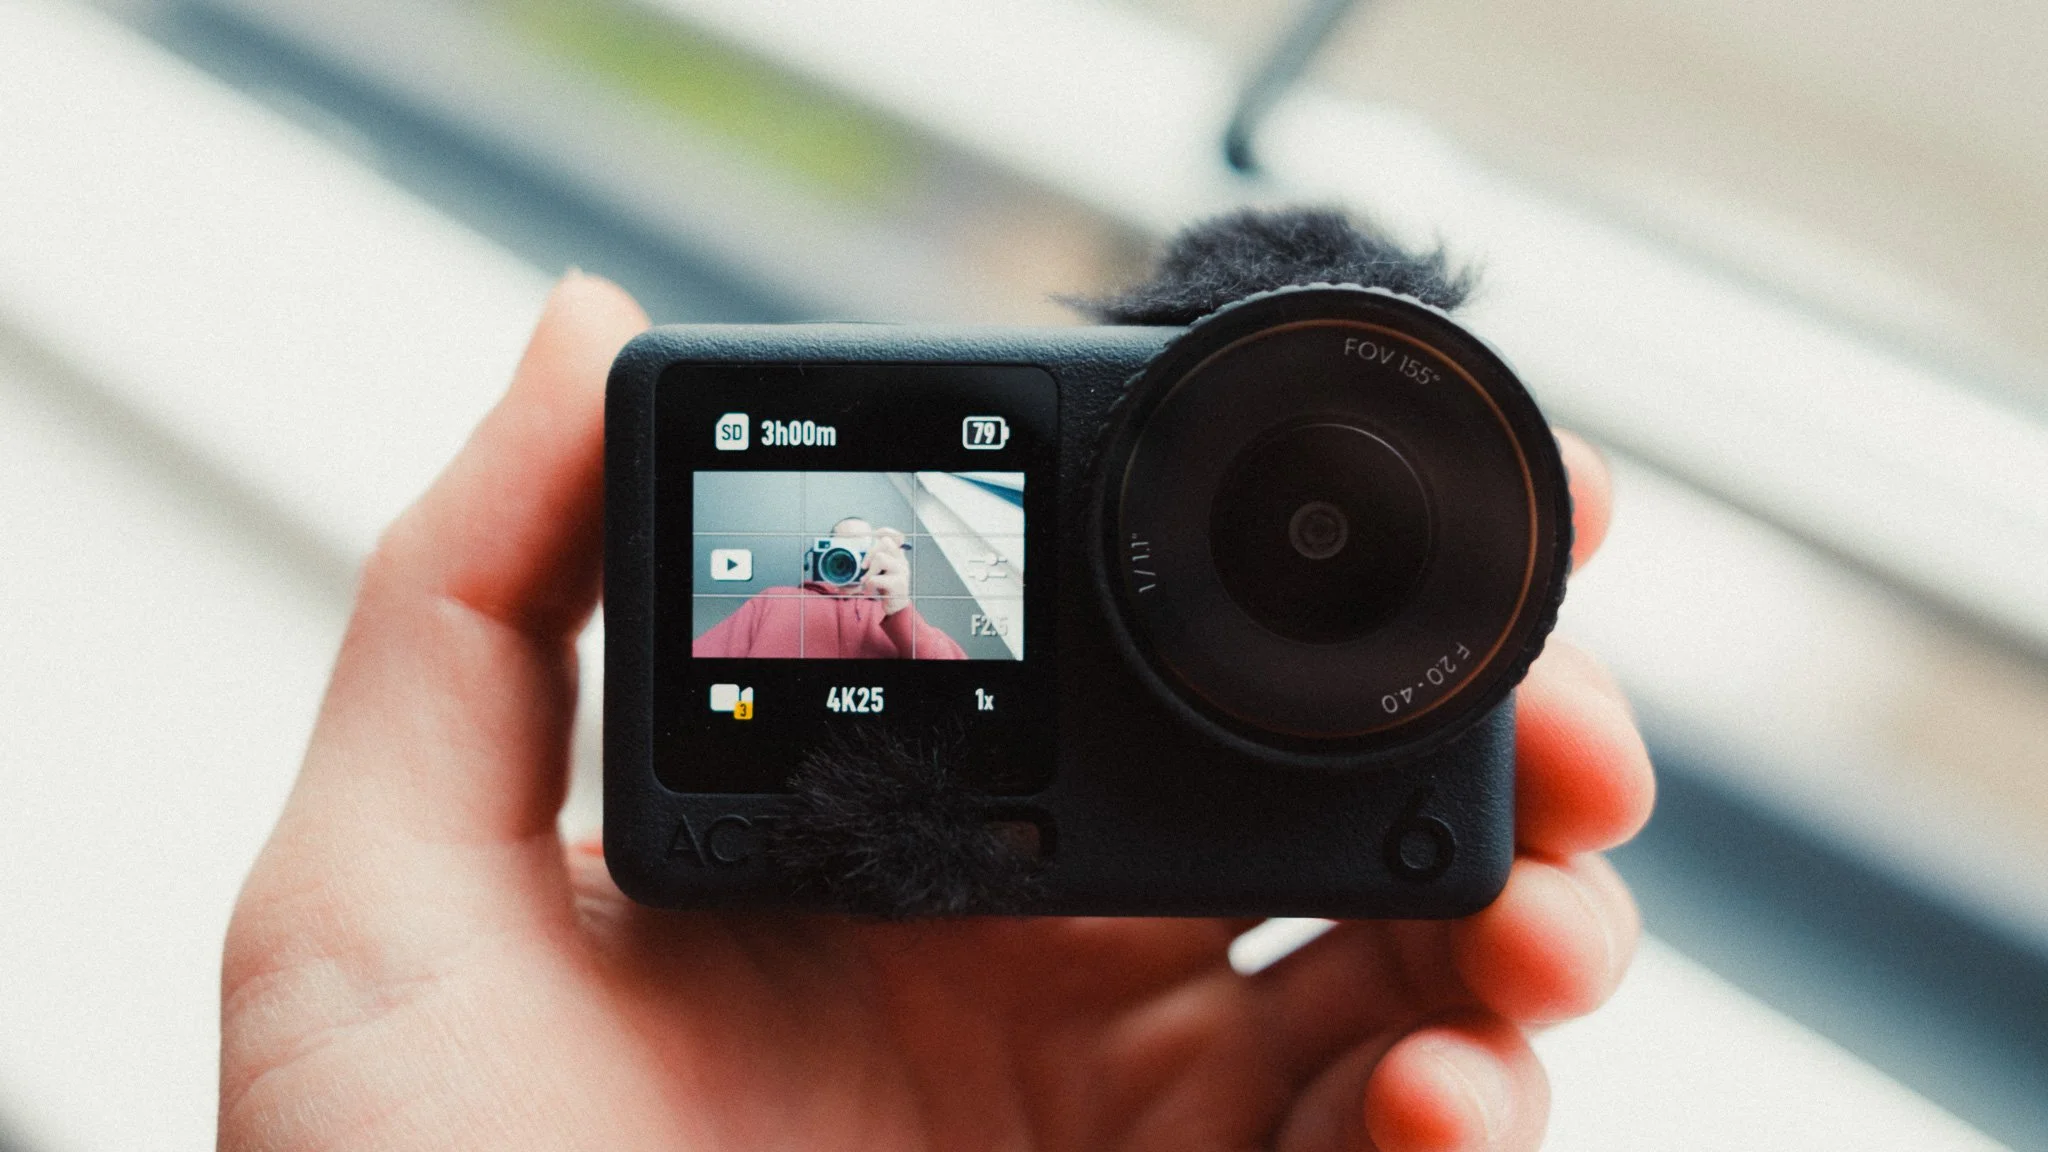
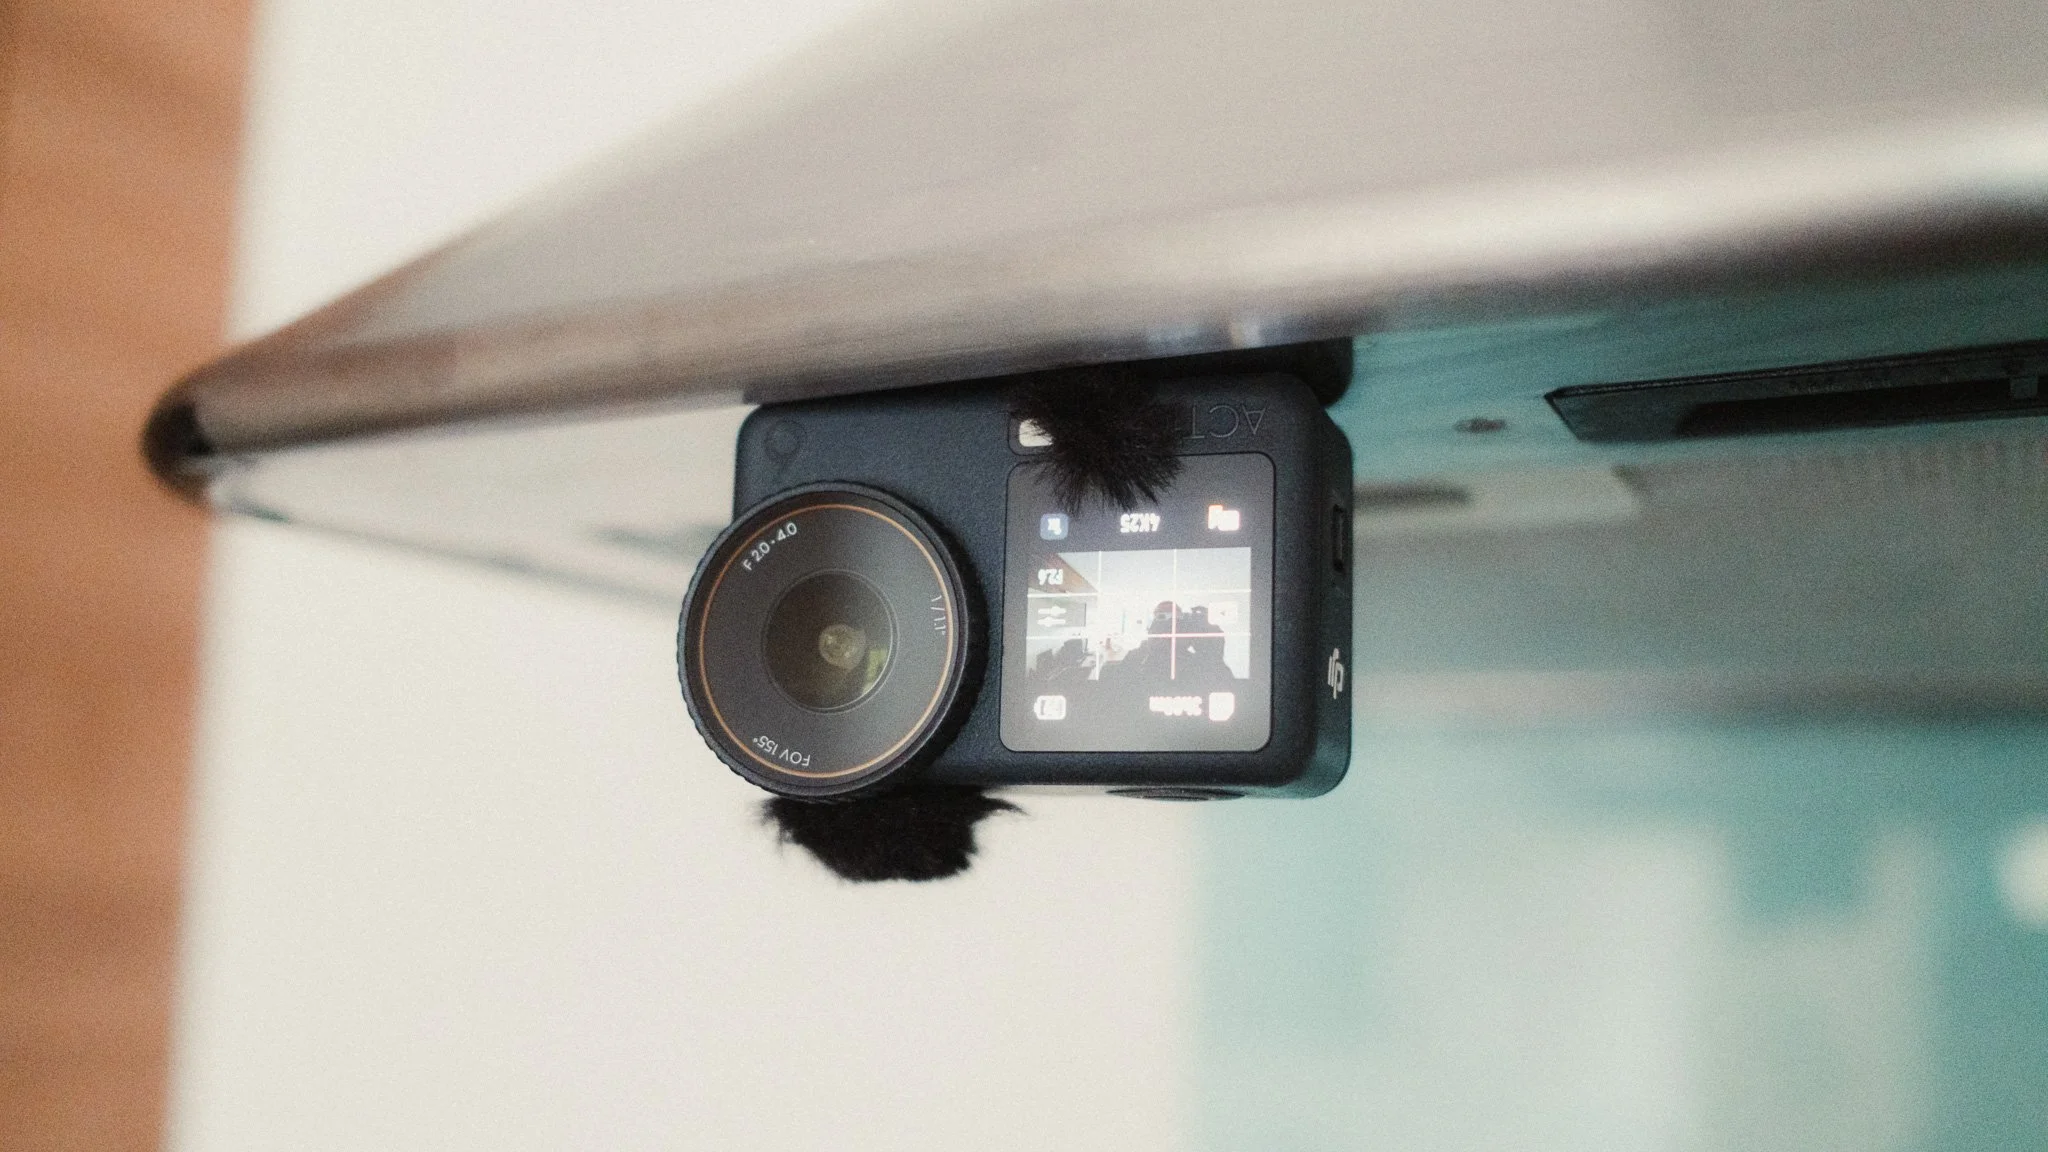
The Nano also acts as a backup camera in case something happens to the Action 6, and lastly the Nano is great for getting unique angles due to its size. The Action 6 however is much more useful as a camera given its screens, larger sensor, variable aperture, and more options. The final advantage to using both is the shared accessory ecosystem.
Most Used Accessories
While you can achieve almost everything with just the cameras, there are some accessories that I feel elevate the experience and usability of these cameras.
DJI Mic 2 - Great for scenarios where you need to capture audio far away from the camera. Also good for interviews, and getting the best sound quality.
Wind socks - You can buy these cheap stick on wind socks to help reduce wind noise when filming outside.
Small power bank - Both cameras have fast charging, so a power bank is a must have accessory. I use Anker Nano but they all do the same thing.
Good SD card - While both have internal storage, having a solid SD card is a must. Don’t cheap out unless you want to risk your footage.
ND filters - These aren’t essential but if you want the best possible footage, they are helpful.
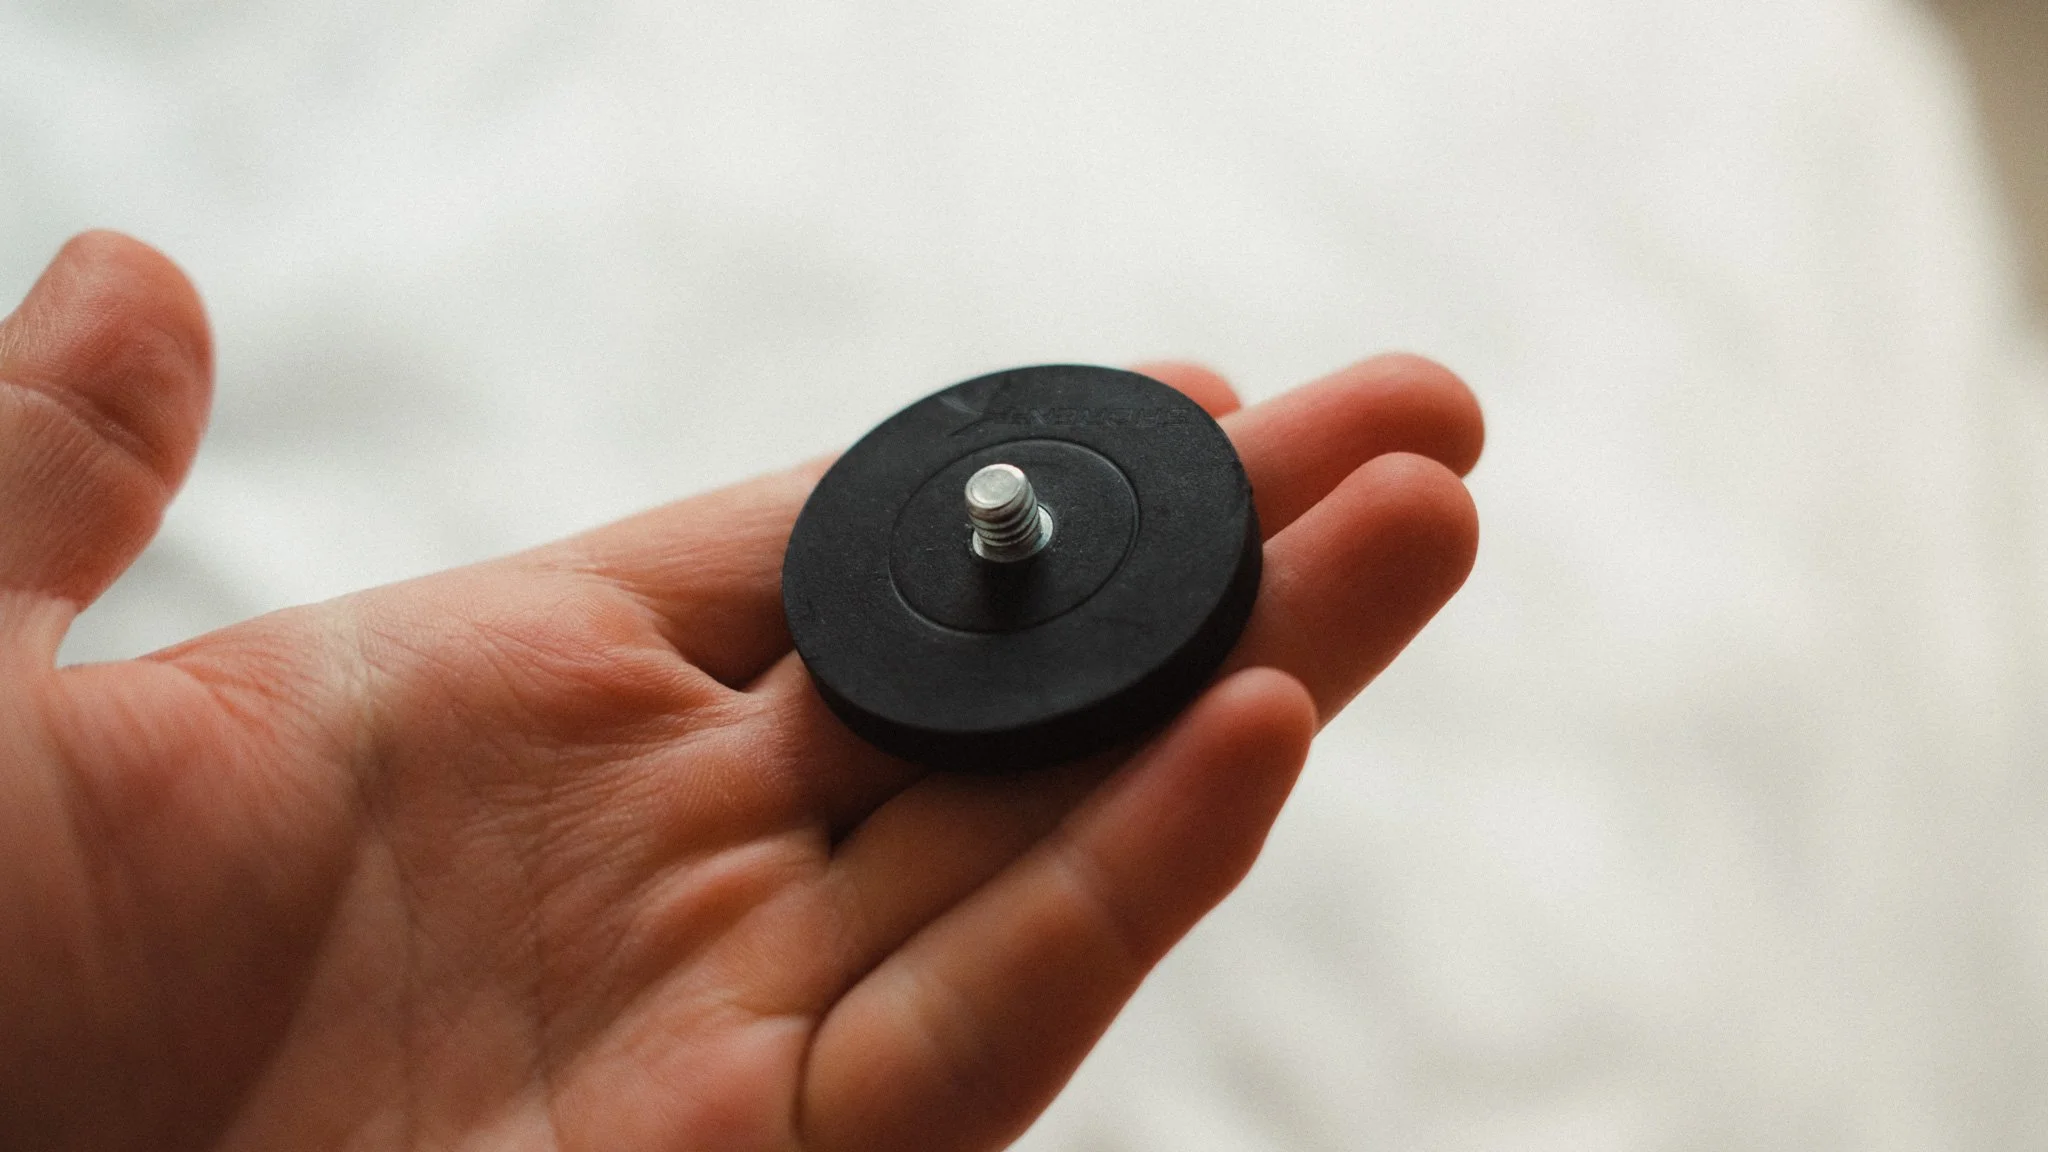
Selection of mounts - I have a magnetic mount with a ball head, suction cup, small tripod, clip mount, and a magnetic necklace mount. Having tried so many accessories, I found these to stand the test of time.
Resolution, Frame Rate & Stabilisation
I use two different aspect ratios. The first one is a traditional 16:9 which I use for YouTube or anytime I know that the likely output will be horizontal video.
The second aspect ratio I use is either the new 1:1 on the Action 6, or the 3:4 on the Nano. This gives me the most creative control over the composition and is ideal if I want to shoot for vertical and horizontal formats. In general I would say that 90% of the time I’m in 16:9. You can actually create custom profiles with different settings.
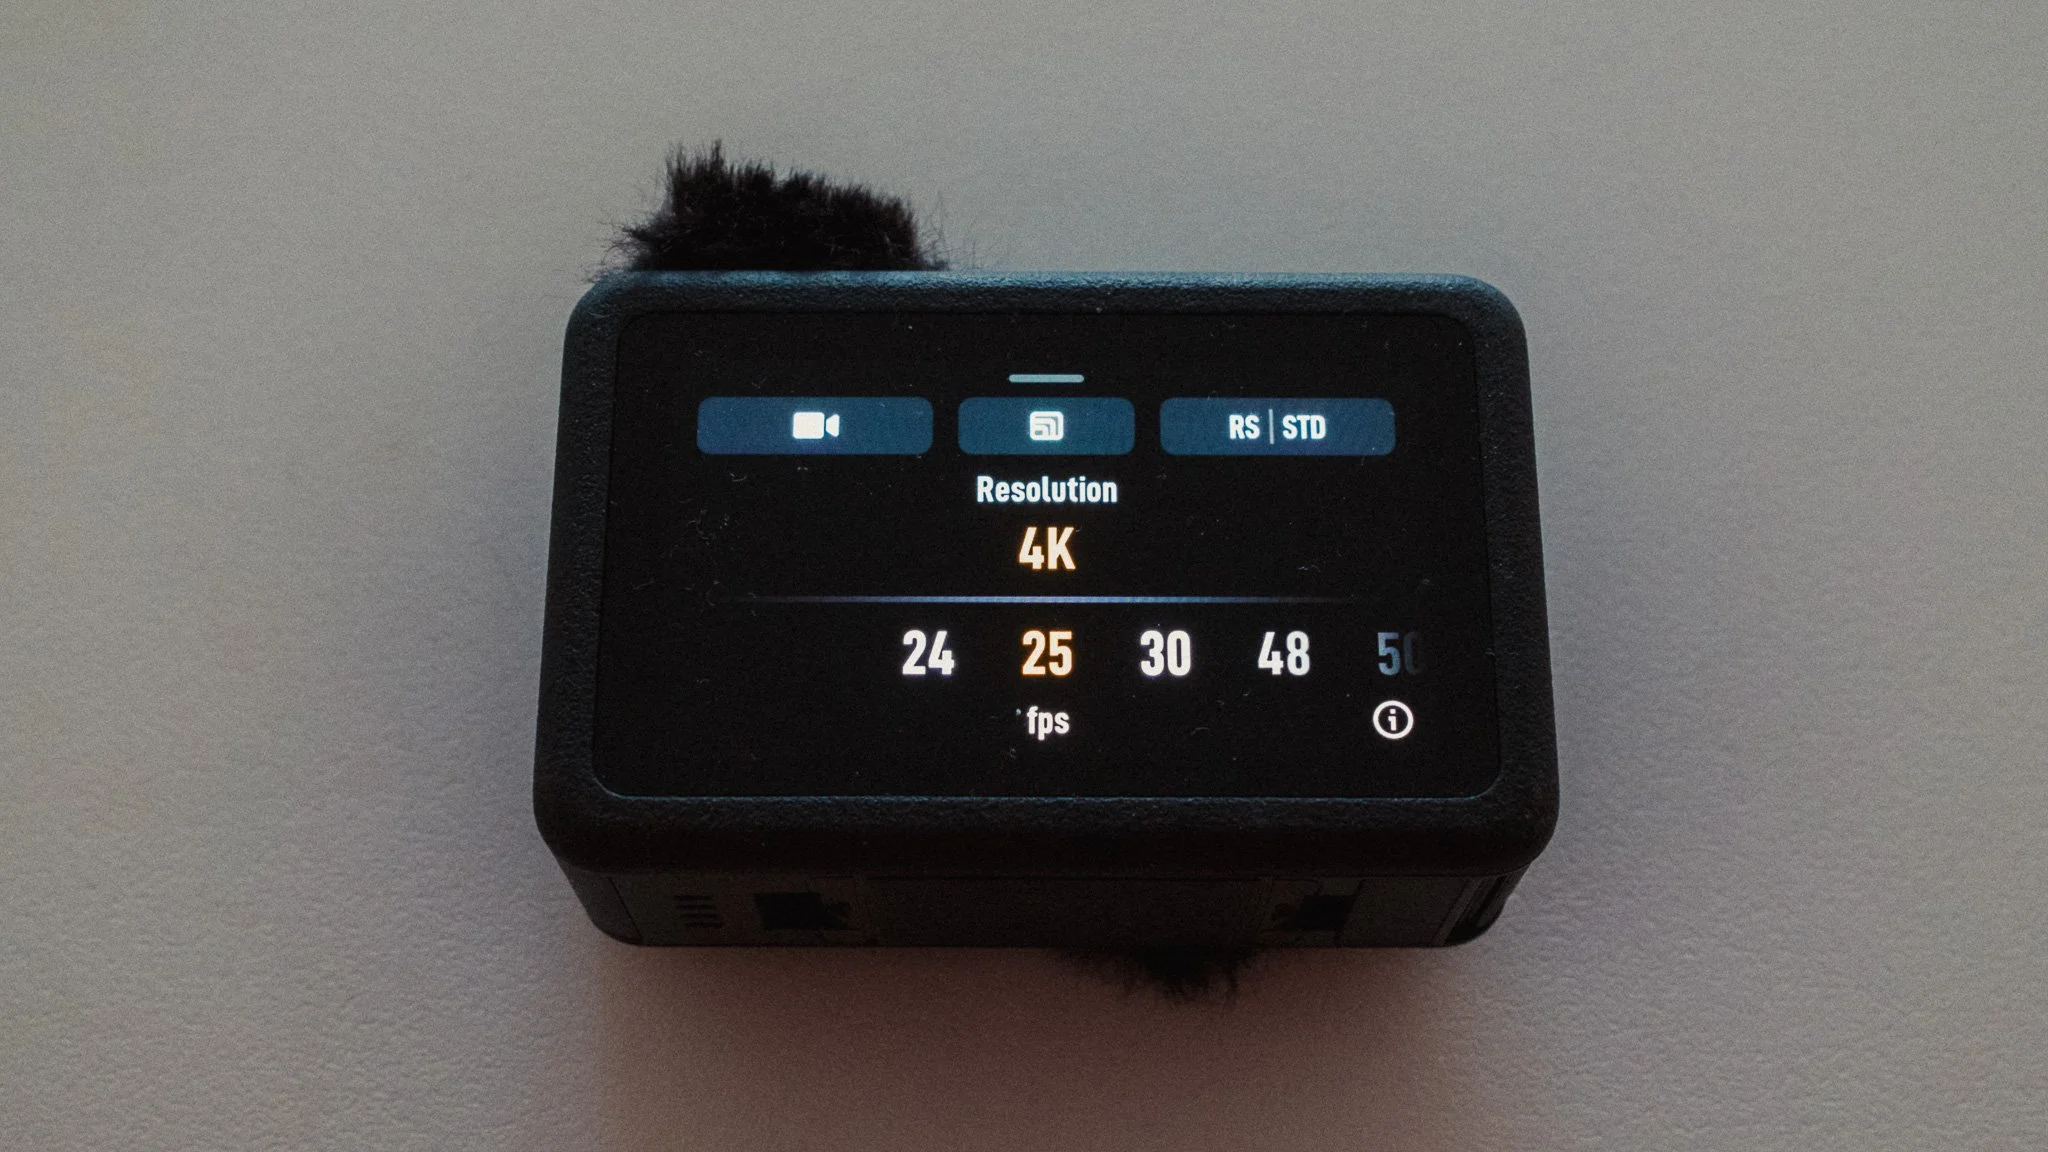
When it comes to frame rate, I shoot in 25p because I live in Europe where we run on 50Hz. In America, Japan, and some other parts of the world, you’d want to be in 24p. These two frame rates will give you the most cinematic looking footage. 30p will be a little smoother, while 50 / 60p will give the smoothest footage. I personally like how 25p looks the most, and this is an entirely subjective setting.
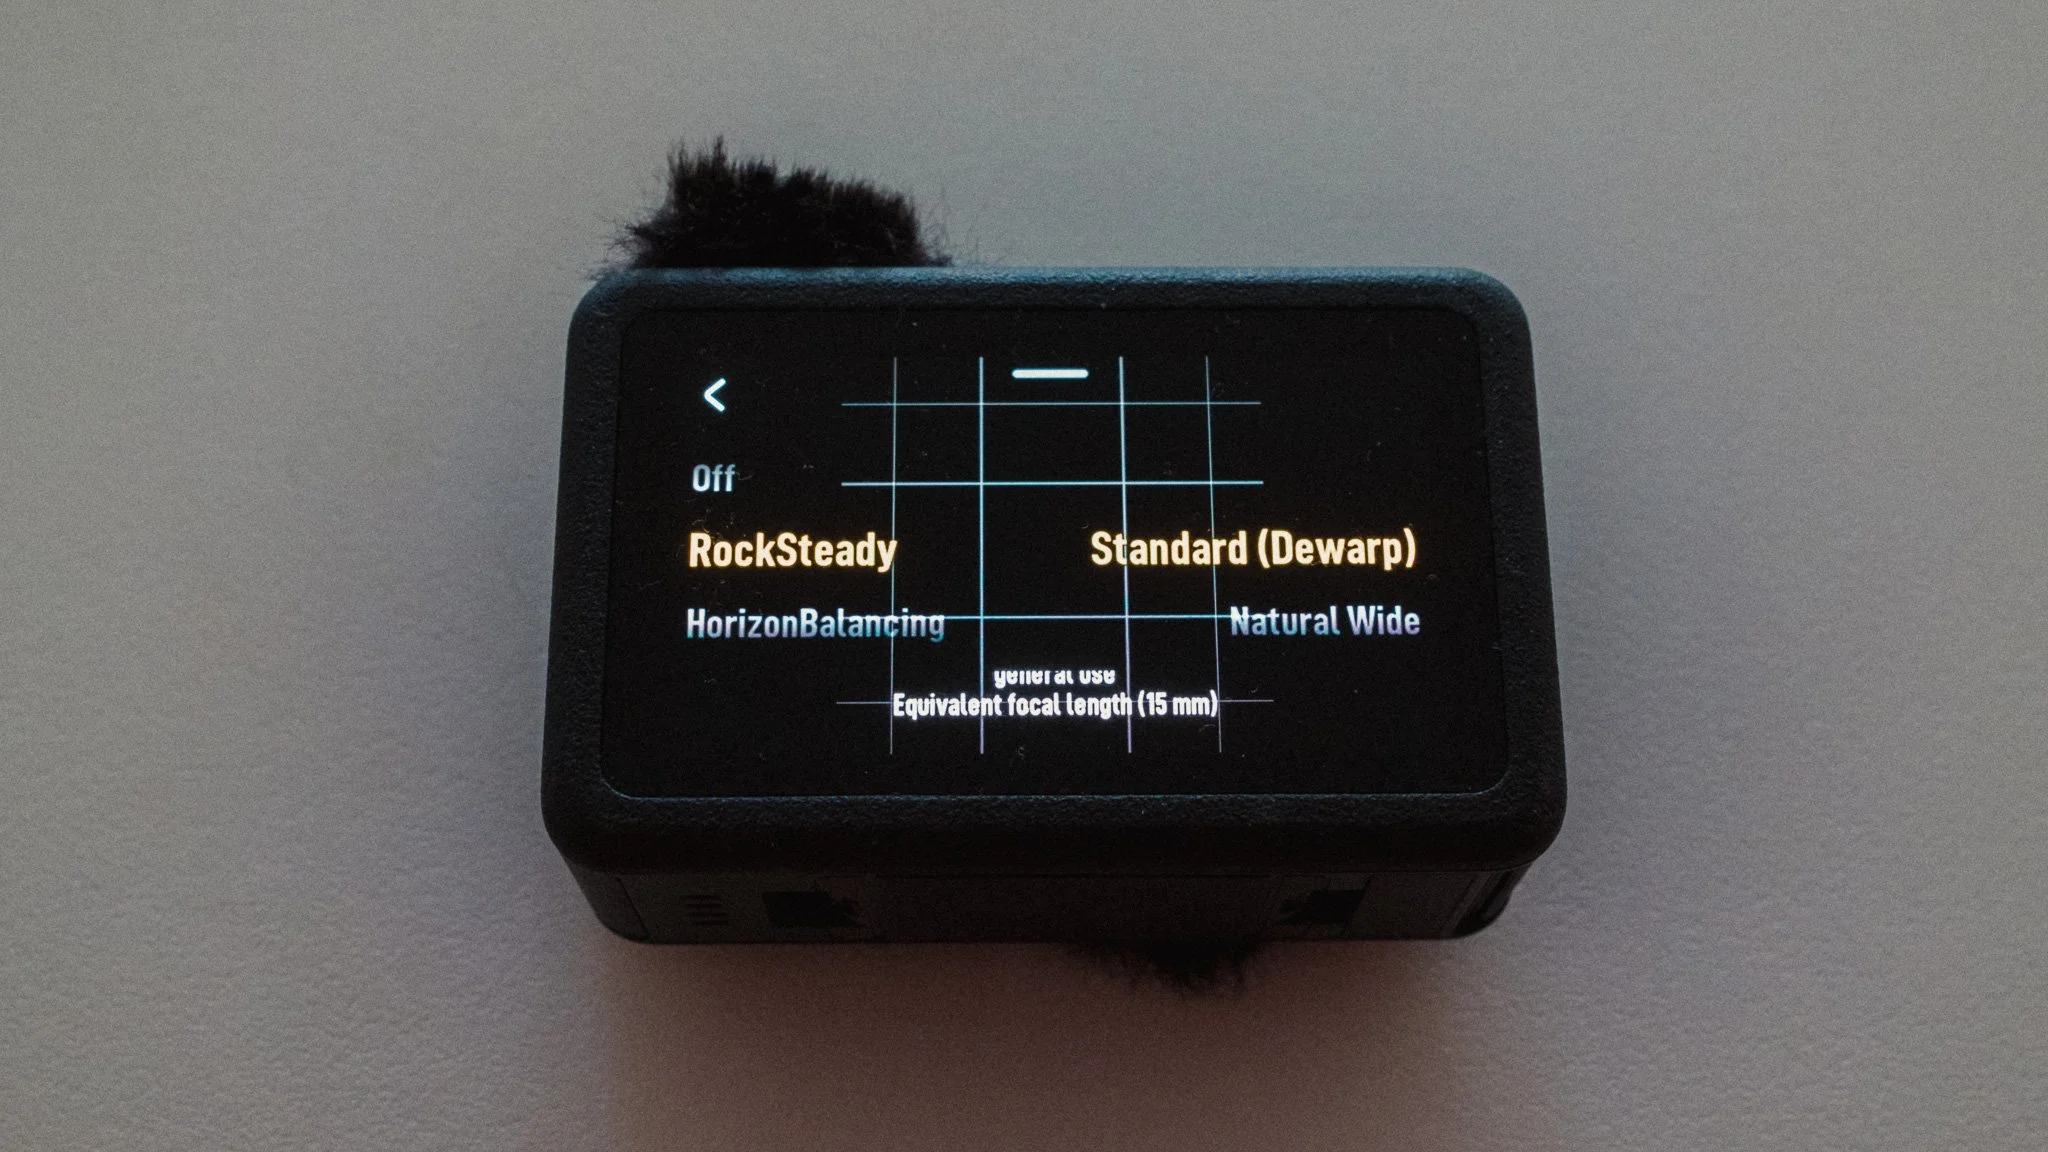
For stabilisation I use RockSteady along with Standard (Dewarp) mode. This gives me the most natural looking footage that doesn’t scream “action cam”.
Advanced Video Settings
The next thing to adjust is the more advanced video specific features that can be found by tapping on the settings icon on the right side of the screen. The first thing you must do is tap on the PRO button to enable the full list of options.
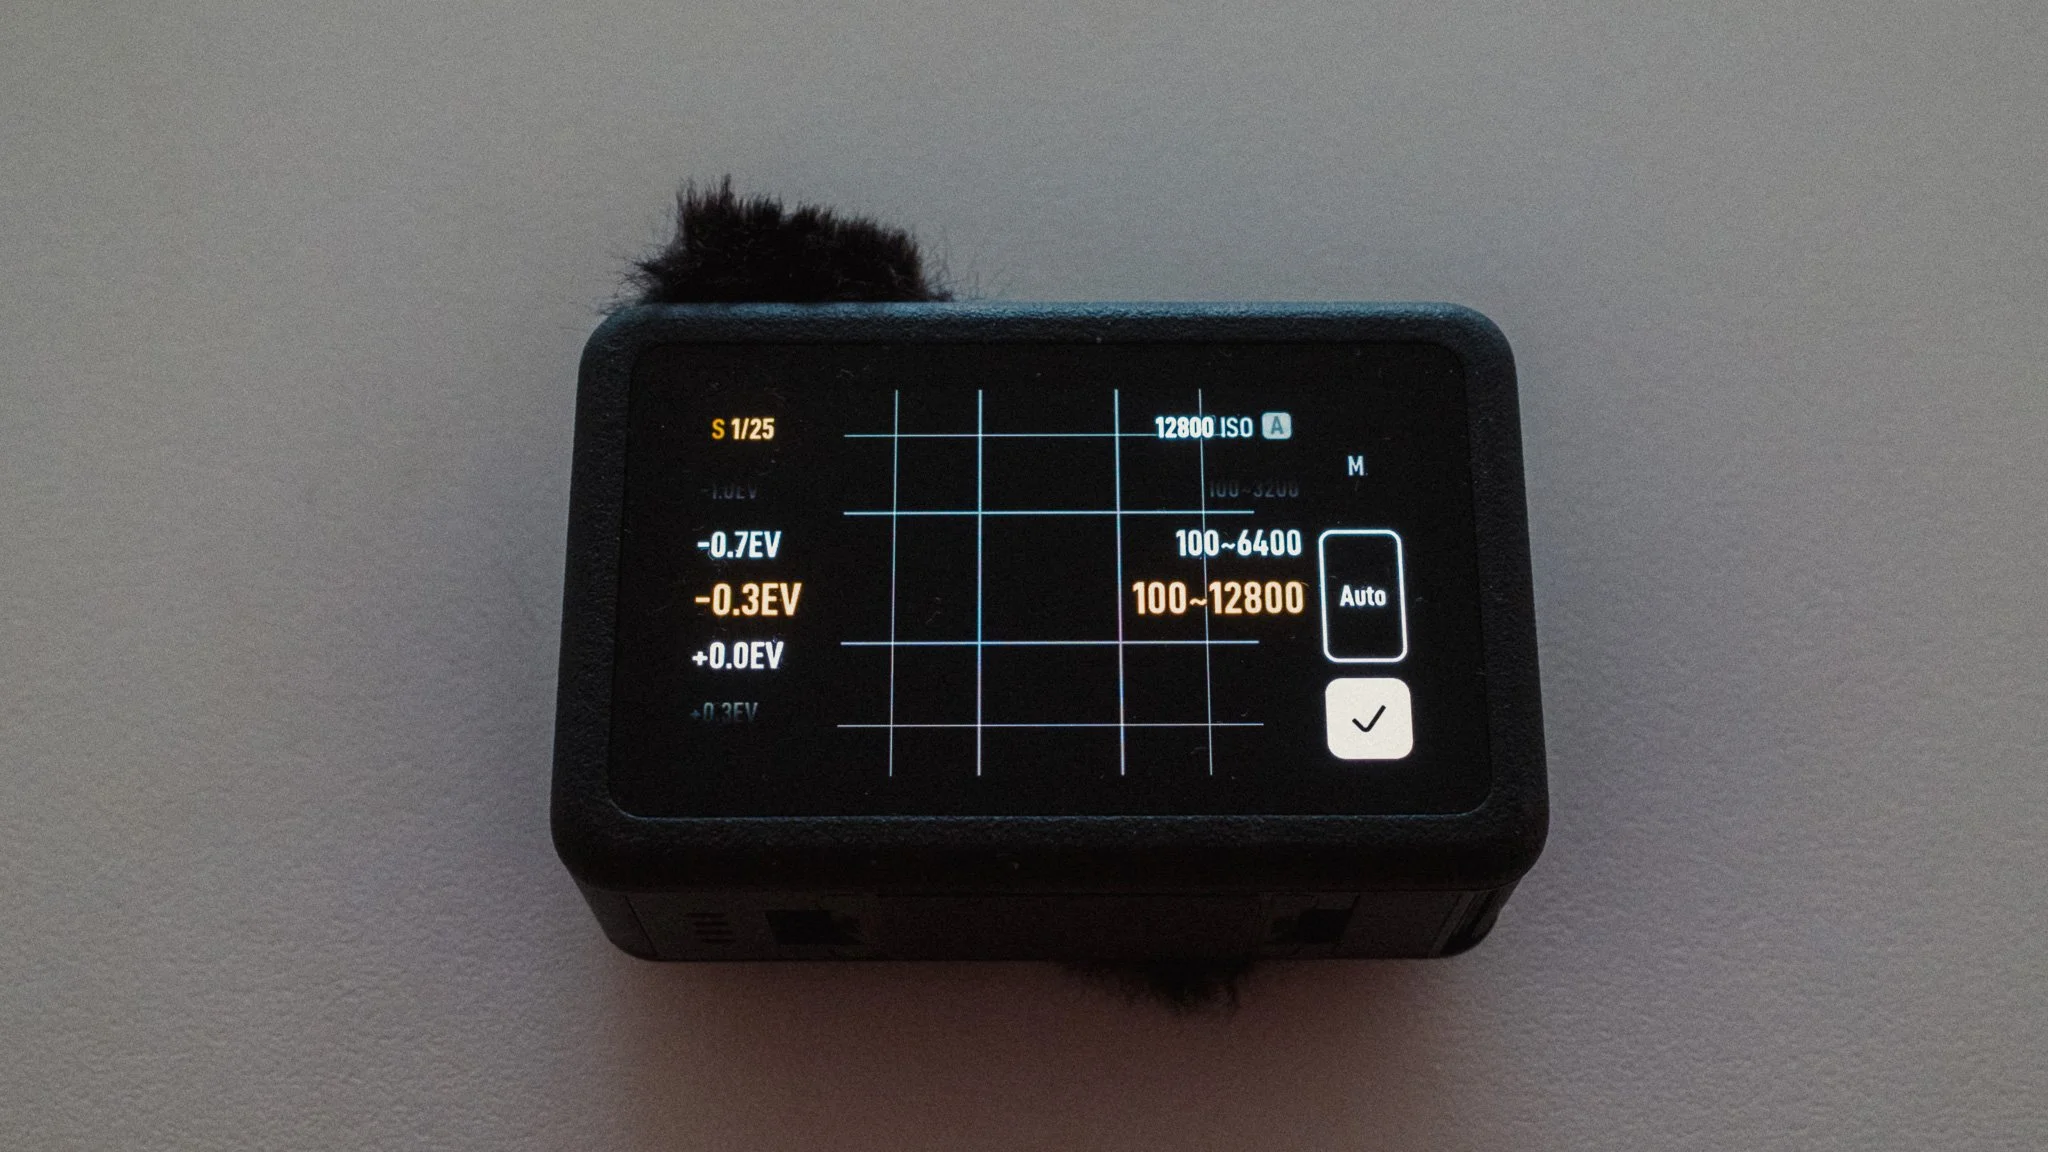
I set exposure to auto with a (-0.3EV) adjustment. I found that the default exposure is very bright, so by dropping it a touch, I get a more realistic looking image. ISO is set to Auto with a range of 100–12800.
I leave white balance on Auto for most scenarios as I find it to be accurate and reliable.
I set the colour to D-Log M 10bit to allow for colour grading and the best quality. If you don’t care for this, then you can leave it in Normal. However the D-Log profile is very good and with a good conversion LUT you can get some incredible results.
The final setting is called Image Adjustments where we need to make a few changes. Both texture and noise reduction are set to -2. I want the softest possible image out of the camera because I want to avoid that digital sharpening look that these cameras can be known for. I also don’t want any internal noise processing, as in most cases you will get better results removing noise in editing software like DaVinci.

Custom Profiles
You can create custom profiles for any combination of settings and save it as a shortcut. While there are endless possibilities, I have three saved that I often alternate between.
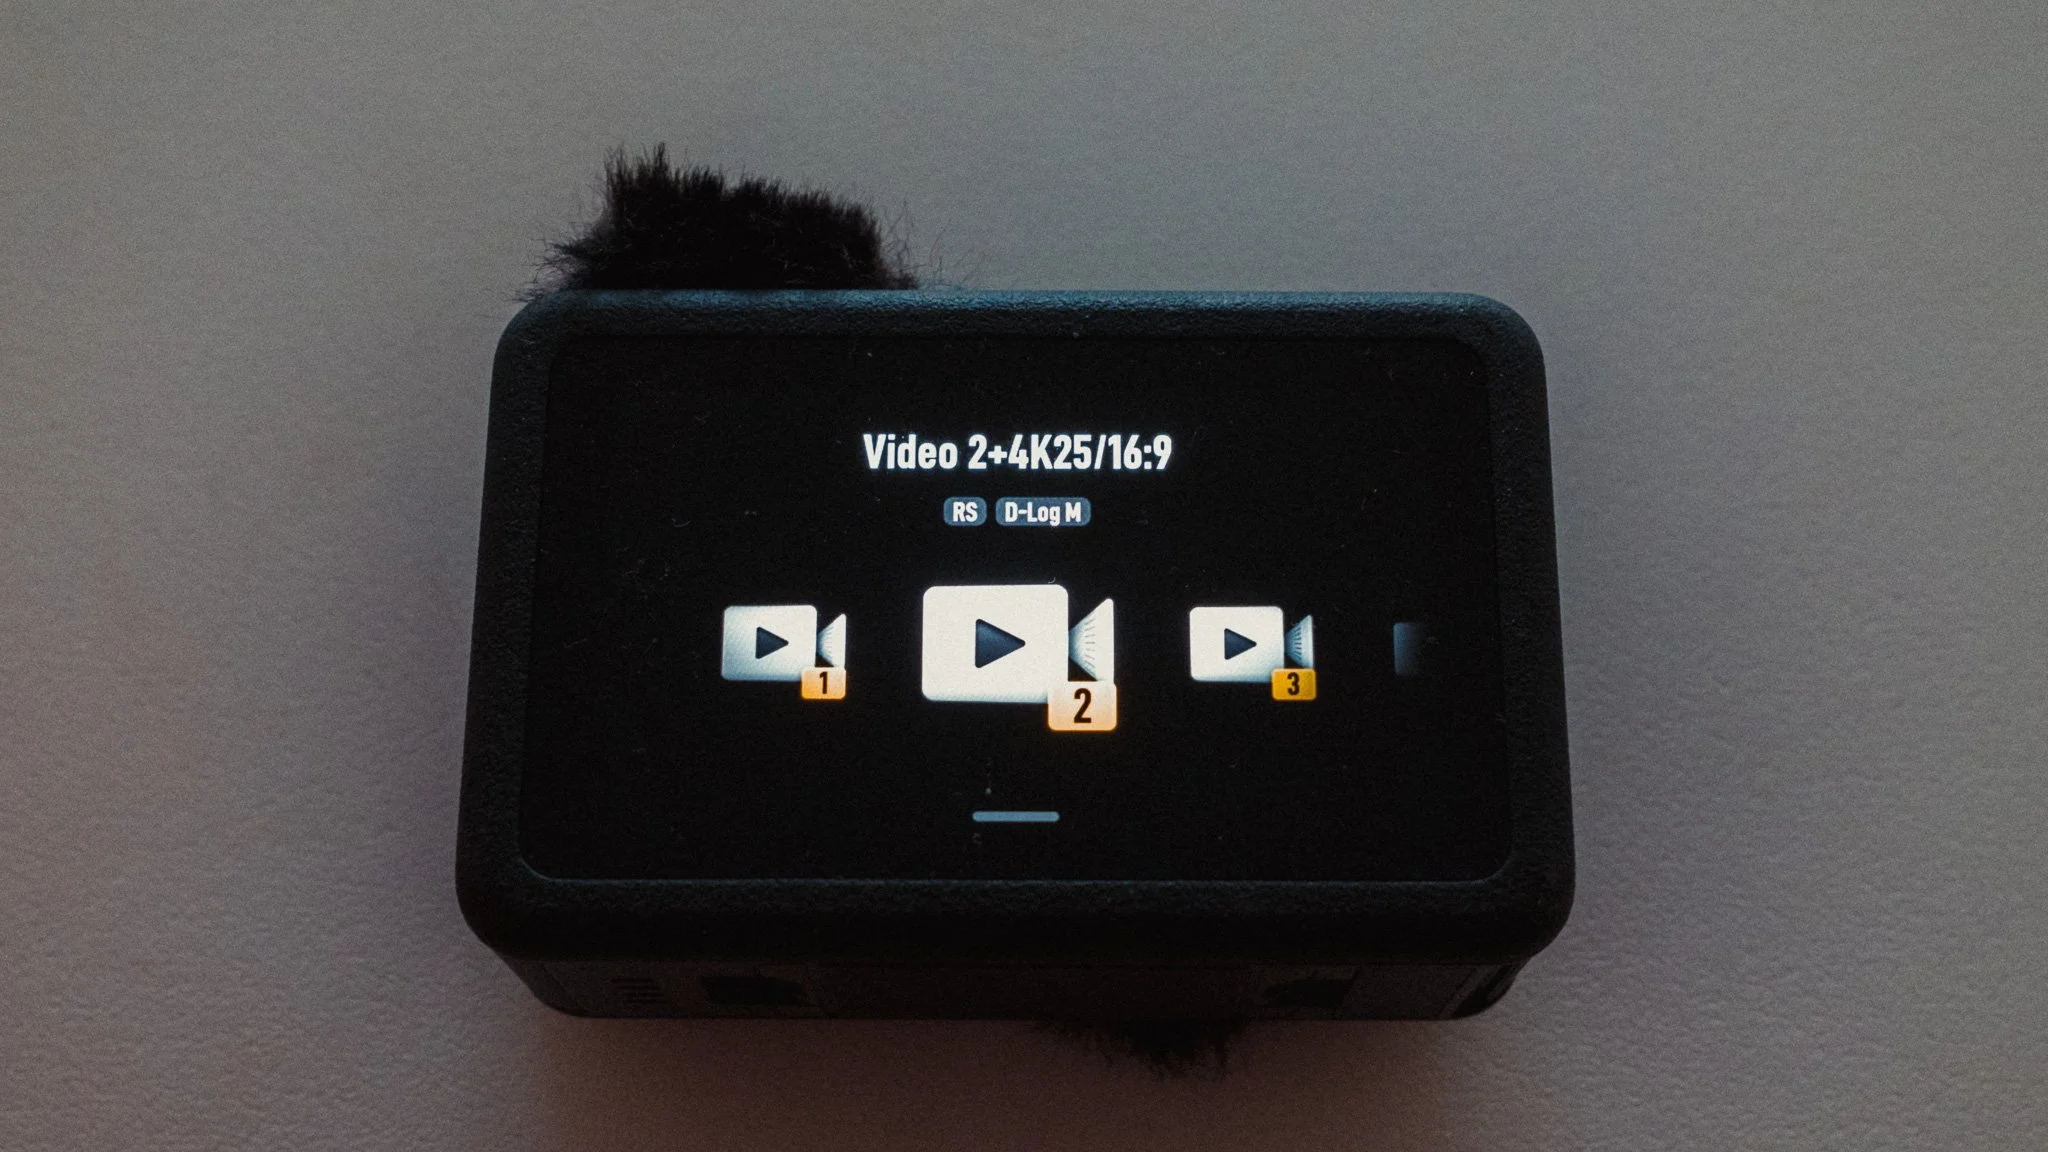
Video 1 - Full auto with 1:1 or 3:4 ratio. This is my go to run and gun set up where I have little to no control over the framing and want the most flexibility in editing. I also use this setting if I plan on shooting vertical video as well as horizontal.
Video 2 - Full auto with 16:9 ratio. Same as before but this is for when I have more control over the framing and I know for sure the video is for horizontal viewing.
Video 3 - Full manual with stabilisation off. Exposure and white balance are set to manual. 1/50 shutter speed and a starting ISO of 100. White balance is set to 5000K. This is my talking head or locked off / long take setting. Whether it’s a timelapse, talking head, or a long take, this ensures the most consistent footage. Best suited for when the shot is planned and I have time.
When Out Shooting
Whenever I head out, I typically have the Action 6 on the small tripod and the Nano without the dock in my pocket. The bulk of the video is filmed on the Action 6, and the Nano comes out when I want to stick it to a railing and get shots of me or the environment.