DJI Osmo Nano Review
In this blog I will review the DJI Osmo Nano camera. I’ve owned it since release and have used it extensively for filming my travels and making YouTube videos. In this blog I will share my thoughts after putting it through its paces. For the record, I have no relationship with DJI, and this camera was purchased with my own money.
Context
This review is coming from someone who uses this camera for documenting travels, life, and making YouTube videos. I don’t jump out of planes, I don’t scuba dive to 10,000 meters, and I don’t push this camera to extreme physical limits. With that in mind, this review will only be relevant to people with a similar use case.
Noteworthy Features
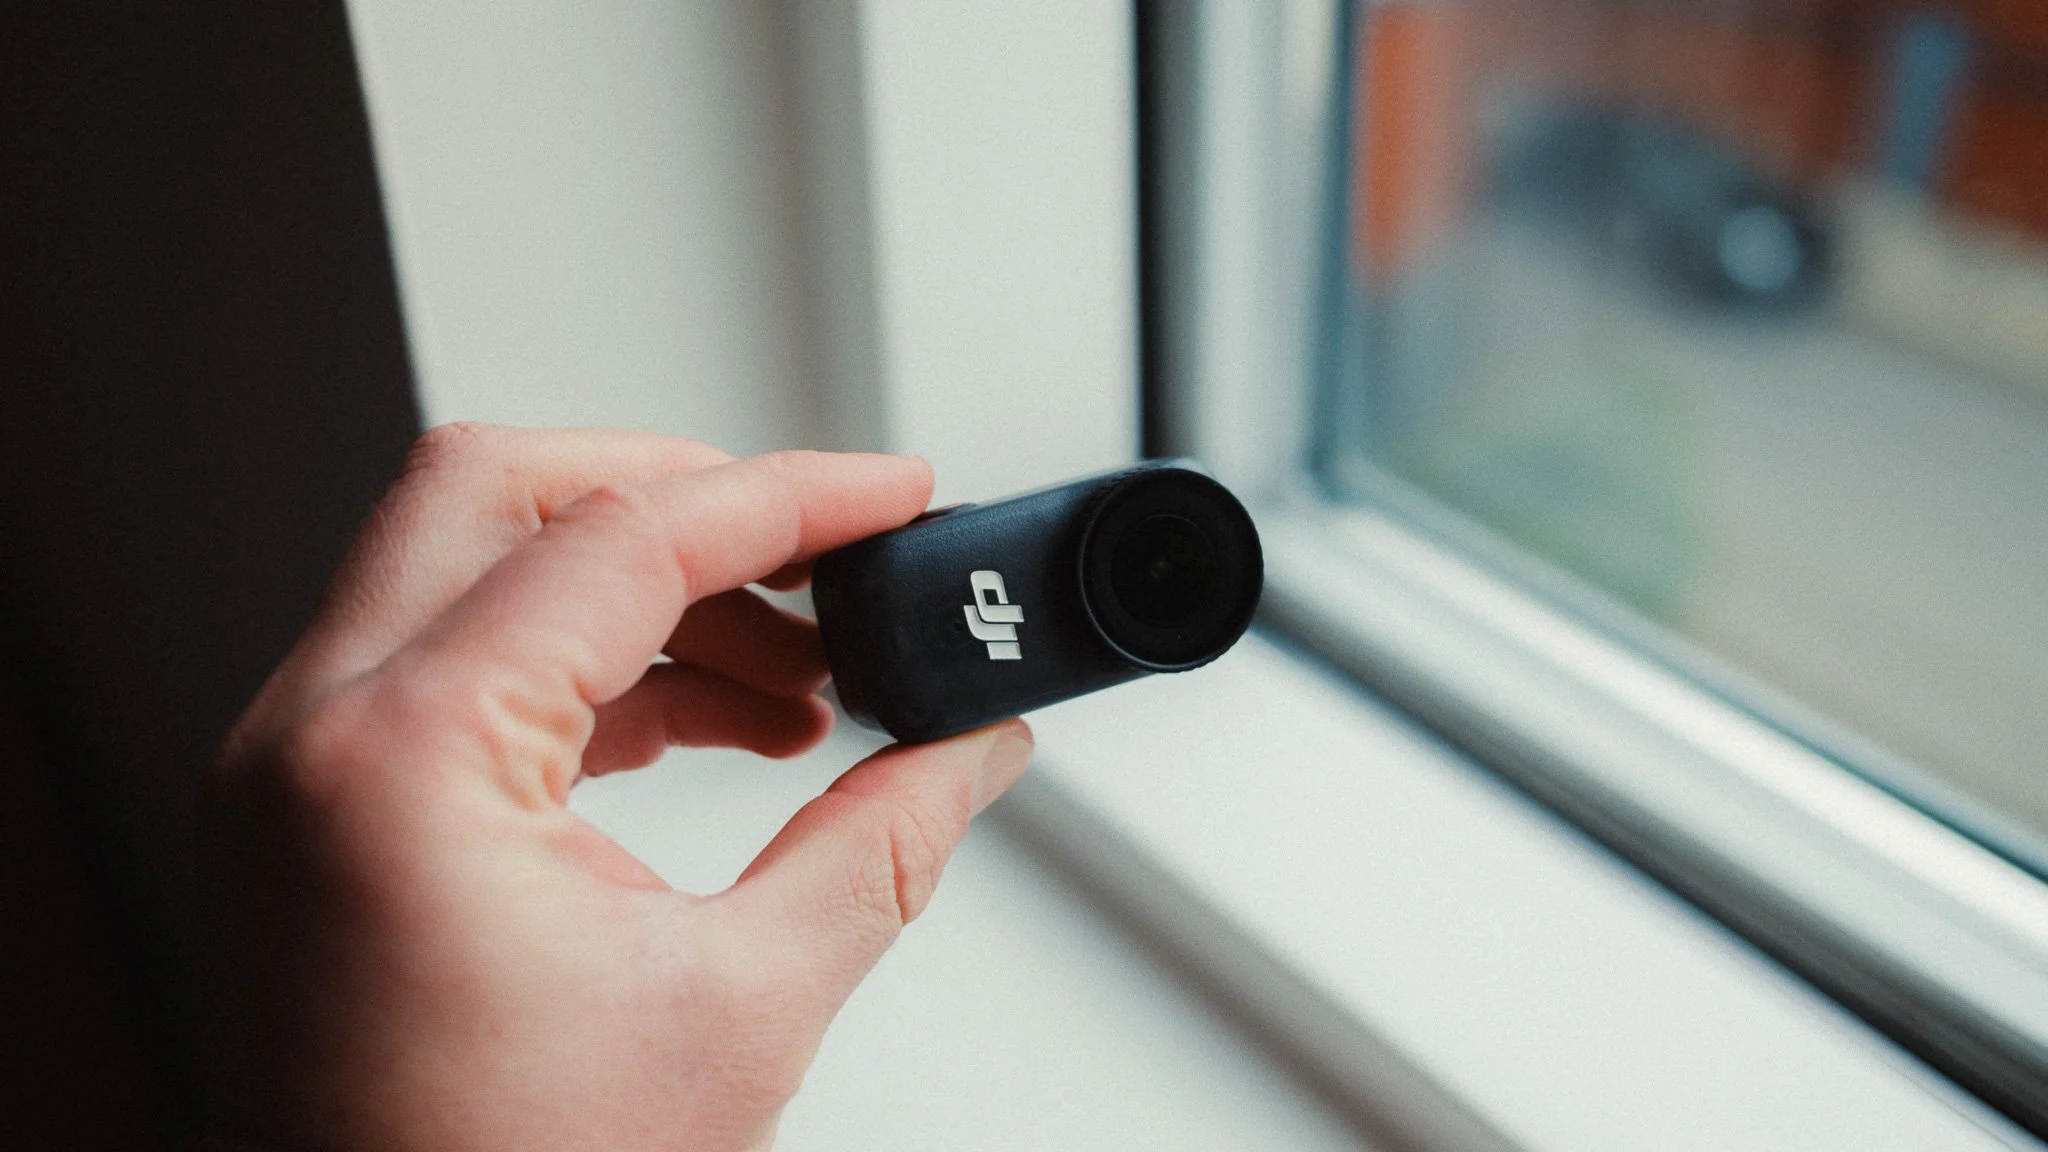
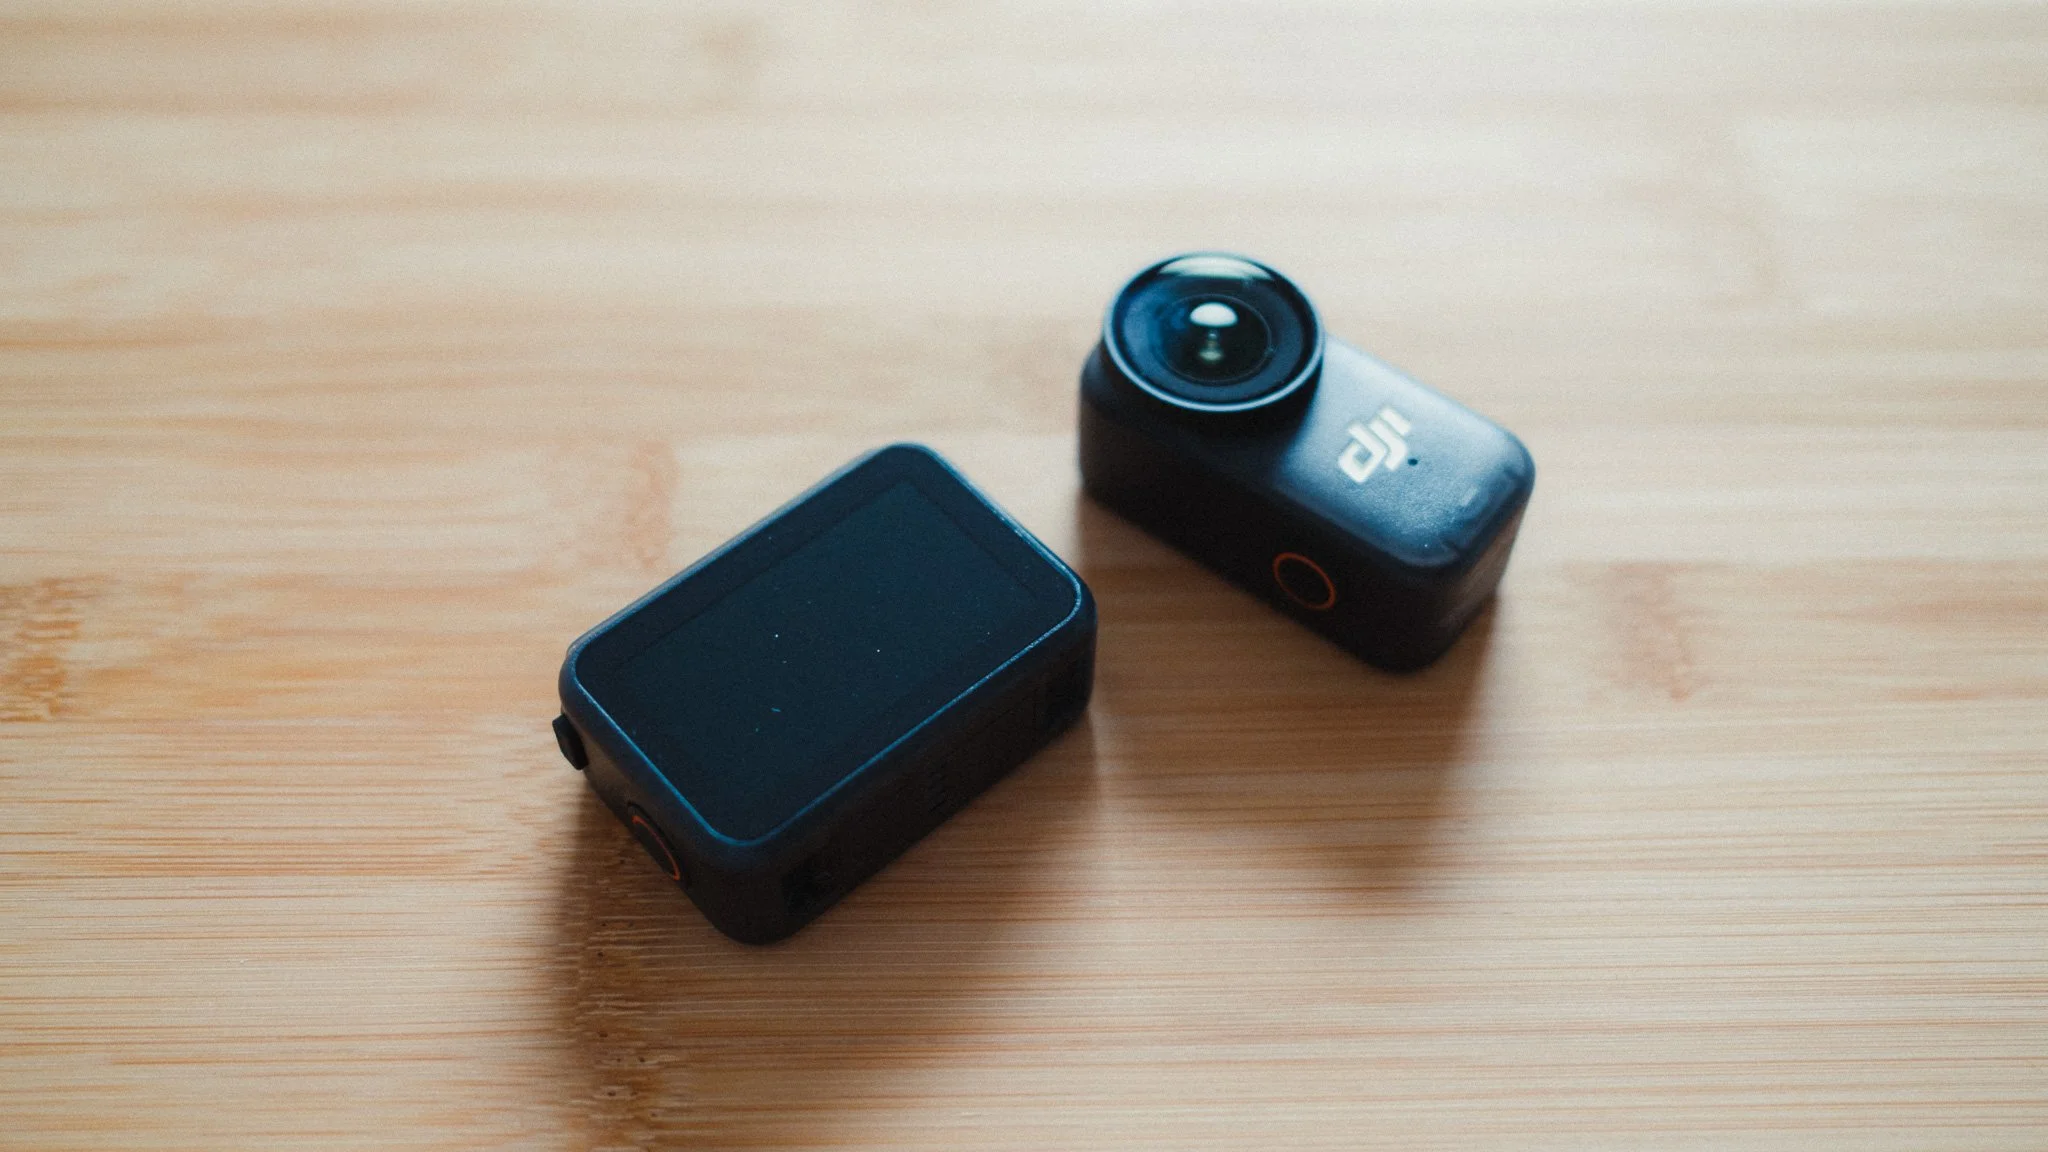
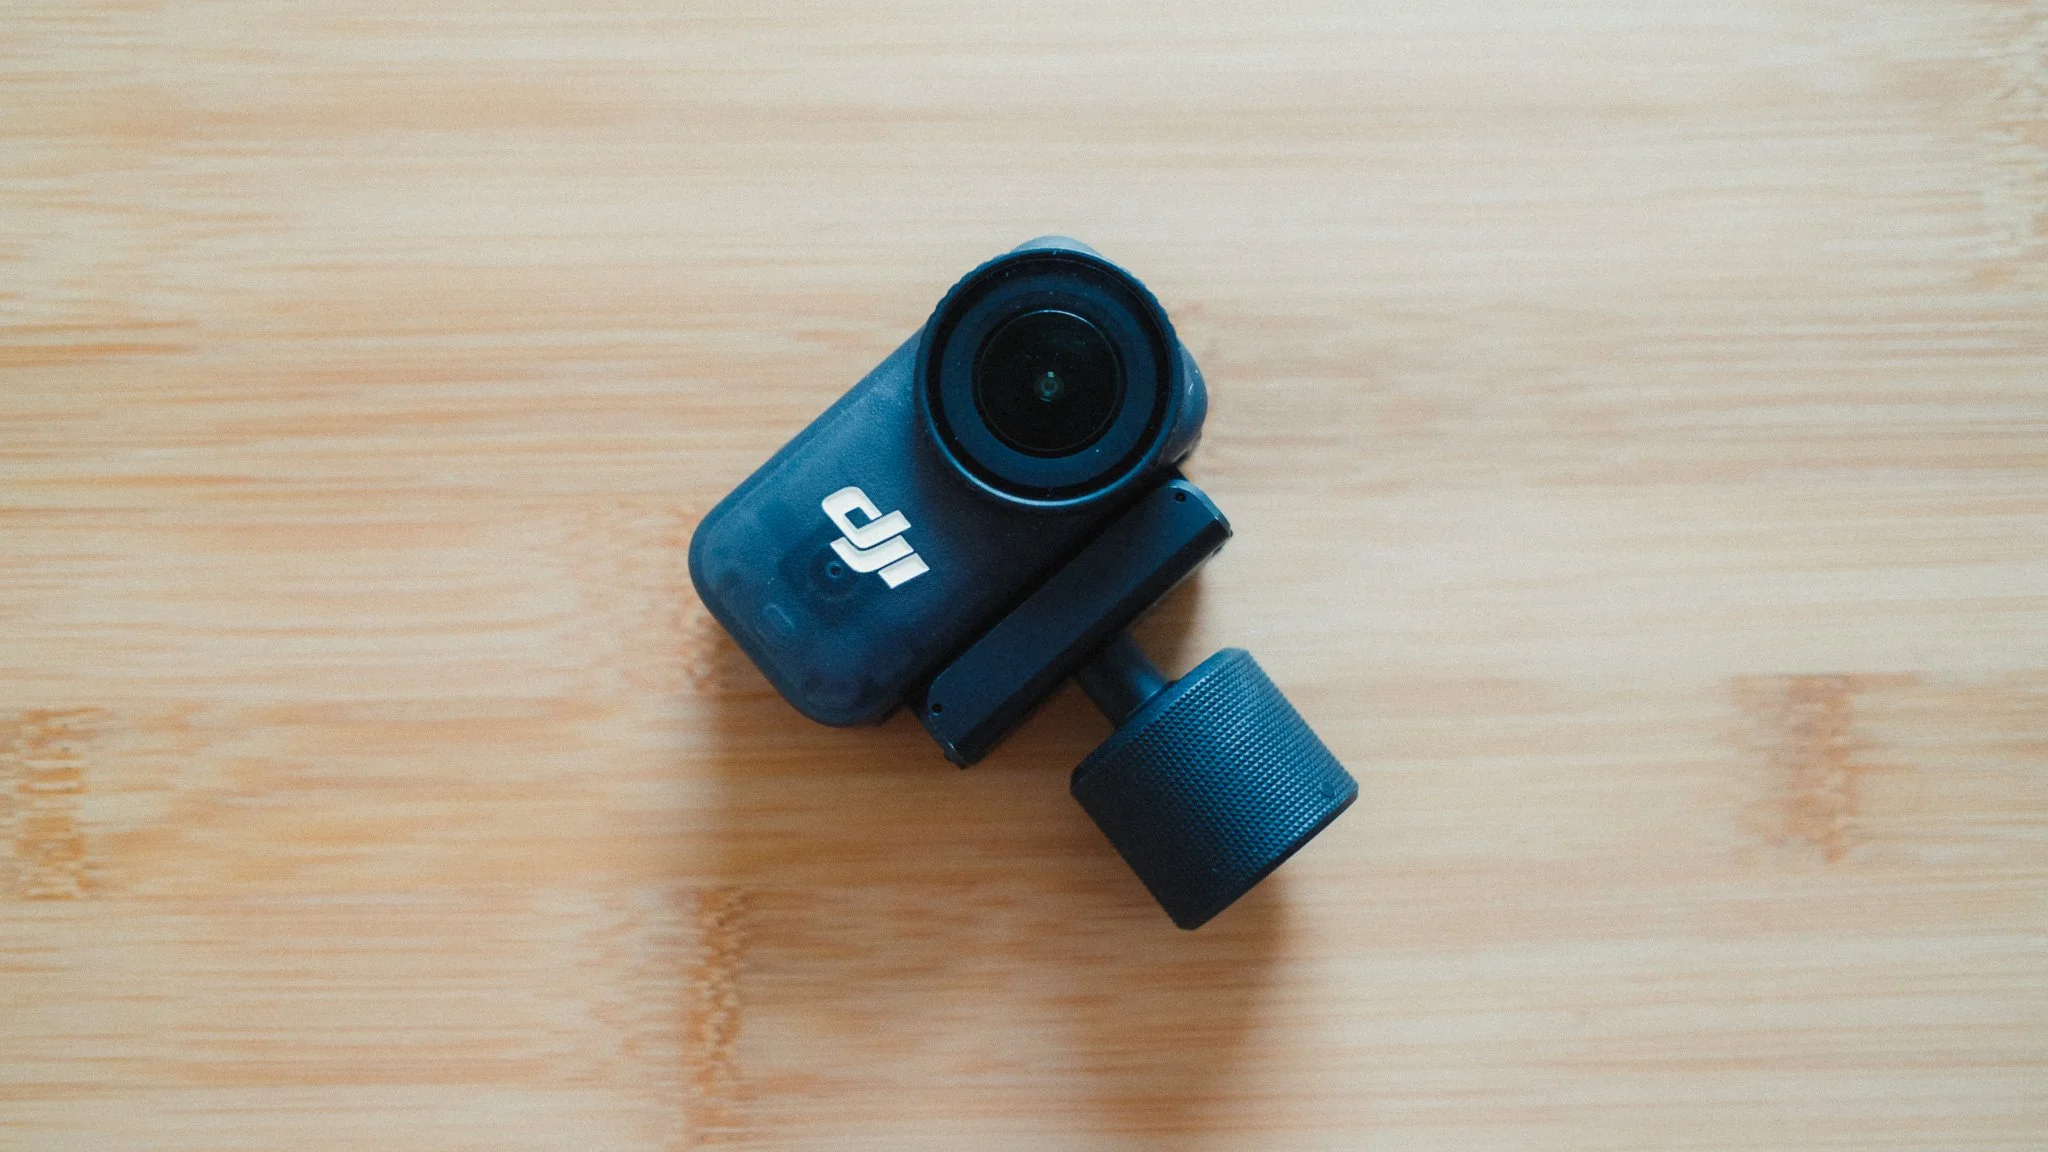
The biggest talking point is of course the design, with the camera module and the screen being two separate units. Initially I thought it would be a gimmick and in no way be better than a traditional DJI Action camera. However as time went on, I found many use cases for this system that not only proved useful, but cemented the DJI Nano’s place in my travel kit.
Key Observations:
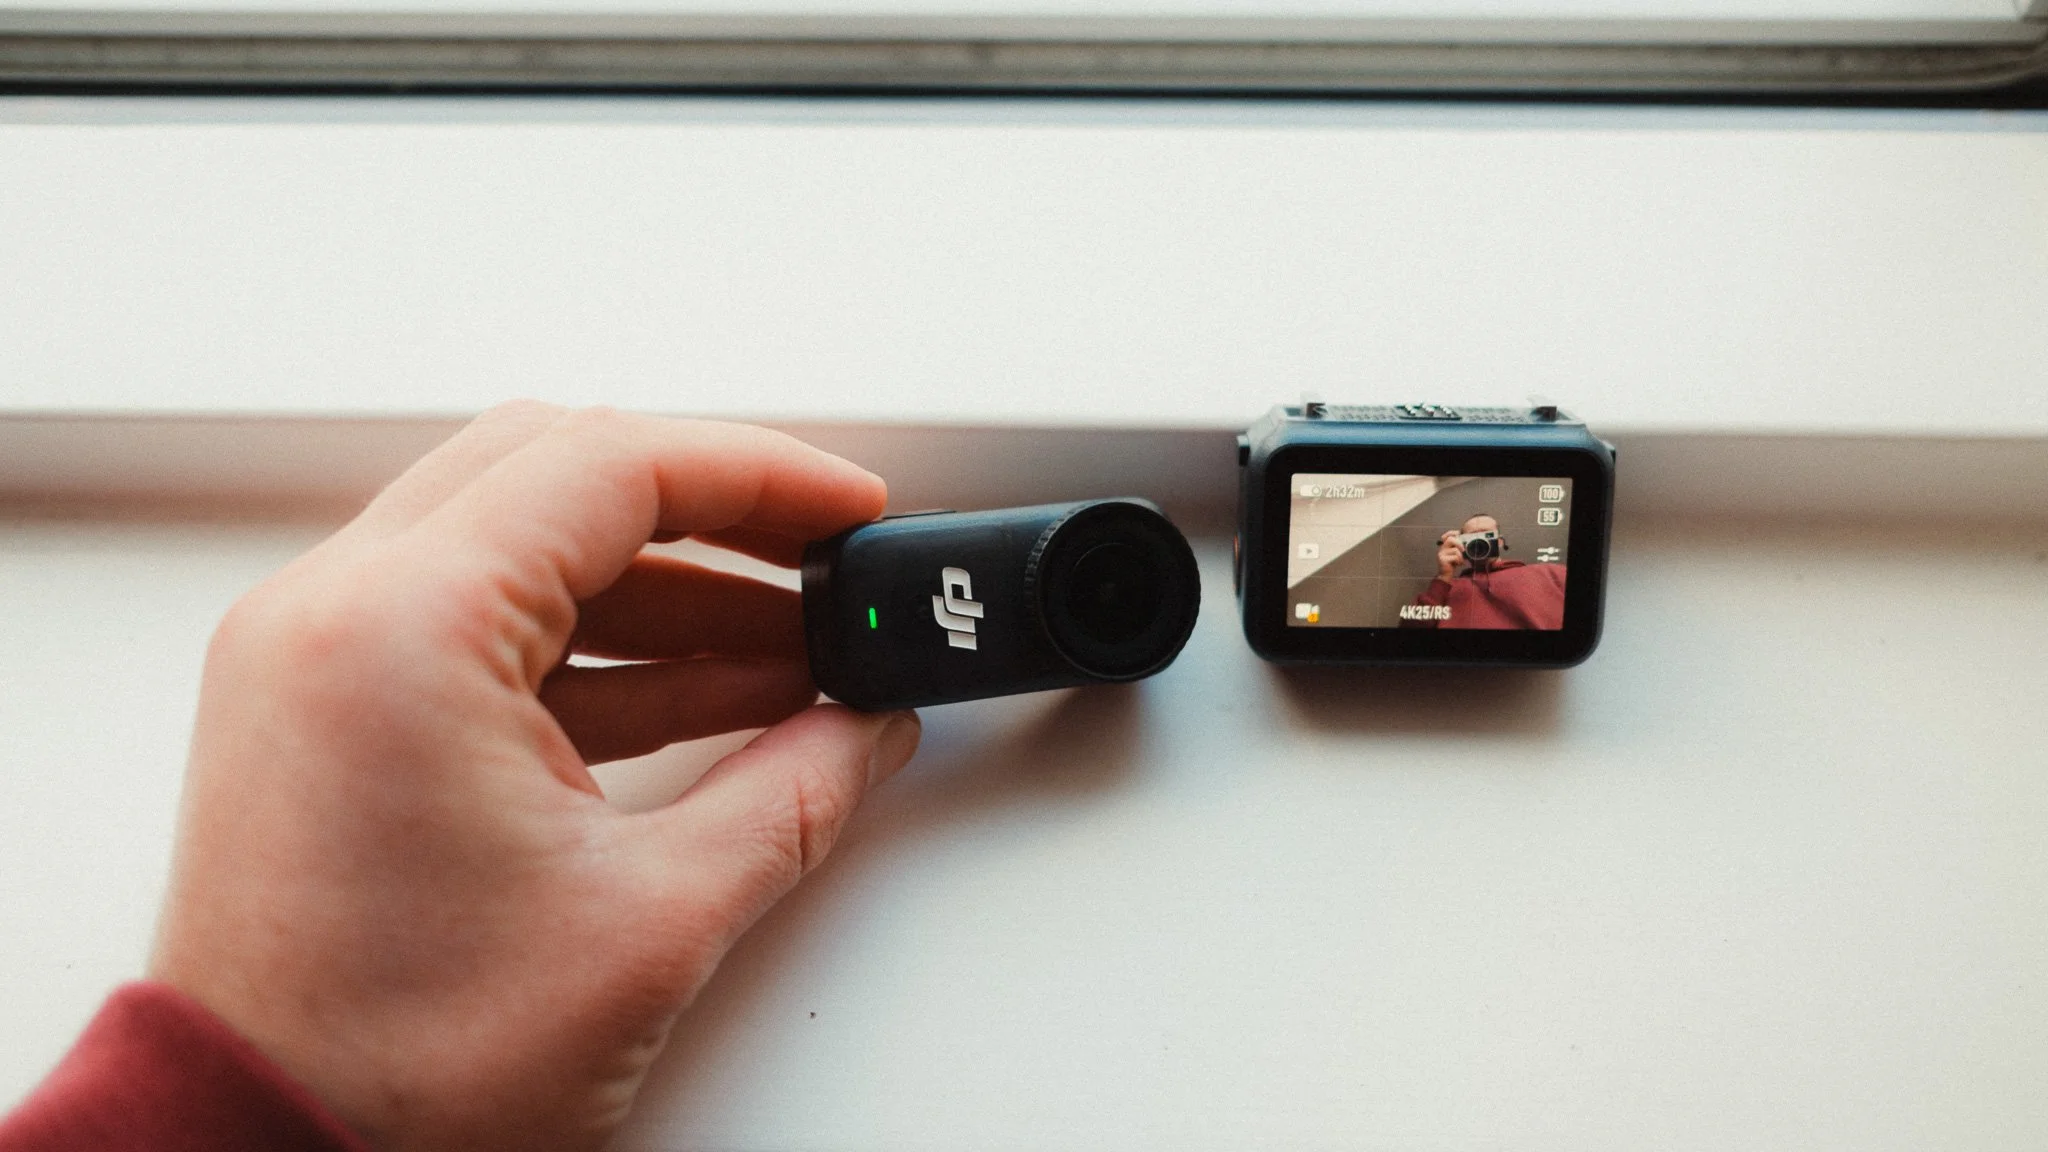
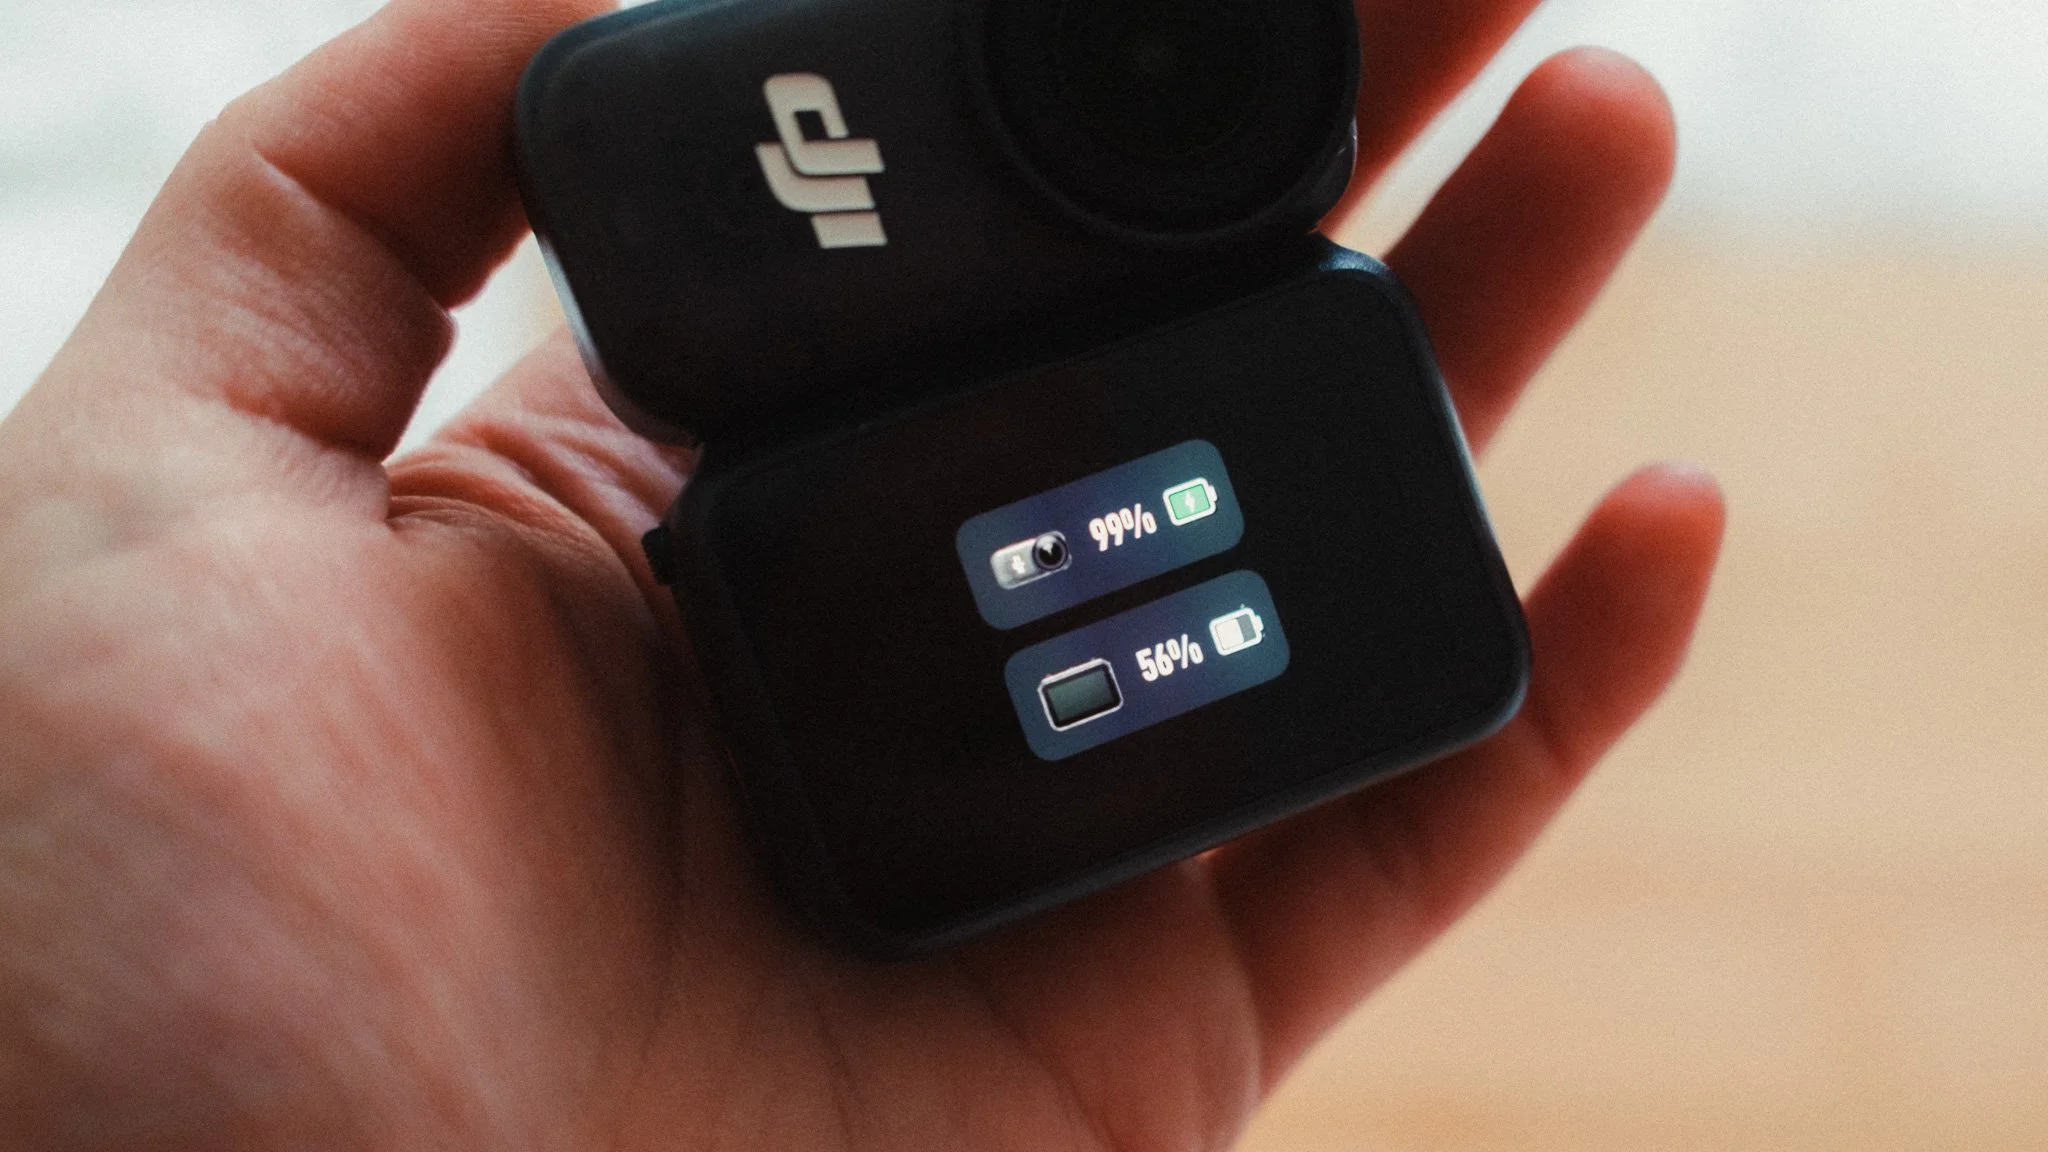
The two modules can be used together as one complete system.
The rotation of the screen is reversible, meaning you can have it facing towards you or away. It’s worth mentioning that to access all features, the screen needs to be facing you while the camera is facing away.
When the two are docked, the screen module recharges the camera module.
The camera module requires the screen module for charging, data transfer, and changing settings.
The screen module has no removable battery, instead relying on an internal battery that can fast charge via USB-C.
The screen module has an SD card slot that can be used to back up footage from the camera module.
The screen module can wirelessly control and monitor the camera module. This is the highlight feature for me.
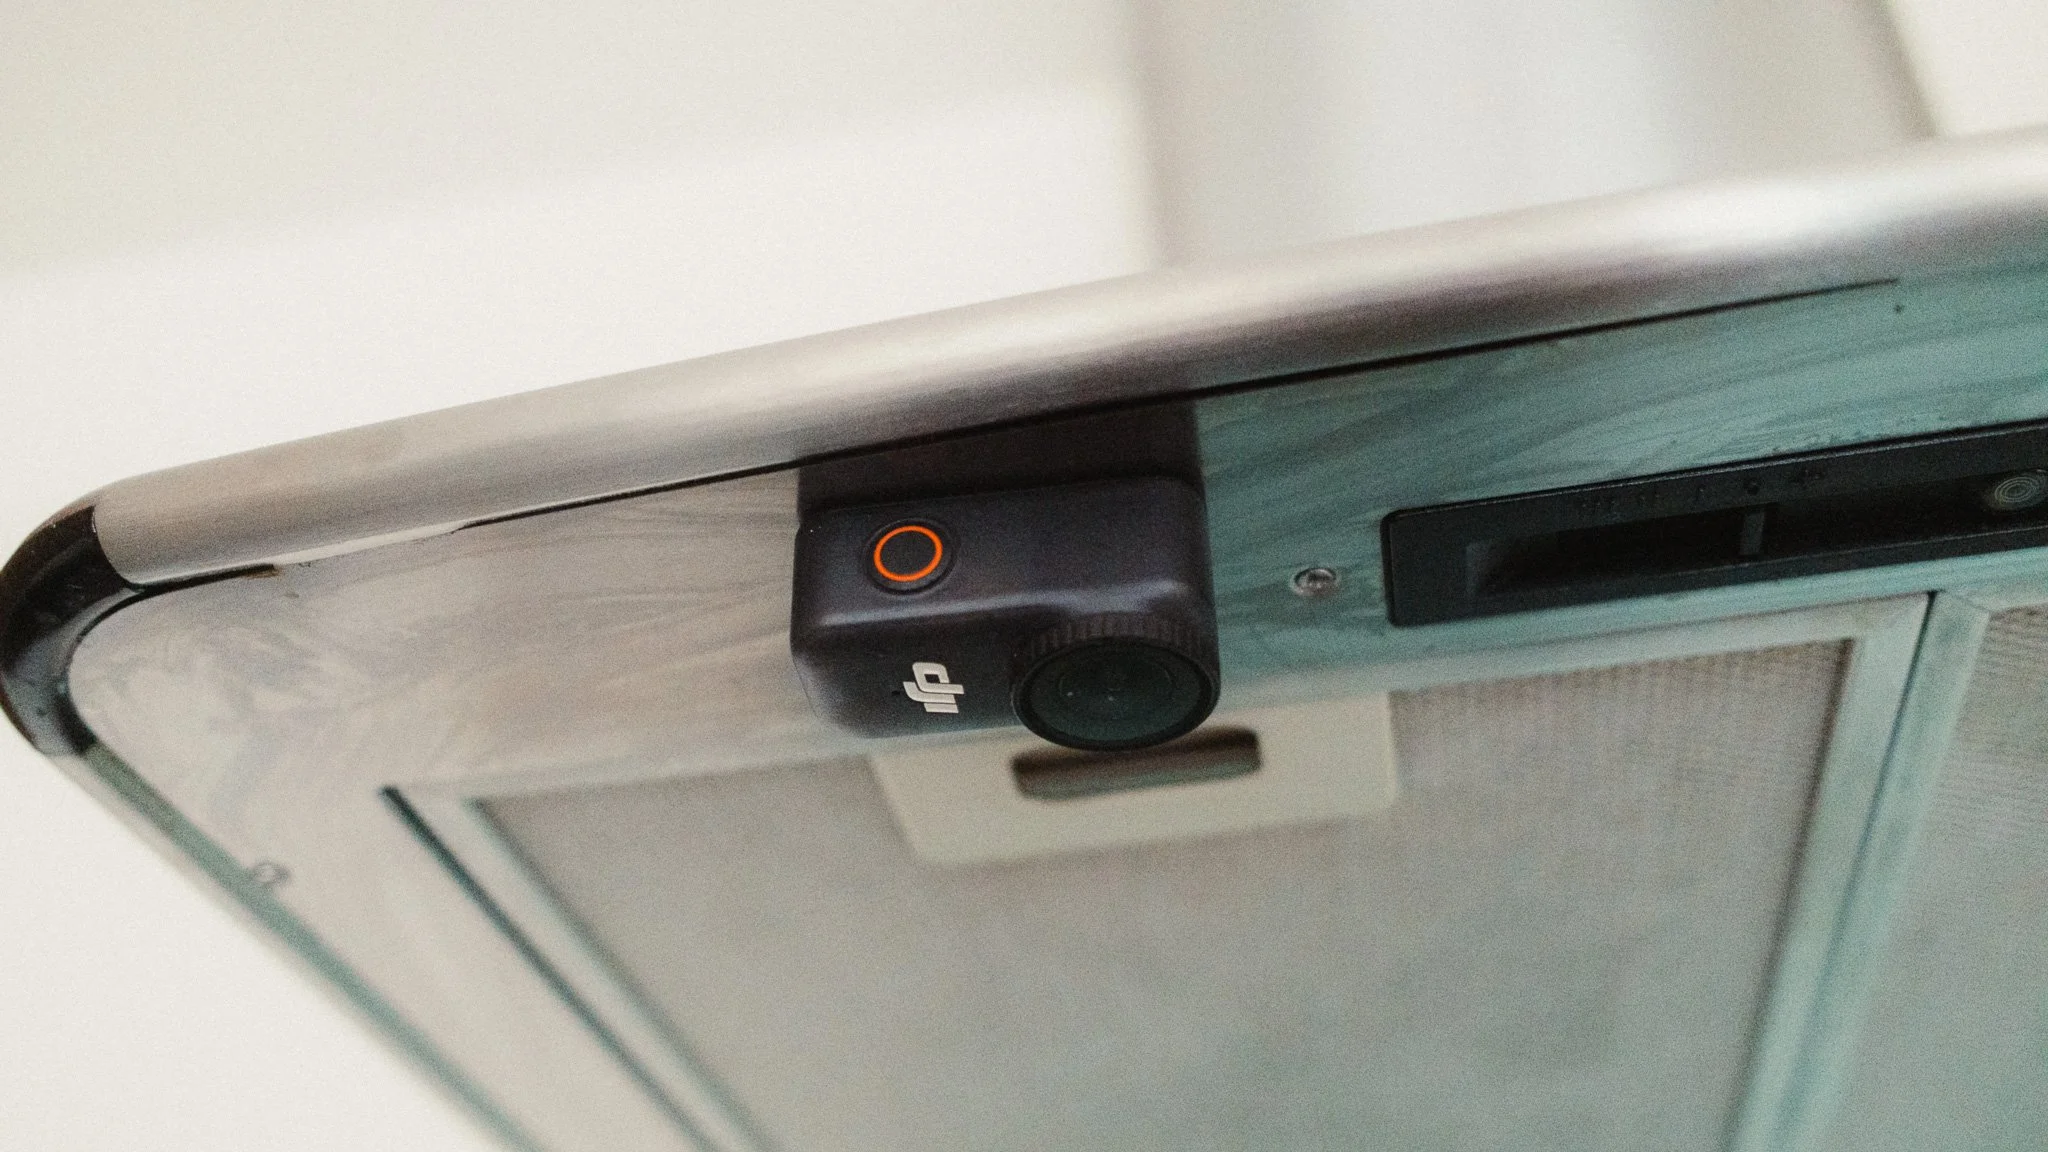
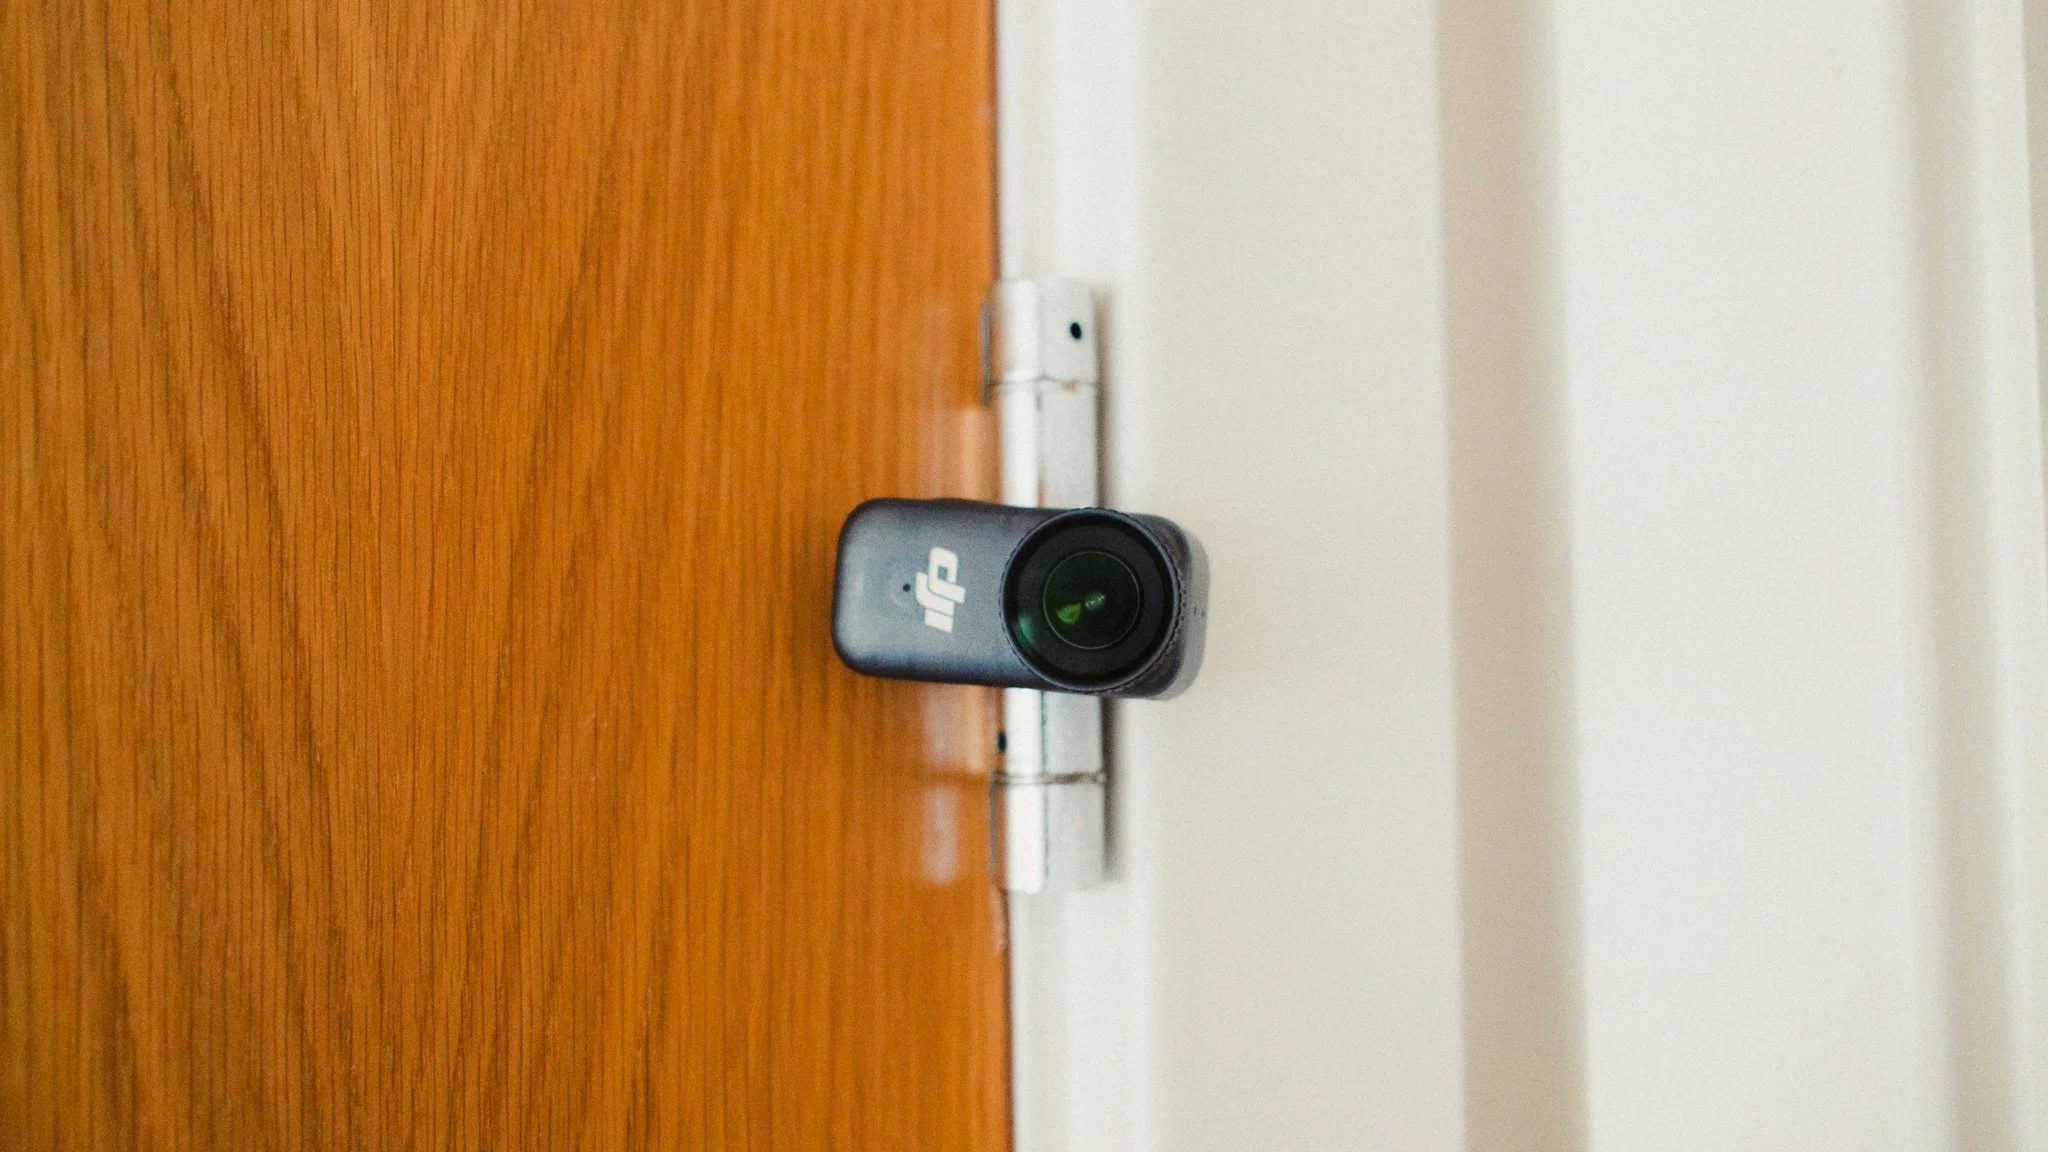
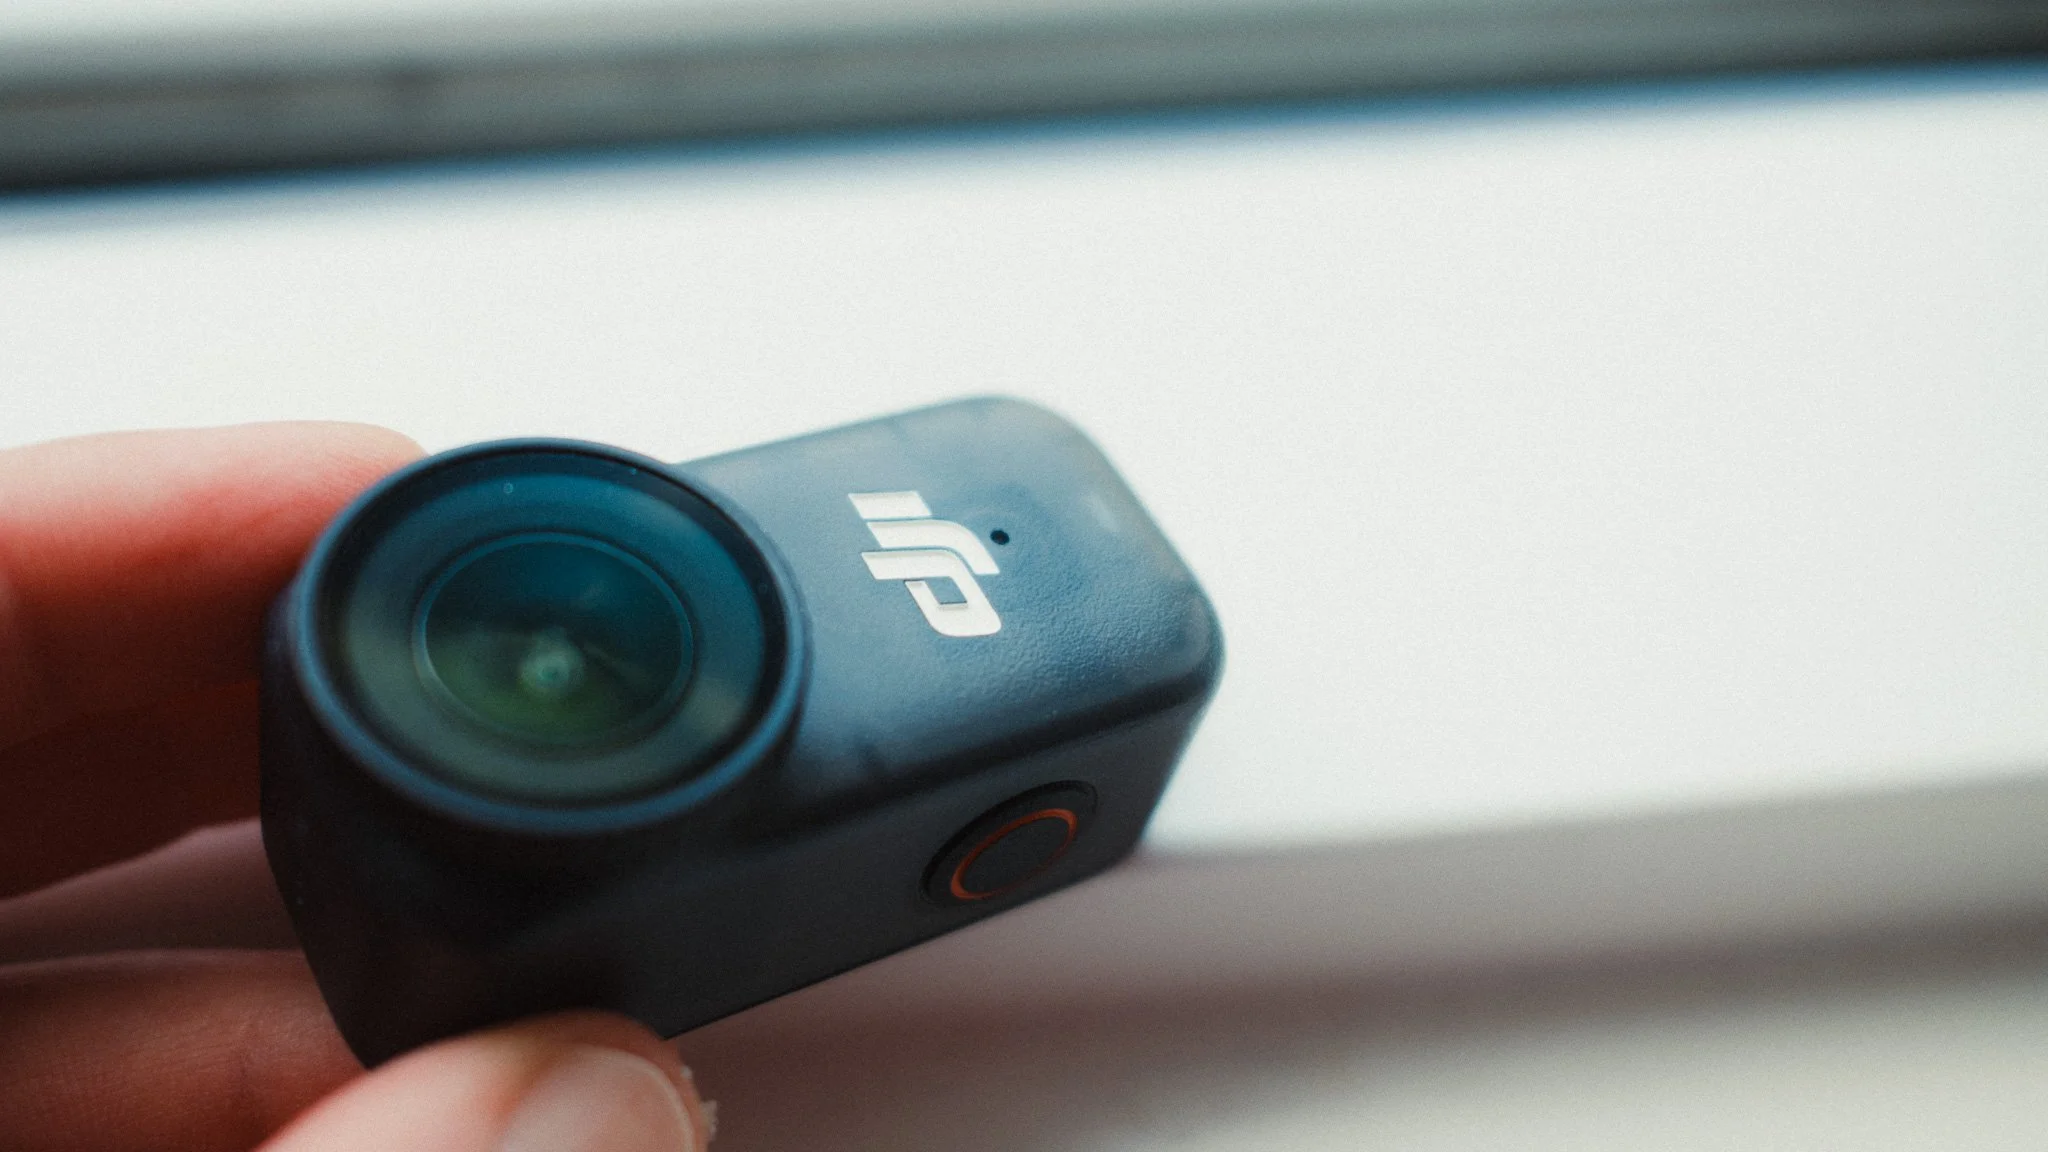
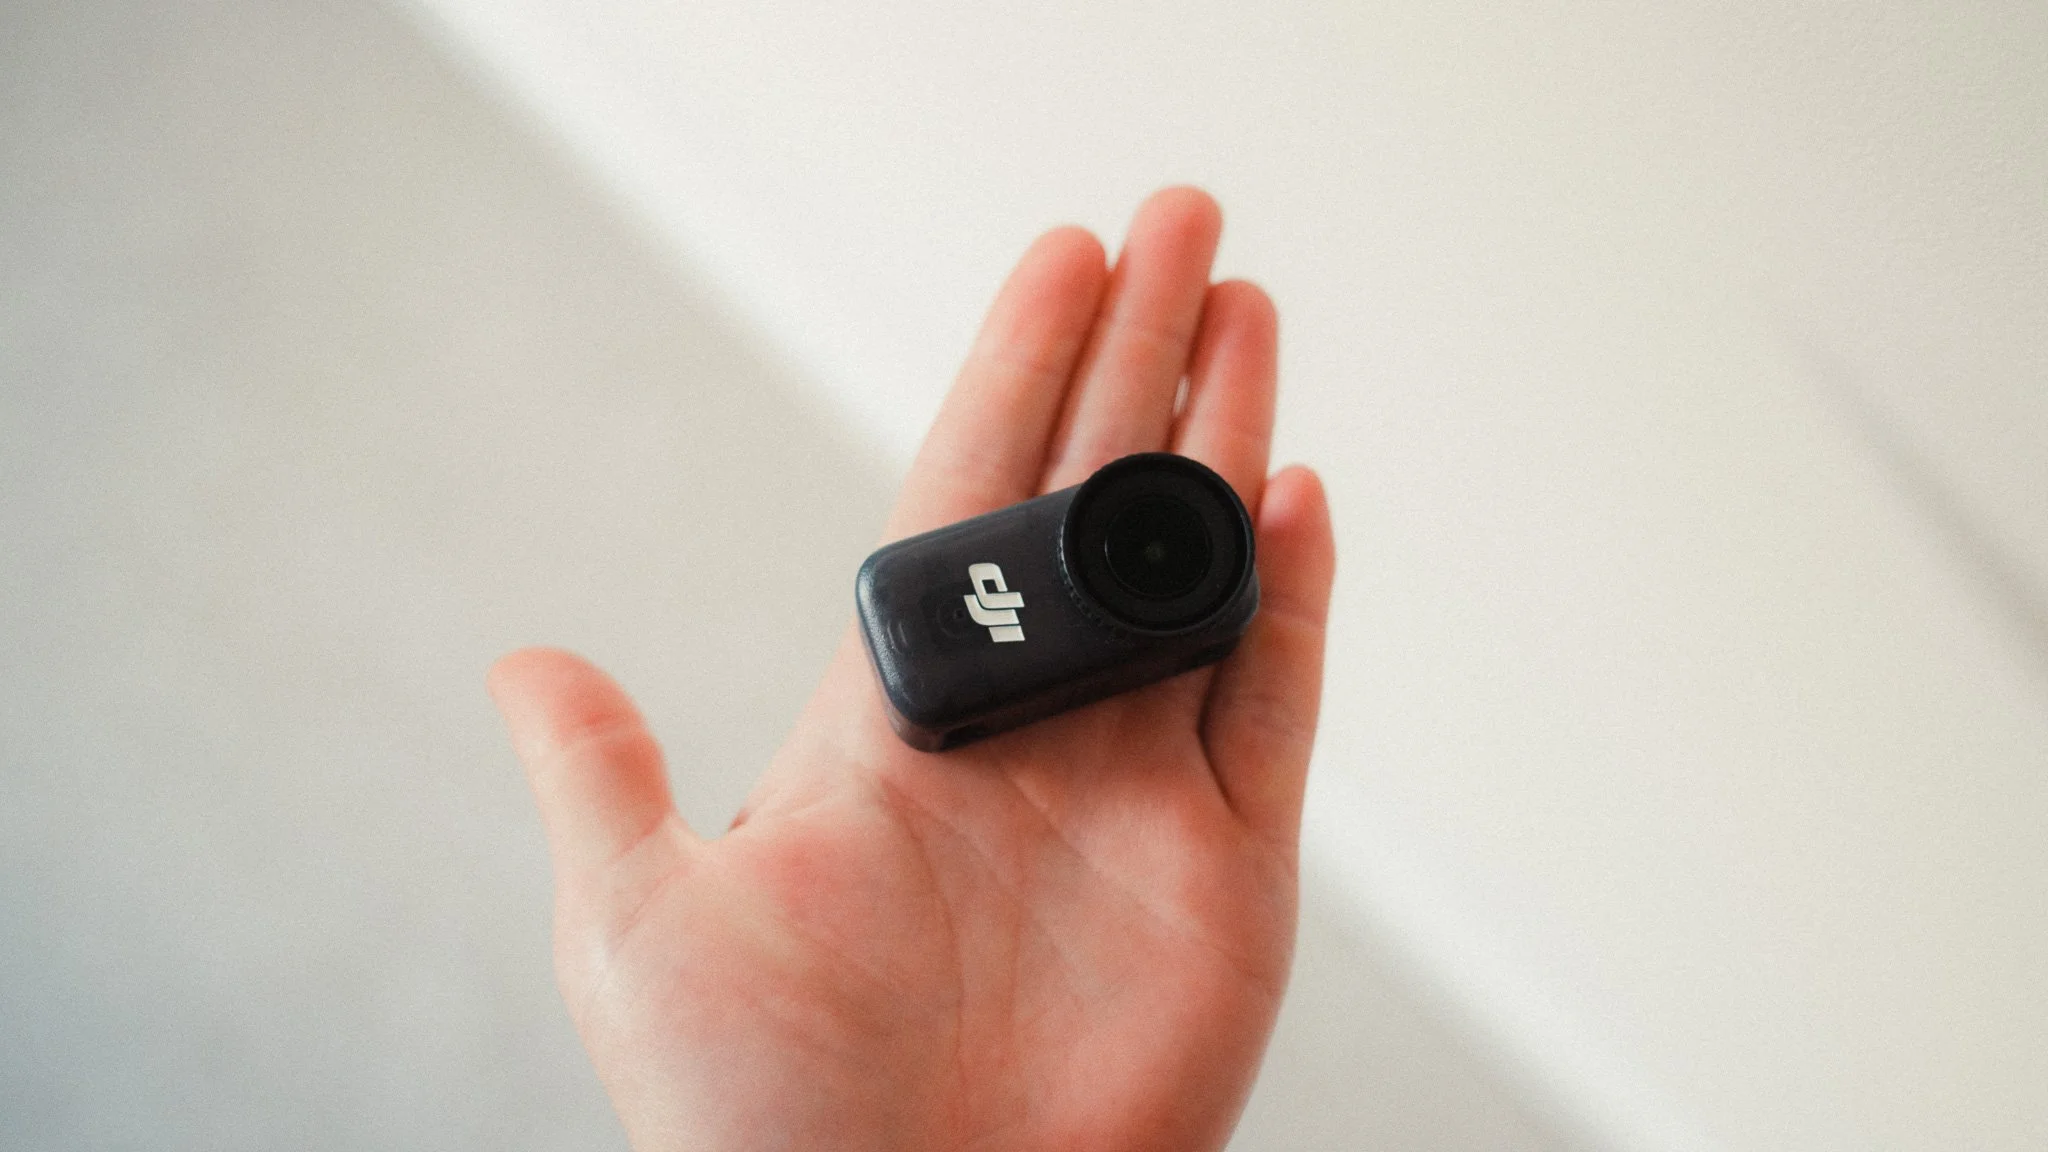
The camera module is tiny and has built in magnets that allow for easy mounting to metal objects.
Both modules have a traditional DJI Action mount allowing them to be used together or individually with any DJI Action accessories.
Usability & Ergonomics
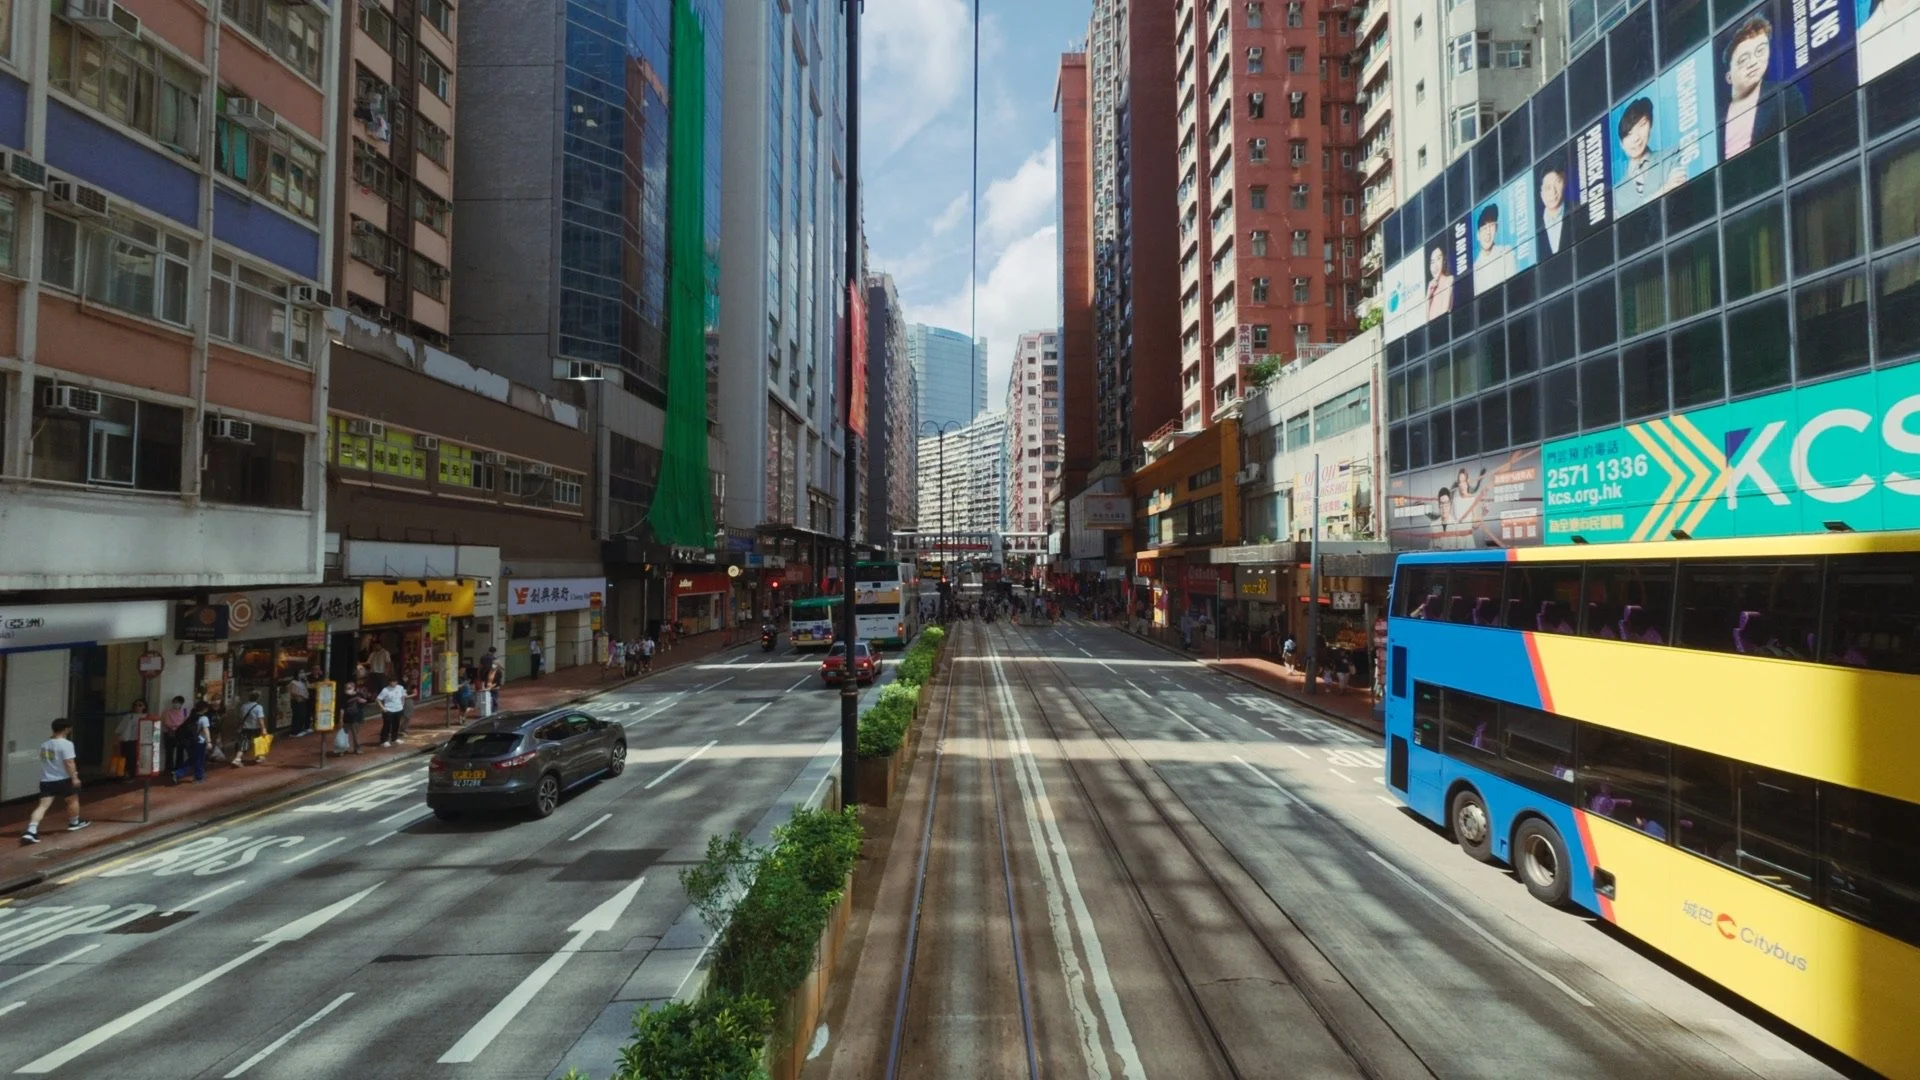
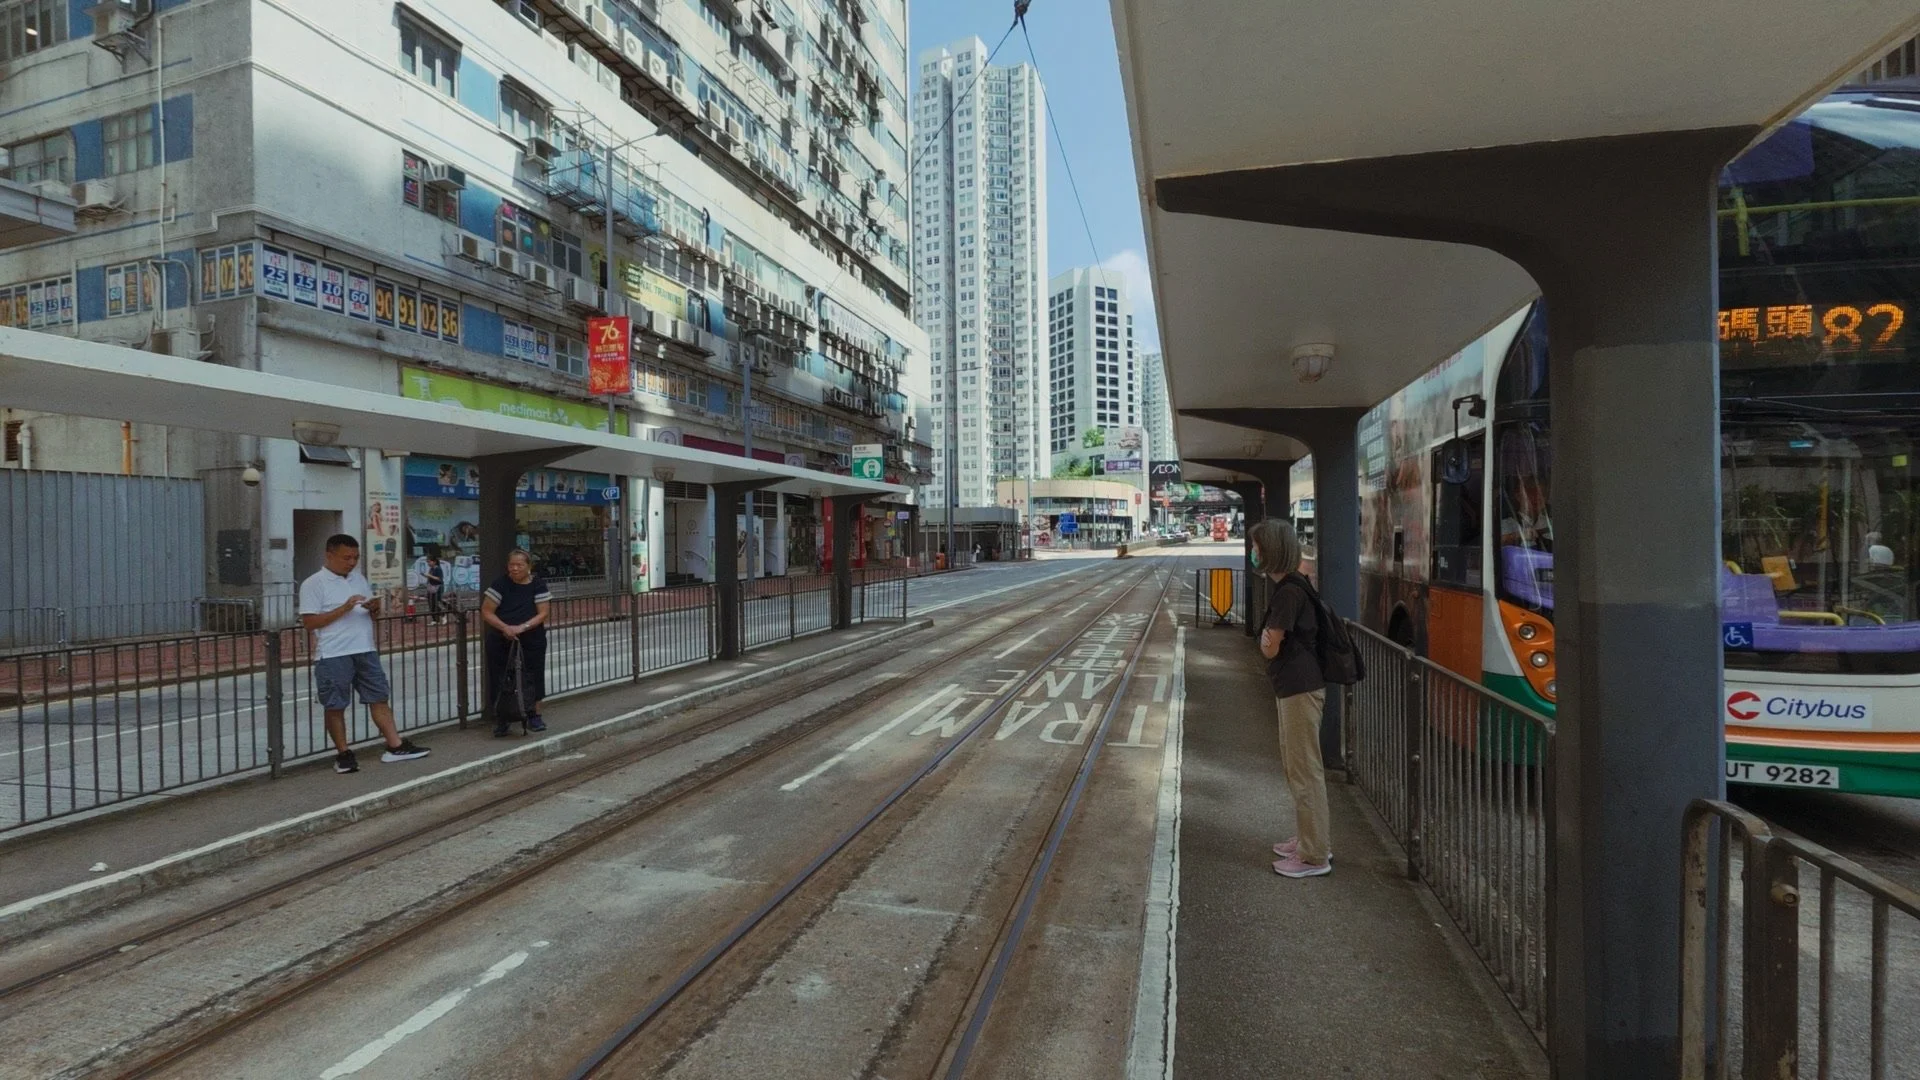
Once you understand how this camera works, it’s incredibly useful and opens up many possibilities. By far my favourite aspect is being able to control and preview the footage remotely. This came in very handy when I mounted the camera on the front of a tram in Hong Kong and controlled it from my seat.
Another personal use case is keeping only the camera module in my pocket and using it to capture short clips of moments throughout a trip. Because it starts recording instantly when you press the record button, I can quickly accumulate hours of footage of moments that would otherwise be missed.
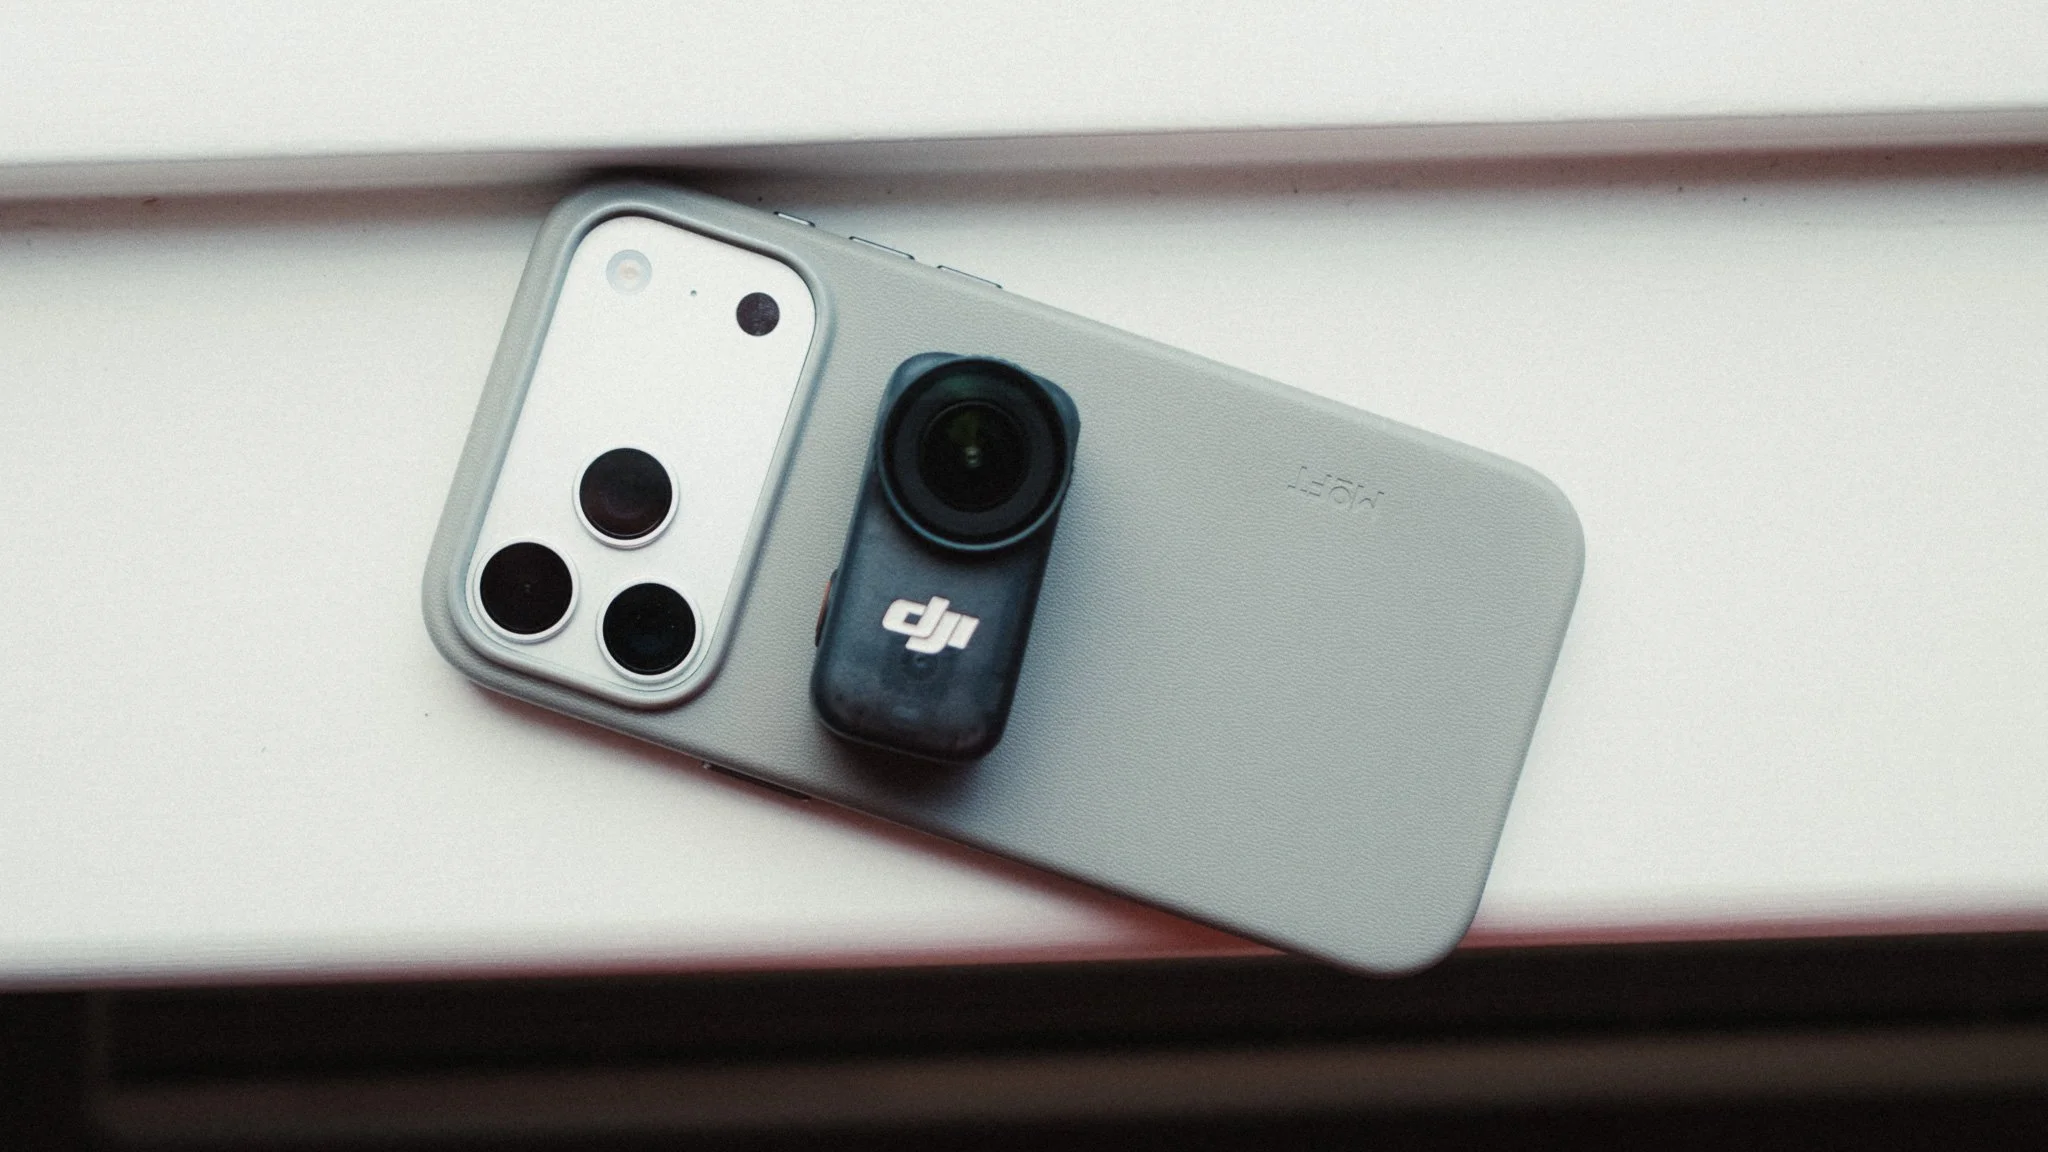
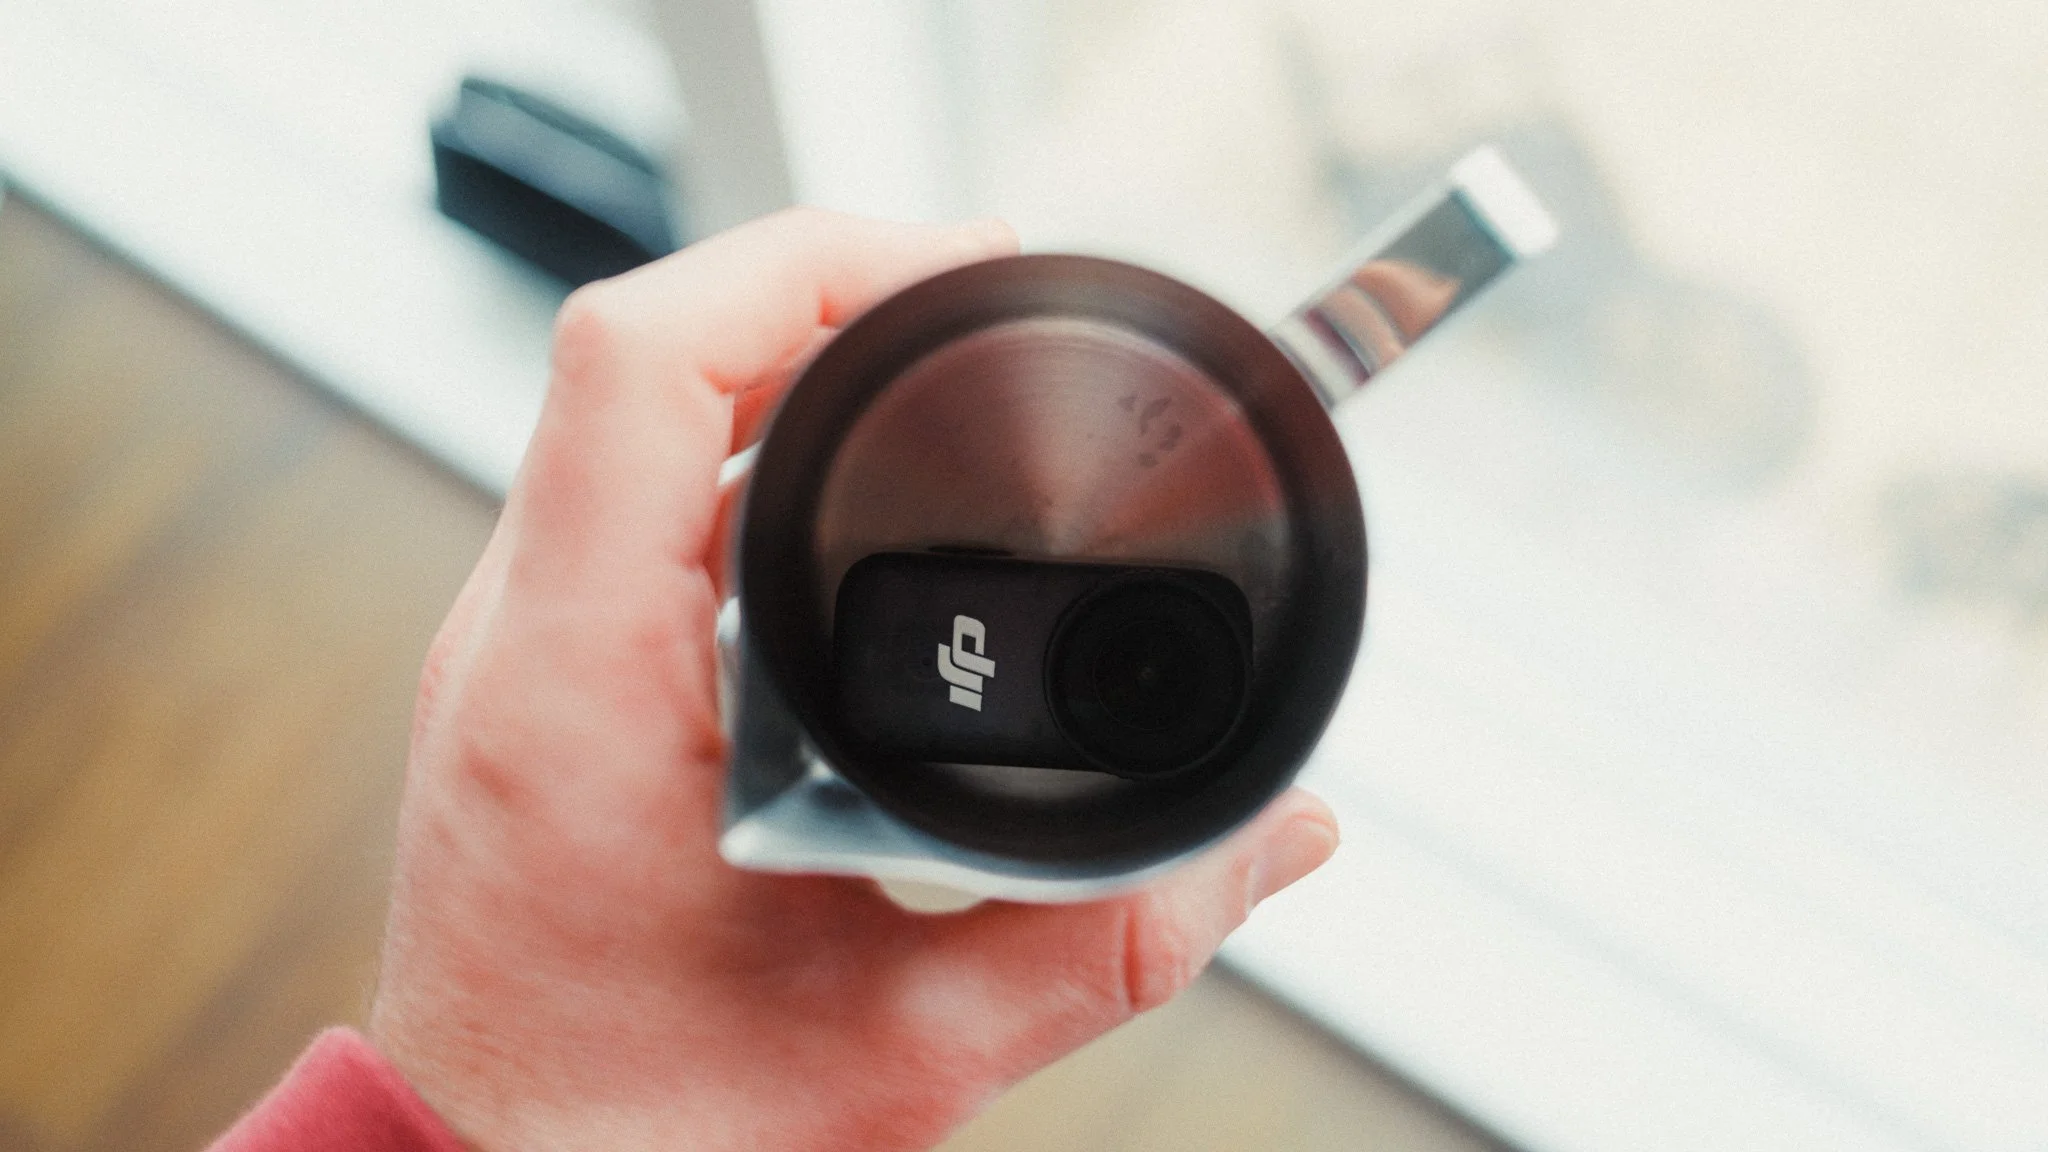
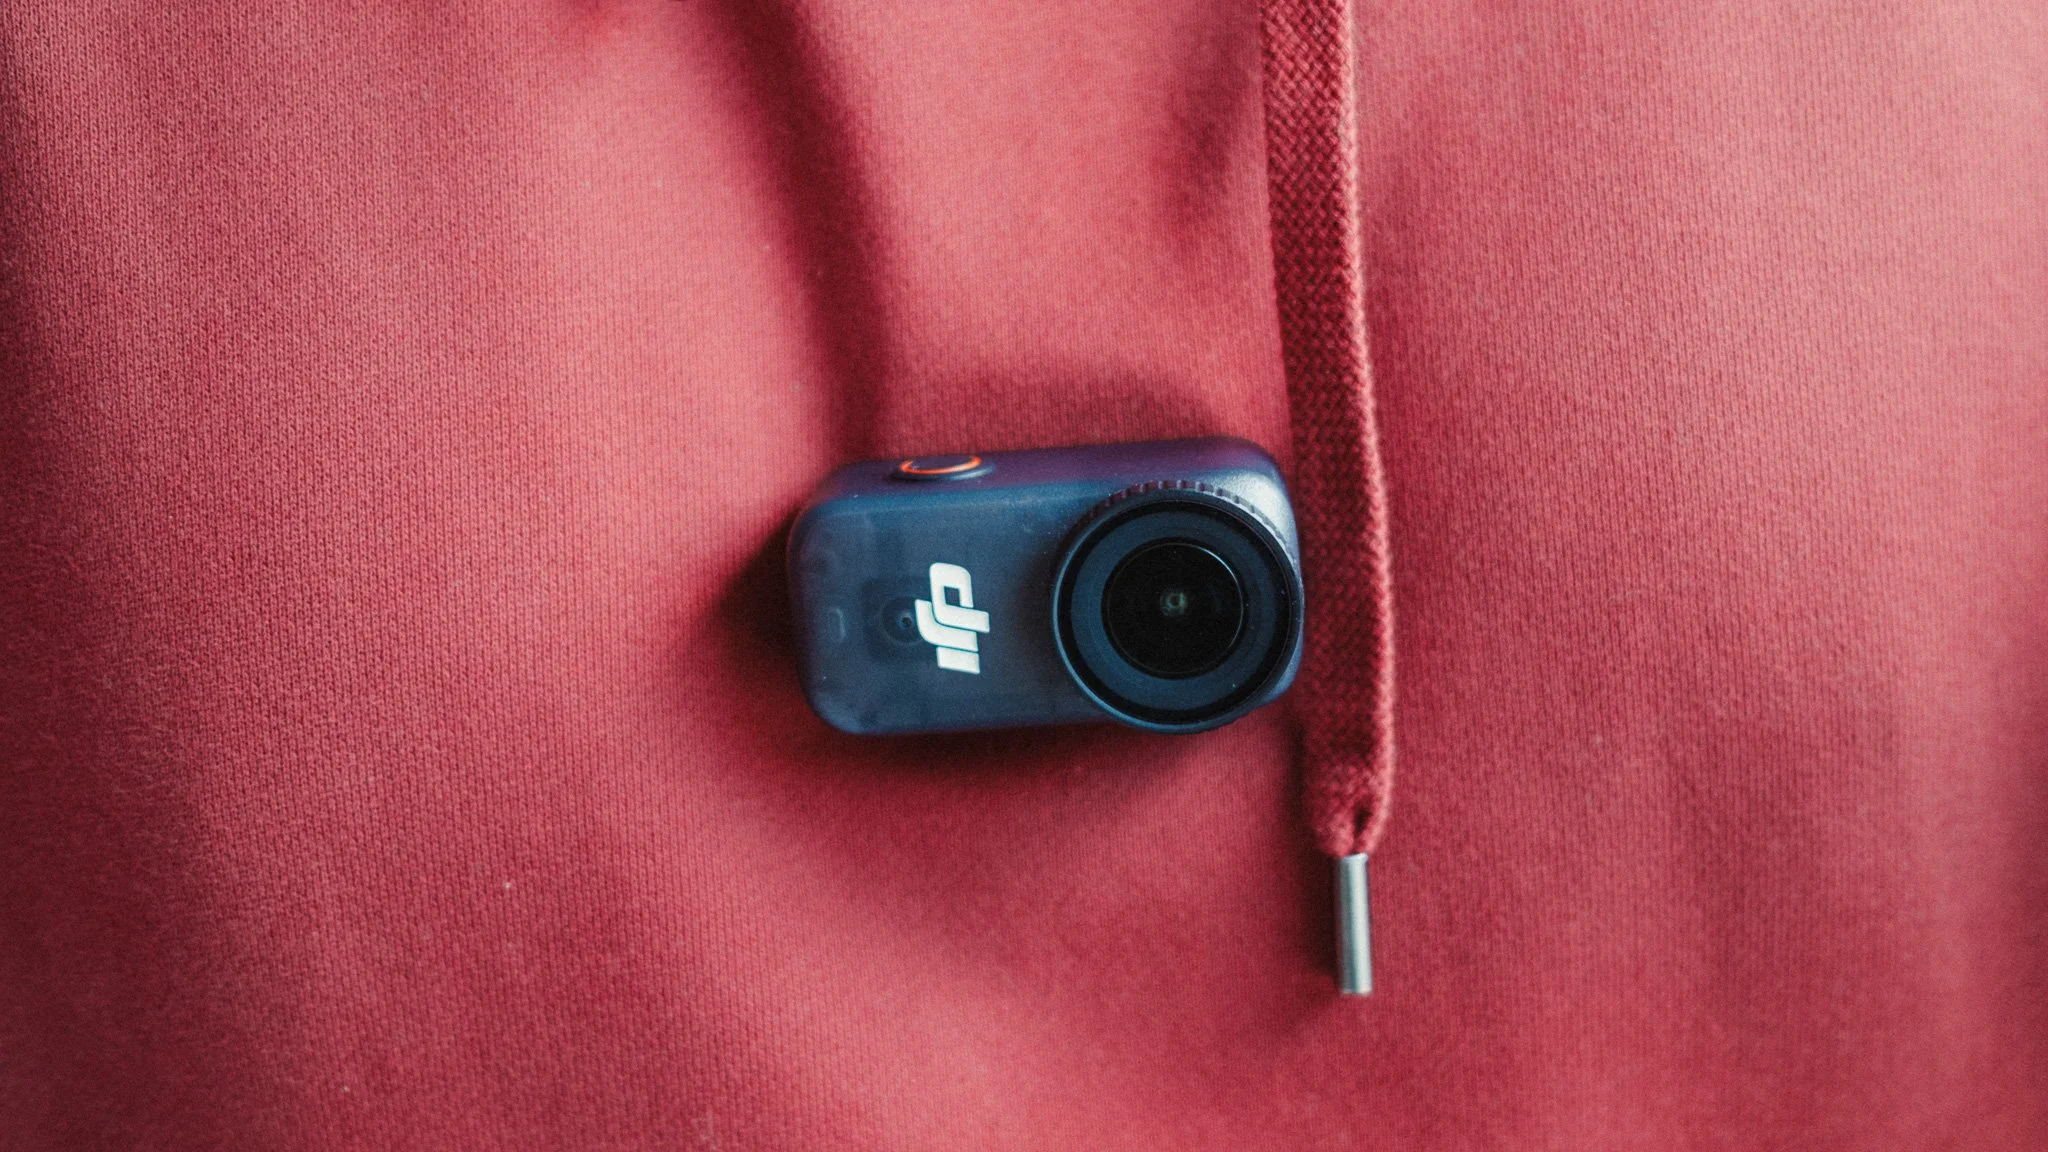
The camera module is so light that you barely feel it if worn on your body. Whether it’s using the magnetic necklace or the clip, you hardly notice the weight. This is subjective though, as some people may be more sensitive and it also depends on the clothing you’re wearing.
The last aspect I really liked is the versatility of magnetically mounting it on metal surfaces around the city. This allowed me to get footage of myself or wider scenes without “bruising the scene” with a tripod and a large camera setup.
Reliability & Quality
Overall the camera has been very reliable, with only one freeze up to report. With each firmware update the UI and overall user experience has remained smooth, fast, and lag free. The build quality is plastic as you’d expect, but given this isn’t designed to be abused like a traditional action camera, it’s not really a negative and it helps keep the weight down.
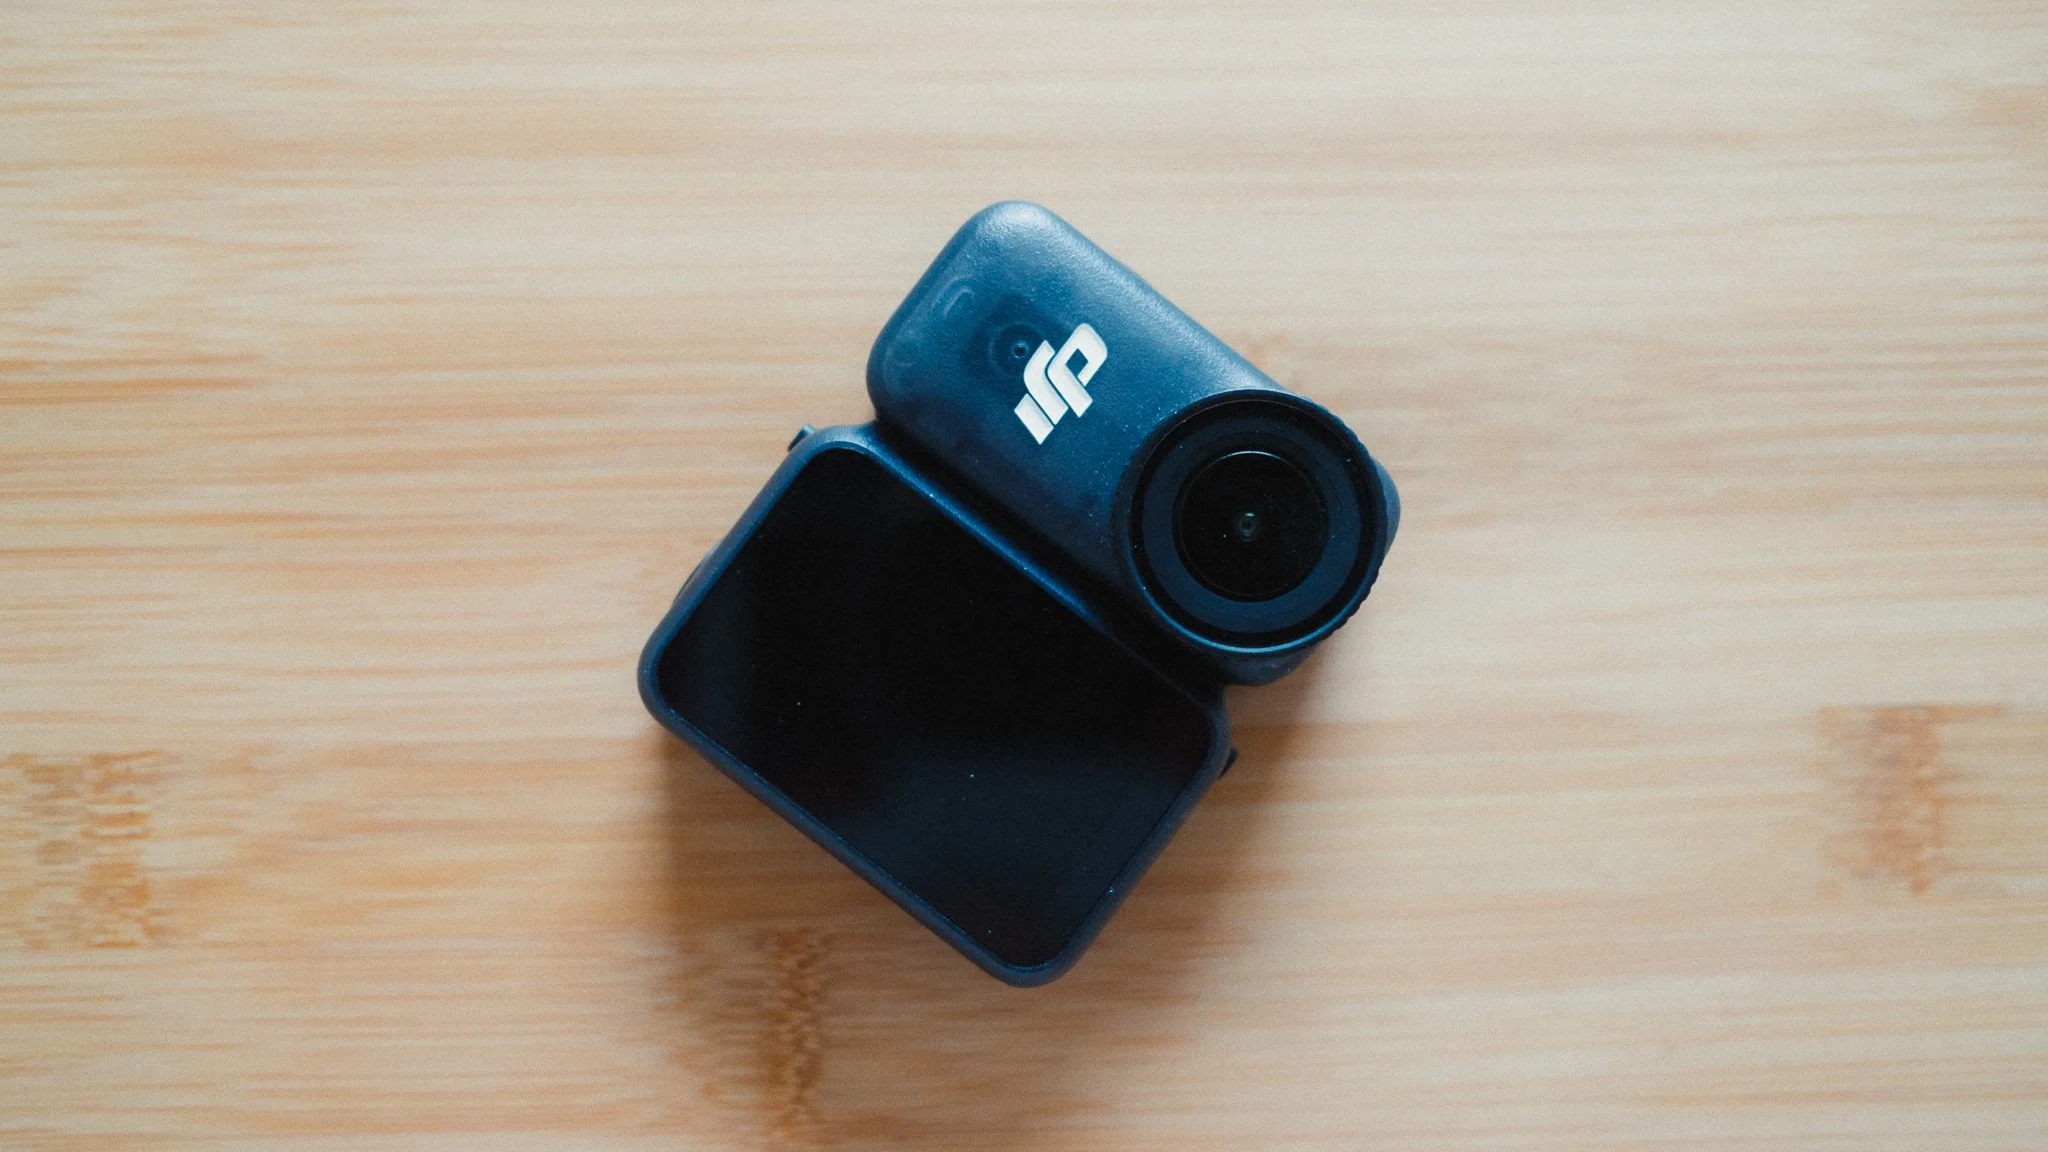
Image Quality
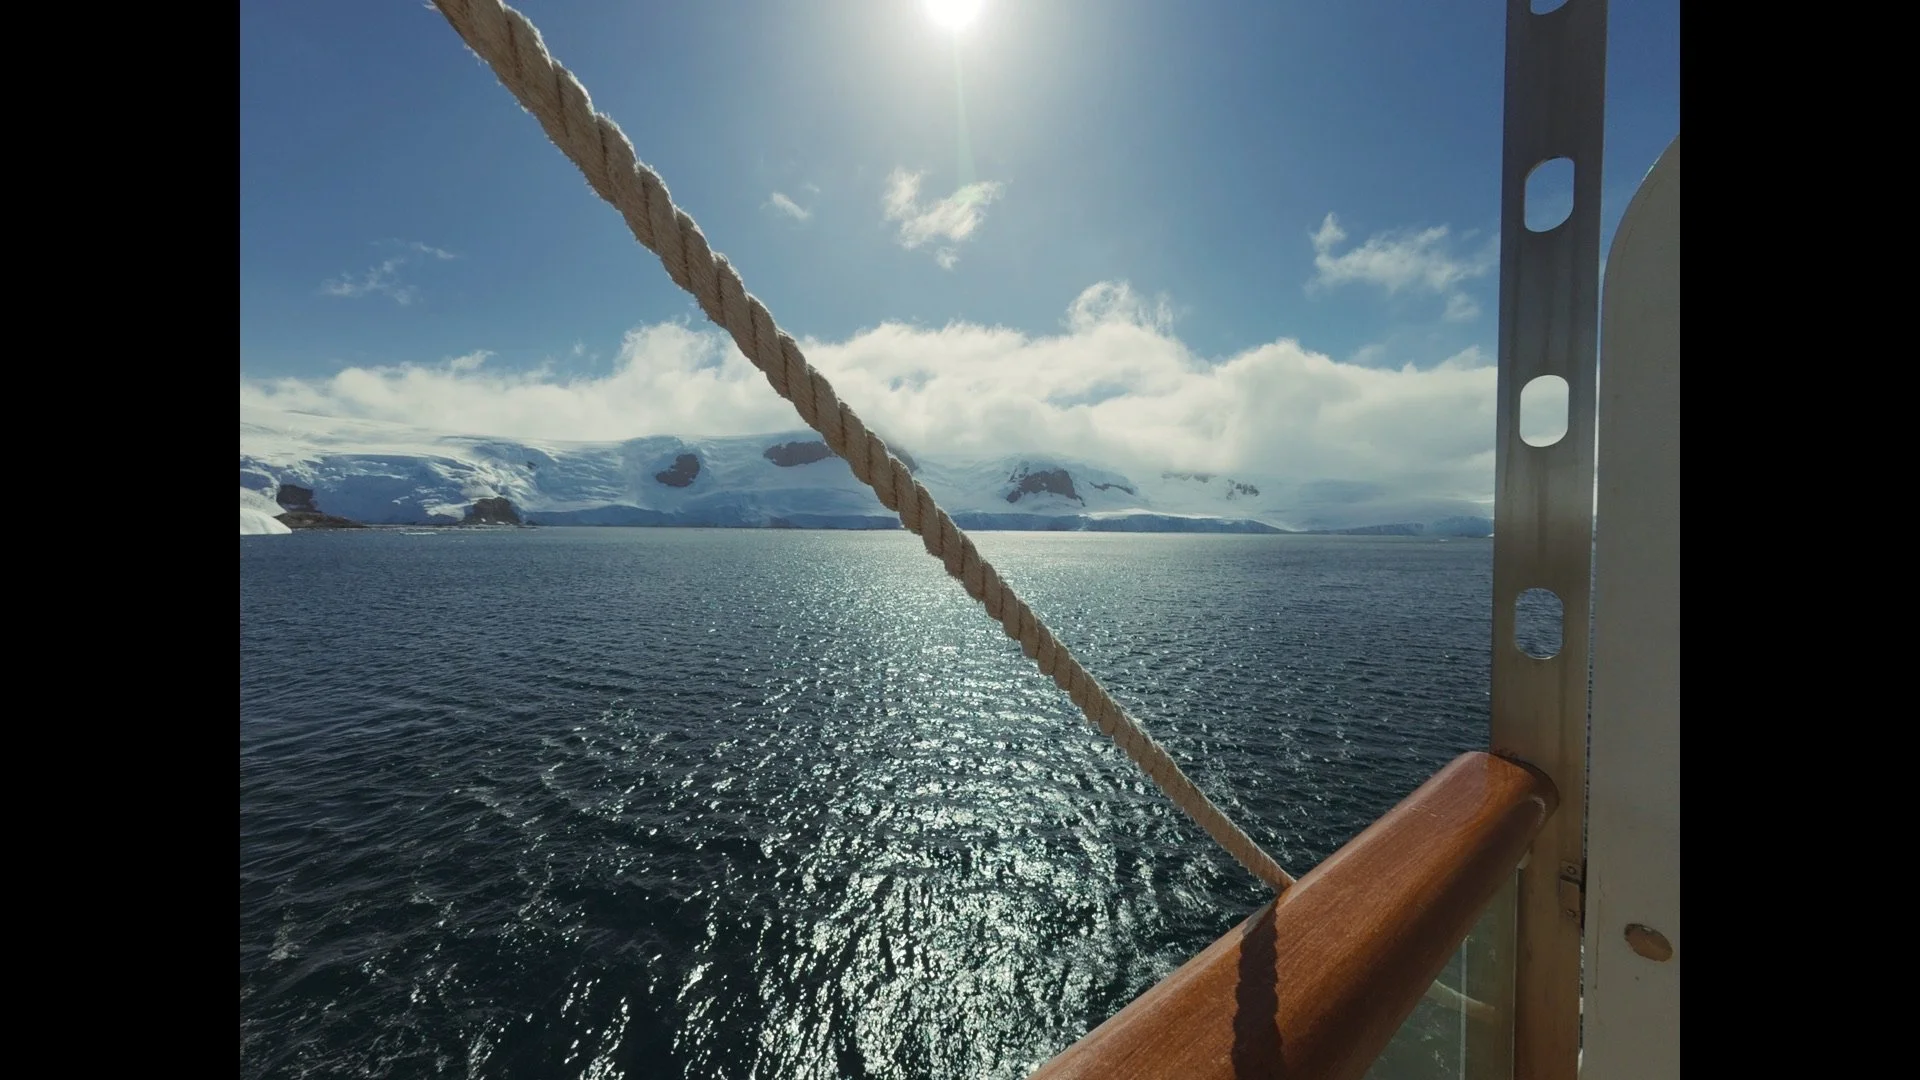
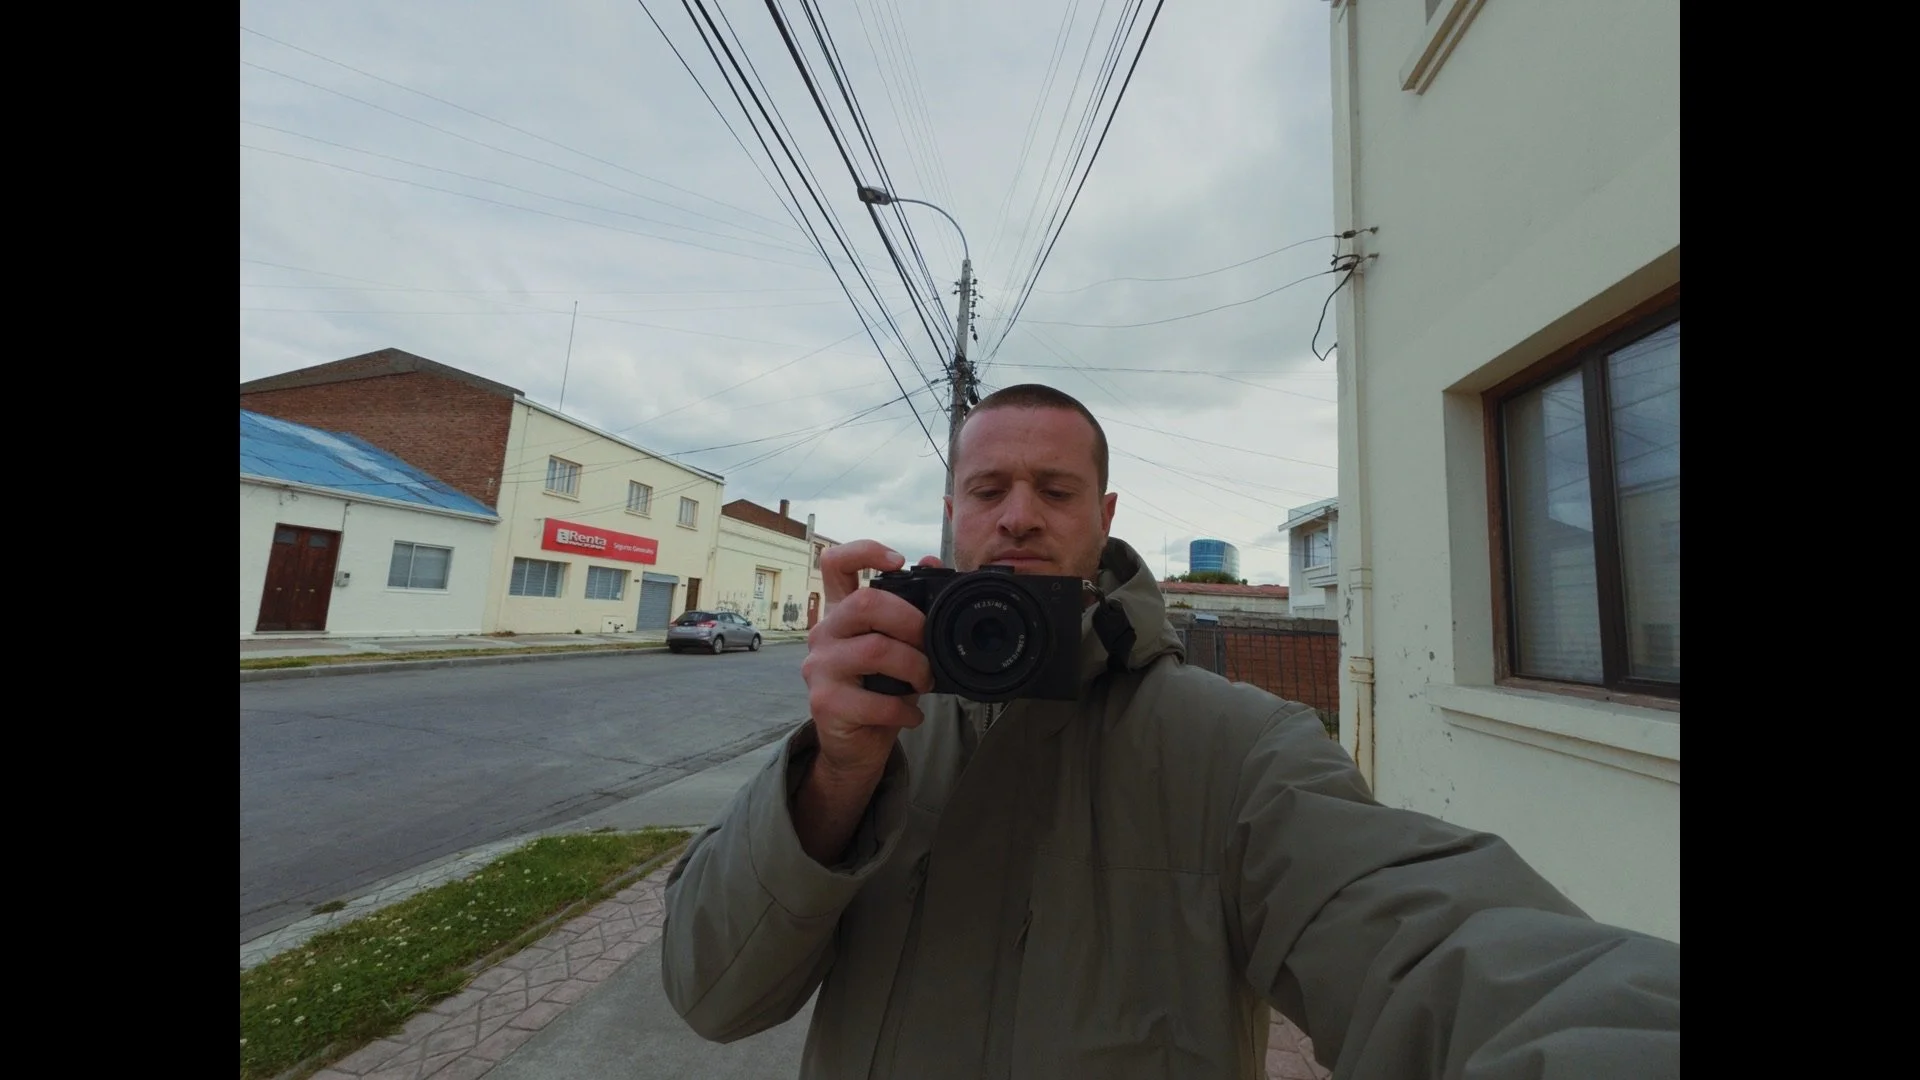
The image quality is great. It’s not noticeably better or worse than any of DJI’s current or previous action cameras. I believe it uses the same sensor as the DJI Action 5, but even when comparing footage to the Action 6 I can’t say there’s a huge difference.

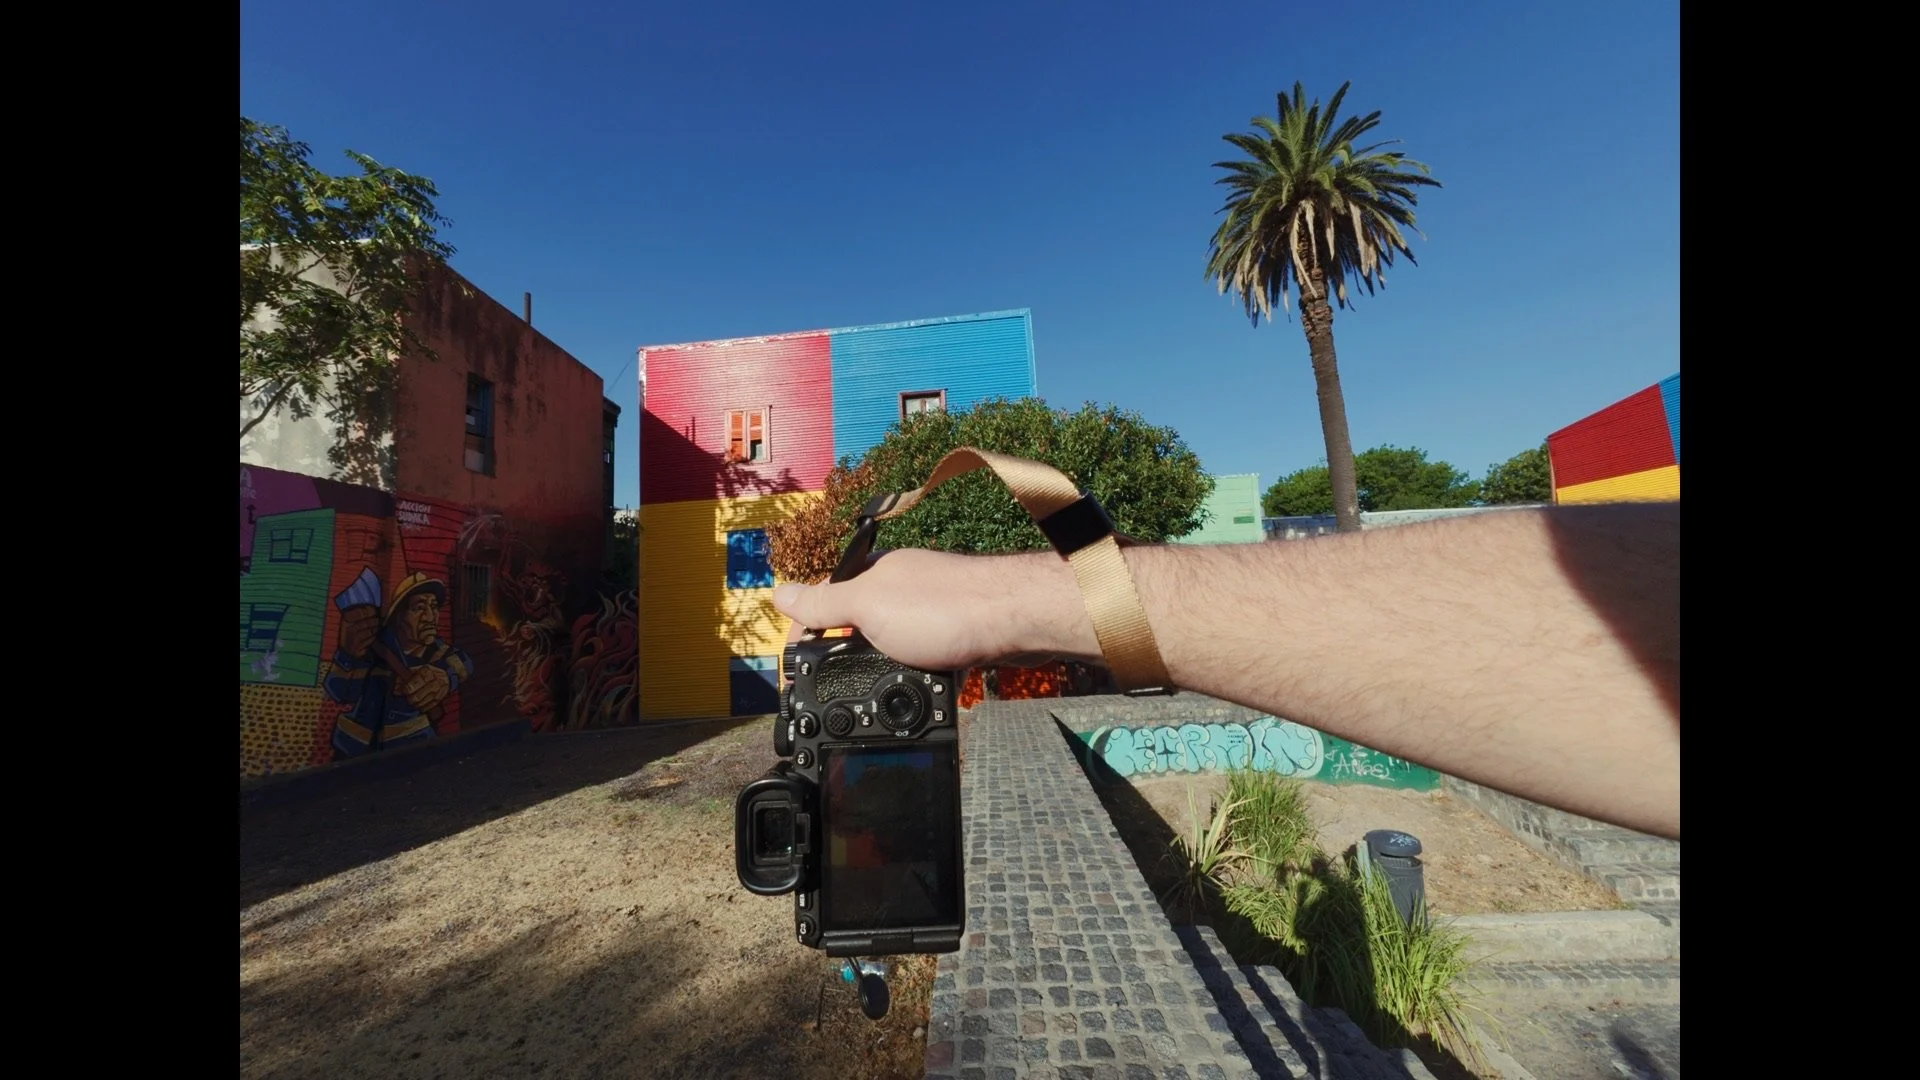

If you shoot using the standard de-warp profile and the D-Log 10-bit colour profile, you get files that are easy to grade and can end up looking excellent. Of course in low light the image quality and stabilisation drop off quite a bit. It’s still usable, but noticeably worse.
Microphones
The built in microphones are great but very prone to wind noise. I suggest picking up some stick on wind socks to cover the microphones if you don’t plan on using external mics.
Assuming there is no wind, or you’re using wind protection, the microphones are very good for the size. Easily good enough to be used without anything external.
What I Don’t Like / Wish It Had
Honestly, as it stands I think this camera is almost perfect. What I would love to see is a USB-C port on the camera module itself so you can charge it or transfer files without needing the base. I suspect the reason it’s missing is due to the limited space, but it would be a fantastic addition.
I would also love a tiny screen somewhere on the camera module to show basic information such as recording status, clip duration, battery level, time remaining, and what mode the camera is in. While the LED light tells you if the camera is recording, you are otherwise completely blind without the screen module nearby.
Who Is It For
There are two main groups of users that I think this camera is designed for. The first group are people who want to wear the camera on their body. This could be for POV videos mounted to a hat, or having the camera mounted somewhere else while being able to monitor and control it remotely. A good example would be cyclists with the camera mounted on their helmet or jersey while the screen module sits on the handlebars.
The second group are content creators and filmmakers who want something extremely small that can be placed in locations where a traditional camera, or even a normal action camera, simply wouldn’t fit.
Do I Recommend It?
If you fall into one of the two groups I just mentioned, then yes, I would recommend this camera. However if you simply want a small camera to vlog your travels, document your life, or start a YouTube channel, I would say the DJI Action 6 is the better option.