DJI Pocket 3 Video Settings
** DJI frequently releases firmware updates that add, modify or remove features. This blog is correct on the day it’s published but might be updated later if required.
In this blog I will share the video and general settings I use on my DJI Pocket 3. Although the Pocket 3 has many features, this blog will only focus on normal video capture and some global settings. I use my Pocket 3 for YouTube videos and POV documenting my travels. Finally keep in mind that my settings work for me and you might need something different, therefore use this blog as a reference, pick what you need and discard the rest.

Frame Rate & Image
If you swipe up from the bottom of the screen, you will see the frame rate page. For YouTube and home videos, I shoot in 4K and either 24p or 25p depending on where I am. USA and Japan will need 24p while Europe is 25p. If you mix these up you will get flickering in shop window lights due to the frequency. Check the country you’re about to visit and set it accordingly. I shoot in 16:9 however if I am creating for social media exclusively, I will change it to the square format. This gives me plenty of room for different crops, recomposition yet still maintaining 3K which is plenty.

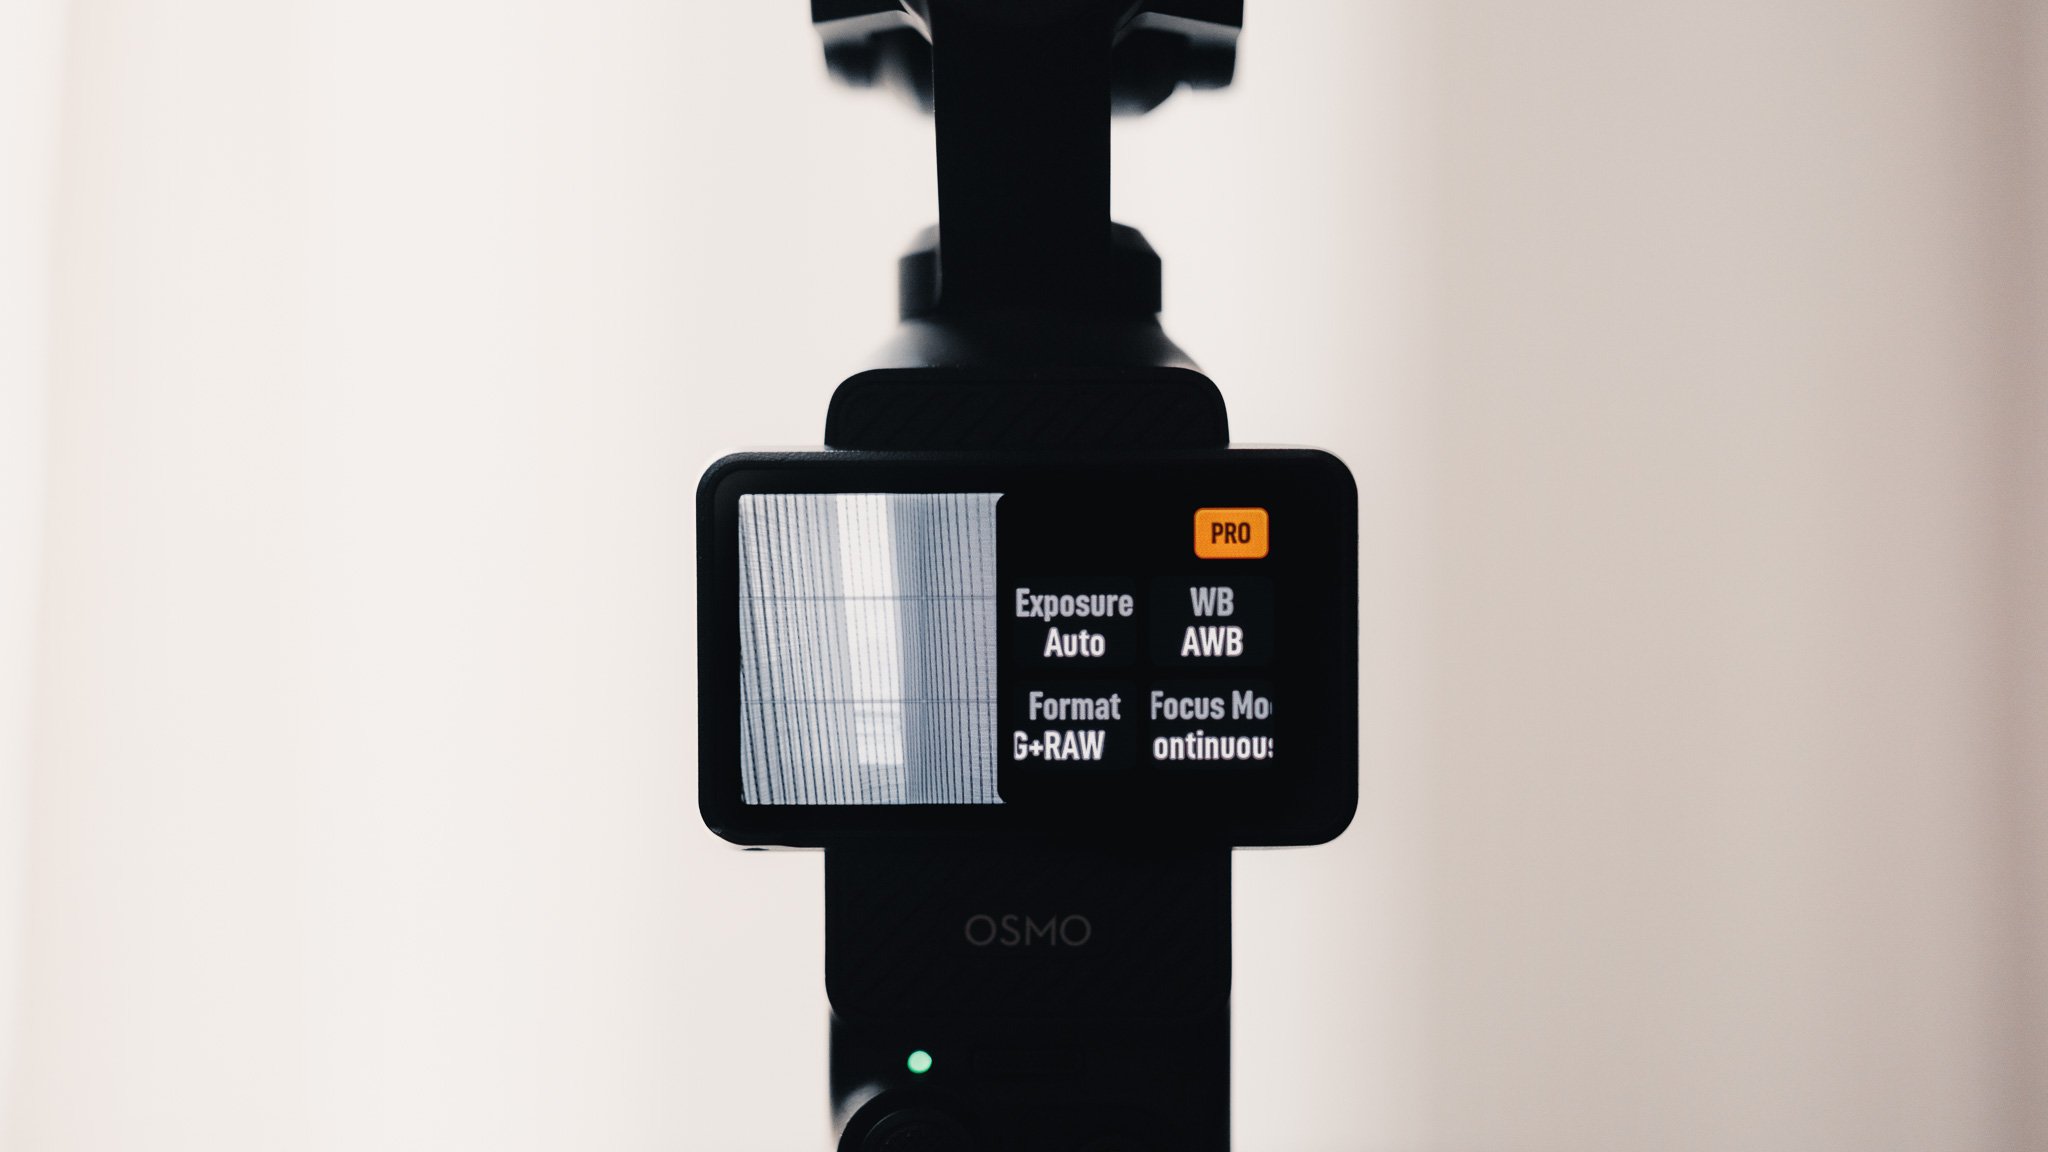
If you swipe from the right side of the screen you will get some camera settings relating to the image. First thing you need to do is enable pro mode by tapping pro as this will give you more options.

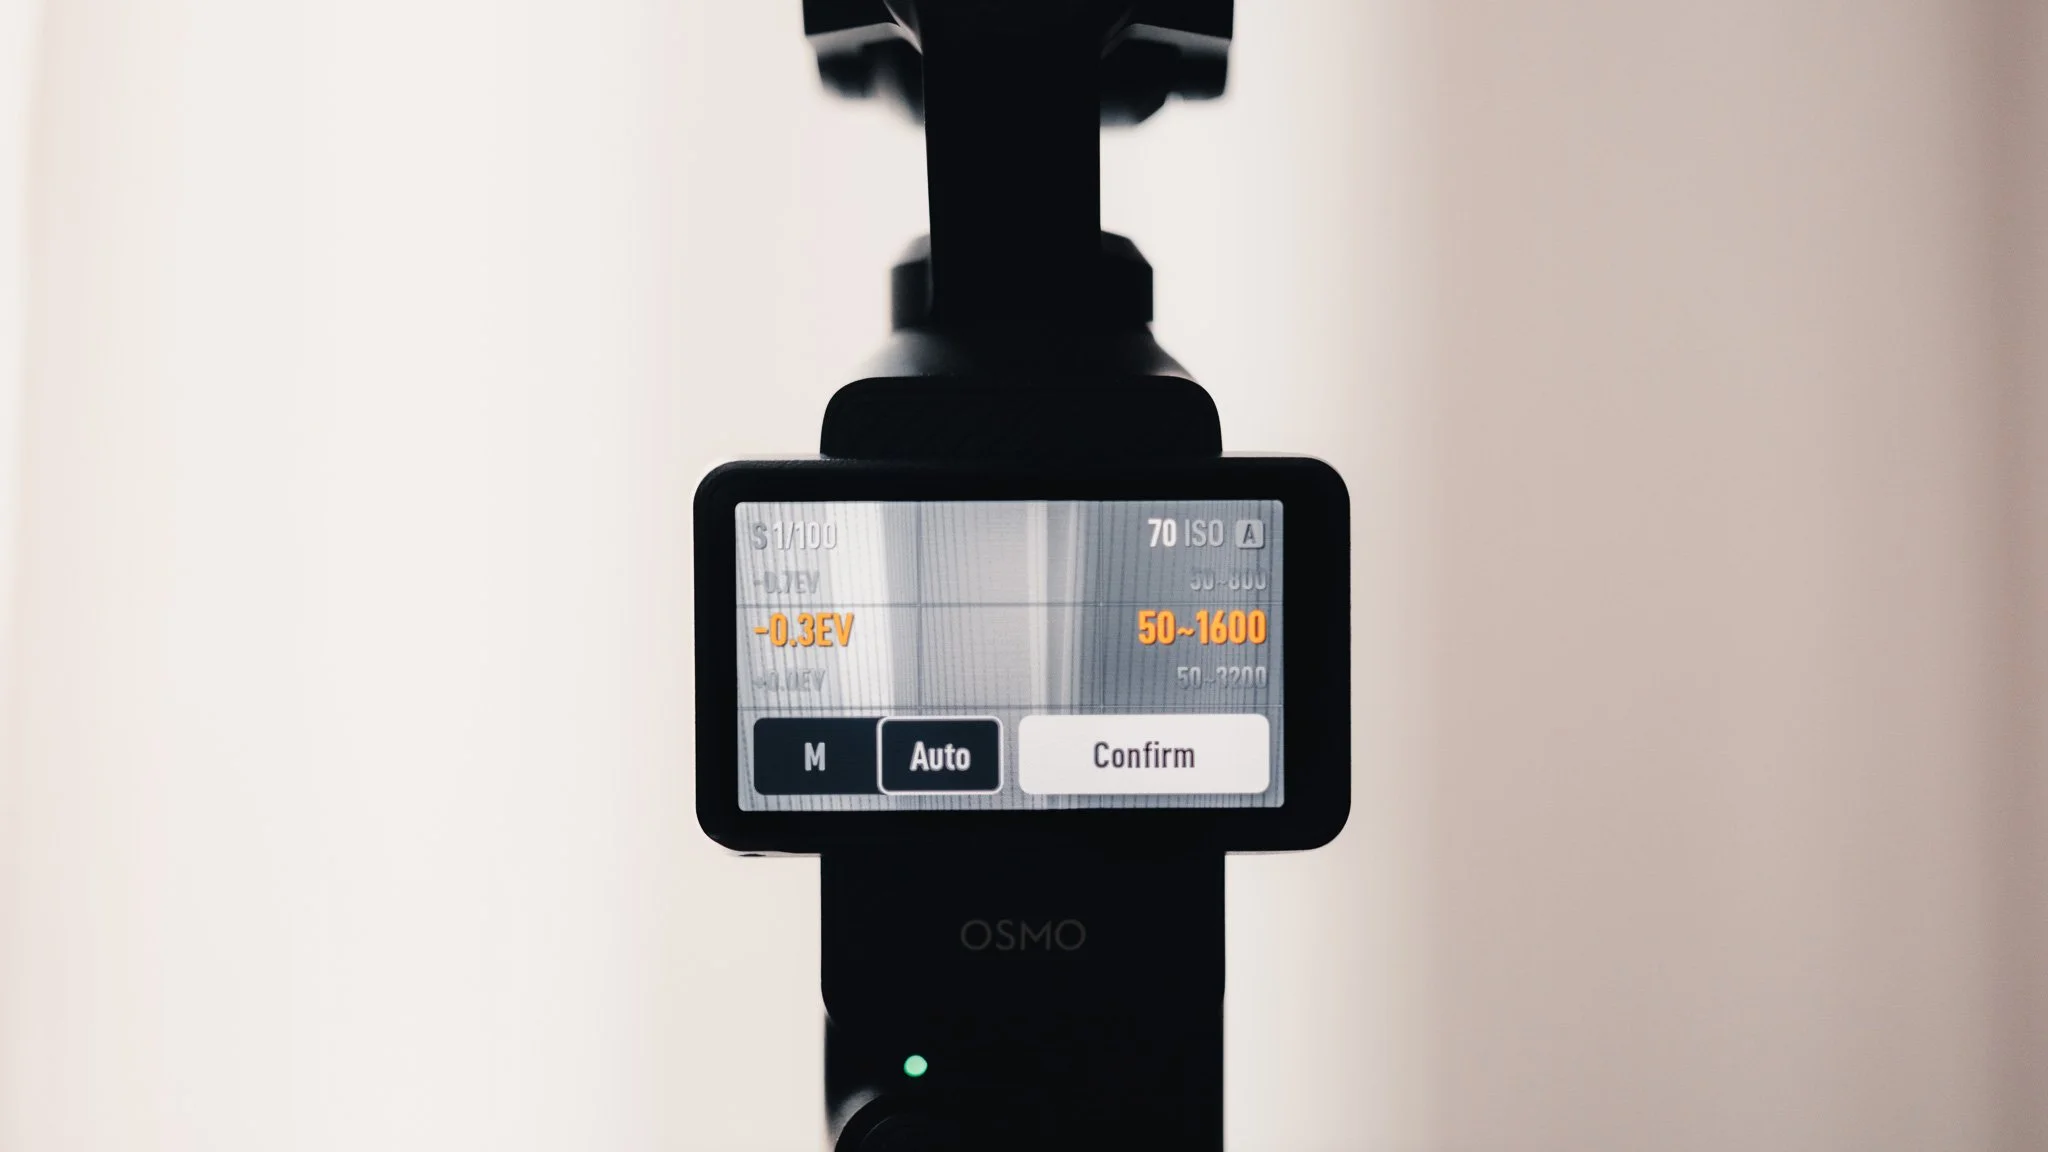
Click on exposure and here I set the global exposure to -0.3 because in my experience this camera can over expose most scenes. I then put ISO in 50-1600 and leave exposure adjustment in auto. I found that 50-1600 works great even in low light without using night mode.
White balance leave in auto unless you need specific control. If you’re doing longer takes or shooting a scene that can really impact white balance (such as sunsets and blue hour) then stick it in 4700 or something similar.

Glamour effect off. Colour mode is set to D-LOG M as this gives a very nice flat image that can be colour graded while maintaining more dynamic range. DJI have their own LUT on their website to help too.

Focus mode is set to continuous in order to constantly track what’s in front. If you’re doing a longer take or if the camera is locked off on a tripod or even if you simply want to focus on something far away and forget it, then single is the way to go. If you’re always shooting products, the product showcase will be a good choice.

Next is Image where you can set sharpness and noise reduction levels. Both of these I set to default and haven’t found the need to change them.

Lastly in the main settings there is an option for video compression. This will be locked off to HEVC due to using D-LOG M profile. This will give you the best quality file out of the camera. To access the main menu swipe from top to bottom on the screen and press the nut icon on the bottom left.
Audio
If you swipe from the right side of the screen just like you did for camera settings, you will find some audio settings. First make sure pro mode is enabled if it isn’t already then click on the mic icon. Make sure channel is set to stereo. This will allow you to split tracks from different mics later in editing. Mono will combine all tracks into one. Wind noise reduction leave on as in my opinion it does a great job.

Finally directional audio depends on what you’re filming. If you are only vlogging, then set it to front. This will only activate the mic facing you and turn all others off. If you want some ambient audio from in front of you (maybe you’re having a conversation with someone), then set it to front and back. If you want audio from all sides, the set to all.
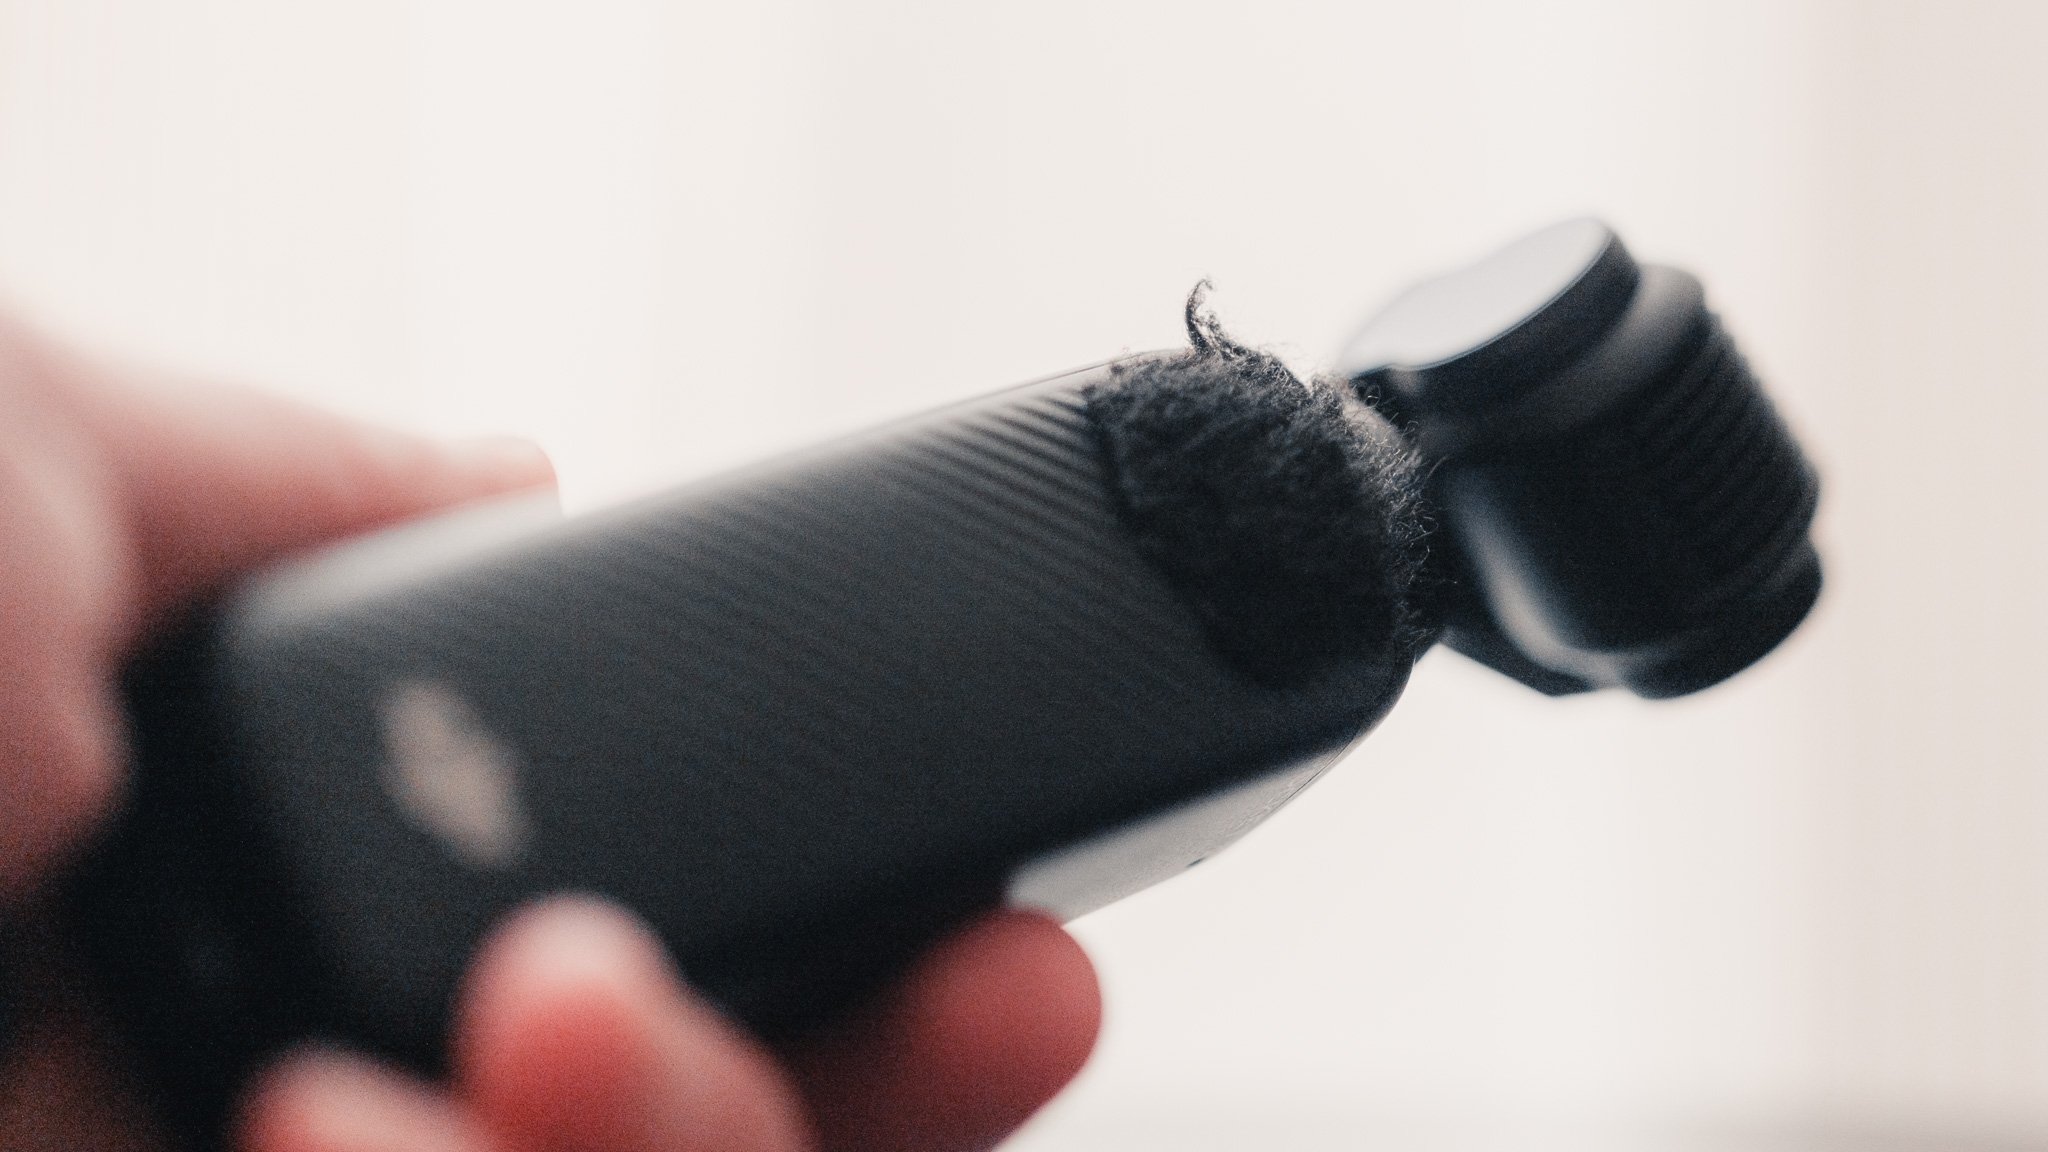
Word of warning, the mic that’s facing you has great wind protection. The other smaller mics are more exposed. I suggest getting a stick on dead cat that will help remove wind noise. I got mine on amazon.
With the setup here done, now let’s go into the main menu for more settings. To access the main menu swipe from top to bottom on the screen and press the nut icon on the bottom left. First let’s set up the wireless mic settings. If you don’t have them, then skip this section.

Monitor volume is set to 50 by default and I will leave it there.
LED is set to on but if filming in low light and not wishing to have lights in the video, switch it off.
Vibration I always leave on as that way you know when you start / stop recording using the buttons on the mic.
Audio to video sync I have switched on. This will make the wireless receiver record an internal backup audio track as well as the audio in the original video. Good to have incase there is a connection issue.
Low cut filter is on.
32 Bit Float is on. It does give larger files but also allows you more room for adjusting audio if it’s too loud or quiet.


Finally head down to Built In Mic Audio Backup and switch it on. This will record an audio track using the built in mics on the camera. Let’s say the battery in the wireless mic dies, at least you still have internal audio.

Quick Menu
Access this by swiping down from the top of the screen.

Top Left - Profiles
Here you can save custom profiles for different modes. Think of them as shortcuts with specific settings. Personally I only shoot in the normal video mode and don’t change settings much so for me this feature isn’t needed. However you might find it very useful.Top Mid Left - Screen Rotate & Capture
This setting allows the camera to start recording immediately as soon as the screen is rotated when the camera is off. This can be useful if you need to film something quickly and is faster than turning on, waiting then hitting record.Top Mid Right - Screen Brightness
Here you can adjust screen brightness. I set mine to 100%.Top Right - Selfie Face Tracking
This feature turns on / off the face tracking when the camera is in selfie mode. I always have this switched on as it keeps my face in the frame at all times. I can use the joystick to move the frame so my face is either to the left or right of the screen. I also use this feature to start recording me then follow me as I wander off.Bottom Left - Settings
Access to the main settings menu.Bottom Mid Left - Video Orientation
Here you can select whether to record in horizontal or vertical. You can also assign the screen to work as a switch between horizontal and vertical.Bottom Mid Right - Rotational Speed
Here you can set the gimbal speed. Personally I have it set to default however depending on what you’re filming you might need to change it. Locked off shots might be better suited to slow while action better suited to fast.Bottom Right - Gimbal Modes
I generally use the follow mode which keeps the horizon level while allowing all other movement. Tilt locked will also lock the tilt while FPV will allow all movement. You can briefly enable full gimbal lock by pressing and holding the joystick.
Smart Features
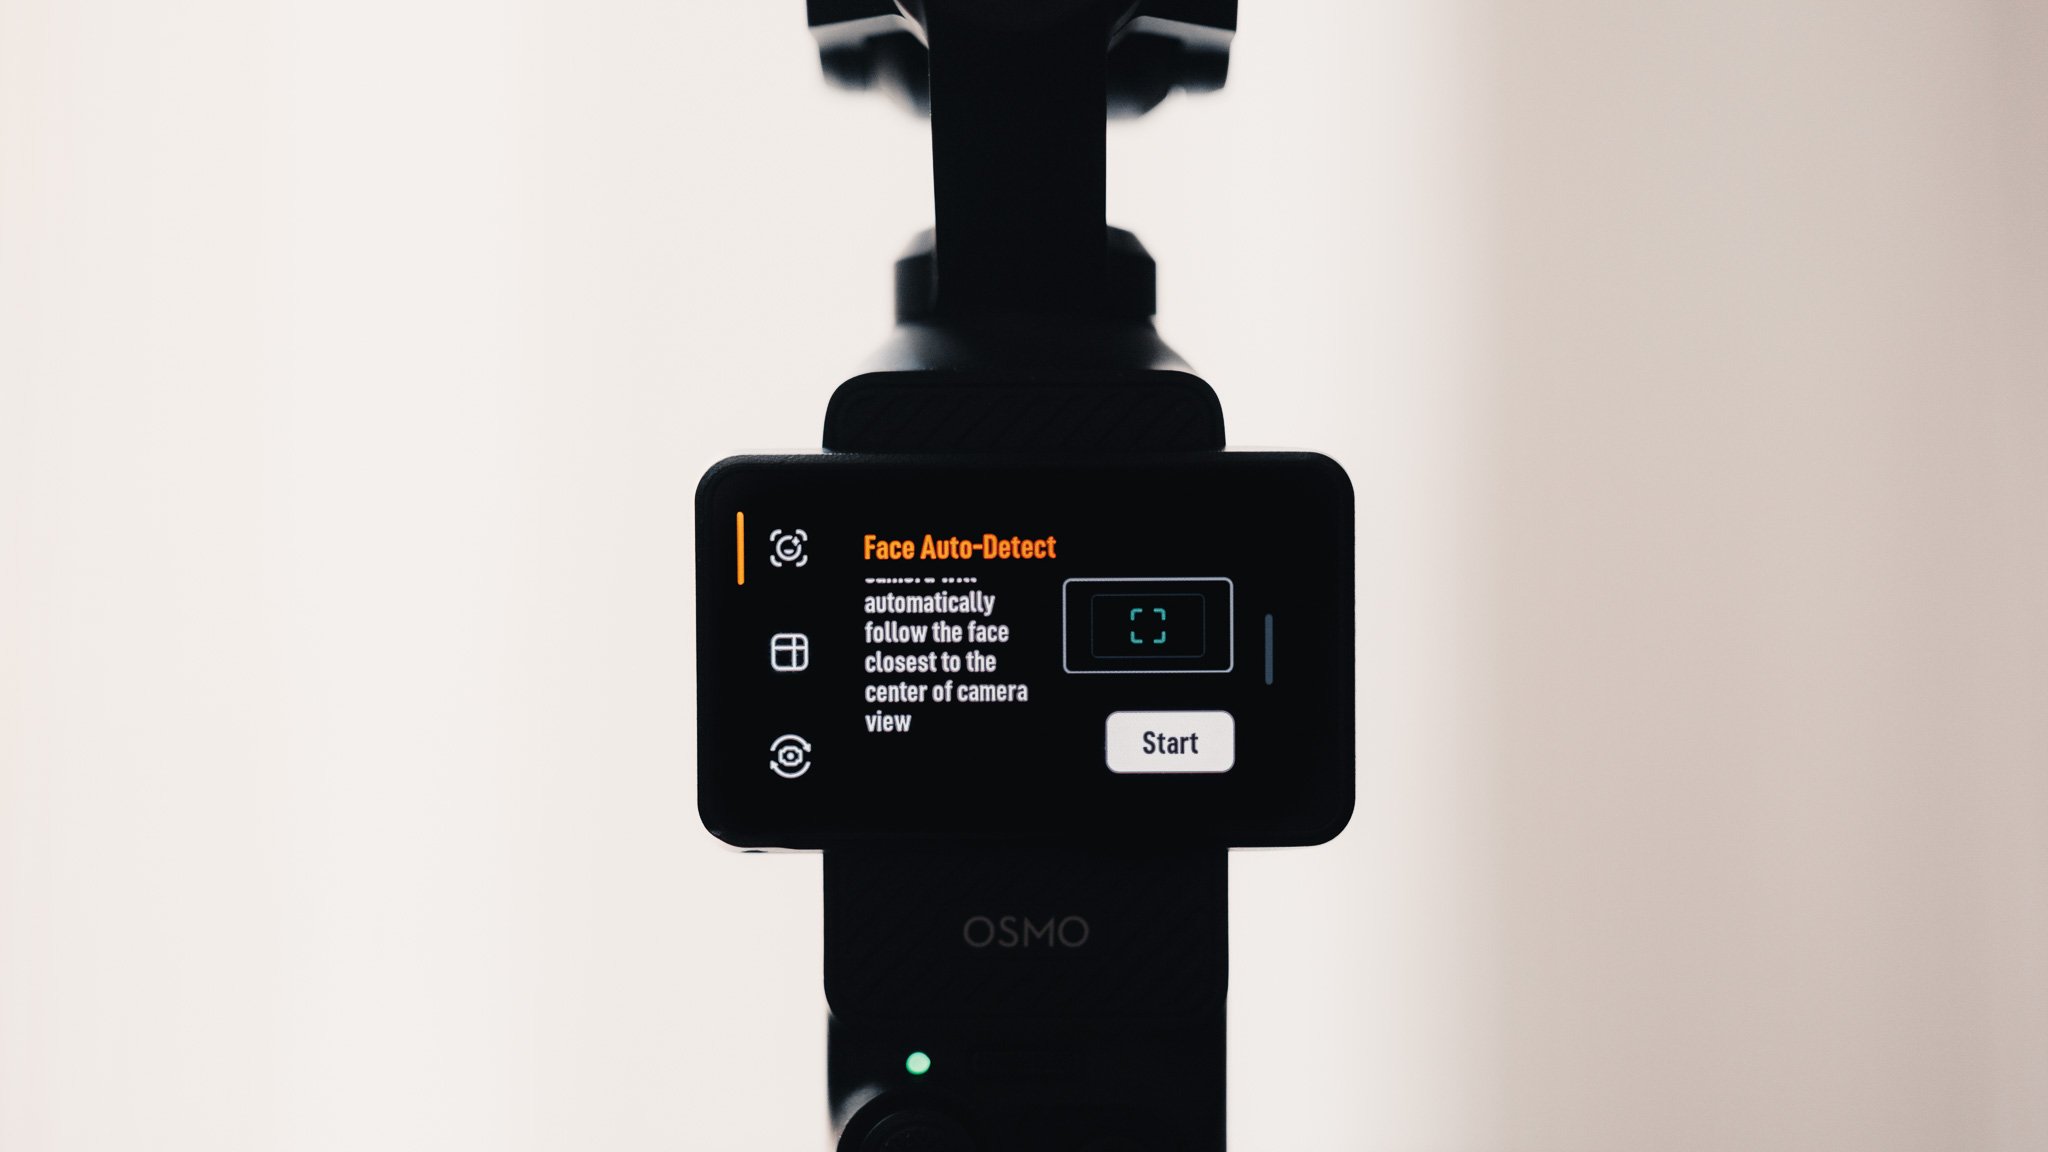
The gimbal does have 3 main smart features that can be accessed by pressing the button in the middle left edge of the screen. Here you can enable face tracking, object tracking and creative gimbal modes. I personally only use face and object tracking as they can be useful when filming alone. The camera provides clear instructions so I won’t repeat them here.
Main Settings
Finally let’s look at some other settings found in the main menu. To access the main menu swipe from top to bottom on the screen and press the nut icon on the bottom left. I won’t cover every single setting but instead will focus on the main ones and those I personally use. I will go from top to bottom.

Gimbal Startup Direction - Forward
Rotate Screen To Power Off - Now
Slider Control - Zoom
Joystick Speed - Zoom 4 / Gimbal 4
Sounds - Mute
Reference Line - Grid
Anti Flicker - Auto
Screen Off When Recording - Off
LED - On
Photo Settings
With video done, now let’s look at how I set up the photo mode. This I use exclusively for YouTube and blog thumbnails however honestly speaking this camera is perfect for selfies and for wide shots. It’s actually a decent camera when set up right. First switch the camera into photo mode. Next swipe from the right side of the screen to open settings and make sure pro is enabled.
The main setting to adjust here is the format where you want to select JPEG + RAW because RAW will get you the best quality and the most dynamic range. All the other settings here are same as for video.
If you’re considering purchasing this item and use the affiliate links below, it will not cost you any extra however I will get a small % kickback which helps keep this blog ad free for you to enjoy.
Purchase here: