
Seoul To Busan In 1 Week
In this blog I will share my trip from Seoul To Busan and list any noteworthy spots. This wasn’t a dedicated photography trip and more of a tourist visit however there is still so much to shoot even in the limited areas we explored. In total we had 5 full days for Seoul and 2 full days for Busan. One day in the middle was a travel day however it still gave us the morning in Seoul and evening in Busan. What I’m sharing is our trip and it’s not the perfect itinerary that covers everything possible. This was a fairly relaxed pace with 9am starts and 6pm finished. I’m sure you can cram way more into each day if you try.
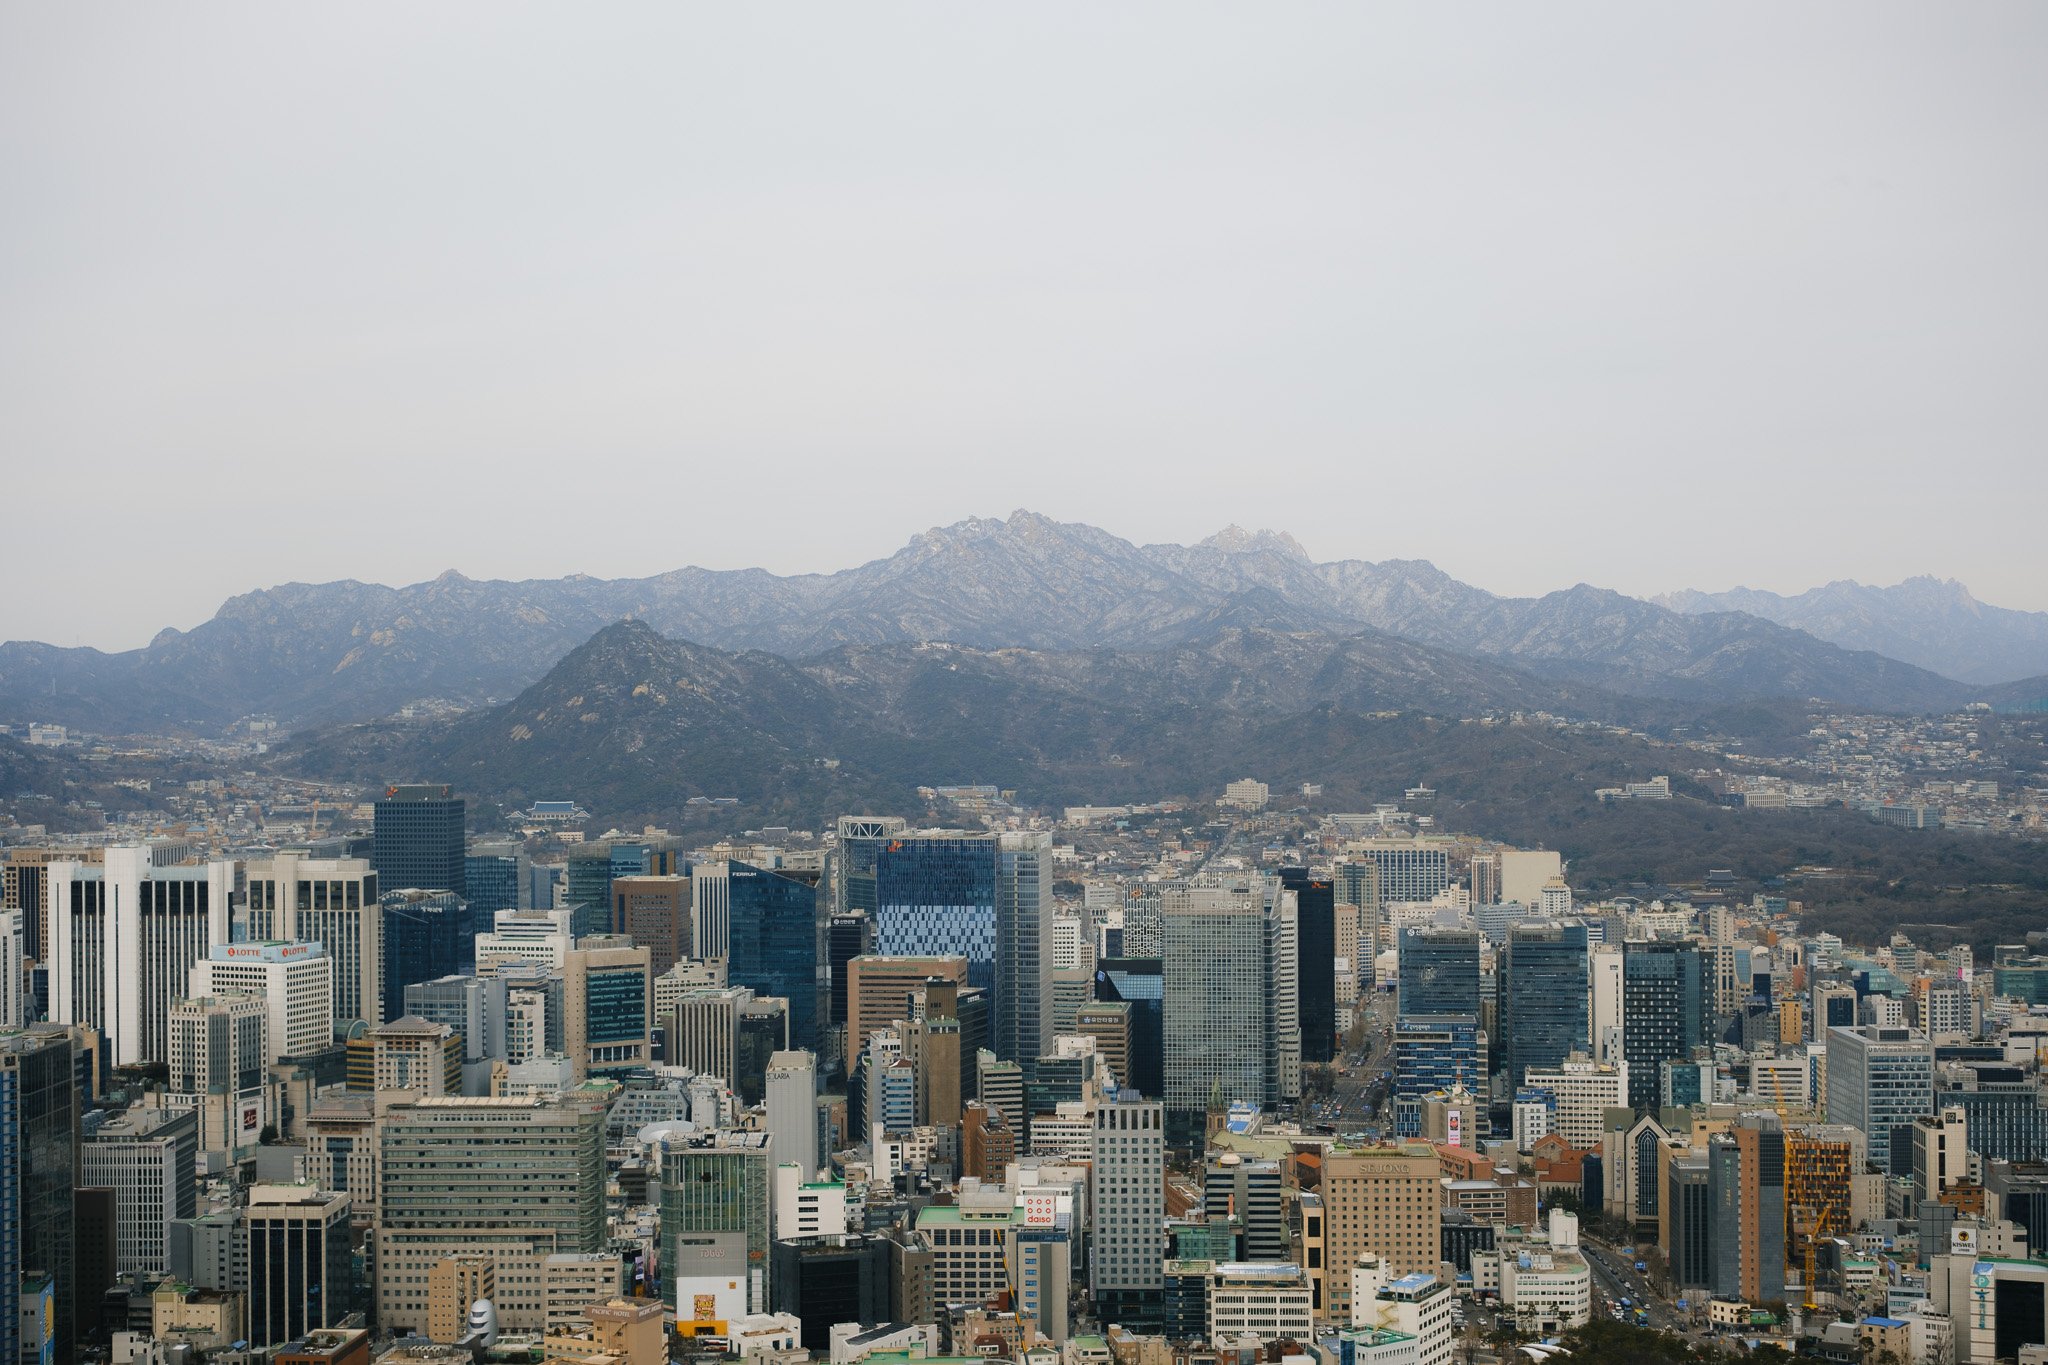
When it comes to photography, people don’t like to be photographed and it’s actually frowned upon with some cases being illegal too. I’m no expert on South Korean law however from what I could understand by researching and speaking to locals, shooting in the street is ok as long as you’re not being a jerk. However taking photos of people in private spaces is illegal. Equally if your photo is of a scene but some people happen to be in it, that’s ok. If your entire shot is just one persons clear face, that’s not ok. Not a legal advice so do your own research. As for lenses, I found myself using the 50mm (full frame) pretty much exclusively for the entire trip.

Seoul
We spent 5 full days here however if I were to come back again I would allocate at least 2 weeks for the city. Not only is there a lot to see but also there are plenty of day trips to smaller locations just outside the capital. 5 days also felt very rushed and by the end of each day we were exhausted.

We visited in February and on the second day we woke up to a covering of snow. The weather was a mixed bag and we had snow, rain, wind, cloud and clear blue skies. In general it was colder than I anticipated however the sunny days were really nice.

We stayed in Myeondong and honestly were so glad we did. Specifically we stayed in a little local hostel style hotel called Ari House. It was very affordable and traditional. The people working there were lovely and I would highly recommend them again. It’s not luxury so if you’re a bit of a princess, I do not recommend. Getting around from this areas was super easy either by metro or taxi. Uber works great and is affordable while the metro is straight forward.

Busan
To get here we took the bullet train from Seoul Station. It was less than 3 hours with some great views along the way. It got very full very quick so I suggest reserving seats. I need to say that Google Maps was the best for Korea. Apple Maps sucked. In Busan we stayed in Urbanity Boutique Nampo. A collection of self catering studio flats with an amazing view of Busan. The area is called Nampodong and the main reason for choosing this spot is because it’s close to the port (we were leaving by boat) and is very central.
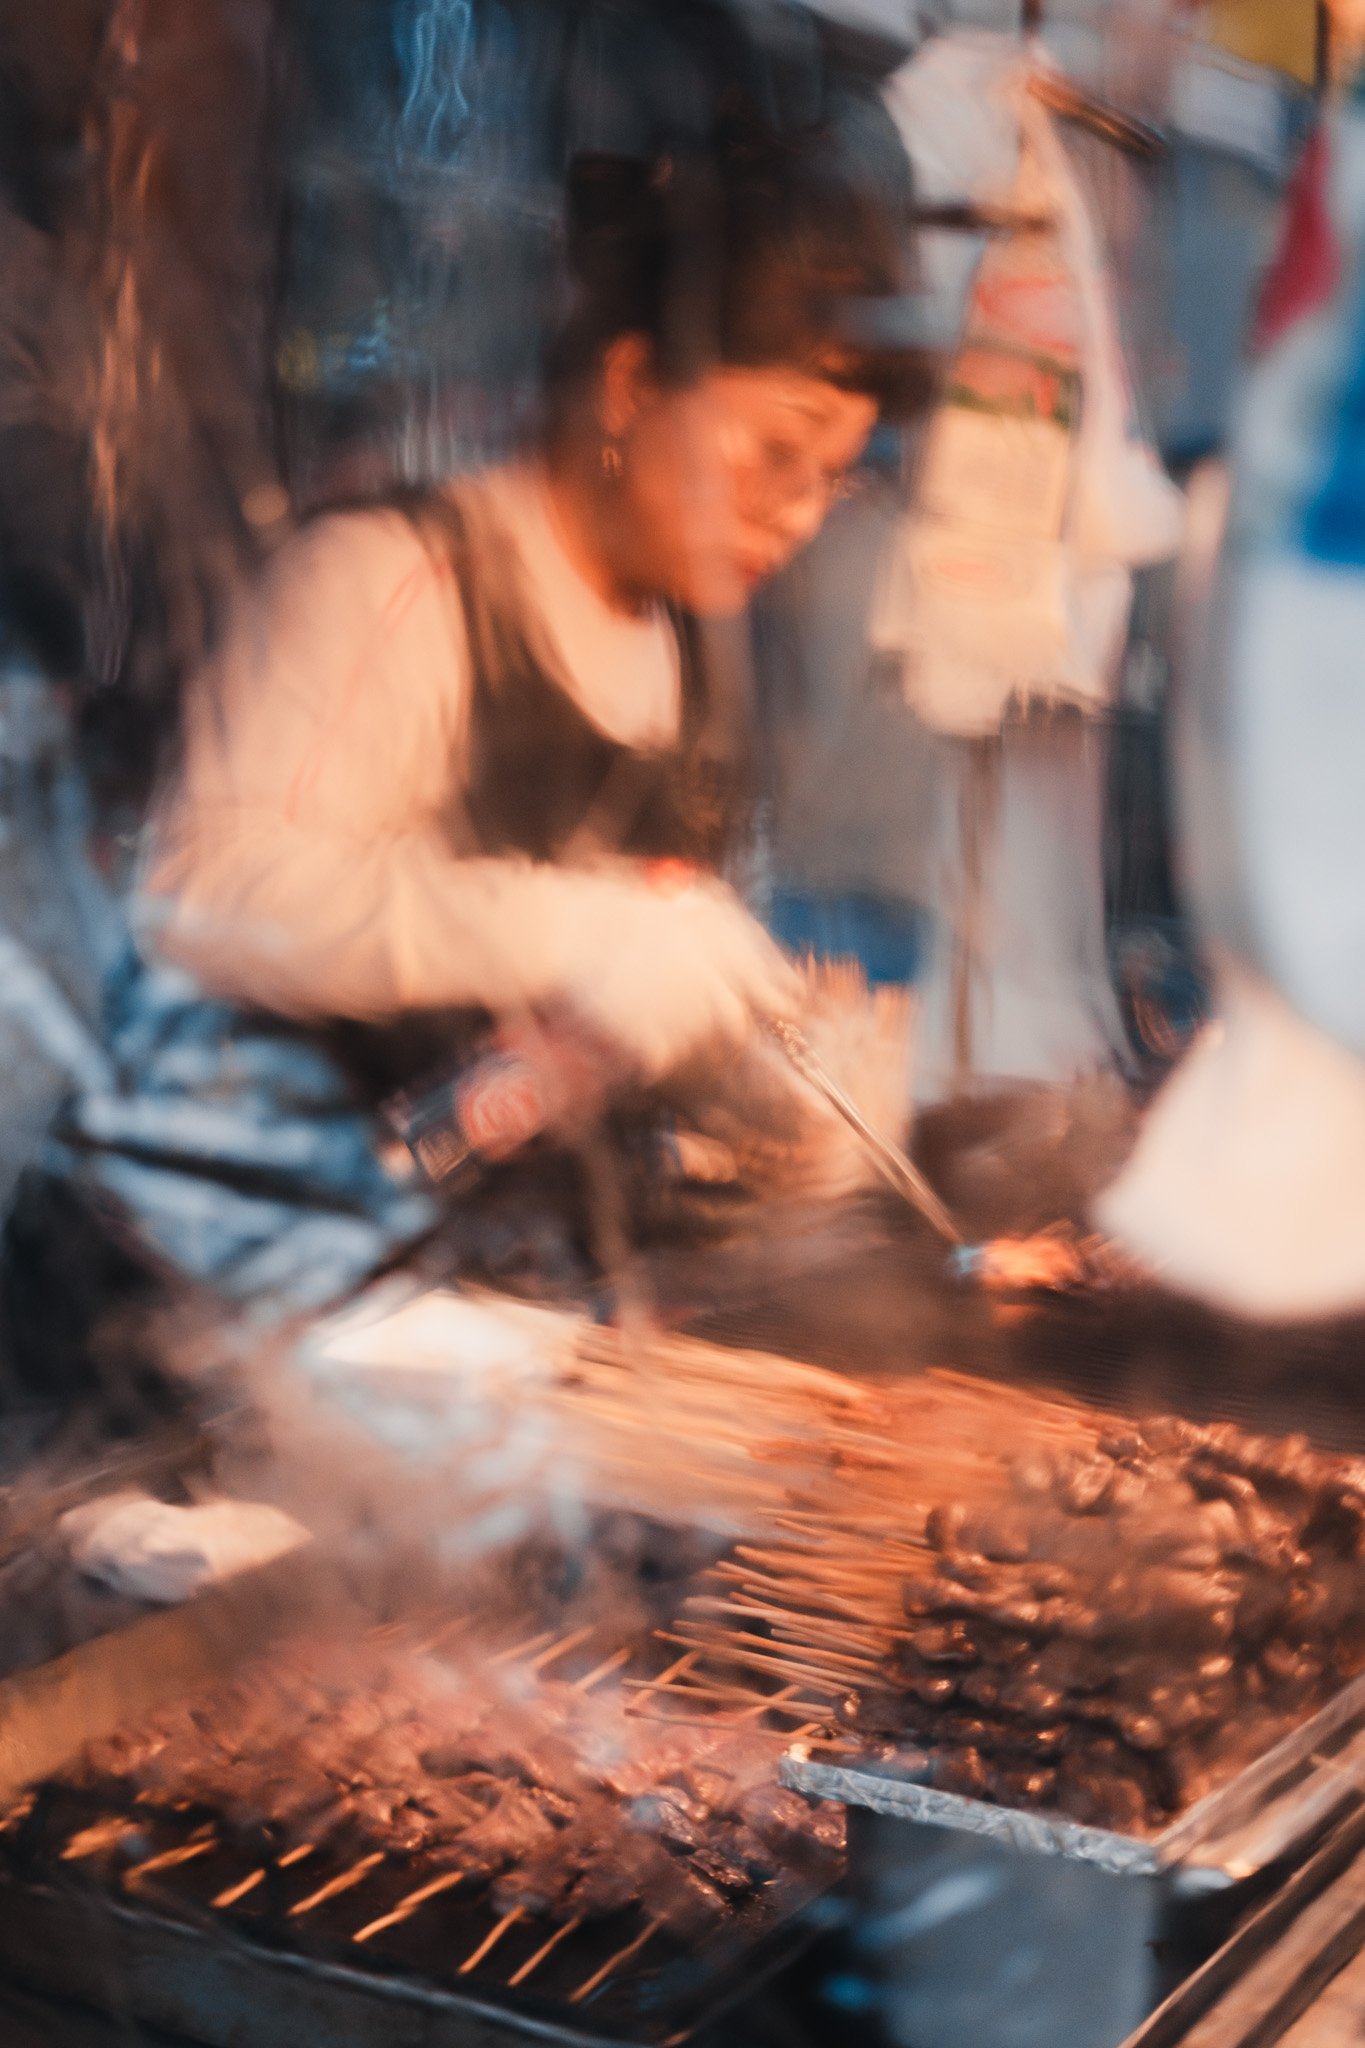
In total we did 2 full days in Busan but wished we had a few more however our schedule didn’t allow. If I were to visit again, I’d come for a week. I’d also make sure to come in shoulder season so that I still get good weather for the beach but not too crazy with tourists during holiday season.
Day 1
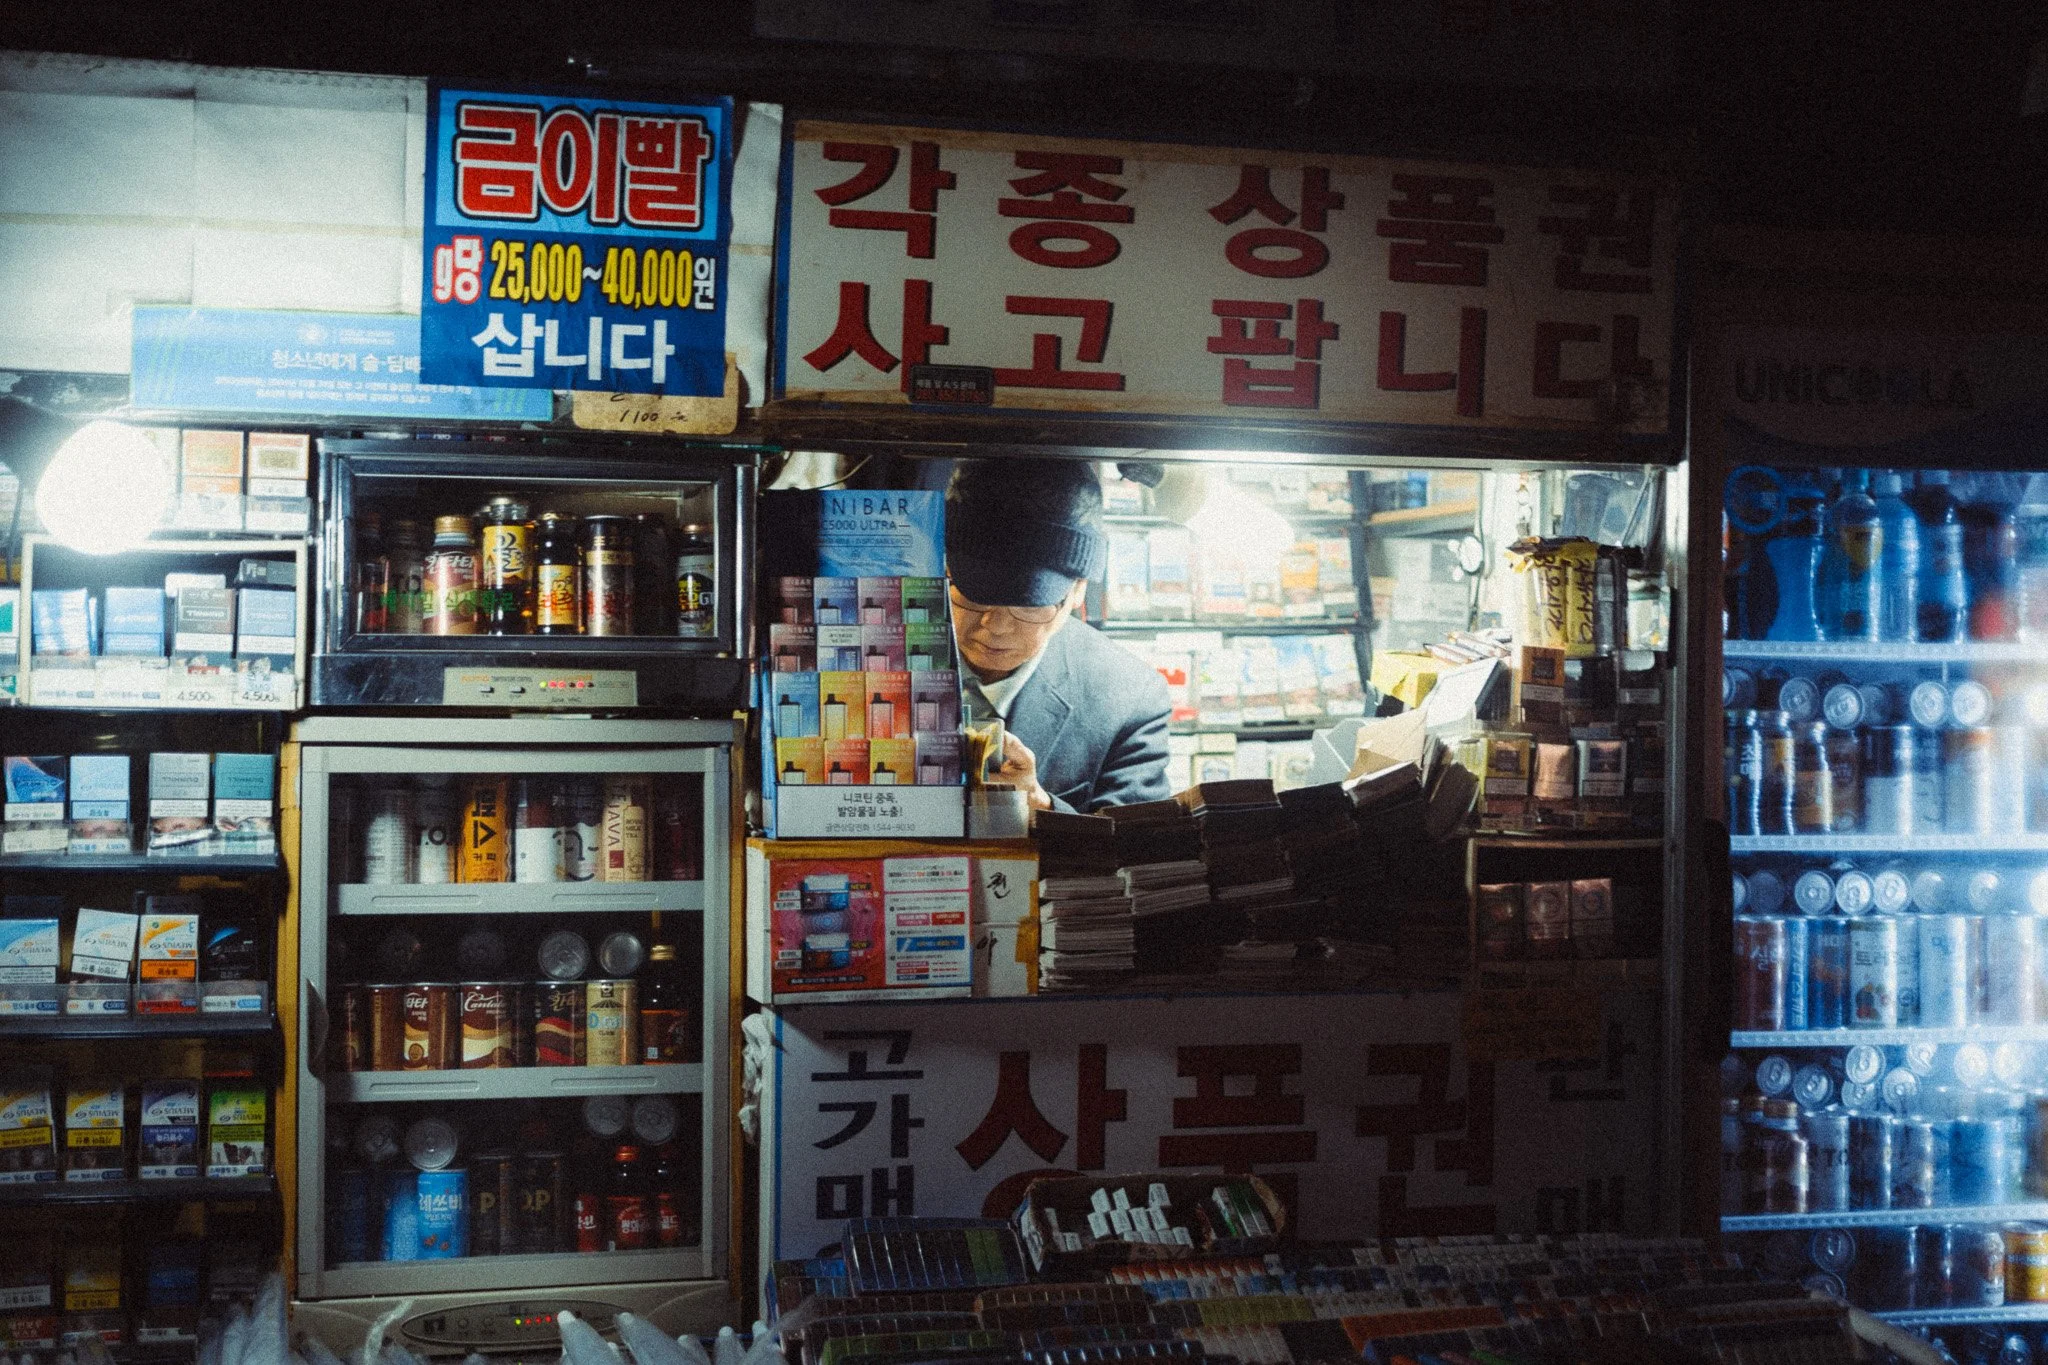
The first day was reserved for museums mostly because it was raining all day. I always try to have one museum day in reserve just in case the weather doesn’t cooperate. The first museum was the National Museum of Korea followed by the Leeum Museum Of Art. Both were interesting to see and would easily take up 2/3 of a day. This isn’t my first choice of activities but on a horrible day, beats just sitting in coffee shops. Not to mention, museums can be great places to shoot.


Day 2
On day 2 we went to the DMZ - demilitarised zone bordering North Korea. This was more of an educational trip for us and considering the significance of the area, I thought it would be silly to not learn a bit more. I won’t go into the details here because I don’t want to ruin it for you. I suggest bringing a 24-70mm too. You can’t just rock up there and go for a wander, instead you need to book a tour. We booked using vviptravel and they were great. Also you need to bring your passport. This takes up an entire day. I also didn’t really take any photos here. Although it was allowed, I just didn’t feel like it.
Day 3
On day 3 we went and explored Samcheong-Dong. Started the day at Changdeokgung Palace and then headed towards Gyeongbokgung Palace. In between these two palaces is a maze of small streets, nice cafes and shops. It’s a very aesthetically pleasing area and I could easily spend half a day getting lost here. If you need a break, I highly suggest a small teahouse we found. It was like a mini time capsule and so cool to chill. I don’t remember the name, but here’s the address - 31-90, Gahoe-dong. Jongno-gu, Seoul, 03052. If you’re hungry, I can highly recommend Oreno Raman. One of them best Chicken Ramen Noodle bowls I’ve ever had. Assuming you visit both of the palaces and take your time exploring the area, this will easily take you a whole day. If you still have some time left, then I suggest visiting the Presidential Palace located just above Gyeongbokgung Palace. You need to bring a passport for that.


Day 4
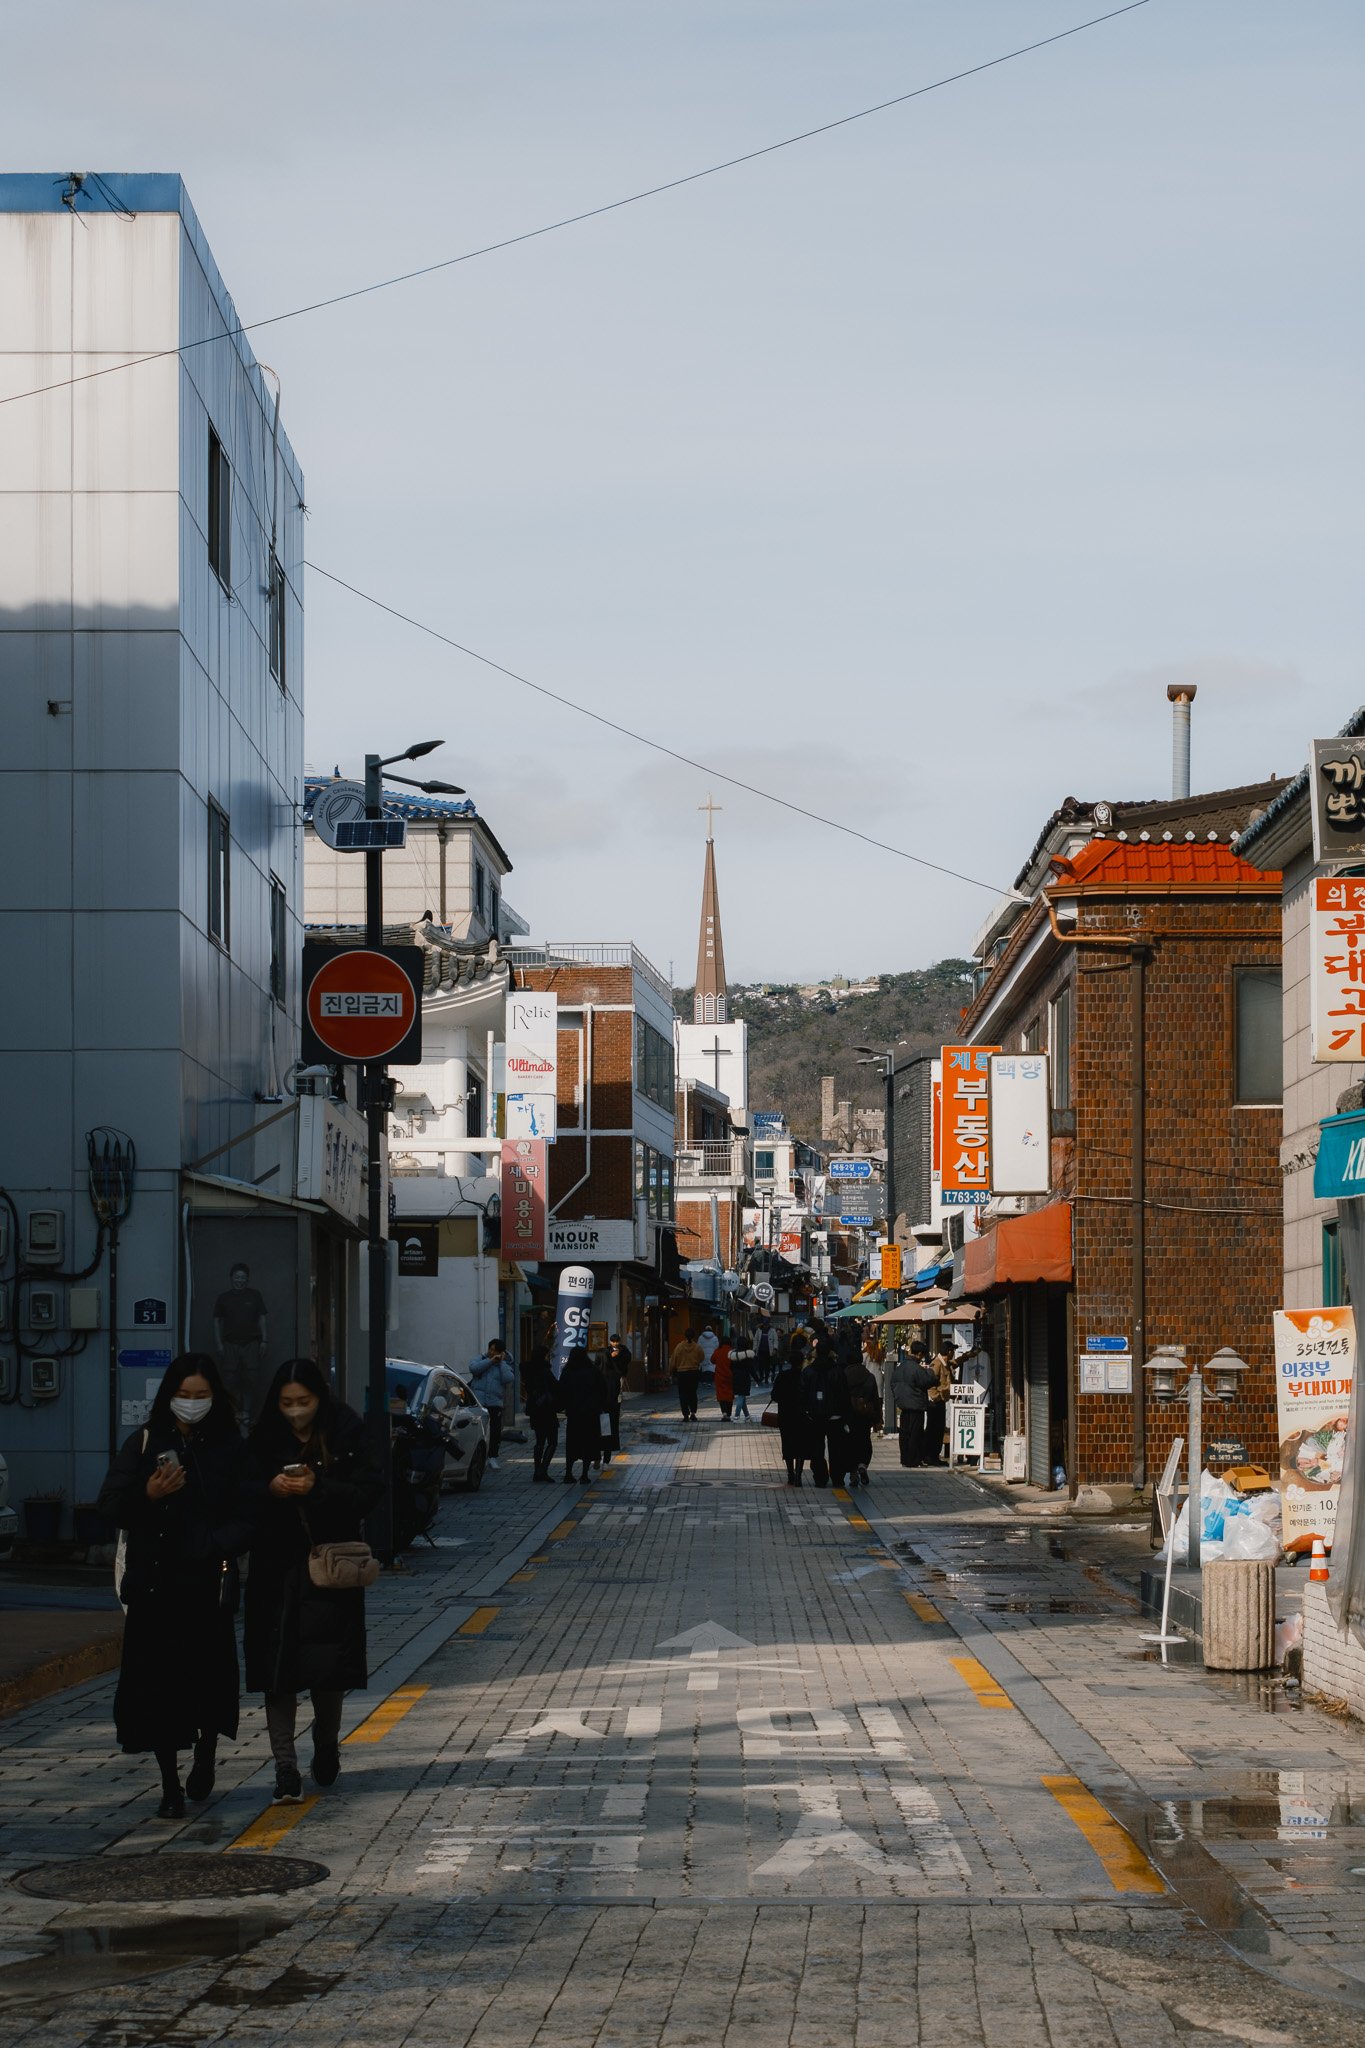
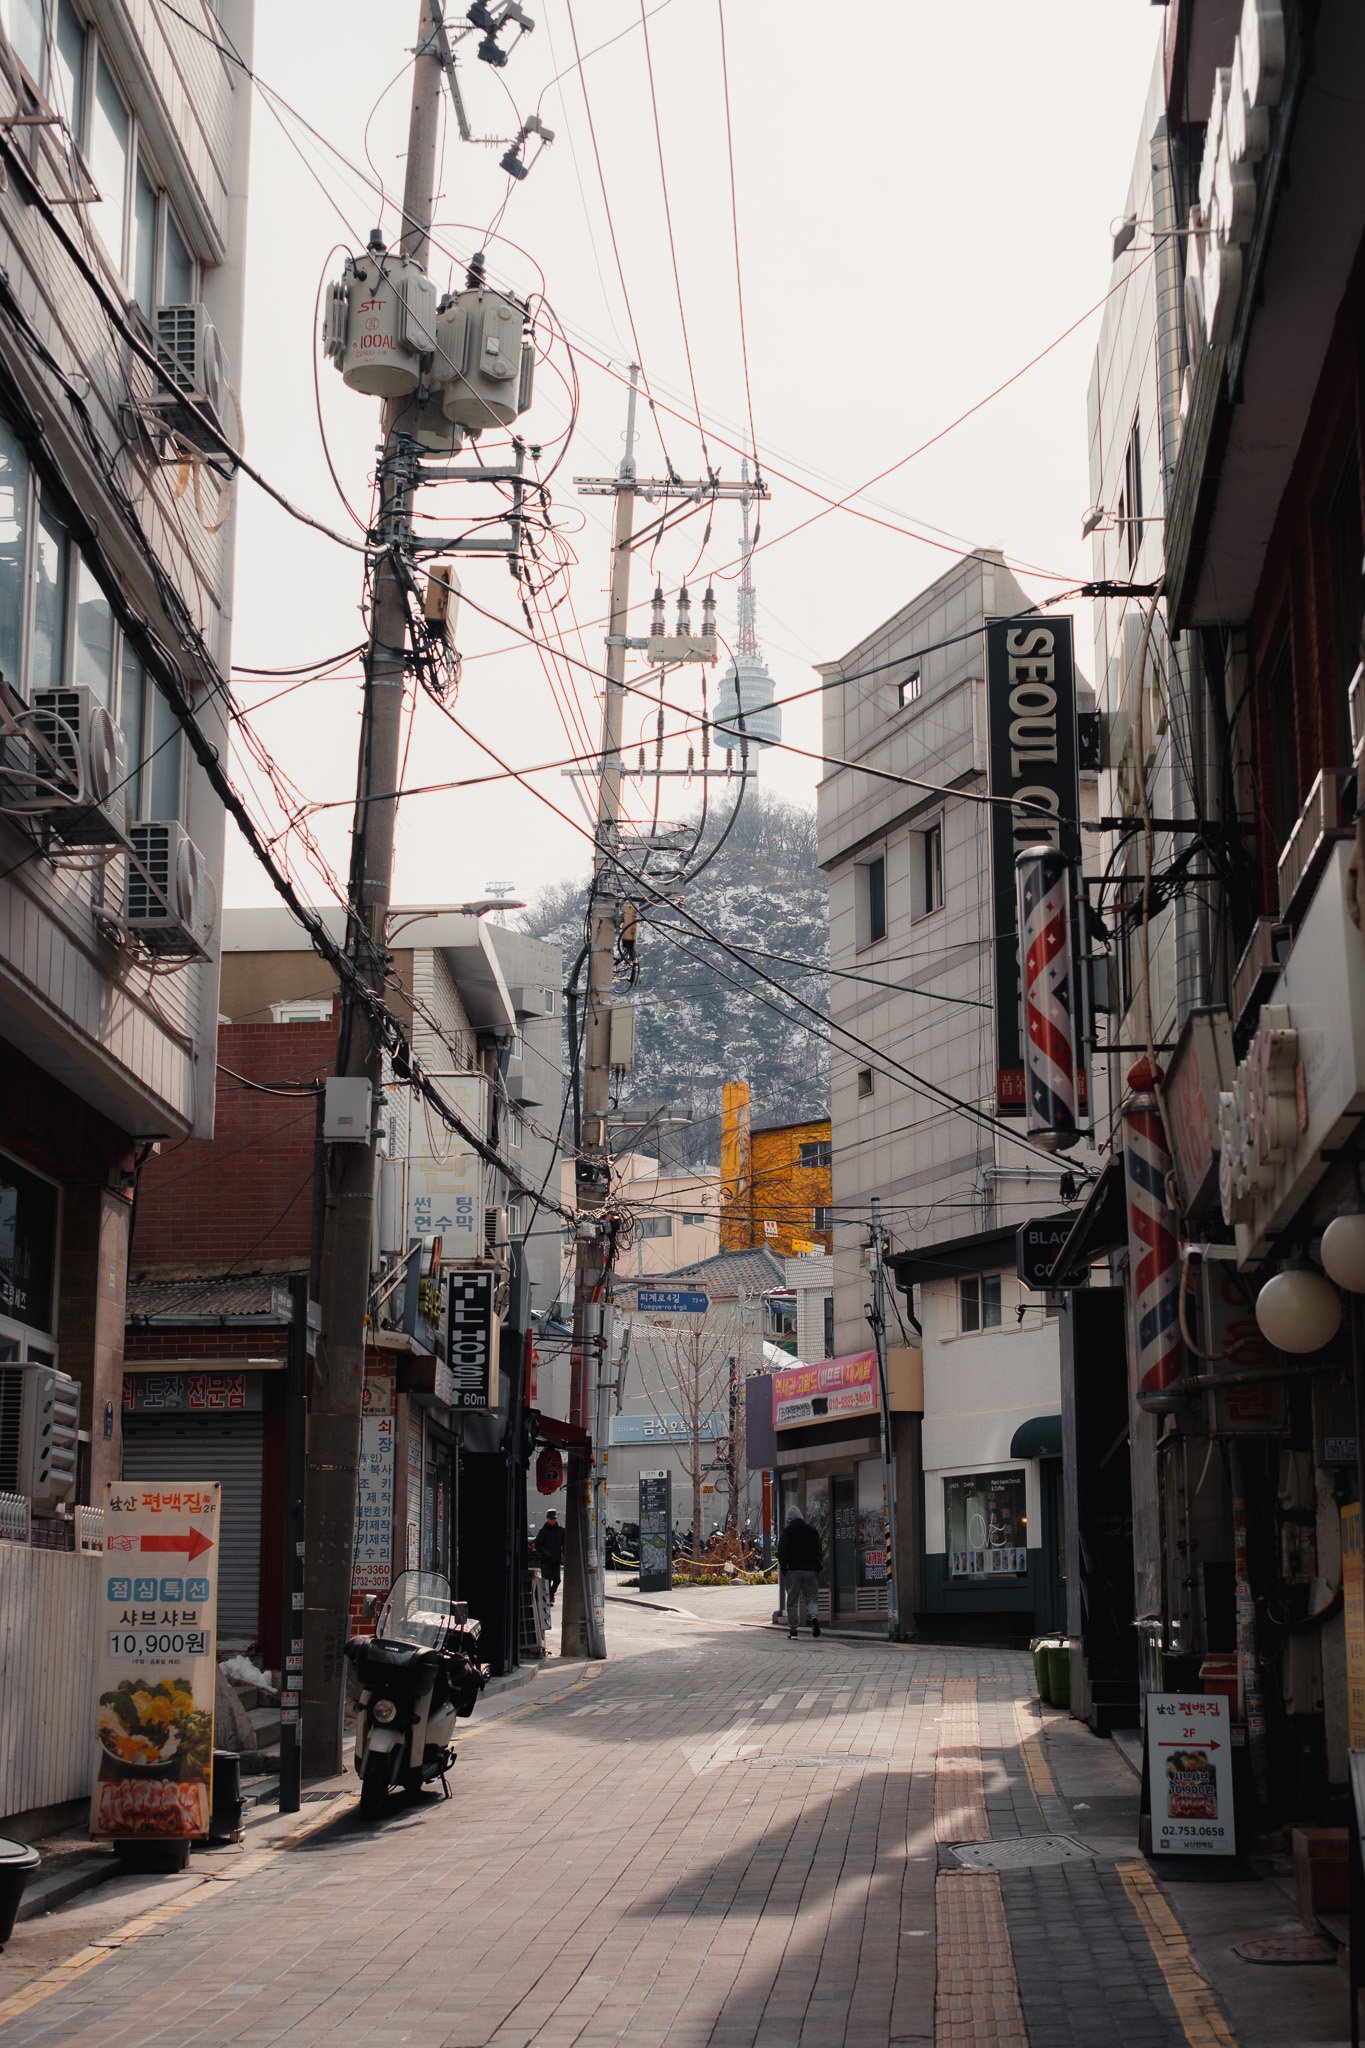
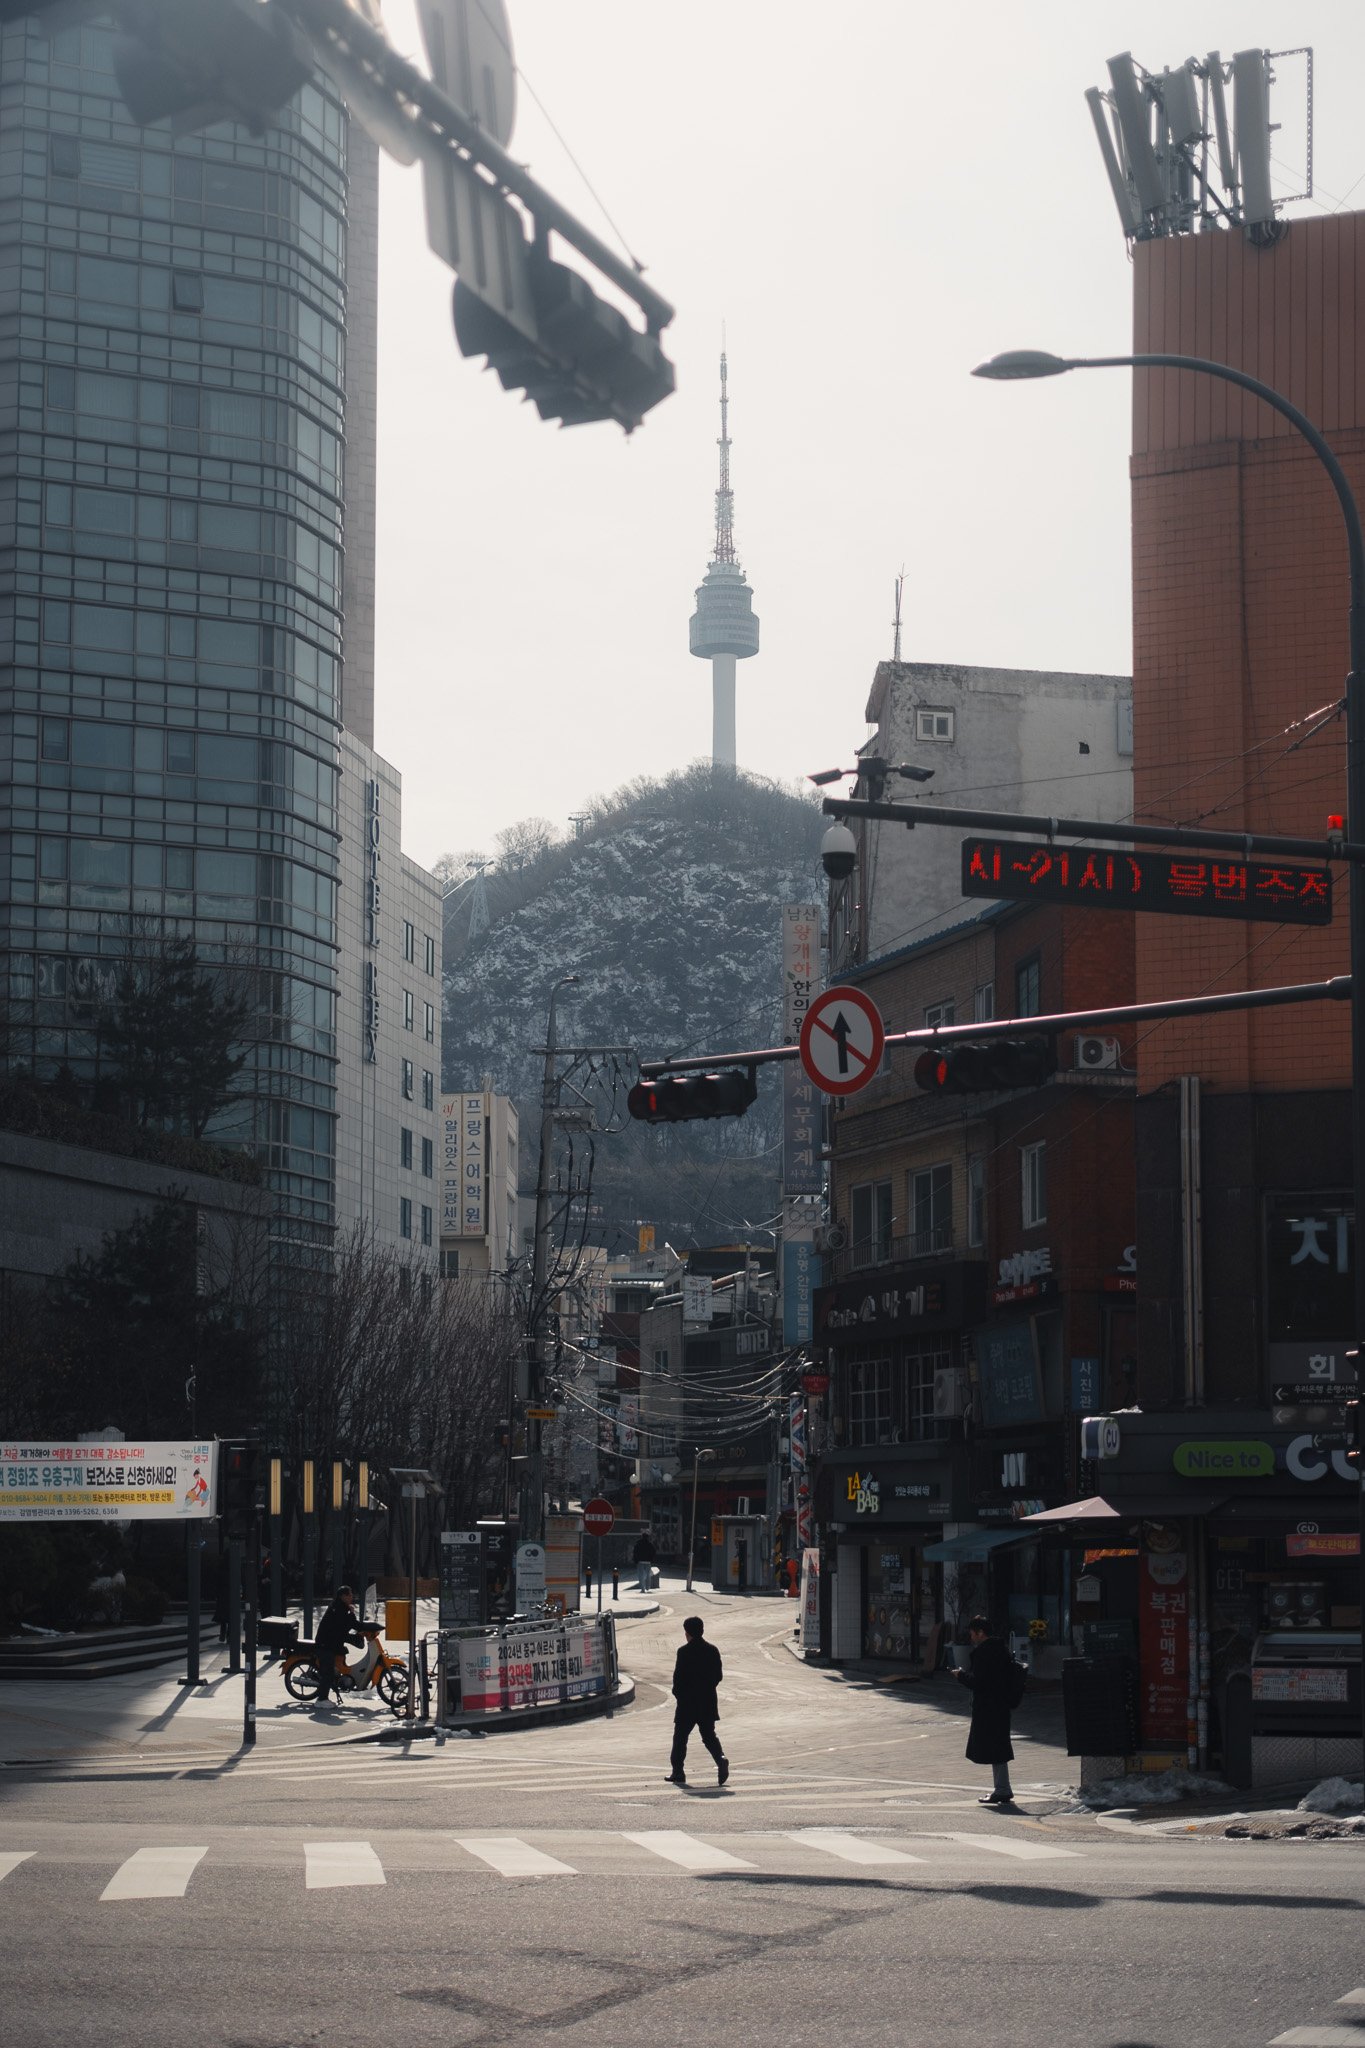
Day 4 started with a trip to Seoul Tower. We walked there from Myeondong and along the route passed by a bunch of markets and amazing small streets with views of the tower. On the way there we also popped into an amazing vegan cafe called Overte. After that we headed to the Seoul Tower which was actually a great experience and highly recommended. I was sceptical at first but was proved royally wrong. Great views of the city. The rest of the day was spent exploring Myeondong.

Day 5
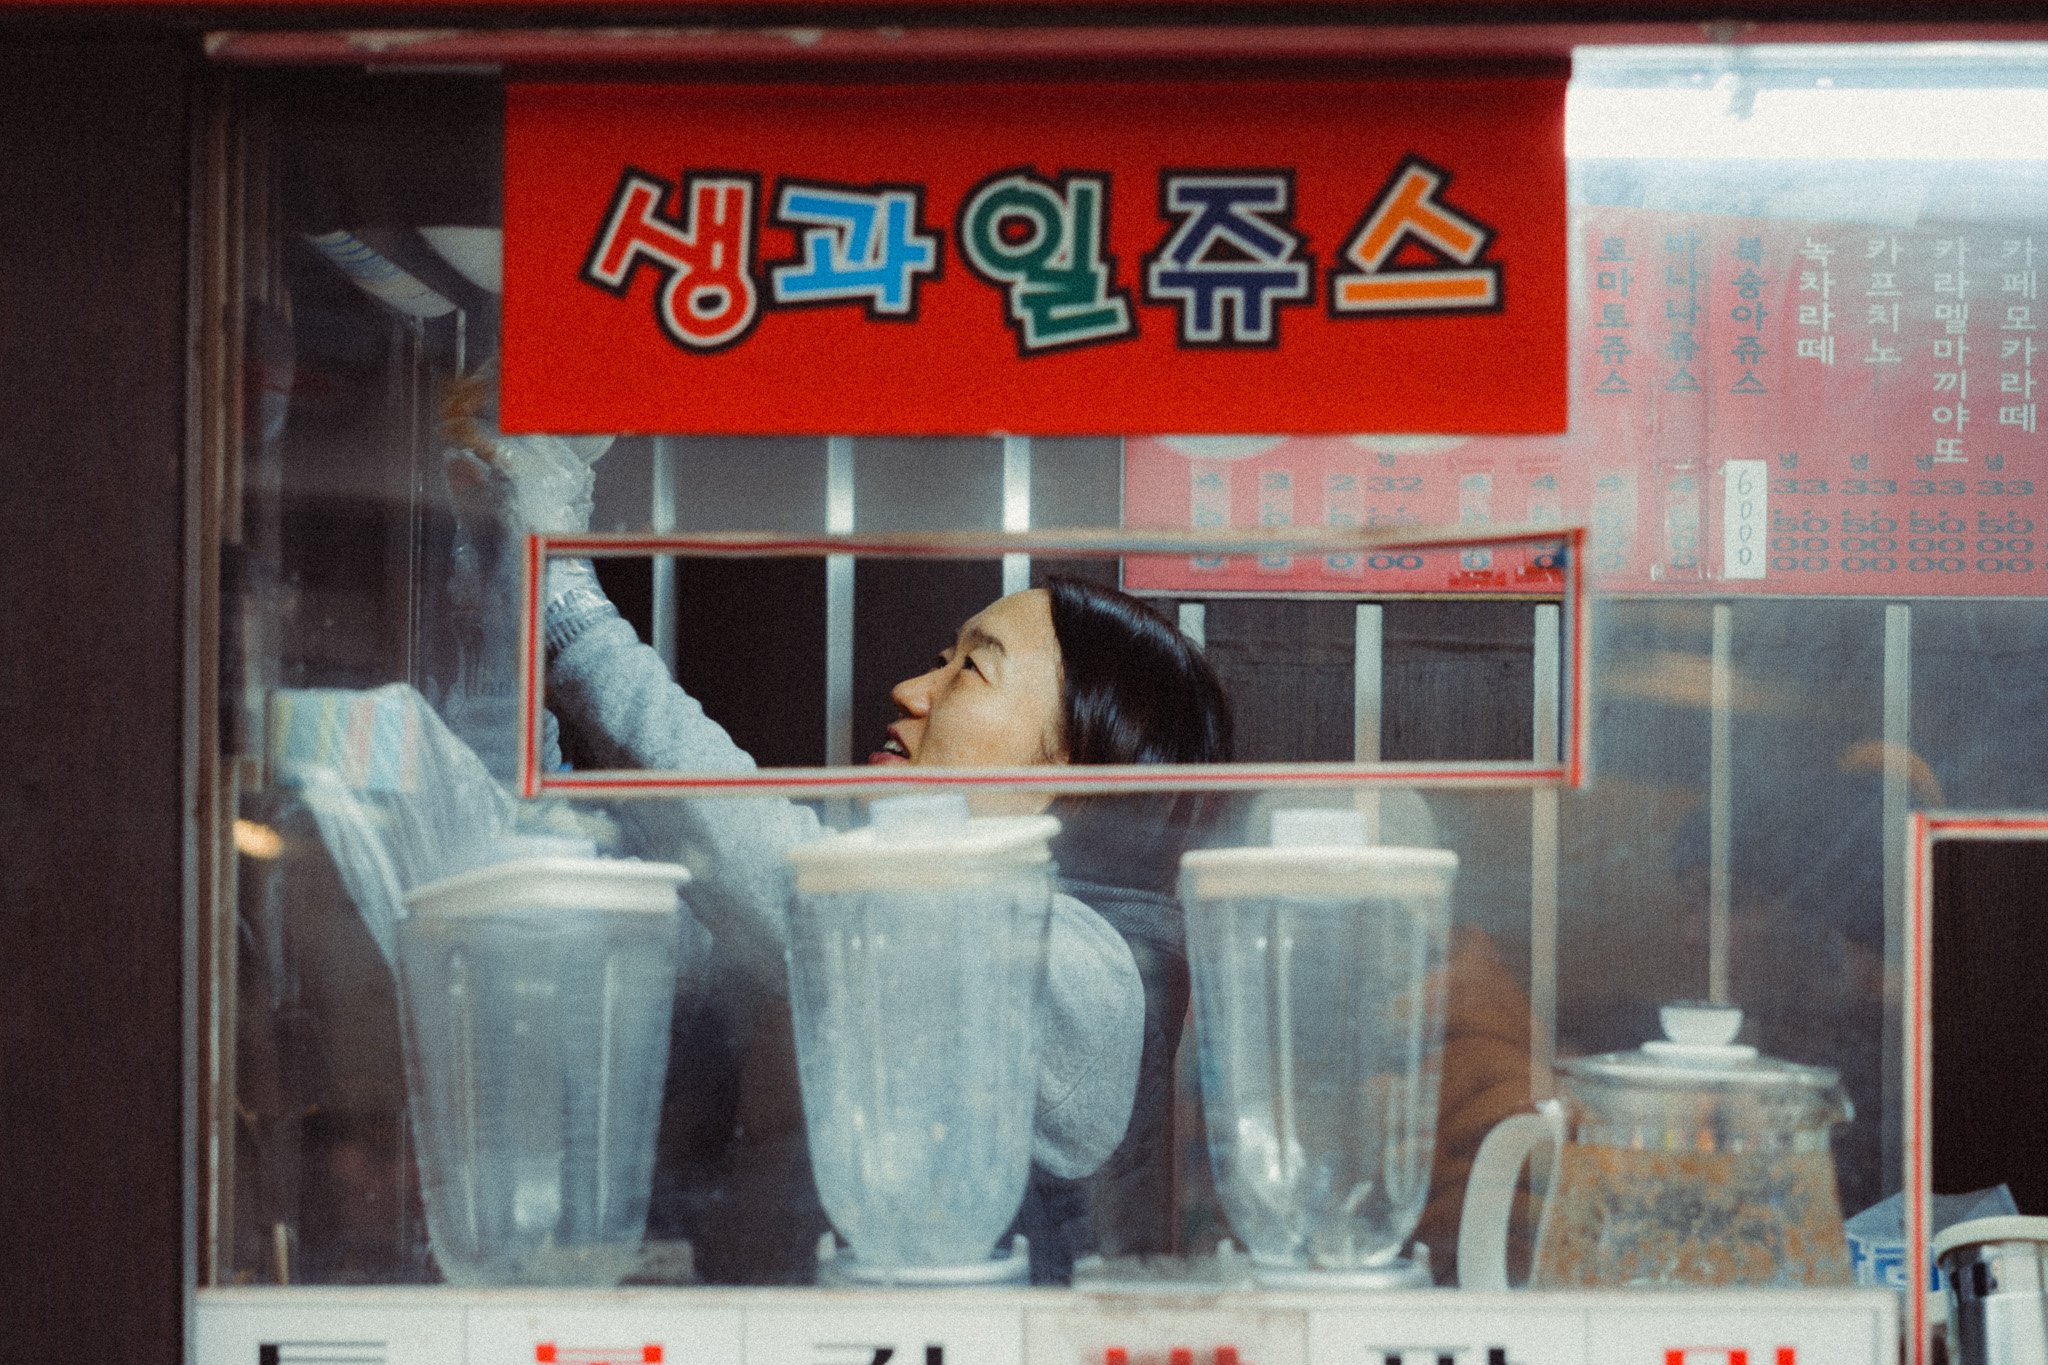
On the last day we headed out to some markets slightly away from the centre. We wanted to go somewhere without tourists to see what actual local markets were like. These markets were located all around Jegi-dong Station so I suggest getting to the station and exploring from there. After that I was tipped off to visit an area called Itaewon, however upon arrival I found it to be mostly a nightlight area full of bars which isn’t my cup of tea. Maybe I didn’t go to the right bit but considering it was our last day, we headed back to Myeondong for some food and to chill.


If you’re finding this blog helpful and wish to see all the photos from this trip, please consider supporting it by grabbing a digital zine. This is a digital PDF book that contains all the images, including those not shared on social media.
Day 7
On our first day in Busan we visited a small area called Gamcheon Culture Village. You can walk there if you fancy a workout otherwise it’s a 15 minute cab ride. This is a small village on top of a hill with views overlooking Busan. It’s full of small colourful houses and very tight alleyways. In some parts it looks like it could be in Bolivia while in others it reminds me of Morocco. This is a great place to explore and shoot however you need to be extra respectful as people actually live there. After that we headed back into Nampodong to explore that area. For food we walked a little further out of Nampodong and found an amazing ramen place located here - 71-1, Haegwan-ro, Jung-gu.


Day 8
On the final day of this trip we took a long taxi ride all the way to Haeundae to take the little beach train. We actually went to the end of the line first and then took a one way ticket back to Haeundae. For that simply head to Cheongsapo Station and come back to Haeundae beach. If you visit in the summer, you can spend some time on the beach but honestly we found it a little touristy and headed back to Nampodong for the remainder of the day.
















Instead of telling you how these will change your life, I would rather be practical and answer the most common questions that people tend to have when buying presets.
What are presets?
They are editing settings that are saved in a file and can be applied to any image.
Why do people buy presets?
Sometimes because they like the work of the photographer and want that style for their own photos. Mostly because they would like to see how other people edit and learn by reverse engineering the presets. Other times it’s just to support their favourite photographers, thank you!
What’s the overall style of these presets?
- Filmic
- Warm
- Soft
- Bright
What are these presets suitable for?
Street & Travel Photography
Some Nature (with further editing)
Some Portraits (with extensive editing)
Do I actually use these?
Yes. This is the same pack I use right now for all my editing. This isn’t a pack made just to sell.
Do these presets get updated?
Yes, as my style changes, these presets will also be updated. Any time a new update is available, you will get a free update via email. Of course you also keep all the old presets in case you prefer the older looks. Only presets purchased from 2025 onwards will receive the updates.
What file types are these presets for?
- All RAW files
- JPEGs & TIFFs (not recommended)
What camera brands are these presets for?
These were designed around Fujifilm, Sony, and Leica sensors. With that said, they will work with all camera brands. While there might be differences due to individual camera colour science, the overall feel of the preset will carry over.
Will these work with JPEG files?
Yes, but you will need to reduce the intensity and make further edits. I strongly recommend editing RAW files.
Are these one click edits?
95% No. You would need to do some basic adjustments as each image is different. These adjustments can include exposure, colour balance etc. In 5% of cases you can just apply and leave it alone.
Do I need to know how to edit?
You need to have a basic understanding of adjusting exposure, highlights, shadows, etc. A more comprehensive editing skillset will let you get the most out of them.
How many presets are included?
10 in the main pack and 24 in the extras pack
Why two packs?
The main pack is what I use for 99% of my edits and is kept small to reduce wasted time scrolling through presets. The extras pack is everything I don’t use often.
What software do I need?
These presets will work with any of the following:
- Photoshop (adobe camera raw)
- Lightroom Classic
- Lightroom Desktop
- Lightroom Mobile
Will these presets work with free versions of the above software?
You need to research and double check before buying. These presets were designed for the full paid versions.
Will these presets work with very old versions of the above software?
You need to research and double check before buying. These presets were designed on and for the latest software.
What file type do I get?
XMP
What else do I get?
- Comprehensive PDF guide
Can I modify these and turn them into my own?
Yes! In fact I encourage you to modify them and play around. Use these to help you get your own style.
I have more questions…. What do I do?
Make a cup of tea and drop me an email on hello@snapsbyfox.com
Please note that due to the nature of digital products, refunds are generally not accepted. However, if you experience any issues, feel free to contact me and I’ll review your situation individually. You are welcome to use this product for personal or commercial projects, but you may not copy, distribute, or resell the files in their original or modified form.
Finally I want to say a massive thank you for supporting me. Buying these presets is the most direct way you can support my work.
Thank you!