DJI Osmo Nano - The Best Video Settings
In this blog I will share with you what settings I use on my DJI Osmo Nano, and the best way to set up this amazing little camera. This guide will not cover every setting and feature, instead it focuses on those that make the biggest impact.
Please keep in mind that there are no ideal or “correct” settings. The best settings are those that get you the desired results, so the healthiest approach to this guide is to experiment, take what works, and ignore what doesn’t. Lastly make sure to have your DJI Osmo Nano updated to the latest firmware.
Use Case
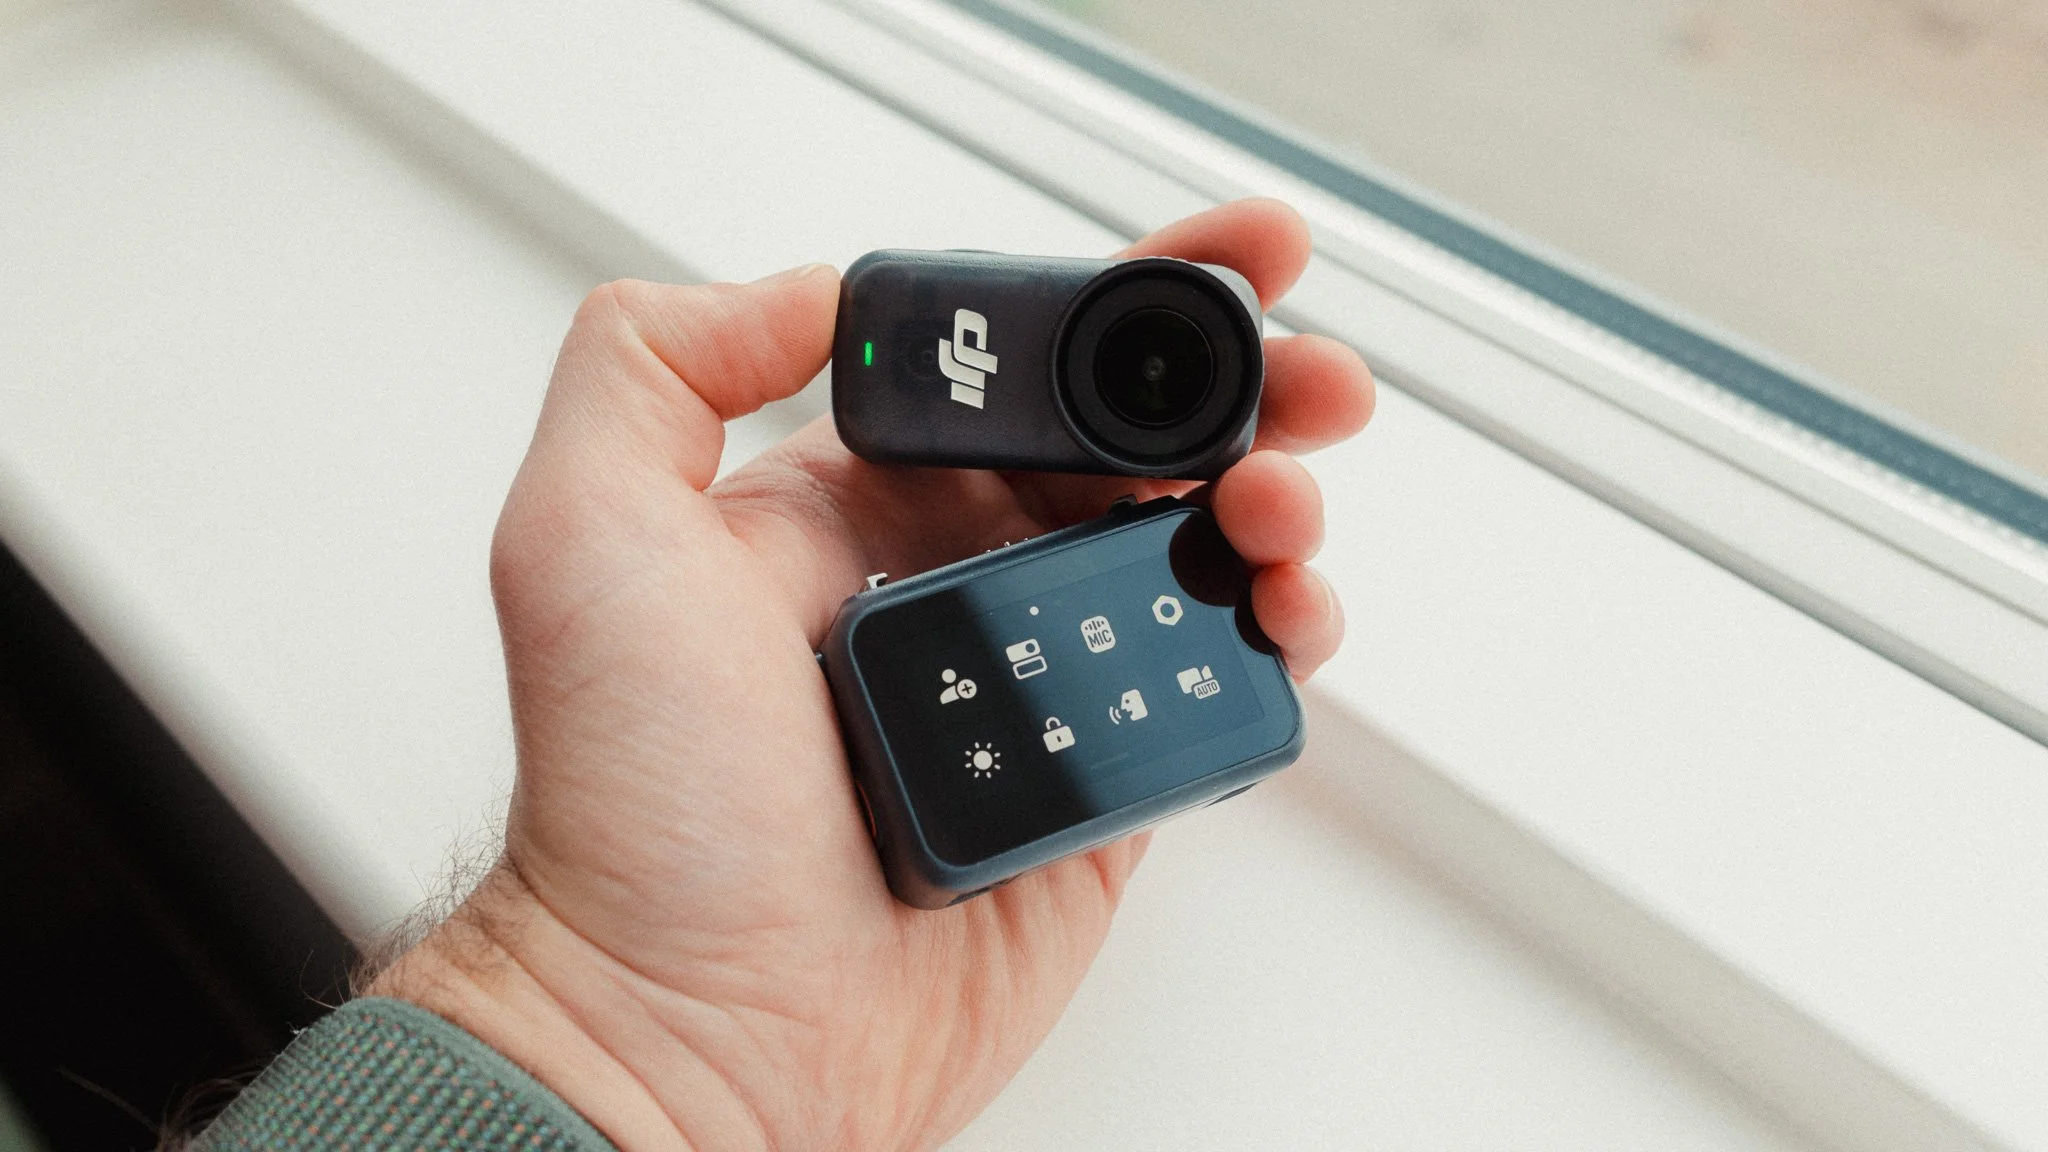
There are 100s of different use cases for the DJI Nano. This guide is aimed at vlogging, travel, and documenting your life, as this is what I use this camera for. For the rest of this guide, connect the two modules together with the camera facing forwards while the screen is facing you, and place the DJI Nano into video mode.

Resolution, Frame Rate & Stabilisation
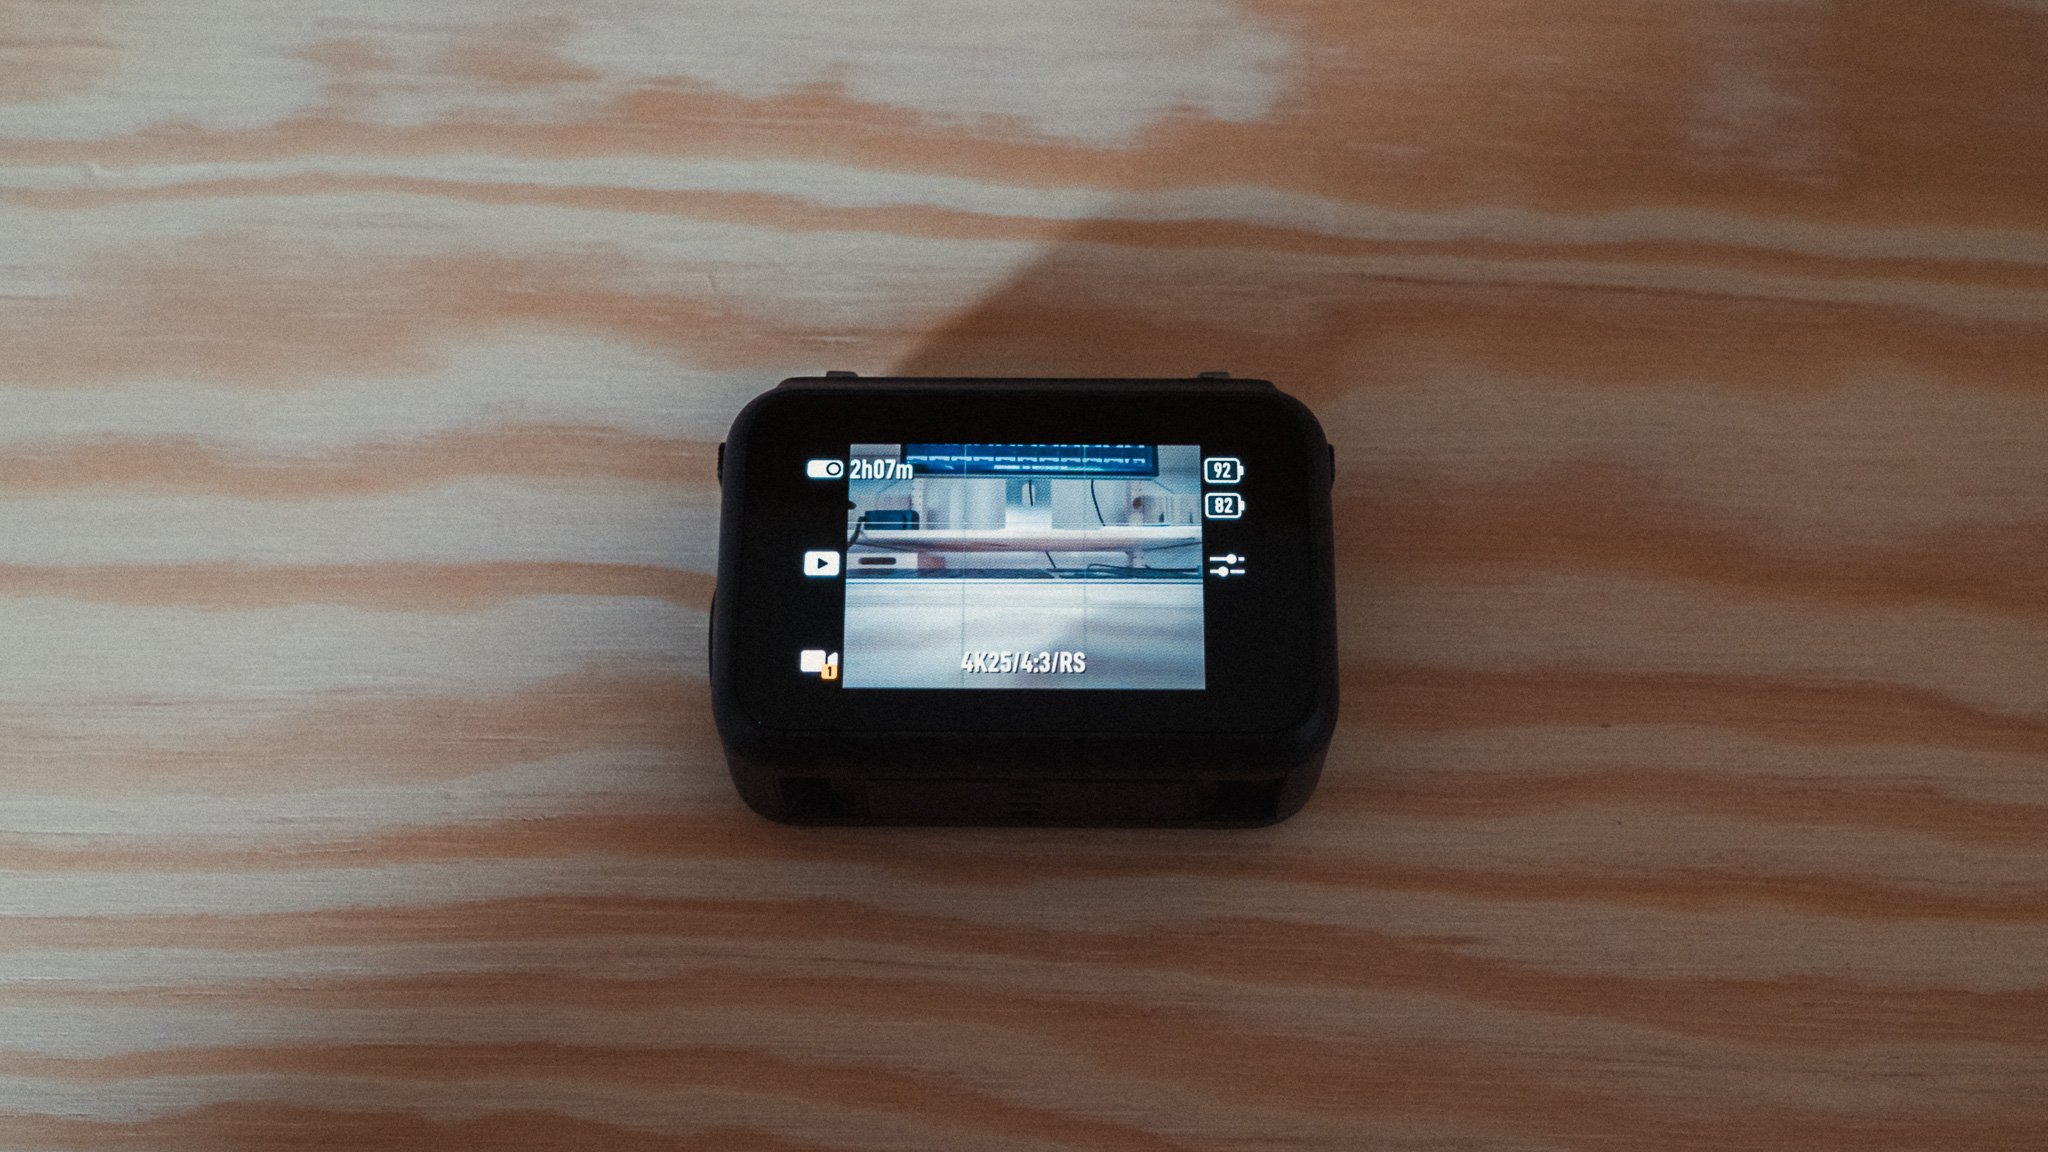
I set the camera to 4K / 4:3 at 25fps. To access this, swipe up from the bottom when on the shooting screen. Filming in 4K is a no brainer, and unless you’re about to run out of space, I see no reason to shoot in a lower resolution. Shooting in 4K also gives you room to crop in, which you will most likely do.
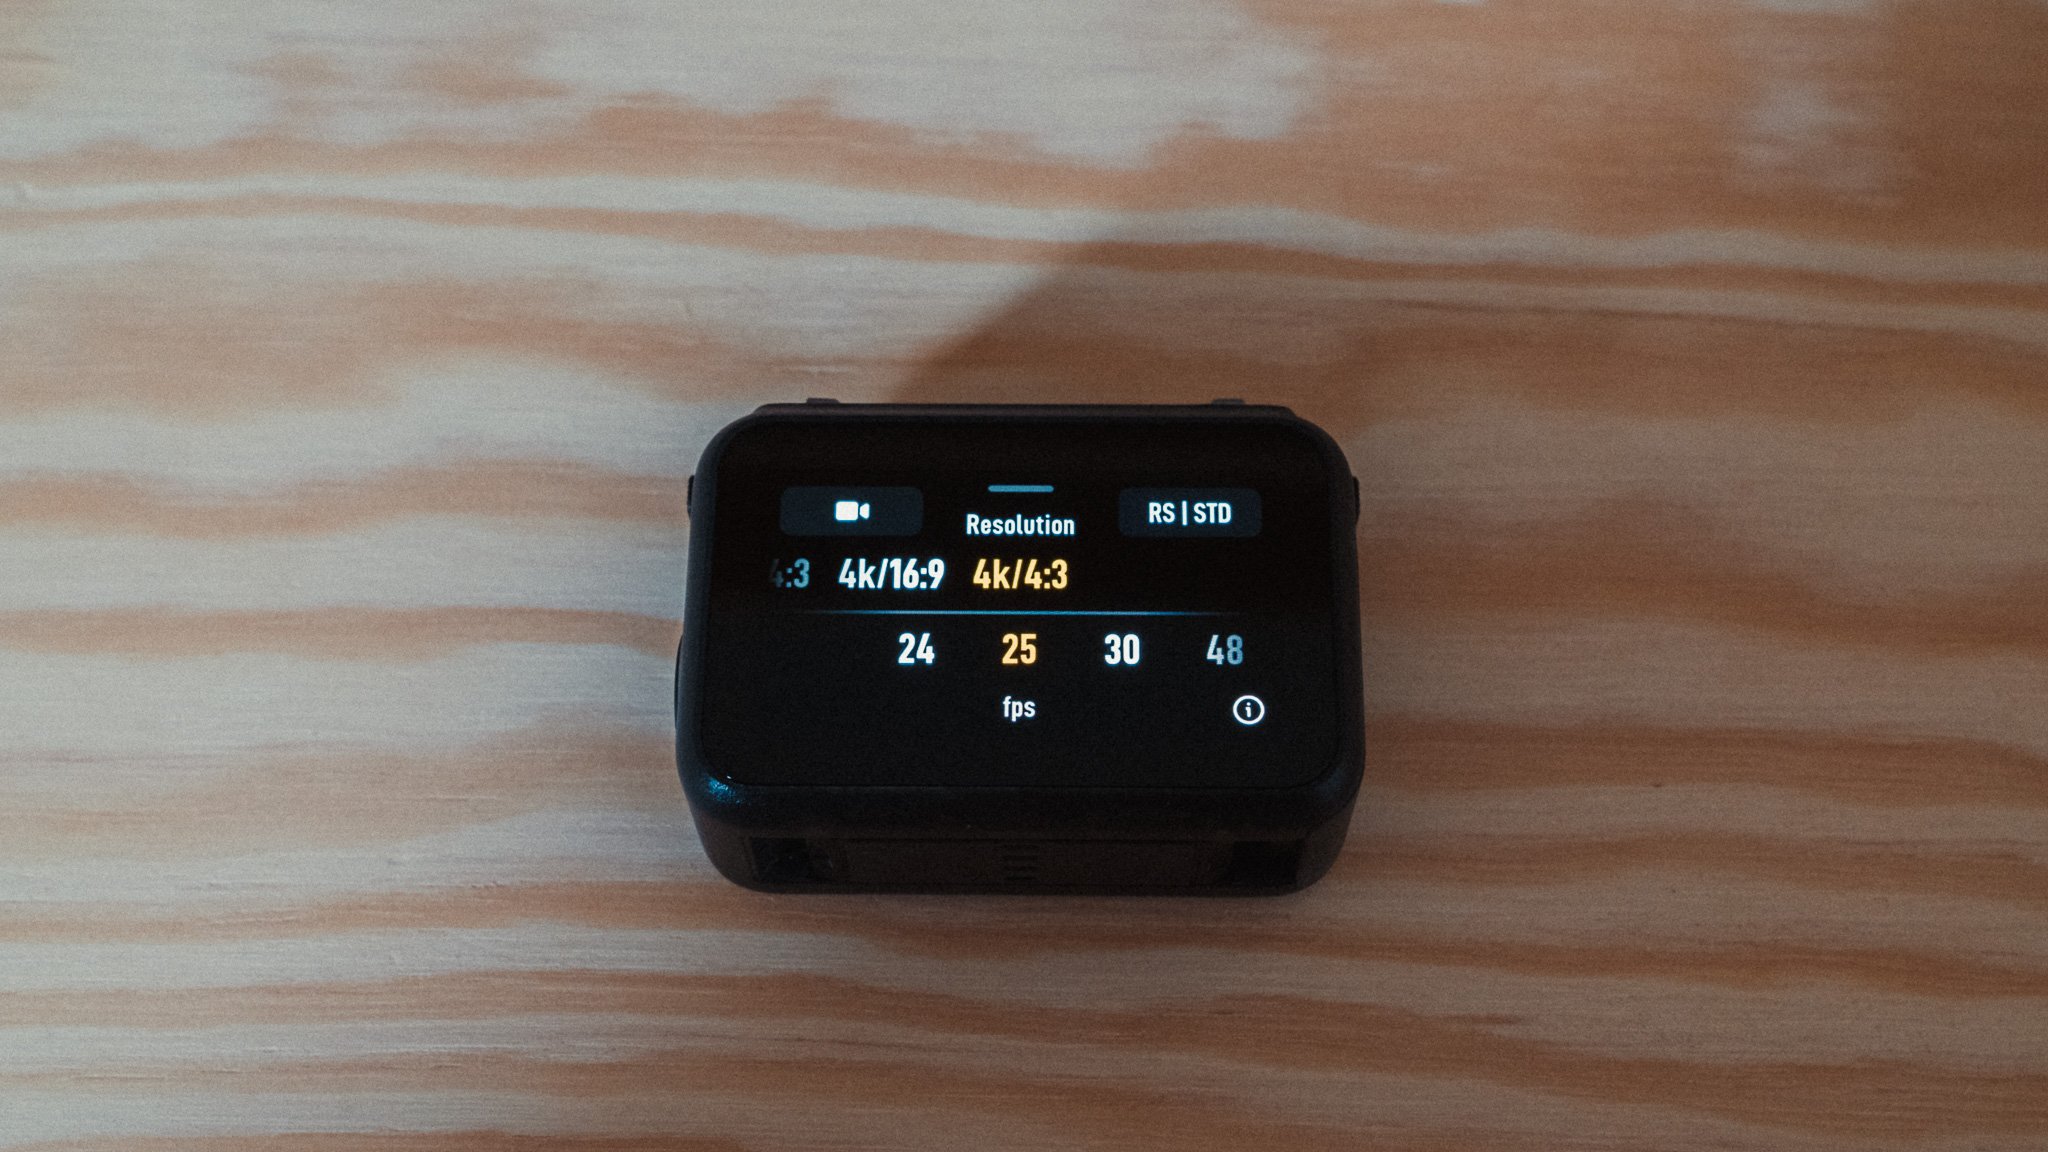
The aspect ratio is 4:3 because it gives you the most creative freedom and room for error. Shooting in 4:3 will allow you to reframe the shot, and even pull vertical compositions from a horizontal clip. Given there is no screen on the actual camera module, it’s a good idea to give yourself room to breathe with the composition. With that said, if you know you will solely be shooting for 16:9, then you can actually create a custom profile with each aspect ratio. We will cover this later.
When it comes to frame rate, I shoot in 25p because I live in Europe where we run on 50Hz. In America, Japan, and some other parts of the world, you’d want to be in 24p. These two frame rates will give you the most cinematic looking footage. 30p will be a little smoother, while 50 / 60p will give the smoothest footage. I personally like how 25p looks the most, and this is an entirely subjective setting.
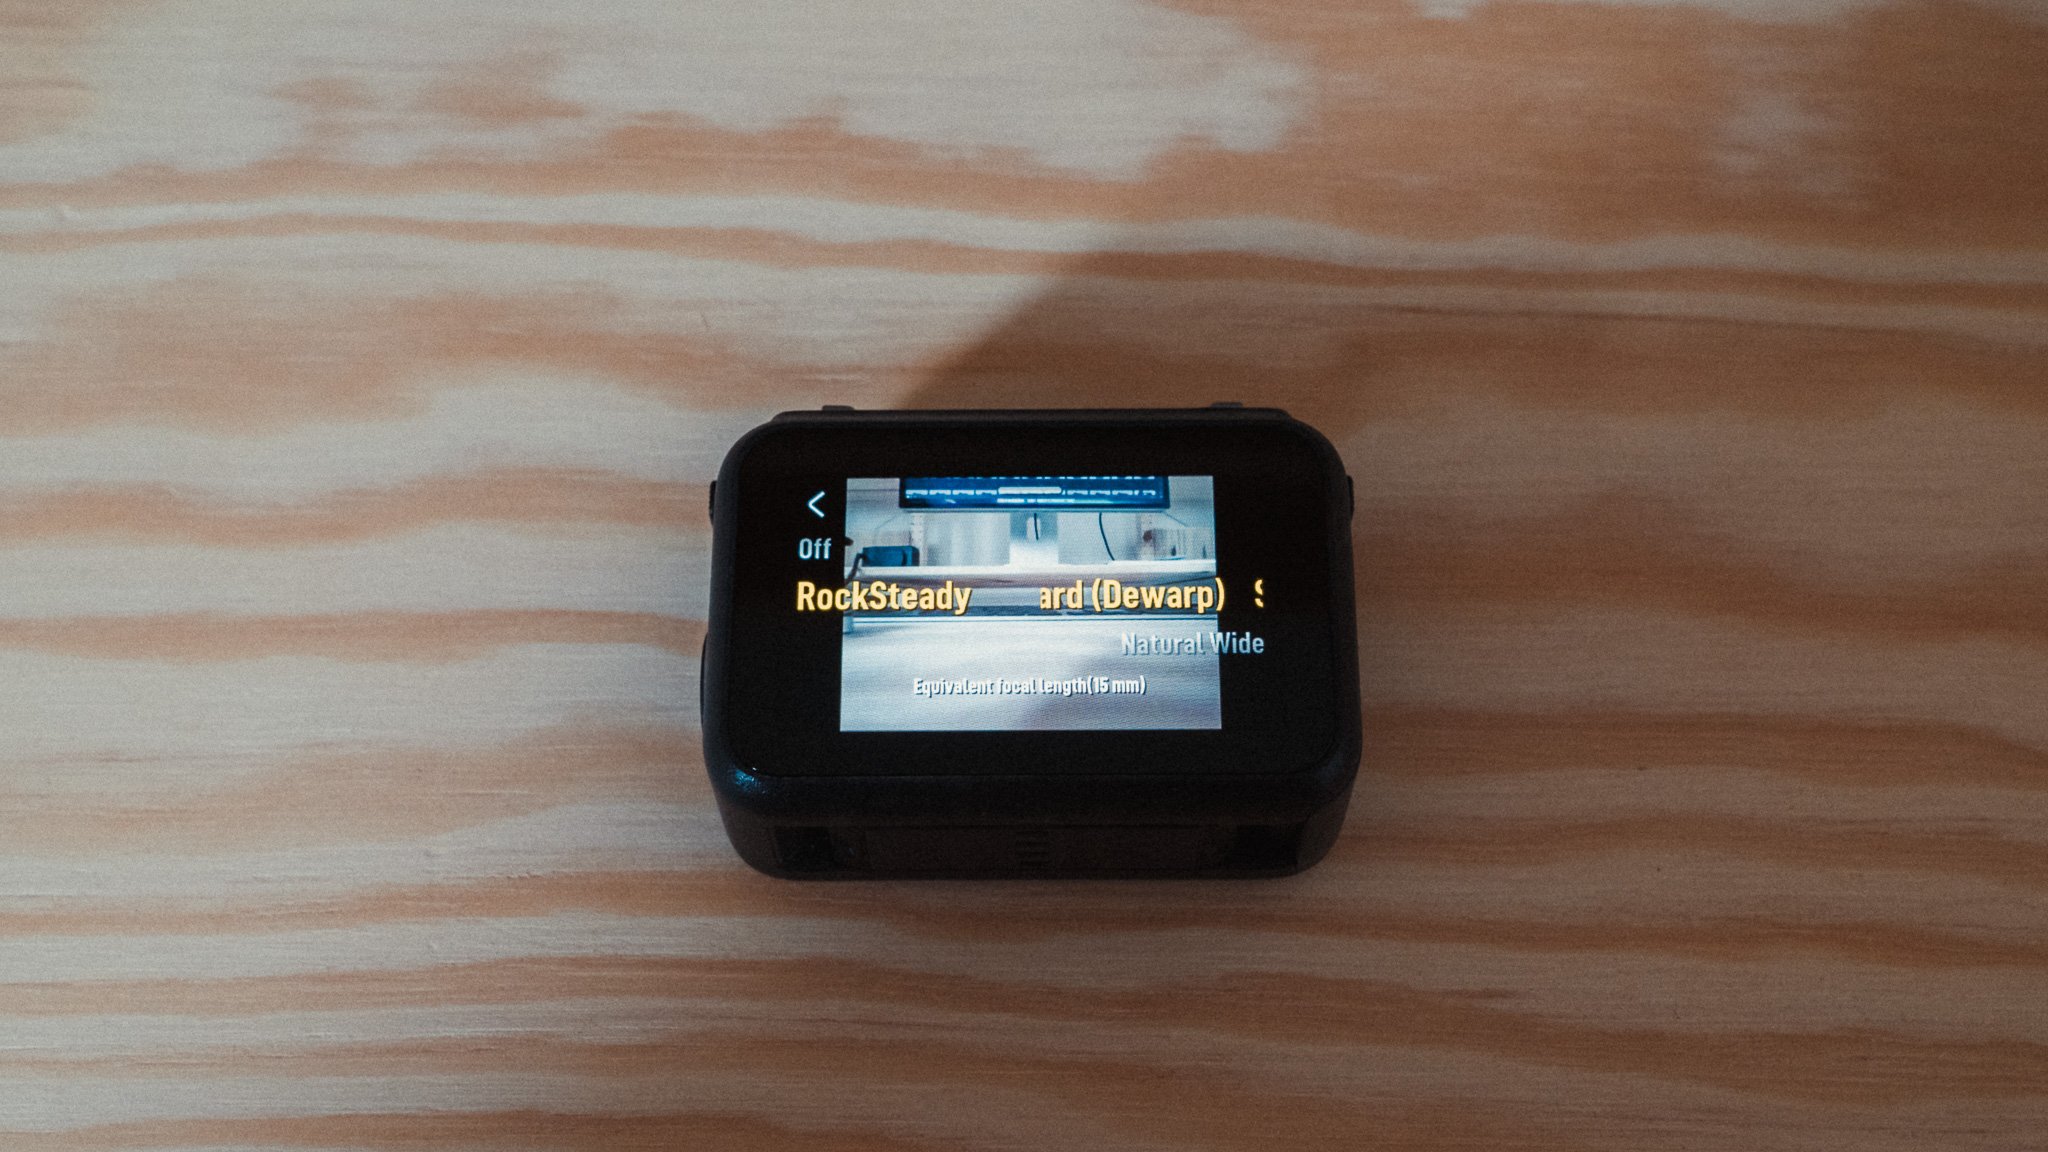
For stabilisation I use RockSteady along with Standard (Dewarp) mode. This gives me the most natural looking footage that doesn’t scream “action cam”.
Advanced Video Settings
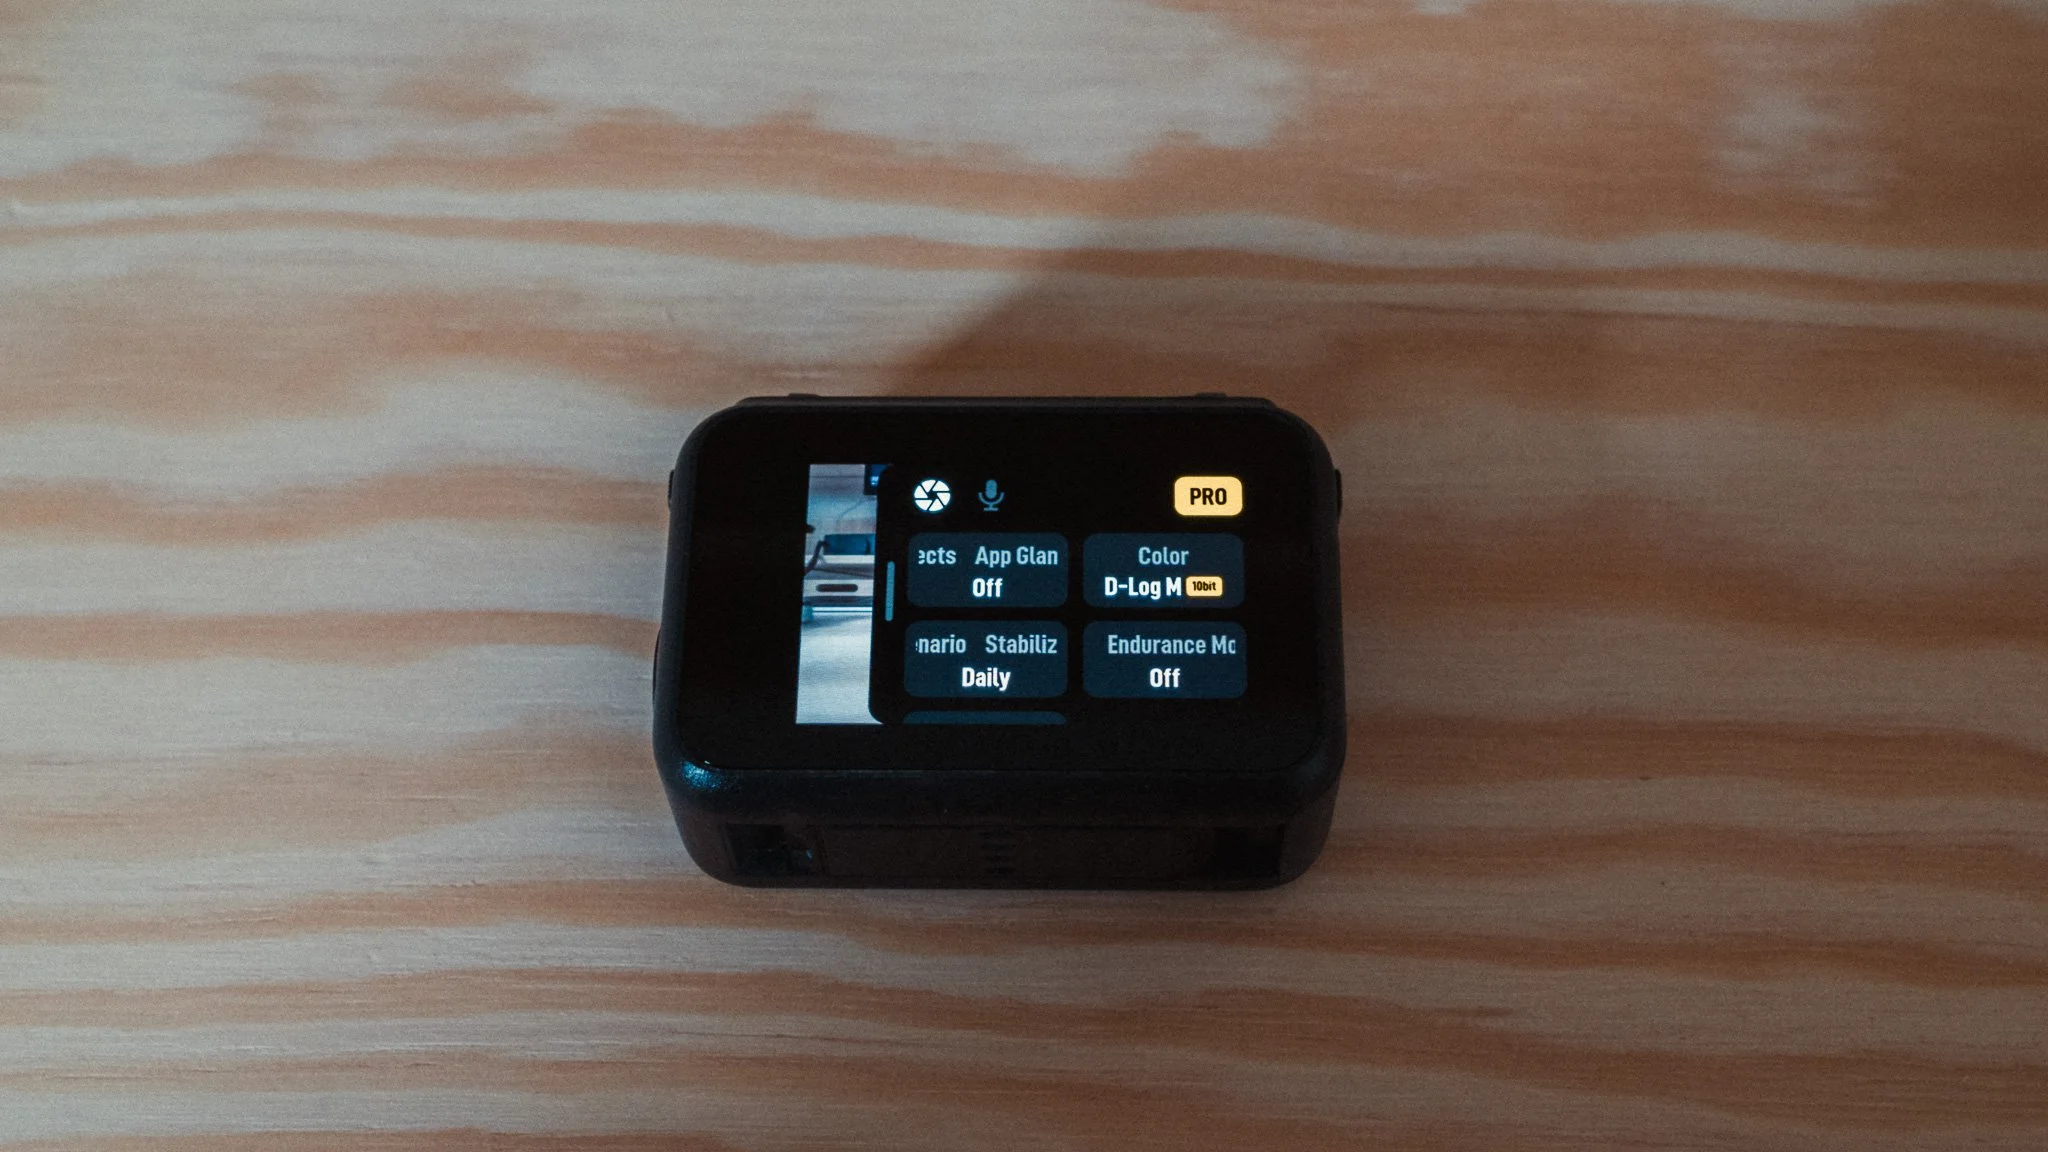
The next thing to adjust is the more advanced video specific features that can be found by tapping on the settings icon on the right side of the screen. The first thing you must do is tap on the PRO button to enable the full list of options.
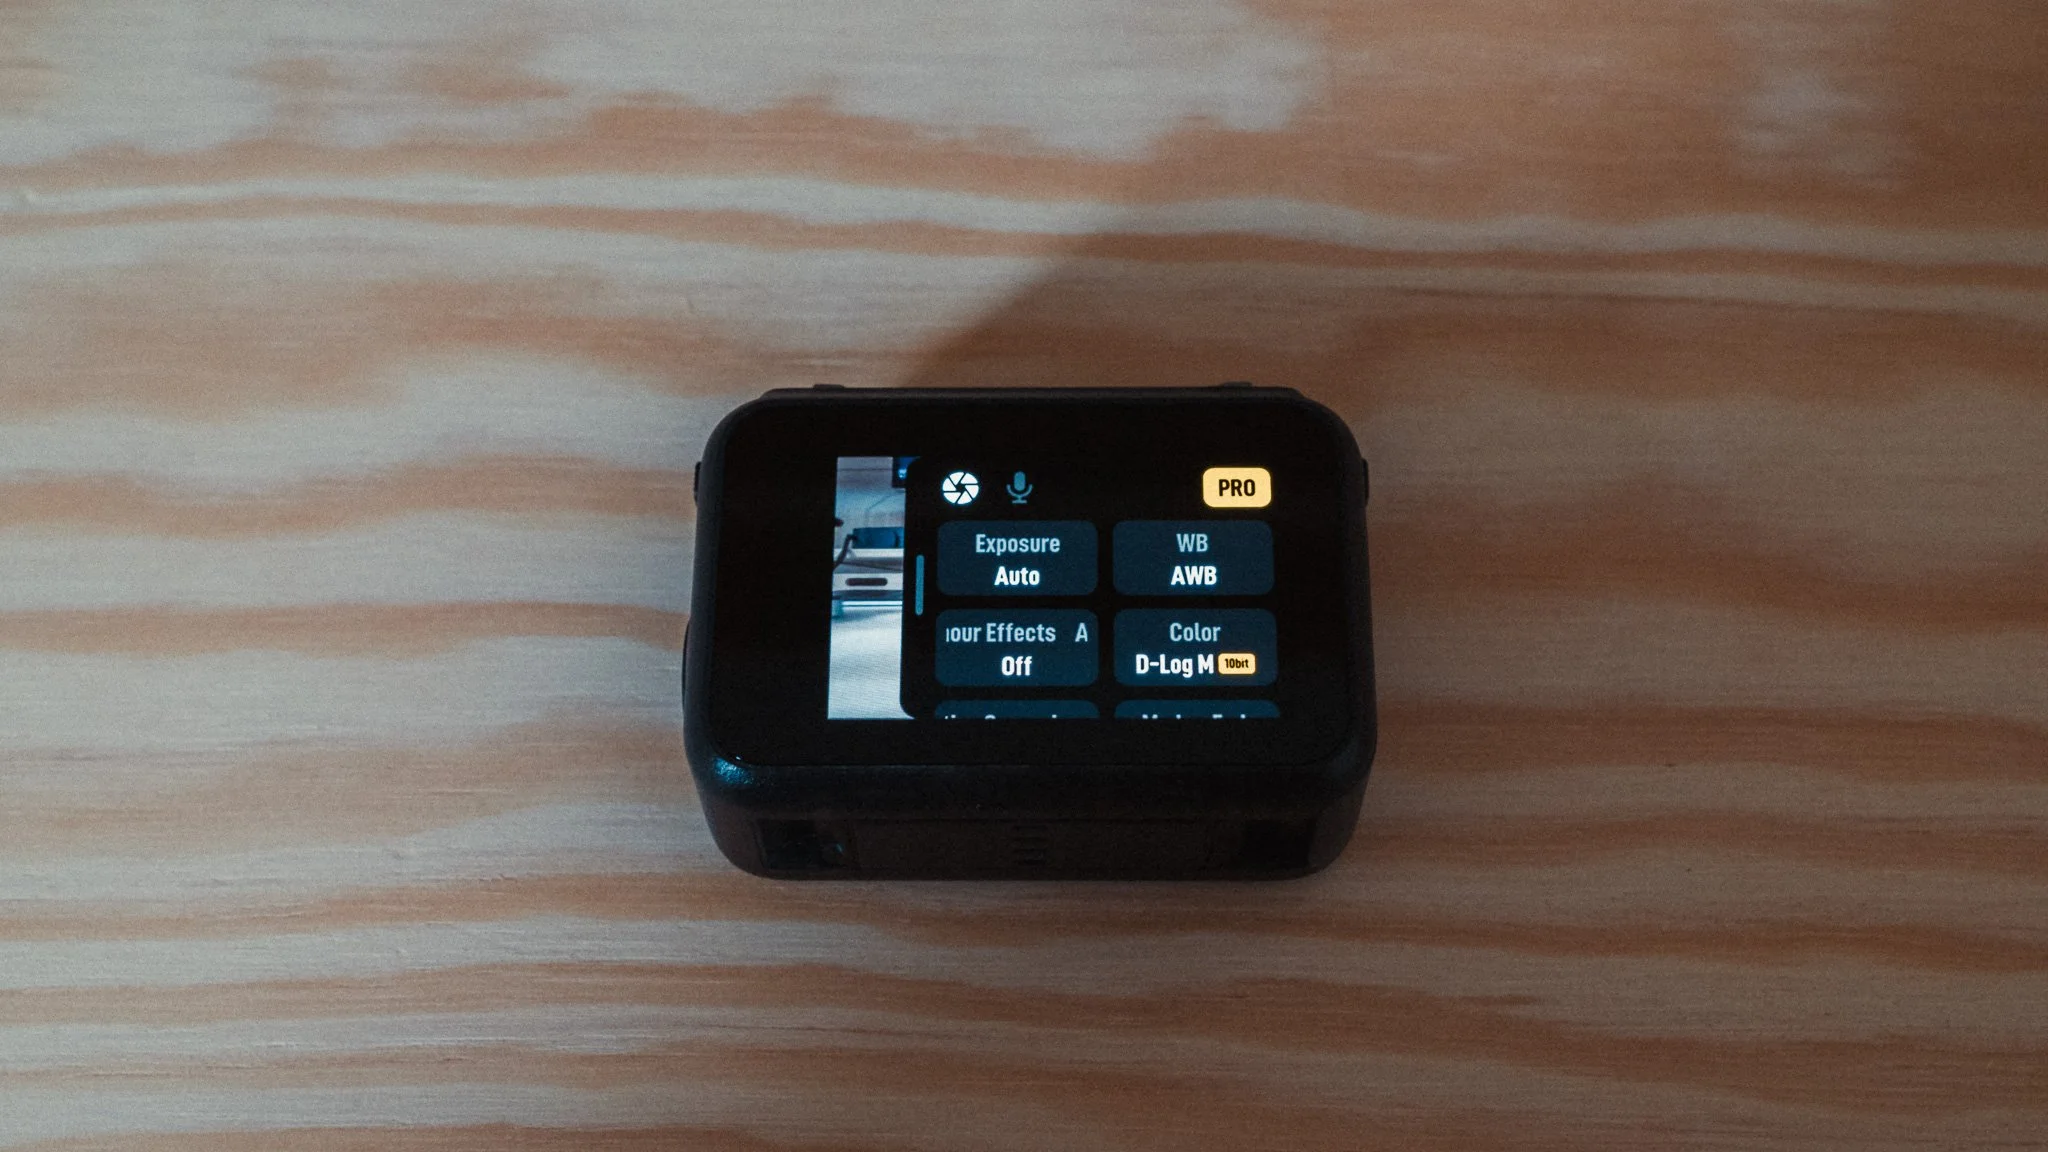
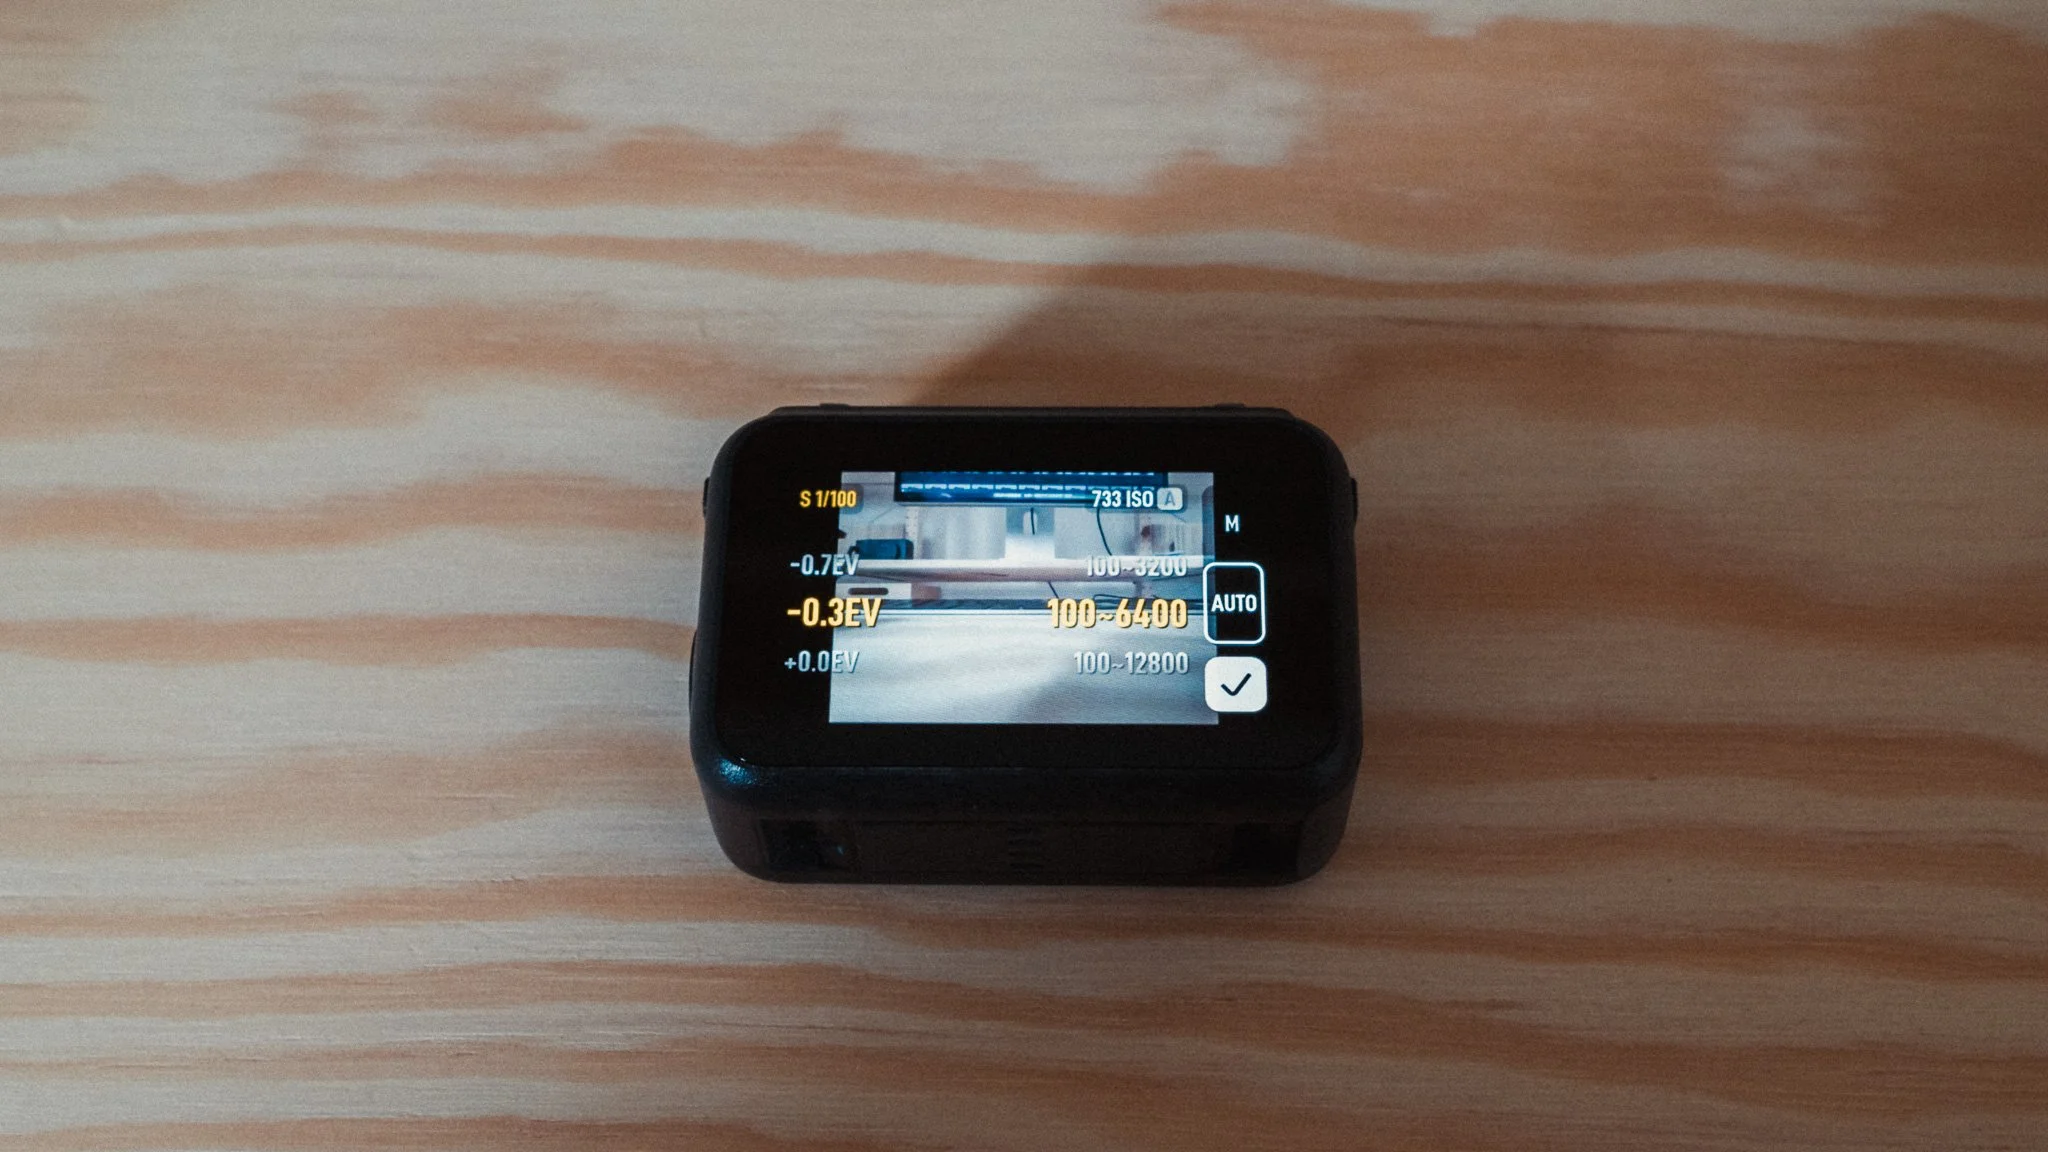
I set exposure to auto with a (-0.3EV) adjustment. I found that the default exposure is very bright, so by dropping it a touch, I get a more realistic looking image. ISO is set to Auto with a range of 100–6400.
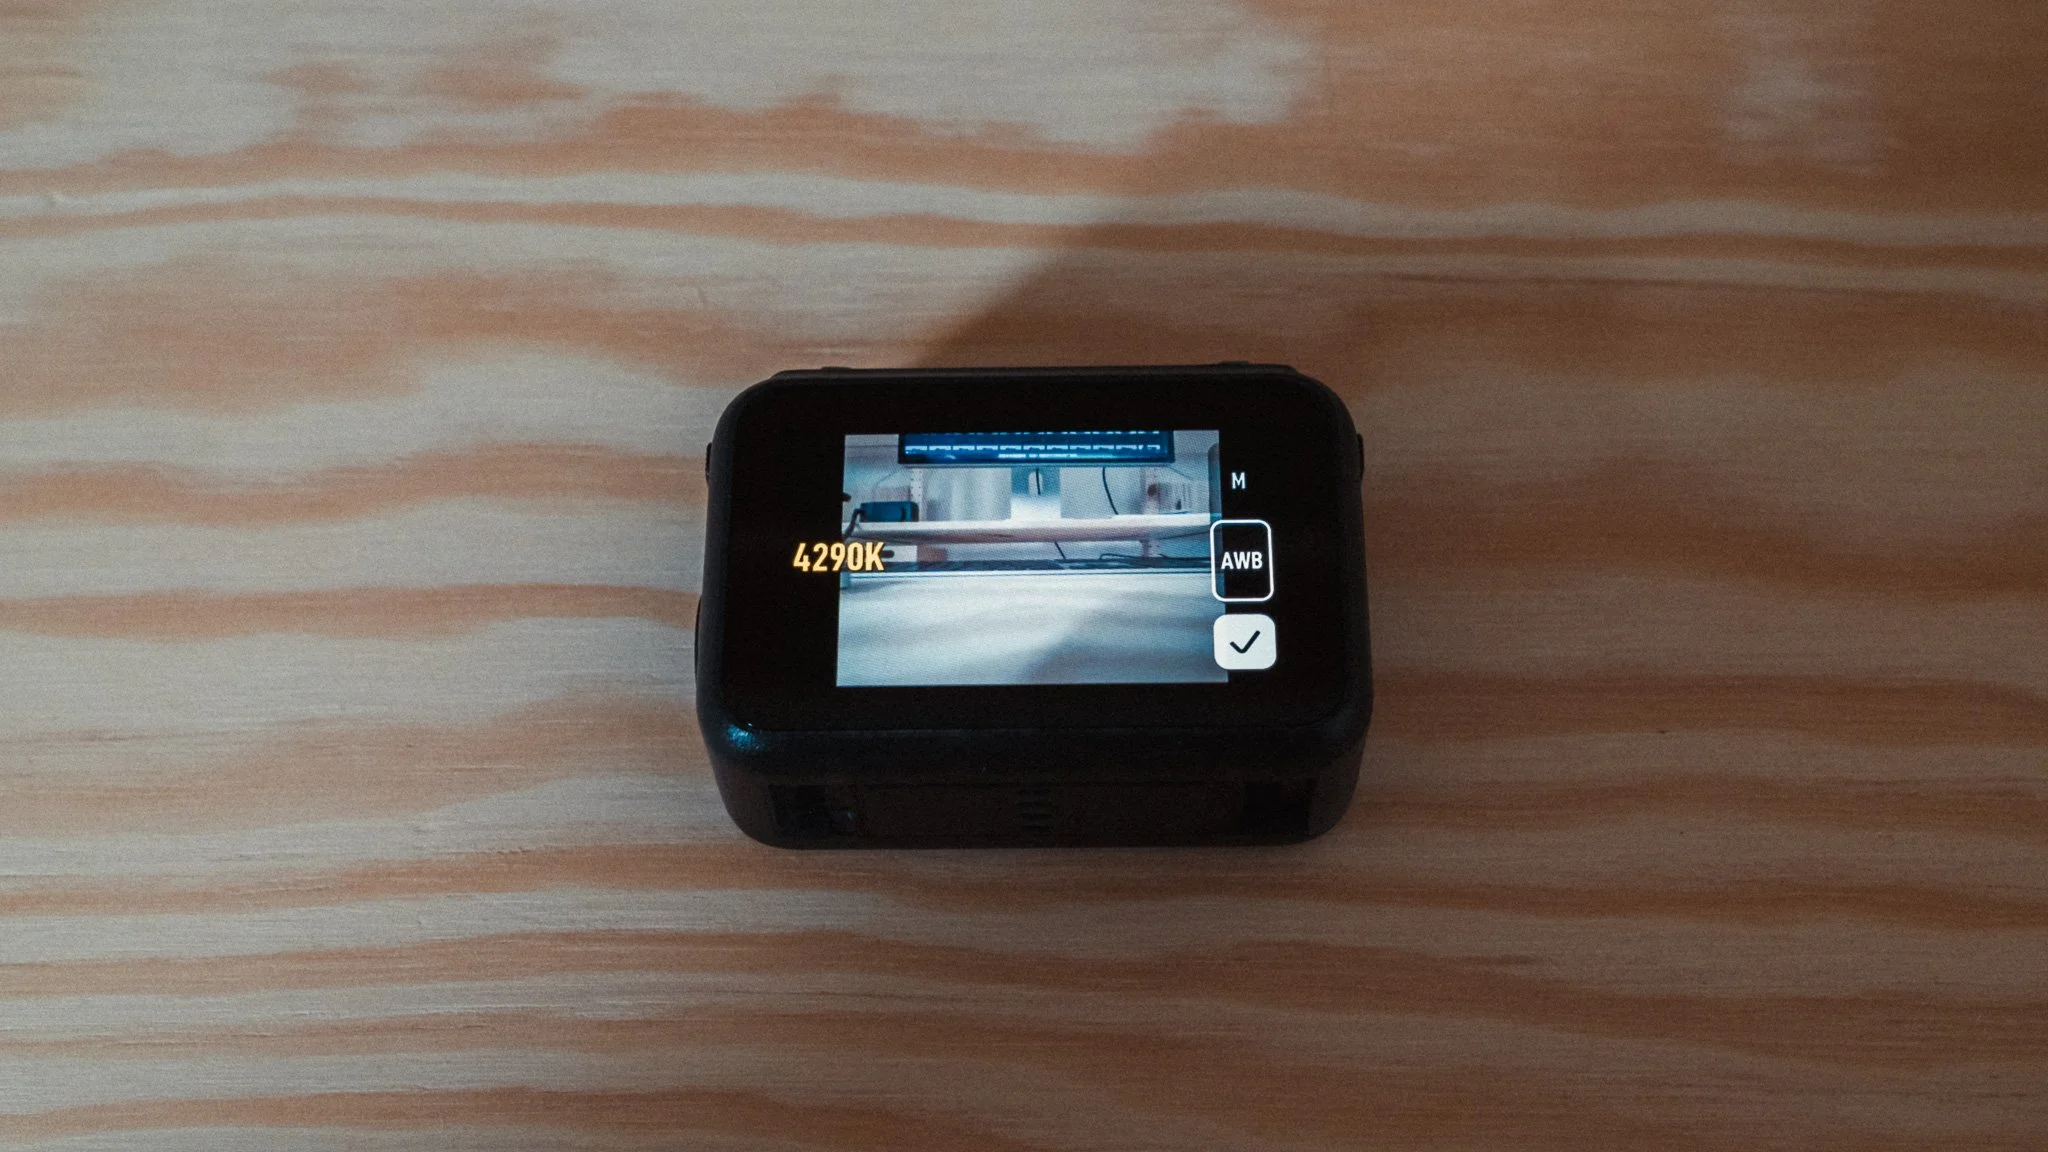
I leave white balance on Auto for most scenarios as I find the DJI Osmo to be accurate and reliable. With that said, for longer static takes, it can be beneficial to switch it to manual. I cover this in more detail later in the blog.
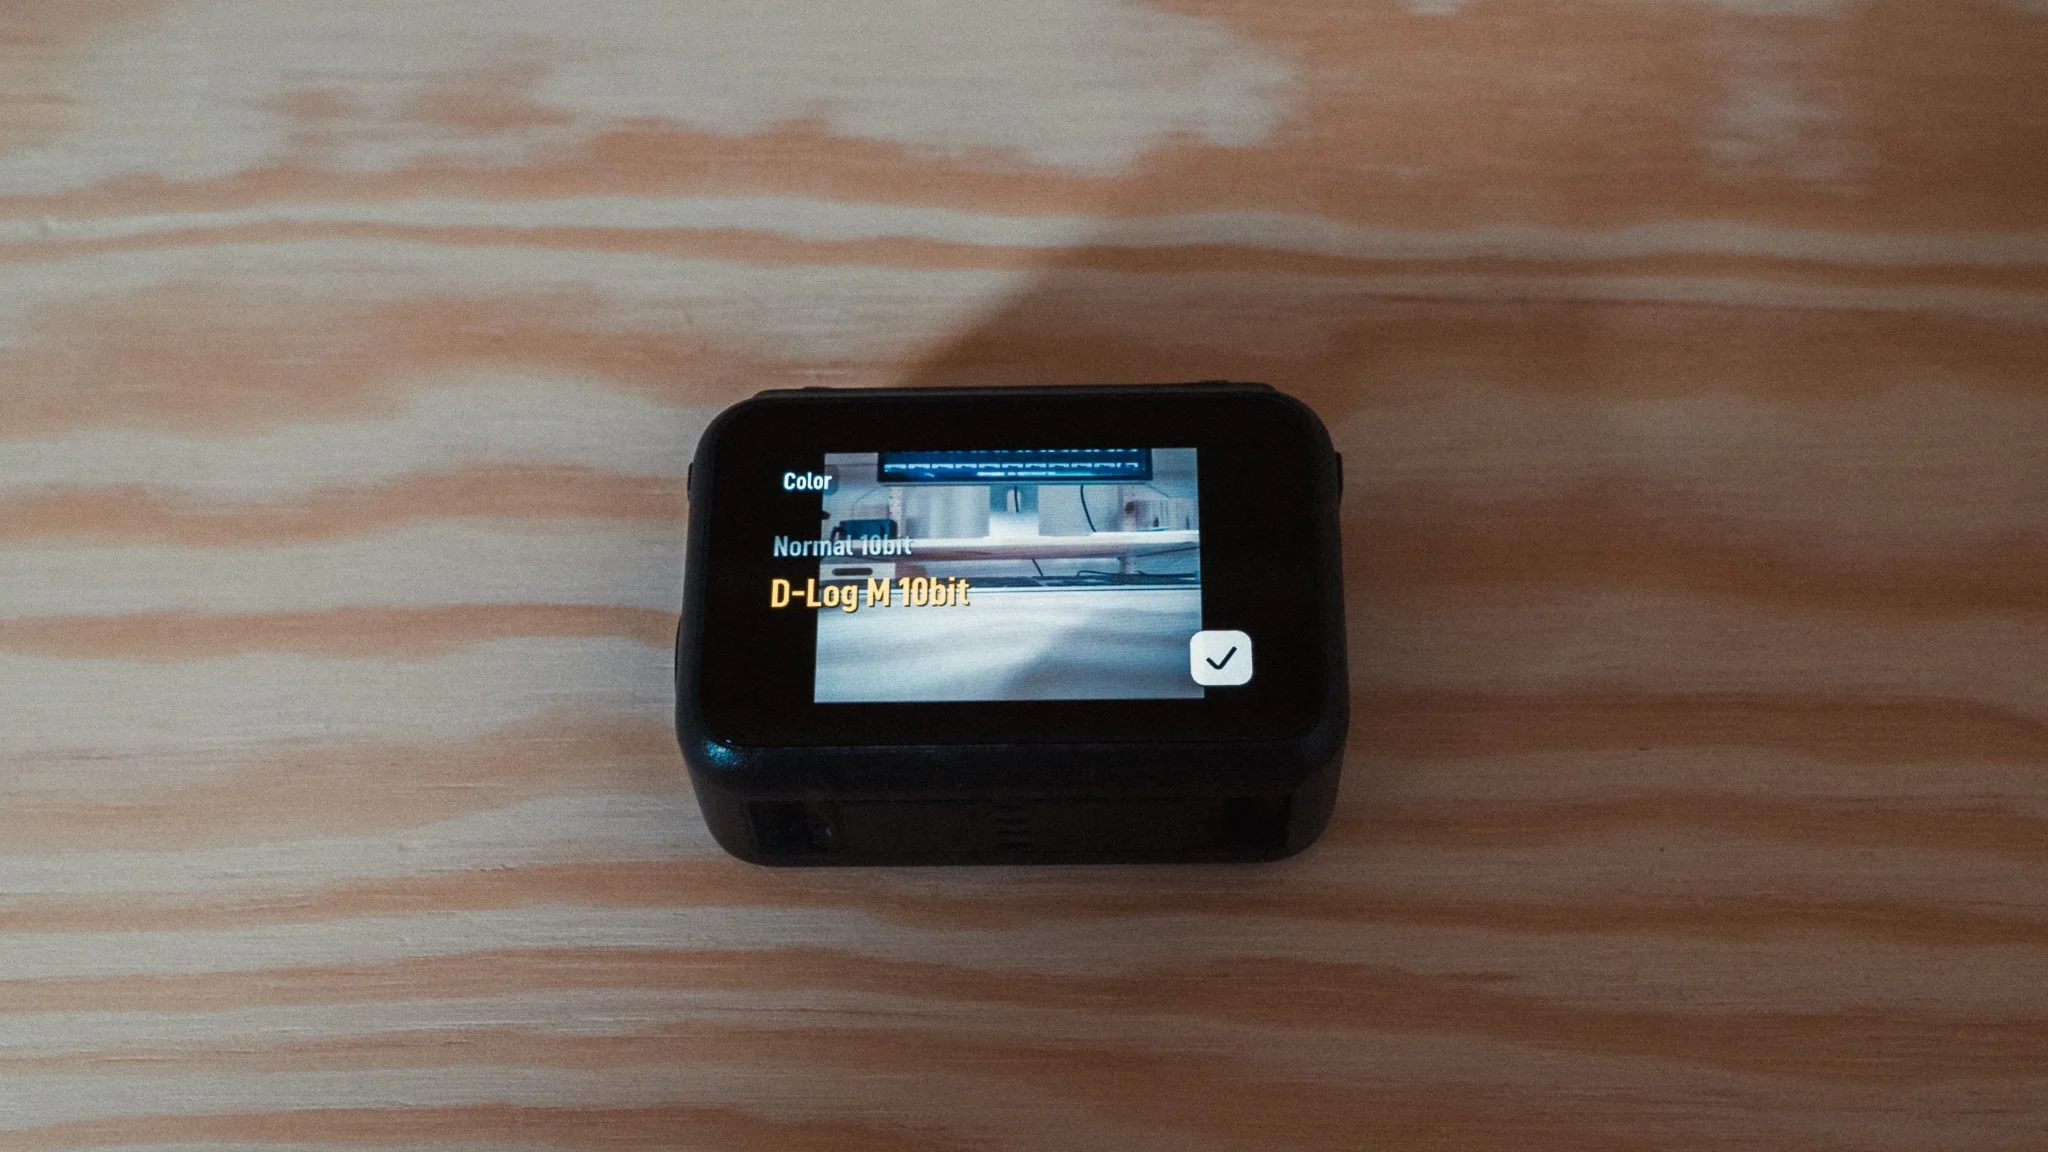
I set the colour to D-Log M 10bit to allow for colour grading and the best quality. If you don’t care for this, then you can leave it in Normal. However the D-Log profile is very good and with a good conversion LUT you can get some incredible results.
Glamour Effects are always off. Stabilisation Scenario is set to Daily. This gives a realistic level of stabilisation without it being overkill. Endurance mode is always off unless I’m about to run out of power.
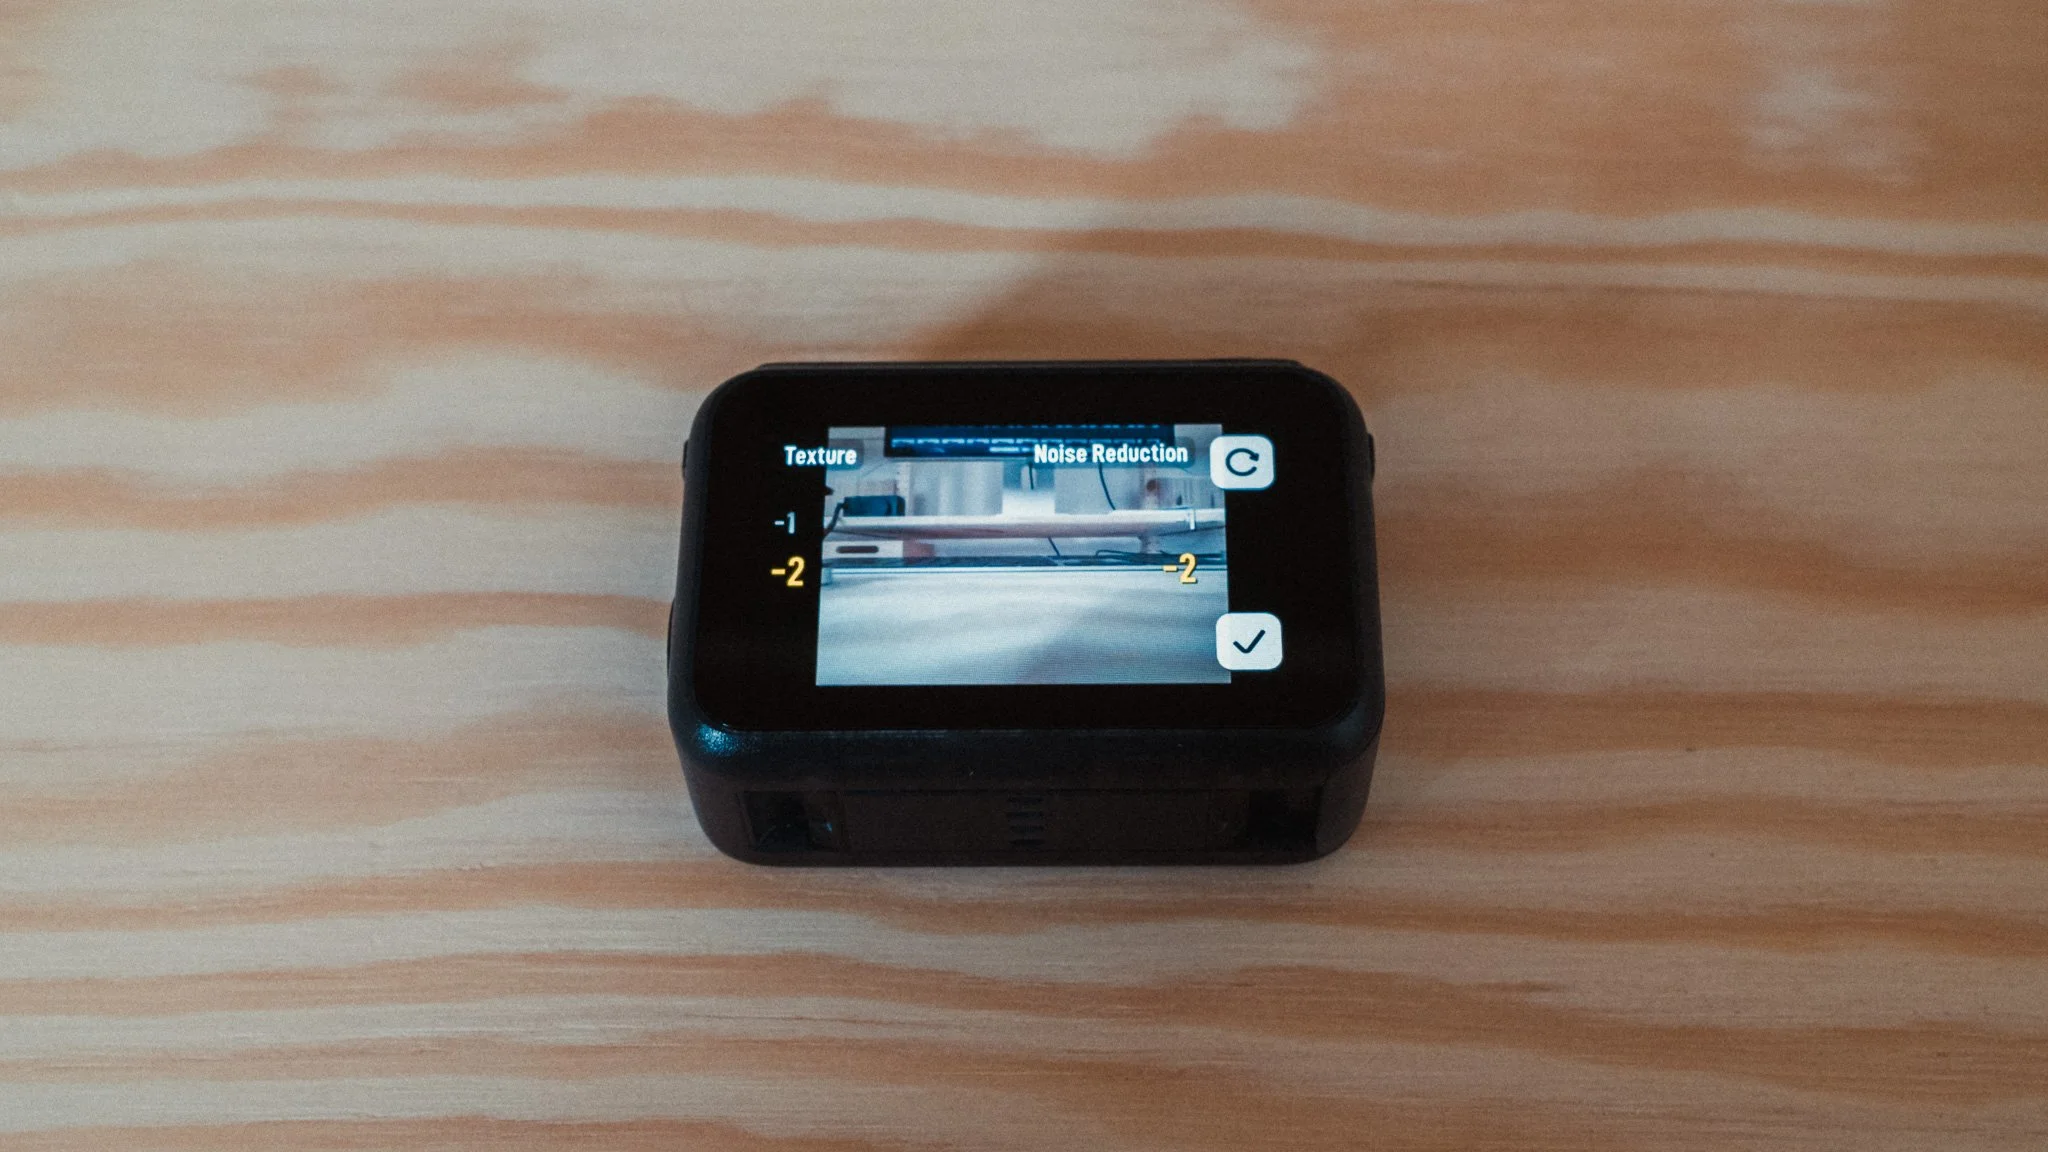
The final setting is called Image Adjustments where we need to make a few changes. Both texture and noise reduction are set to -2. I want the softest possible image out of the camera because I want to avoid that digital sharpening look that these cameras can be known for. I also don’t want any internal noise processing, as in most cases you will get better results removing noise in editing software like DaVinci.
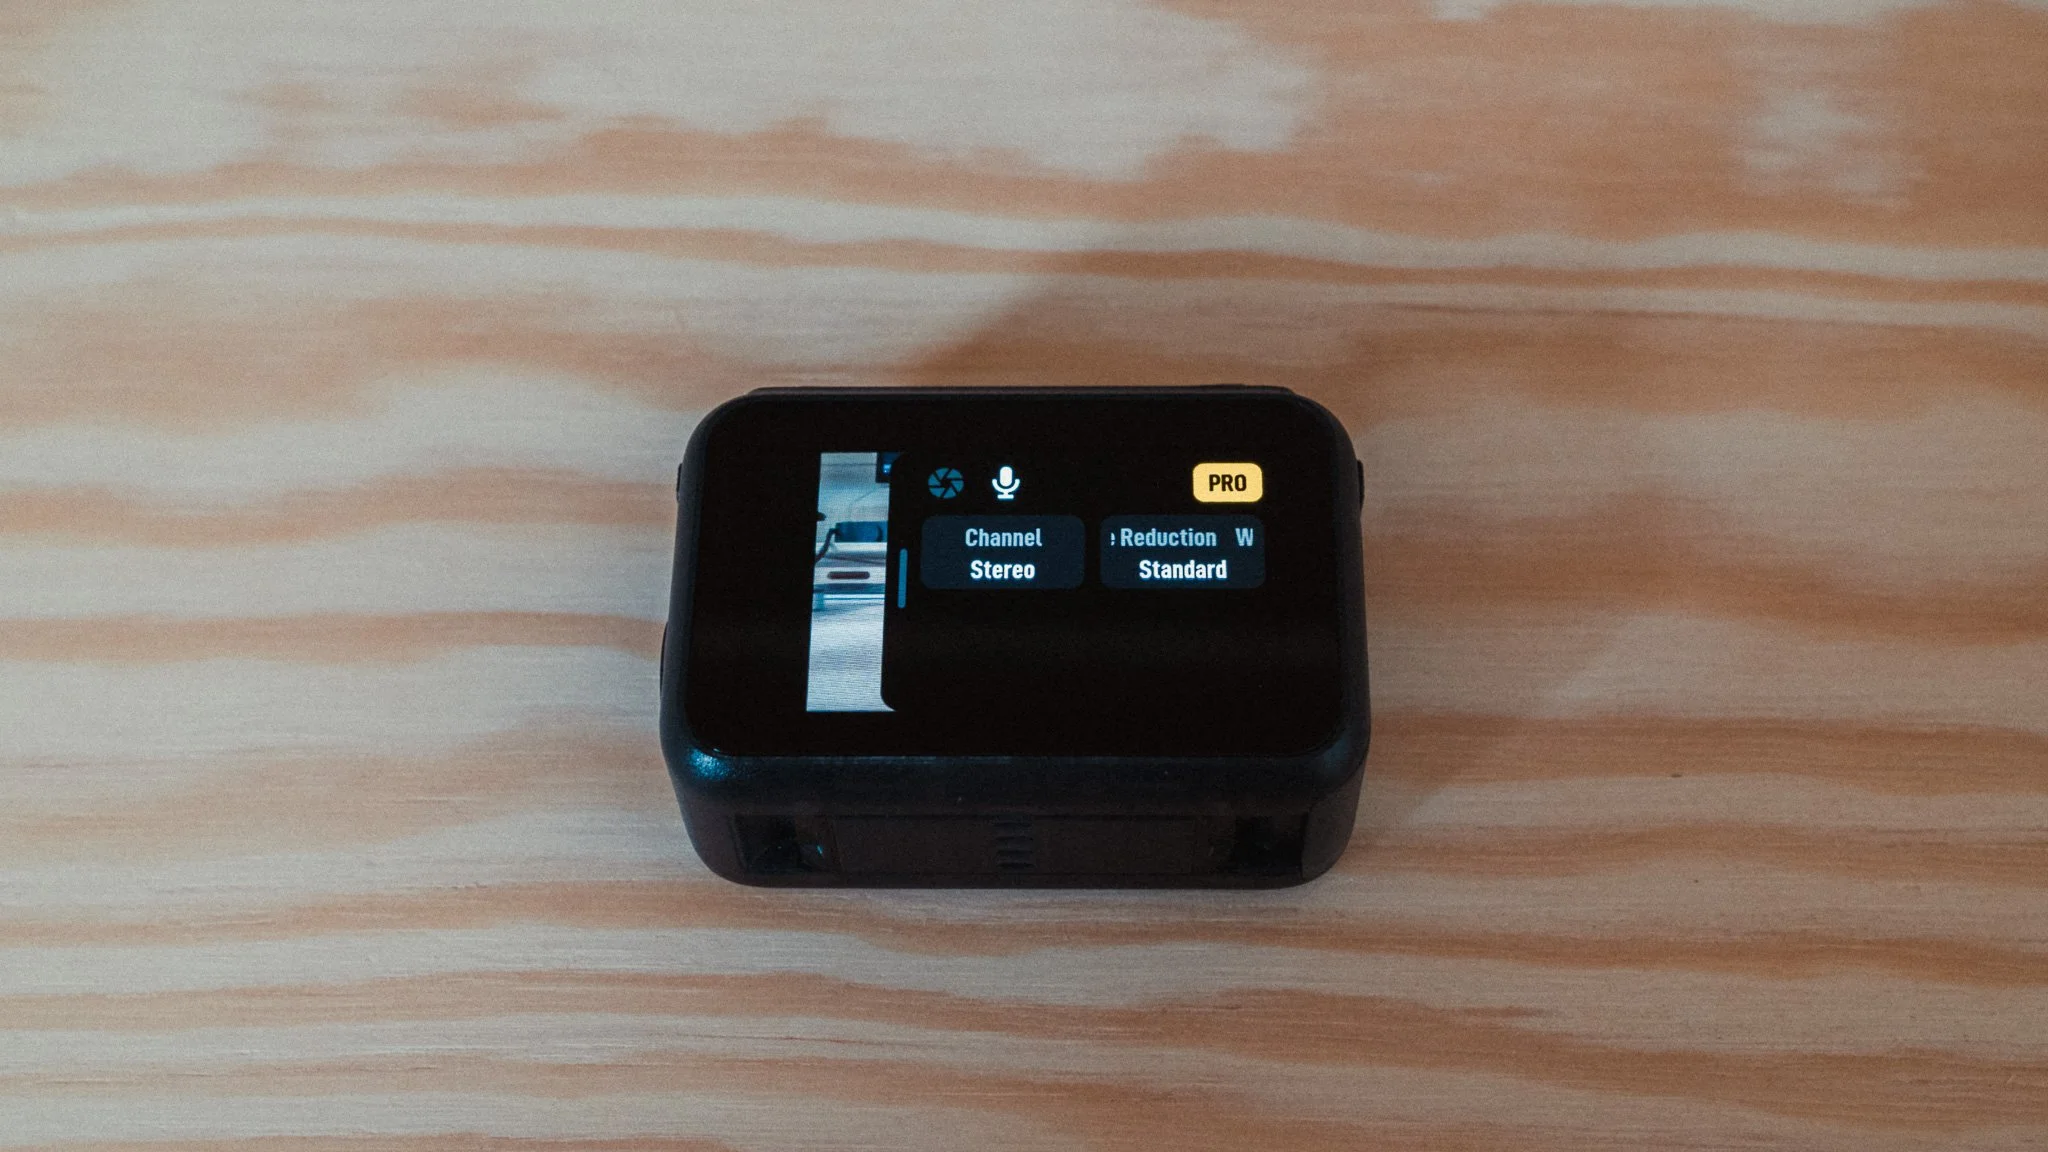
Moving to the Audio section
Channel - Stereo
Wind Reduction - Standard
Custom Profiles
You can create custom profiles for any combination of settings and save it as a shortcut. While there are endless possibilities, I have three saved that I often alternate between.
Video 1 - Full auto with 4:3 ratio. This is my go to run and gun set up where I have little to no control over the framing and want the most flexibility in editing. I also use this setting if I plan on pulling vertical crops.
Video 2 - Full auto with 16:9 ratio. Same as before but this is for when I have more control over the framing and I know for sure the video is for horizontal viewing.
Video 3 - Full manual with stabilisation off. Exposure and white balance are set to manual. 1/50 shutter speed and a starting ISO of 100. White balance is set to 5000K. This is my talking head or locked off / long take setting. Whether it’s a timelapse, talking head, or a long take, this ensures the most consistent footage. Best suited for when the shot is planned and I have time.
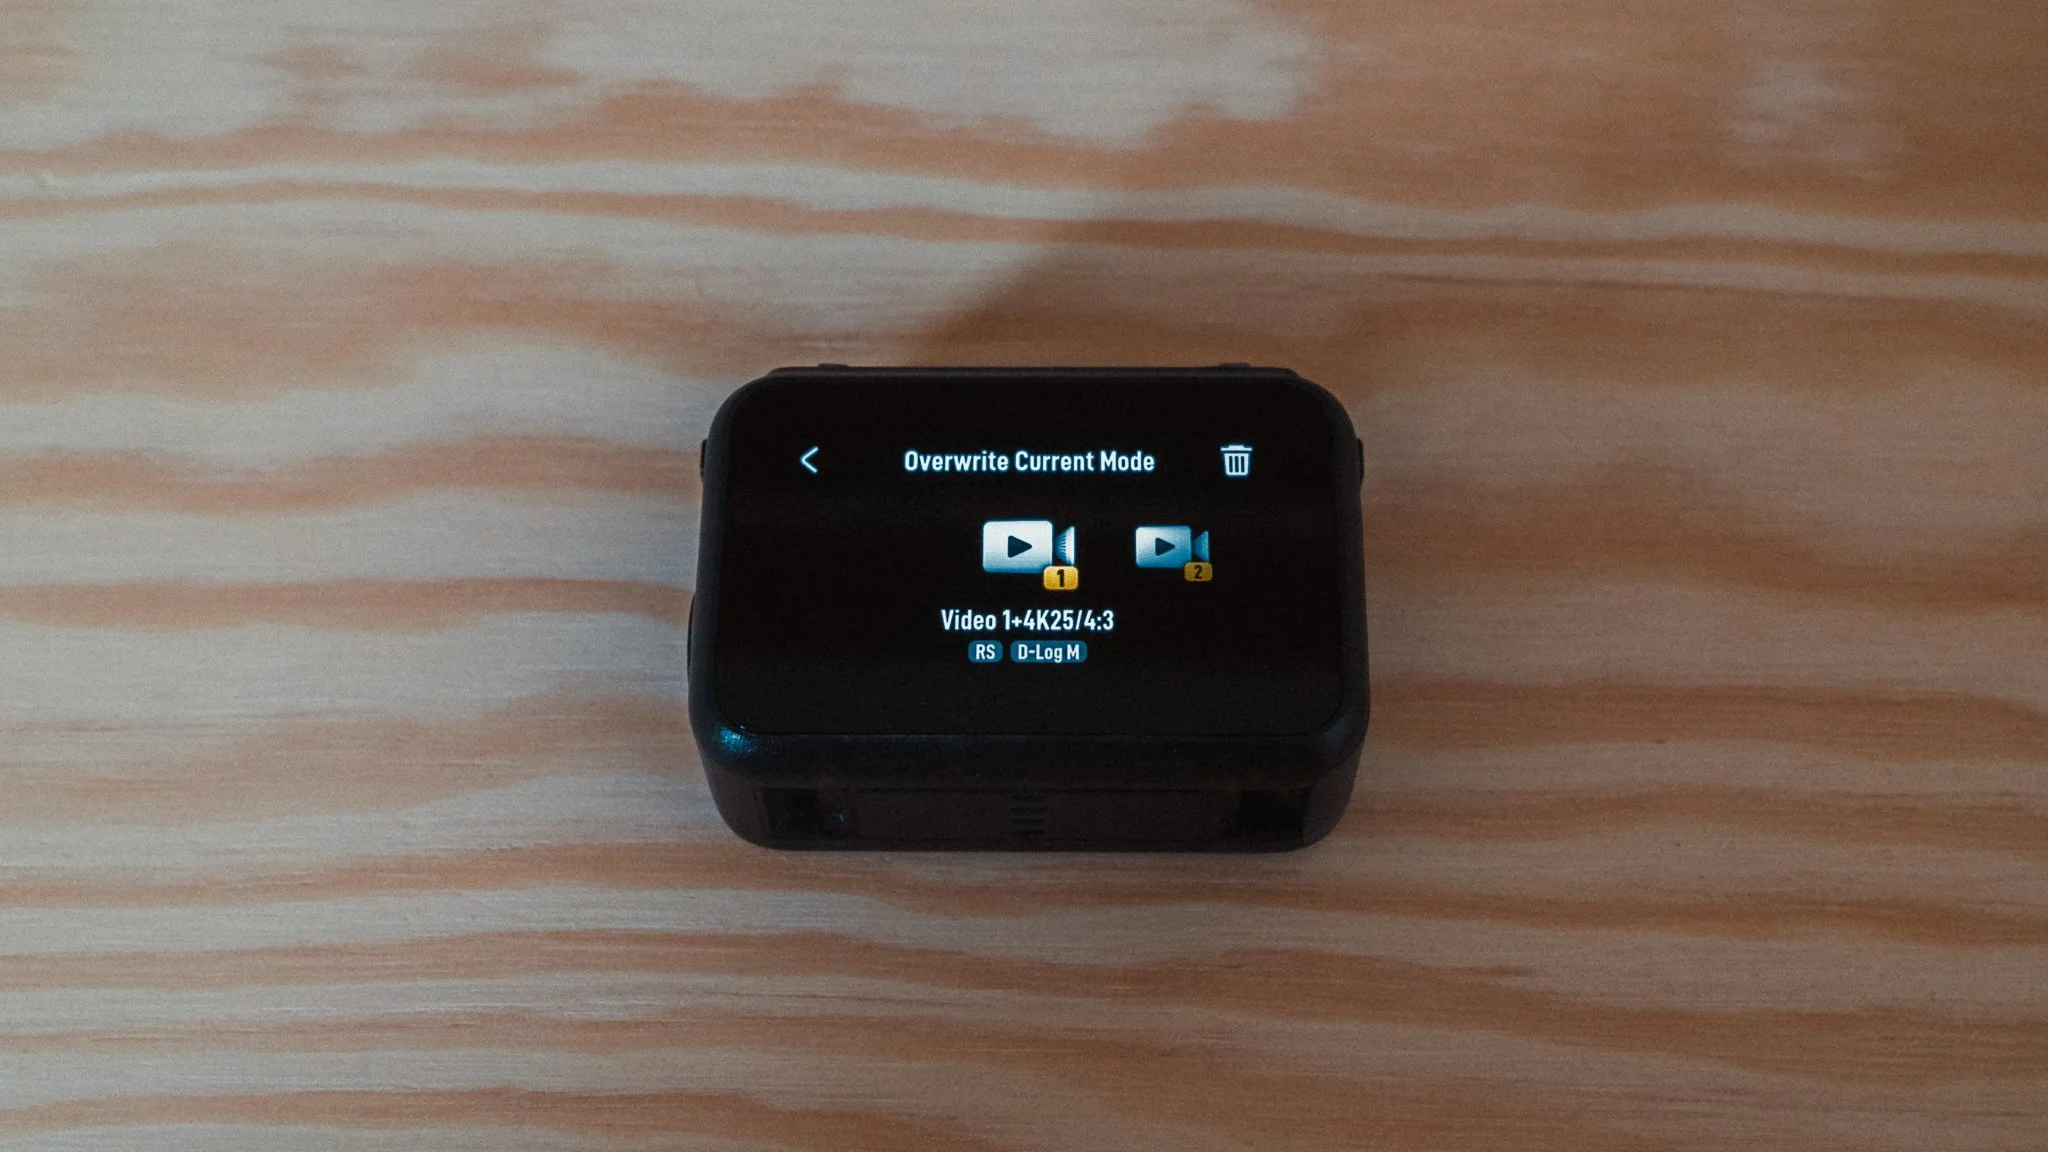
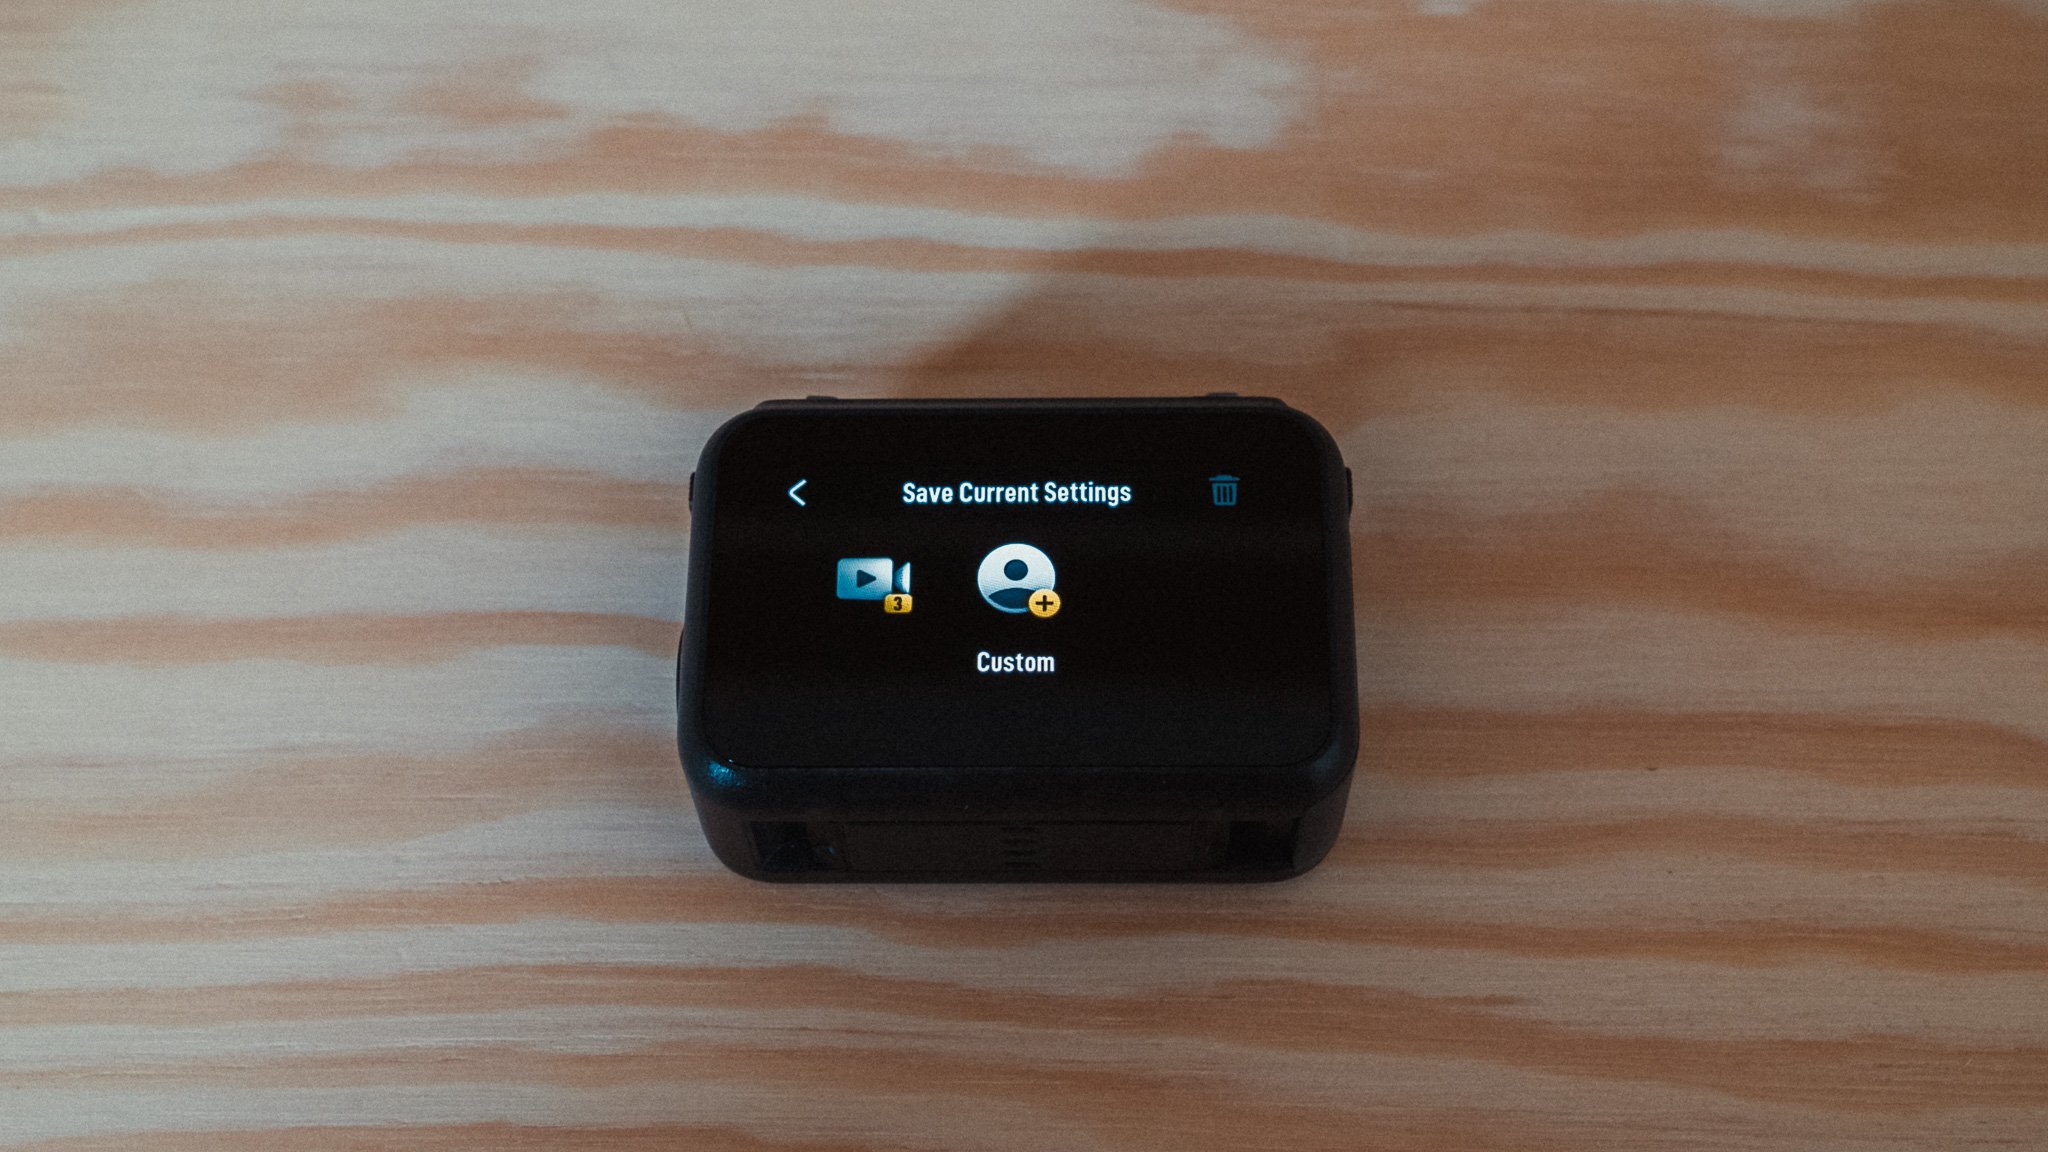
To create a custom profile, first adjust the camera as you need, then swipe down from the top and press the button in the top left. The button looks like a person with a plus sign. From there you can either create a new profile or override an existing one.
The final setting is to allow for fast switching between profiles by double pressing the record button. To set this up you need to swipe down from the top to access the menu, then press the icon that looks like the camera. This one is the second icon in from the top left. This takes you into the Custom Button menu.

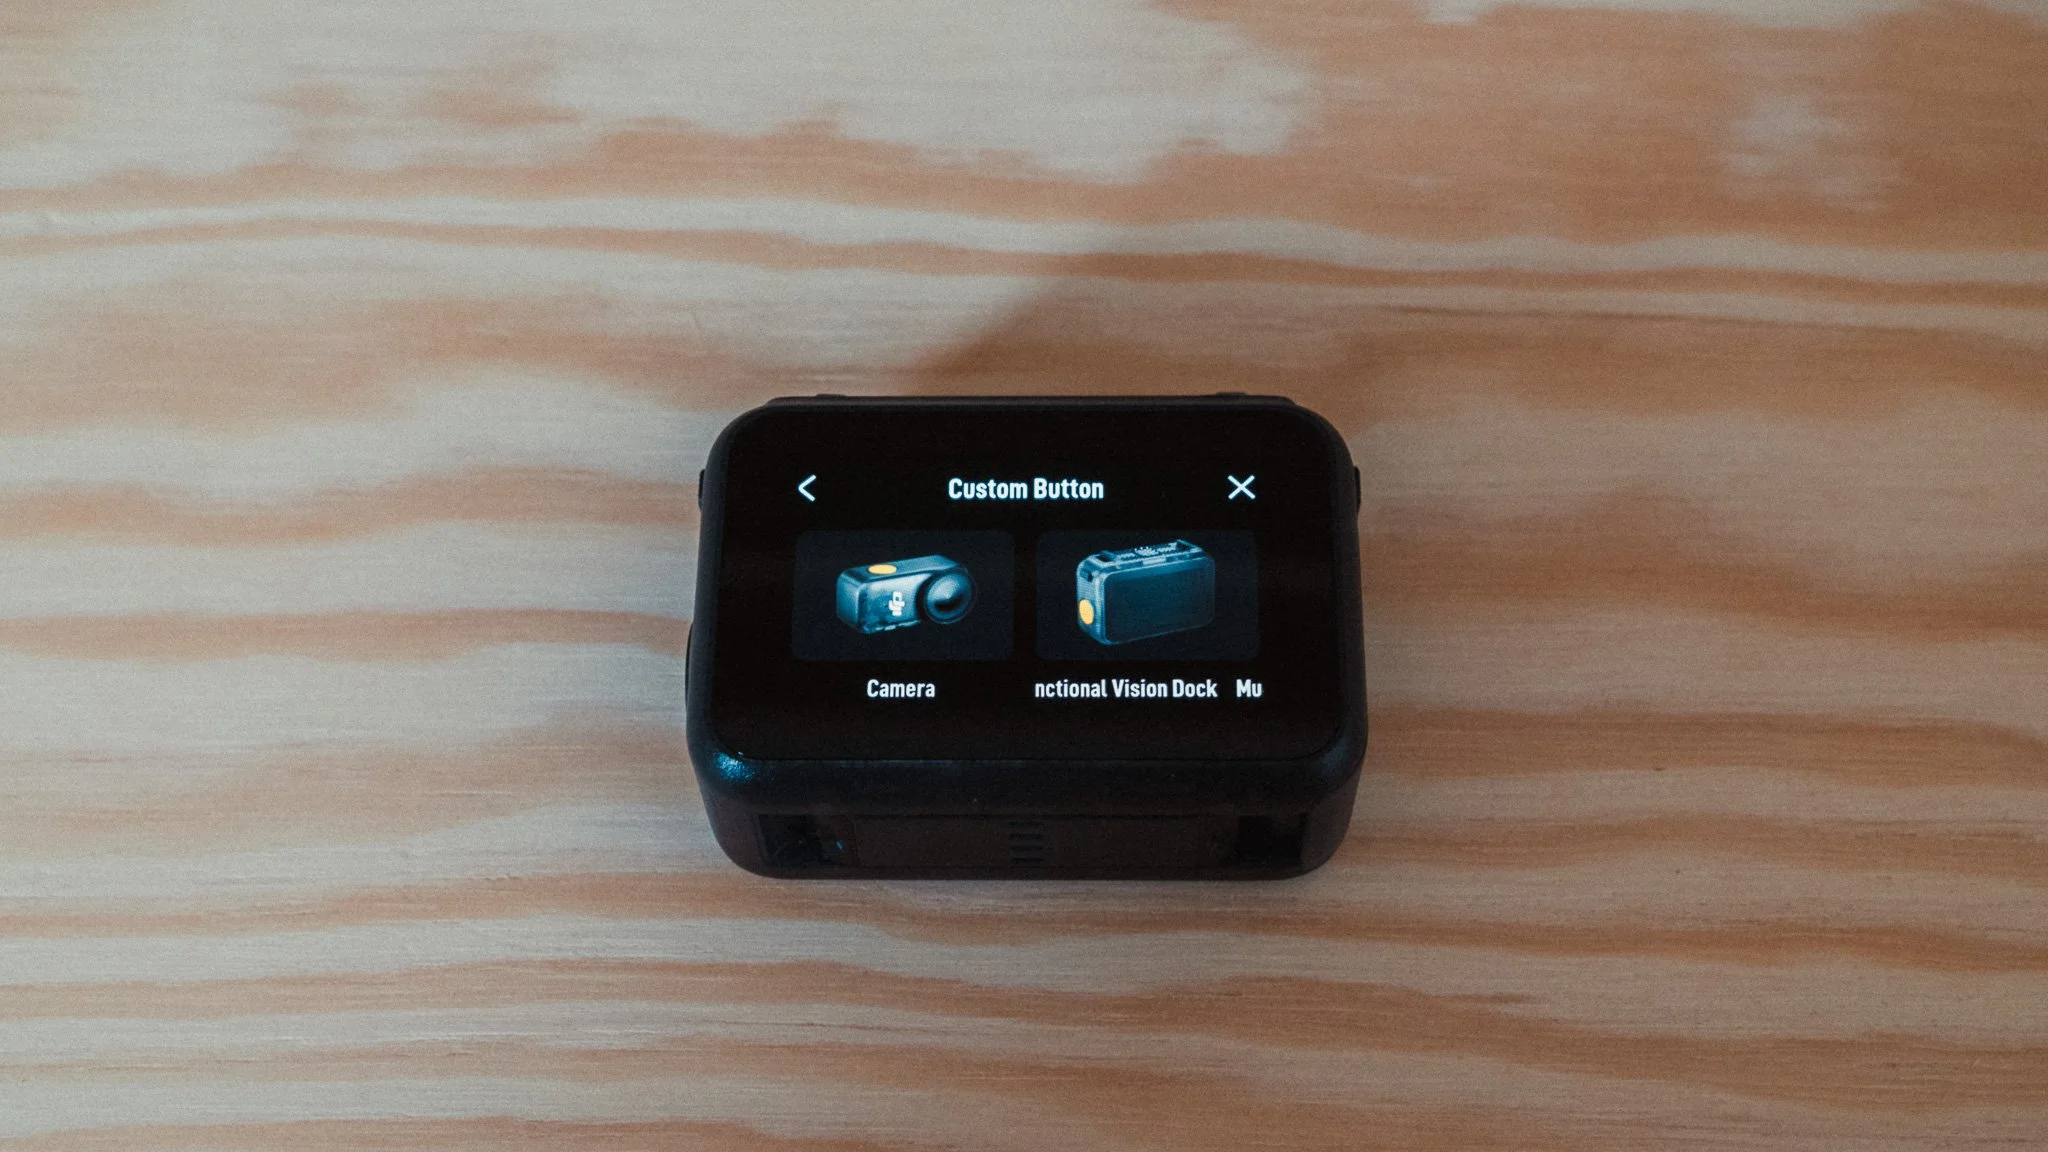
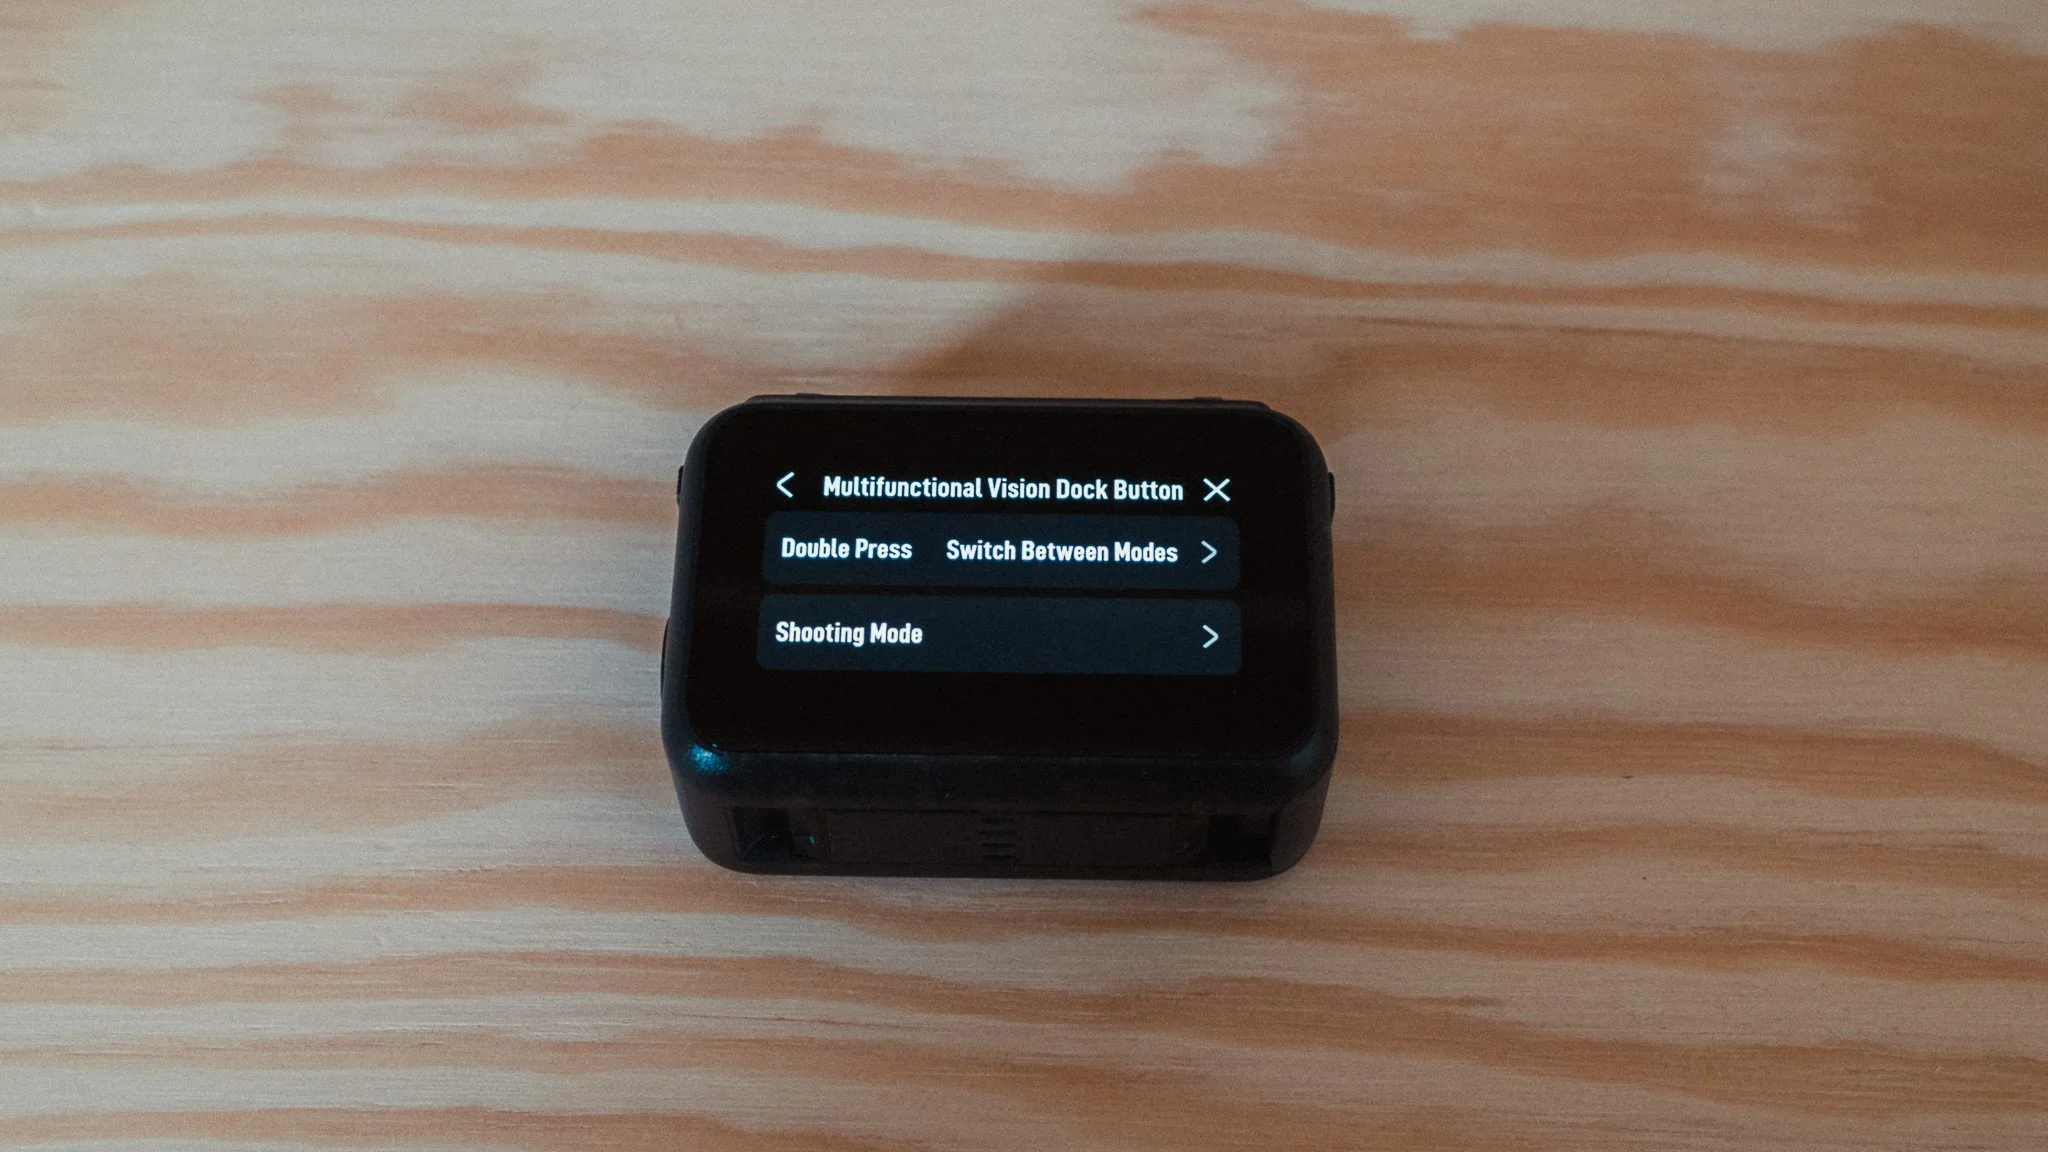
Click on the dock icon on the right and then on the Double Press menu. Change this to Switch Between Modes. Now when you double press the record button on the dock, the camera will switch between modes.
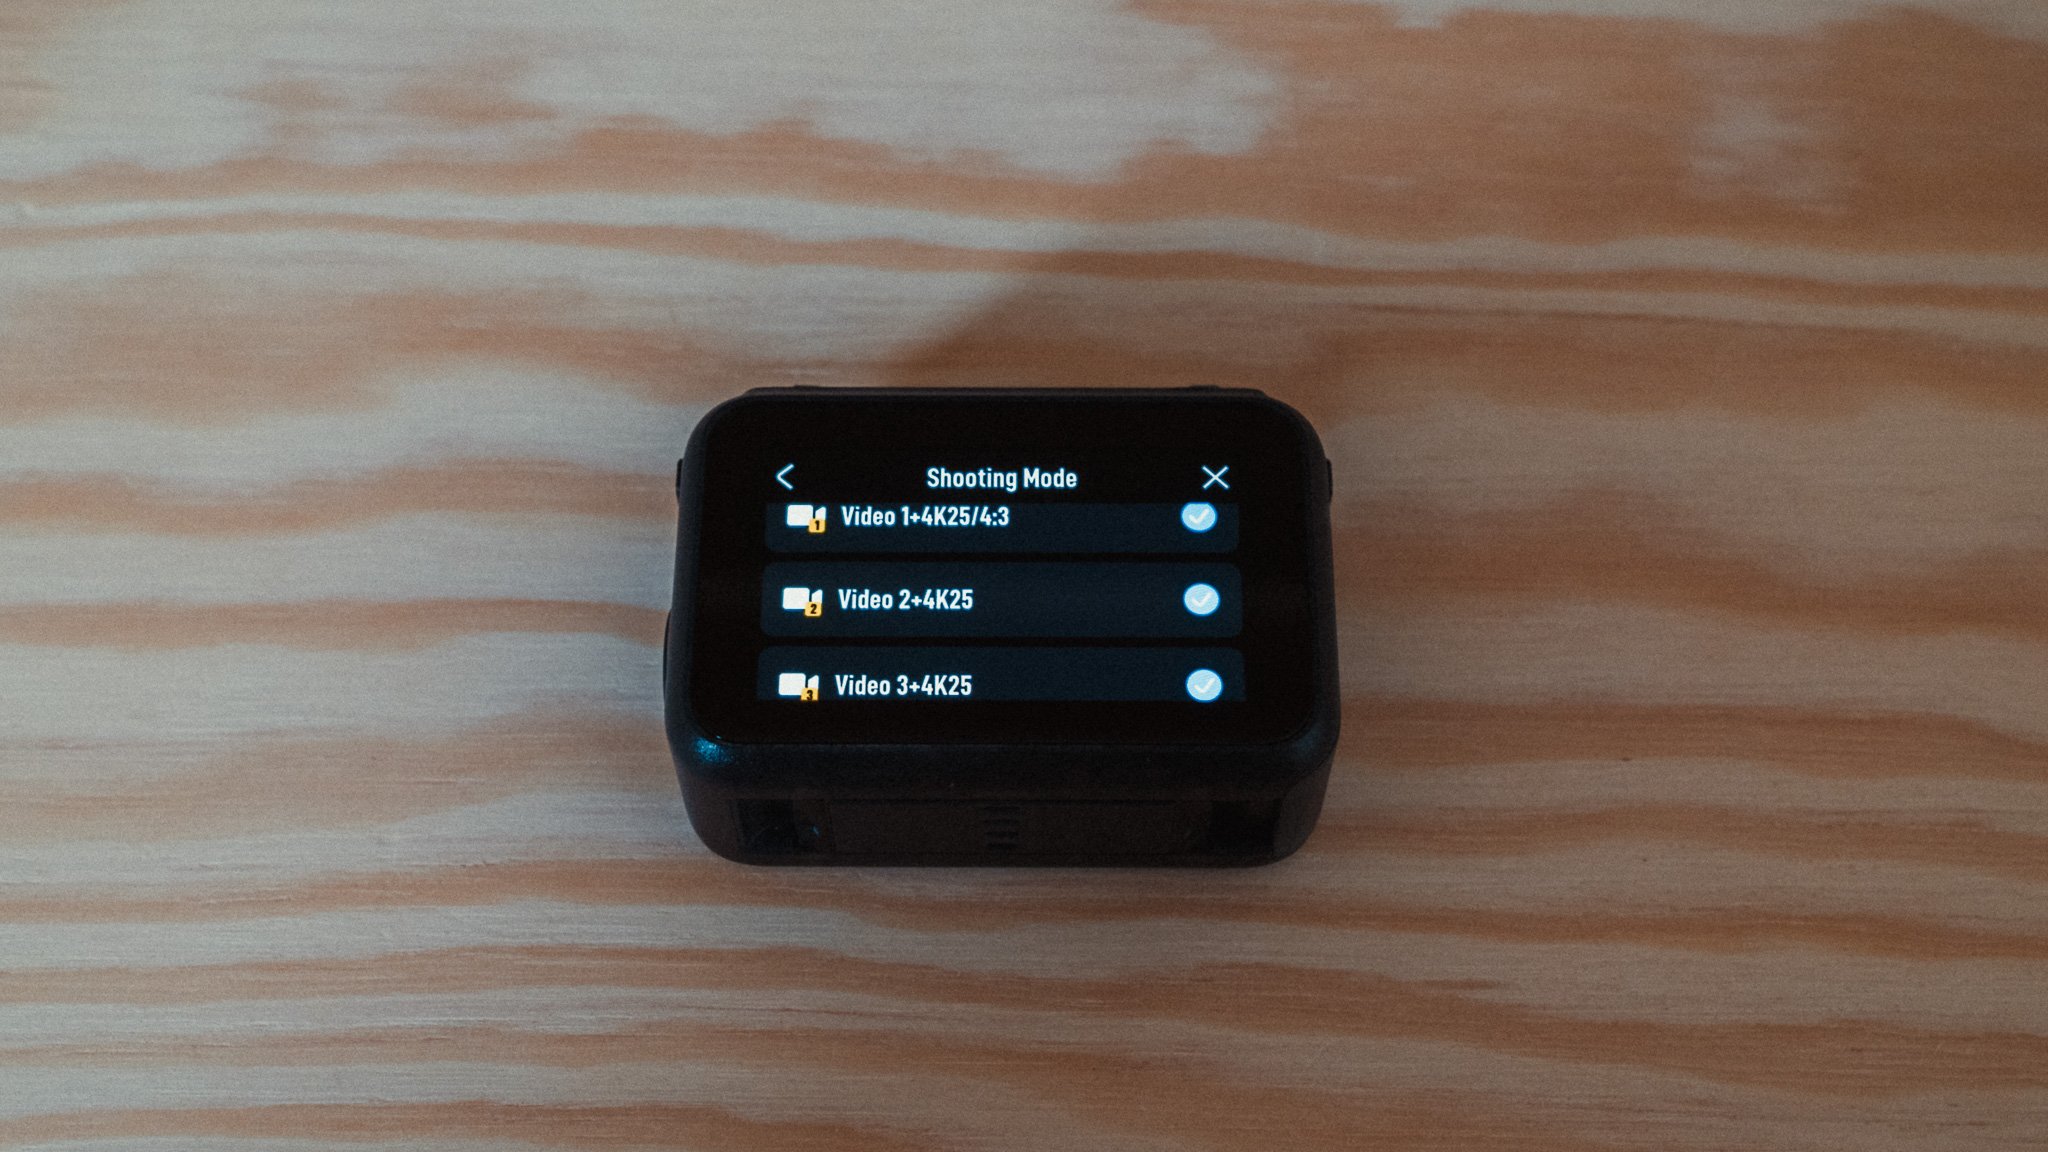
You can further customise it by going into Shooting Modes and specifying which profiles you can cycle through. Since I only use this as a video camera, I only have the three custom modes enabled.
Other Settings
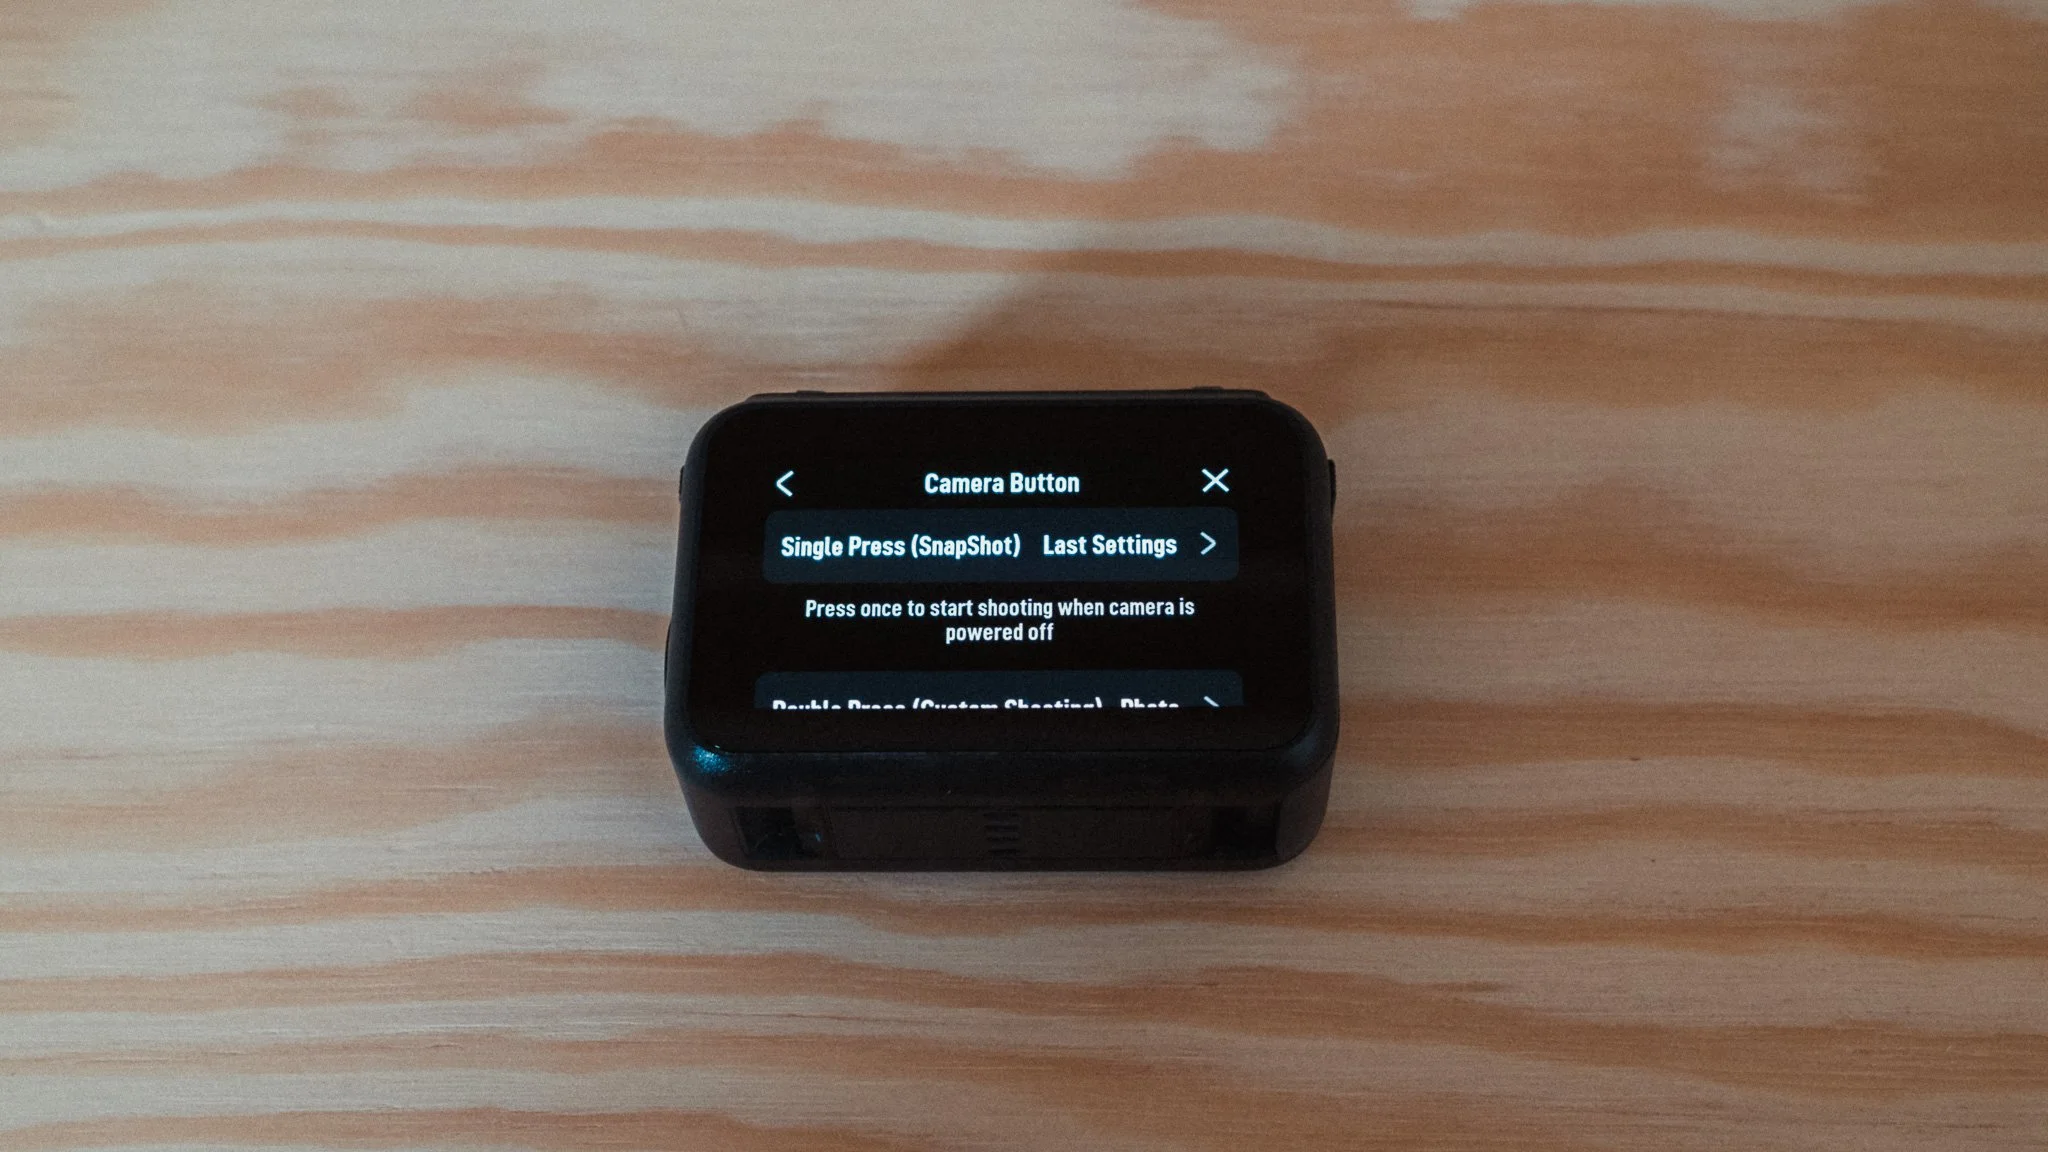
There are some other settings which are worth mentioning. Let’s go back to the Custom Button menu, however this time we will click on the Camera. I set Single Press to Last Setting. I generally set the custom profile before I head out shooting and then use this function to quickly trigger the camera. I set Double Press to take a photo.
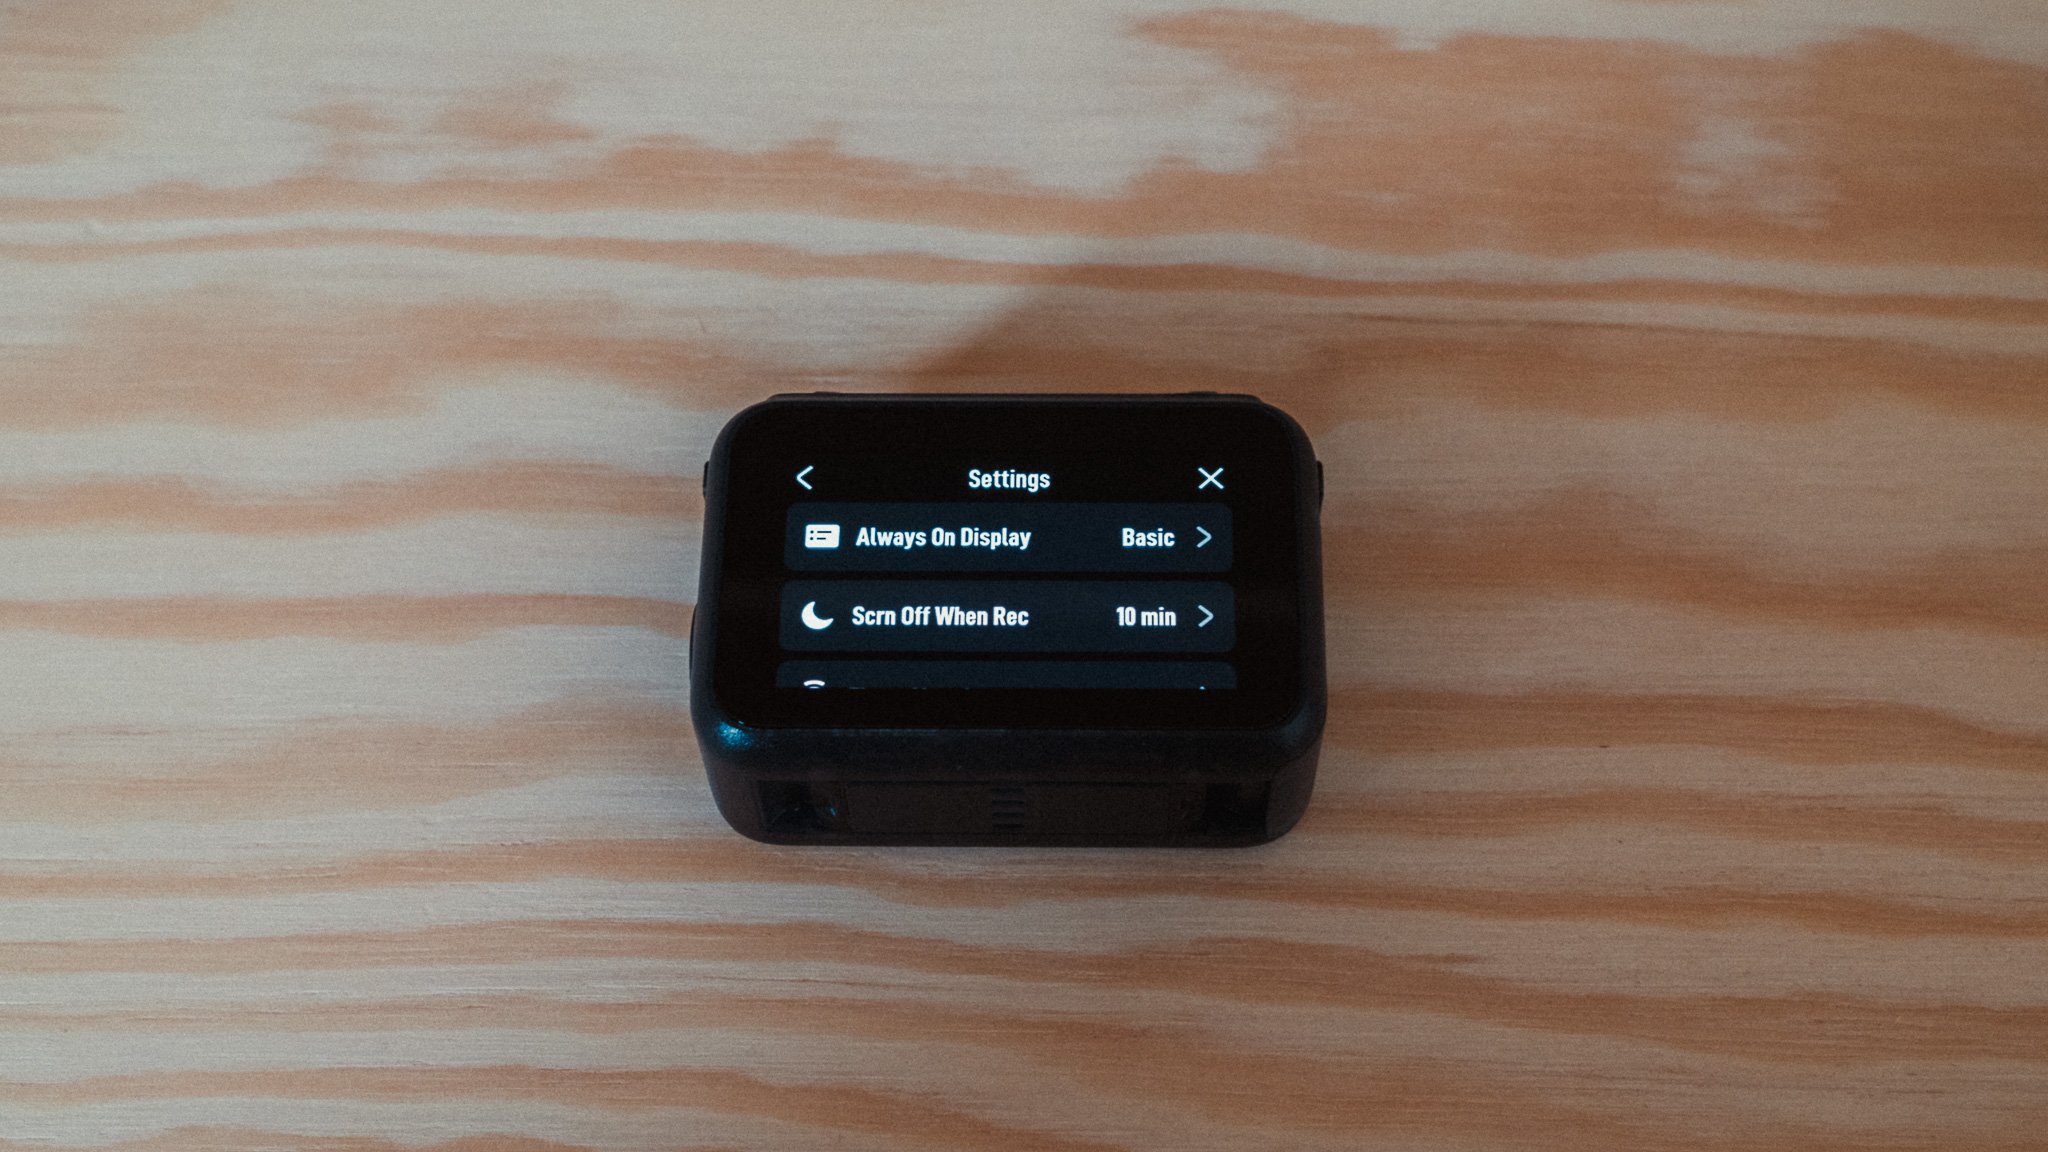
Now let’s go into the Settings menu. The first setting is to change Screen Off When Recording to 10 minutes. This will drain the battery faster, however it’s a price I’m willing to pay. Most of my takes are less than 10 minutes, so being able to always see the composition is more important.
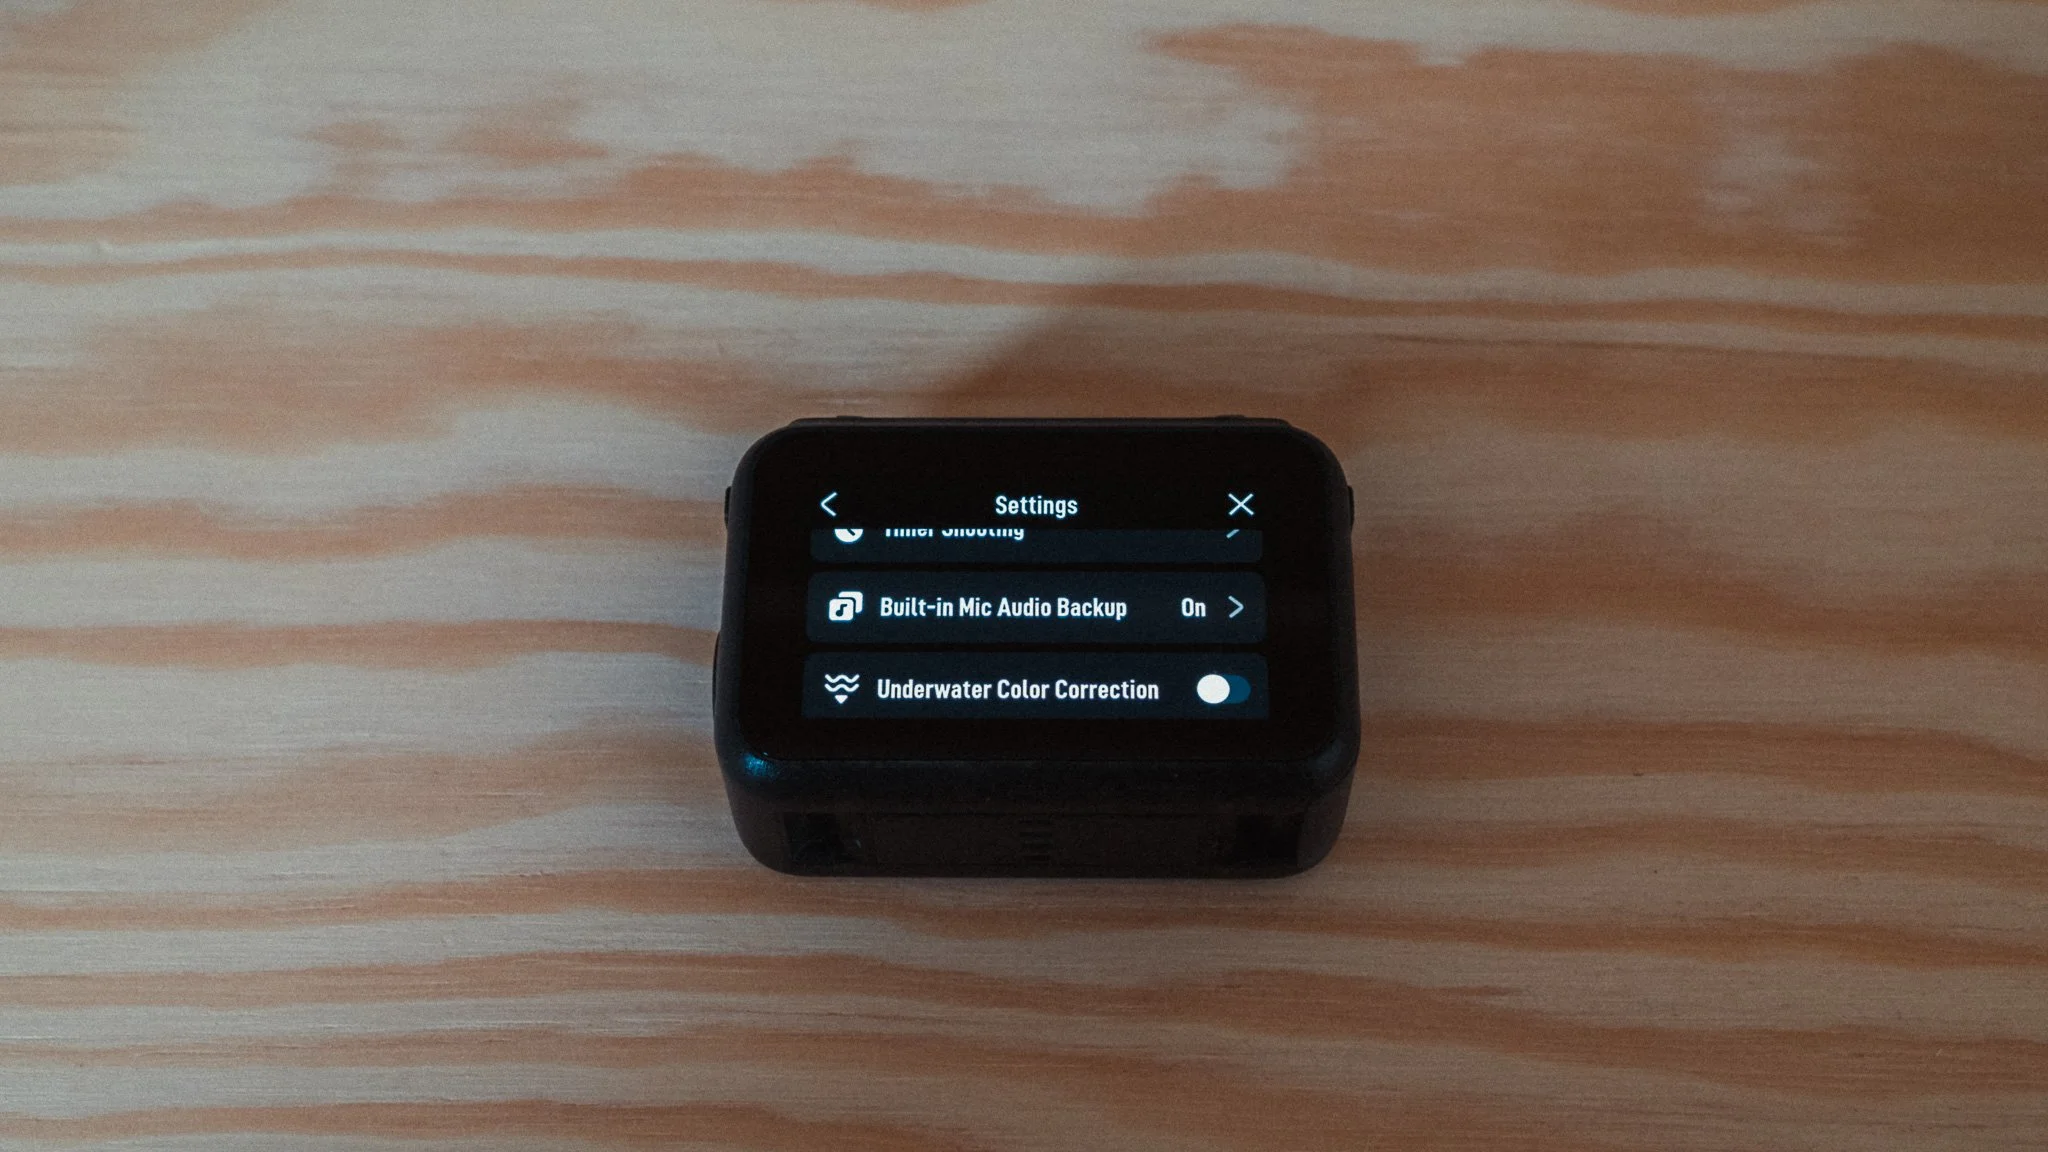
Built In Mic Audio Backup is turned on. When using an external mic, this setting will record audio on the internal microphone and keep it as a separate file on the SD card. This is great just in case you have issues with the external mic.
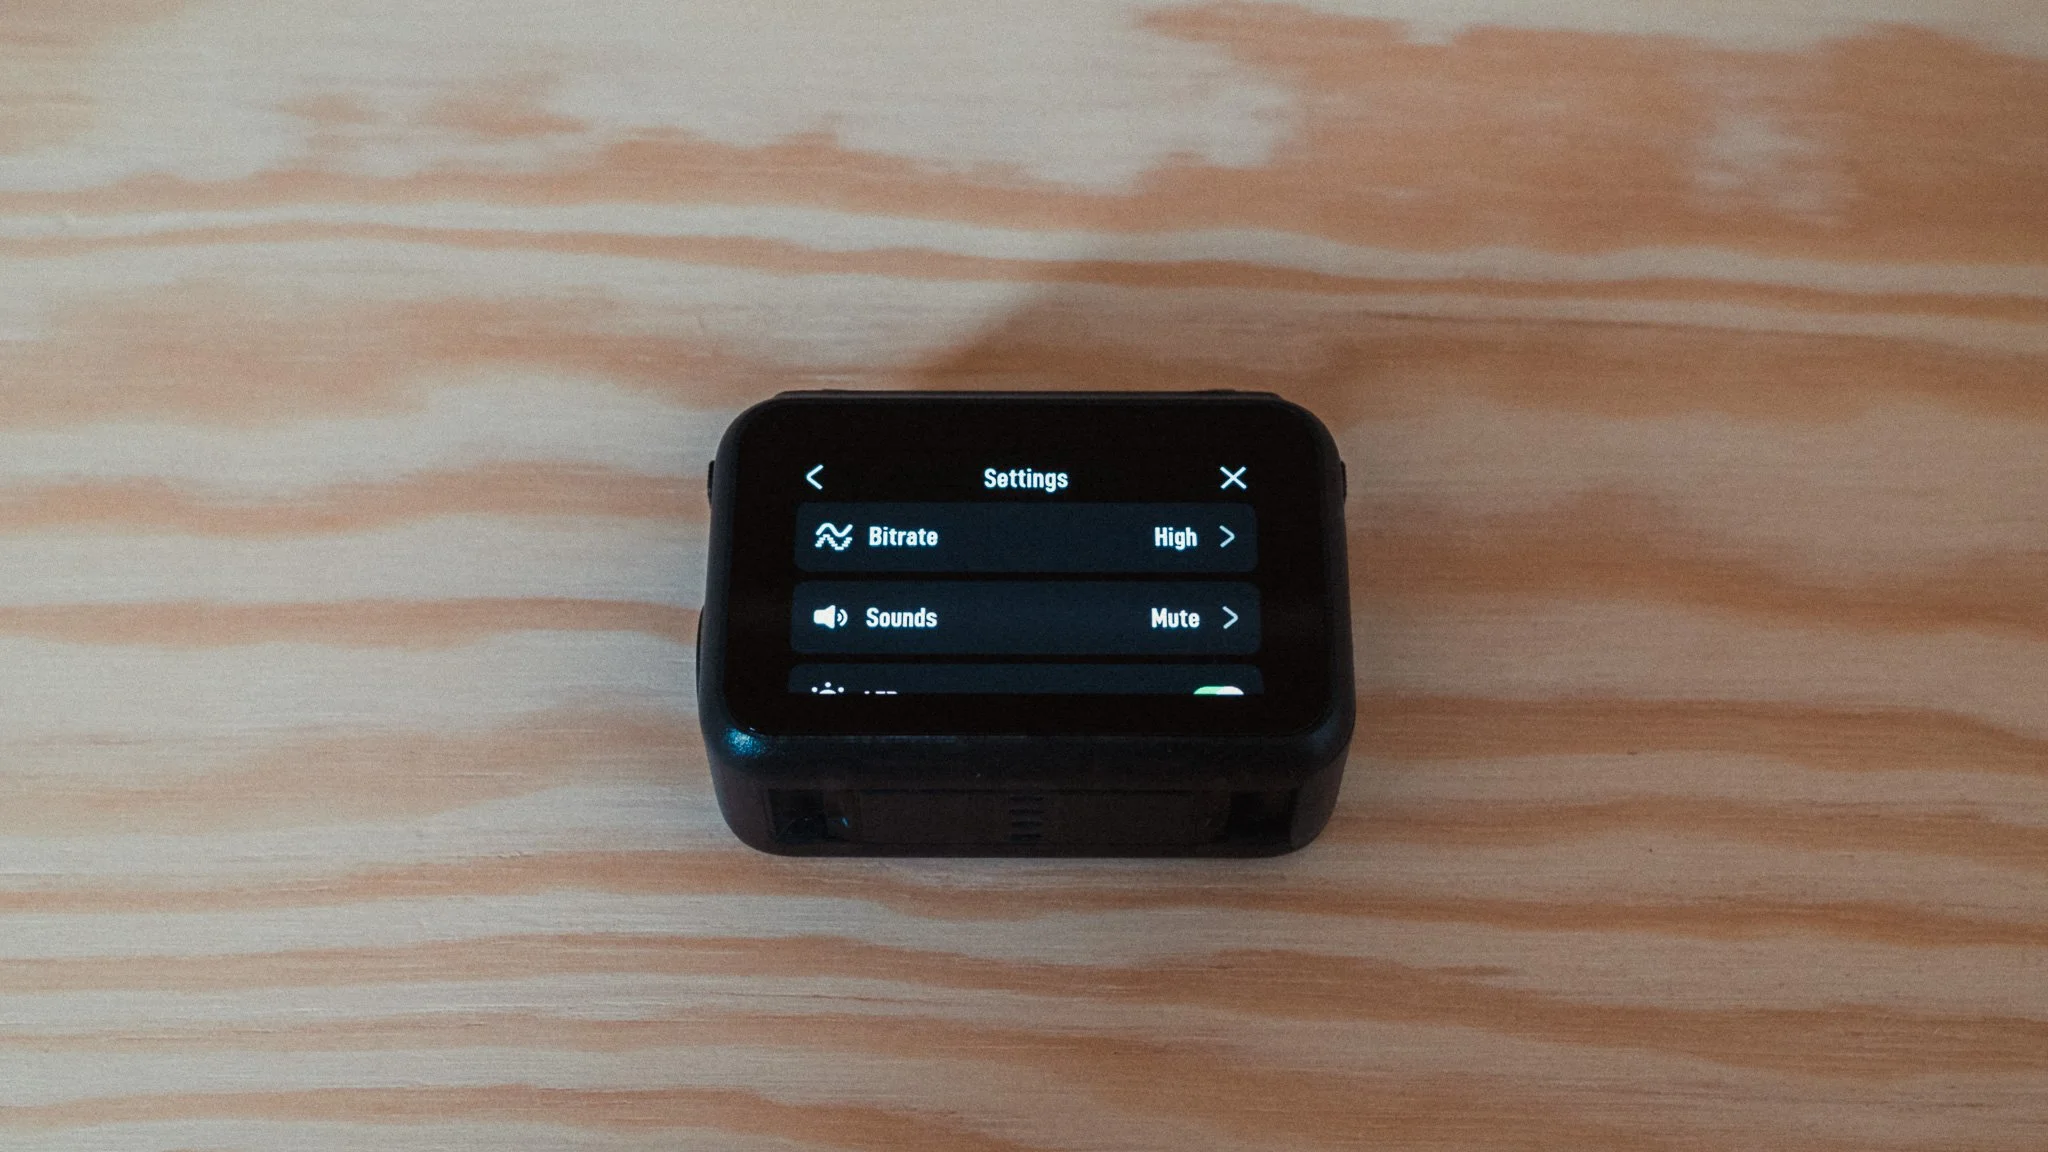
Bitrate is set to High for the best possible video quality. All sounds are muted. The last thing I want is this camera emitting random noises. I set the Reference Line to Grid to help me with composition. This is actually very useful on such a small screen.