
How To Take Photos At Night
Since spending time in Tokyo I found myself shooting at night more often than usual which has led me to re-visit the topic of how to get the best night shots. In this blog I will share some tips to help you get the most out of night photography.

Light Sources
When shooting during the day you seek out good light and find strong light sources. At night nothing changes. One could argue that low light photography can be somewhat easier because the light source doesn’t change or move. By good light I mean finding locations where you have ample light coming from street lamps, shops, signs etc. This is one of the reasons Tokyo is so good because there are lights everywhere. Pretend you’re a moth and gravitate towards these light sources for the best photos. The same lighting principles also apply here, backlighting and side lighting give the most cinematic results while direct lighting can also work if there is enough contrast.


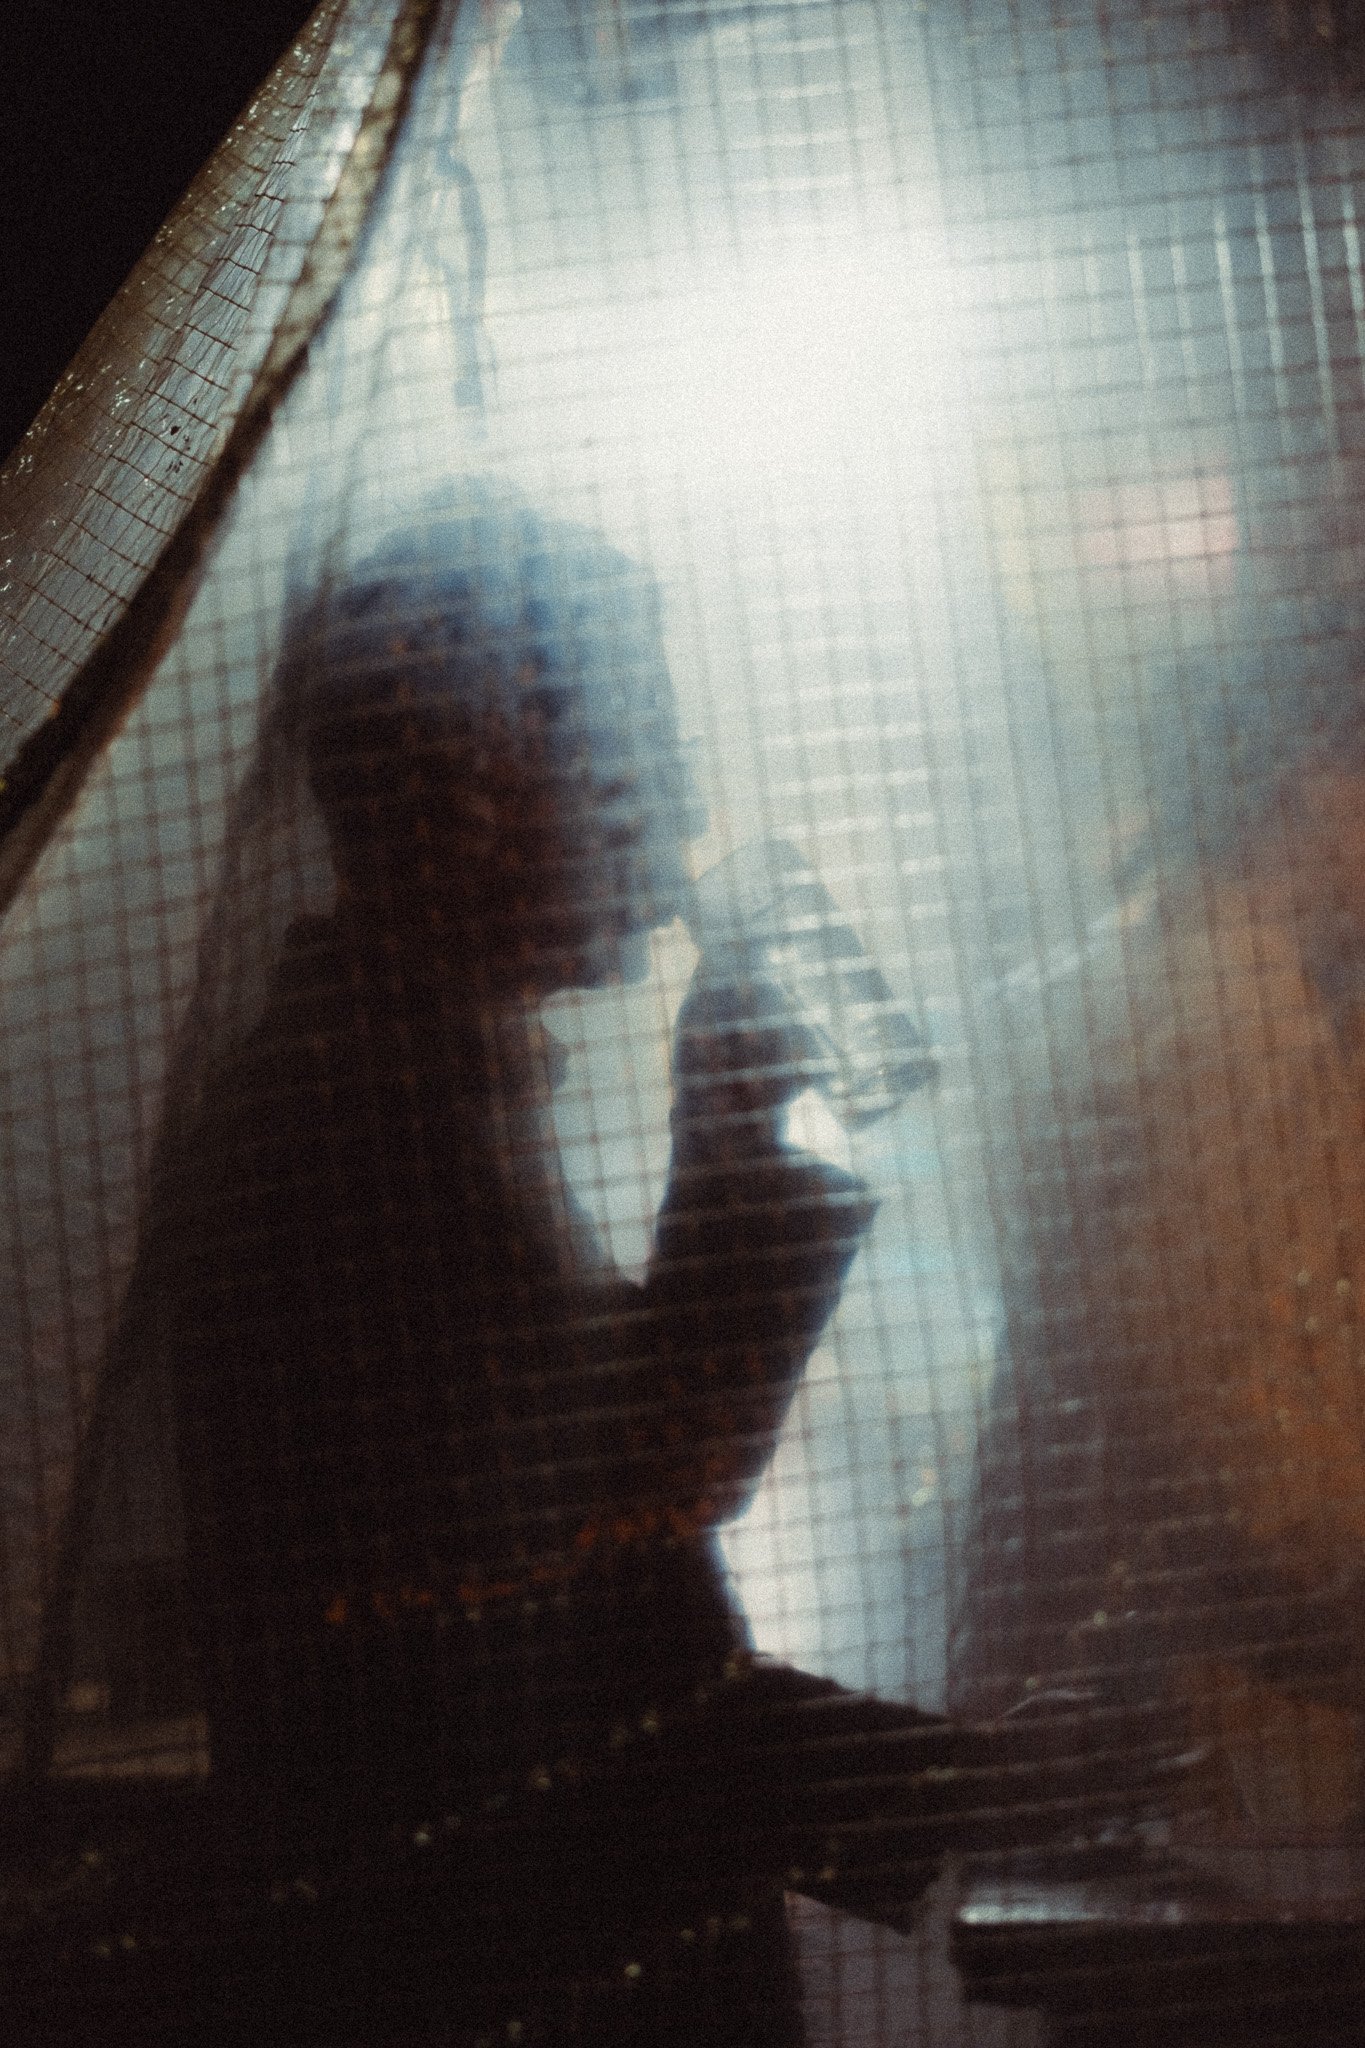
Fast Prime
This is where having a fast prime can make your life a little easier. By fast I mean anything f2 and below. You can make f2.8 or even f4 work if you really have a lot of artificial light, however you will either need to be super steady with a slow shutter speed or do a lot of noise removal in post.


Don’t Be Scared Of ISO
Many people try to shoot with ISO being as low as possible in order to avoid digital noise, so much so that they are scared of anything above 1600. My advice is to push that ISO higher if it means having a faster shutter speed and not holding your breath each time to take a shot. Sure at 6400 you will have some noise to deal with but it’s nothing Lightroom can’t fix. I’d rather deal with a little extra noise that can be fixed over motion blur that can’t. Typically I have my ISO around 1600 - 6400 at night. I don’t often go to 12800 unless it’s a real emergency.


Stabilise
There will be times when you have no choice but to drop the shutter speed so low that you can introduce motion blur. Although you can’t control the motion blur from moving subjects, you can do some things to ensure the camera itself doesn’t induce that. Below is a list of techniques that have worked for me:
Electronic Shutter. On some cameras the mechanical shutter can be rather harsh and induce some movement.
Burst mode. When you press the shutter button, you introduce motion into the camera. By shooting a burst of 5 and selecting the shot in the middle, you ensure that motion will no longer impact the photo.
Viewfinder & breath. Use the viewfinder as a third point of contact to add more stability. Also hold your breath just before you take the shot to ensure no motion.
Neck strap. Use a neck or cross body strap and pull the camera away from you until the strap is tight. This will add significant stabilisation and it’s the technique I use the most.
Lean against something. Find a wall or tree or something to lean against. This will add another point of contact.
Big lens. If you have a big or heavy lens, place your left hand under the lens and take the weight. The right hand that’s holding the camera will only act a support and control.


Use Motion To Your Advantage
If you need to use low shutter speeds and have no way around that, then why not use motion blur to your advantage and create abstract style photos. You can try panning, intentional camera movements or any other techniques for creative slow shutter speed photos.

Under Expose
The final tip is to underexpose the photo. This can be done manually or by adjusting the exposure compensation dial. Typical I will underexpose between -0.6 and -1 depending on the lighting. A good rule of thumb is to make sure the display matches real life in terms of brightness. If the image you see on your camera is noticeably brighter than what your eyes see, drop the exposure to match them.

Shoot In The Rain
Shooting in the rain will amplify the available light because now you will have reflections. You will also have a more atmospheric scene and a whole bunch of new compositions such as reflections.















Instead of telling you how these will change your life, I would rather be practical and answer the most common questions that people tend to have when buying presets.
What are presets?
They are editing settings that are saved in a file and can be applied to any image.
Why do people buy presets?
Sometimes because they like the work of the photographer and want that style for their own photos. Mostly because they would like to see how other people edit and learn by reverse engineering the presets. Other times it’s just to support their favourite photographers, thank you!
What’s the overall style of these presets?
- Filmic
- Warm
- Soft
- Bright
What are these presets suitable for?
Street & Travel Photography
Some Nature (with further editing)
Some Portraits (with extensive editing)
Do I actually use these?
Yes. This is the same pack I use right now for all my editing. This isn’t a pack made just to sell.
Do these presets get updated?
Yes, as my style changes, these presets will also be updated. Any time a new update is available, you will get a free update via email. Of course you also keep all the old presets in case you prefer the older looks. Only presets purchased from 2025 onwards will receive the updates.
What file types are these presets for?
- All RAW files
- JPEGs & TIFFs (not recommended)
What camera brands are these presets for?
These were designed around Fujifilm, Sony, and Leica sensors. With that said, they will work with all camera brands. While there might be differences due to individual camera colour science, the overall feel of the preset will carry over.
Will these work with JPEG files?
Yes, but you will need to reduce the intensity and make further edits. I strongly recommend editing RAW files.
Are these one click edits?
95% No. You would need to do some basic adjustments as each image is different. These adjustments can include exposure, colour balance etc. In 5% of cases you can just apply and leave it alone.
Do I need to know how to edit?
You need to have a basic understanding of adjusting exposure, highlights, shadows, etc. A more comprehensive editing skillset will let you get the most out of them.
How many presets are included?
10 in the main pack and 24 in the extras pack
Why two packs?
The main pack is what I use for 99% of my edits and is kept small to reduce wasted time scrolling through presets. The extras pack is everything I don’t use often.
What software do I need?
These presets will work with any of the following:
- Photoshop (adobe camera raw)
- Lightroom Classic
- Lightroom Desktop
- Lightroom Mobile
Will these presets work with free versions of the above software?
You need to research and double check before buying. These presets were designed for the full paid versions.
Will these presets work with very old versions of the above software?
You need to research and double check before buying. These presets were designed on and for the latest software.
What file type do I get?
XMP
What else do I get?
- Comprehensive PDF guide
Can I modify these and turn them into my own?
Yes! In fact I encourage you to modify them and play around. Use these to help you get your own style.
I have more questions…. What do I do?
Make a cup of tea and drop me an email on hello@snapsbyfox.com
Please note that due to the nature of digital products, refunds are generally not accepted. However, if you experience any issues, feel free to contact me and I’ll review your situation individually. You are welcome to use this product for personal or commercial projects, but you may not copy, distribute, or resell the files in their original or modified form.
Finally I want to say a massive thank you for supporting me. Buying these presets is the most direct way you can support my work.
Thank you!