
iPhone 17 Pro - Best Camera Settings (Photography & Video)
In this blog I will share what I believe to be the best iPhone 17 Pro camera settings for photography and video. It must be stated that this is based on my personal use case with the phone, and it might not apply to everyone. I use my iPhone 17 Pro as a daily carry point and shoot, and while I have my dedicated cameras for when I want to focus on photography, the iPhone is my trusty everyday companion. I don’t use it for any professional or serious work. The best approach is to read this blog, take what applies to you, and discard the rest.
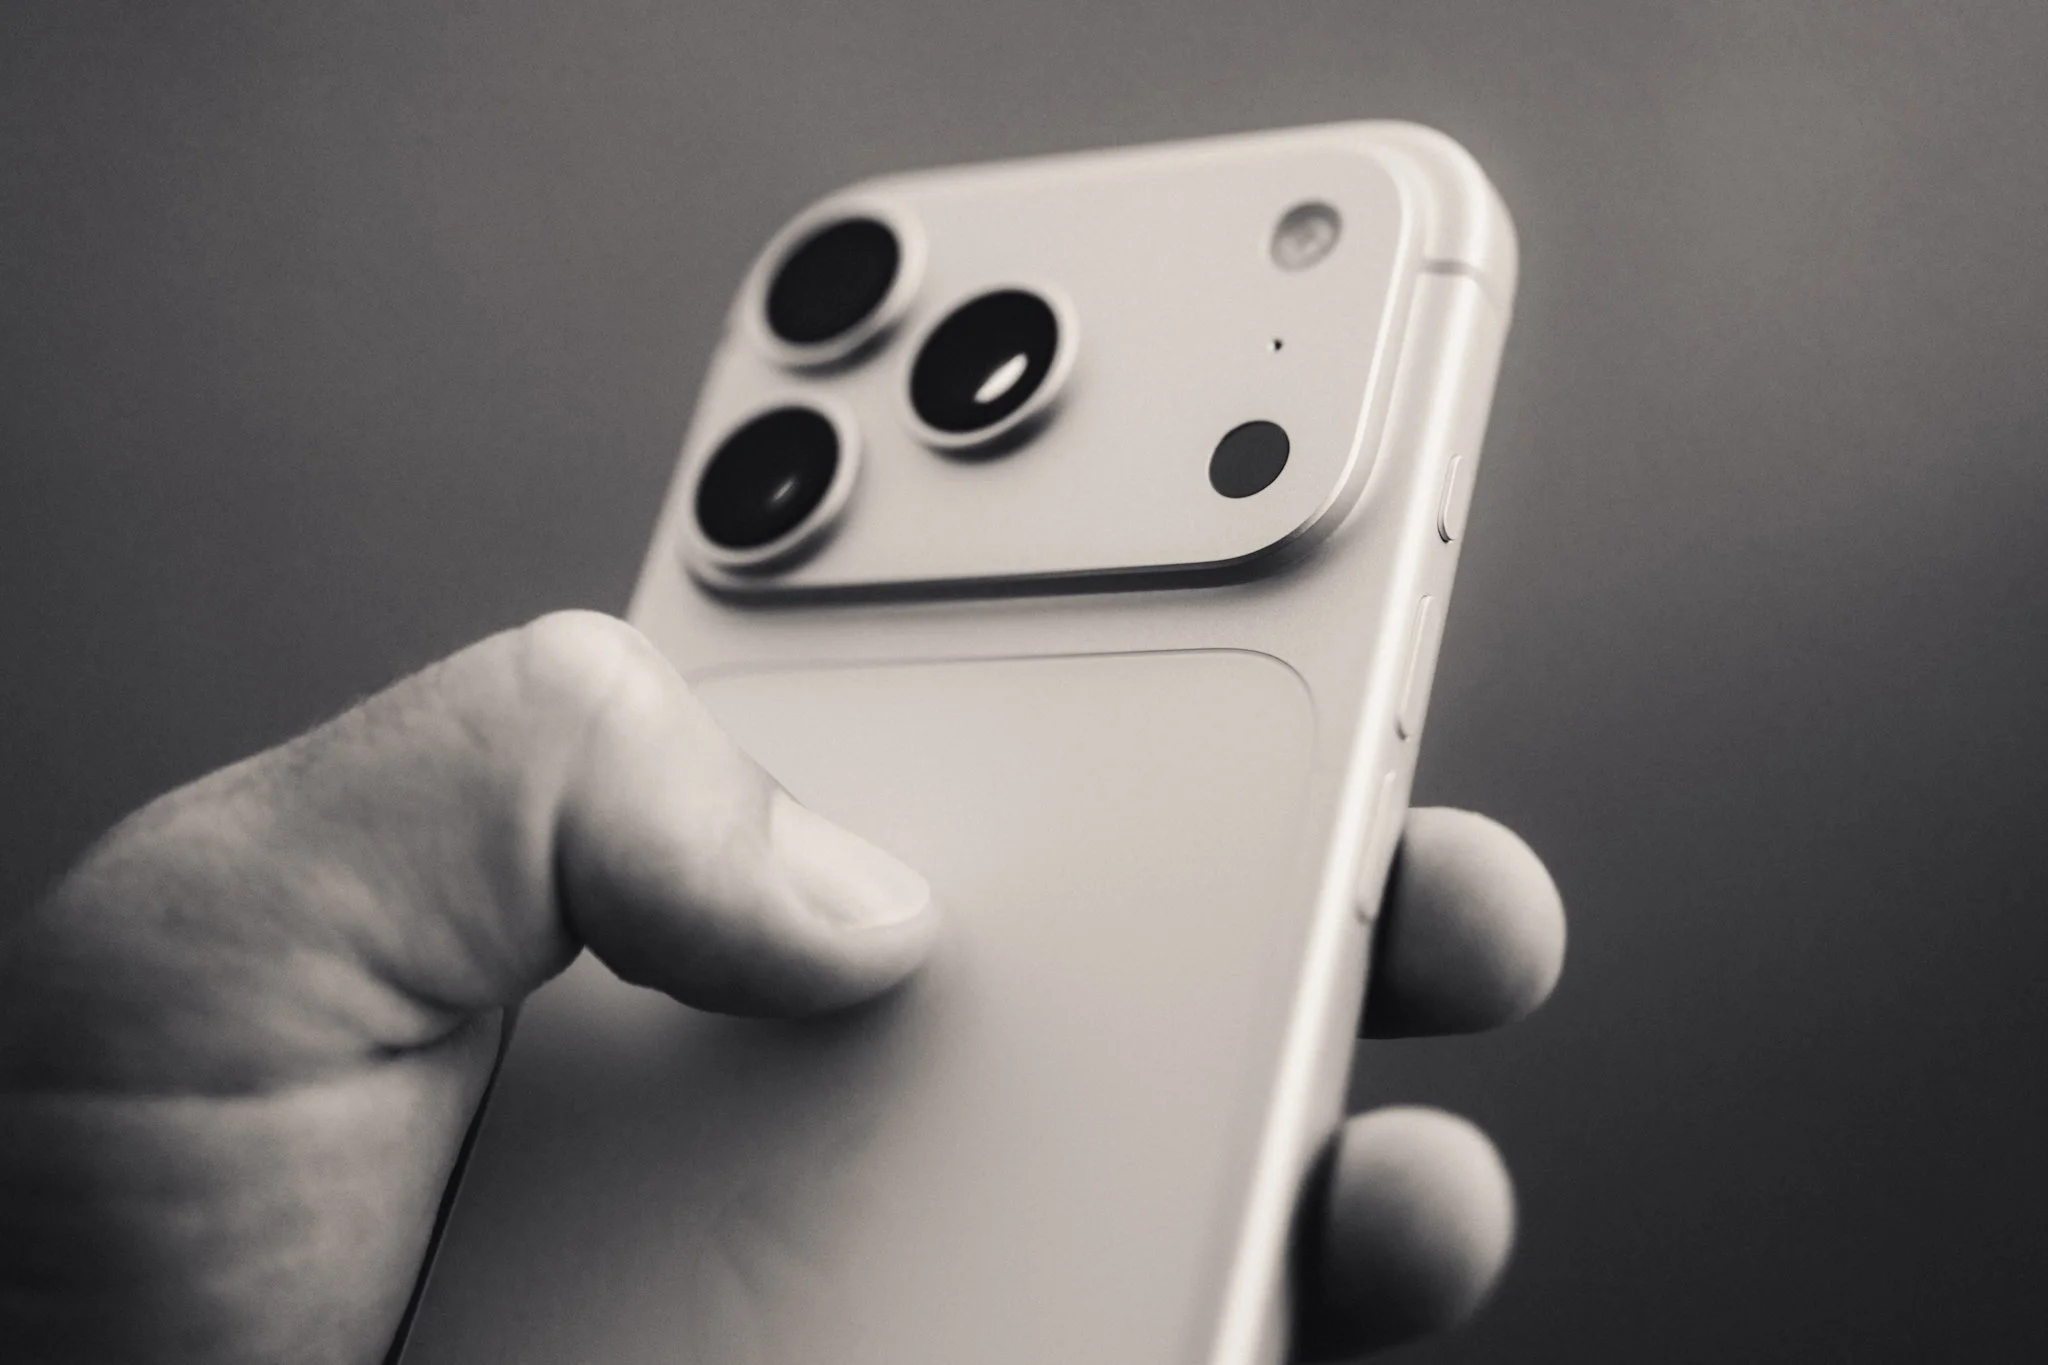
Know The Limitations
Before getting into details, it’s worth understanding the limitations of what an iPhone can do. While Apple is great at making it seem like the best camera in the world that can do everything, the reality is a little different. By far the biggest limitation is the small sensor size. Whatever fancy marketing wording Apple uses, and whatever AI computational 50-layer image processing software they implement, there’s no way to get around physics. To squeeze the most out of this sensor, you need to shoot in places with ample lighting. More light will result in cleaner, sharper images that are more pleasing to the eye. Lower light will prove more challenging.
This brings me onto lenses. Depending on what phone you use, you might have two or three lenses. On a Pro-level iPhone, you’ll typically have the main wide lens, an ultra-wide, and a telephoto. Keep in mind that (at the time of writing) only the main camera has the largest sensor and the fastest lens. So while the other lenses might now share the same resolution, if you want the absolute best image quality, stick to the primary lens.
Another important point is relating to the crops. Depending on your phone, you might have a 1.2X, 2X, etc. These are not physical lenses, they are digital crops of a wider lens. For example, the 2X crop is nothing more than a punched in version of the 1X lens. It goes without saying that while these can be helpful, you will be taking a hit on image quality and resolution.
Apps
I use the default app for 95% of my photography, as ultimately this is a point and shoot camera. For the 5% where I need more specific controls, the Moment camera app is great. For video, I shoot mostly in Final Cut Camera as it gives me some more control over the image.
Photography Settings
In this section, I’ll cover the essential settings you need to get the most out of your iPhone for photography. This won’t cover everything, for that check out the iPhone Photography Guide. To access the settings below, go into the Camera section of the Settings menu.
Camera Control – The iPhone 17 Pro comes with a new camera control button, and while the promise was life changing, in reality, limiting its capability will actually help you get more out of it. I personally use it for taking photos, locking exposure, and adjusting the global exposure value. The latter can be customised under the Controls section.
ProRAW – This is the most critical setting. Make sure this is switched on to get the best quality image for editing. If you don’t plan on doing any editing, then by all means leave it off. Head into the Formats section, then enable ProRAW. You’ll also want to make sure JPEG Lossless (Most Compatible) is selected.
Preserve Settings – This section allows you to select which settings are remembered when you quit and restart the Camera app. I only enable Macro Mode, Exposure Adjustment, ProRAW, and Live Photo. Whatever changes I make to these will be remembered, all other parameters will reset to default.
Grid & Level – I have both of these switched on to help with composition.
View Outside Frame – I always switch this off, as I find it incredibly distracting when trying to compose.
Fusion Camera – Here you can change the “focal length” of the main camera. You can choose 24mm, 28mm, or 35mm. Of course, these are just digital crops of the main 24mm camera, but the quality holds up well. I personally keep it set to 28mm, as that’s what I prefer for day-to-day shooting.
Global Exposure – For this, we need to exit Settings and open the Camera app. In the top left, you’ll see a small exposure icon. You can also access it through the Control Menu by swiping up next to the shutter button. Here you can set the default exposure level.
If I’m shooting in harsh light, I might drop it to around –0.3. On dull, cloudy days, +0.3 is enough. In low light, I can drop it down to –1 to preserve highlights. With that said, leaving it on 0 will also be fine. The key here is to experiment and see what works best for your style and how you edit.
Focus & Exposure – Probably the most useful tool at your disposal is the focus and exposure lock. If you tap on the screen, you can focus and expose for that area. Tap and drag up or down to adjust the exposure level. Tap and hold to lock focus and exposure on that spot. This is great for focusing, exposing, and recomposing your shot.
Video Settings
For this we will dive back into the camera menu located in Settings.
Record Video – This is where most of your settings will be. There is no correct resolution or frame rate, as it ultimately depends on what you’re shooting, where you are, and what you plan to do with the videos. I personally shoot at 25fps in 4K. If you’re in the USA, Japan, or any other country running on 60Hz, then select 24fps or 30fps. The other two essential settings are Lock Camera and Lock White Balance. I recommend switching both of these on to prevent accidental shifts in the footage.
Formats – I select High Efficiency for the better codec and quality. If you want the absolute best image, then going for ProRes LOG will achieve that. However, the file sizes will be astronomical, and for longer takes you’d need an external drive. This is why I use the Final Cut Camera app, as it allows me to shoot in LOG without enabling ProRes.
iPhone Camera Guide
If you’re enjoying this blog and finding useful information, may I recommend the iPhone Camera Guide. It’s your one-stop resource for getting the most out of the iPhone. It goes deep into setup, settings, and techniques, and also includes a collection of iPhone-optimised presets and free lifetime updates. As new phones are released, you’ll continue to receive updates automatically. This is the most direct way to support my work and keep this blog ad-free. Thank you.
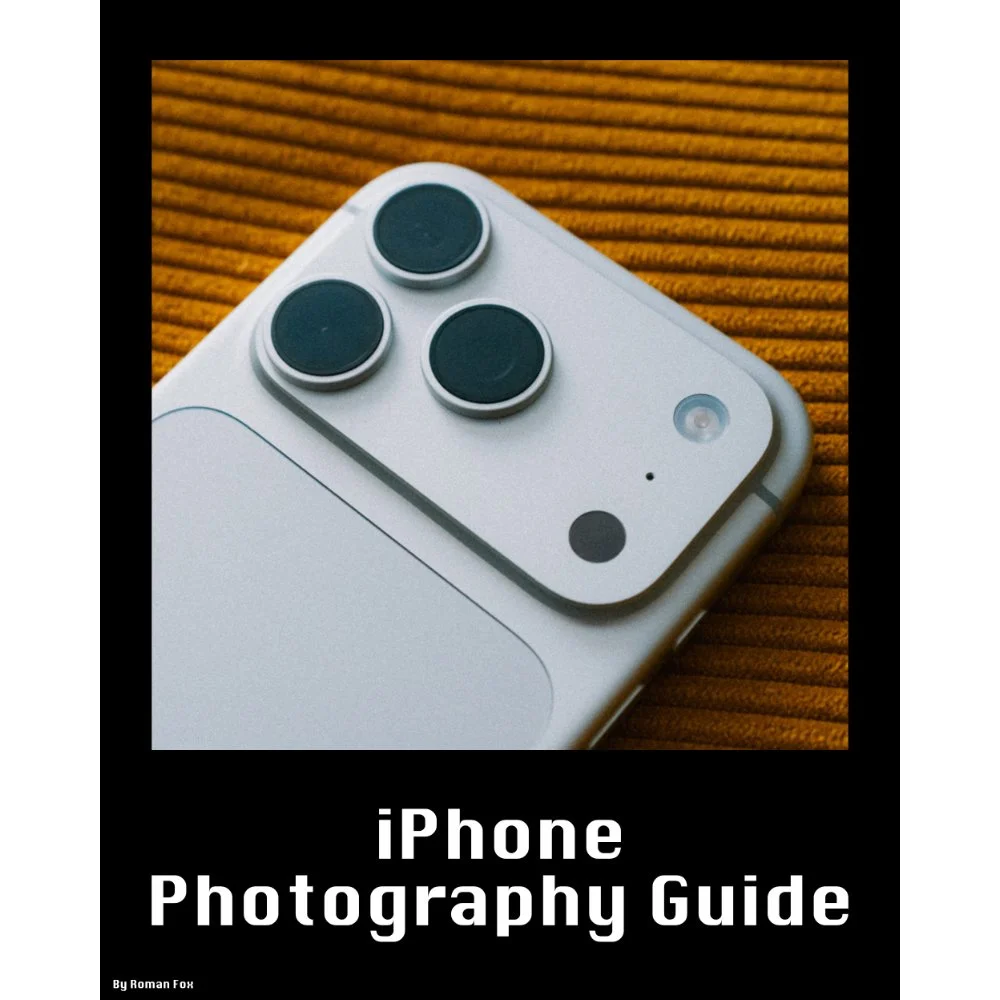
This iPhone Photography Guide is designed to save you time and help you get your camera set up and working just like mine.
What’s Included:
Detailed setup guide for the Camera app and settings
Photography guide covering lighting, composition, settings, and more
10 Lightroom presets designed for ProRAW photos
Free lifetime updates as new iPhones and iOS updates are released
What’s Supported:
This guide is based on the iPhone 18 Pro running iOS 27
Most settings and features carry over to other recent iPhones
What’s Not Included:
Dedicated settings for older iPhones and individual iPhone models
Third party camera apps or accessories
The Apple Photos app or other aspects of the iPhone outside of the camera
A dedicated guide to filmmaking. I cover video settings in detail, but this isn’t a “how to make videos” guide
You will learn what the major camera features do and why I have chosen to set them up in a certain way. I also cover photography essentials, so even if you’re a total beginner, this guide will help you better understand light, composition, and storytelling.
Finally, you will get 10 Lightroom presets specifically designed for ProRAW photos. These are the presets I use myself to edit my iPhone photos. They also come with a guide explaining how to get the most out of them.
This is a digital download and not a physical product. The download is approximately 36 MB.
Please note that due to the nature of digital products, refunds are generally not accepted. However, if you experience any issues, feel free to contact me and I’ll review your situation individually. You are welcome to use this product for personal or commercial projects, but you may not copy, distribute, or resell the files in their original or modified form.
Finally, I want to say a massive thank you for supporting me. Buying this guide is the most direct way you can support my work, allowing me to make more videos, photos, and tutorials for you.
Thank you for your support!














Instead of telling you how these will change your life, I would rather be practical and answer the most common questions that people tend to have when buying presets.
What are presets?
They are editing settings that are saved in a file and can be applied to any image.
Why do people buy presets?
Sometimes because they like the work of the photographer and want that style for their own photos. Mostly because they would like to see how other people edit and learn by reverse engineering the presets. Other times it’s just to support their favourite photographers, thank you!
What’s the overall style of these presets?
- Filmic
- Warm
- Soft
- Bright
What are these presets suitable for?
Street & Travel Photography
Some Nature (with further editing)
Some Portraits (with extensive editing)
Do I actually use these?
Yes. This is the same pack I use right now for all my editing. This isn’t a pack made just to sell.
Do these presets get updated?
Yes, as my style changes, these presets will also be updated. Any time a new update is available, you will get a free update via email. Of course you also keep all the old presets in case you prefer the older looks. Only presets purchased from 2025 onwards will receive the updates.
What file types are these presets for?
- All RAW files
- JPEGs & TIFFs (not recommended)
What camera brands are these presets for?
These were designed around Fujifilm, Sony, and Leica sensors. With that said, they will work with all camera brands. While there might be differences due to individual camera colour science, the overall feel of the preset will carry over.
Will these work with JPEG files?
Yes, but you will need to reduce the intensity and make further edits. I strongly recommend editing RAW files.
Are these one click edits?
95% No. You would need to do some basic adjustments as each image is different. These adjustments can include exposure, colour balance etc. In 5% of cases you can just apply and leave it alone.
Do I need to know how to edit?
You need to have a basic understanding of adjusting exposure, highlights, shadows, etc. A more comprehensive editing skillset will let you get the most out of them.
How many presets are included?
10 in the main pack and 24 in the extras pack
Why two packs?
The main pack is what I use for 99% of my edits and is kept small to reduce wasted time scrolling through presets. The extras pack is everything I don’t use often.
What software do I need?
These presets will work with any of the following:
- Photoshop (adobe camera raw)
- Lightroom Classic
- Lightroom Desktop
- Lightroom Mobile
Will these presets work with free versions of the above software?
You need to research and double check before buying. These presets were designed for the full paid versions.
Will these presets work with very old versions of the above software?
You need to research and double check before buying. These presets were designed on and for the latest software.
What file type do I get?
XMP
What else do I get?
- Comprehensive PDF guide
Can I modify these and turn them into my own?
Yes! In fact I encourage you to modify them and play around. Use these to help you get your own style.
I have more questions…. What do I do?
Make a cup of tea and drop me an email on hello@snapsbyfox.com
Please note that due to the nature of digital products, refunds are generally not accepted. However, if you experience any issues, feel free to contact me and I’ll review your situation individually. You are welcome to use this product for personal or commercial projects, but you may not copy, distribute, or resell the files in their original or modified form.
Finally I want to say a massive thank you for supporting me. Buying these presets is the most direct way you can support my work.
Thank you!