
How To Get The Soft Look In Photos
With most modern camera gear, you’re pretty much guaranteed sharp and clean images. For most commercial purposes having tack sharp files is indeed preferred. However for those who like photos to have character or even emulate an old film camera look, this over sharpening can be detrimental. In this blog I will cover some techniques one can use to soften your images and give them a less digital look.
Use a vintage lens
By far the easiest way to get a softer look is to use a vintage lens. You can buy an old lens on eBay for not very much money, then grab a cheap adaptor and you’re ready to go. Of course you will have to focus manually and there might be a learning curve. However when coupled with modern sensors, vintage lenses can indeed produce some great results as you can see below. These were taken on the Fuji XH2s and the Minolta 40mm.


Shoot wide open
As many of you may know, lenses tend to be at their sharpest when roughly in the middle of the aperture range. However if you open the lens up, you will naturally get a softer look. Not just from more background blur, but even elements in focus will be a little softer. Below are some examples.


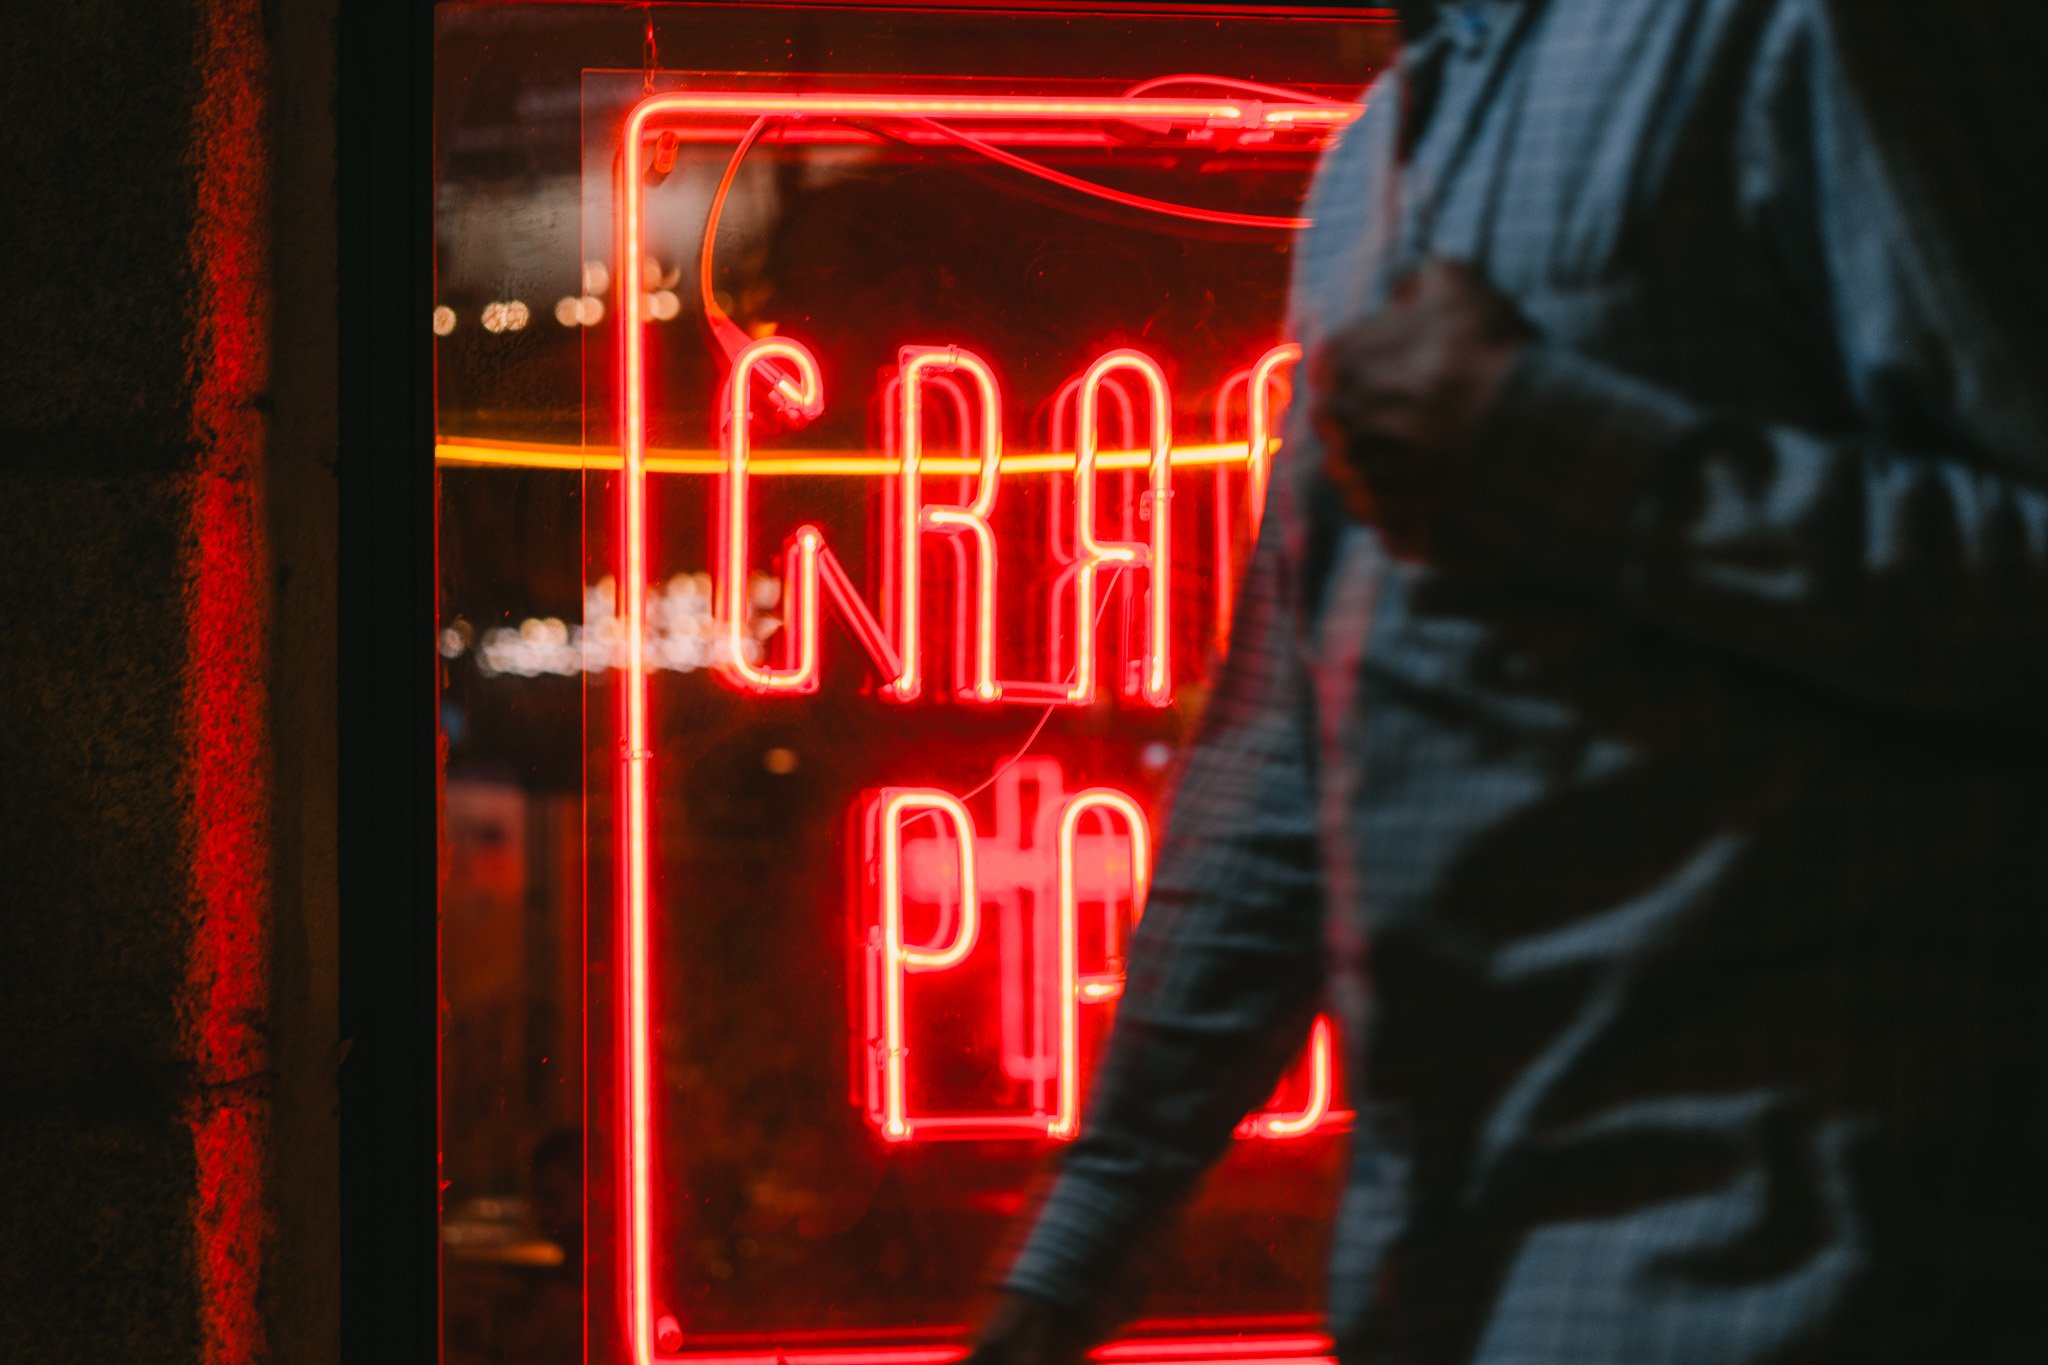
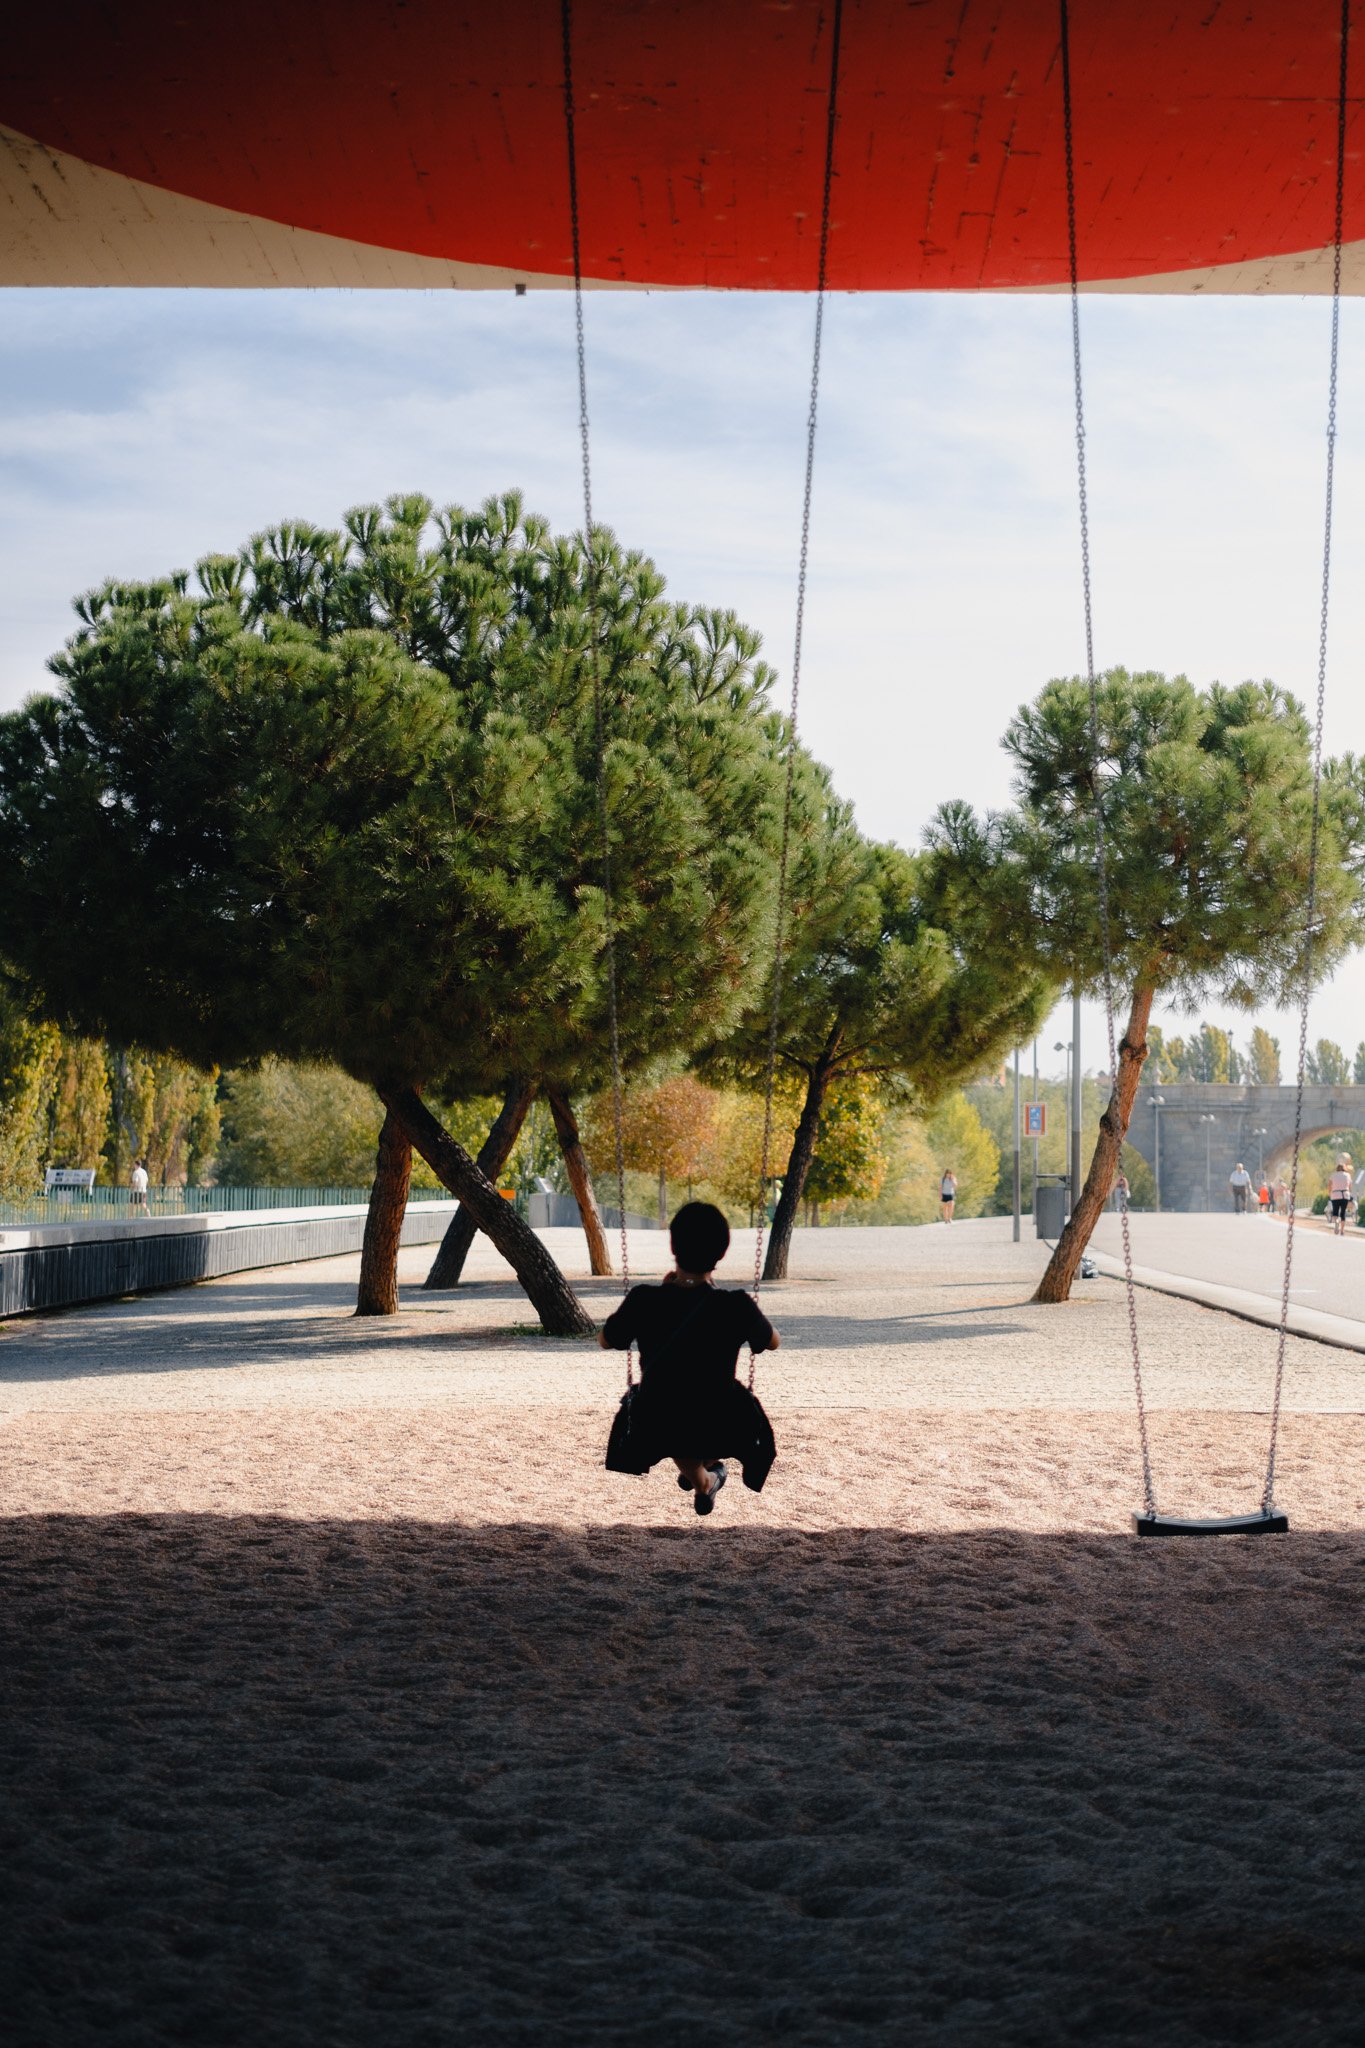
Shoot into the light
Lighting is a big topic however for the purpose of getting softer images, try to shoot into the light. In other words try to have your subject backlit. Light could either be a direct source like the sun or simply a noticeably brighter area. When you shoot into the light, there will naturally be more diffusion and an overall softer image compared to shooting with the light. See some examples below.


Use a filter (or not)
Some of you might have heard of mist filters. They are designed to bloom highlights, soften the image and create a more filming look. If you’re shooting JPEGS and do not want to do any editing, this could be a good option. However from experience I found that in many cases I want to dial the effect back, add more of it or simply apply it selectively. If you use a filter, it’s permanent and you have no control. This is why I prefer to shoot without any filters and instead focus on editing to try and emulate the same look.

Fade the blacks and whites
The first step to softening an image is to slightly fade the blacks but more importantly the whites. I try to have white appear more like off white. This overall softens the tones and removes some of the digital sharpness especially in areas that might be extremely bright. I do this in the tone curve section as pictured below.


Negative clarity
This is an easy tool to soften the image. Simply reduce clarity and add negative clarity. Don’t go crazy as it’s easy to ruin a photo. Also pay attention to the highlights. Sometimes they can have weird halos if too much negative clarity is present. A good option is to apply it selectively by using a brush.


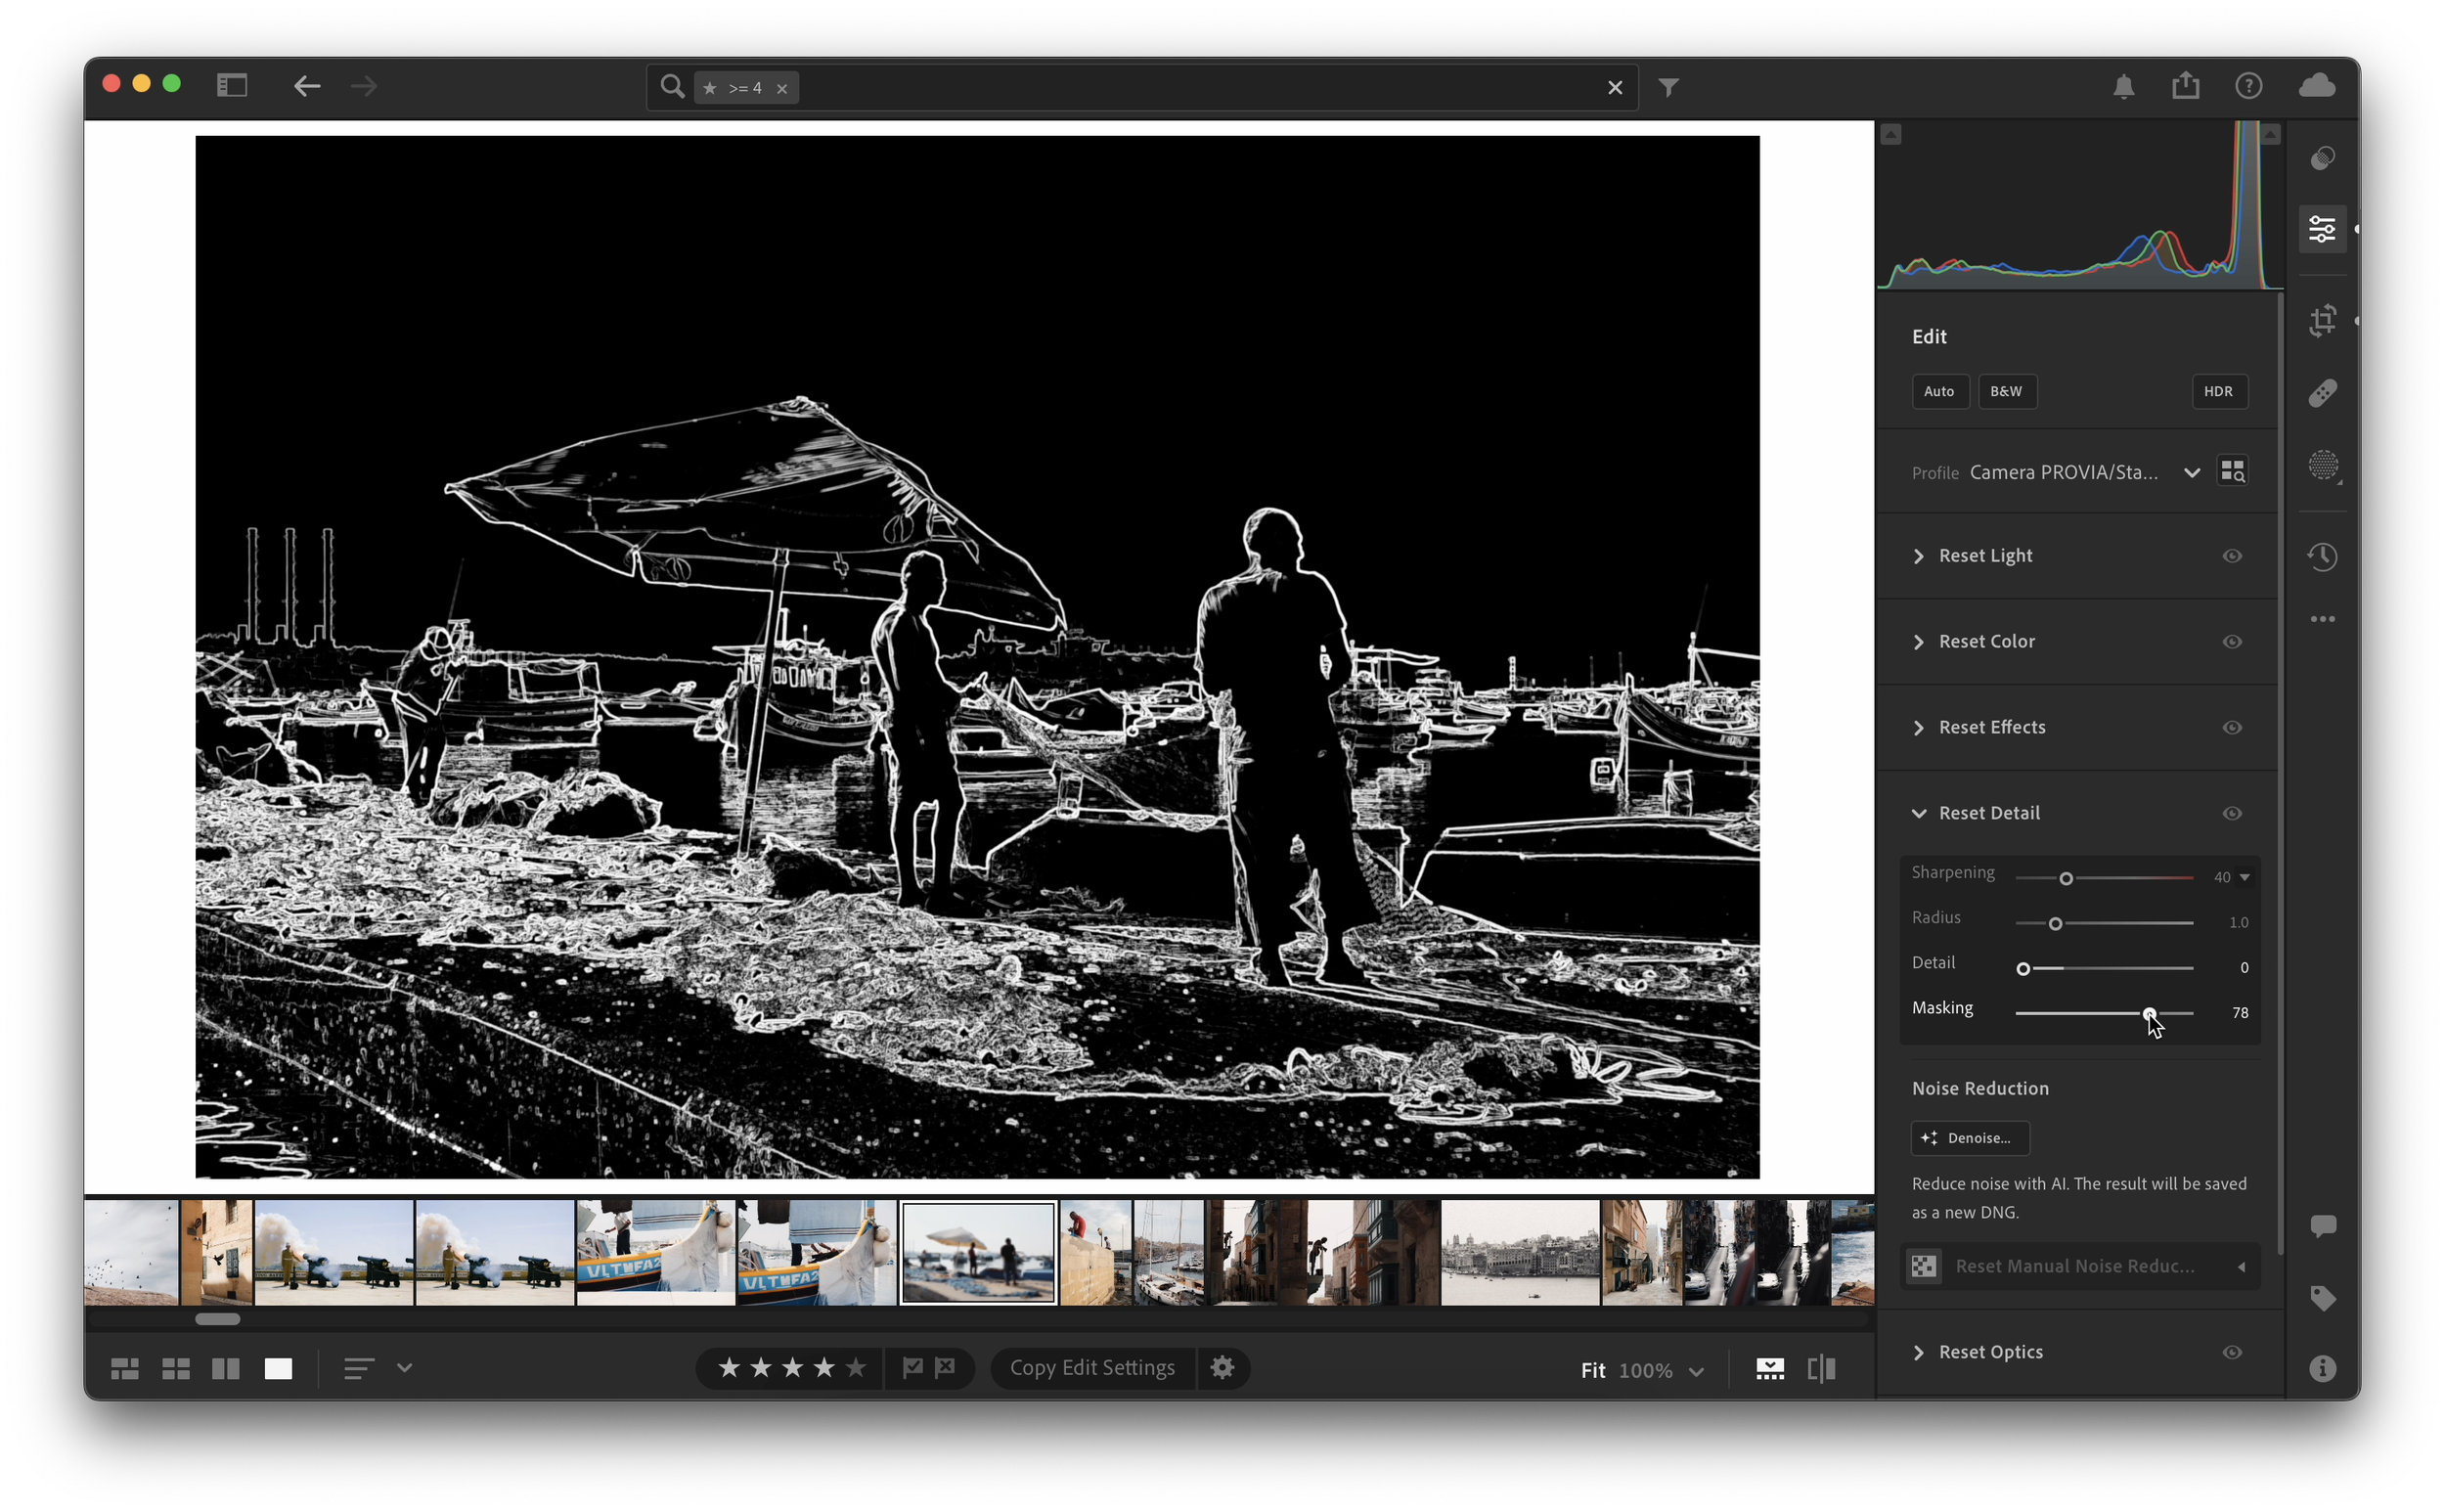
Sharpen selectively
Many images need a little sharpening here and there. However applying global sharpening is not the best way forward. A clean blue sky does not need sharpening as there is nothing to sharpen. Equally an area with little detail does not need sharpening. By applying sharpening in these places, you’re just adding noise. Instead apply sharpening selectively to areas that need it. You can do it by either applying with a brush or better yet by using the mask feature in Lightroom. Simply hold the Option key while you are adjusting the mask to get a preview of what is being sharpened and what isn’t. I set my mask to around 80 by default and fine tune if needed.
Orton Effect
The last tool for creating a soft glow is called the Orton Effect. It has been popularised within the landscape photography genre however it can work anywhere. It is also best applied selectively and would require software such as Photoshop or Affinity Photo.
Edit the photo in Lightroom until you’re happy with it.
Export as a full size TIFF or simply open in Photoshop.
Duplicate the background layer.
Apply a gaussian blur and set it so you can work out what the photo is about but it’s all blurry.
Apply a levels adjustment and boost the black / white contrast to extreme levels (as shown below).
Merge everything into one layer and turn off the individuals adjustments. All you should have enabled is the original photo background layer and the new merged layer.
Drop the opacity of the top layer to around 10% but it depends on the photo.
If need be apply a mask and paint this effect in on the highlights or anywhere you fancy.
Export final image.


