
How I Find Simple Scenes In Chaos
In this blog, I will share with you some ideas on how to shoot simple scenes in chaos. We often find ourselves in busy, chaotic locations with a lot going on and plenty of visual noise. Think of an intersection in a city, a bustling street, a manic train station, or even a packed market. I’ve lost count of how many times I’ve wanted to grab a nice, simple shot, but couldn’t figure out how to go about it. After a lot of experimentation, I have a list of tips that can hopefully help you when you’re facing something similar.
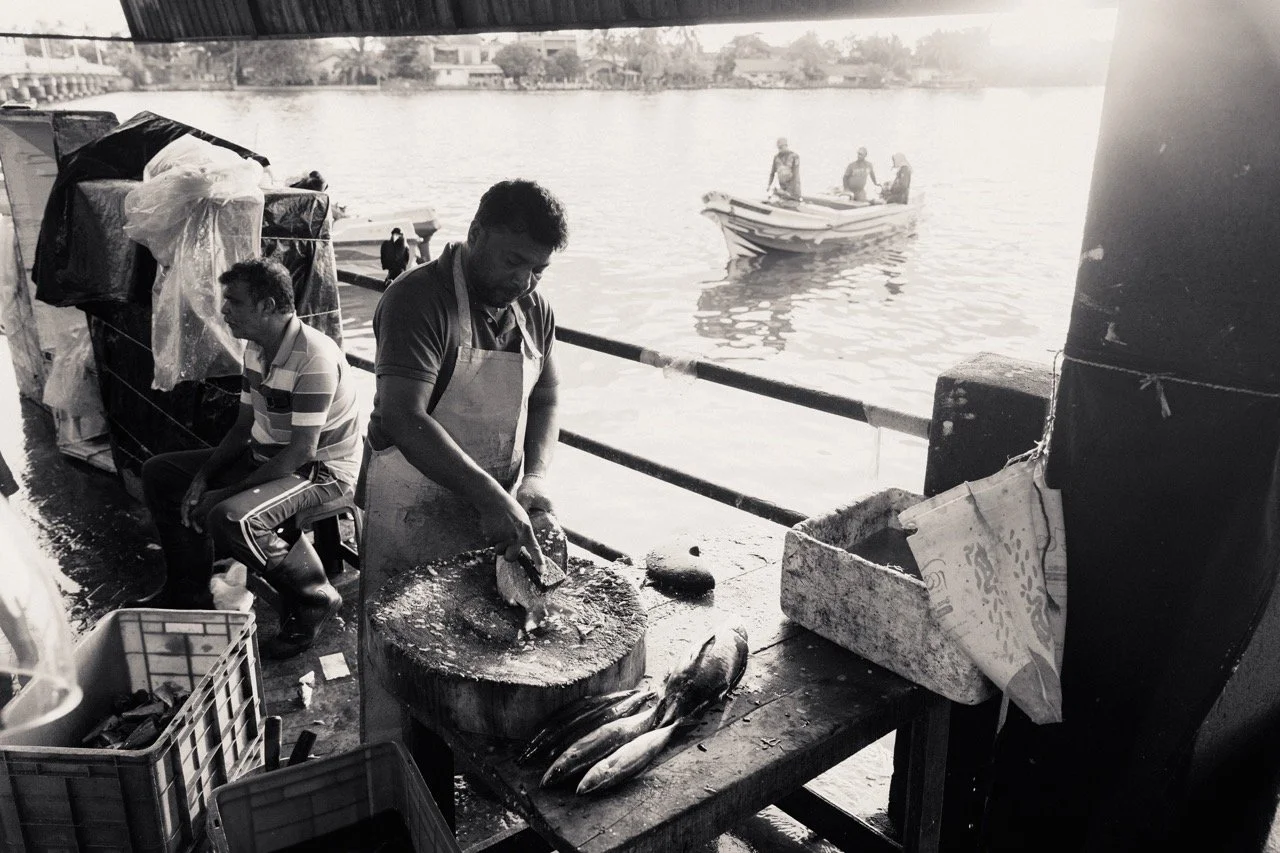
Change Perspective
The first thing I suggest is trying to change your perspective. Perhaps shooting from a higher position downwards can help isolate your subject. This could mean raising your hands above your head and tilting the camera down, or it could involve finding higher ground. You can then use the negative space of the ground to try and find some balance.
Equally, getting down low and shooting upwards can simplify a busy scene by using the sky as negative space. This also removes all the distractions that are at eye level. I’m personally not a fan of these low-down shots and would always prefer top-down, but of course, this is just personal preference.
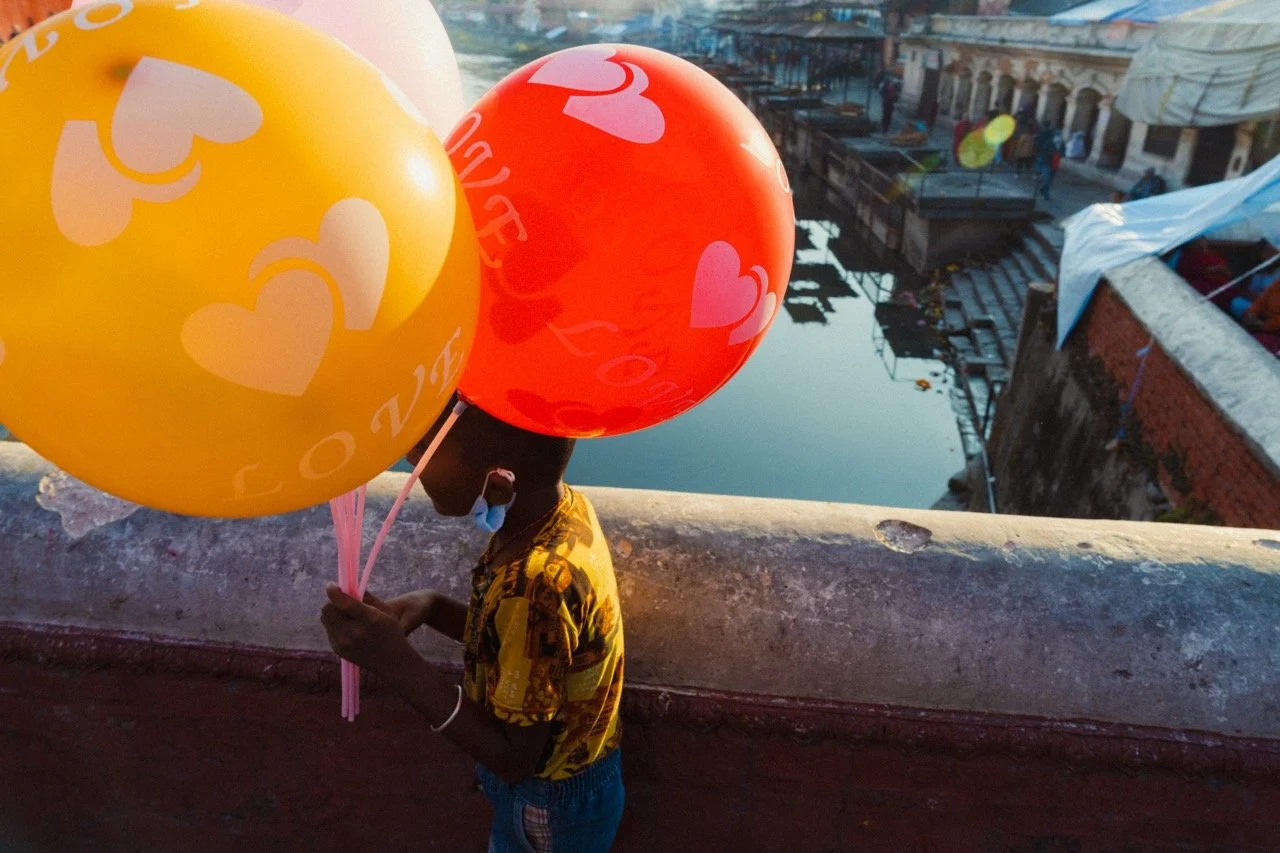
Change Distance
Getting close to your subjects is an option, especially when you’re shooting wide in a chaotic scene. This is assuming you’re trying to get shots of people and not the overall location. By being physically close, you are naturally removing a lot of distractions from the scene, which can make for some interesting shots.
Equally, increasing the distance can create a simpler scene due to all the smaller details becoming one. This is why drone shots of cities can look simple, as the distance is doing all the cleaning up. Of course, increasing distance isn’t always possible or desired, so it’s not something I do often.
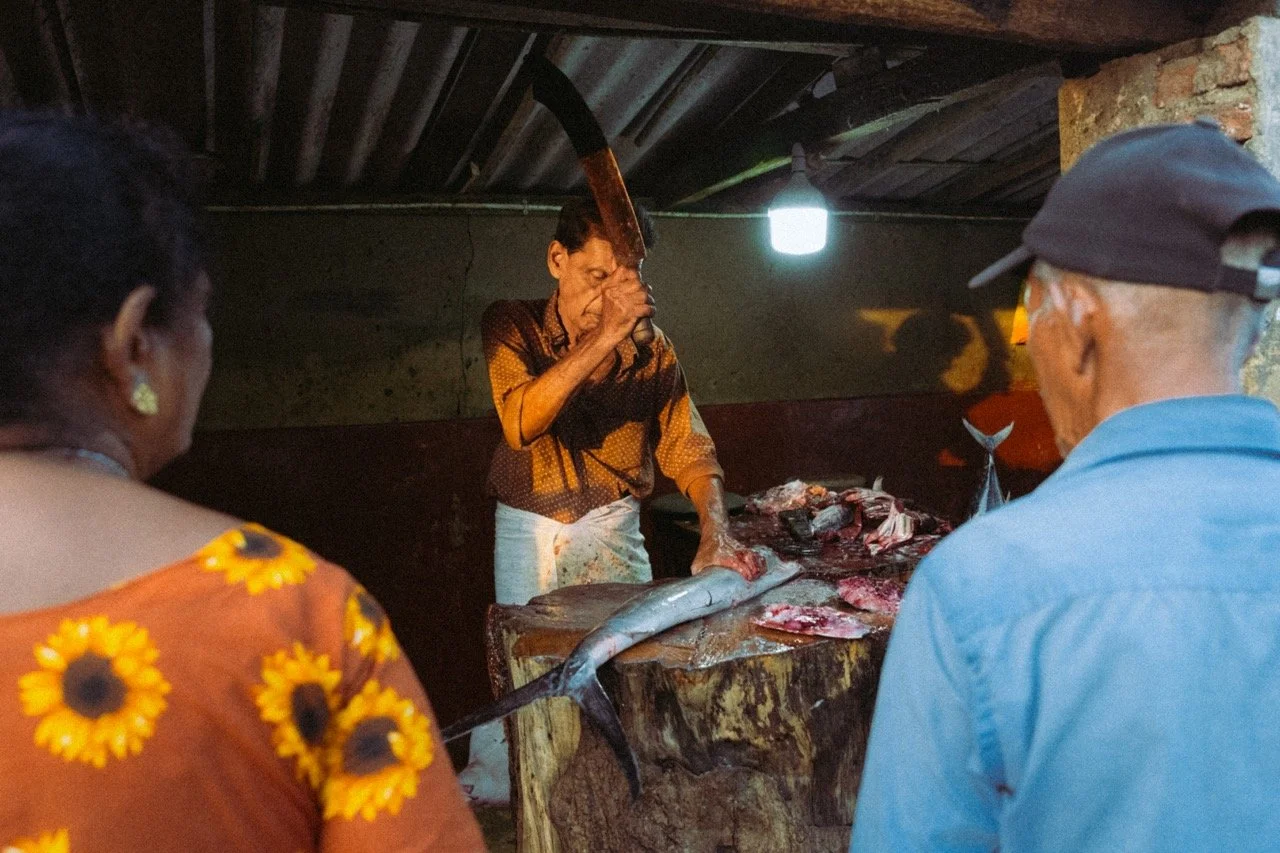
Use Longer Lenses
This is a quick and easy one, and that’s to use a longer lens. This will naturally reduce your field of view and allow you to focus on smaller scenes. This is by far the easiest method, and one I recommend beginners try. Just don’t get into the habit of only relying on longer lenses, otherwise all your photos can start to look similar.
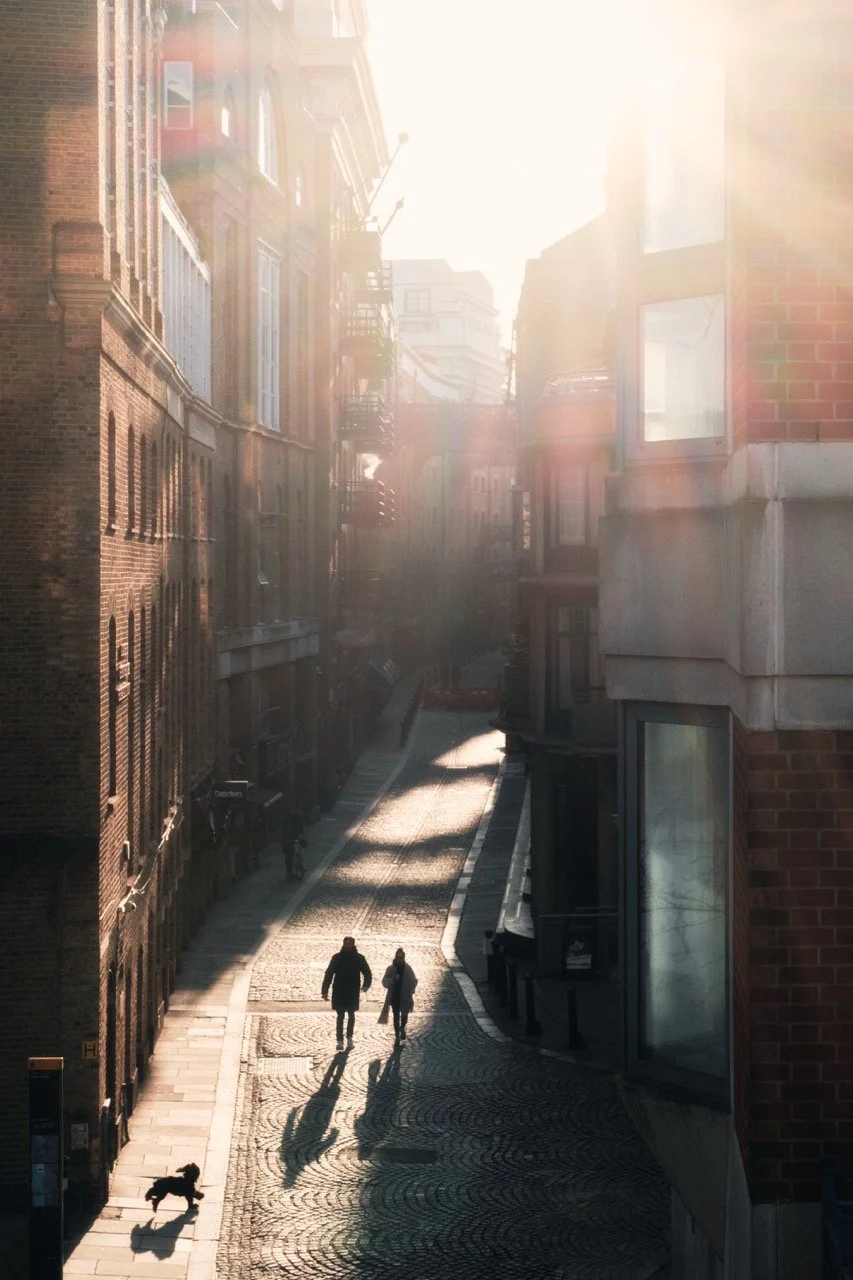
Focus On Details
If the scene as a whole is too chaotic, try to focus on the smaller details. It could be hand gestures, pops of colour, interesting light, unusual textures, or anything that would require you to come closer and investigate. Sometimes having a bunch of these detailed photos can paint a better picture of the location than one chaotic shot.
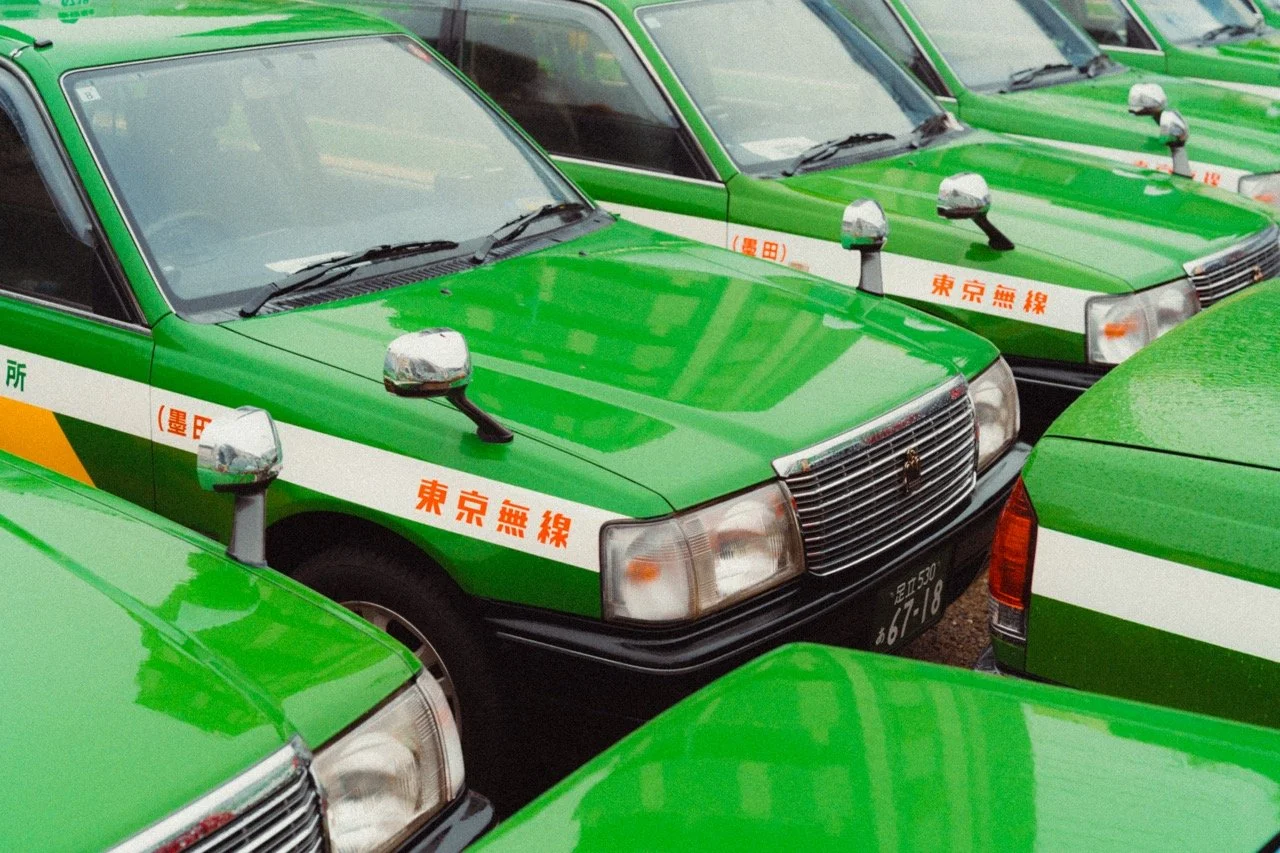
Block Parts Of The Scene
This is another easy one. Use something to block part of the scene by placing it in front of the lens. It could be a post, a tree, someone’s silhouette, or even part of your hand. Of course, it has to come across as natural, otherwise it might not work, but this concept is one I use often.
You can also shoot through something, such as a gap in a wall or a cut-out in a fence. By shooting through something, you’re creating a frame that can simplify the scene, add depth, and bring focus to the subject.
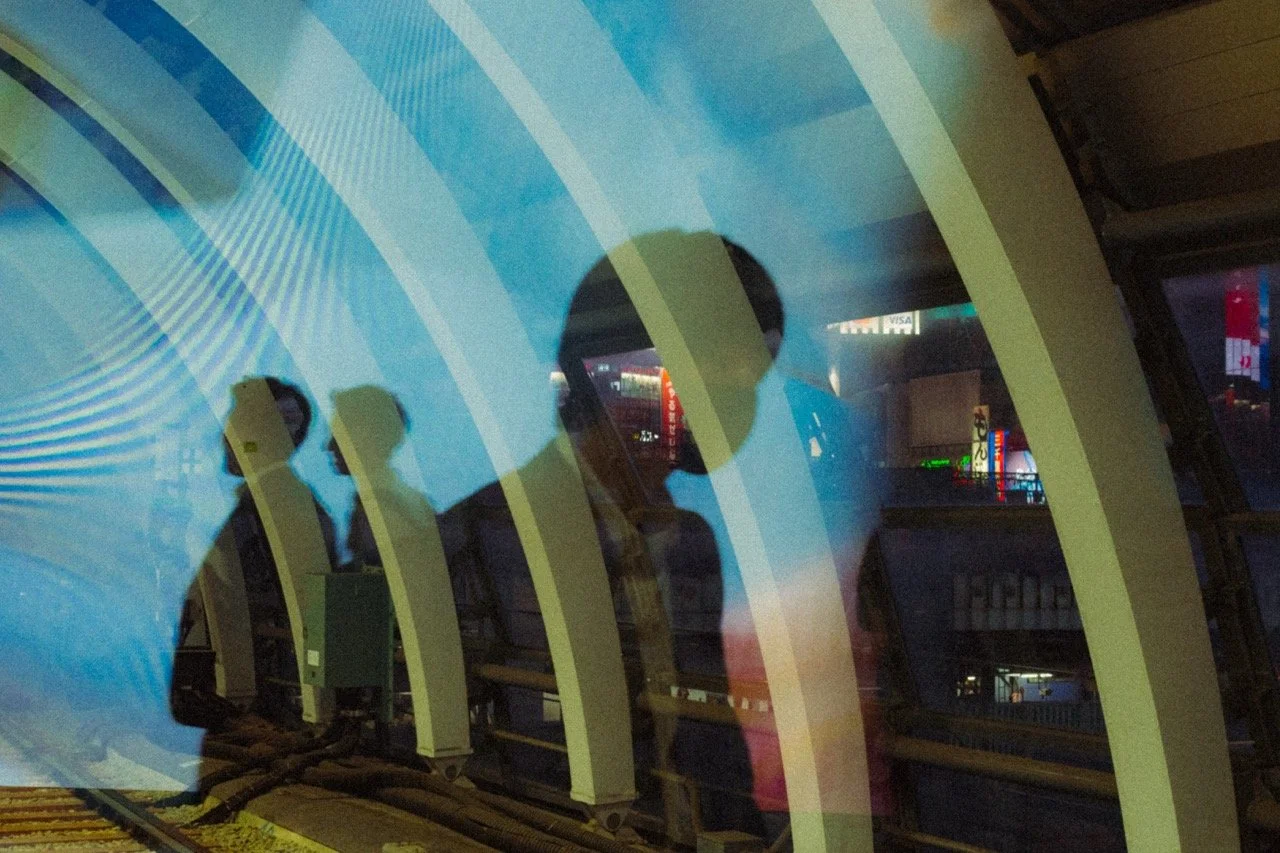
Introduce Abstract Elements
You can play with reflections by placing your camera up against metal or glass surfaces. This is moving more towards abstract photography, but it’s fun to try. I often place my camera in weird locations, up against walls, through railings, between glass panels, or anywhere it can fit. Most of those attempts are wasted, but now and then, you can get some great visual elements that look interesting and clean up the composition.
Shoot Into The Light
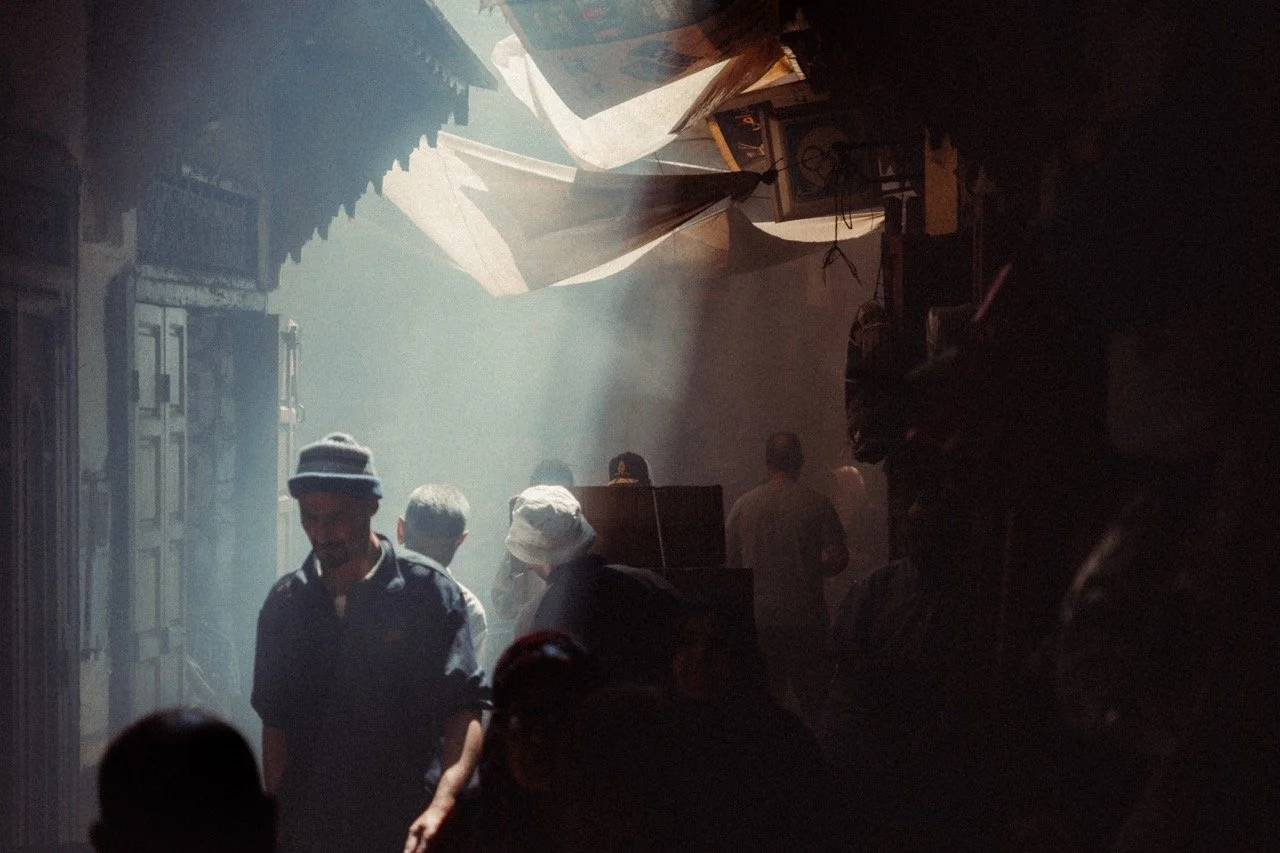
Shooting directly into the light source can create a lot of natural contrast and hide a bunch of details in the shadows or highlights. This style doesn’t work for all scenarios, but when it does, it looks great.
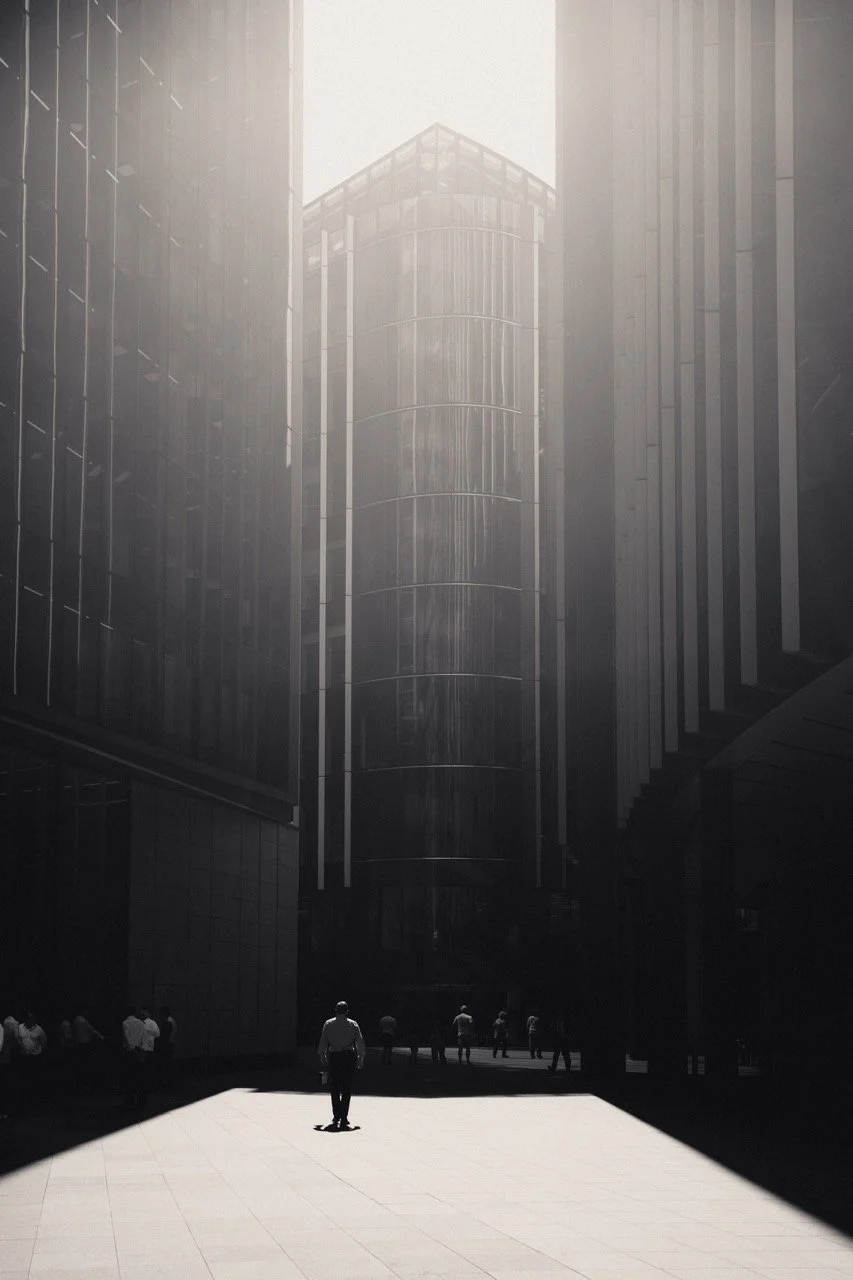
High Contrast
To be clear, I am talking about finding naturally high-contrast scenes, not adding contrast in editing. The latter will only make the problem worse. If you’re shooting on sunny days, find little pockets of light that are adjacent to deep shadows. I know it’s the typical high-contrast highlight and shadow look, but it can hide all sorts of visual mess. If it’s a sunny day, it’s one of my go-to techniques.
Motion Blur
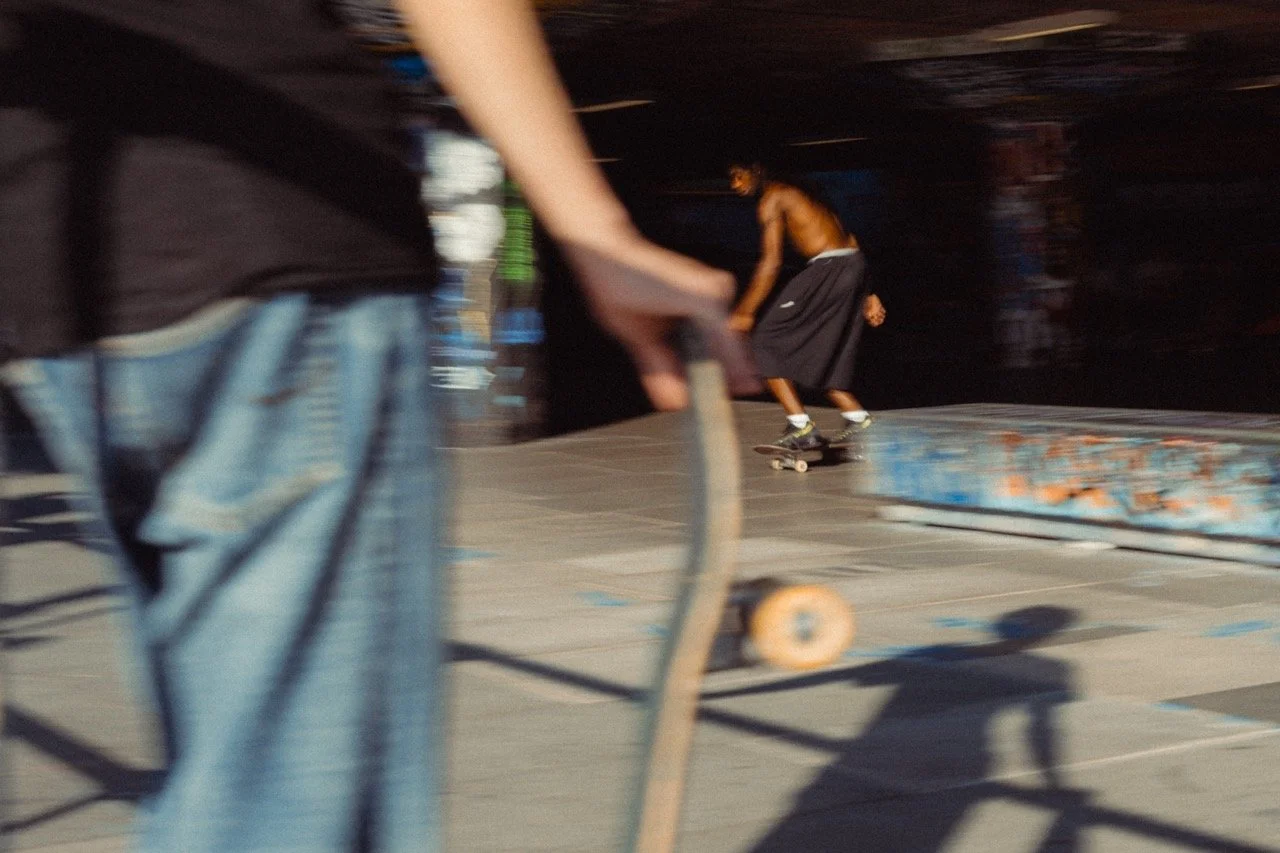
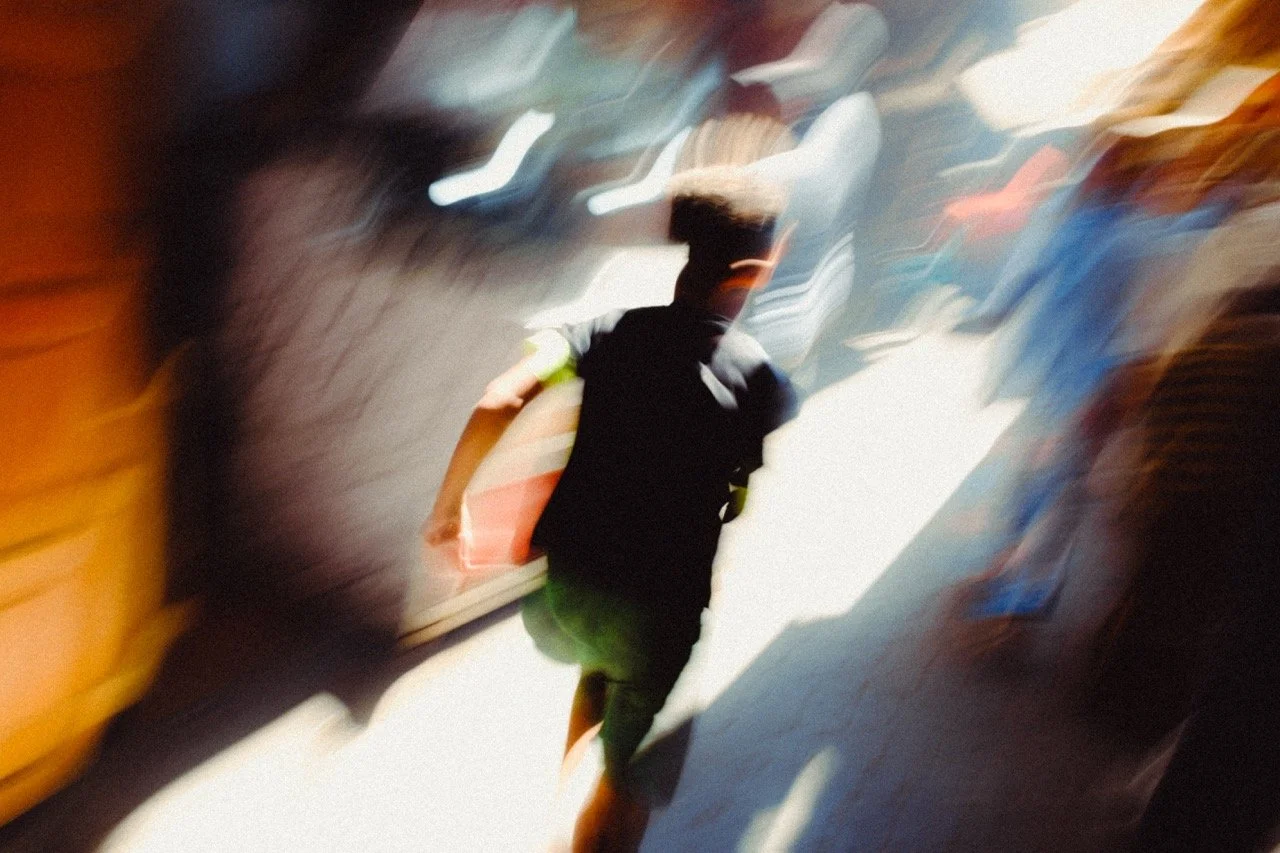
Reducing your shutter speed and adding motion blur is a fun way to make the most of the chaos. While it might not always work, and can sometimes make the problem worse, it can create some unique shots. Whether it’s panning or making intentional camera movements, I suggest having a play with this and seeing how it works for you. I’d start at around 1/30th shutter speed and work my way down to even 1/8th and below.
Look Out For Smoke / Fog / Haze
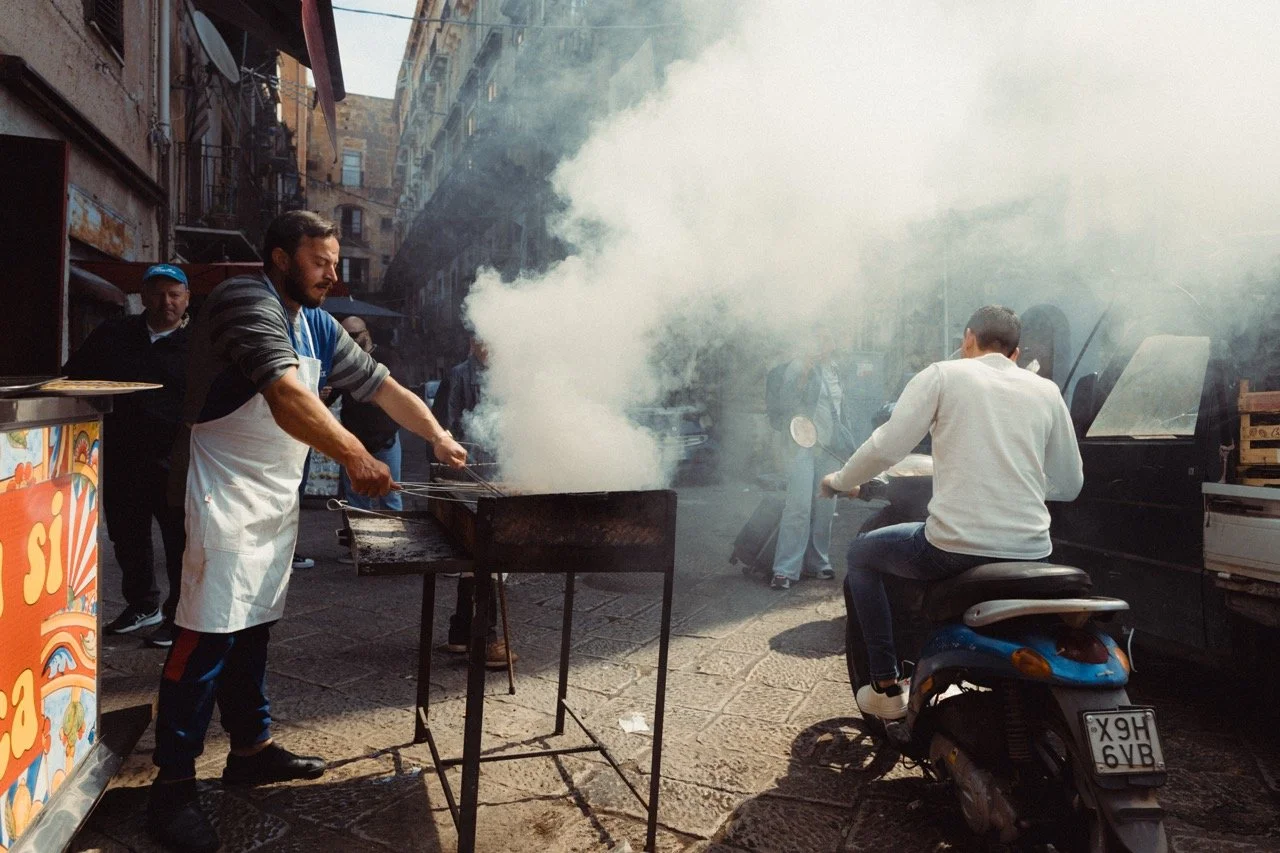
Of course, this is completely out of your control, but it’s worth looking out for any smoke, haze, or fog. Smoke in a busy market can soften the image and hide a lot of visual noise. Fog and haze are much harder to find, but if you are faced with these conditions, make the most of them.
Wait Or Try Another Time
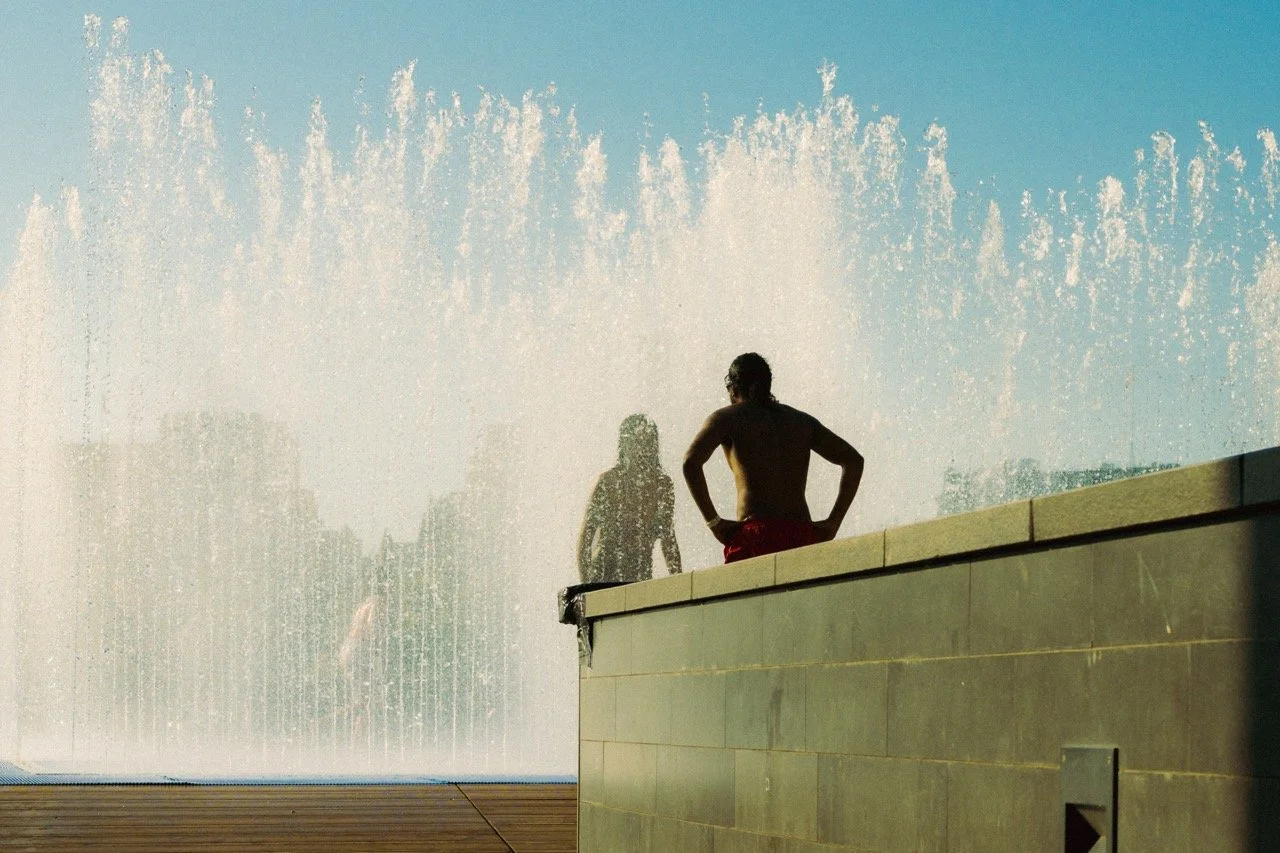
Last but not least, if nothing works, then your only option might be to either wait or come back another time. I know this isn’t the most groundbreaking advice, but if you want an empty Westminster Bridge, then coming at 6am is your only option.
Instead of telling you how these will change your life, I would rather be practical and answer the most common questions that people tend to have when buying presets.
What are presets?
They are editing settings that are saved in a file and can be applied to any image.
Why do people buy presets?
Sometimes because they like the work of the photographer and want that style for their own photos. Mostly because they would like to see how other people edit and learn by reverse engineering the presets. Other times it’s just to support their favourite photographers, thank you!
What’s the overall style of these presets?
- Filmic
- Warm
- Soft
- Bright
What are these presets suitable for?
Street & Travel Photography
Some Nature (with further editing)
Some Portraits (with extensive editing)
Do I actually use these?
Yes. This is the same pack I use right now for all my editing. This isn’t a pack made just to sell.
Do these presets get updated?
Yes, as my style changes, these presets will also be updated. Any time a new update is available, you will get a free update via email. Of course you also keep all the old presets in case you prefer the older looks. Only presets purchased from 2025 onwards will receive the updates.
What file types are these presets for?
- All RAW files
- JPEGs & TIFFs (not recommended)
What camera brands are these presets for?
These were designed around Fujifilm, Sony, and Leica sensors. With that said, they will work with all camera brands. While there might be differences due to individual camera colour science, the overall feel of the preset will carry over.
Will these work with JPEG files?
Yes, but you will need to reduce the intensity and make further edits. I strongly recommend editing RAW files.
Are these one click edits?
95% No. You would need to do some basic adjustments as each image is different. These adjustments can include exposure, colour balance etc. In 5% of cases you can just apply and leave it alone.
Do I need to know how to edit?
You need to have a basic understanding of adjusting exposure, highlights, shadows, etc. A more comprehensive editing skillset will let you get the most out of them.
How many presets are included?
10 in the main pack and 25 in the extras pack
Why two packs?
The main pack is what I use for 99% of my edits and is kept small to reduce wasted time scrolling through presets. The extras pack is everything I don’t use often.
What software do I need?
These presets will work with any of the following:
- Photoshop (adobe camera raw)
- Lightroom Classic
- Lightroom Desktop
- Lightroom Mobile
Will these presets work with free versions of the above software?
You need to research and double check before buying. These presets were designed for the full paid versions.
Will these presets work with very old versions of the above software?
You need to research and double check before buying. These presets were designed on and for the latest software.
What file type do I get?
XMP
What else do I get?
- Comprehensive PDF guide
Can I modify these and turn them into my own?
Yes! In fact I encourage you to modify them and play around. Use these to help you get your own style.
I have more questions…. What do I do?
Make a cup of tea and drop me an email on hello@snapsbyfox.com
Please note that due to the nature of digital products, refunds are generally not accepted. However, if you experience any issues, feel free to contact me and I’ll review your situation individually. You are welcome to use this product for personal or commercial projects, but you may not copy, distribute, or resell the files in their original or modified form.
Finally I want to say a massive thank you for supporting me. Buying these presets is the most direct way you can support my work.
Thank you!