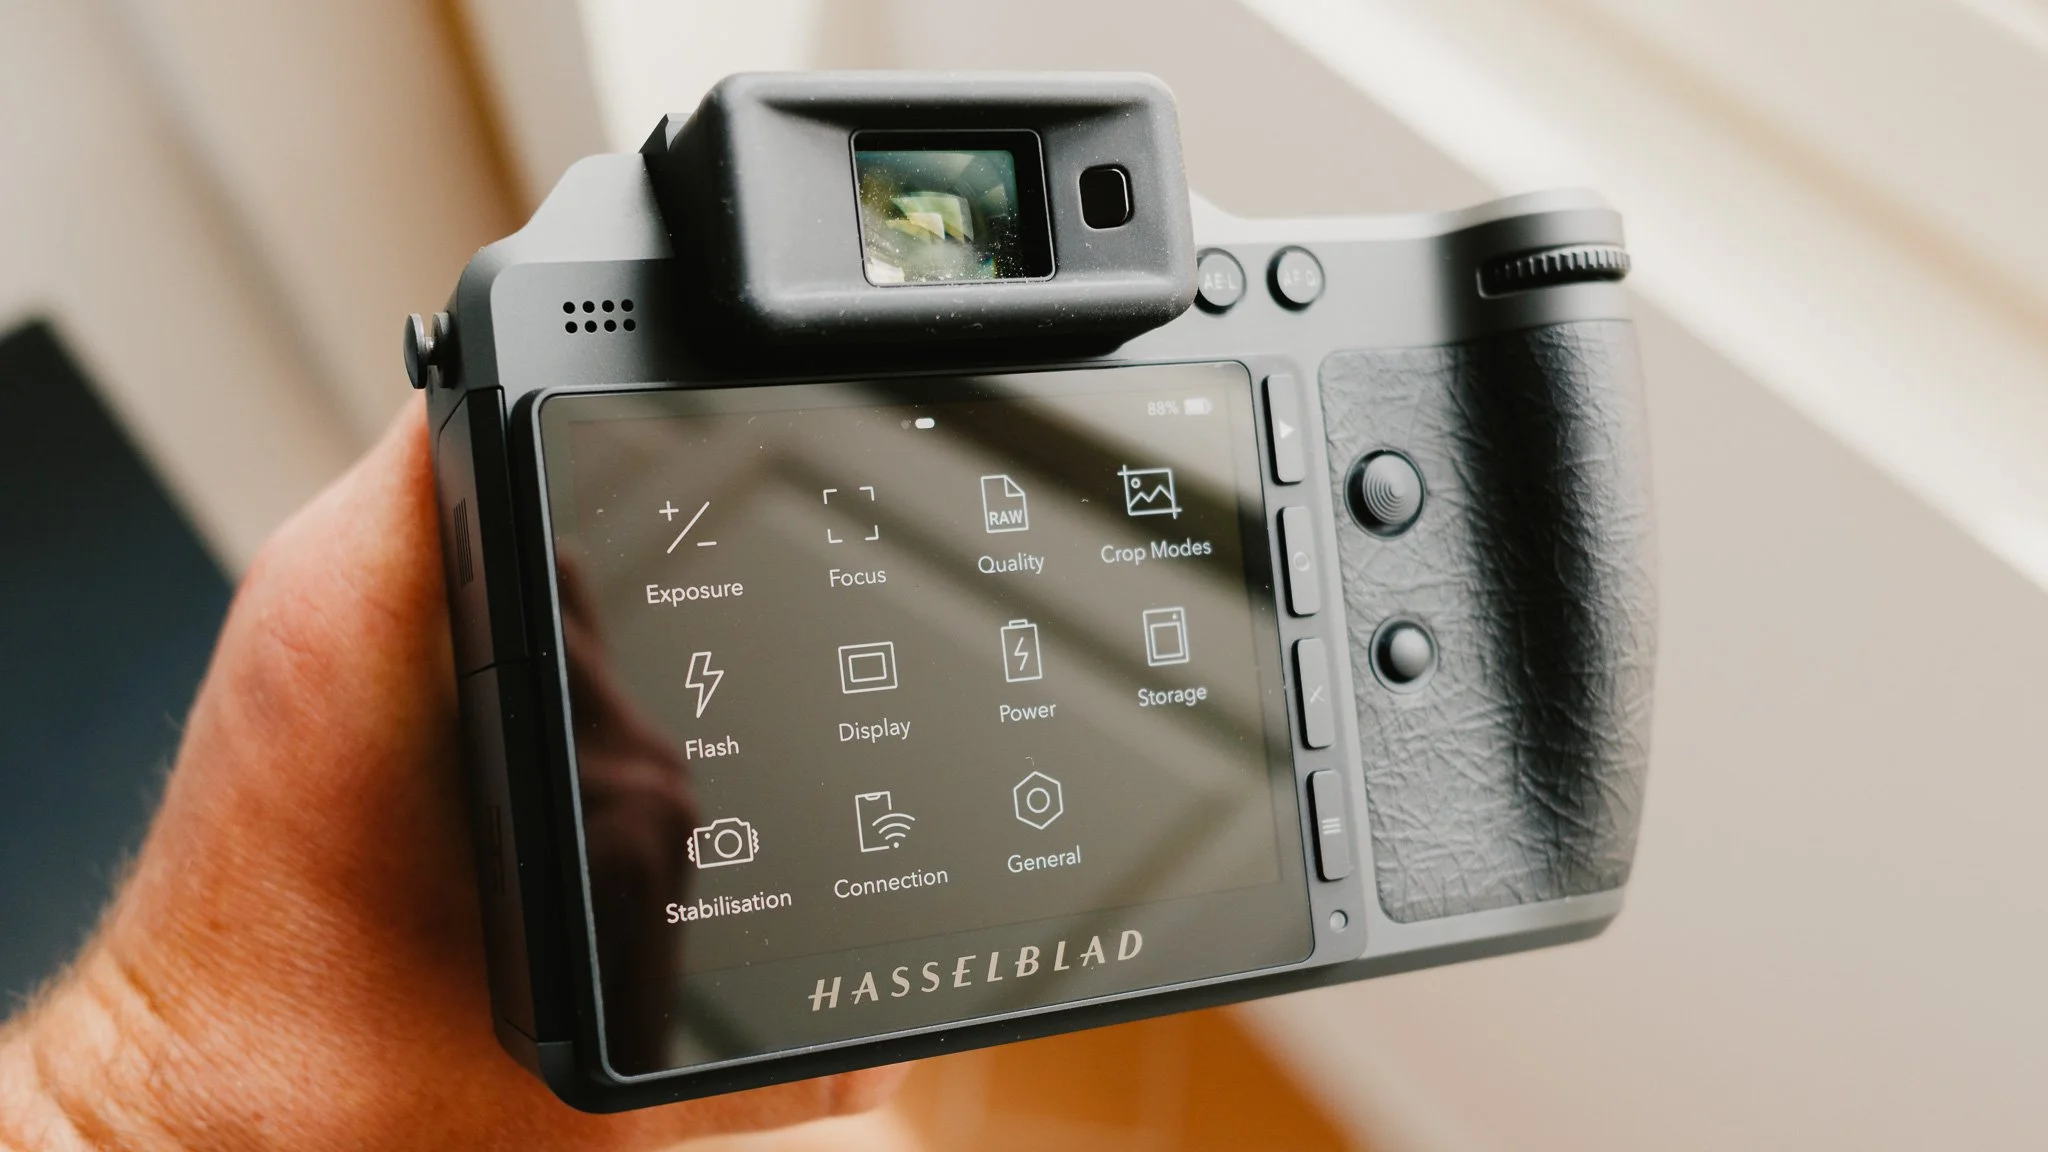
Essential Hasselblad X2DII Settings (Street / Travel Photography)
In this blog I will share some of my essential settings for the Hasselblad X2Dii that I use for my street and travel photography. I only use this camera for these use cases, and not studio / portrait / commercial work. With that in mind, my approach to setup and settings might be different to others. This blog won’t cover all the settings, just the most important ones that make the biggest difference to me. Go into the main menu, and follow me starting from Exposure in the top right, down to General in the bottom left.
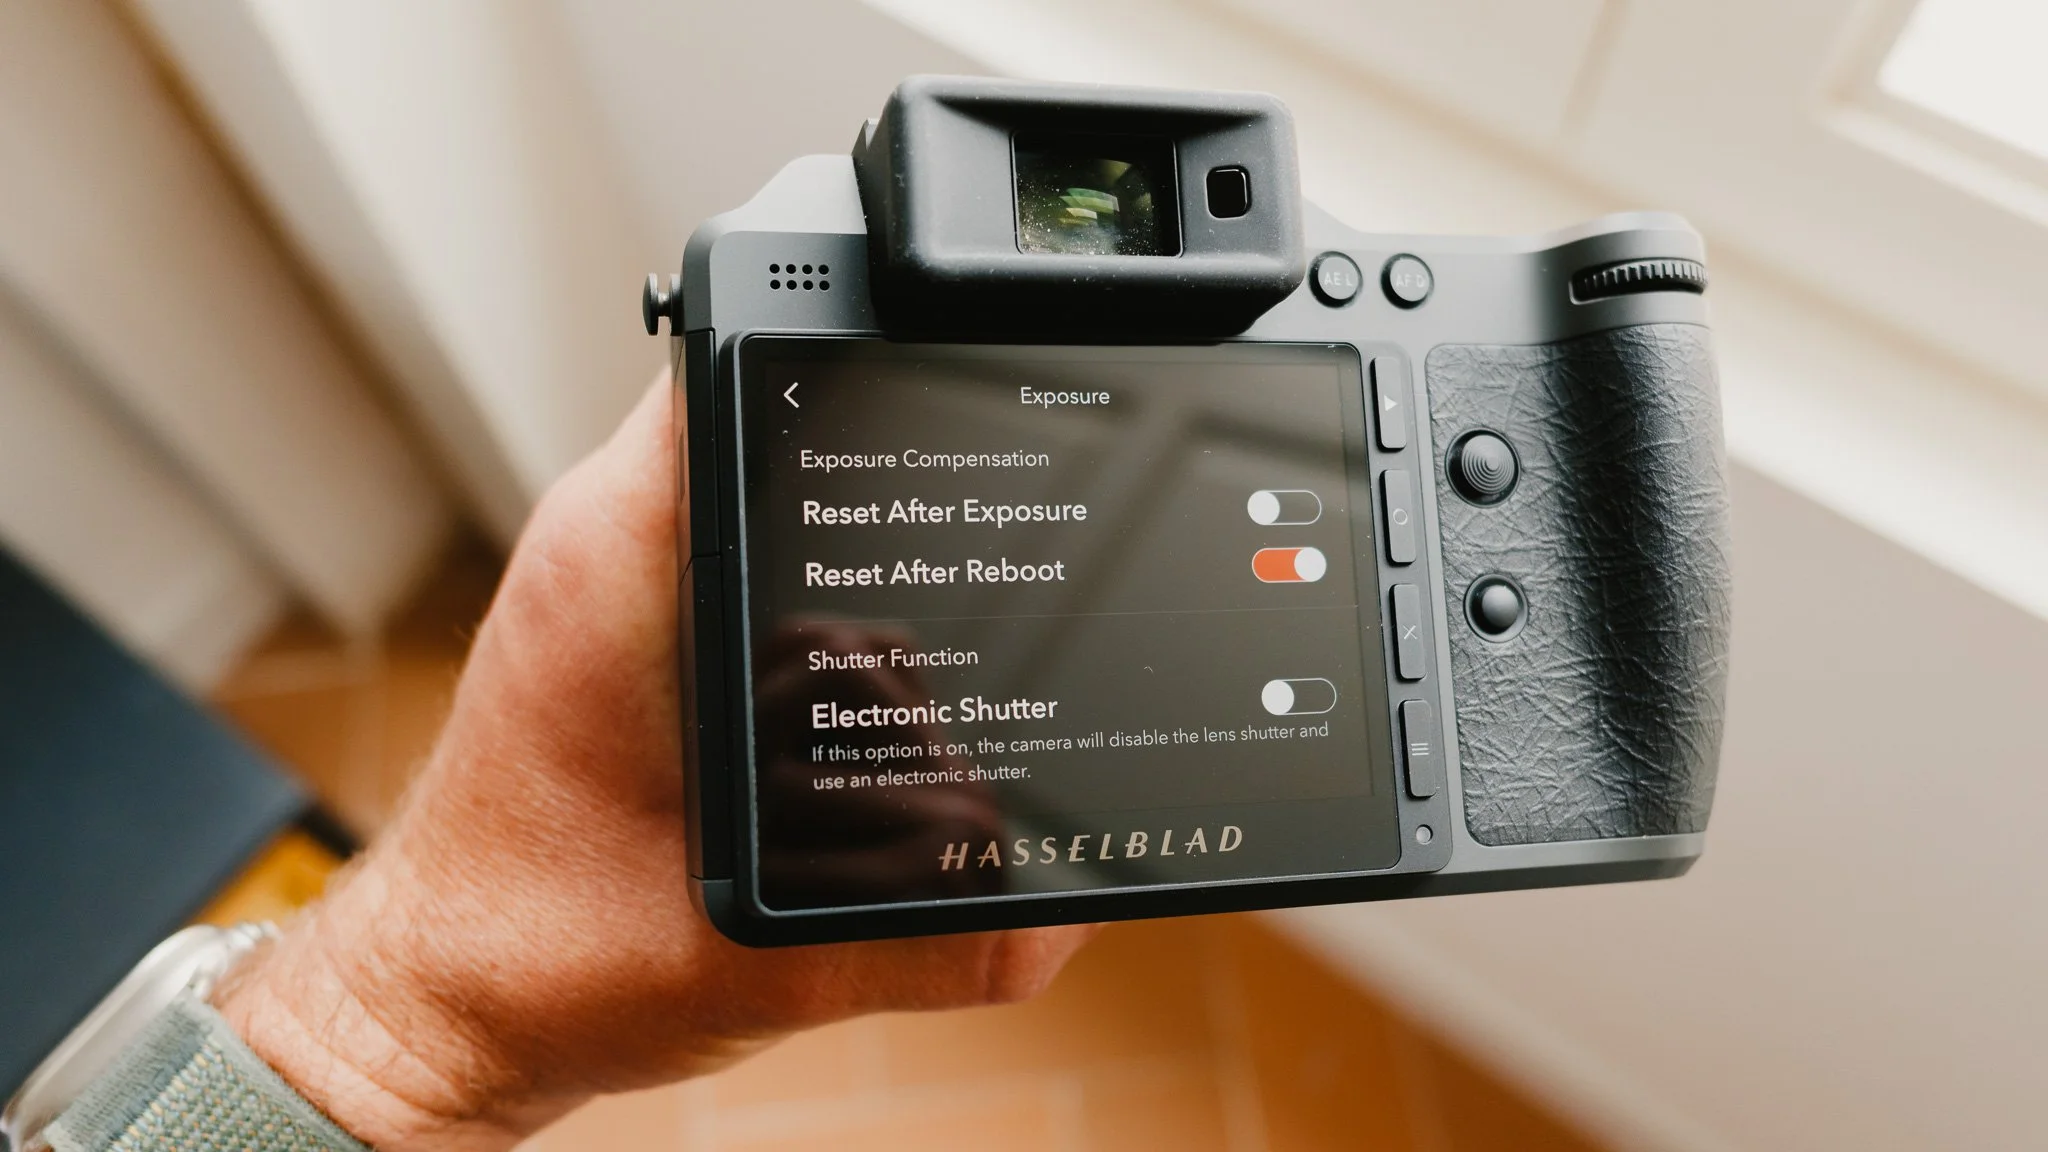
Exposure
Reset After Exposure - Off
Reset After Reboot - On
Electronic Shutter - Off
True Exposure - Off
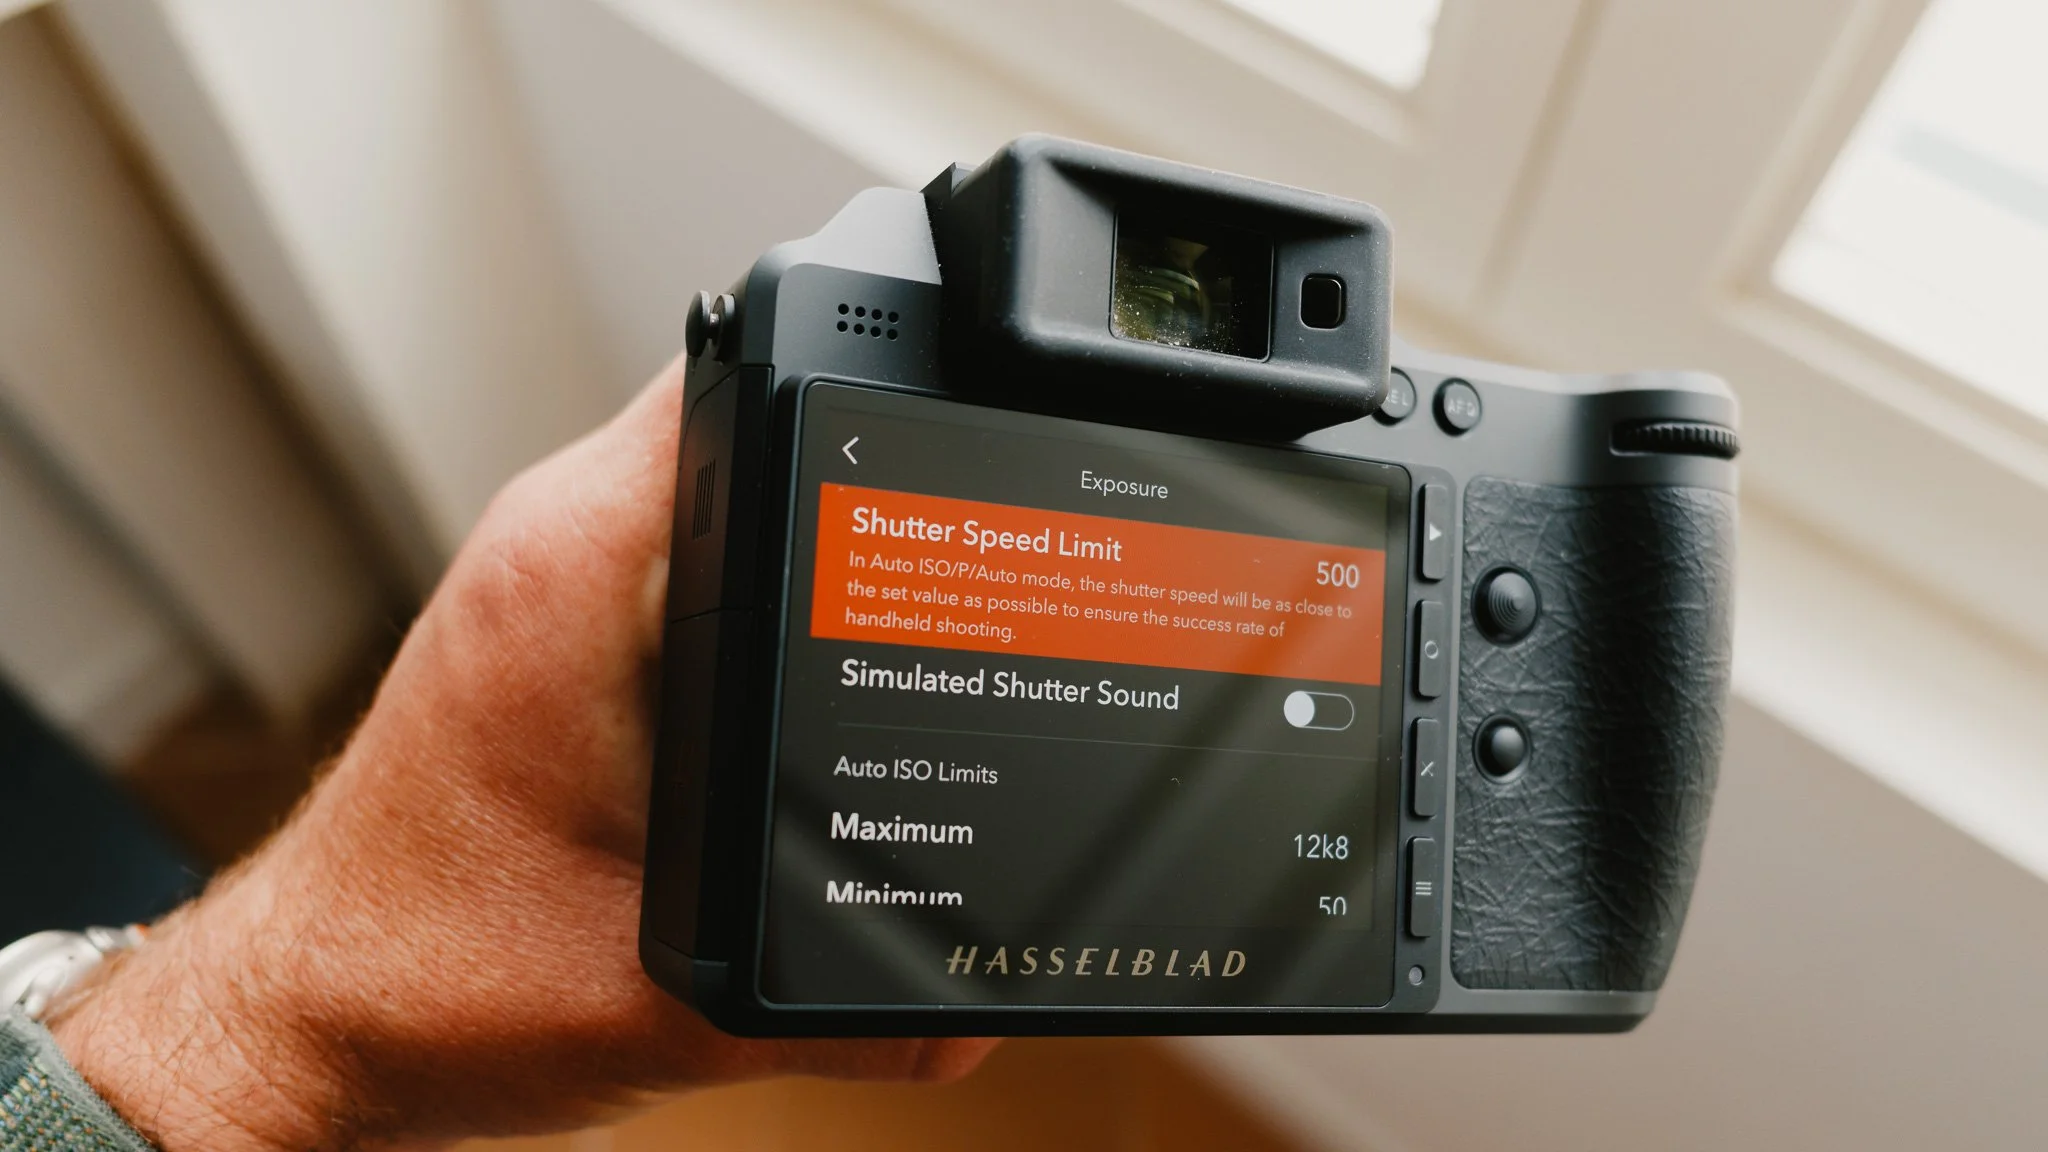
Shutter Speed Limit - 500
Simulated Shutter Sound - Off
Max ISO - 12800
Min ISO - 50
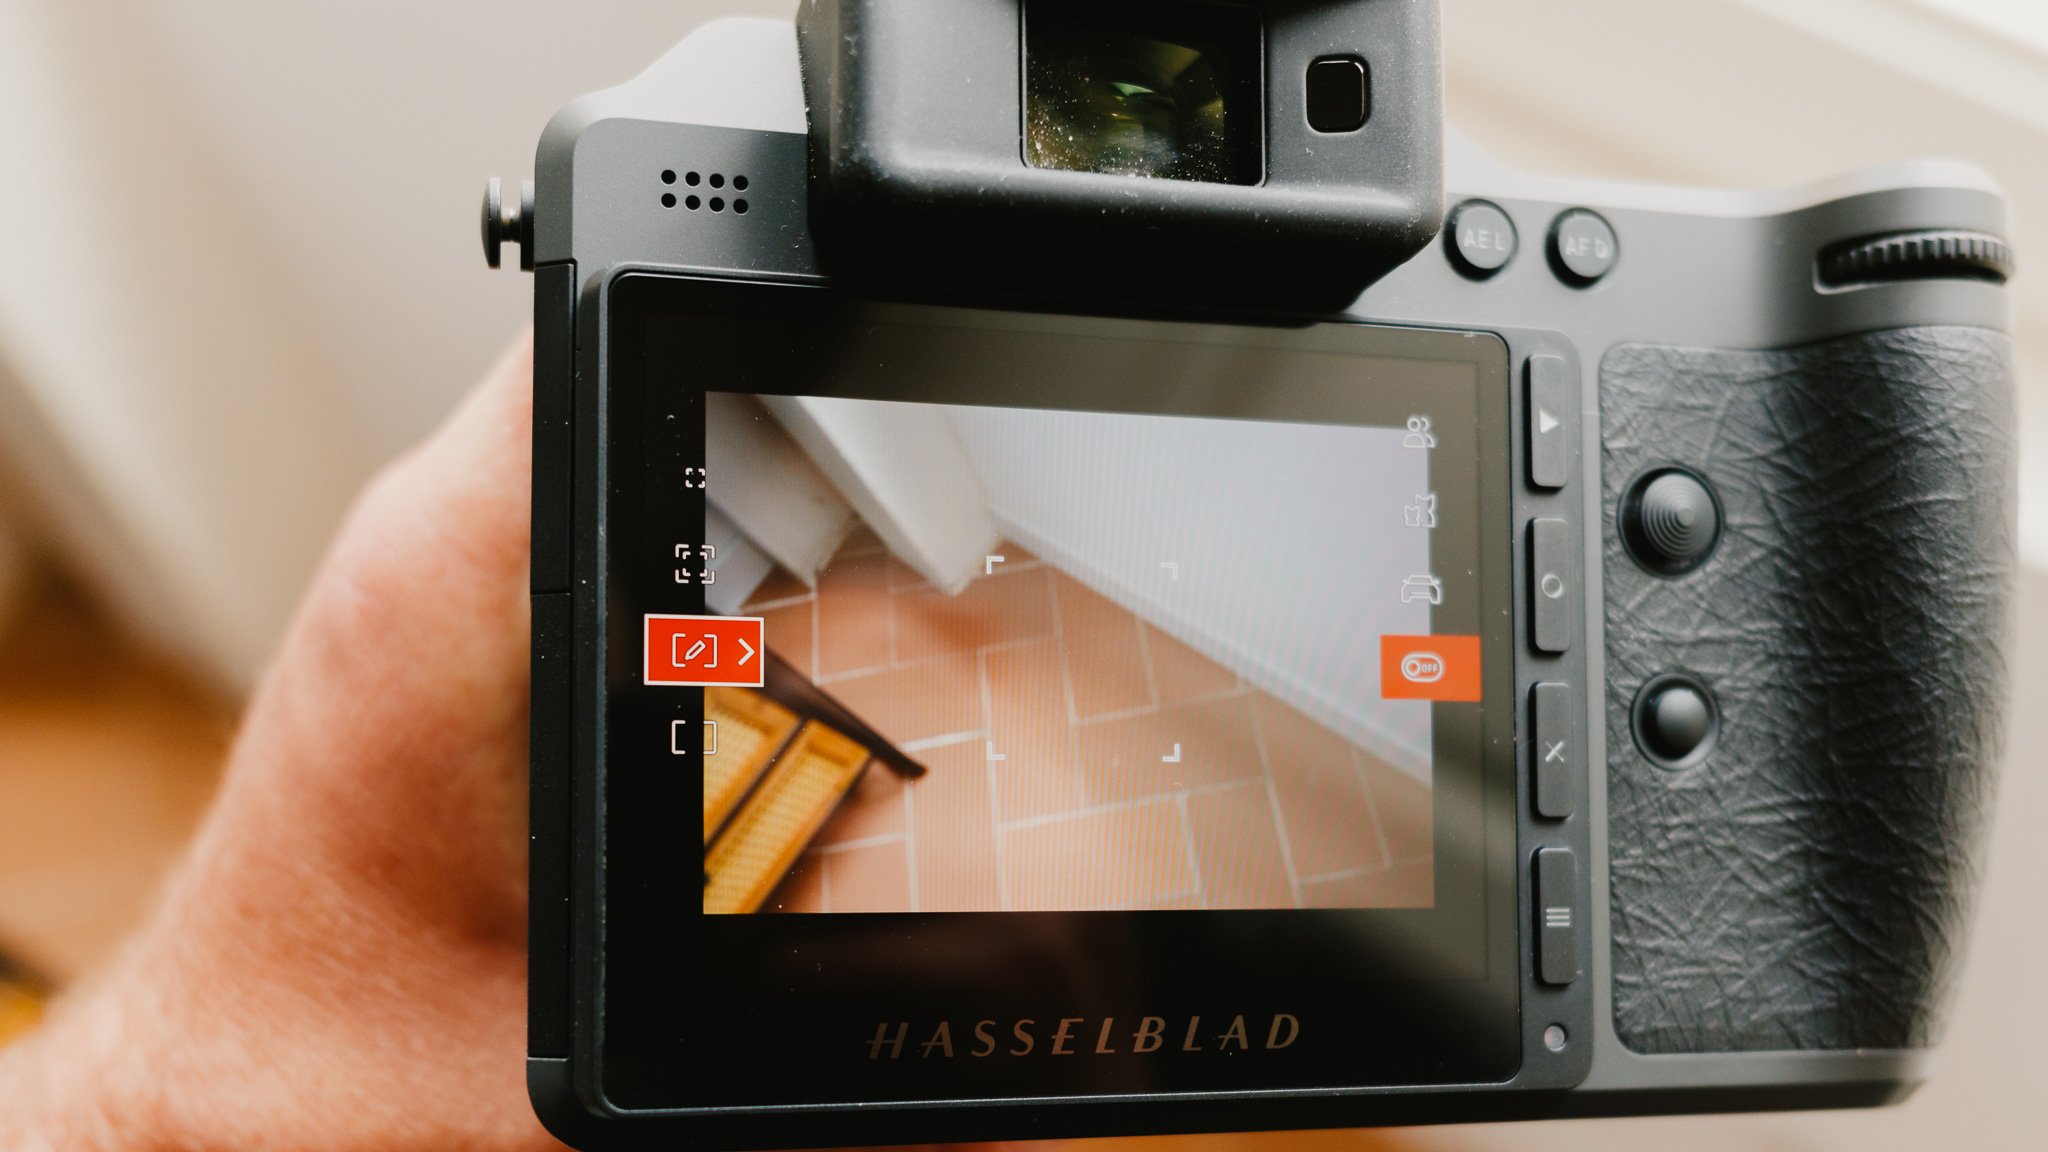
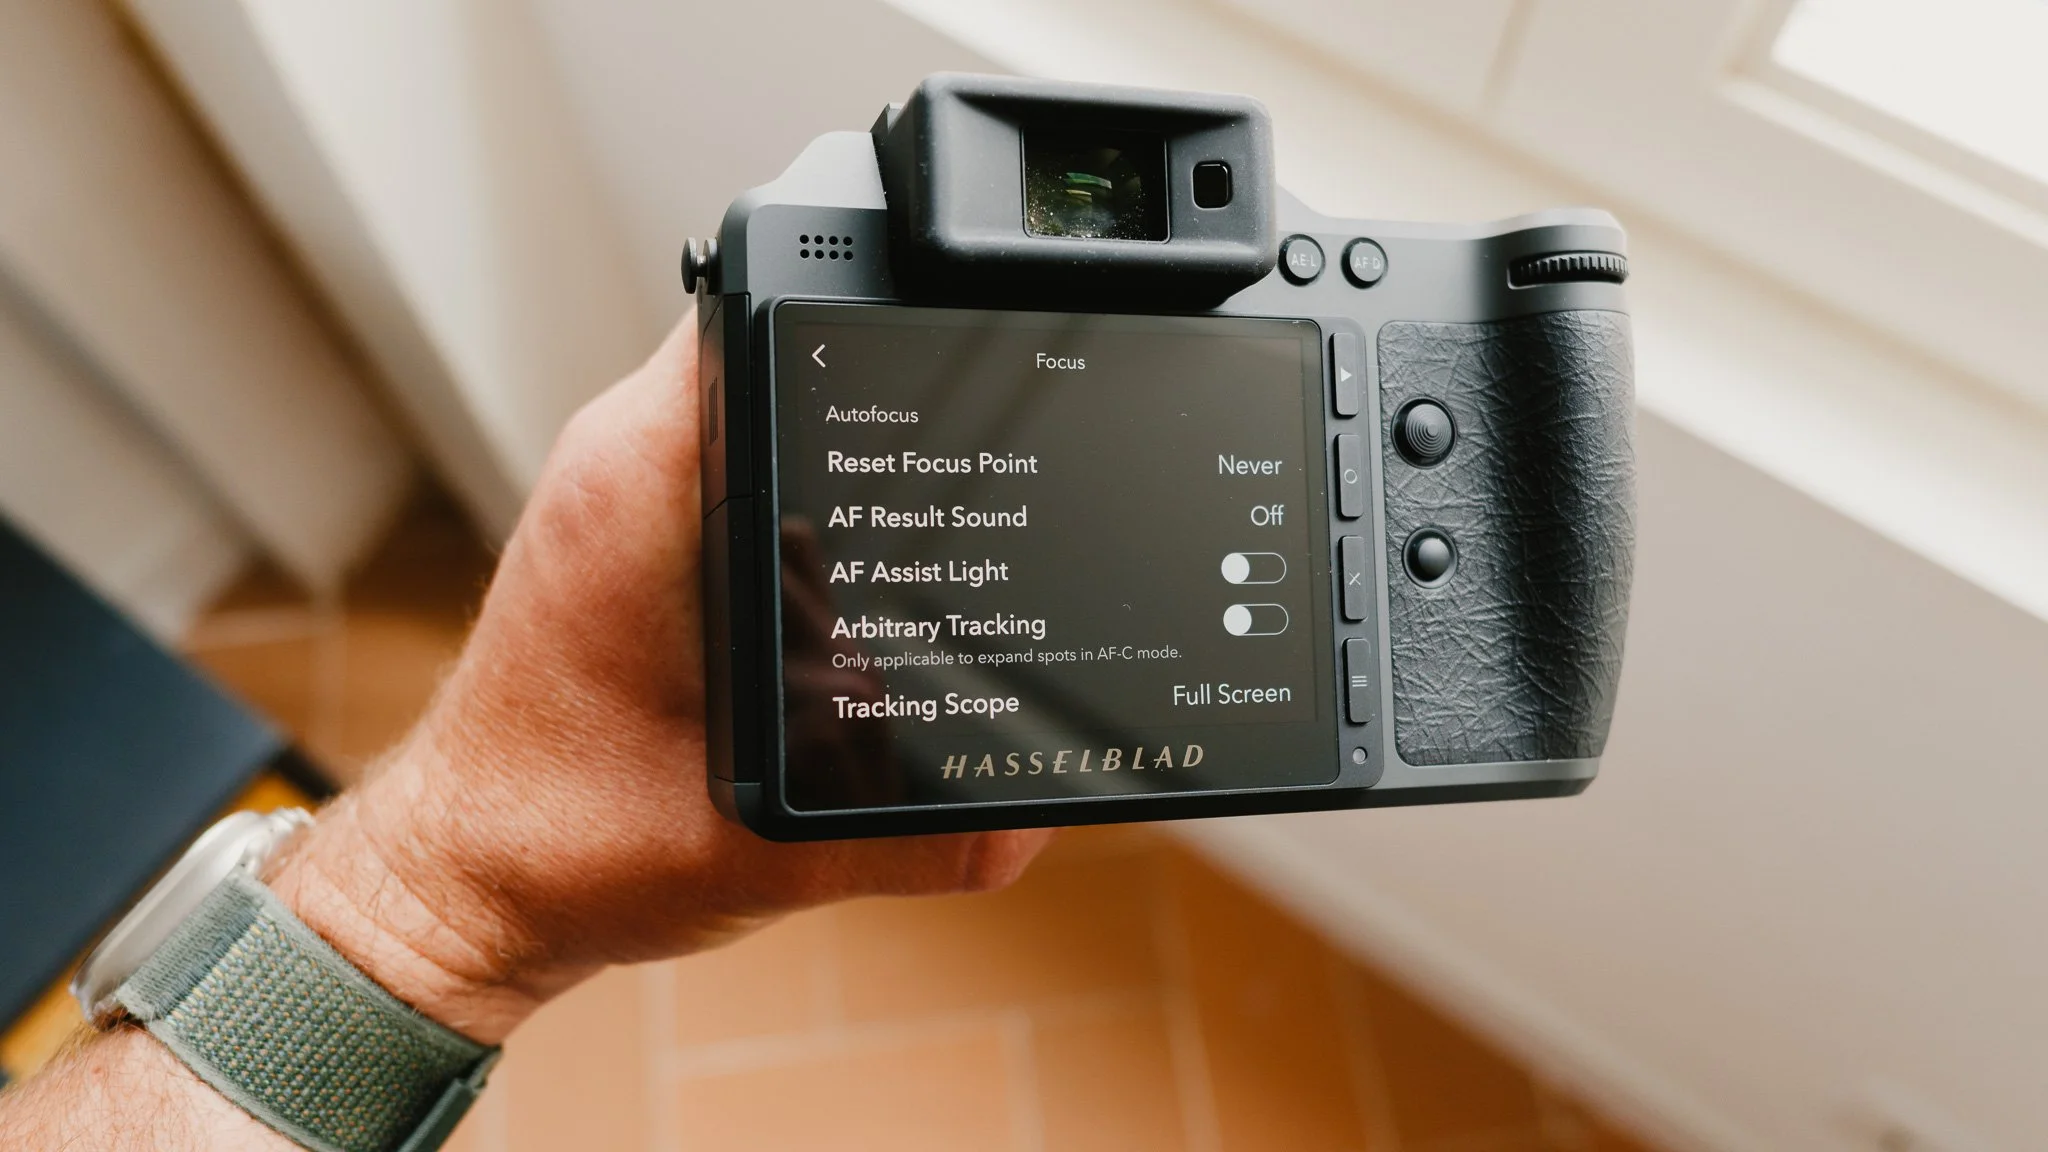
Focus
Reset Focus Point - Never
AF Result Sound - Off
AF Assist Light - Off
Arbitrary Tracking - See “How I Shoot” later in the blog
Tracking Scope - Full Screen
MF Assist - Focus Peaking
Peaking Colour - Orange
Touch - All Disabled
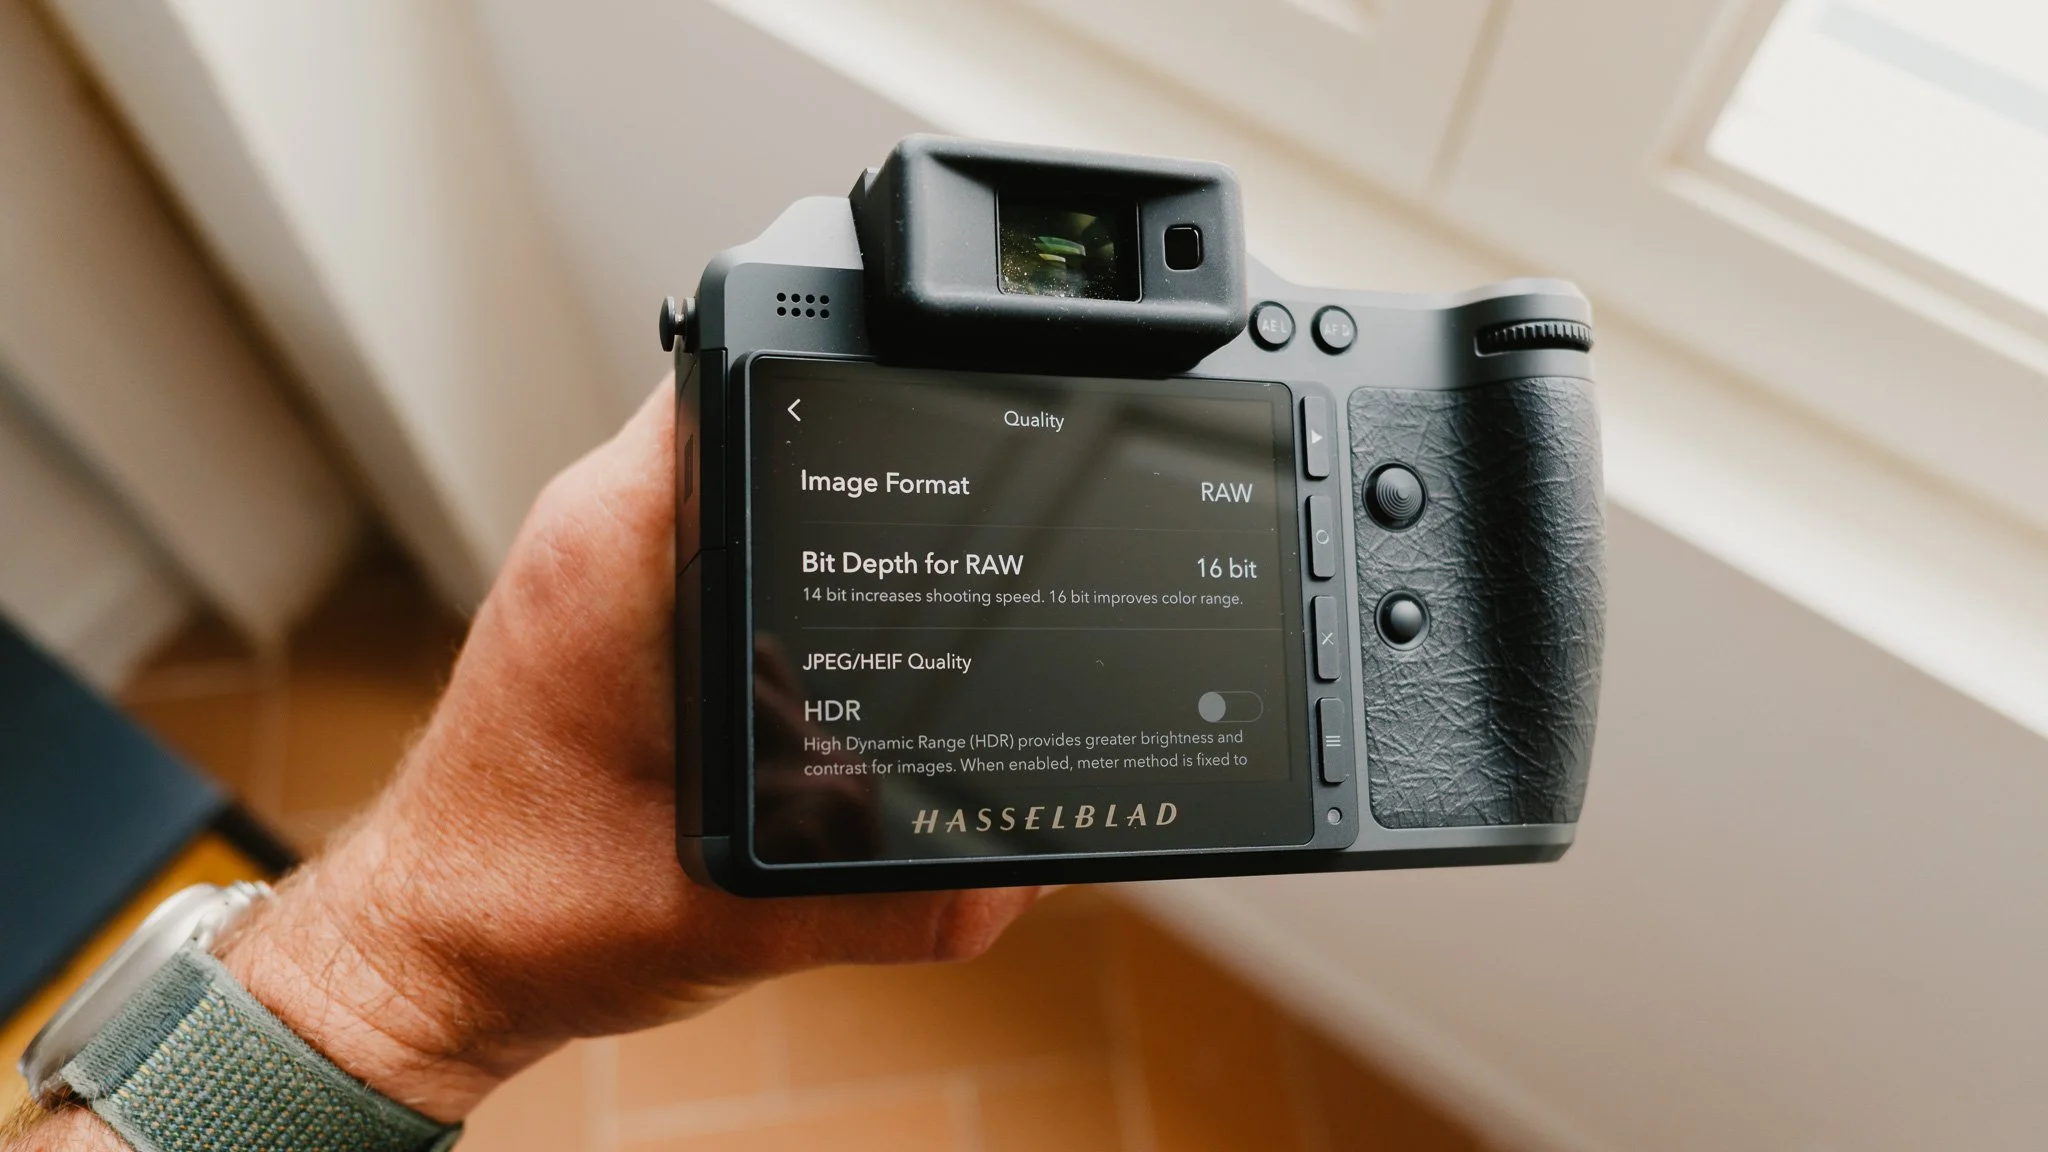
Quality
Image Format - RAW
Bit Depth - 16 bit
HDR - Disabled due to RAW
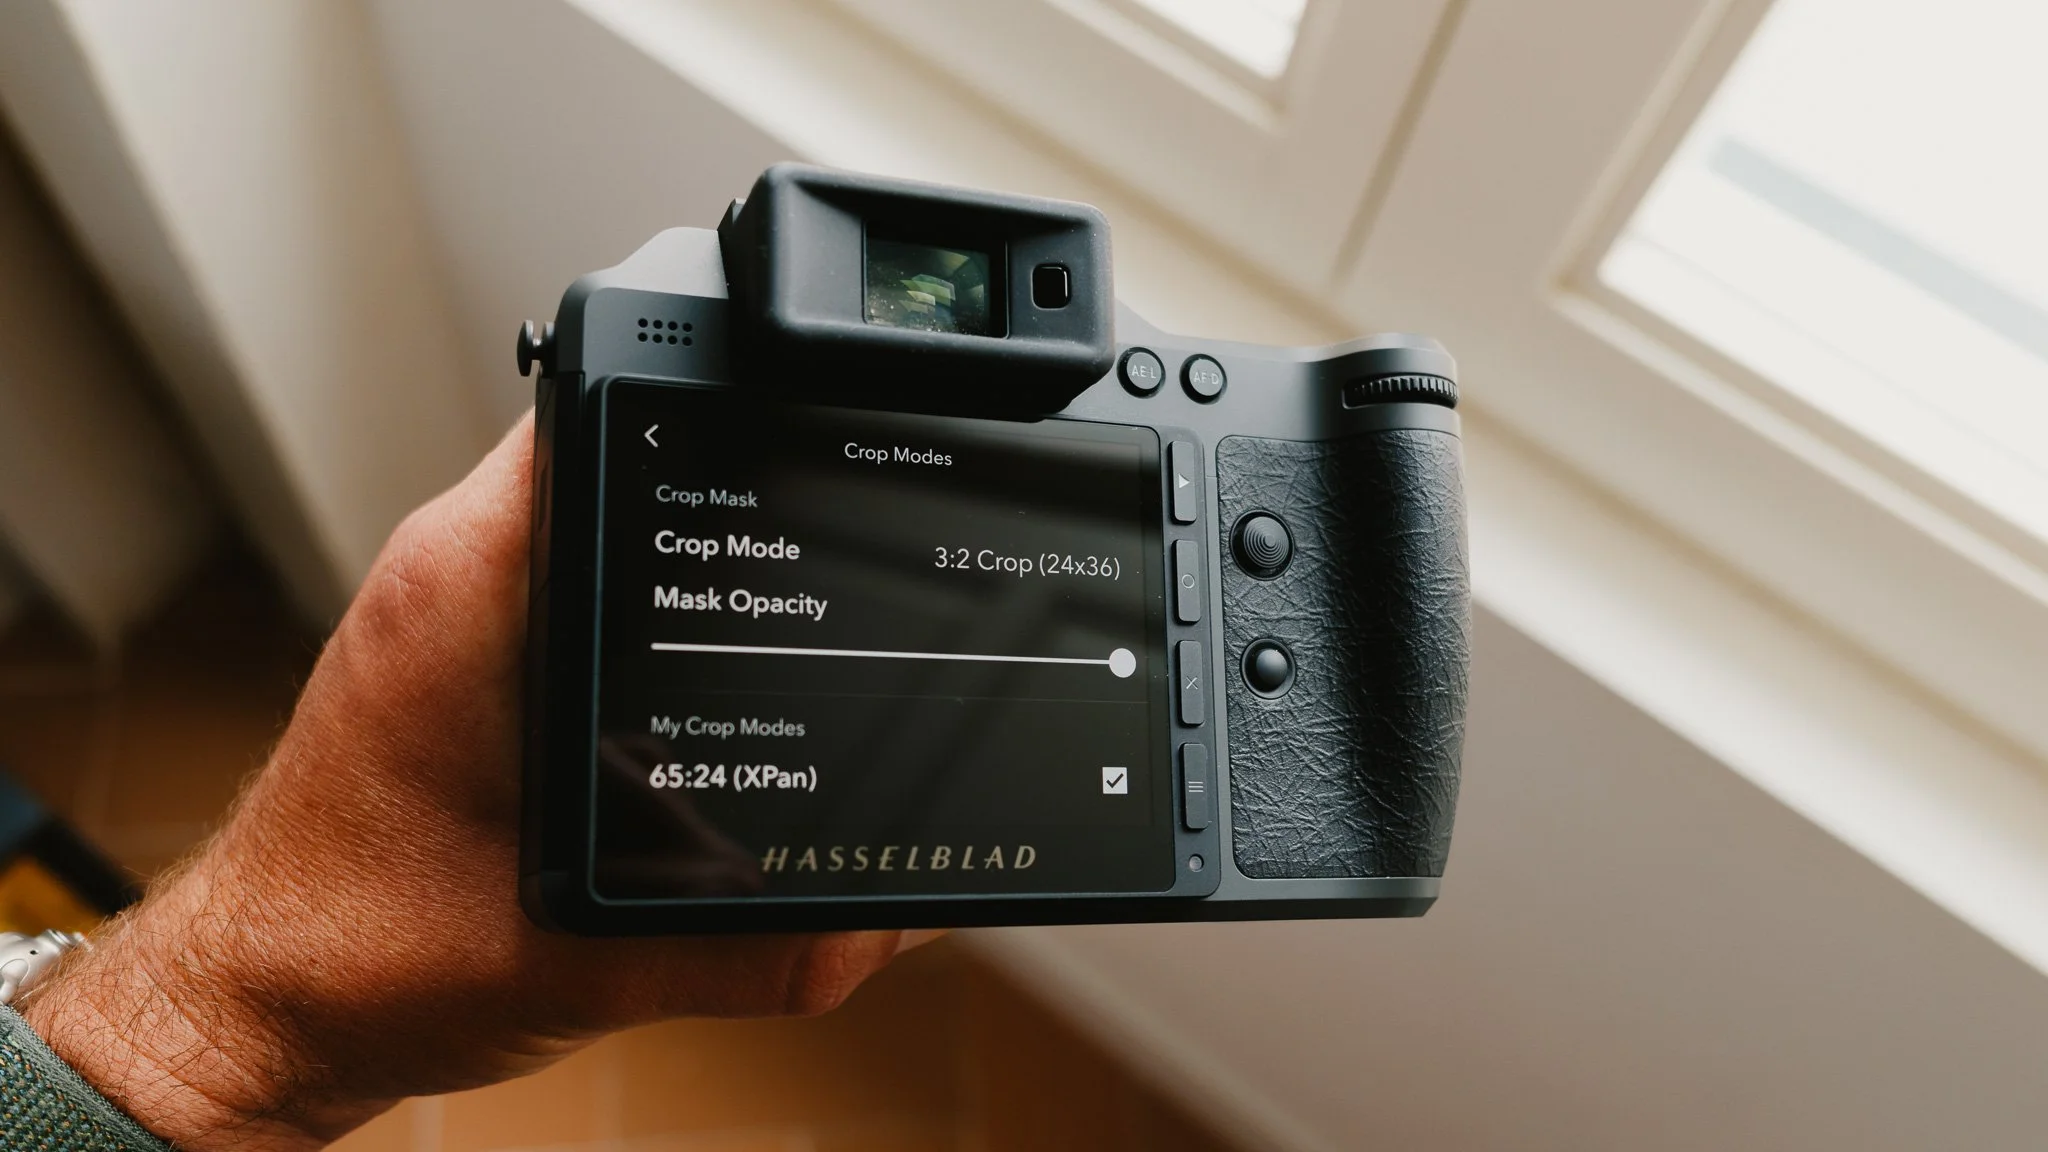
Crop Modes
Crop Mode - See “How I Shoot” later in the blog
Mask Opacity - 100%
My Crop Modes - 65:24 | 3:2 Crop
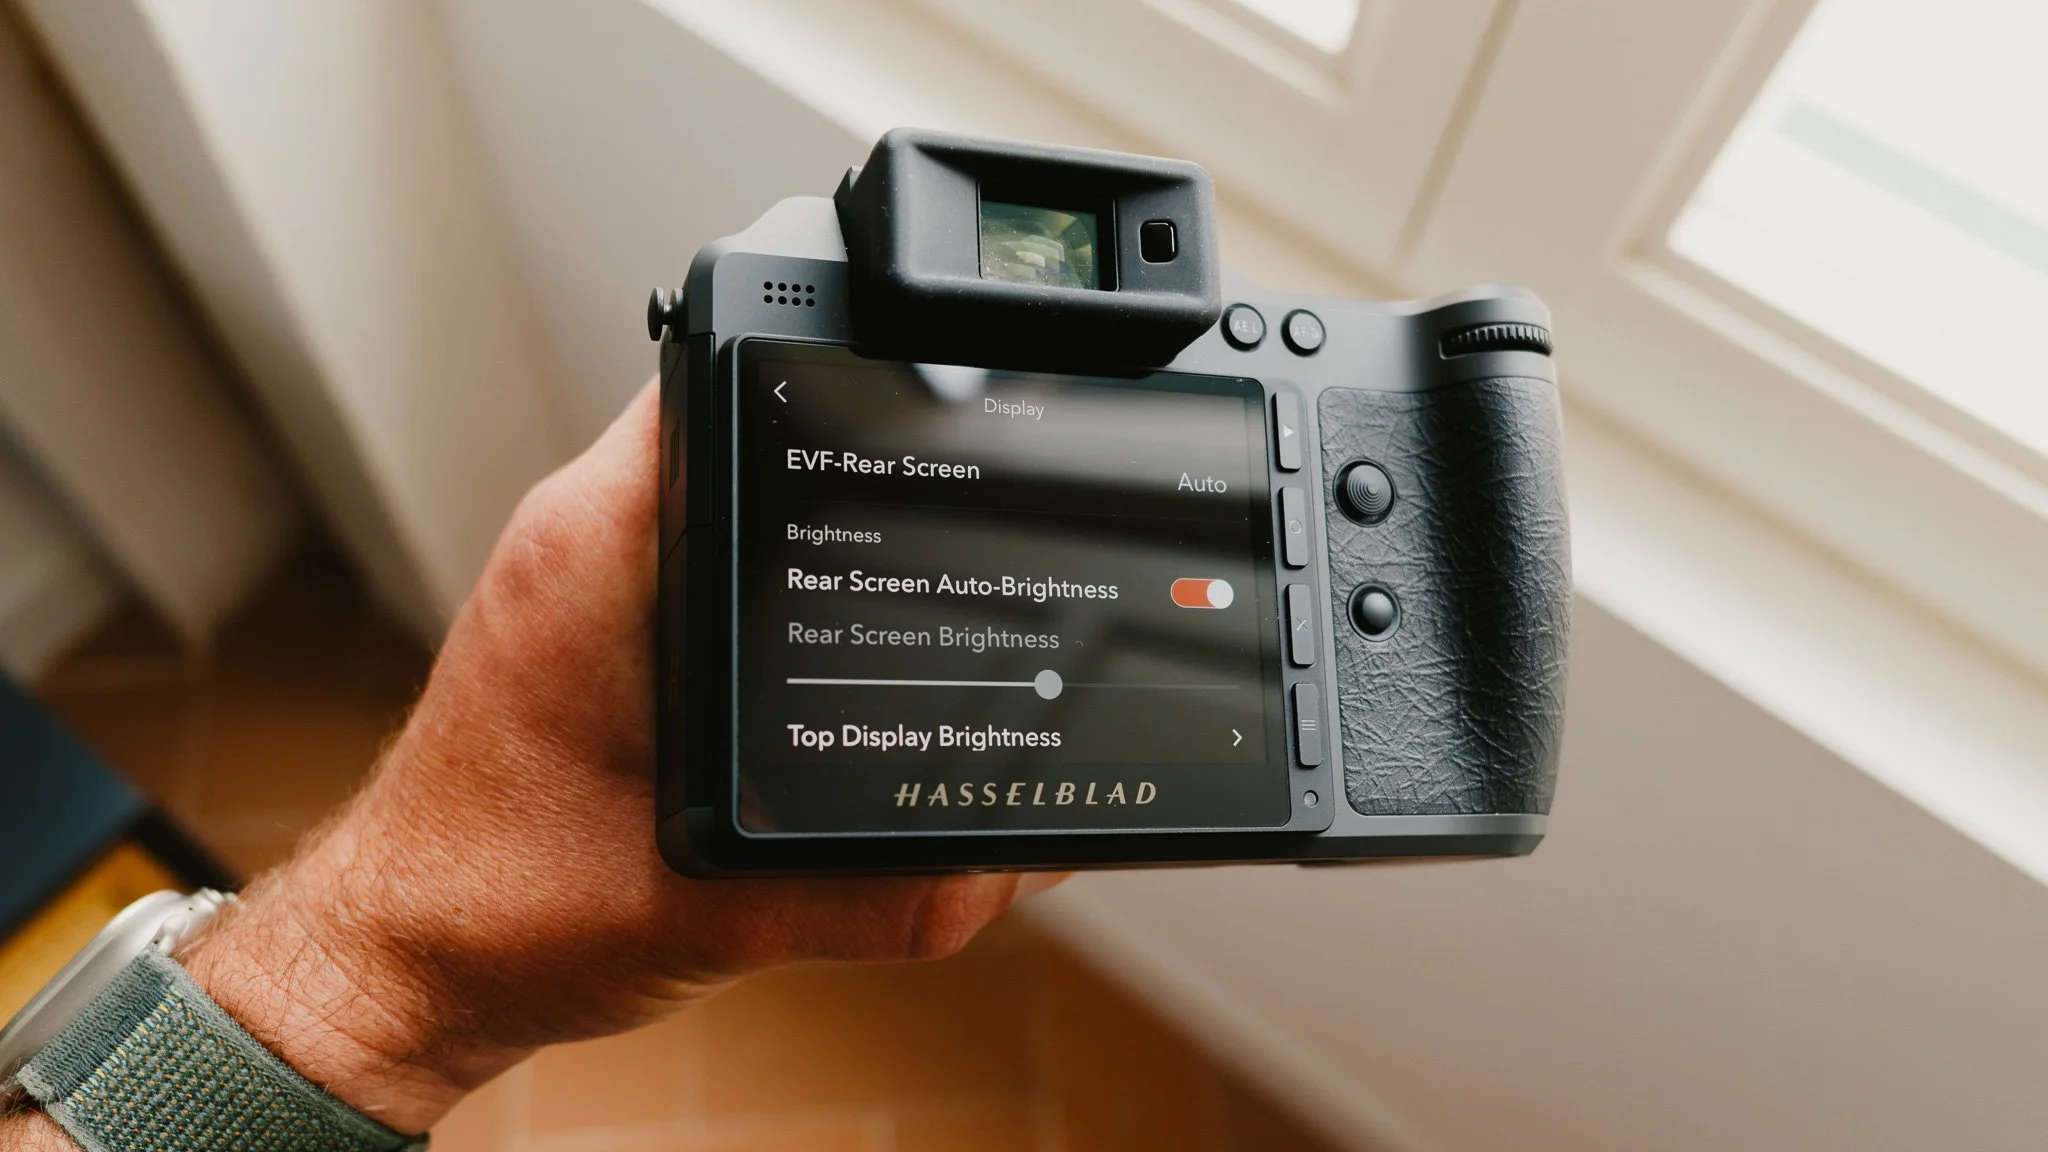
Display
EVF Rear Screen - Auto
Rear Screen Auto Brightness - On
EVF Brightness - Max
Preview - All Off
Overexposure Warning - Off
Eye Sensor Distance - Normal
Variable Frame Rate - On
Power
Display Off - 5m
Power Off - 30mm
See “How I Shoot” later in the blog

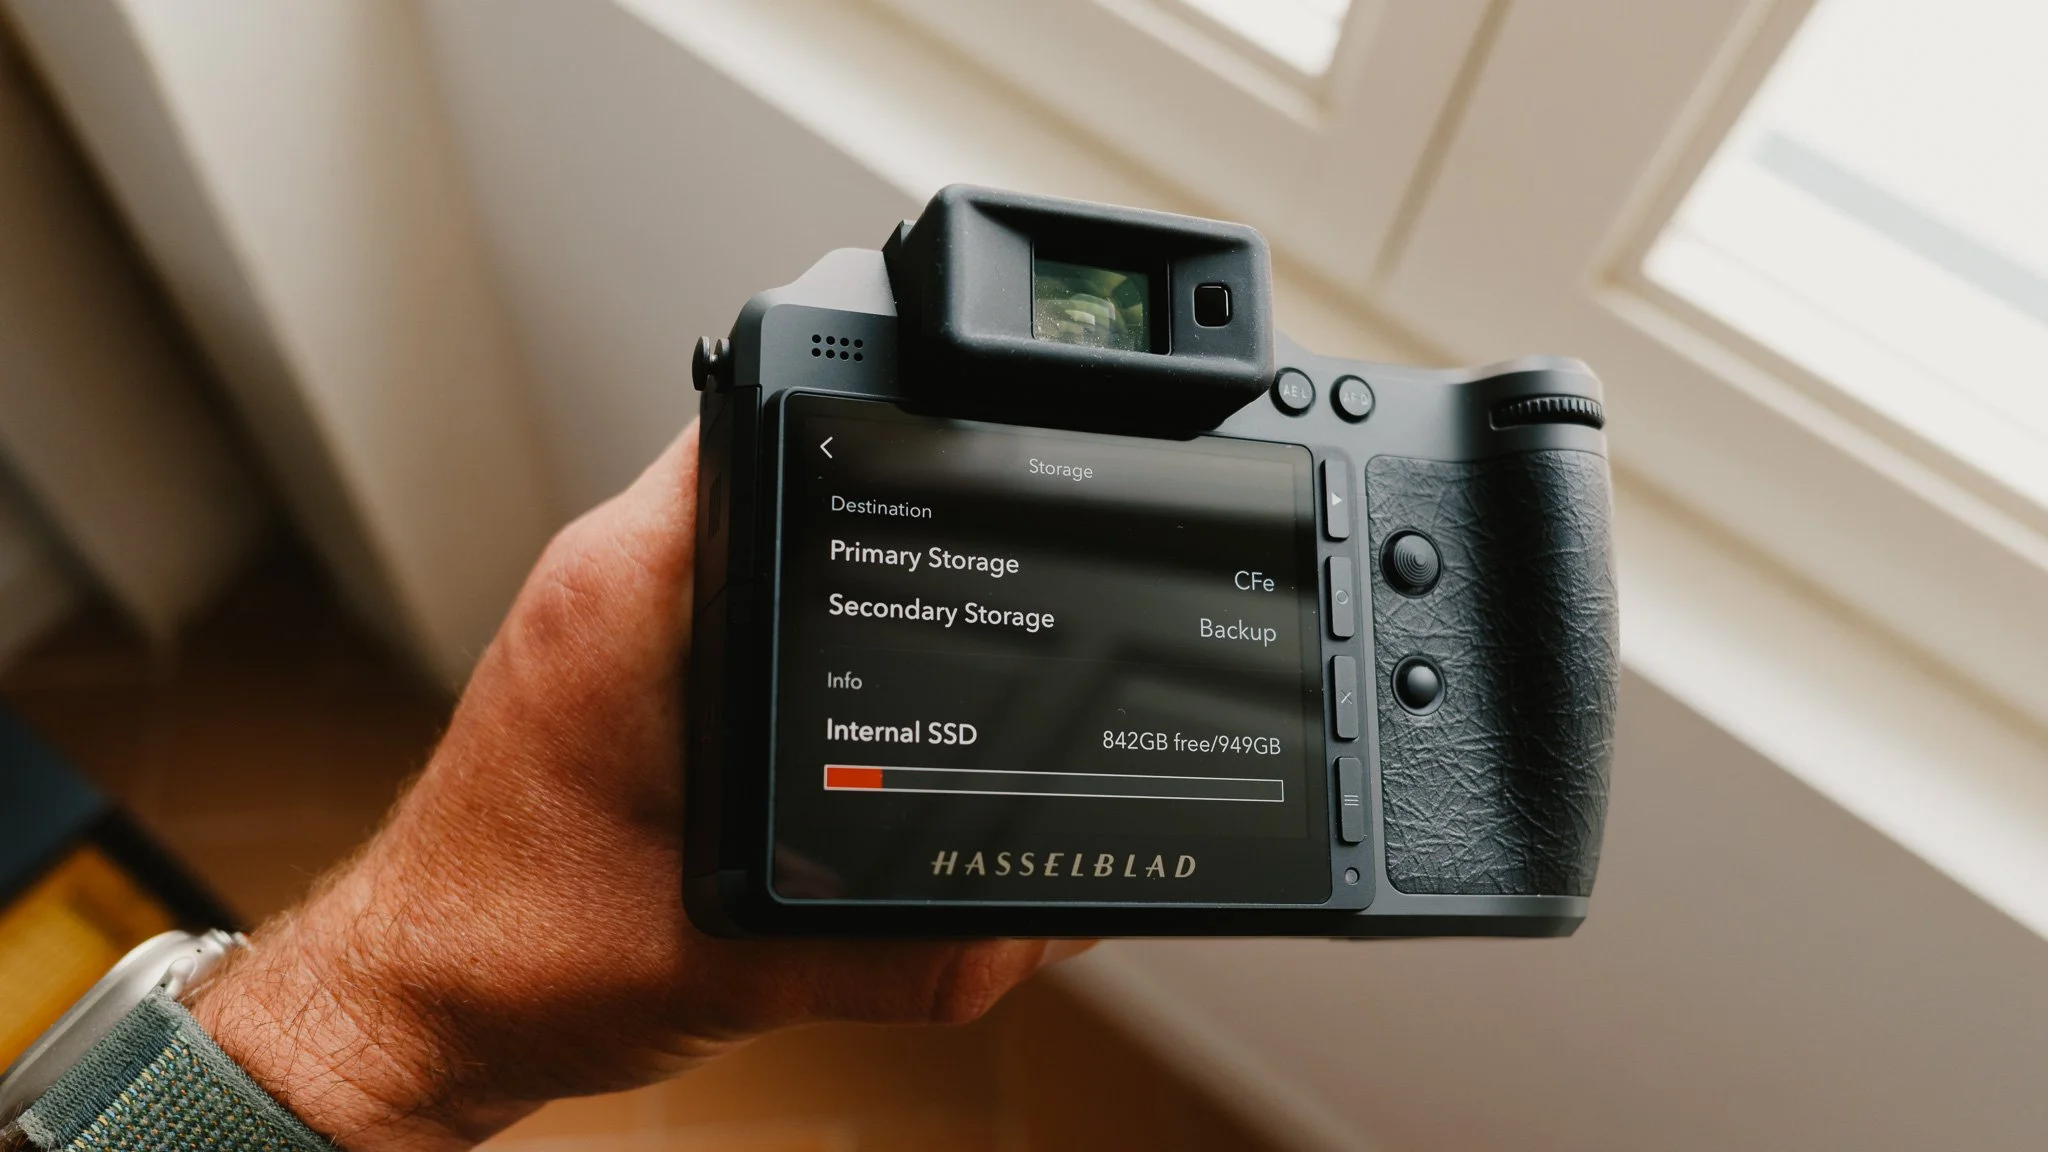
Storage
Primary Storage - CFe
Secondary Storage - Backup
See “How I Shoot” later in the blog
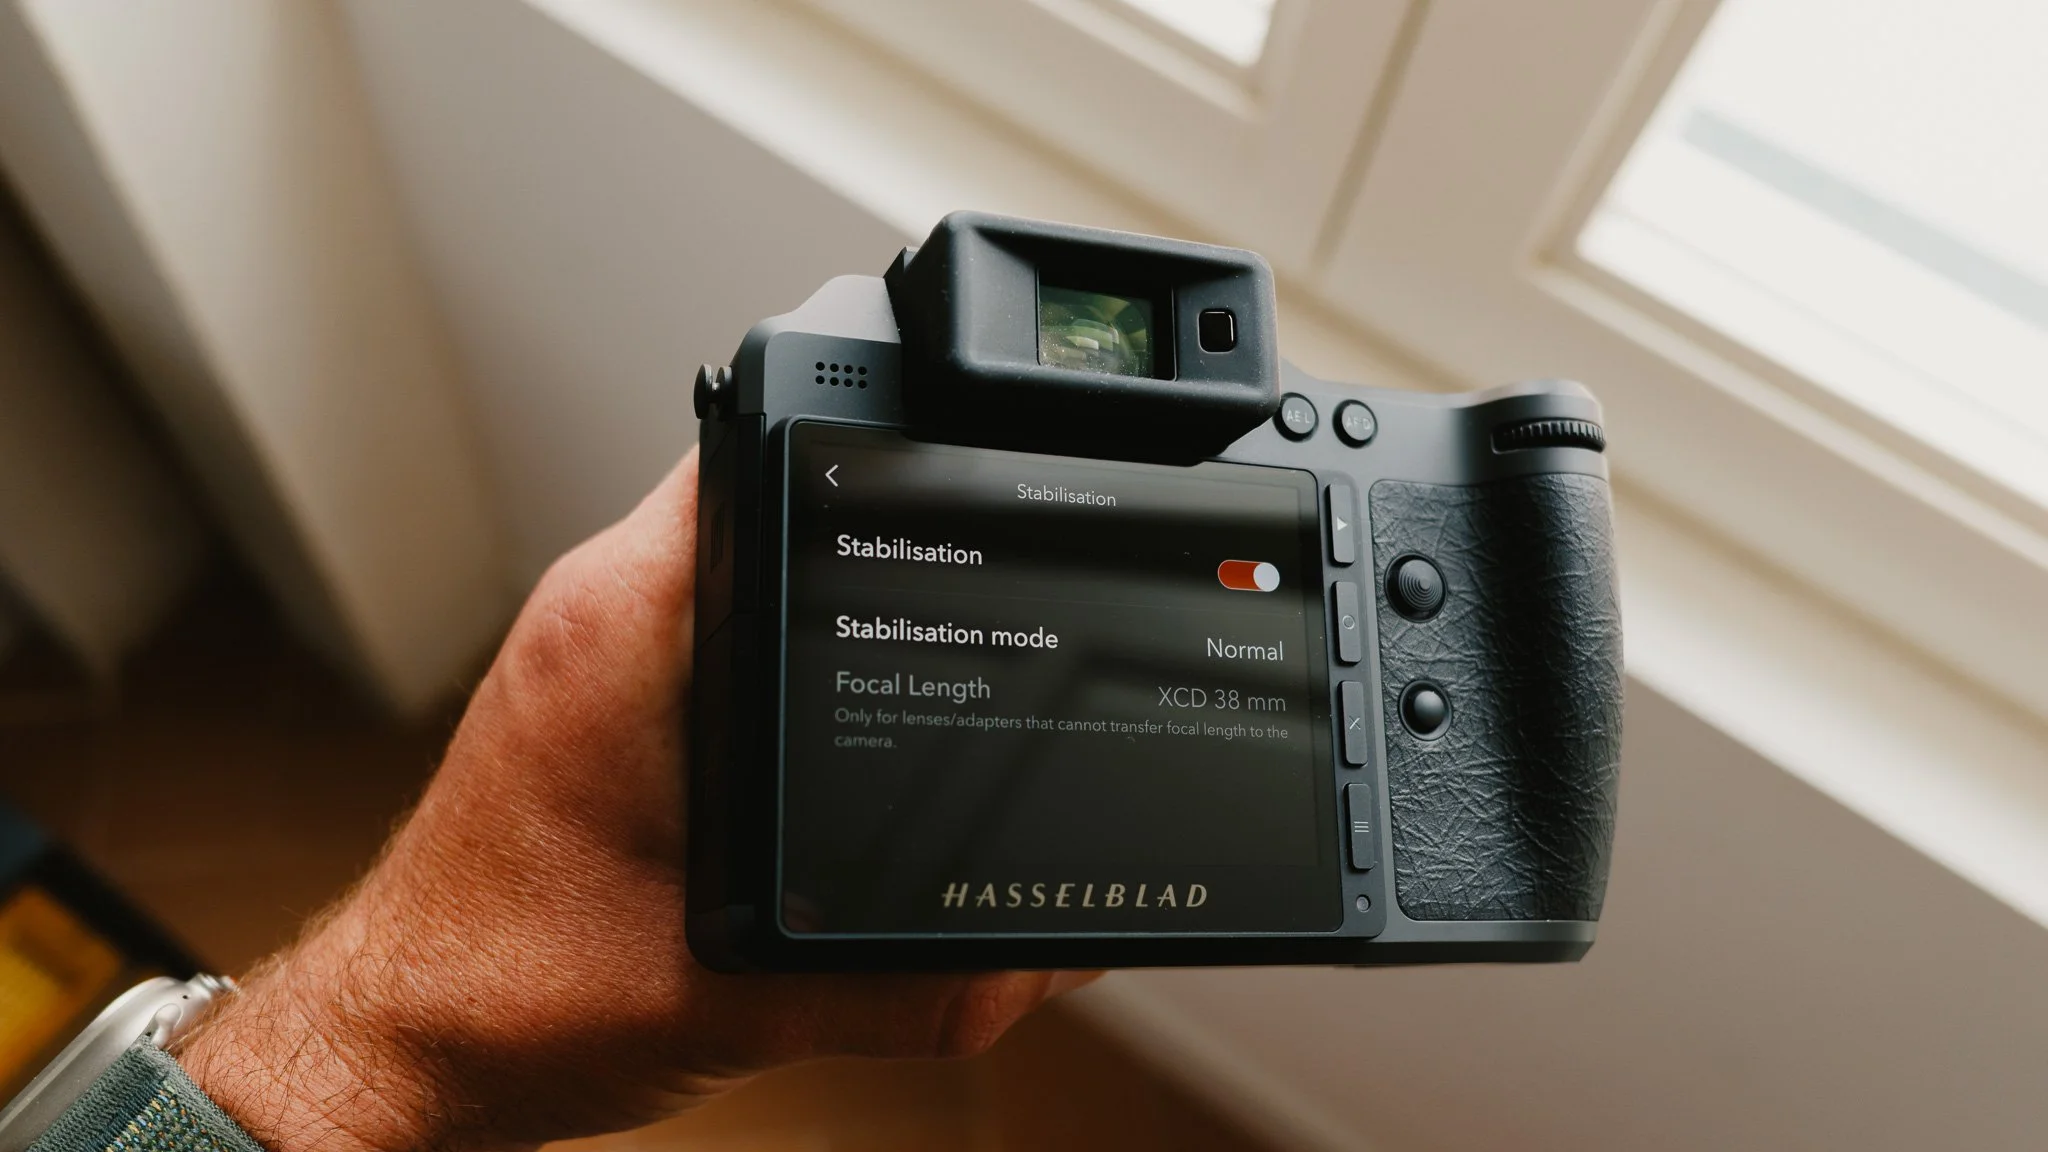
Stabilisation
Stabilisation on and mode is normal
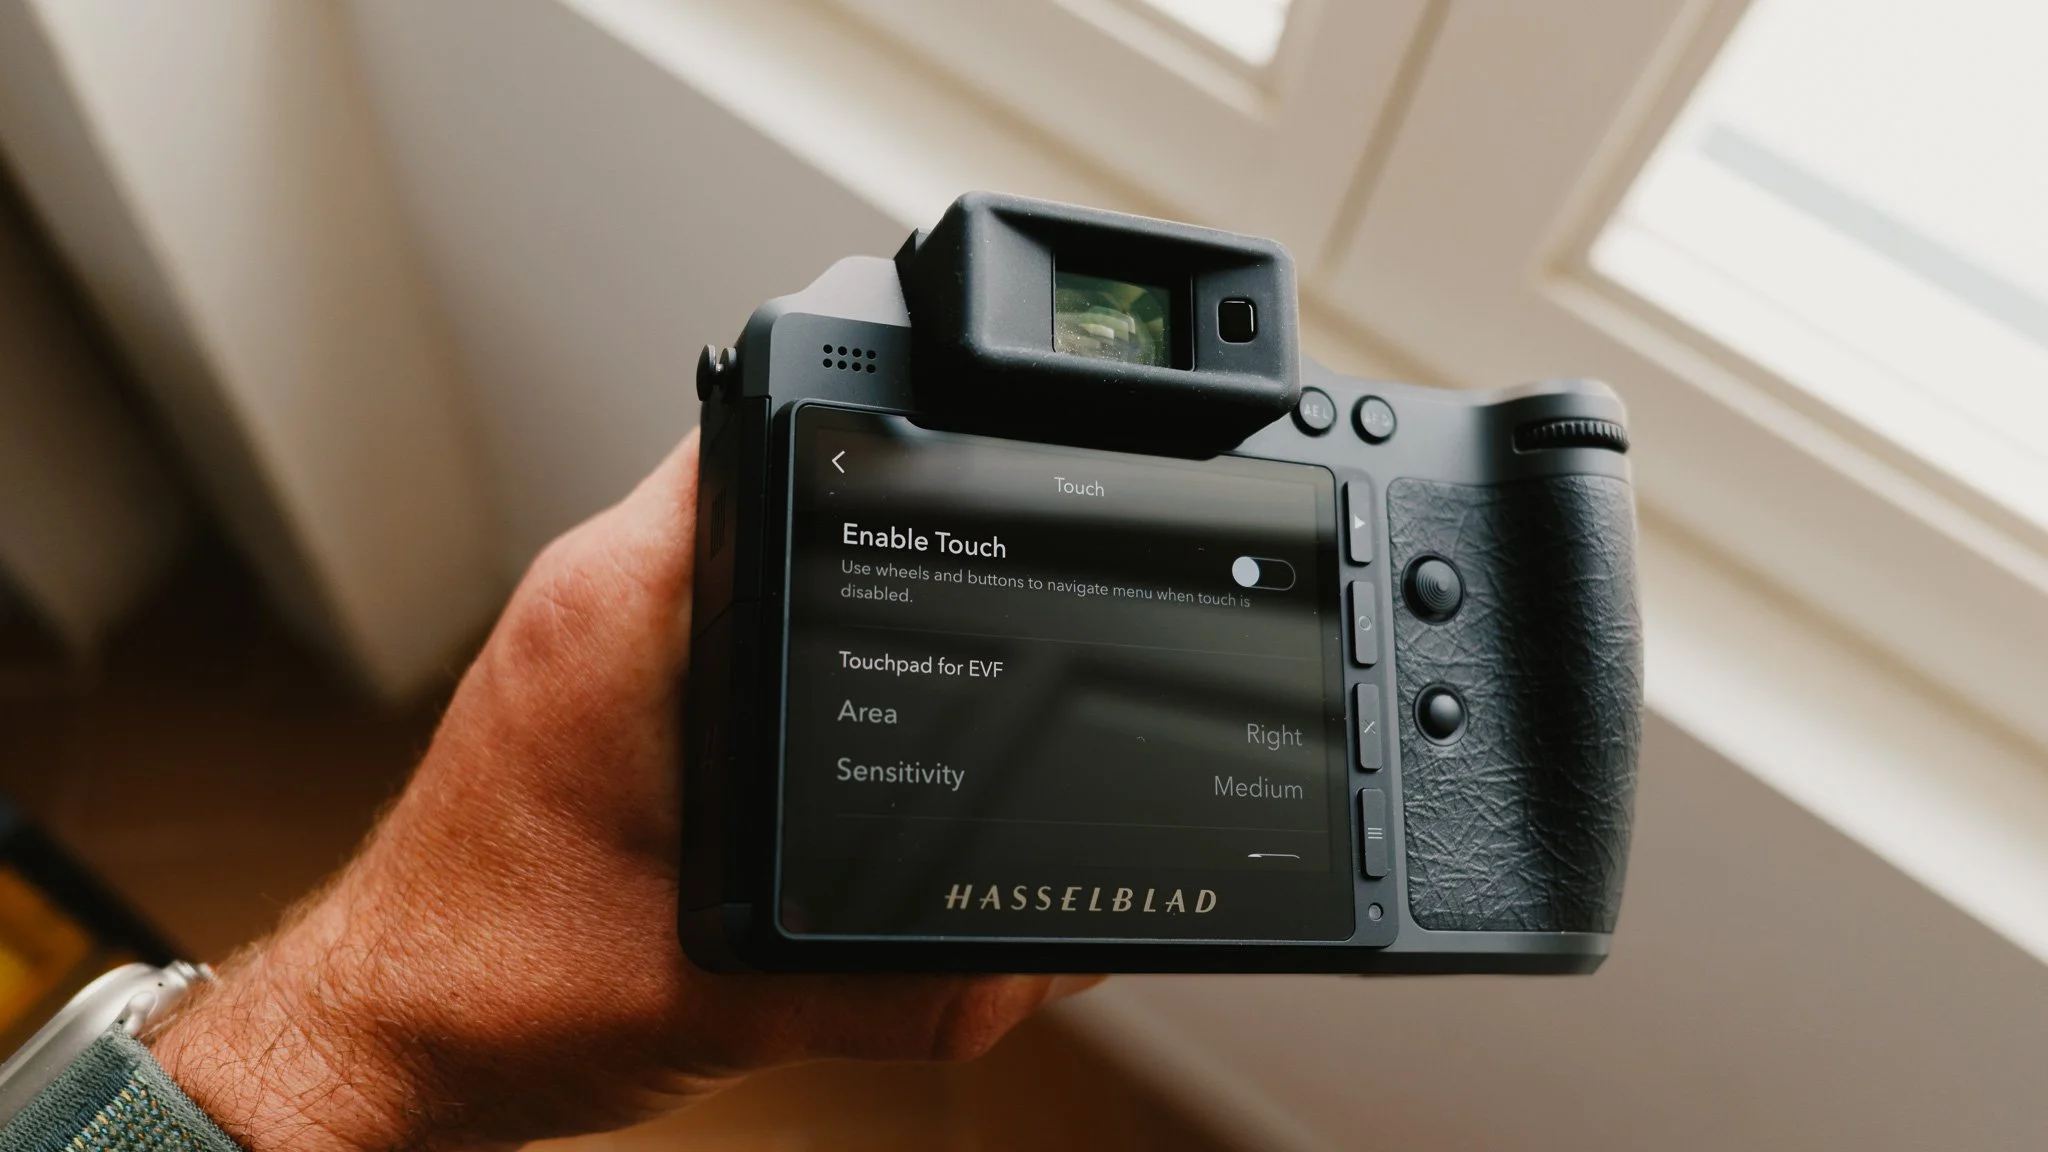
General - Touch
Enable Touch - Off
Vibration - Off
See “How I Shoot” later in the blog
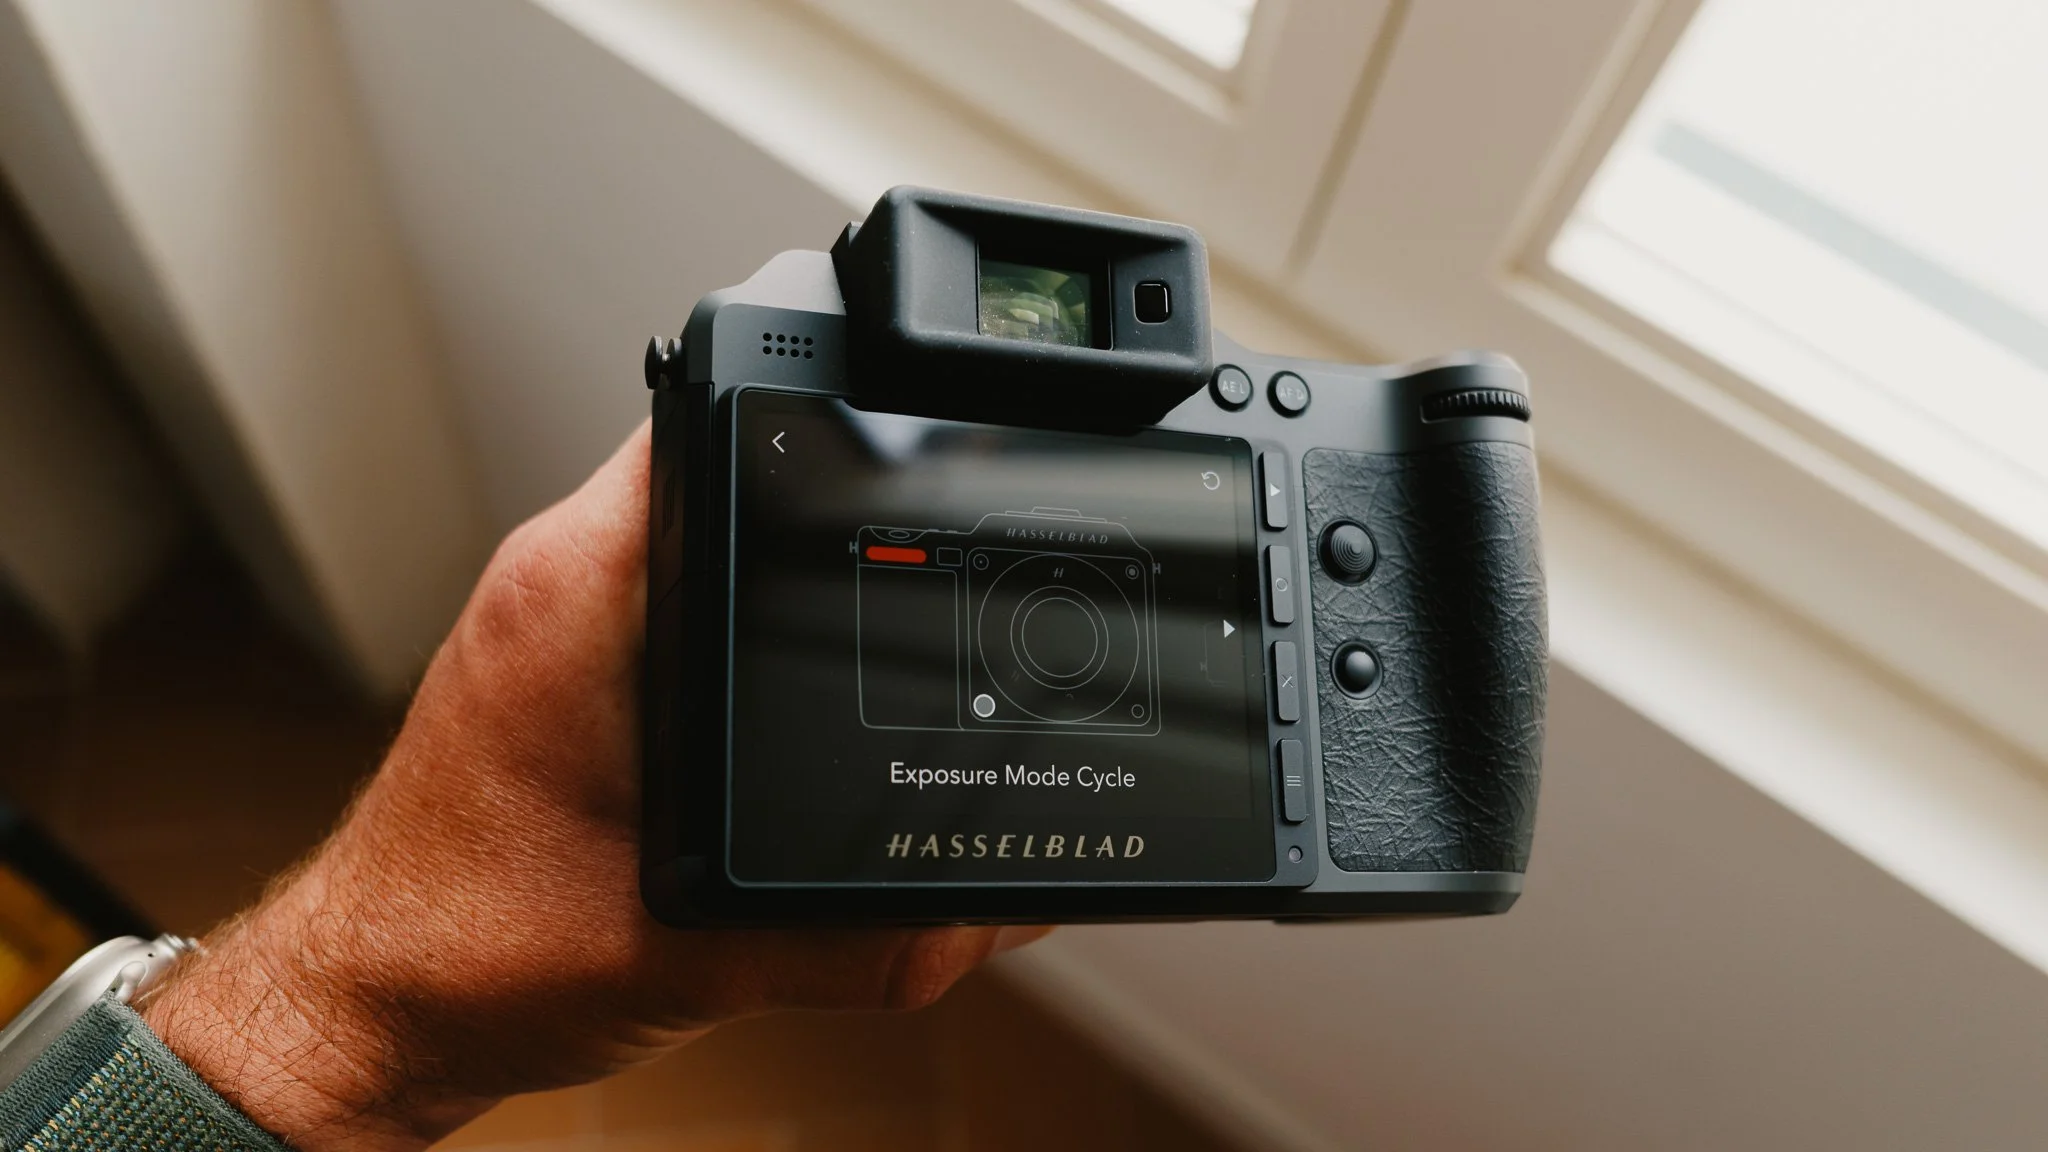
General - Custom Buttons
Front Dial - Exposure Mode Cycle
Front Fn - Crop Mode Cycle
Lens Ring - Shutter Adjust
M Button - Focus Mode Cycle
ISO Button - Arbitrary Tracking On / Off
Rear Dial - Reset Exposure Compensation
Joystick - Reset Focus Point
Rear Fn - Focus Point / Subject Detection
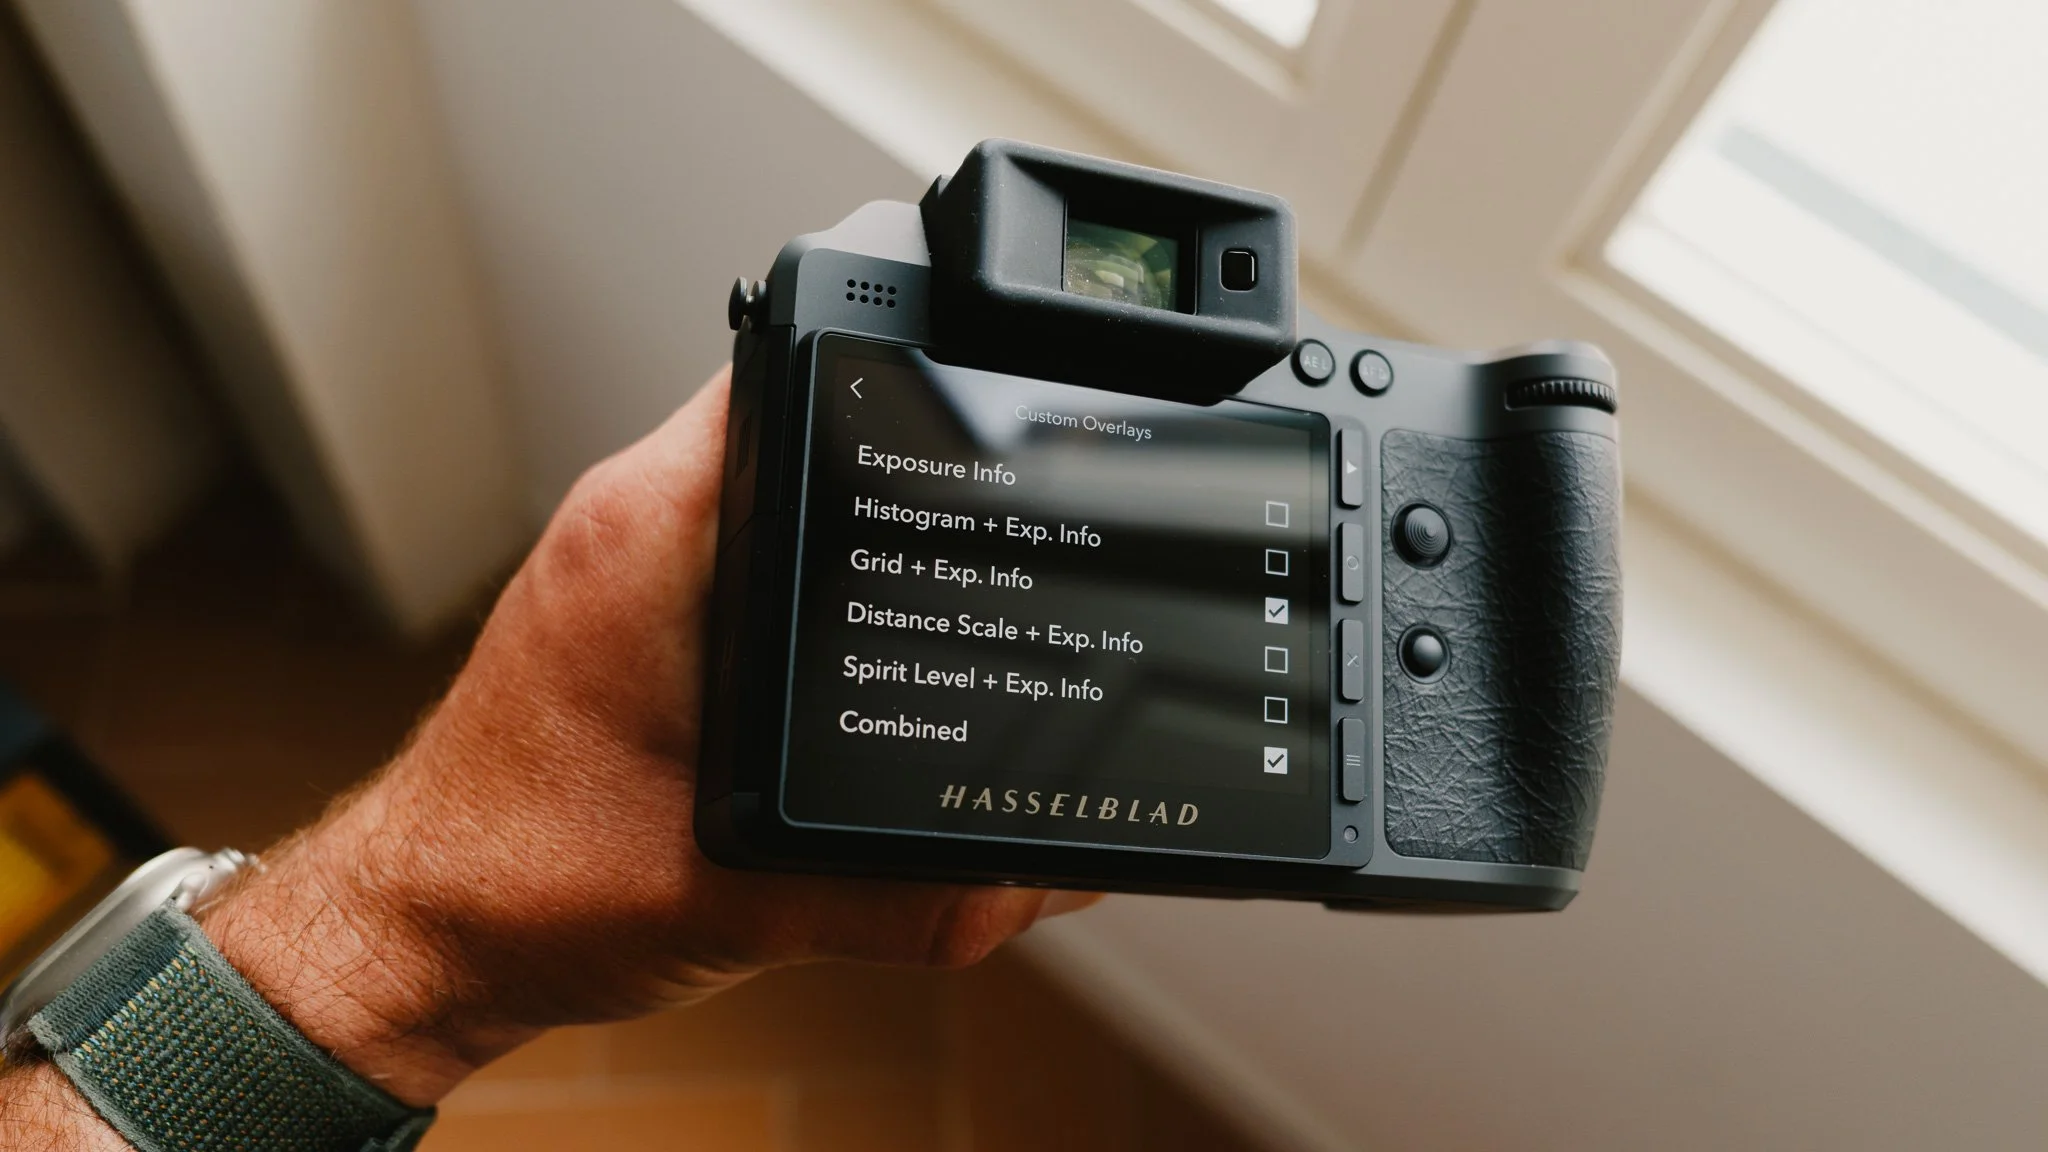
General - Custom Overlays
Grid + Exp Info - On
Combined - On
The Rest - Off
Combined - Grid
How I shoot - General Operation
The first thing I do is turn off the touch screen and vibrations. The touch screen is wonderful, but with the addition of the joystick in the X2Dii, it’s not needed. I also don’t want accidental interactions from the touch screen. The second thing I do is increase the power limits. This includes a five minute time for screen off, and a 30 minute time for power off. If I want to save power between shooting, I just put the camera to sleep by pressing the power button once. This saves battery and ensures the camera boots up instantly the moment I need it. This approach saves time and reduces missed shots.
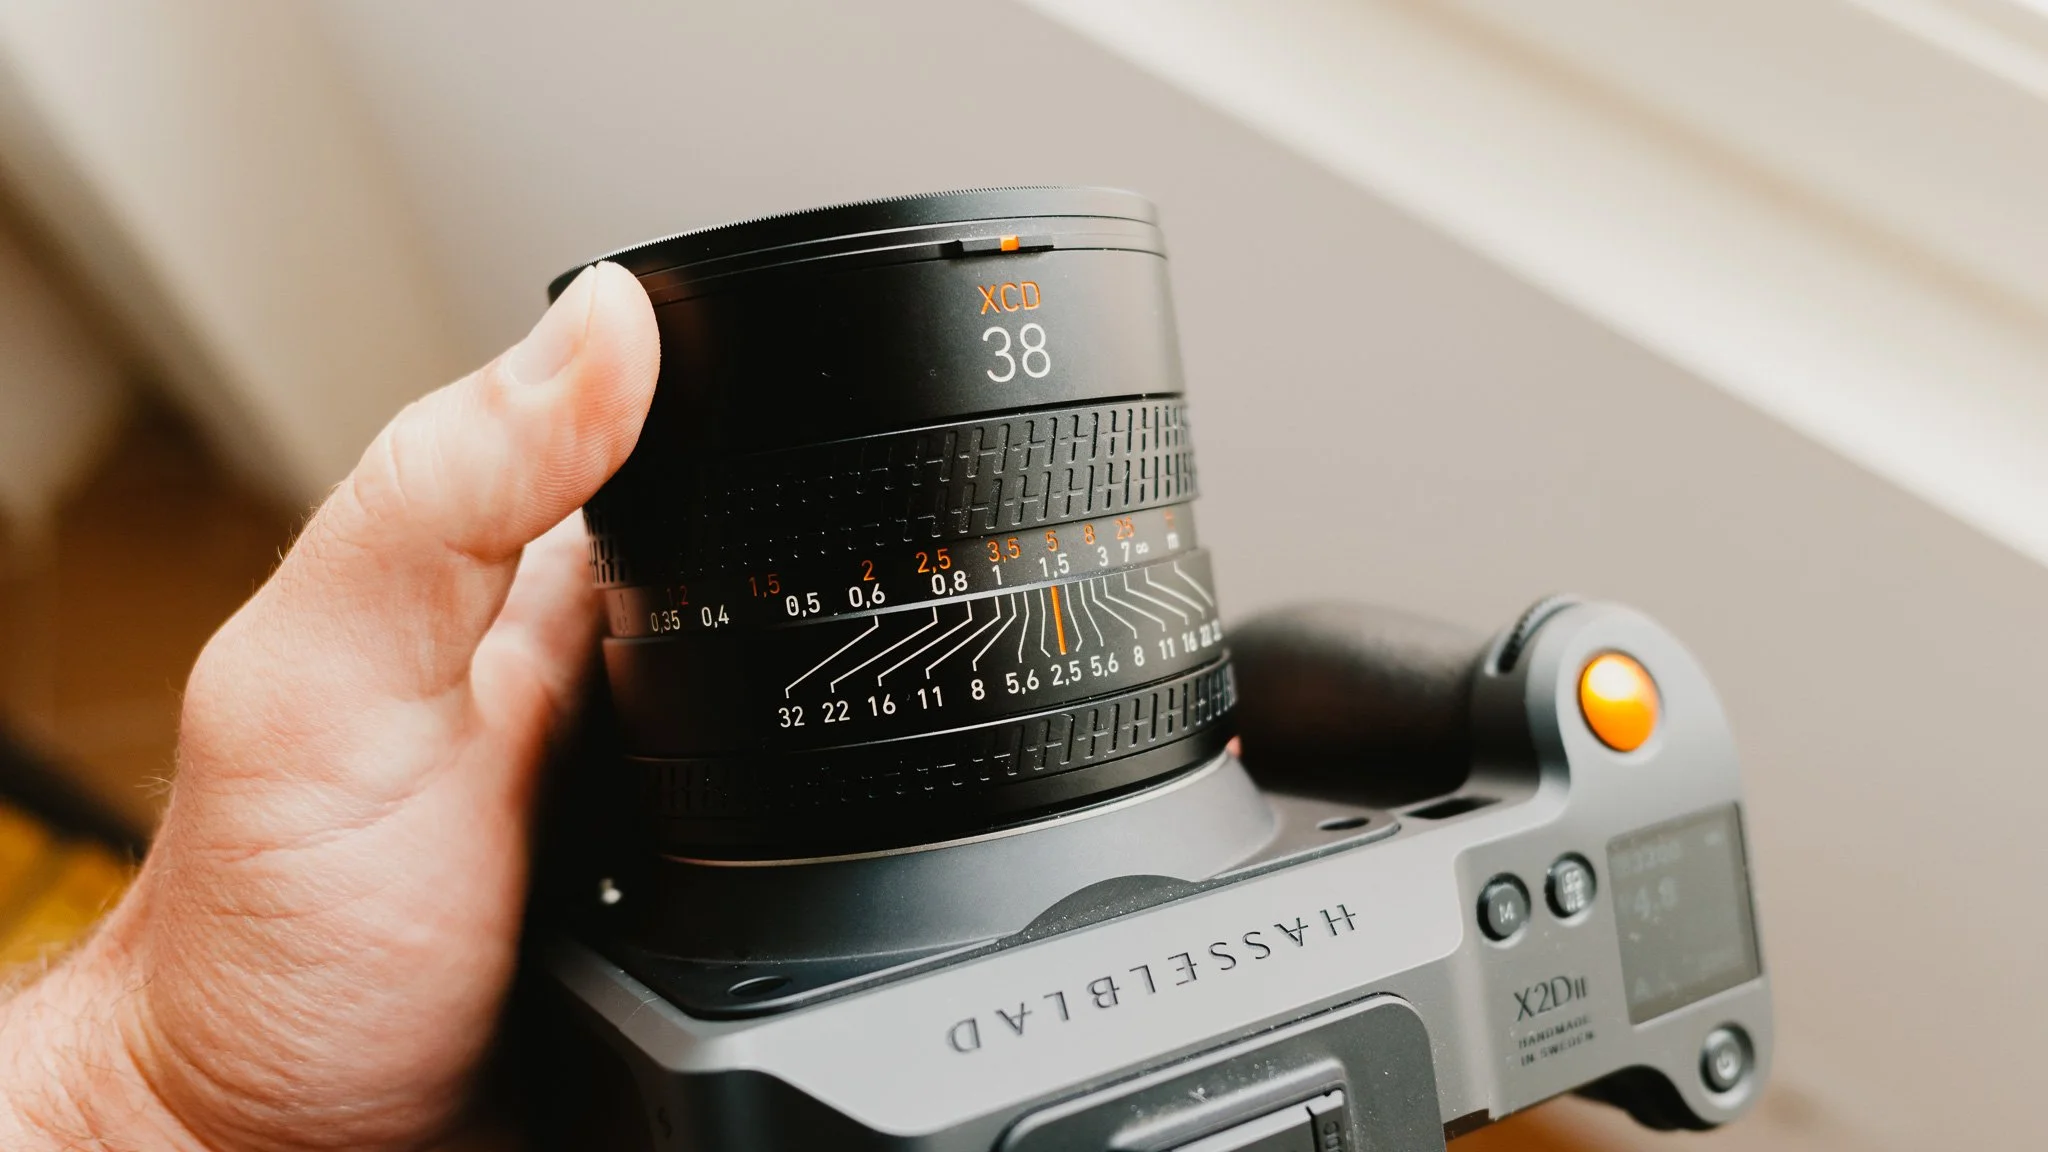
When it comes to crop modes, I use the 3x2 crop with the 38mm prime. This gives me a full frame equivalent feel of view of 35mm with room to crop later.
Finally, I use a 512GB CFexpress card as my primary storage, and the 1TB internal SSD as my backup. At the end of each shoot, once the files are offloaded, I only format the CFexpress card. The SSD is kept as a running backup and gets cleaned once full.
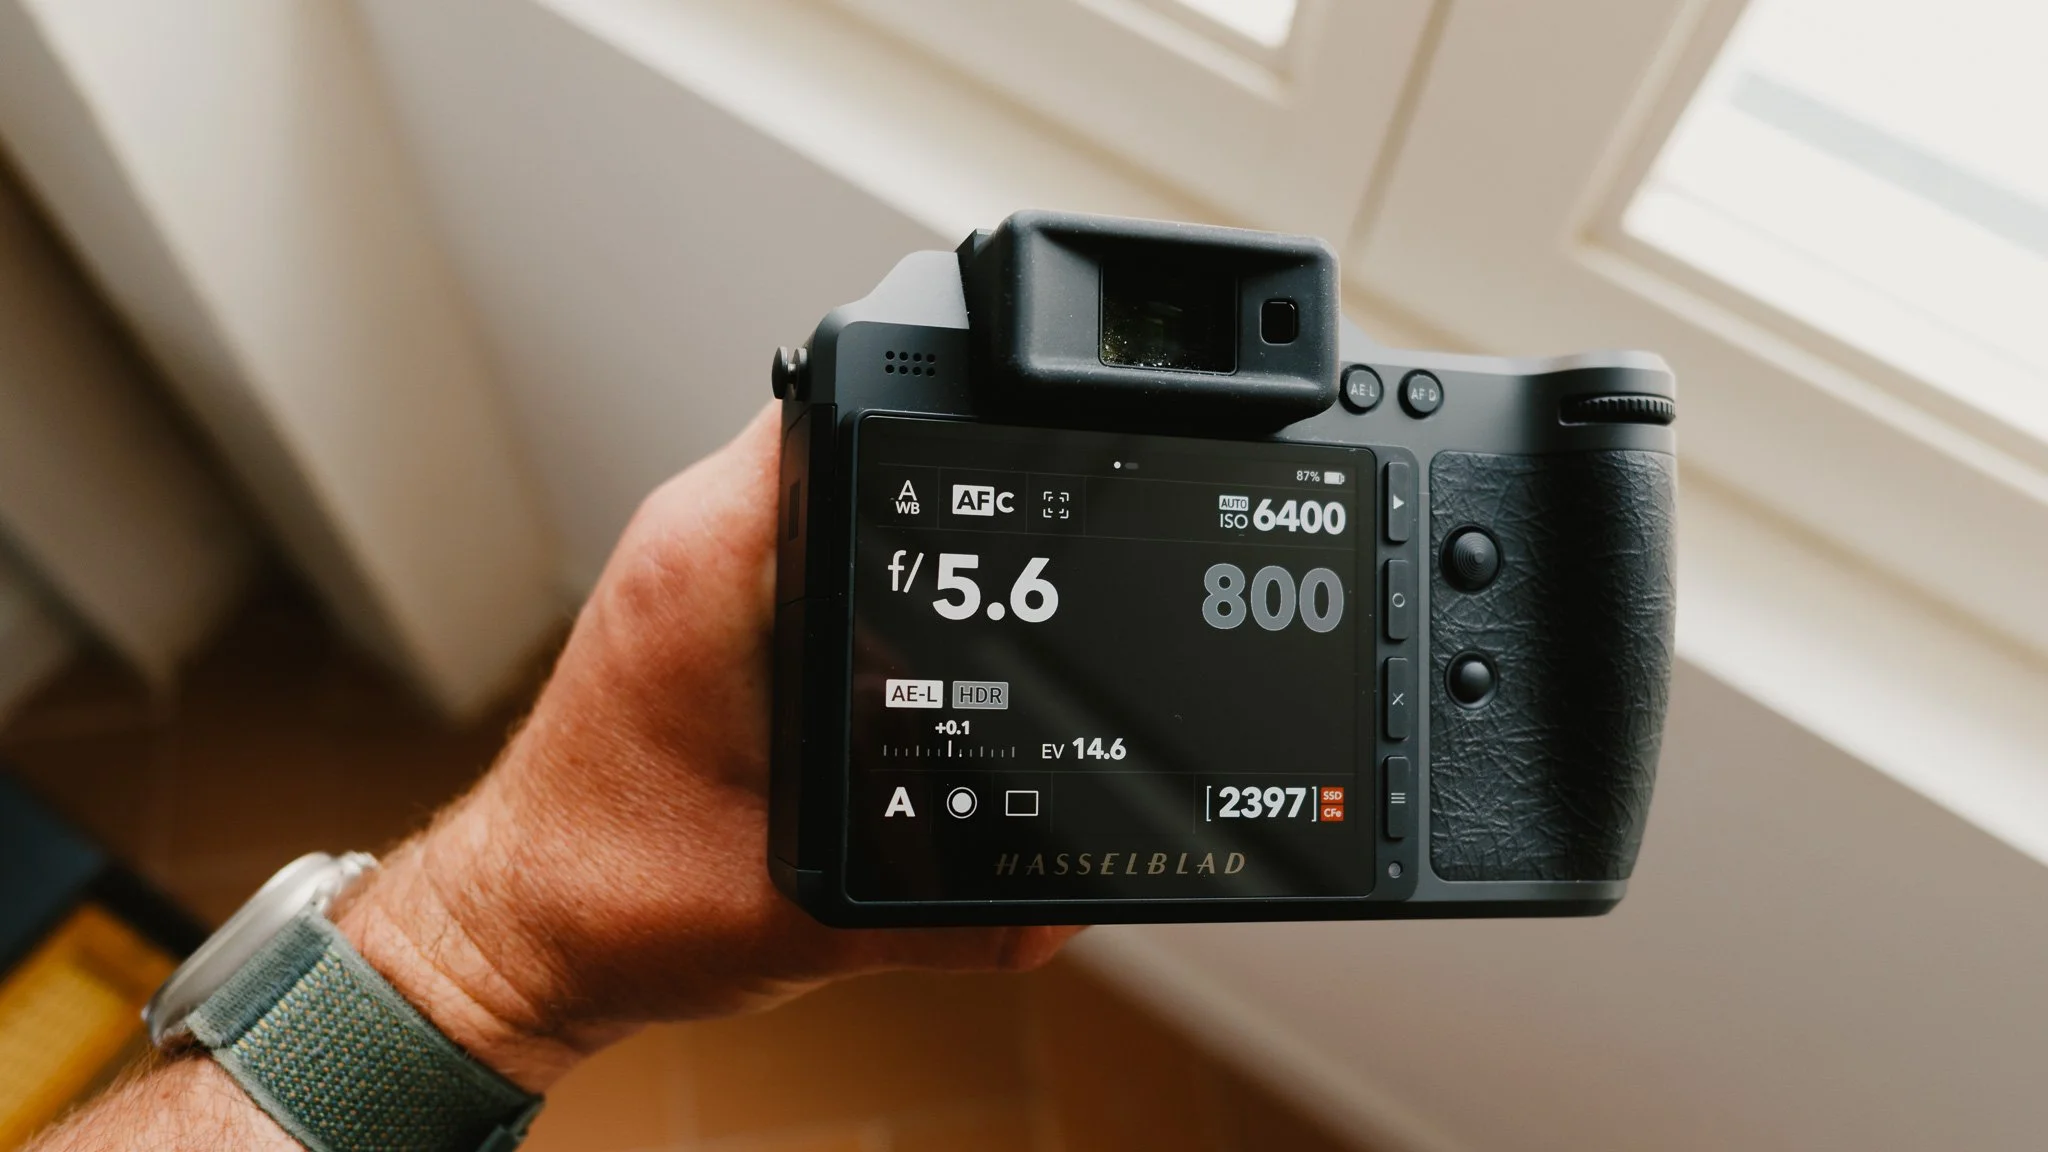
How I shoot - Exposure
I keep exposure simple and spend most of my time in aperture priority mode. I set the minimum shutter speed to 1/500 and the min and max ISO values to 50 and 12800 respectively. The reason for such a high minimum shutter speed is to ensure pin sharp images. The more resolution you have, the more motion blur will be visible, so I’d rather avoid it. The reason for such a high ISO value is due to this sensor being excellent at handling noise.
When shooting in the daytime, I will typically start at around f/5.6 and adjust as needed. If I need more image separation, f/2.5 will achieve that. If I need everything pin sharp, f/11 and above is where I go. If I want a nicer balance, then f/5.6 to f/8 is a good place to be. I leave exposure metering on centre, and seldom move the exposure value unless it’s clearly wrong. I would slightly underexpose if the highlights look too bright.
If I am shooting in low light, or I want greater shutter speed control, I switch to shutter priority mode. At night, I need to ensure the shutter remains locked, and the only way to do that is to shoot in shutter priority mode. I will usually shoot around 1/125 at night, but it depends on the lens. A longer lens like the 90mm would require a higher shutter speed. It also depends on how steady you are. If I want to get creative, I slow the shutter down to around 1/20 and experiment.

How I shoot - Focusing
I spend most of my time in AFC, which is continuous focus mode, because this is where the camera is the fastest and most reliable. This mode tracks any changes in distance and automatically adjusts the focus if needed, however even for still life I use this mode because it’s so much faster. The only time I switch back to AFS, which is single autofocus, is when I am shooting landscapes, still life, need 100% precision, or need to focus and recompose.

When shooting in AFC, if I need to quickly lock the focus, I will slide the manual focus dial on the lens to enable manual focus mode. This allows me to fine tune the focus and lock it. This also overrides any AF mode.
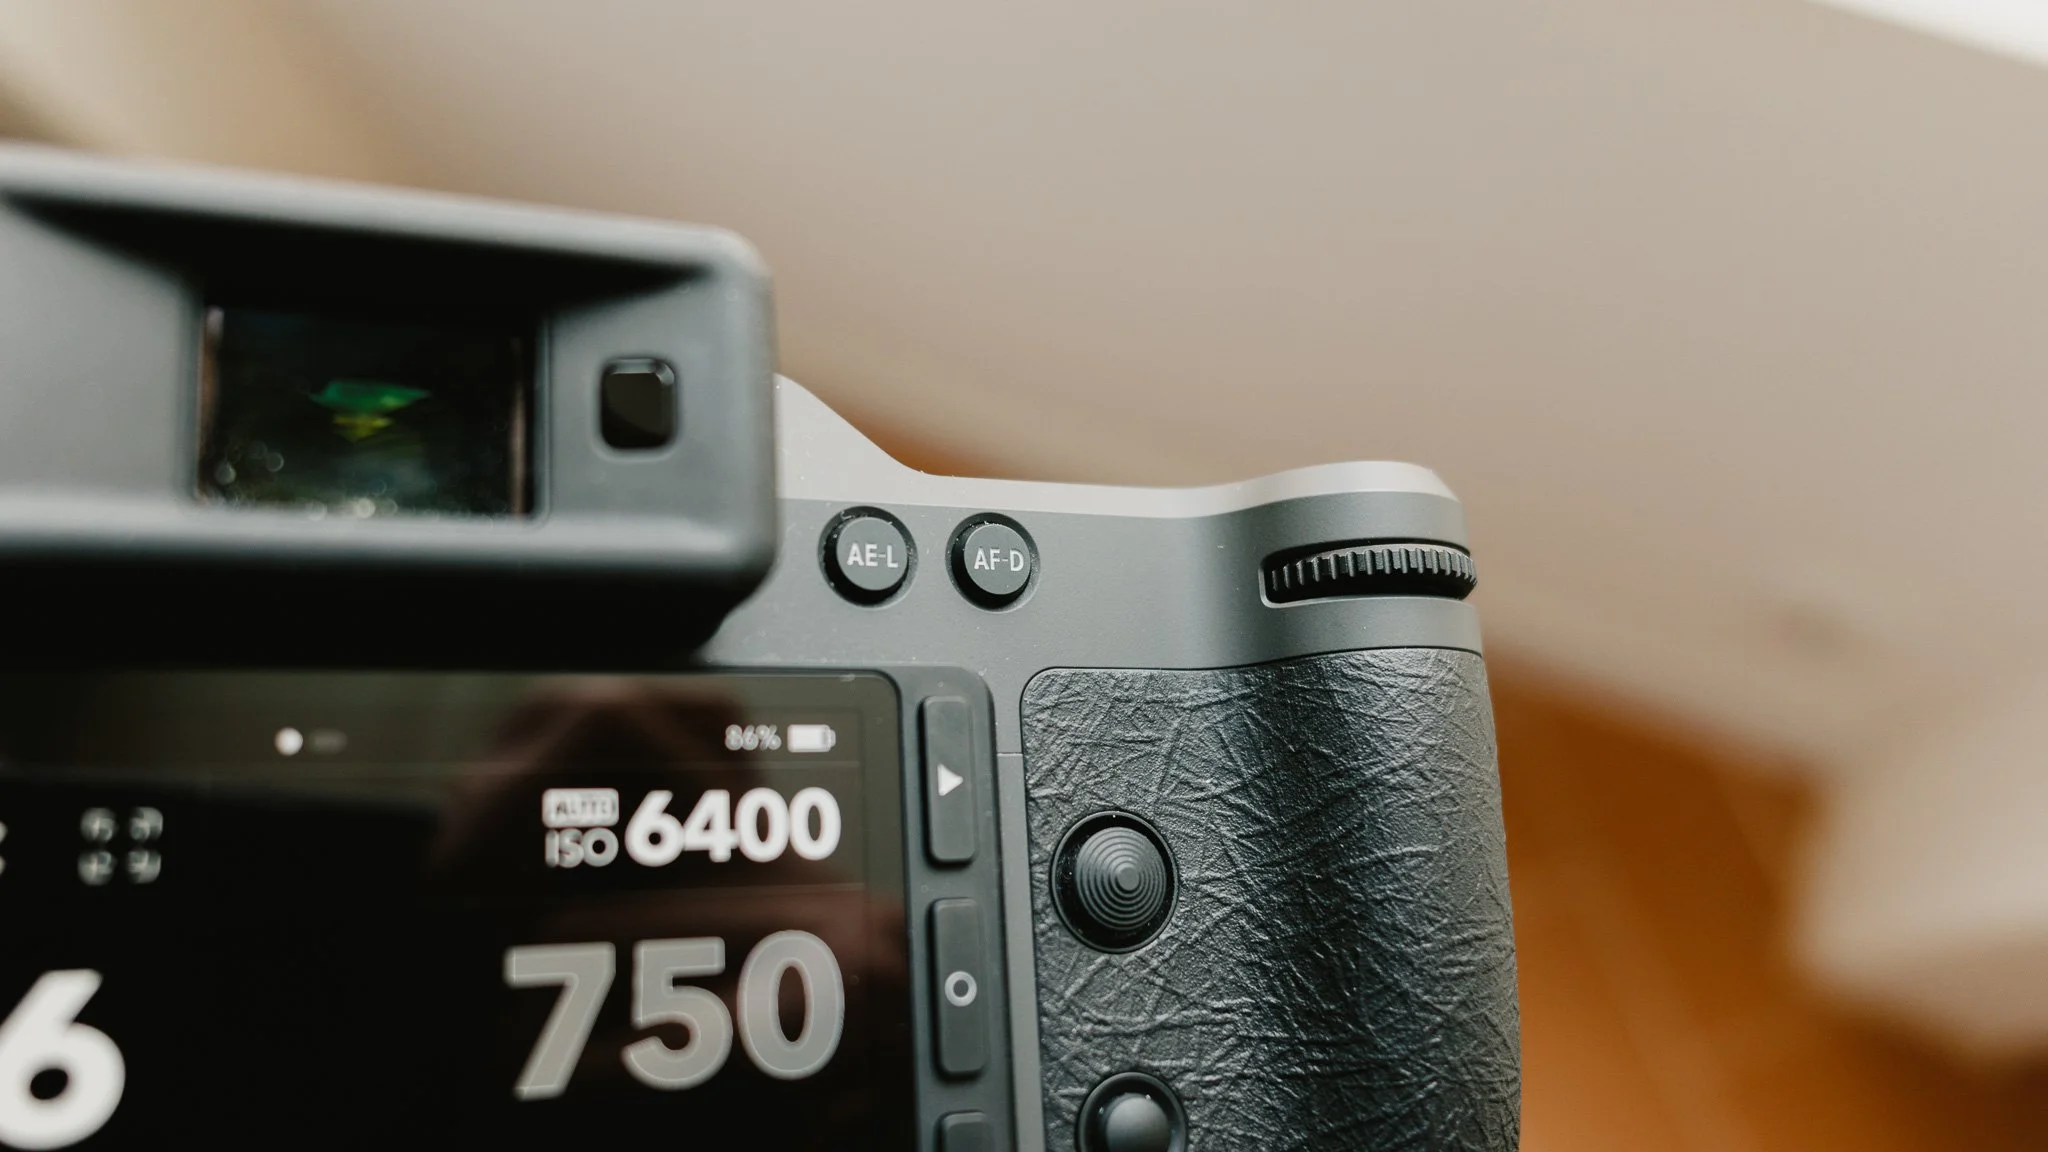
Another way I focus is to enable manual focusing in camera, not on the lens, and then use the rear AF-D button to acquire focus. This removes focus from the shutter button and effectively enables back button focusing. I don’t do this too often, but it’s a nice feature to have.
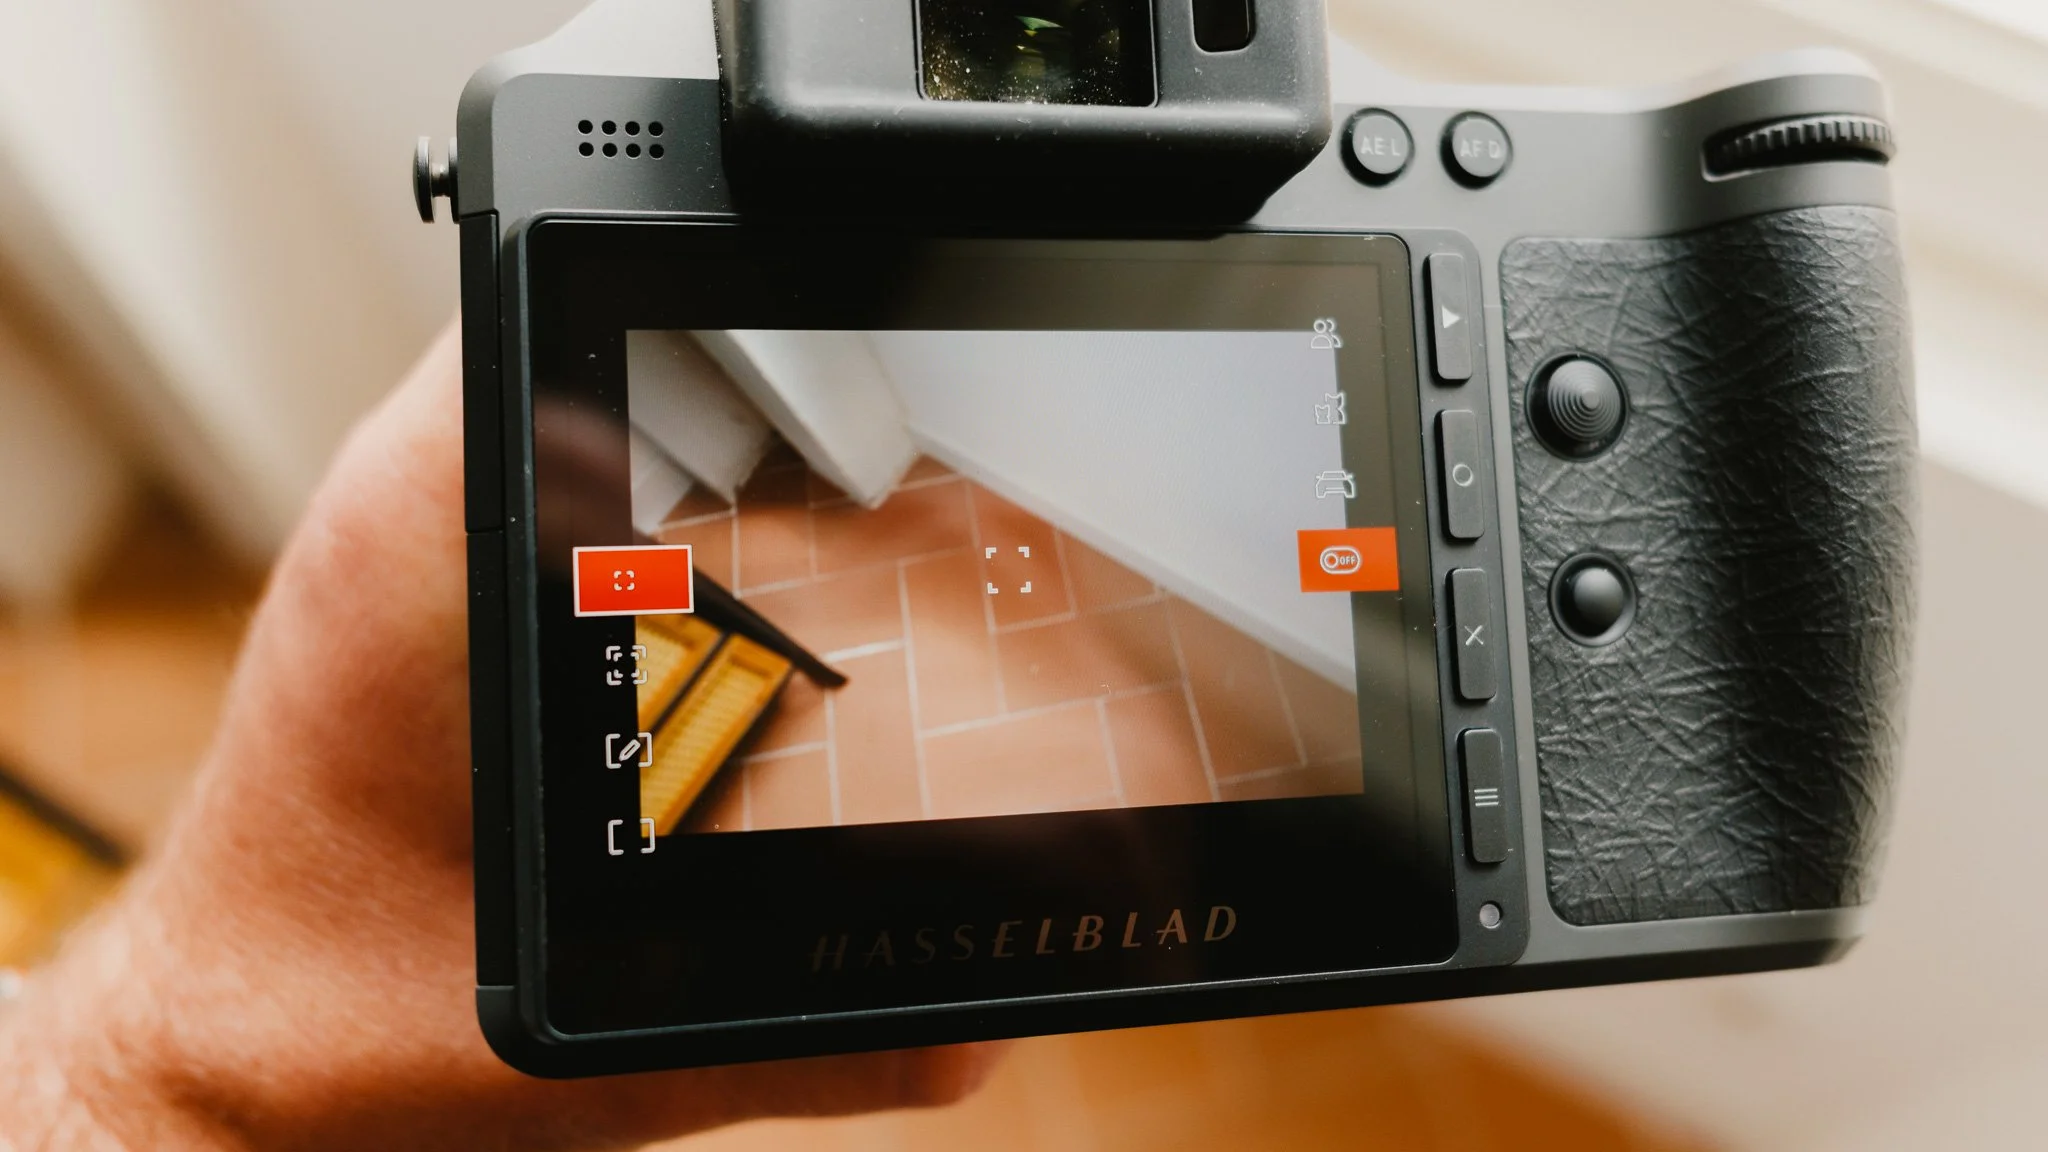
When it comes to AF modes, I usually shoot in the expanding focus mode which is a single point with a larger square around it. This is a good balance between accuracy and speed. This mode is also the one that works with tracking. When tracking is enabled, I can half press to lock onto a subject, and the camera will track it around the screen. This works very well and is great for tracking moving subjects.
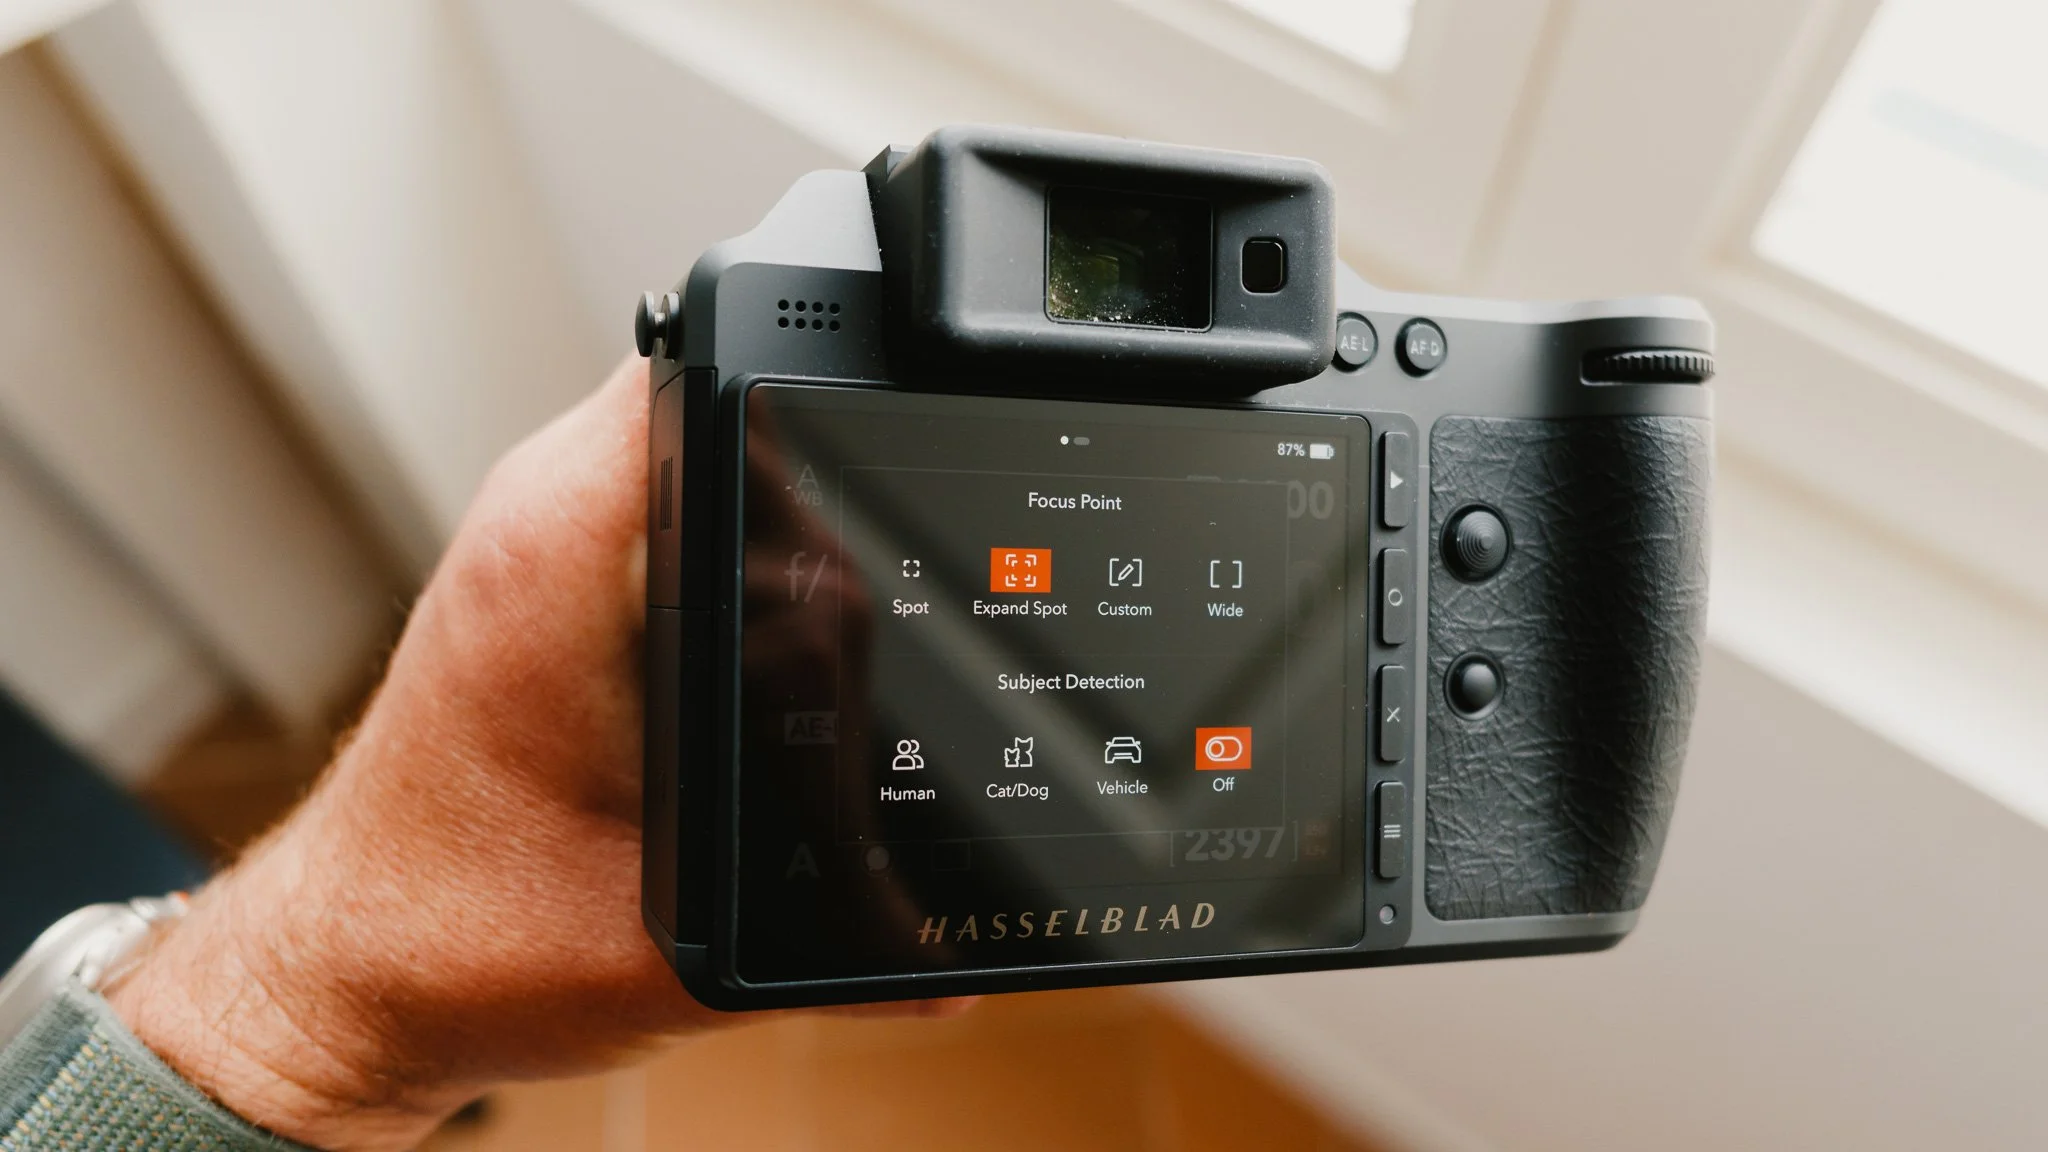
The other two AF modes I use include a single point and a larger zone. I customise the zone to take up a large portion of the middle of the frame and use it for more sporadic shooting scenarios. The single point AF mode is great when used with AFS for very precise focusing. Zone for speed, and single point for accuracy.