
DJI Osmo Action 5 Pro Settings (Vlogging & Photography POV)
In this blog, I will share the video settings I use on the DJI Osmo Action 5 Pro for vlogging and general POV travel and photography videos. These settings are specifically for the mentioned use cases, so if you plan on shooting underwater or capturing action sports, these might not be the most optimum settings.

Resolution, Frame Rate, FOV, & Stabilisation
The first set of settings can be accessed by swiping up from the bottom.
Resolution - I use 4K by default as I want the best image quality.
Aspect Ratio - I use 16:9 if I am filming for YouTube and then simply turn the camera into vertical orientation if I am filming for social media. If I am not sure where I will use the clip, or need to use it for both horizontal and vertical, I will film in 4:3.
Frame Rate - I use 25fps for most of my footage but sometimes will go to 50fps if I want that look. I change to 24 / 30 / 60fps if I am filming in America, Japan, or any 60hz country. This avoids flickering issues.
FOV - I set this to Standard (Dewarp) because I don’t want that fish-eye action cam look for most of my vlog-style footage.
Stabilisation - I set this to Horizon Balancing for most of my standard vlog-type stuff. I will change it to Rock Steady for scenarios where I want a wider FOV, a more natural feel, or if I know the camera will be thrown around a lot.
Video Mode - I leave this as default for my needs.


Pro Video Settings
To access this, press the little settings icon located on the right middle edge of the screen.
Exposure - I set this to auto with a (-0.3) compensation. I find this camera to run brighter thus risking overexposing many scenes. This brings it back to a more neutral exposure. ISO I set to 100-12800.
White Balance - I leave this on auto for most scenarios; however, if I am filming during sunset / sunrise or anywhere with strong temperature shifts, I will lock it in manual to avoid white balance shifting during recording. Exact Kelvin depends on the scene but around 4700 is a good starting point.
Colour - Colour recovery is off because I want the most flat profile possible for grading. Colour is set to D-Log M 10Bit to give me the most gradable file possible.
Adjustment - Here I set both texture and noise reduction to (-2). These adjustments are best saved for editing, and I want the most “raw” footage out of the camera.


Pro Audio Settings
While in this section, let’s quickly look at the few audio settings we have here.
Channel - Stereo
Wind Noise Reduction - Standard

For the next set of settings, swipe down from the top.
Quick Switch Button Settings
To access this, press the QS button. This feature allows you to customise what the side QS (power) button does when the camera is on. This is a very personal setting, and what you select will depend on what modes you value most. I will share my setup, and you can then adjust as needed. The only thing I would say is keep this as minimal as possible; you don’t want every feature here as that defeats the purpose of the quick switch.
Feature - This is set to Switch Between Modes
Shooting Mode - Screen Switch, Photo & Video

Moving to the other settings in the swipe down menu
Lock Horizon - I leave it on because I seldom switch between horizontal and portrait, so I’d rather have it locked.
Full Front Screen Off - This means the front screen will show you the full 16:9 picture and not crop it to fit in. This helps with ensuring the composition is okay.

General Settings
Now let’s delve into a few settings in the general menu (top right icon).
Snapshot - I have this set to video as 99% of my use case for this camera is video.
Single Screen Preview - On
Always On Display - Off
Screen Off When Recording - 5 Min
Built-In Mic Audio Backup - I have this on. Even if you use an external mic, this will record a separate audio track using the internal mic as backup.
Bitrate - High
Sounds - Mute

Photo Settings
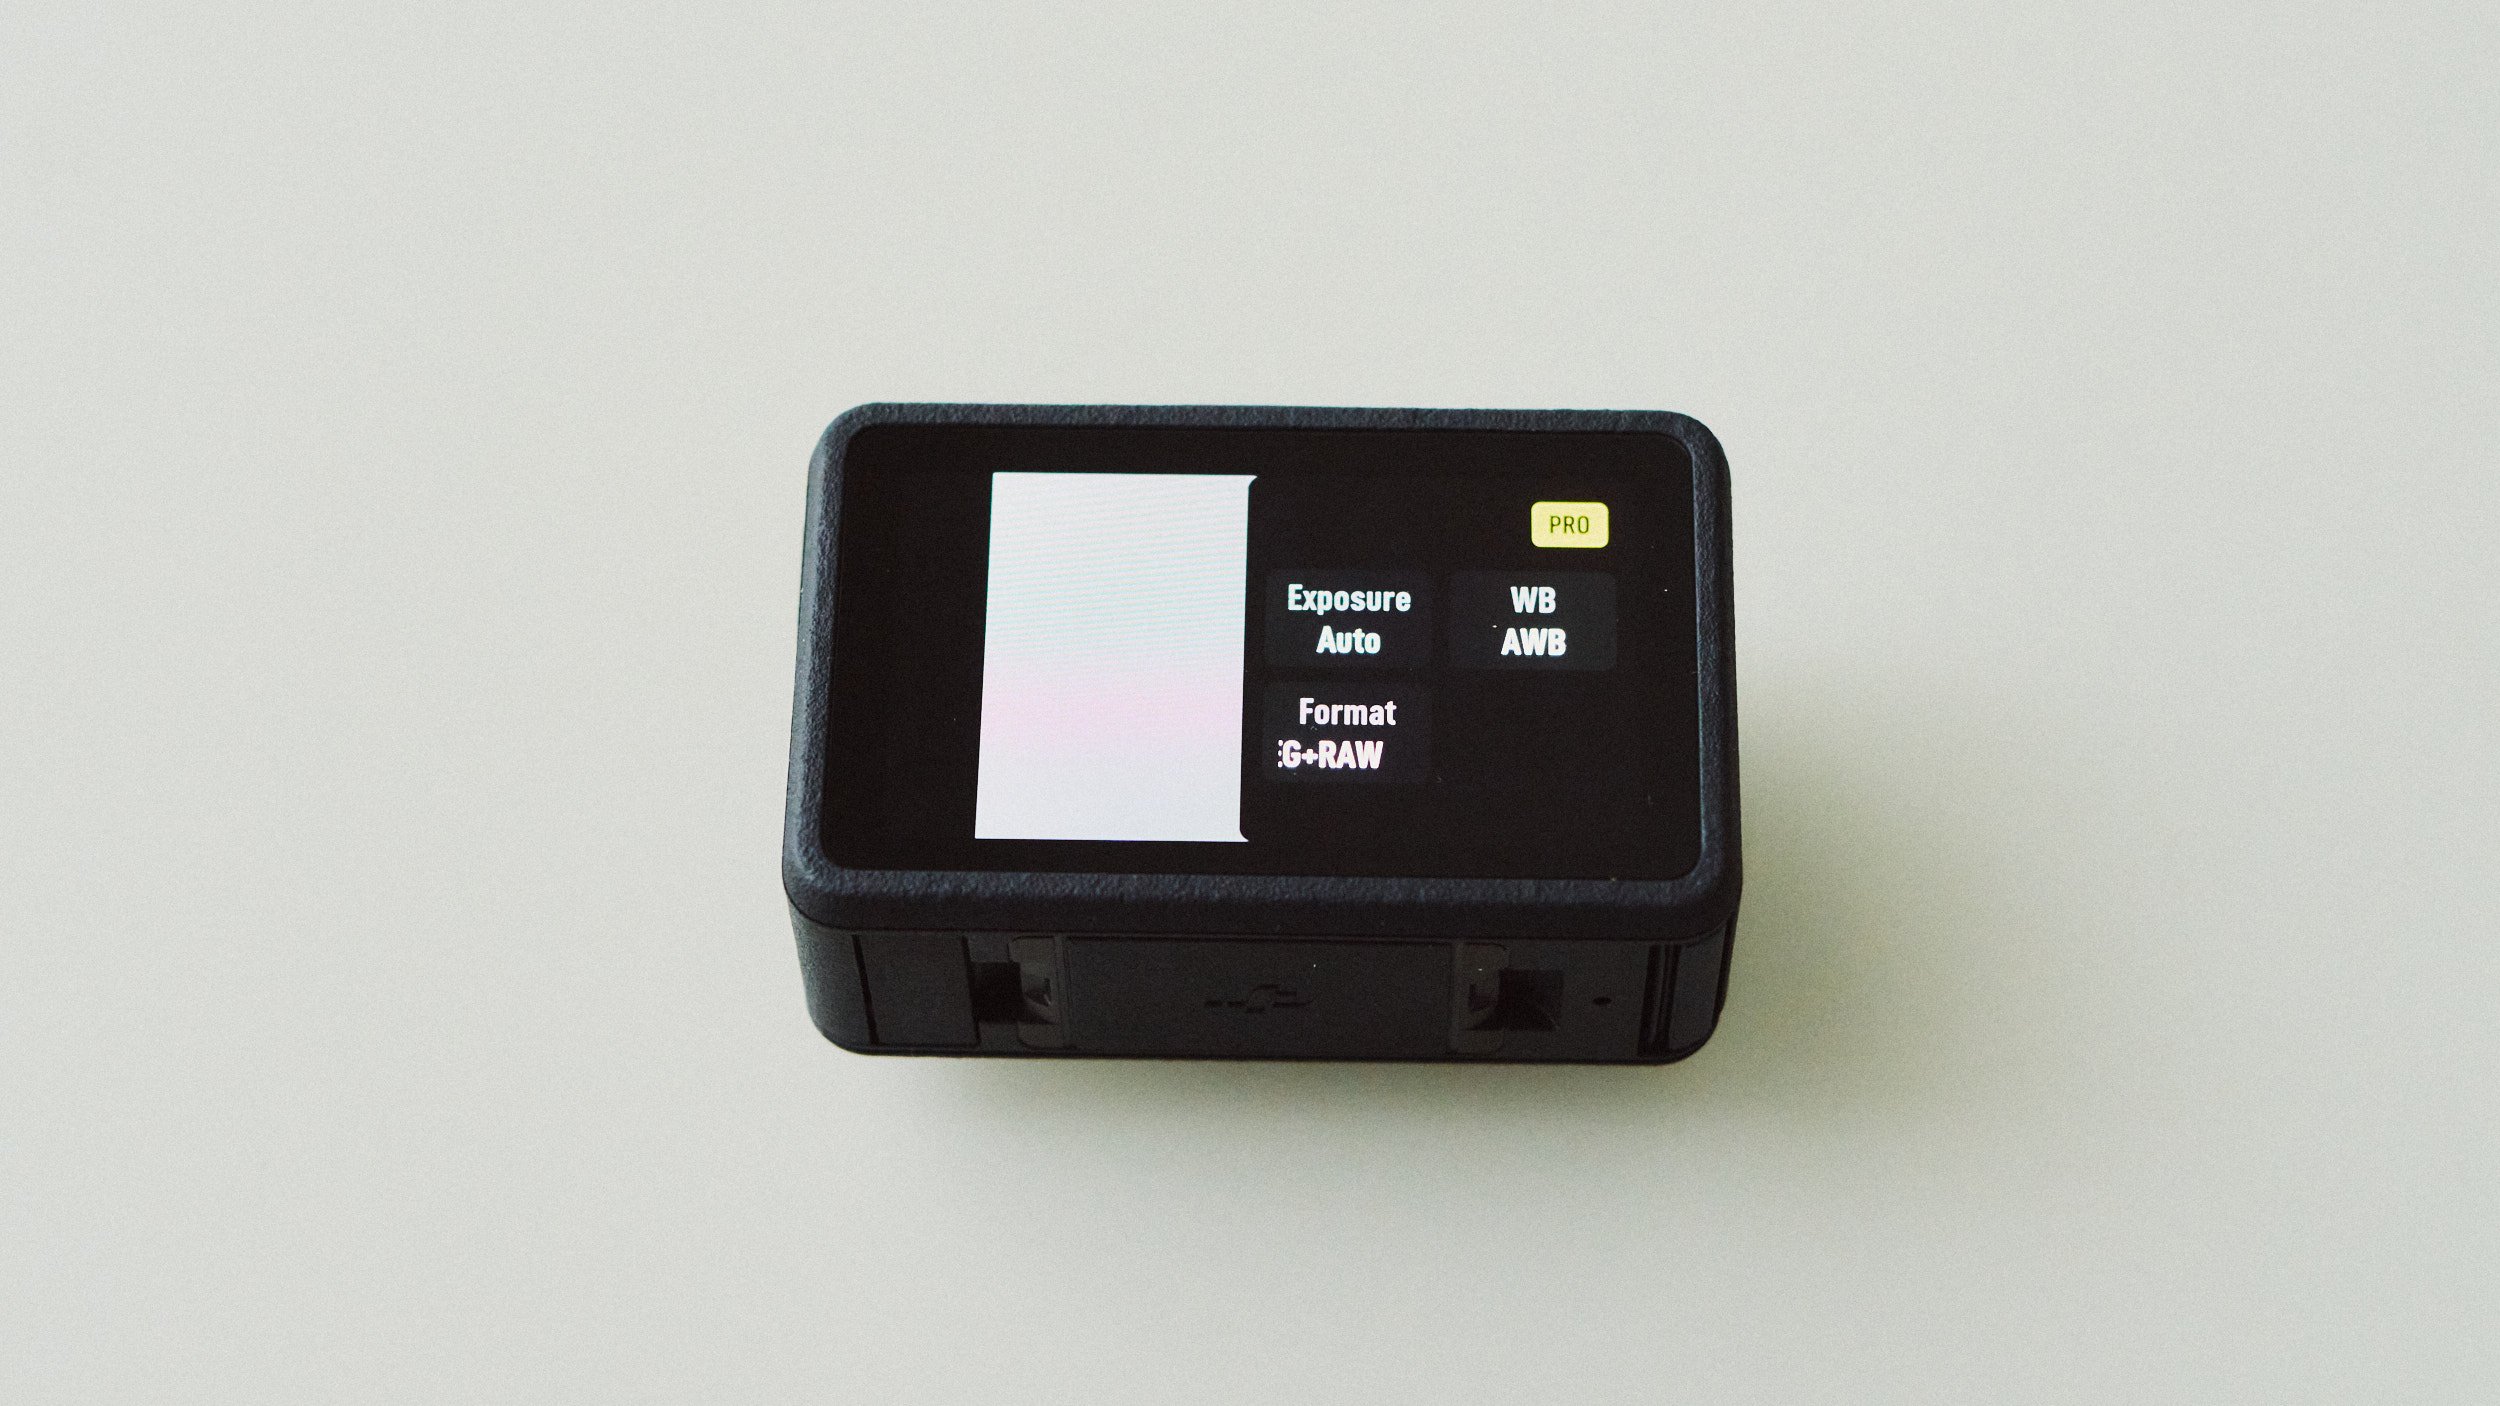
Even though this is primarily a video camera, there are a few photo settings I change.
Exposure - I set this to auto with a (-0.3) compensation. I find this camera to run brighter thus risking overexposing many scenes. This brings it back to a more neutral exposure. ISO I set to 100-12800.
White Balance - I leave this on auto as even if some adjustment is needed, that’s easy to do with a RAW file. The only time I will lock it in manual is if I am doing a Timelapse or a series of photos. Then WB and even exposure will be manually locked.
Format - JPEG + RAW always. I always delete the JPEG and just work with the RAW.
Aspect Ratio - L(4:3)
Focal Length - Standard (Dewarp)















Instead of telling you how these will change your life, I would rather be practical and answer the most common questions that people tend to have when buying presets.
What are presets?
They are editing settings that are saved in a file and can be applied to any image.
Why do people buy presets?
Sometimes because they like the work of the photographer and want that style for their own photos. Mostly because they would like to see how other people edit and learn by reverse engineering the presets. Other times it’s just to support their favourite photographers, thank you!
What’s the overall style of these presets?
- Filmic
- Warm
- Soft
- Bright
What are these presets suitable for?
Street & Travel Photography
Some Nature (with further editing)
Some Portraits (with extensive editing)
Do I actually use these?
Yes. This is the same pack I use right now for all my editing. This isn’t a pack made just to sell.
Do these presets get updated?
Yes, as my style changes, these presets will also be updated. Any time a new update is available, you will get a free update via email. Of course you also keep all the old presets in case you prefer the older looks. Only presets purchased from 2025 onwards will receive the updates.
What file types are these presets for?
- All RAW files
- JPEGs & TIFFs (not recommended)
What camera brands are these presets for?
These were designed around Fujifilm, Sony, and Leica sensors. With that said, they will work with all camera brands. While there might be differences due to individual camera colour science, the overall feel of the preset will carry over.
Will these work with JPEG files?
Yes, but you will need to reduce the intensity and make further edits. I strongly recommend editing RAW files.
Are these one click edits?
95% No. You would need to do some basic adjustments as each image is different. These adjustments can include exposure, colour balance etc. In 5% of cases you can just apply and leave it alone.
Do I need to know how to edit?
You need to have a basic understanding of adjusting exposure, highlights, shadows, etc. A more comprehensive editing skillset will let you get the most out of them.
How many presets are included?
10 in the main pack and 24 in the extras pack
Why two packs?
The main pack is what I use for 99% of my edits and is kept small to reduce wasted time scrolling through presets. The extras pack is everything I don’t use often.
What software do I need?
These presets will work with any of the following:
- Photoshop (adobe camera raw)
- Lightroom Classic
- Lightroom Desktop
- Lightroom Mobile
Will these presets work with free versions of the above software?
You need to research and double check before buying. These presets were designed for the full paid versions.
Will these presets work with very old versions of the above software?
You need to research and double check before buying. These presets were designed on and for the latest software.
What file type do I get?
XMP
What else do I get?
- Comprehensive PDF guide
Can I modify these and turn them into my own?
Yes! In fact I encourage you to modify them and play around. Use these to help you get your own style.
I have more questions…. What do I do?
Make a cup of tea and drop me an email on hello@snapsbyfox.com
Please note that due to the nature of digital products, refunds are generally not accepted. However, if you experience any issues, feel free to contact me and I’ll review your situation individually. You are welcome to use this product for personal or commercial projects, but you may not copy, distribute, or resell the files in their original or modified form.
Finally I want to say a massive thank you for supporting me. Buying these presets is the most direct way you can support my work.
Thank you!