
28mm / 35mm Lens - How To Get Better Shots
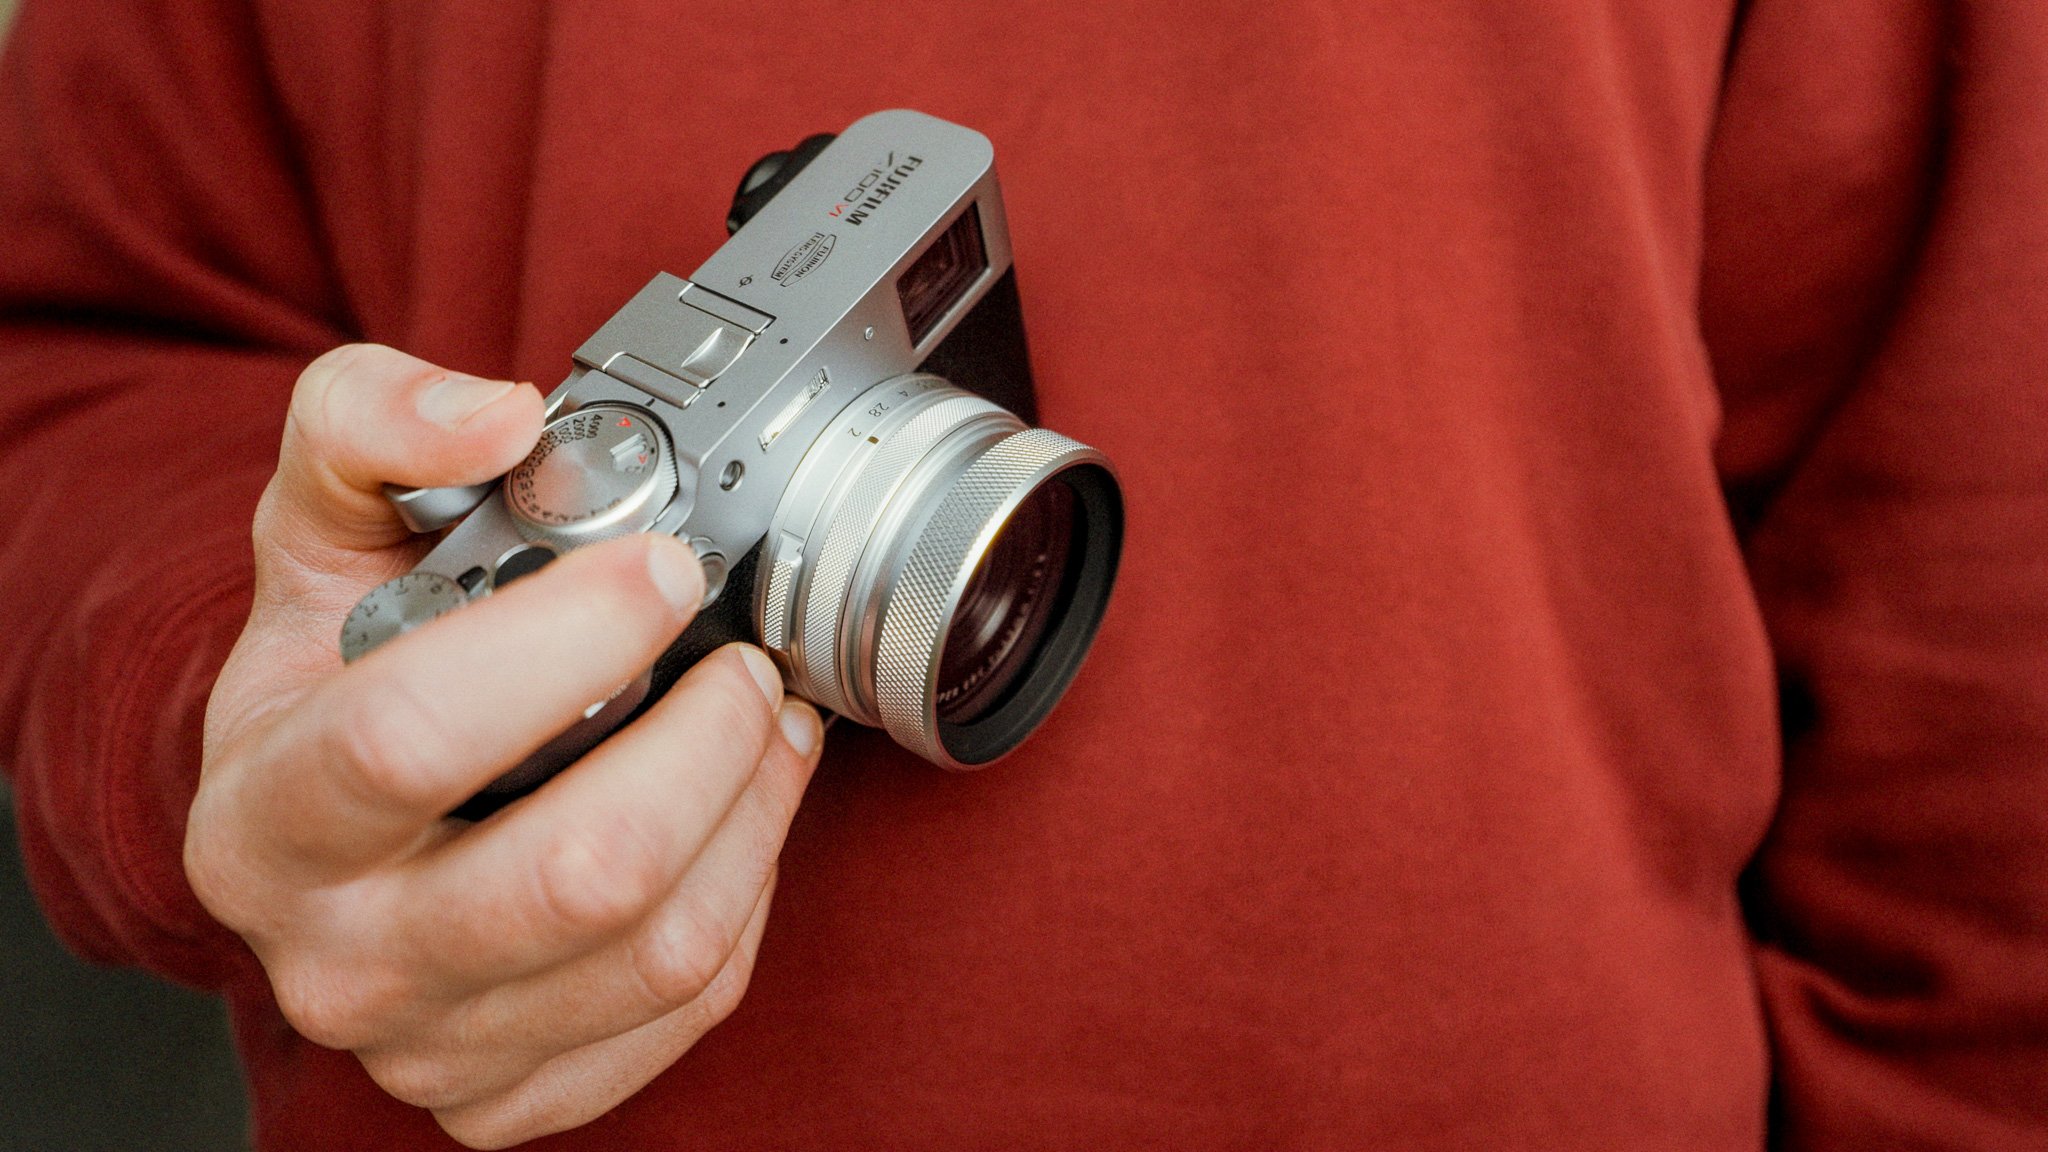
In this blog, I will share my tips for getting the most out of your wide-angle lens. Specifically, I am talking about the two most common focal lengths: 28mm and 35mm. Although there is a difference between them, the principles are the same.
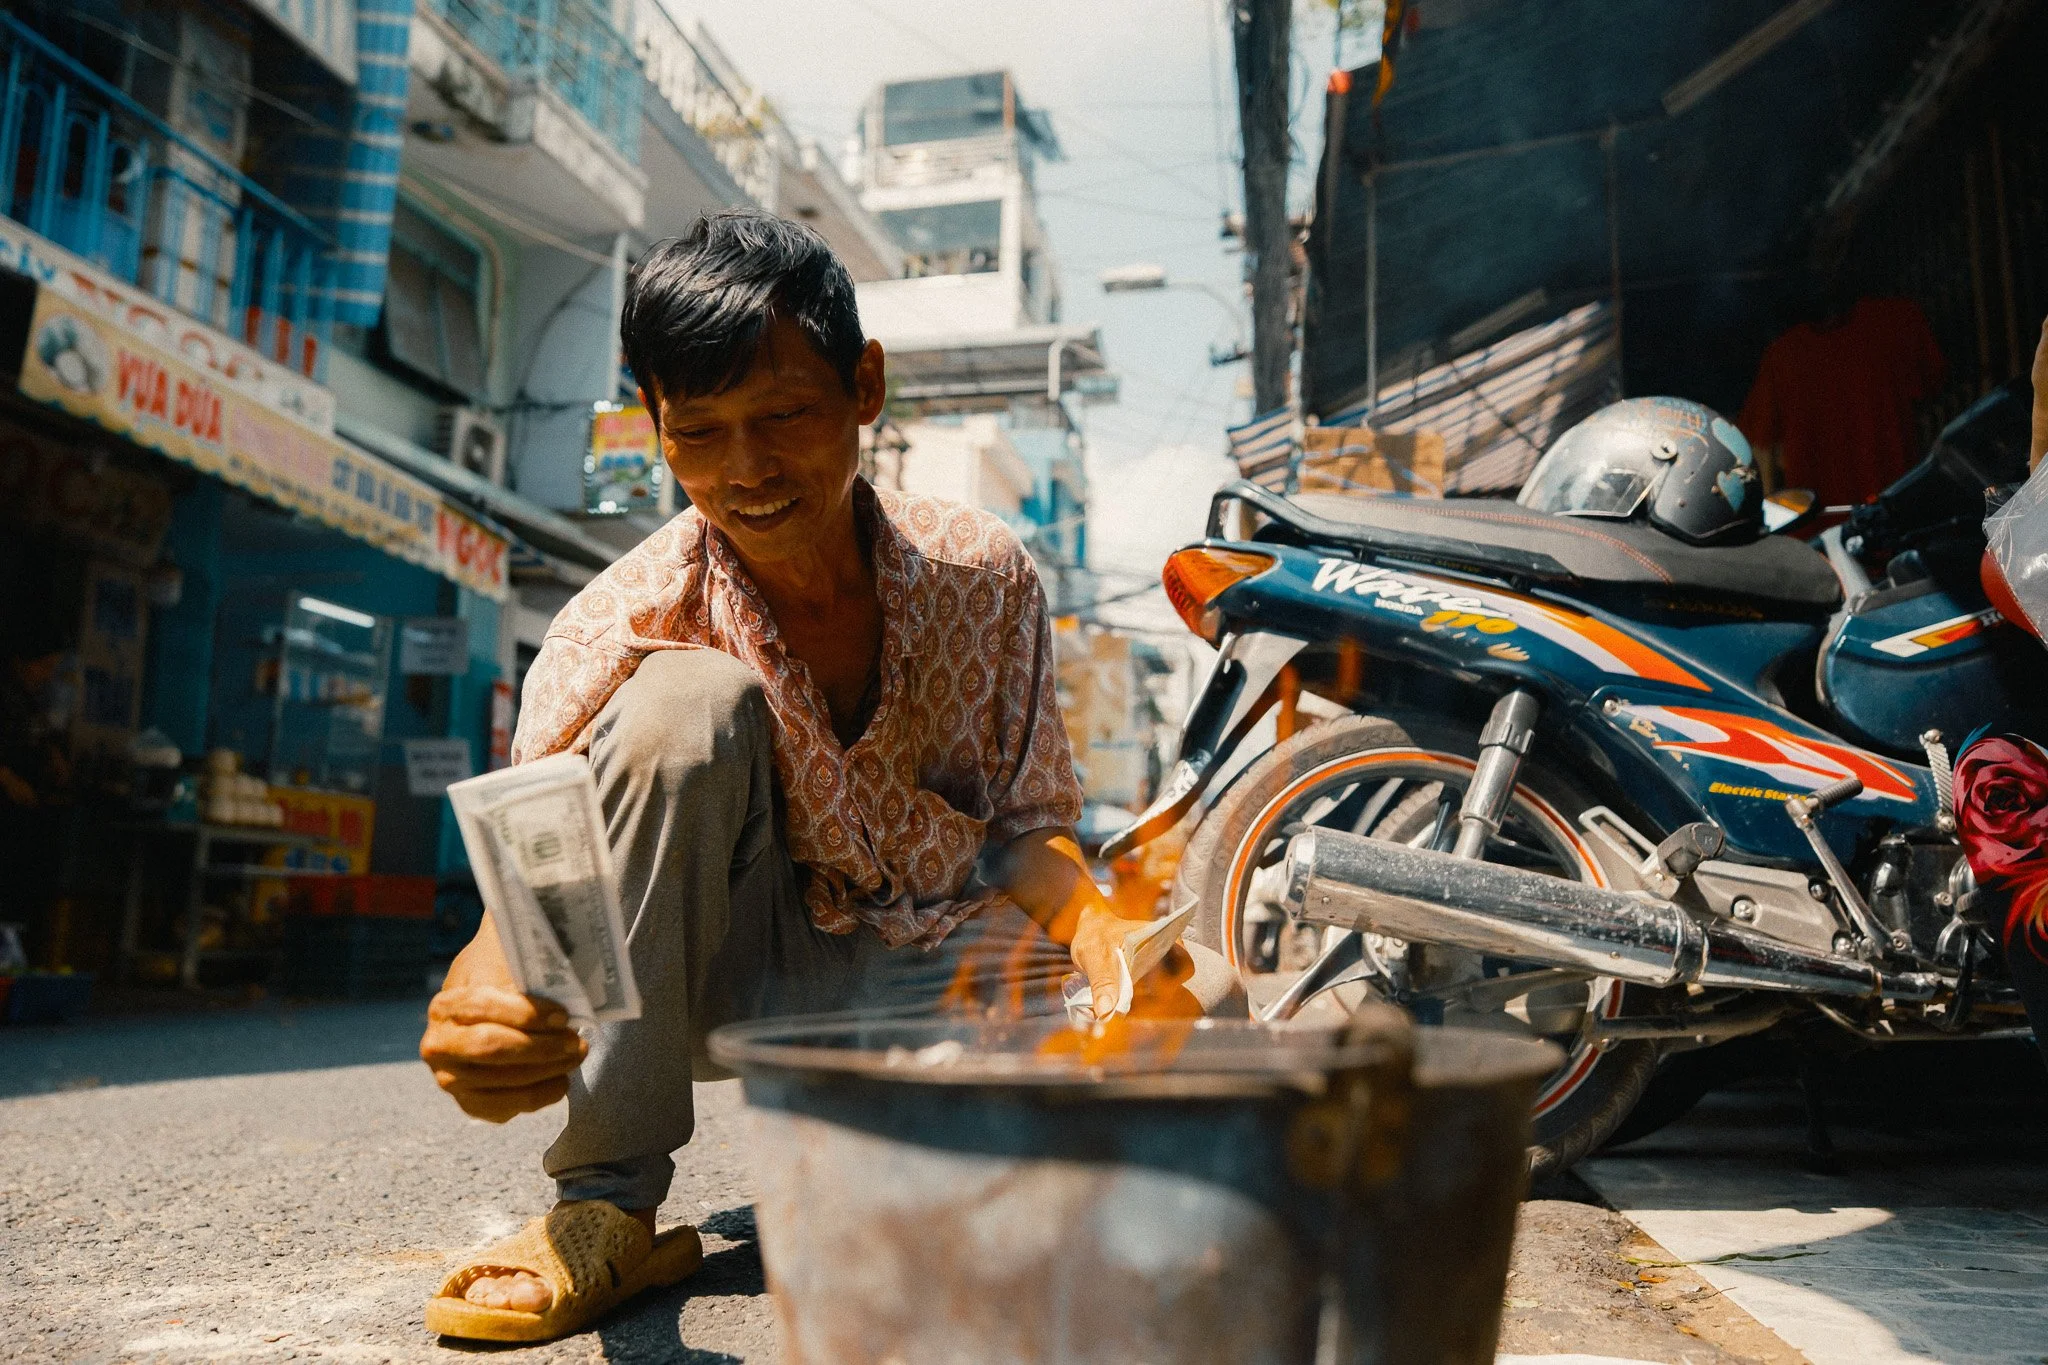
Get Closer
There is a famous saying that if your photos aren’t good enough, you’re not close enough. I think this depends entirely on the situation, and I wouldn’t necessarily use it as a blanket statement. On the whole, however, there is some truth to it.
When you’re shooting wide, you physically need to get close to your subject, whether it’s a street scene, a person, or a landscape.
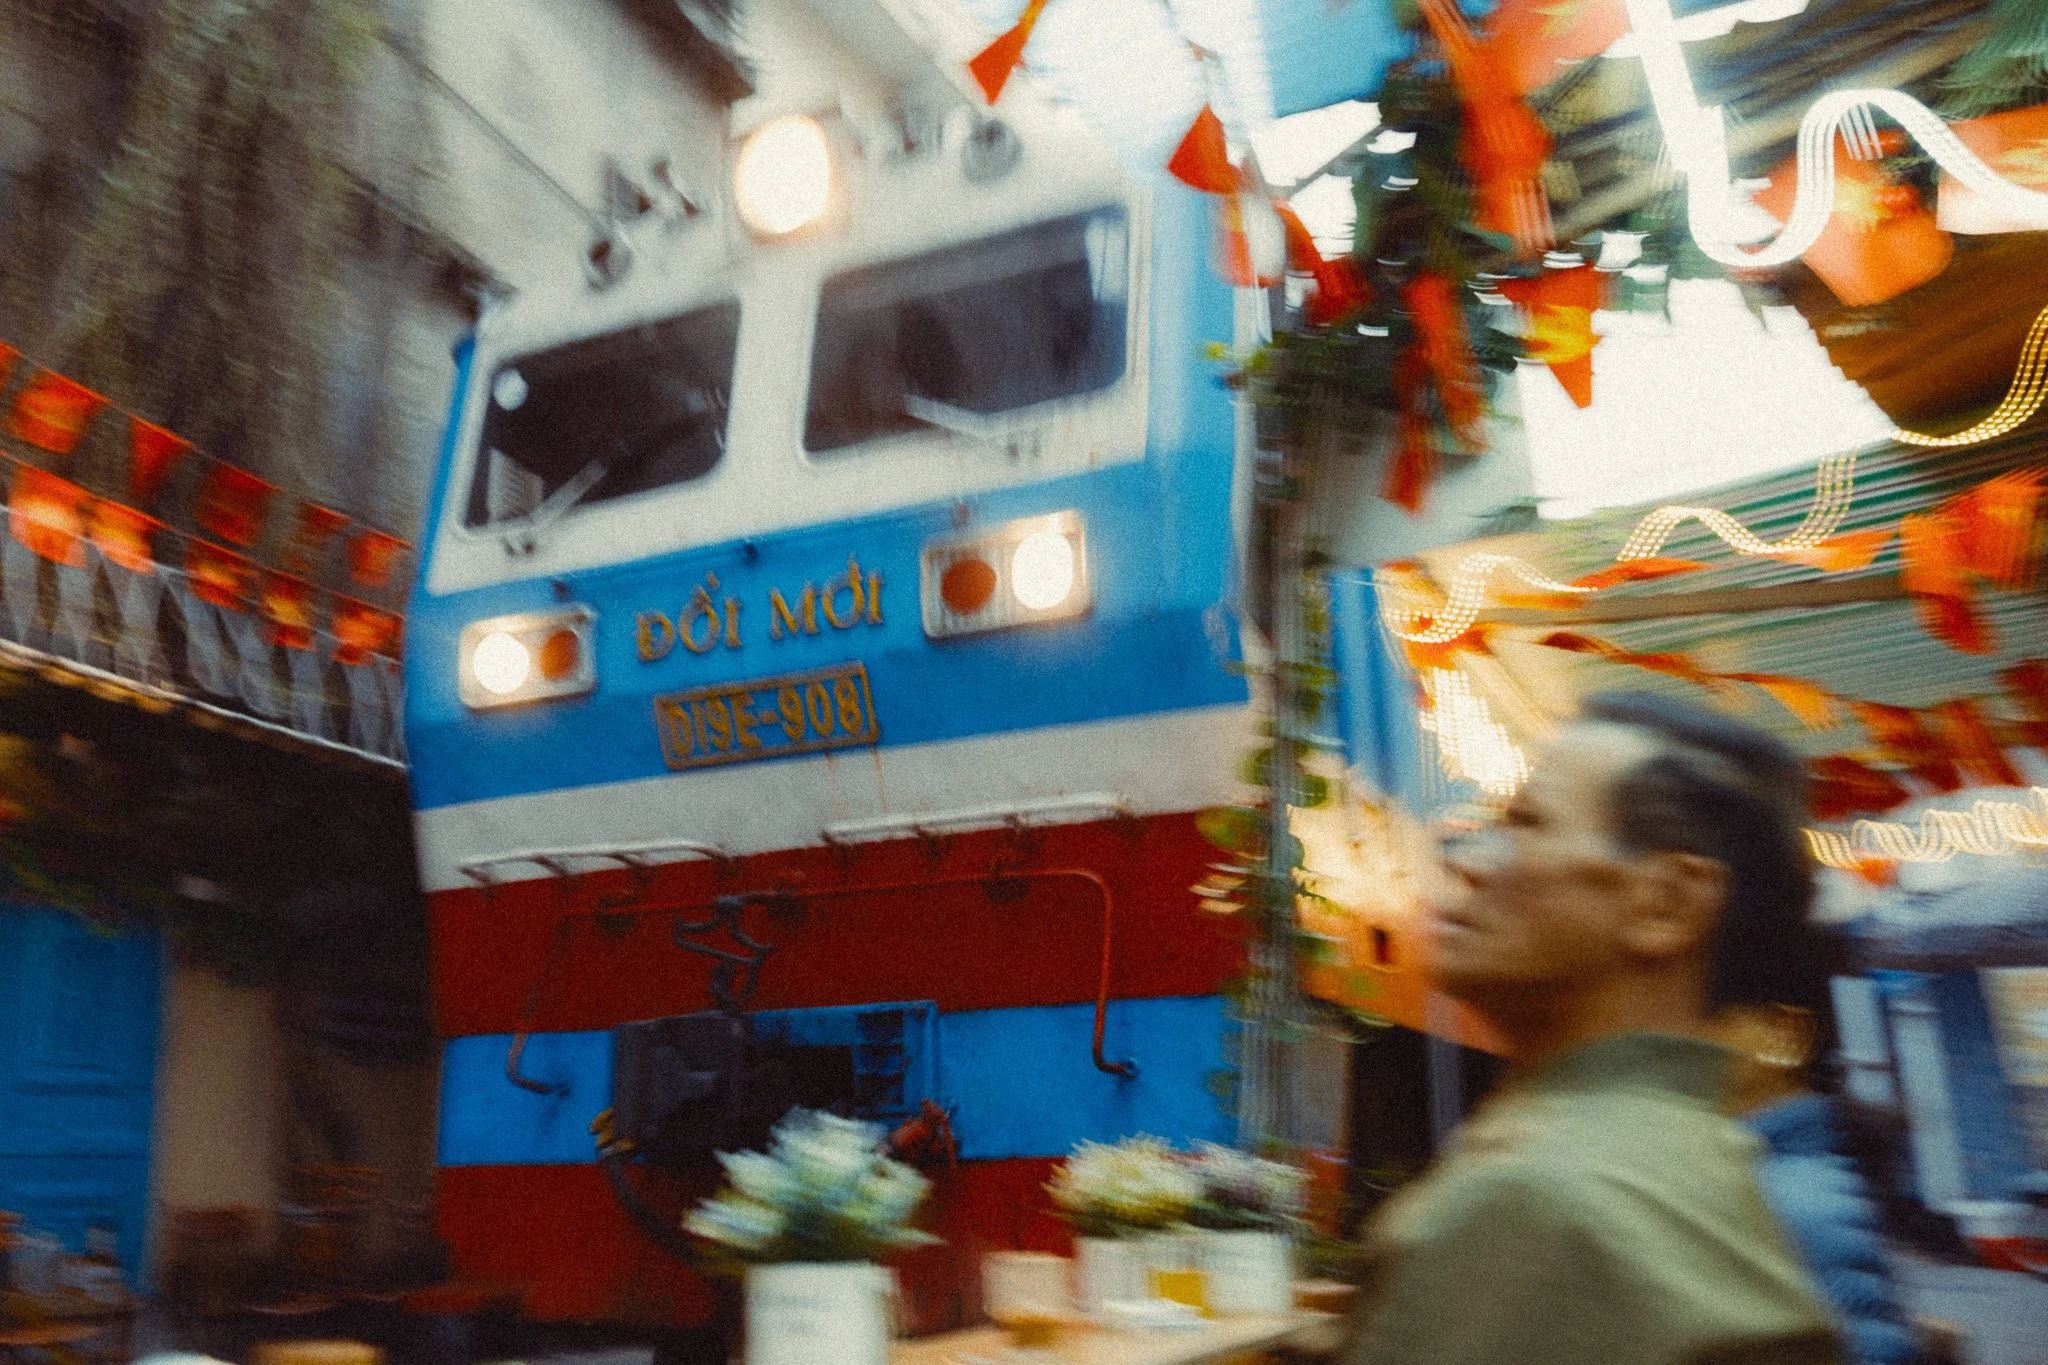
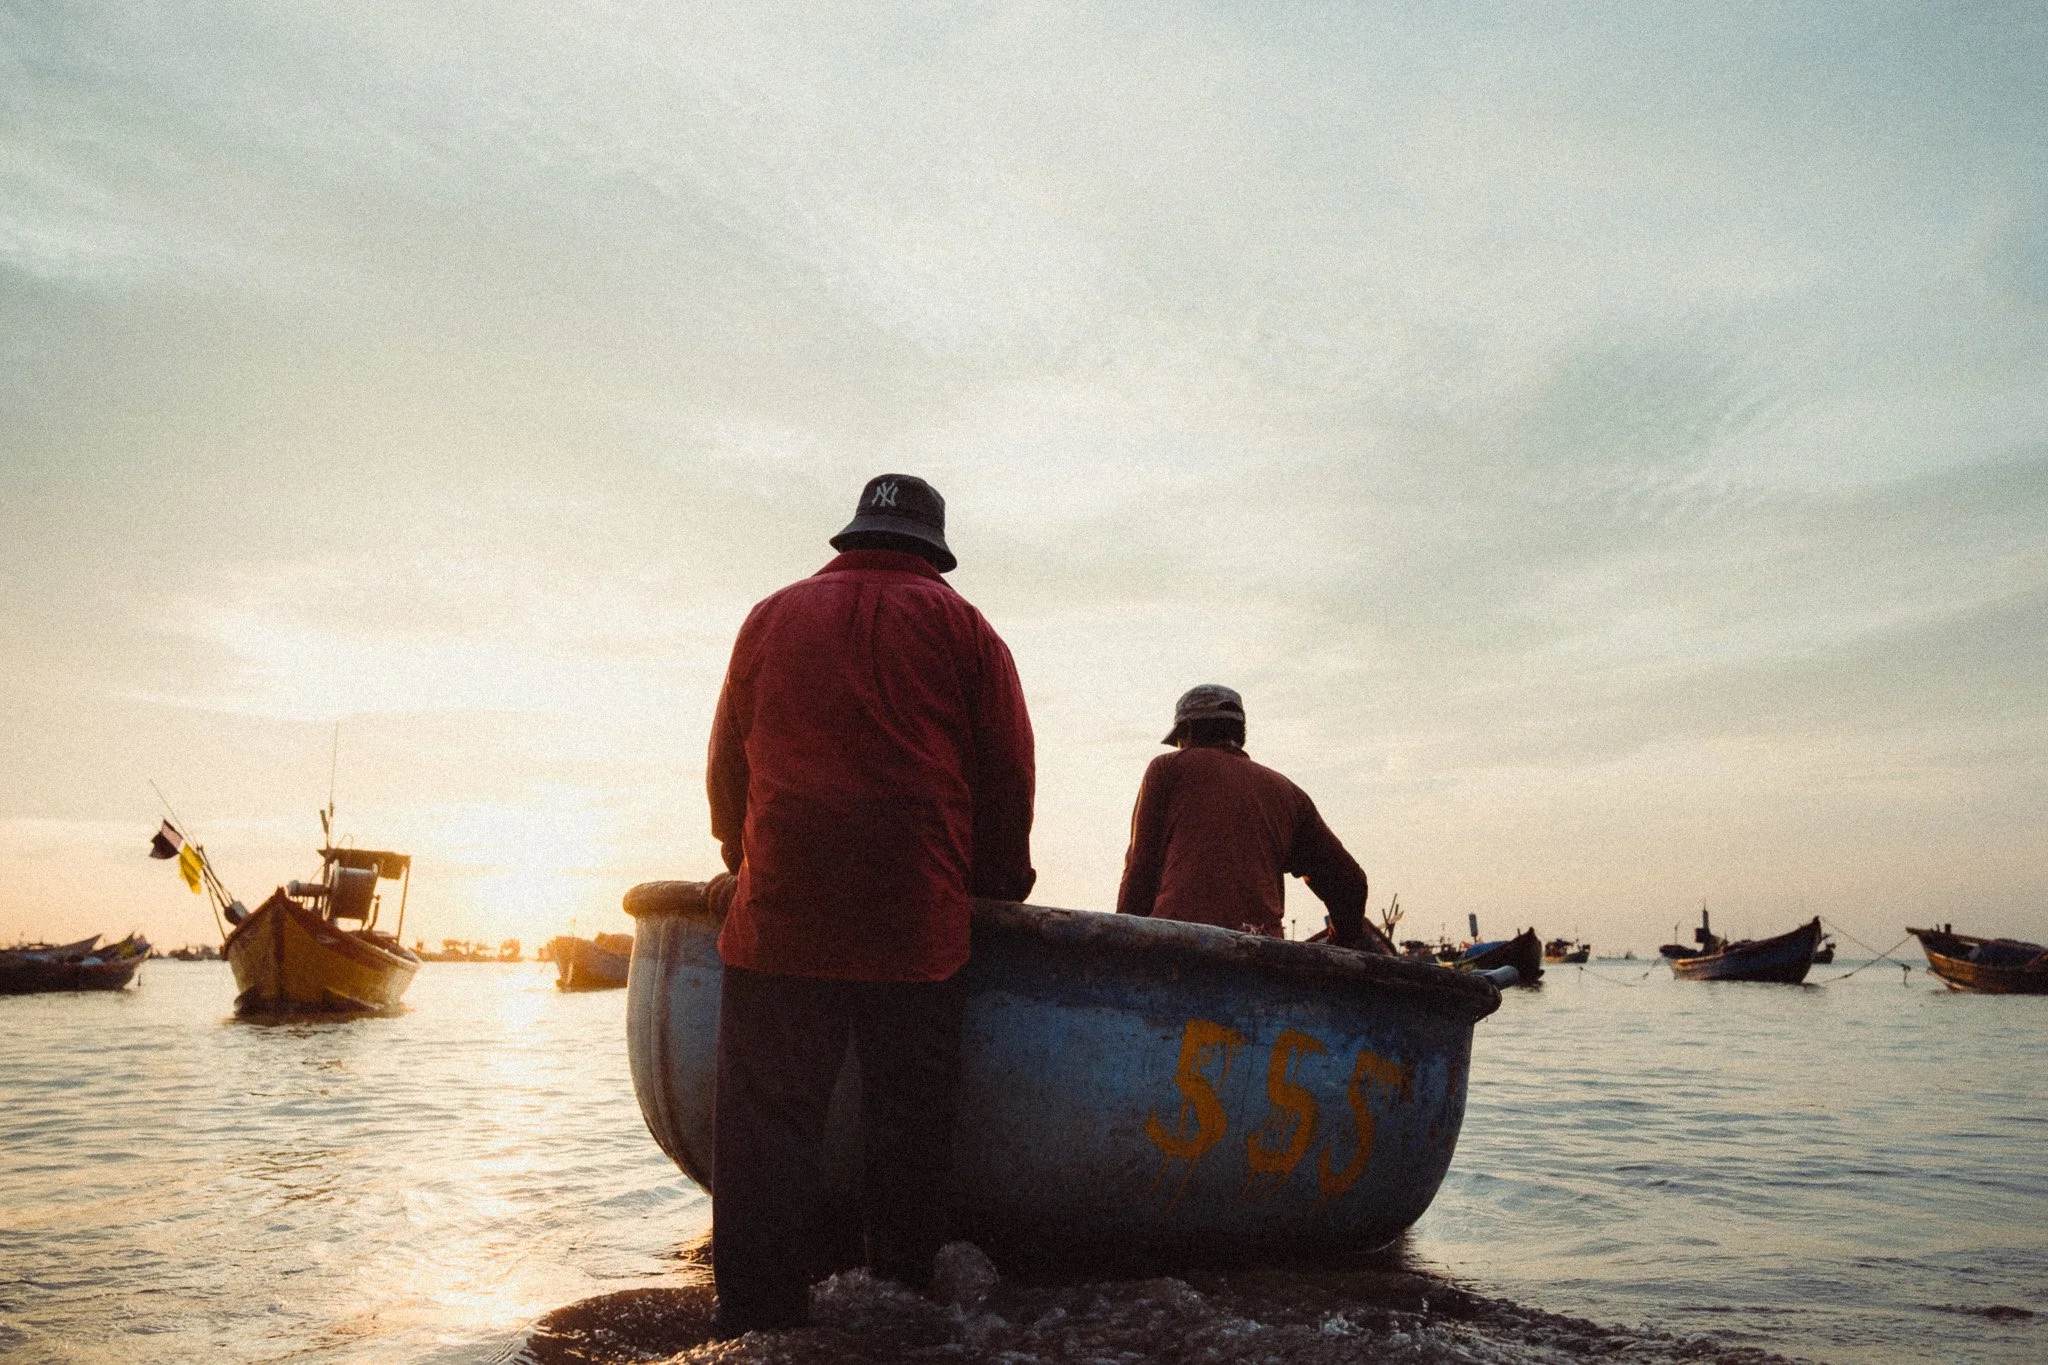
The magic of wide-angle lenses lies in how they immerse the viewer in the photograph, and that can be achieved only when you, the photographer, are equally immersed. I understand that getting closer might seem intimidating to many people, especially when shooting in cities. That’s when I suggest starting tight and gradually working your way wider. For example, start with a 40mm lens. Once you’re comfortable with that, move to 35mm and then 28mm.
Finally, getting closer naturally removes many distractions and simplifies the composition. One of the biggest stumbling blocks when shooting wide is figuring out how to arrange everything in the frame. Getting closer makes that job much easier.
A Word On Cropping
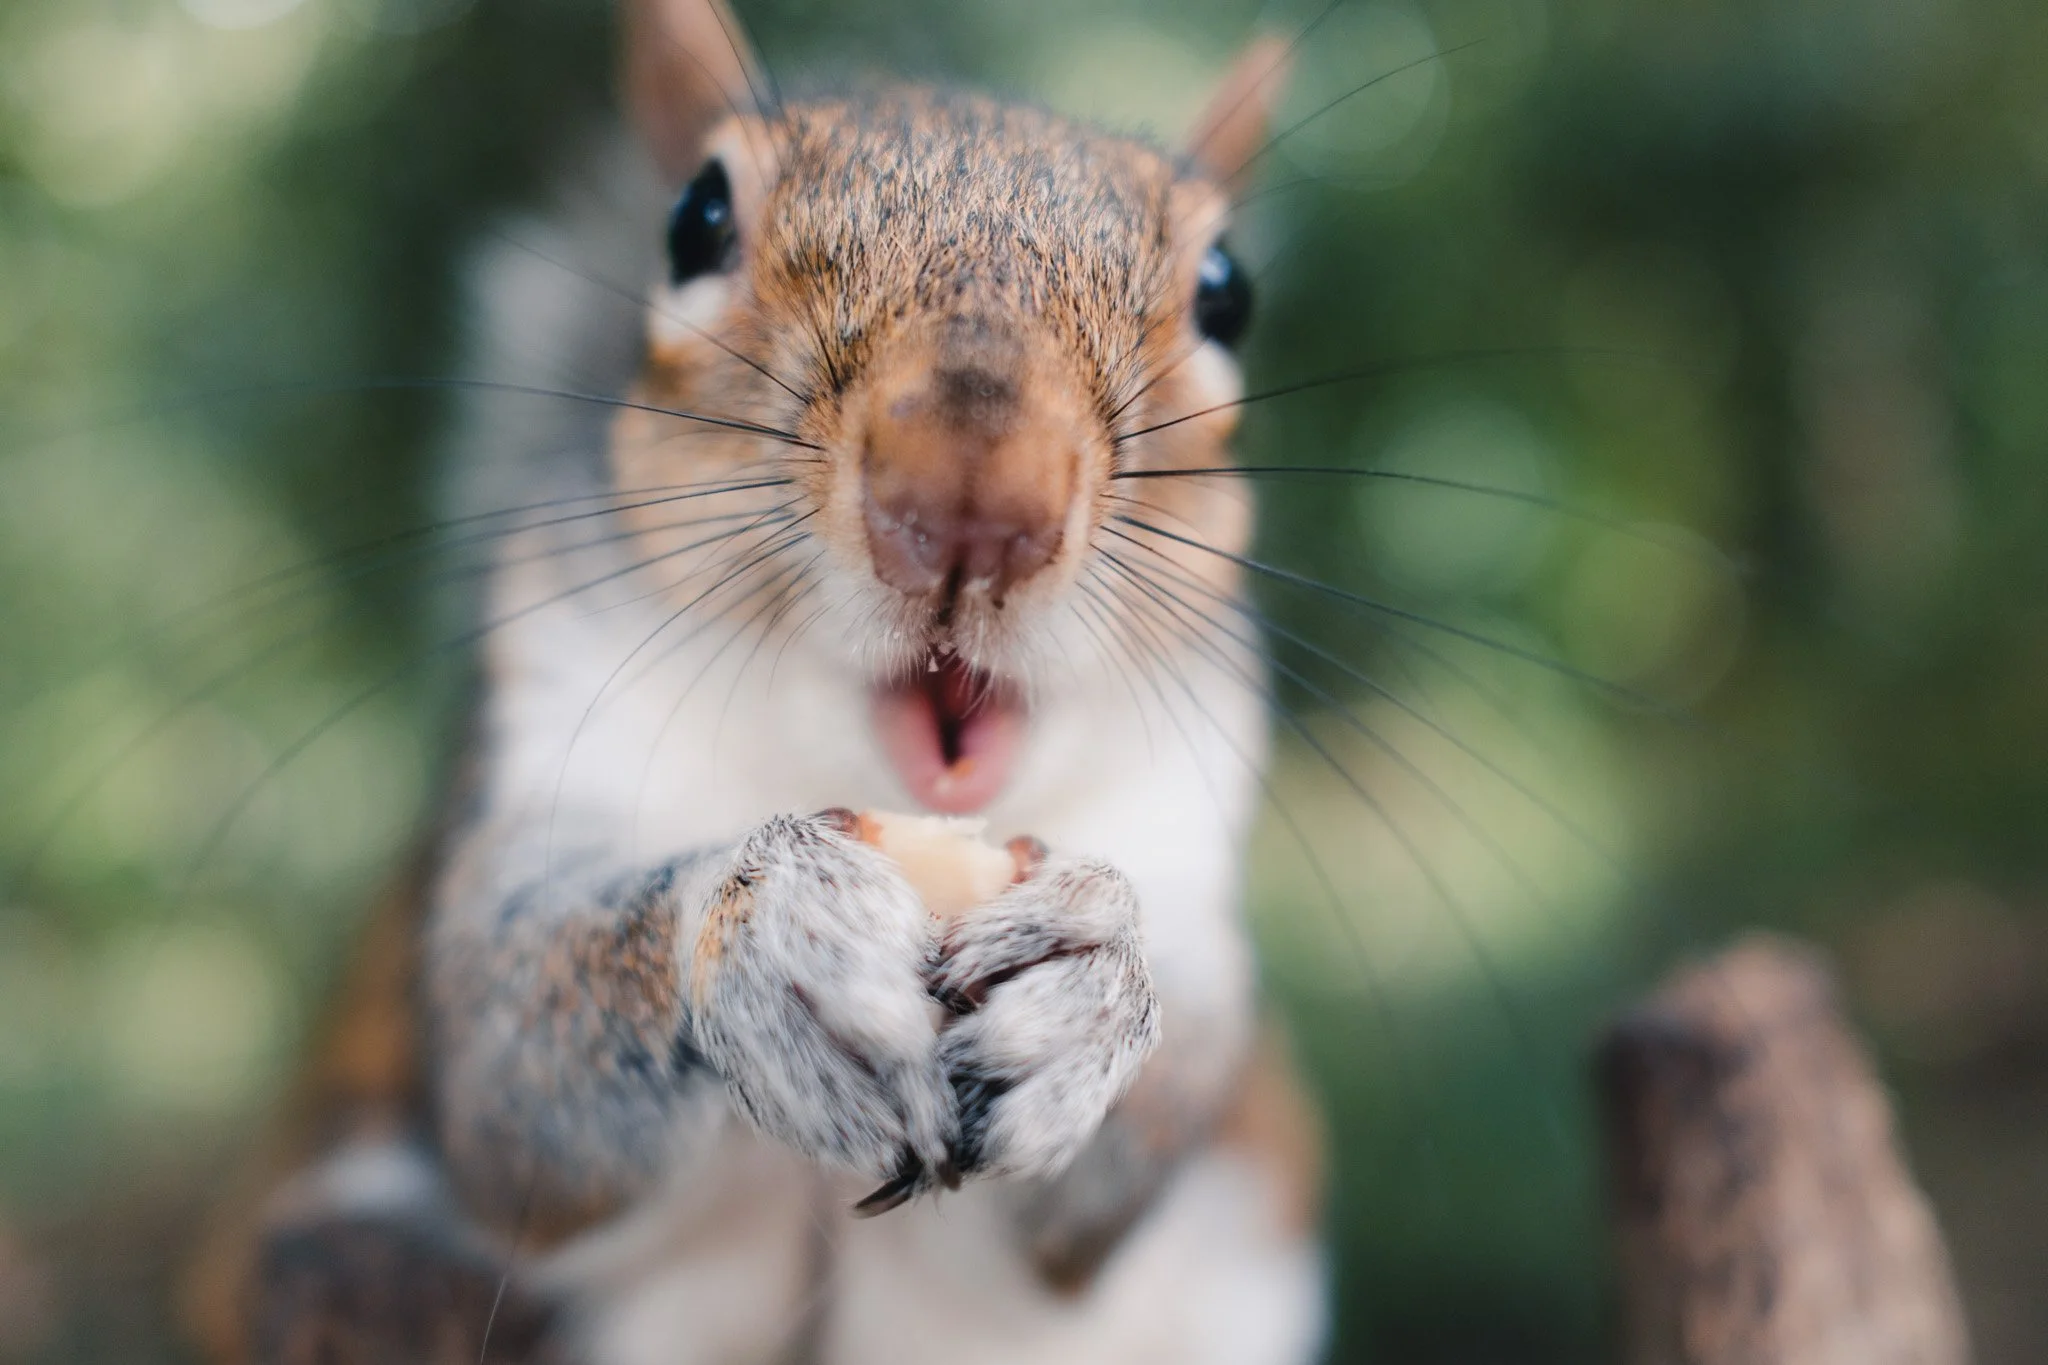
To piggyback on the previous point, you can always crop. There is absolutely nothing wrong with cropping, and don’t let anyone tell you otherwise. That said, you need to understand the effect cropping has on your composition because it is very different from getting closer.
When you crop, you take the existing composition and simply punch in. The relationship between you and all the elements in the frame doesn’t change. When you physically get closer, that relationship changes because all the distances, angles, and perspectives change.
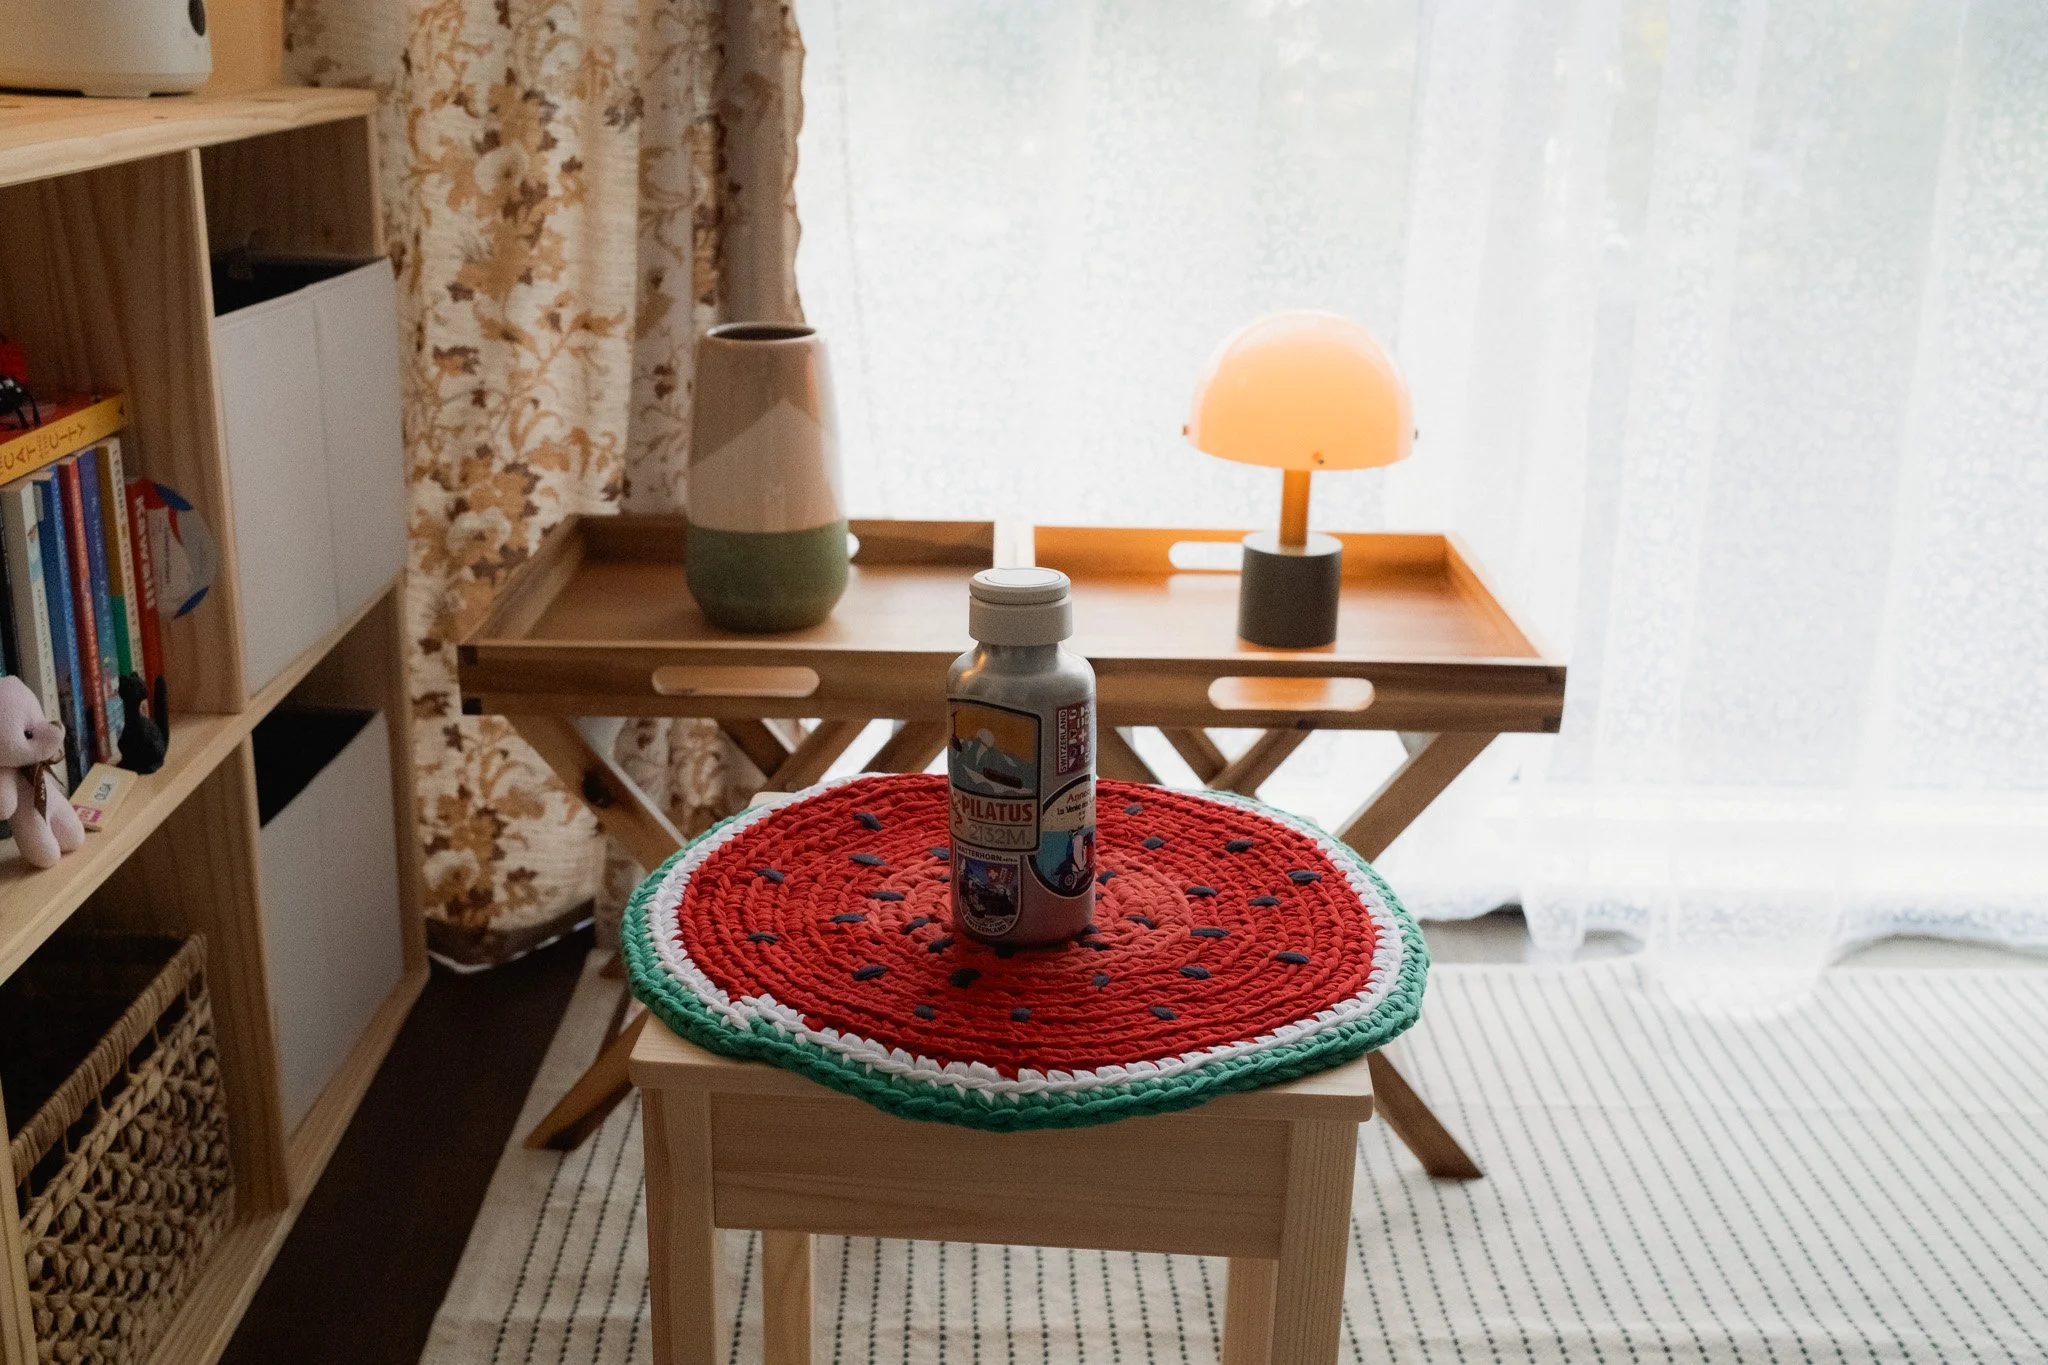
Original 35mm
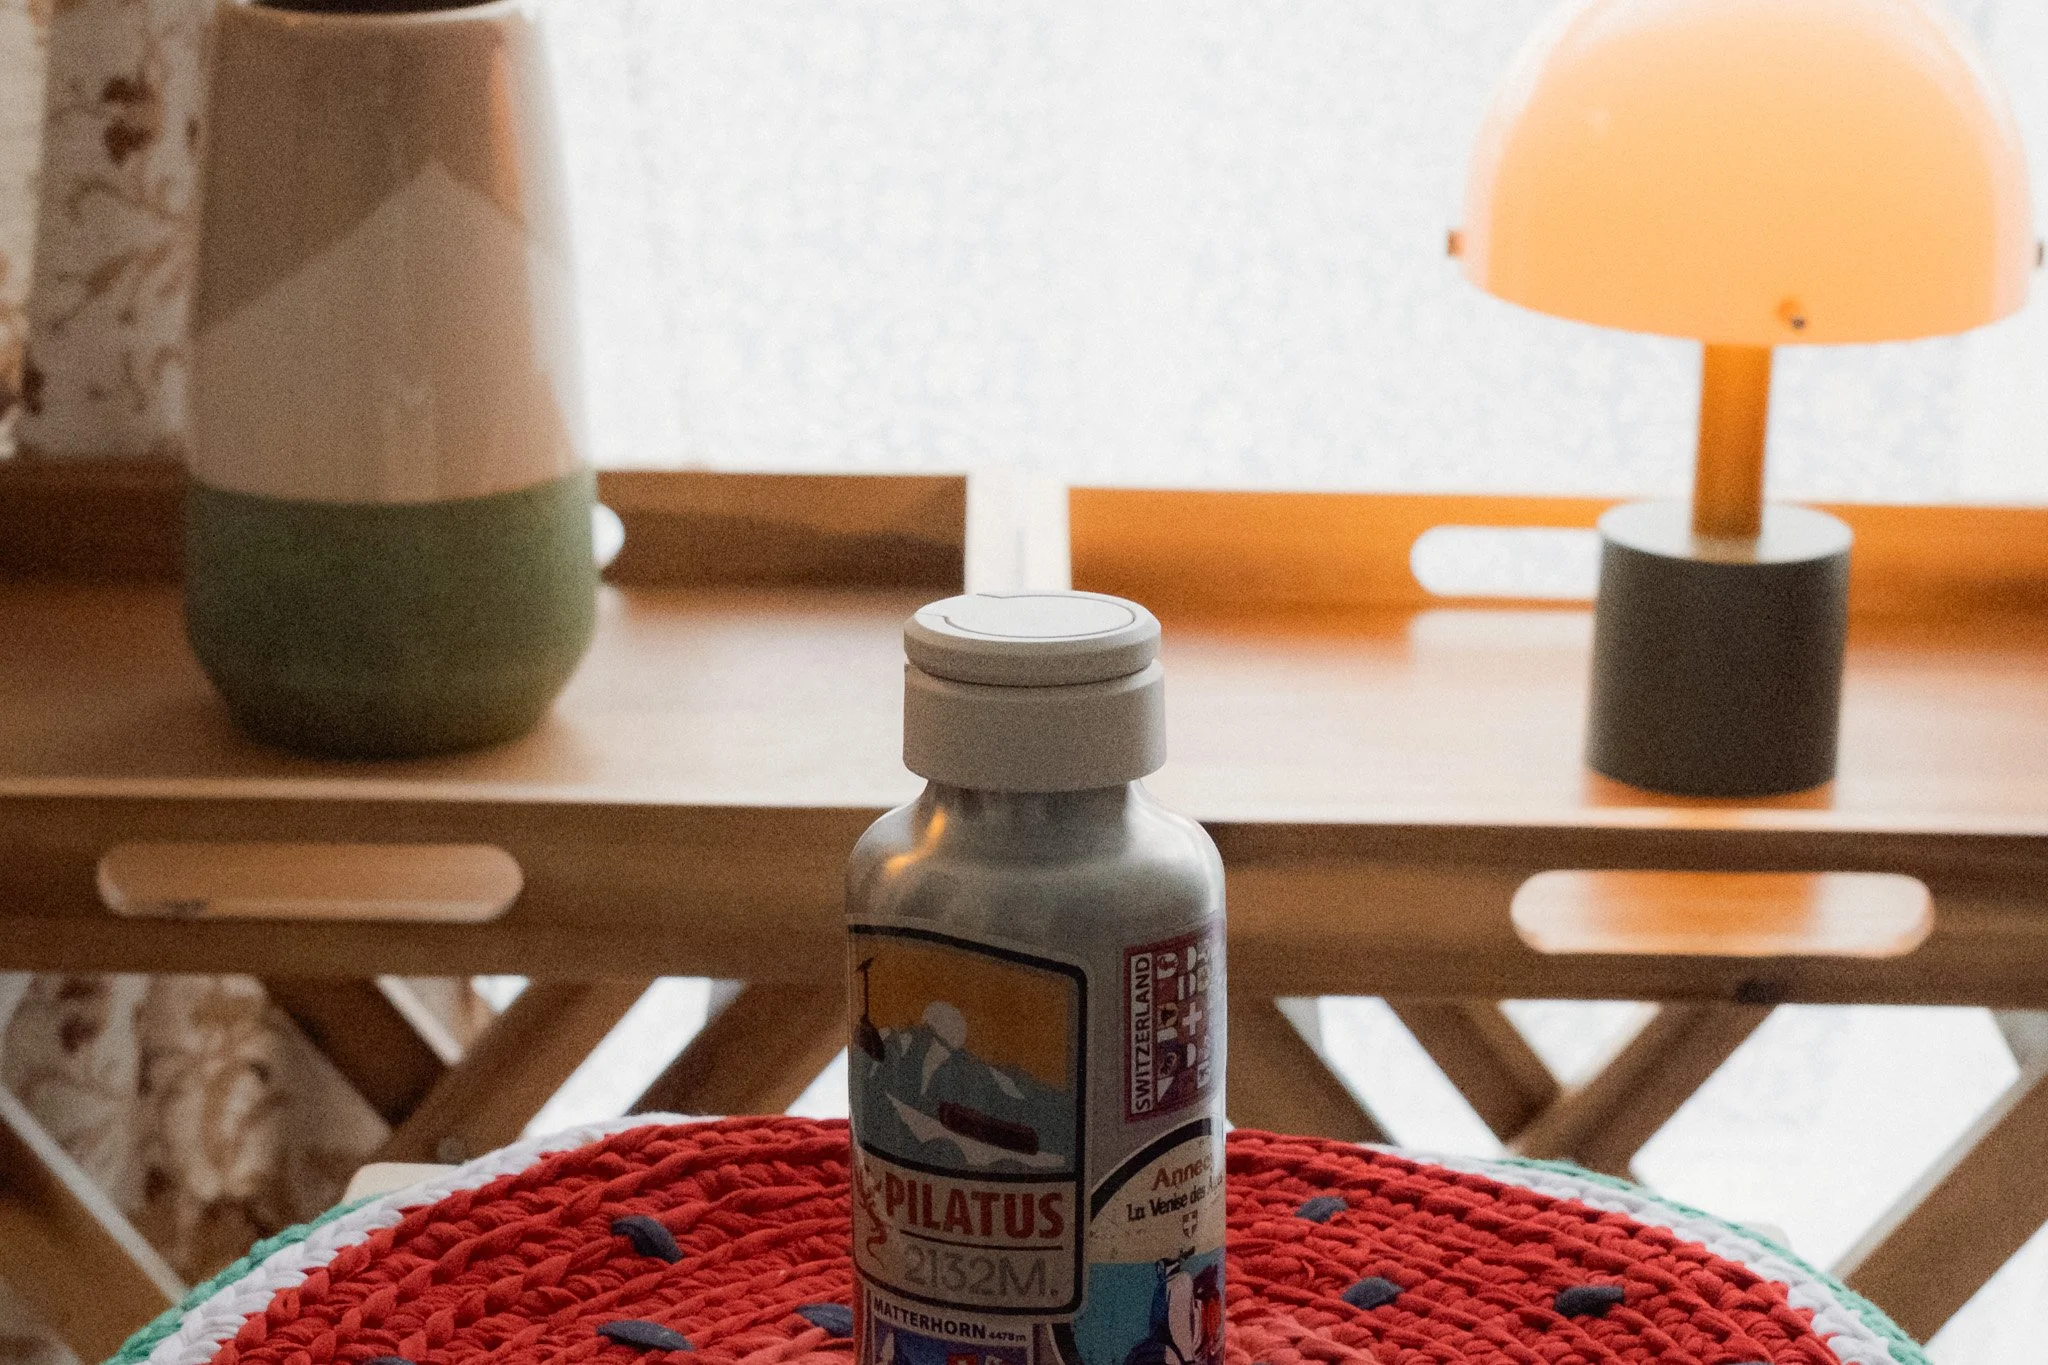
Cropped
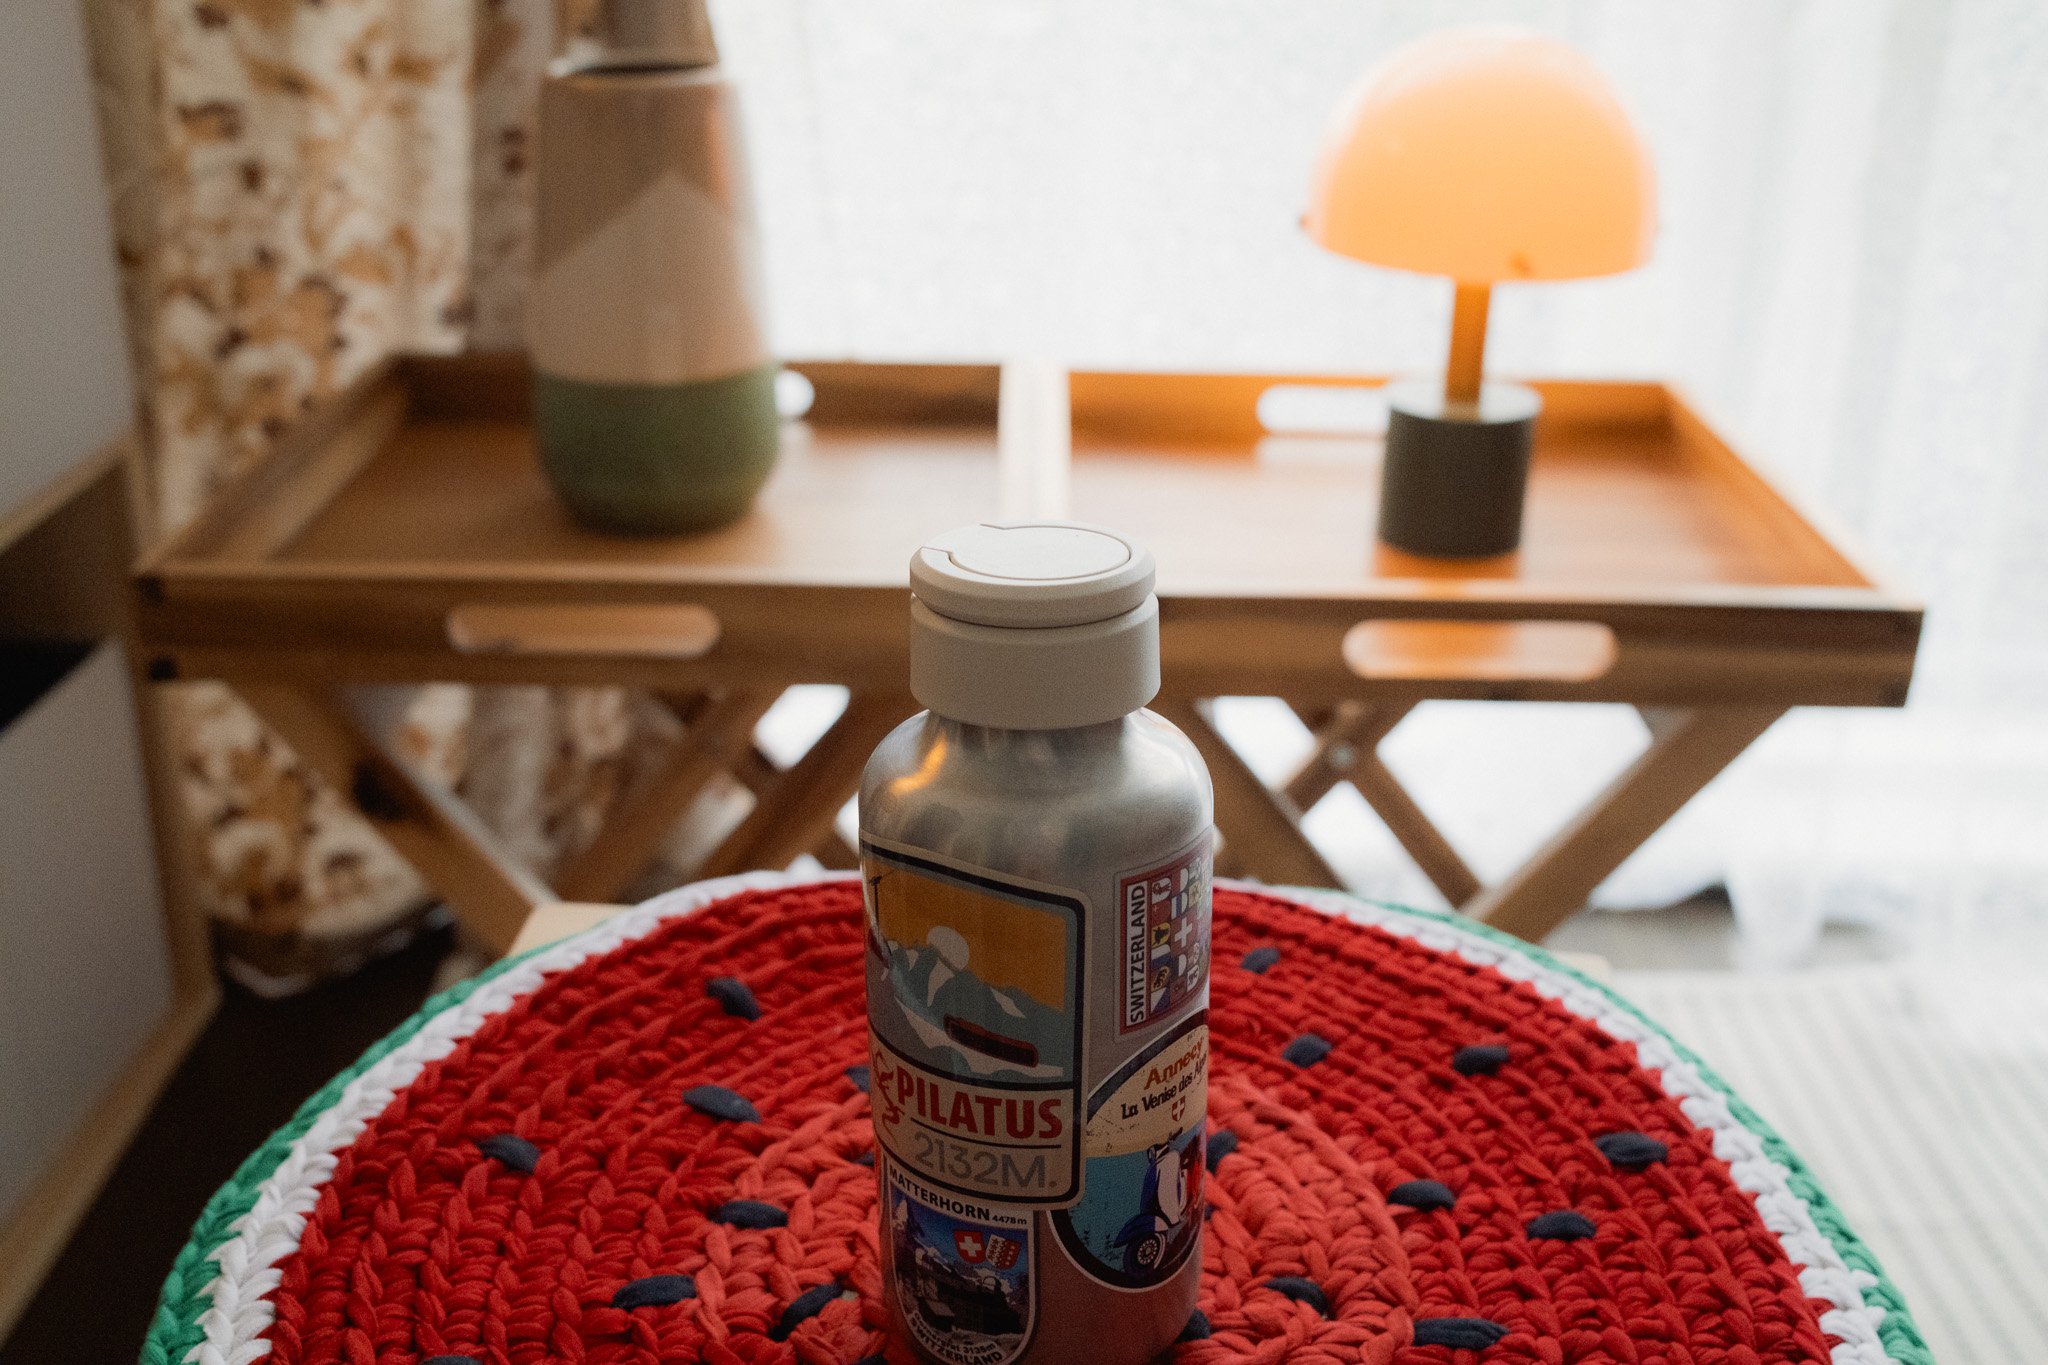
Moved Closer
Getting closer isn’t superior to cropping, and cropping isn’t superior to getting closer. They are simply different methods of telling a story. However, you need to understand the effect each one has.
When you get close to your subject with a wide-angle lens, you can make them appear larger than life and truly immerse the viewer in the scene. The viewer will feel as though they are standing right beside you. When you crop, the subject’s stature doesn’t change; they simply take up more visual space in the frame. The viewer will still feel like a distant observer.
Block the Lens
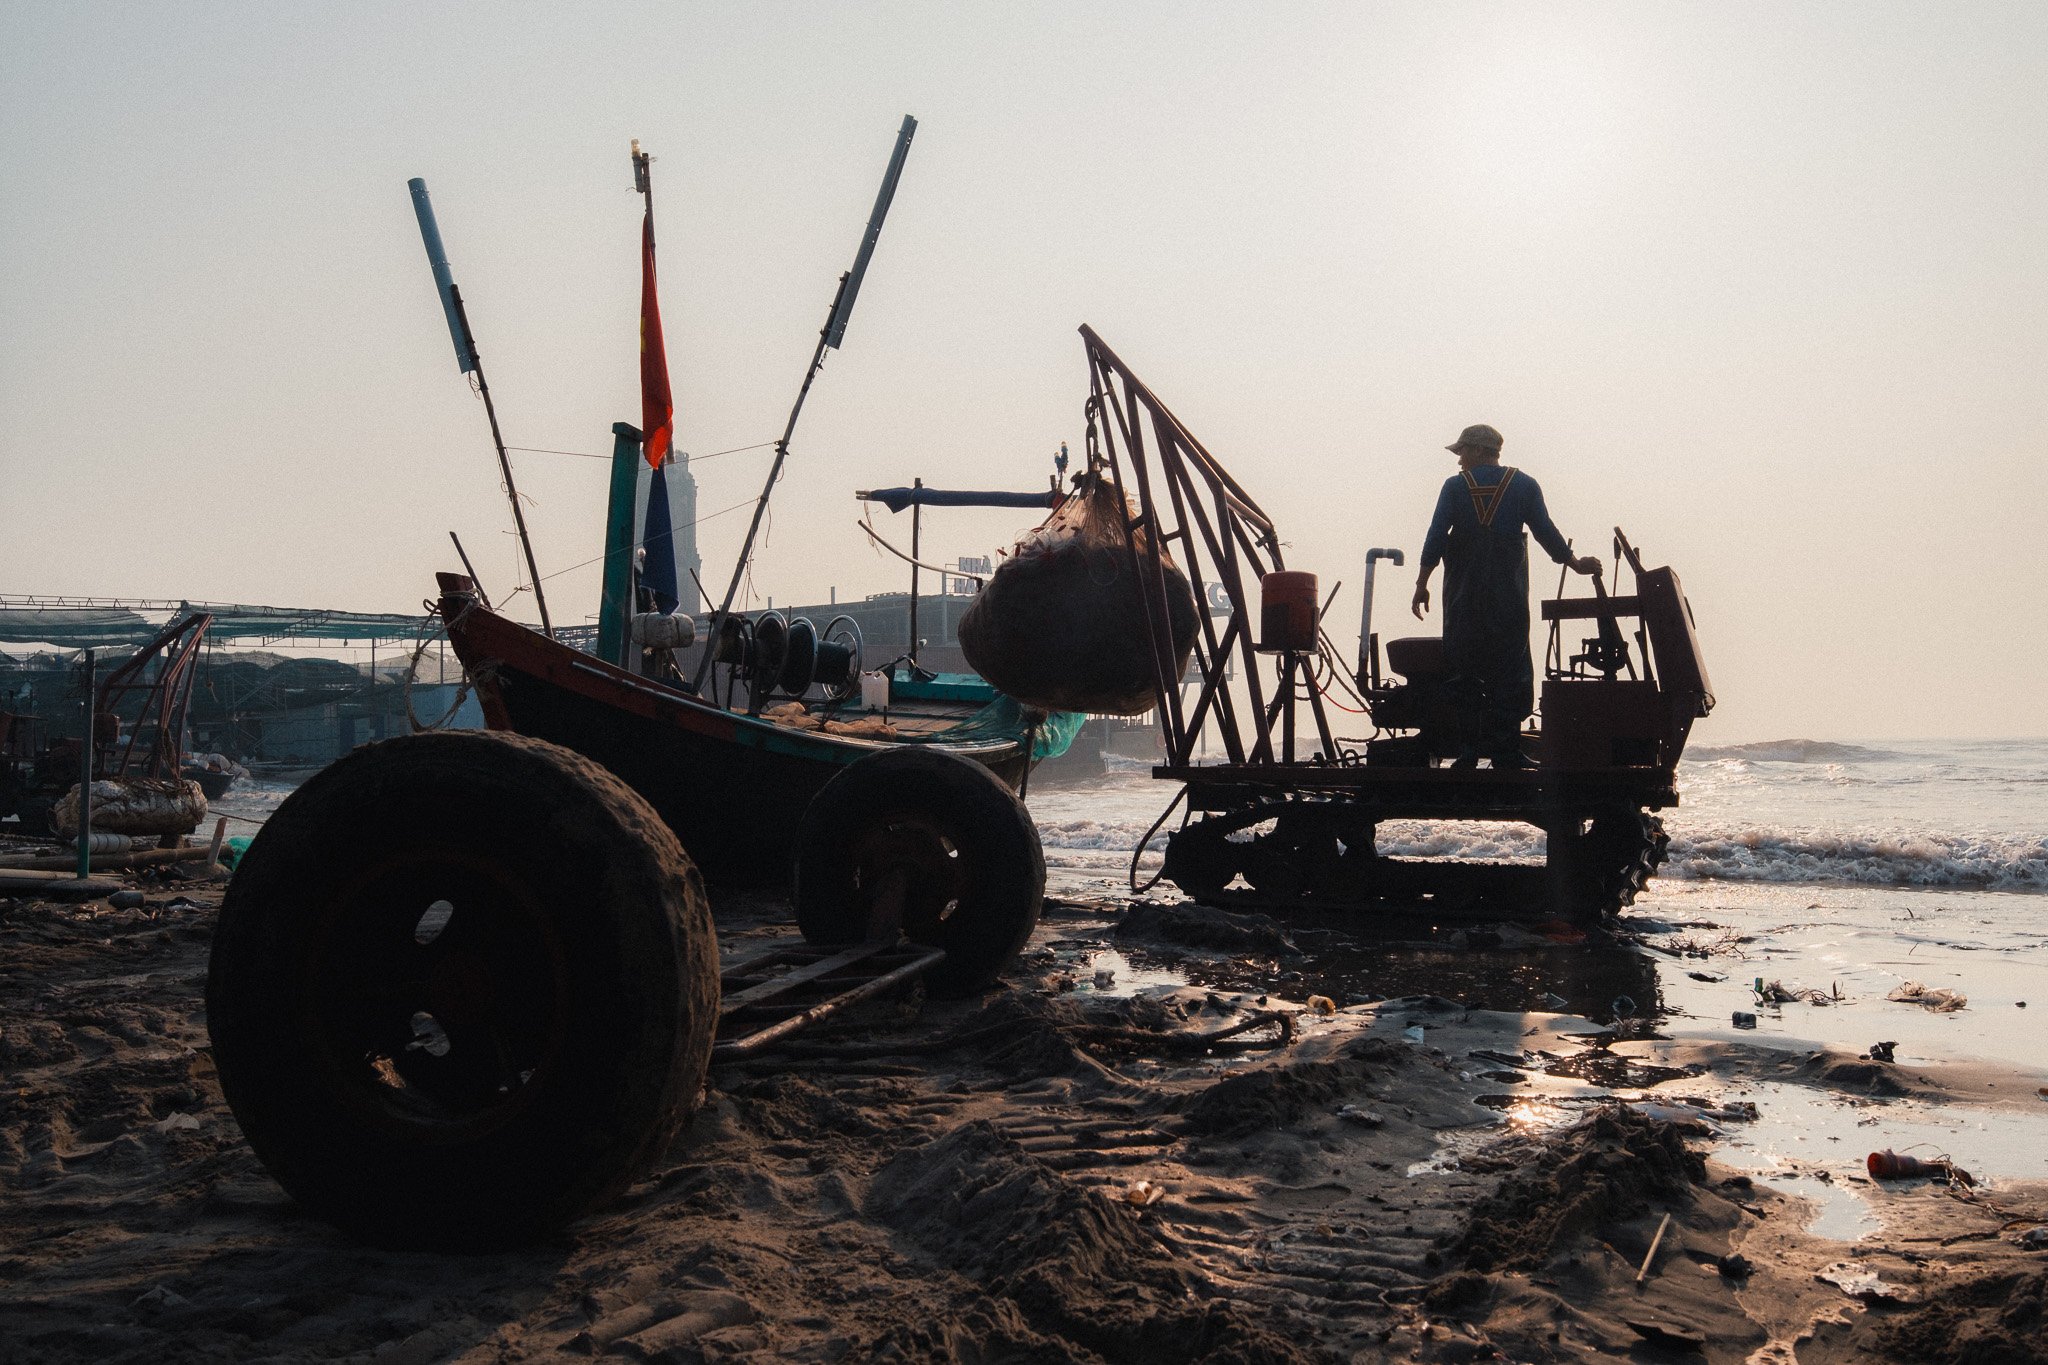
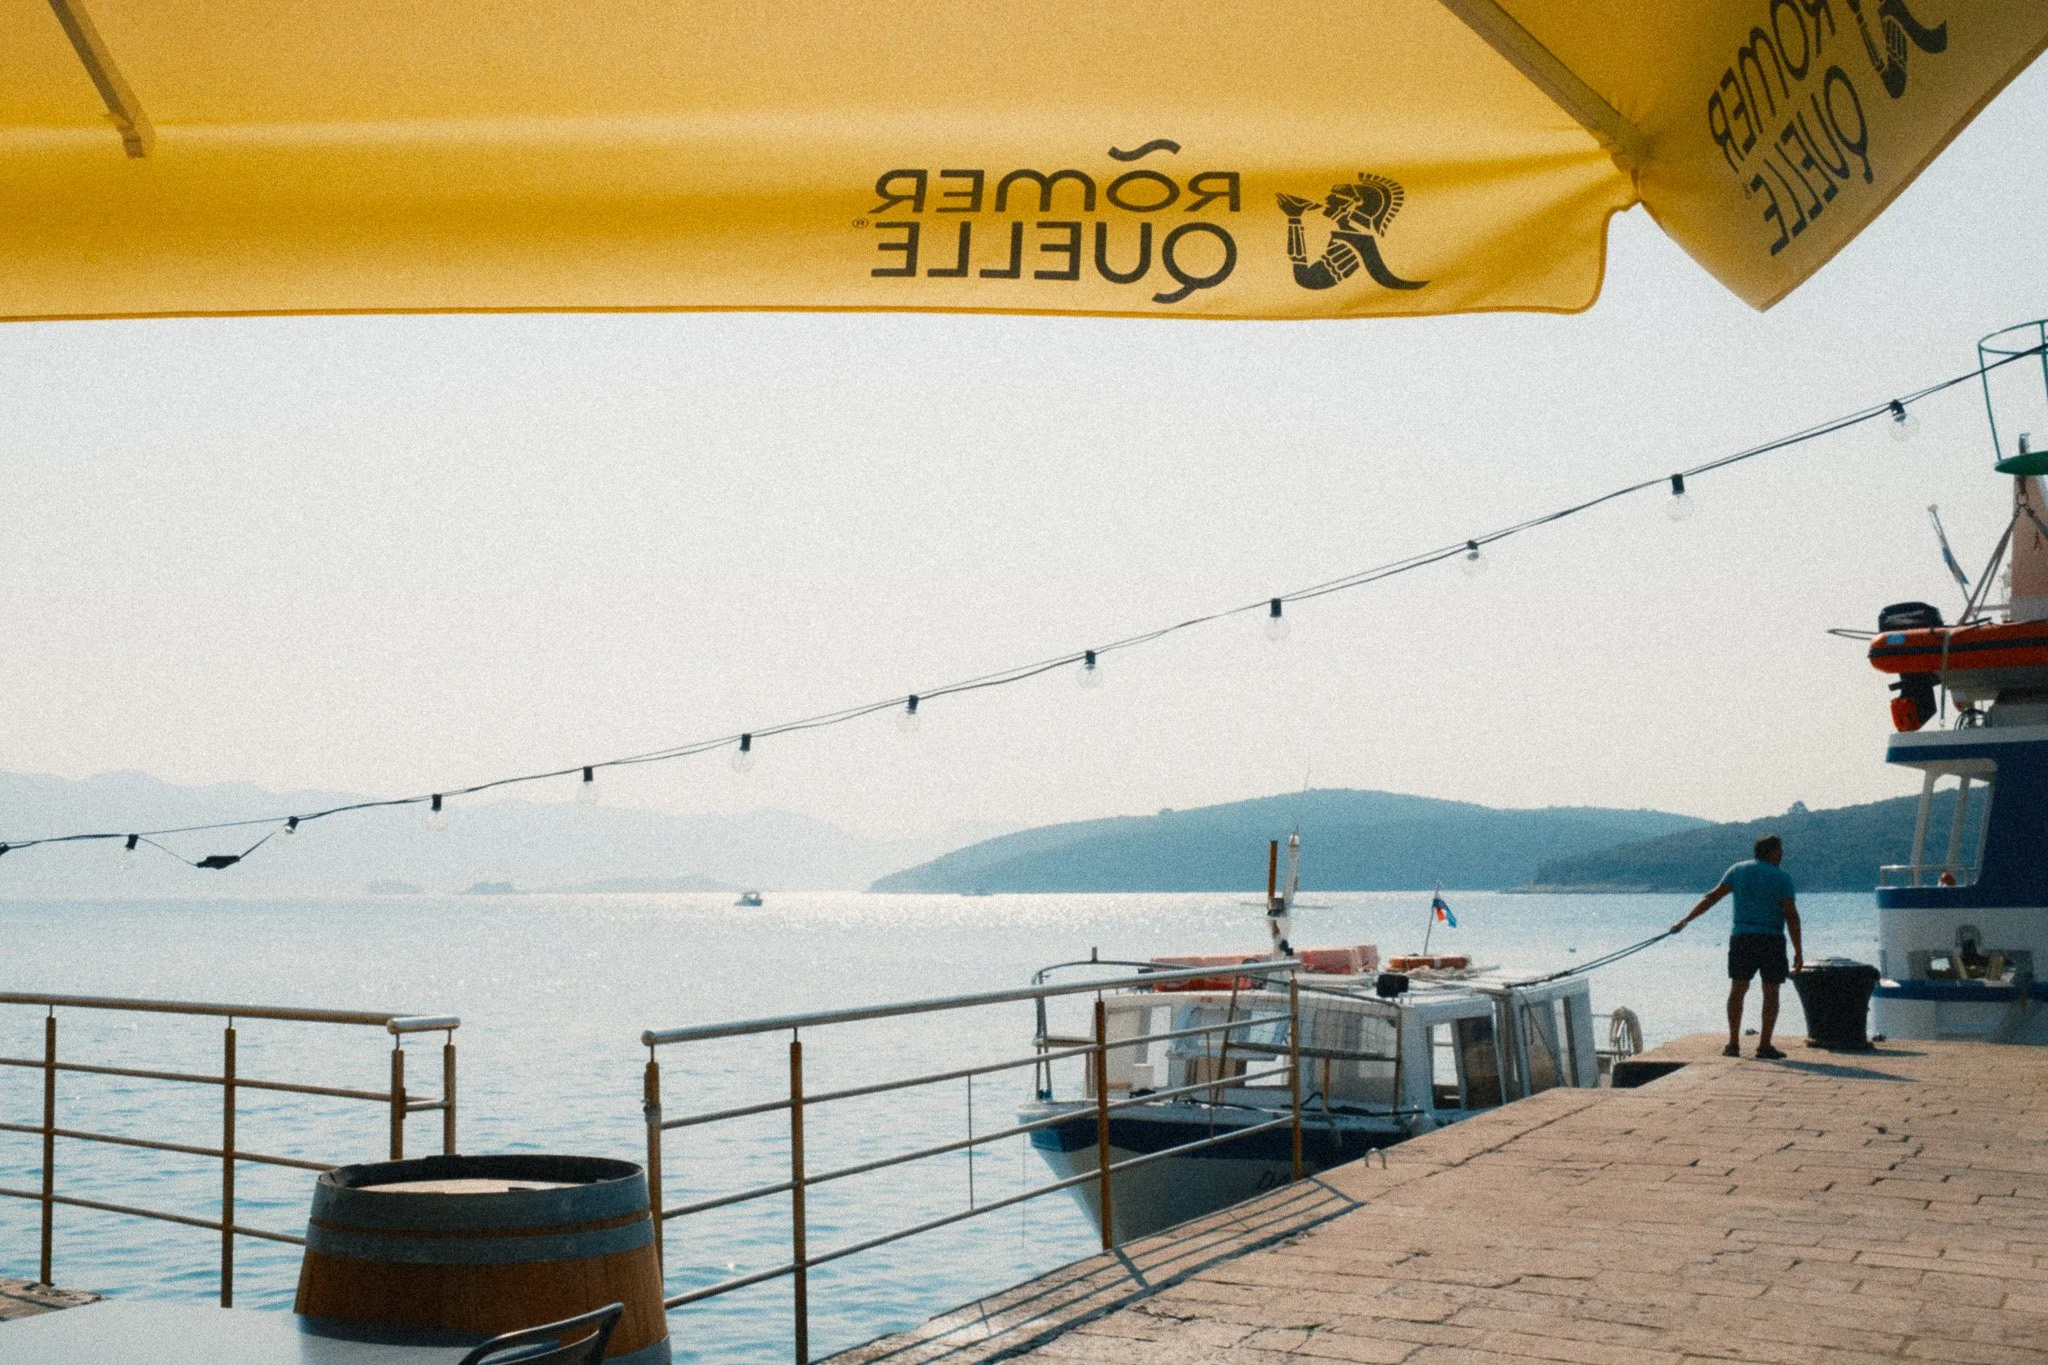
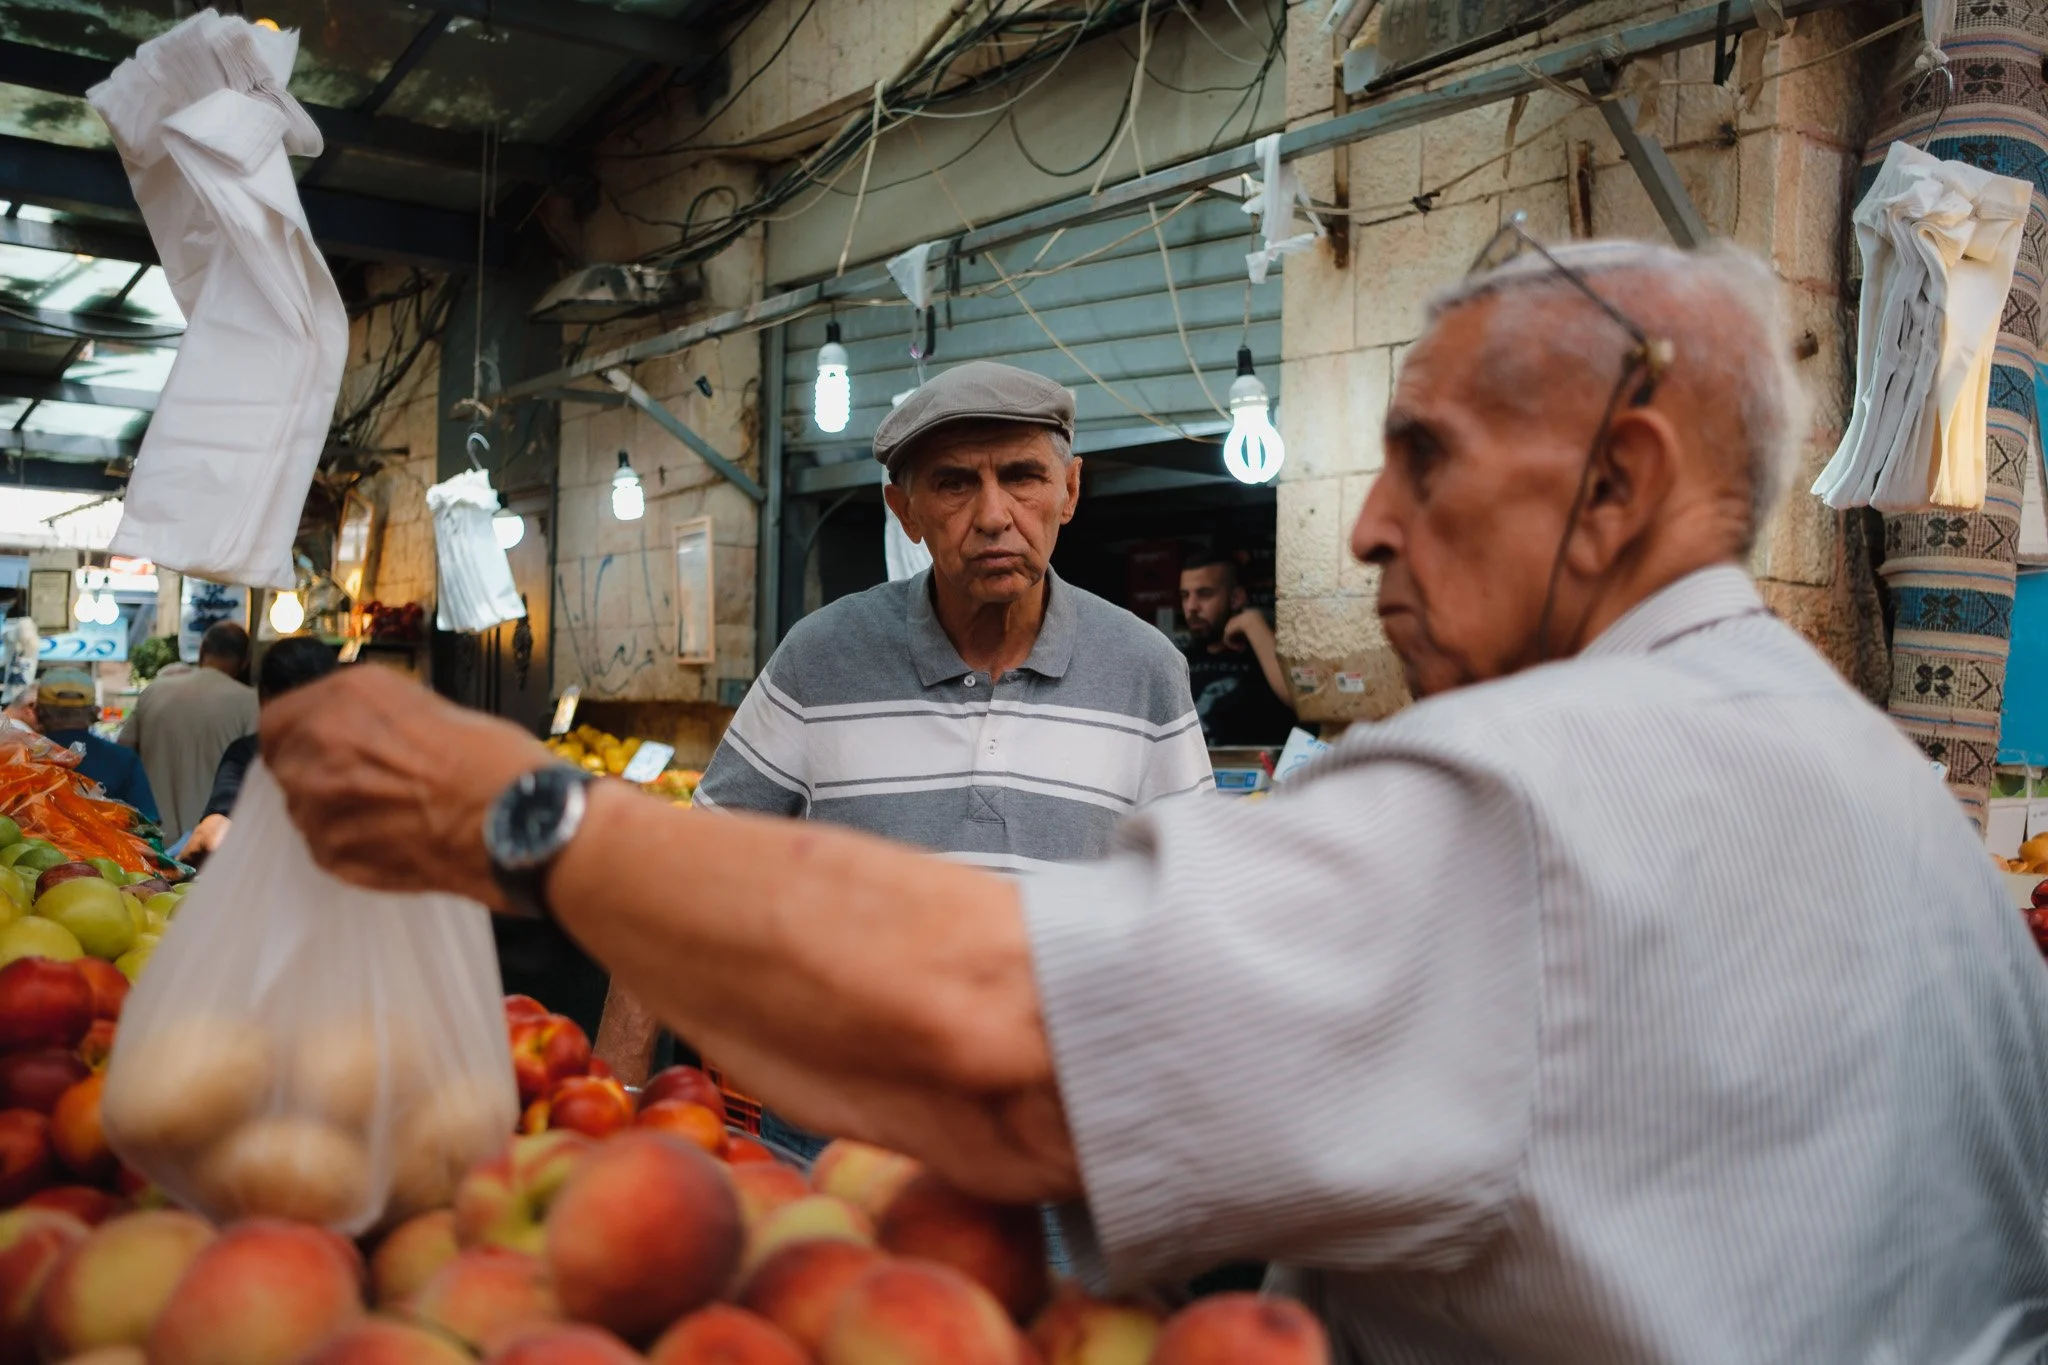
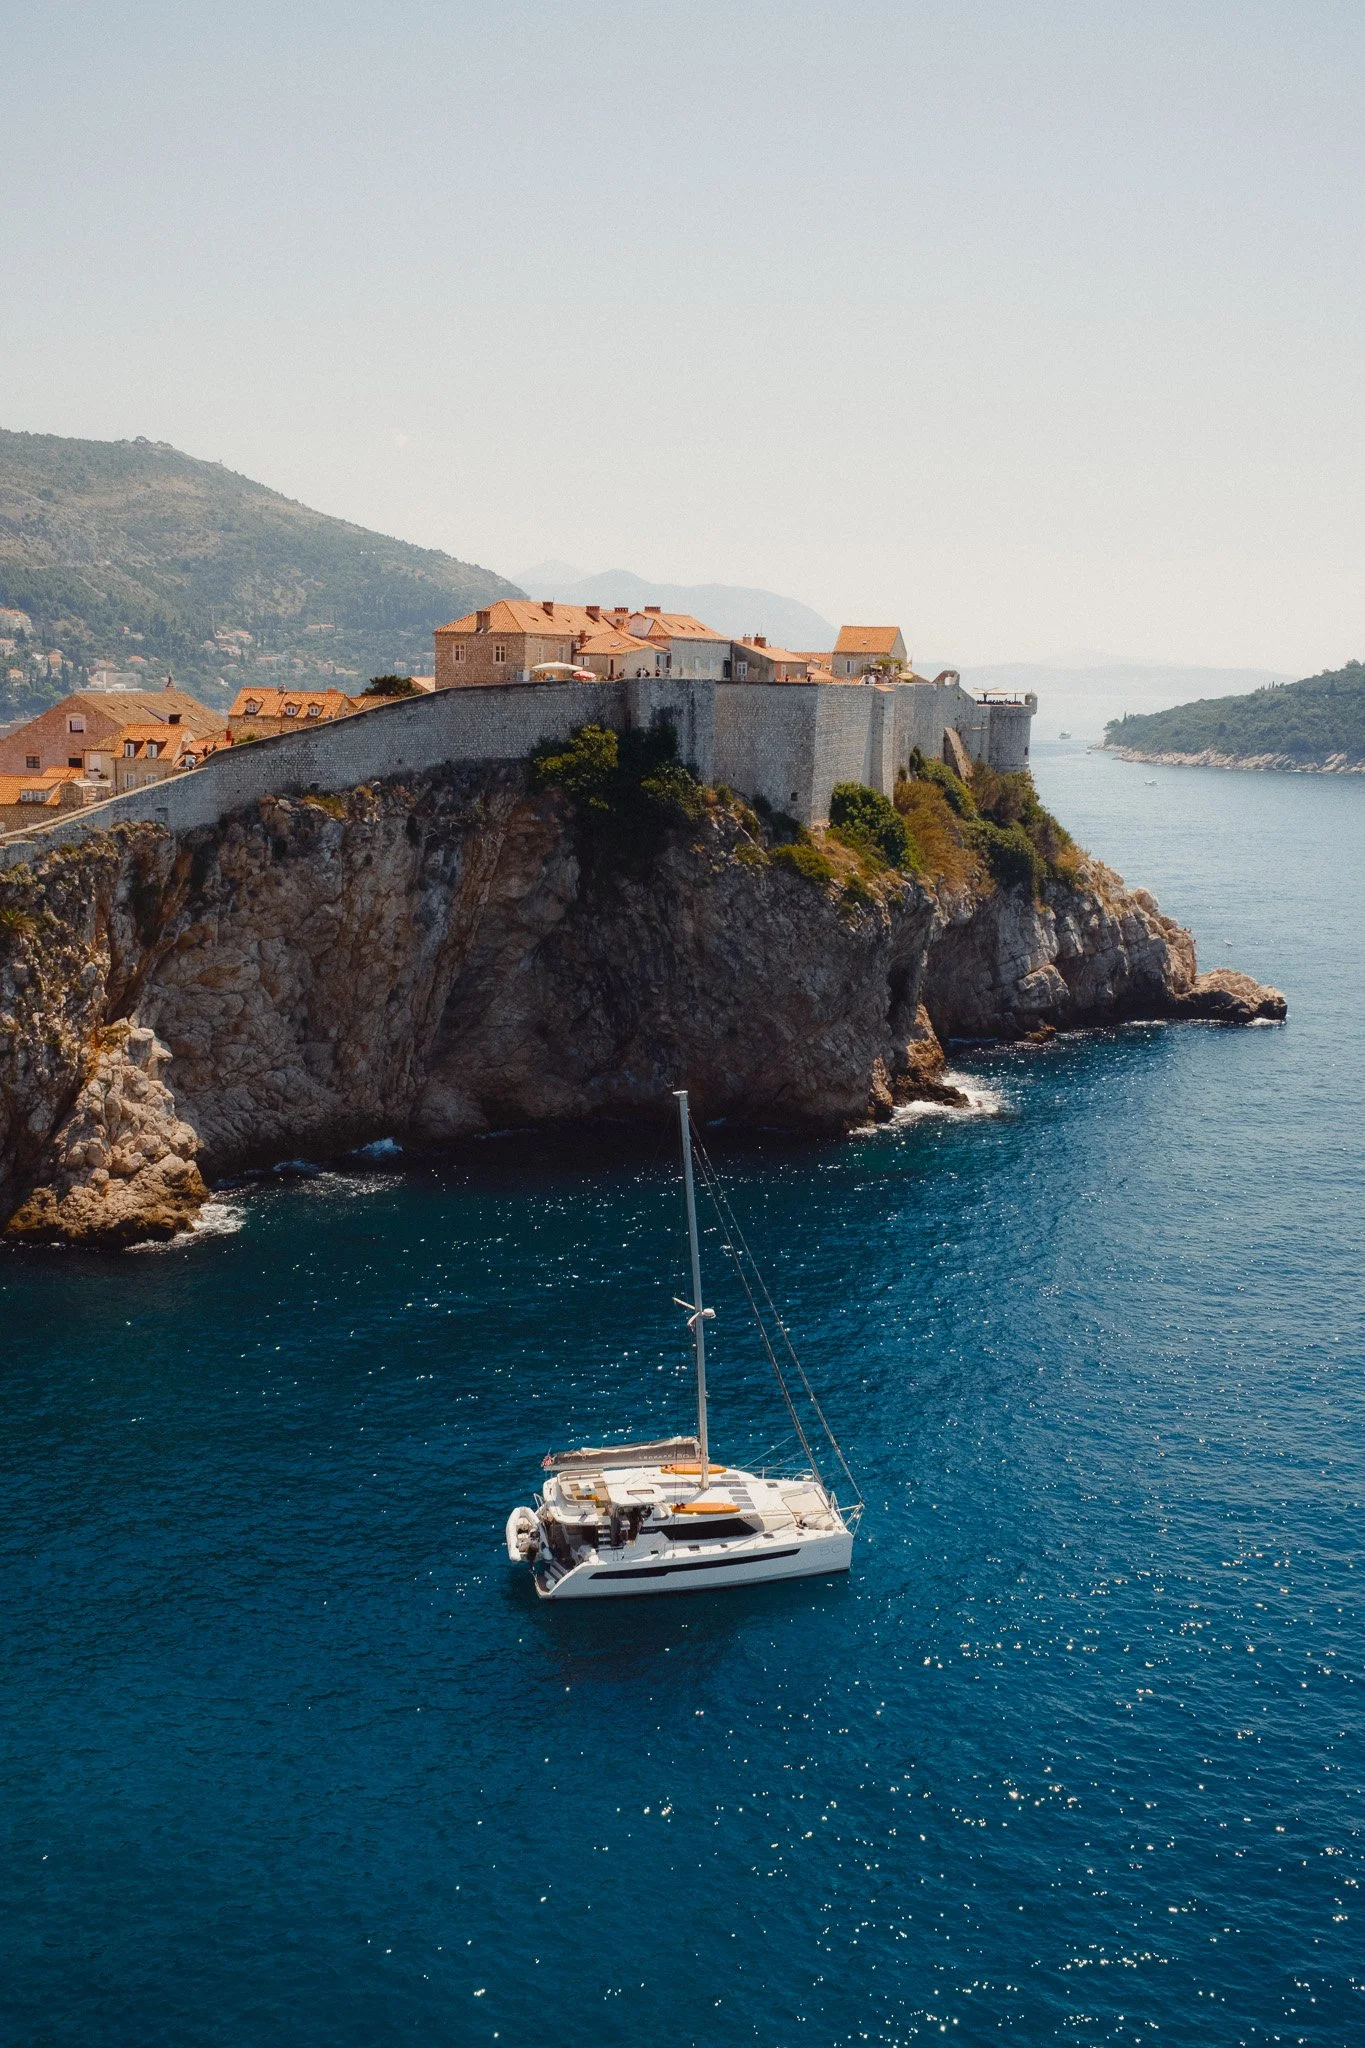
Using foreground elements is a powerful tool that can help clean up the composition, place the viewer within your photograph, and add depth.
This can take many different forms. You could shoot through a tree or have two people on either side of the frame while focusing on a third person farther ahead. You could shoot through a window or over a ledge. You could even place railings, benches, bottles, or almost any other object in the foreground.
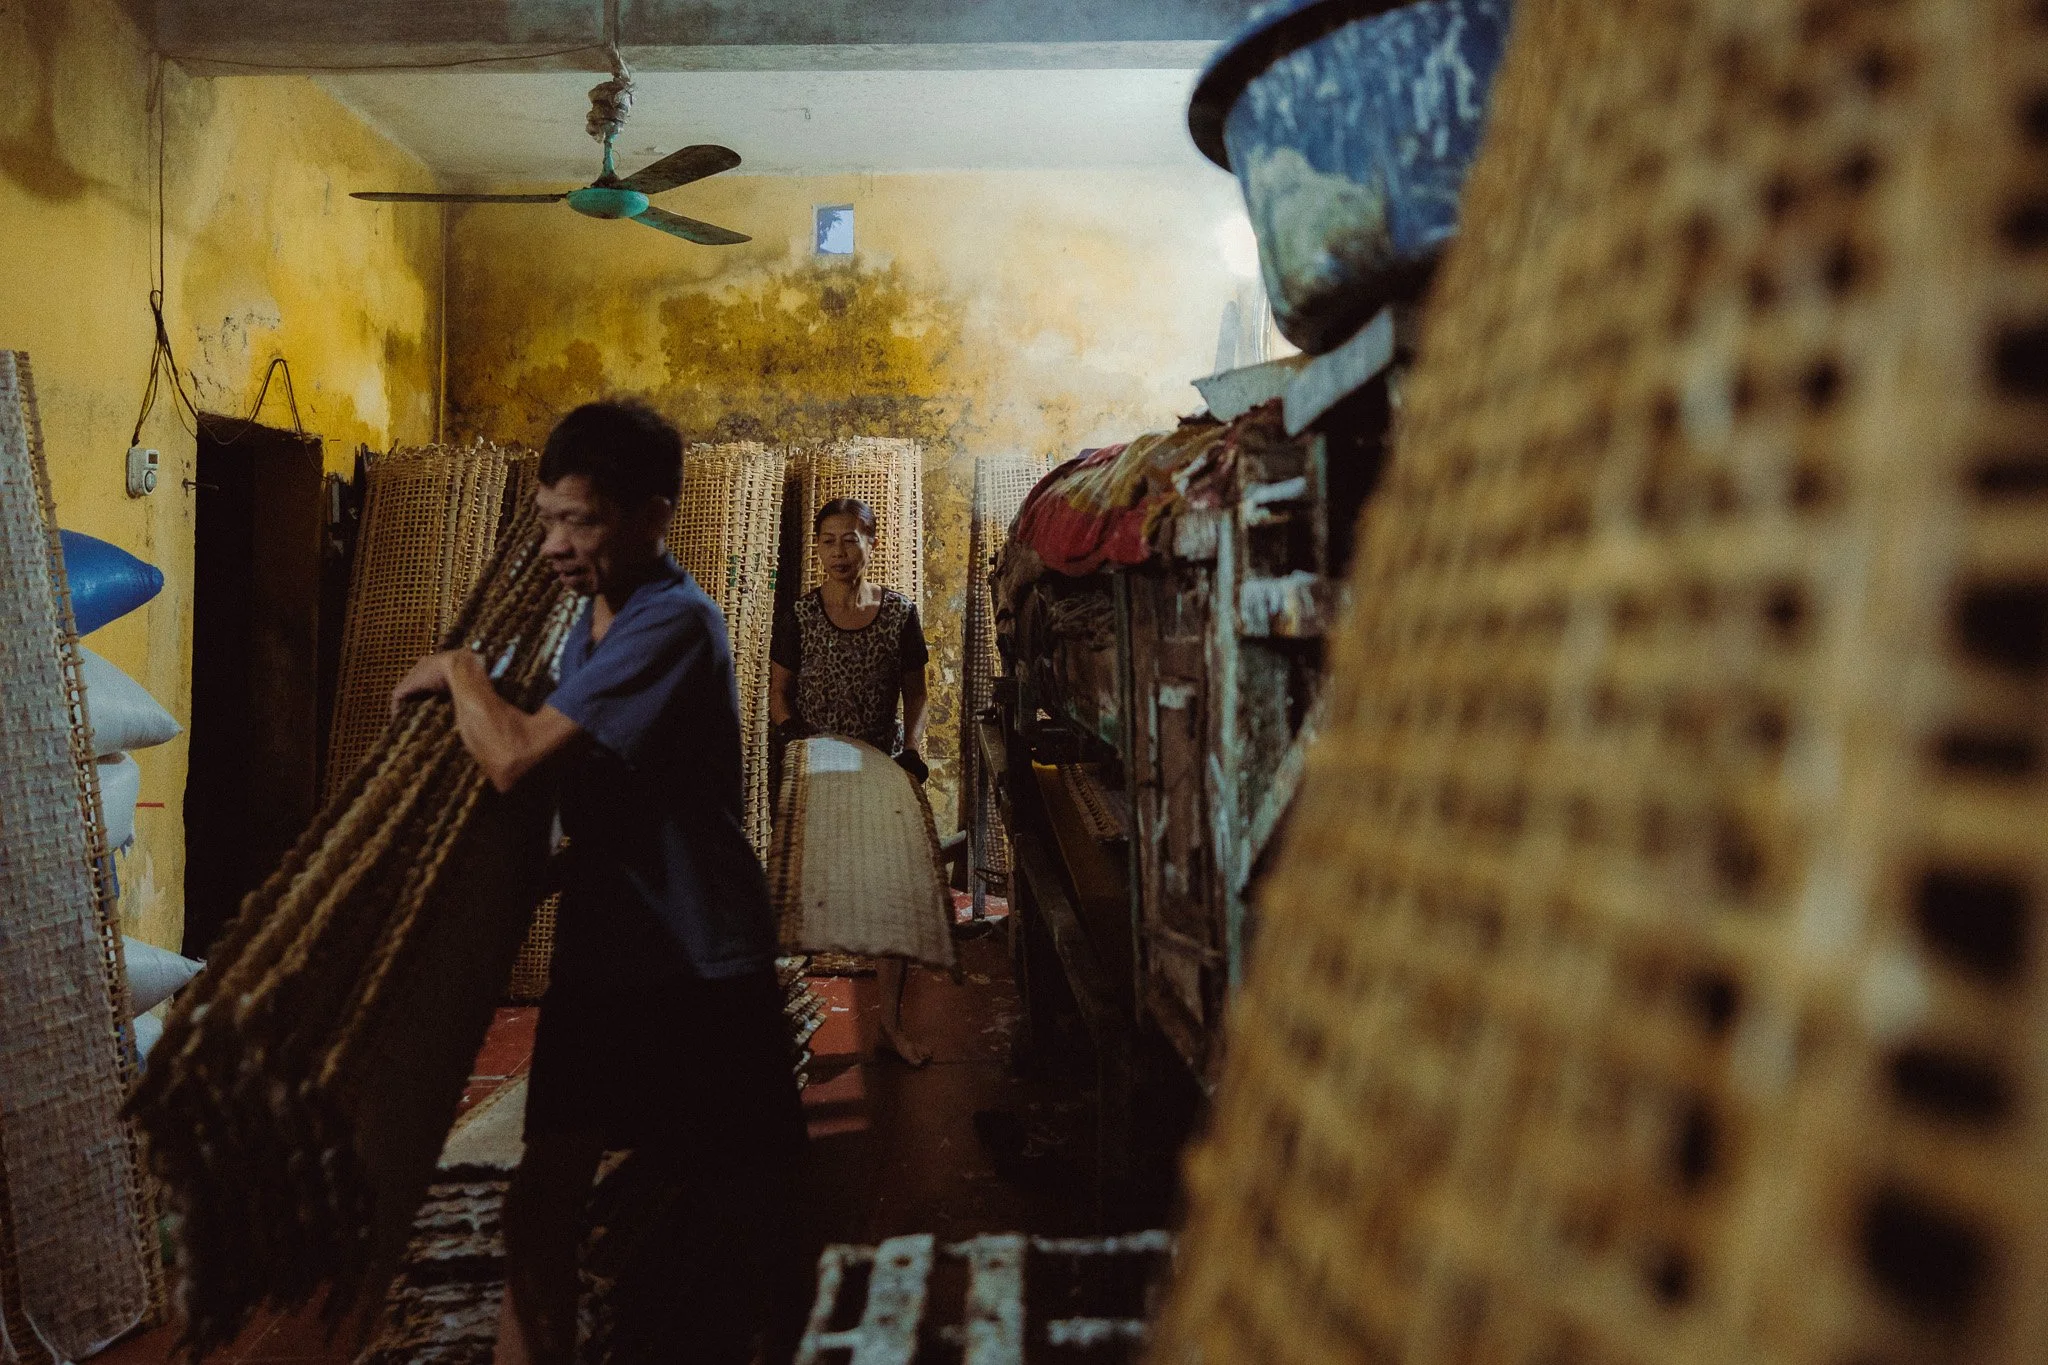
Of course, taste plays a significant role, but this is something that will become more refined with time. Keep an eye on your aperture here. Although it might be tempting to go all the way to f/1.4, I suggest showing restraint and finding the right balance: out of focus, but still providing context.
Change Your Perspective
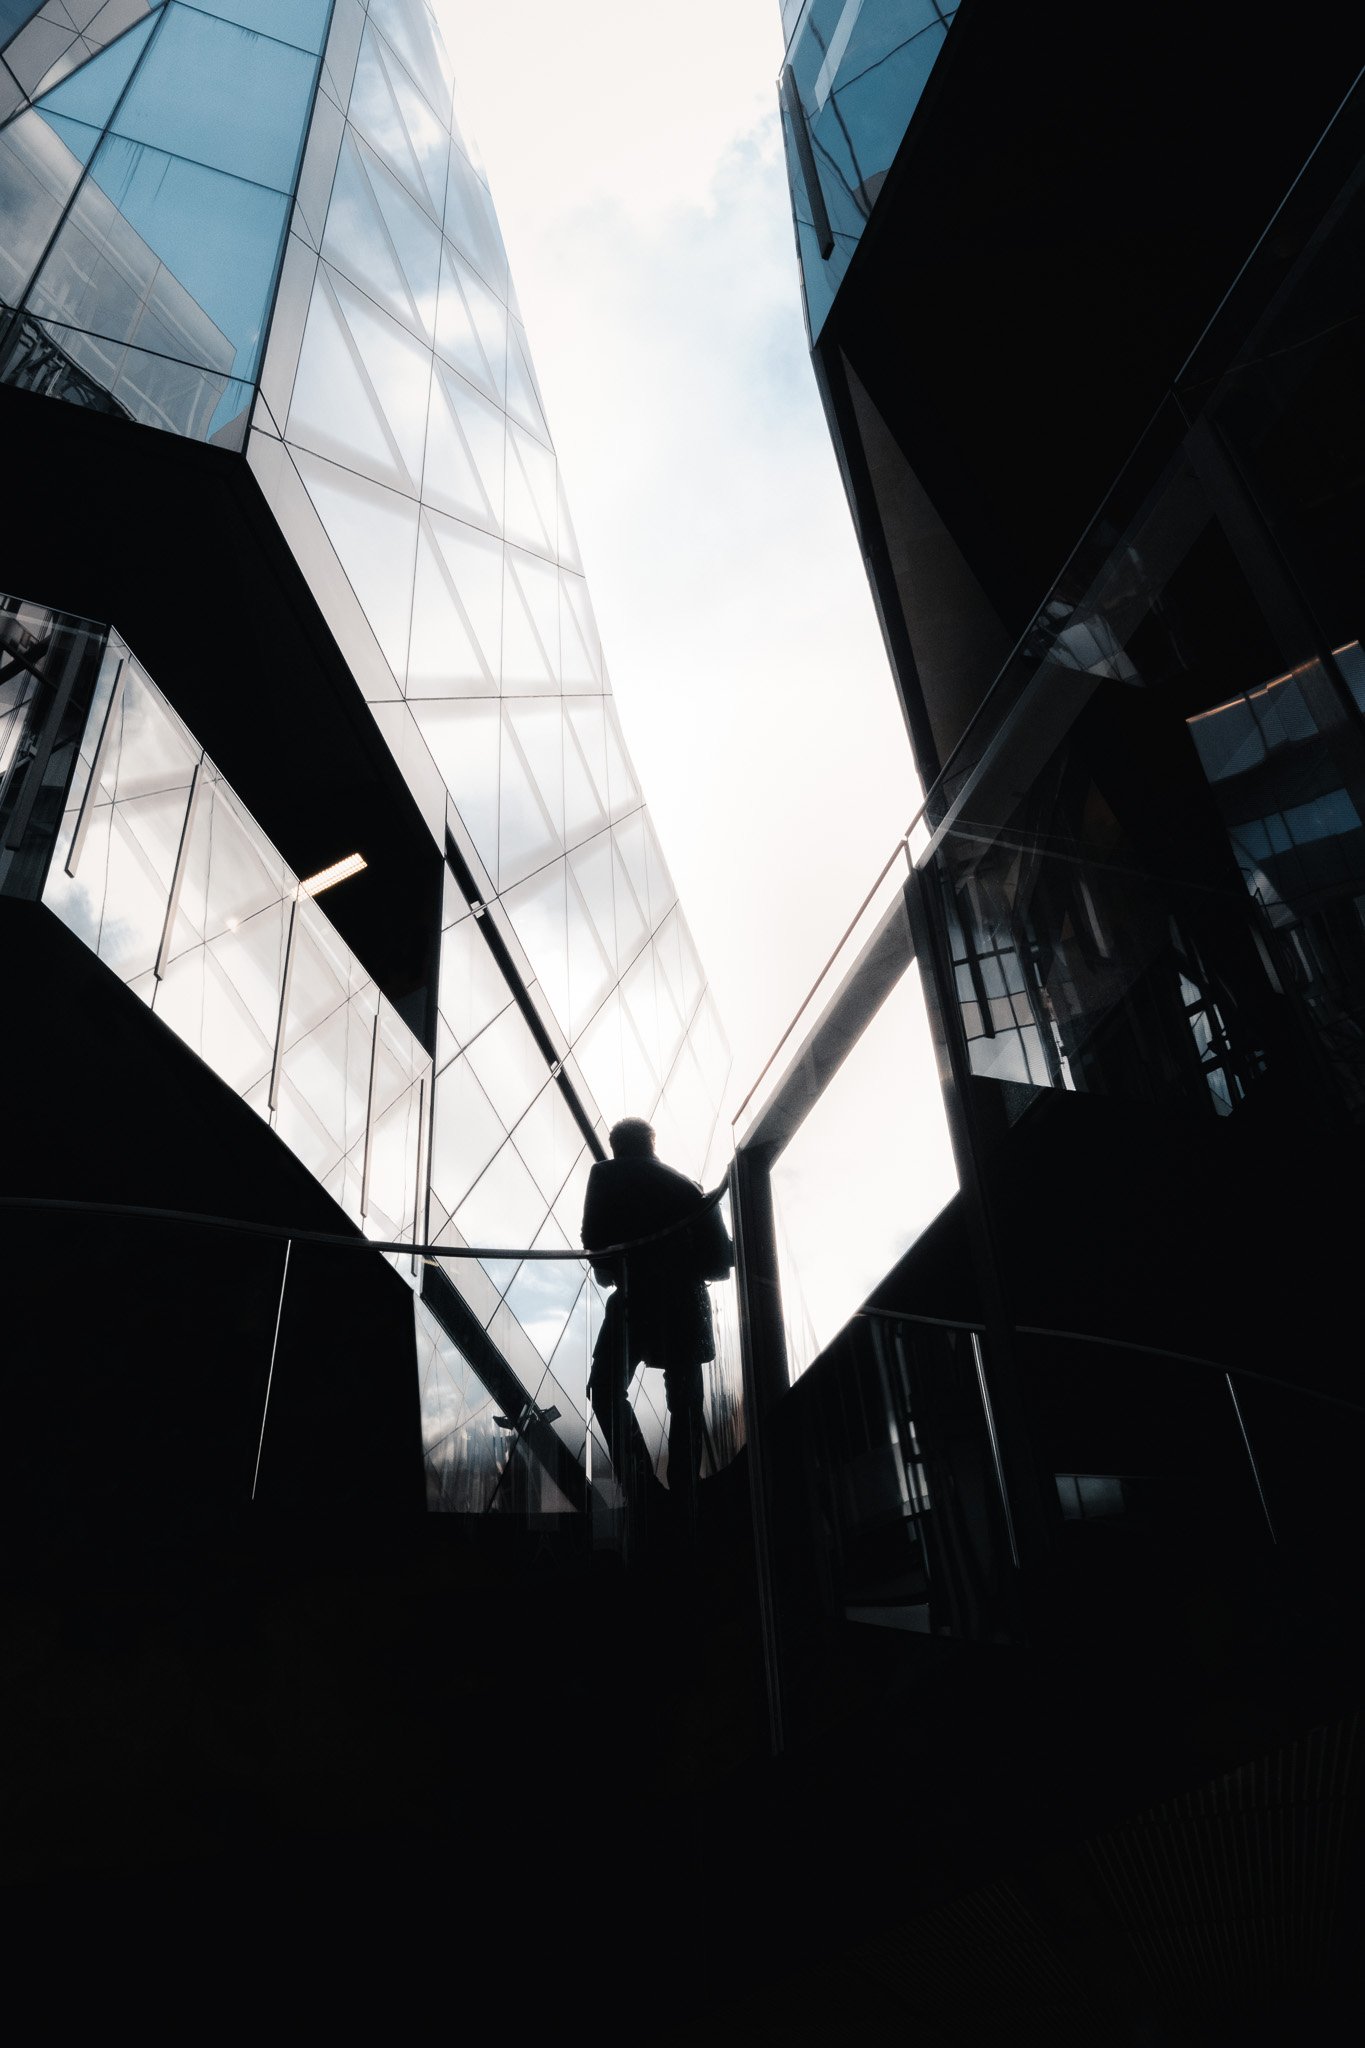
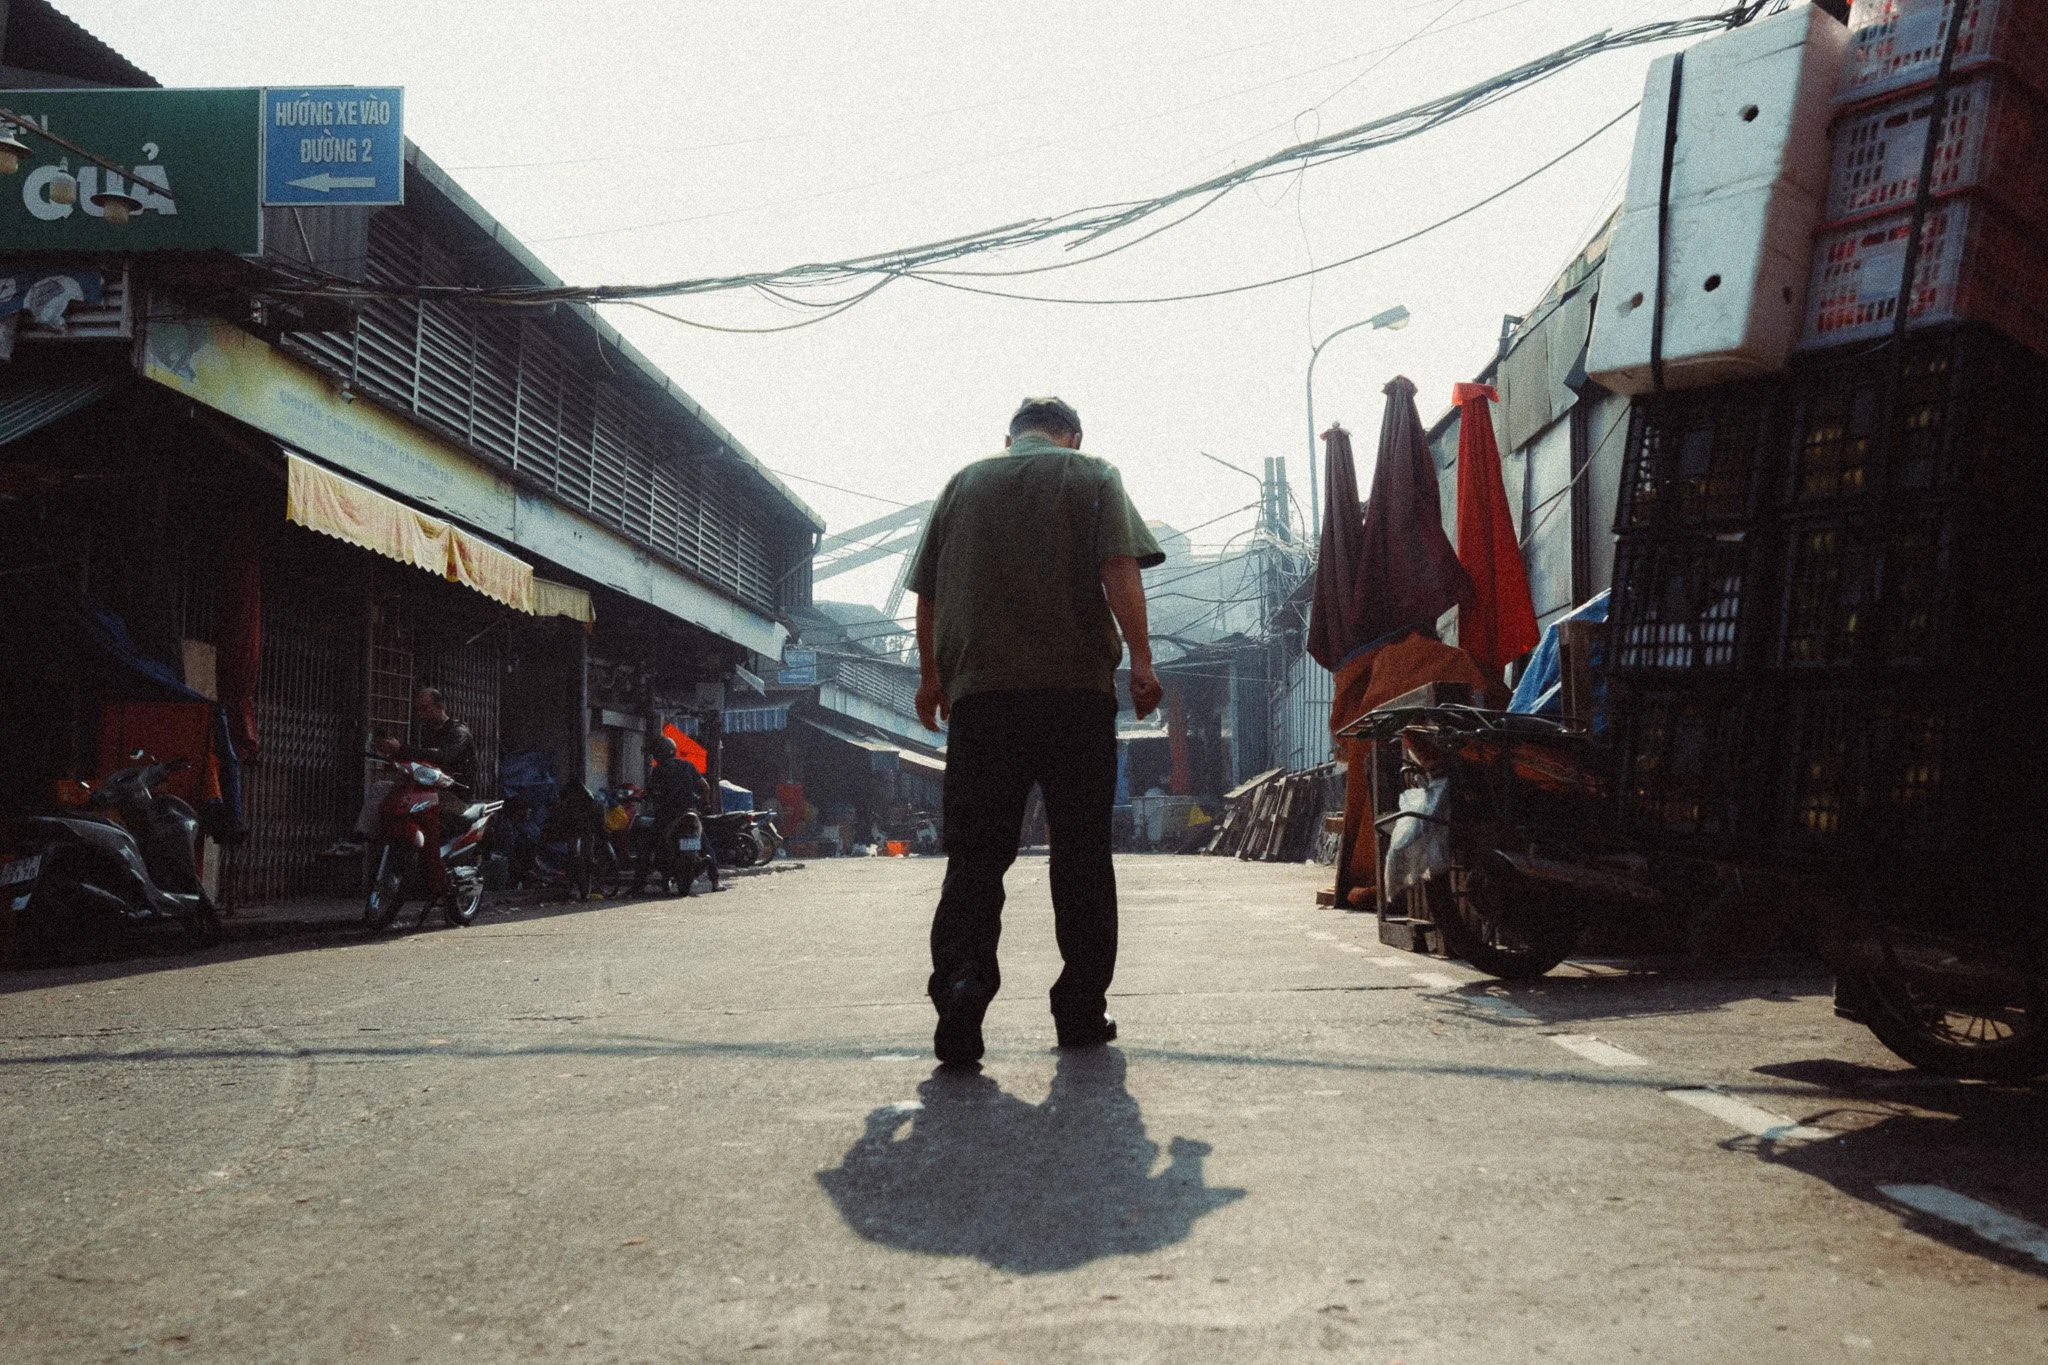
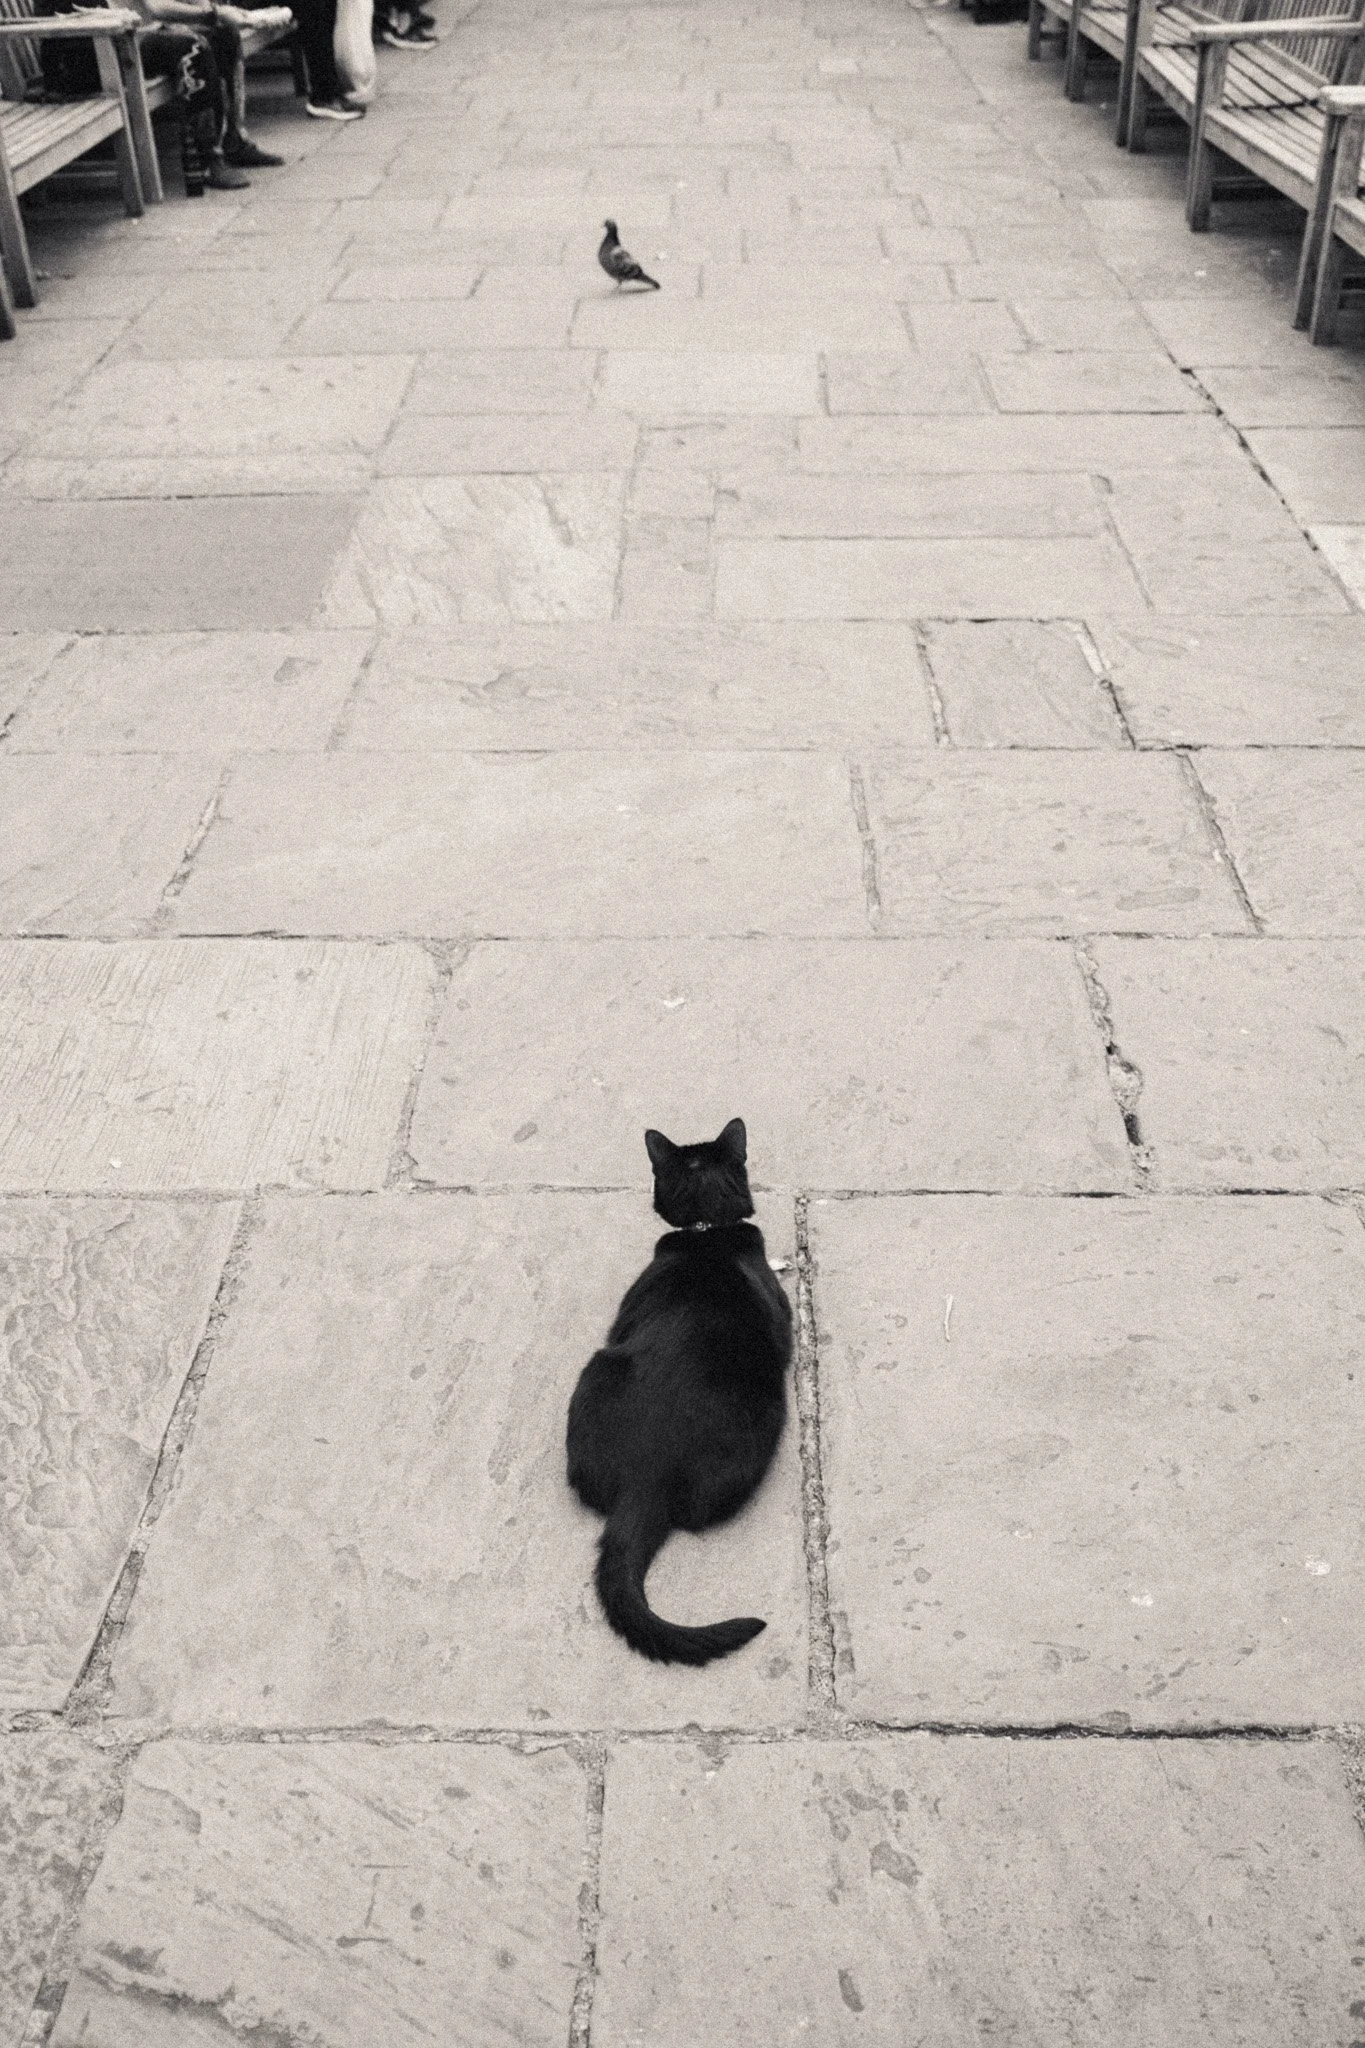
Most of our photographs are composed with the camera positioned somewhere between our chest and our eyes, meaning that we seldom change our perspective.
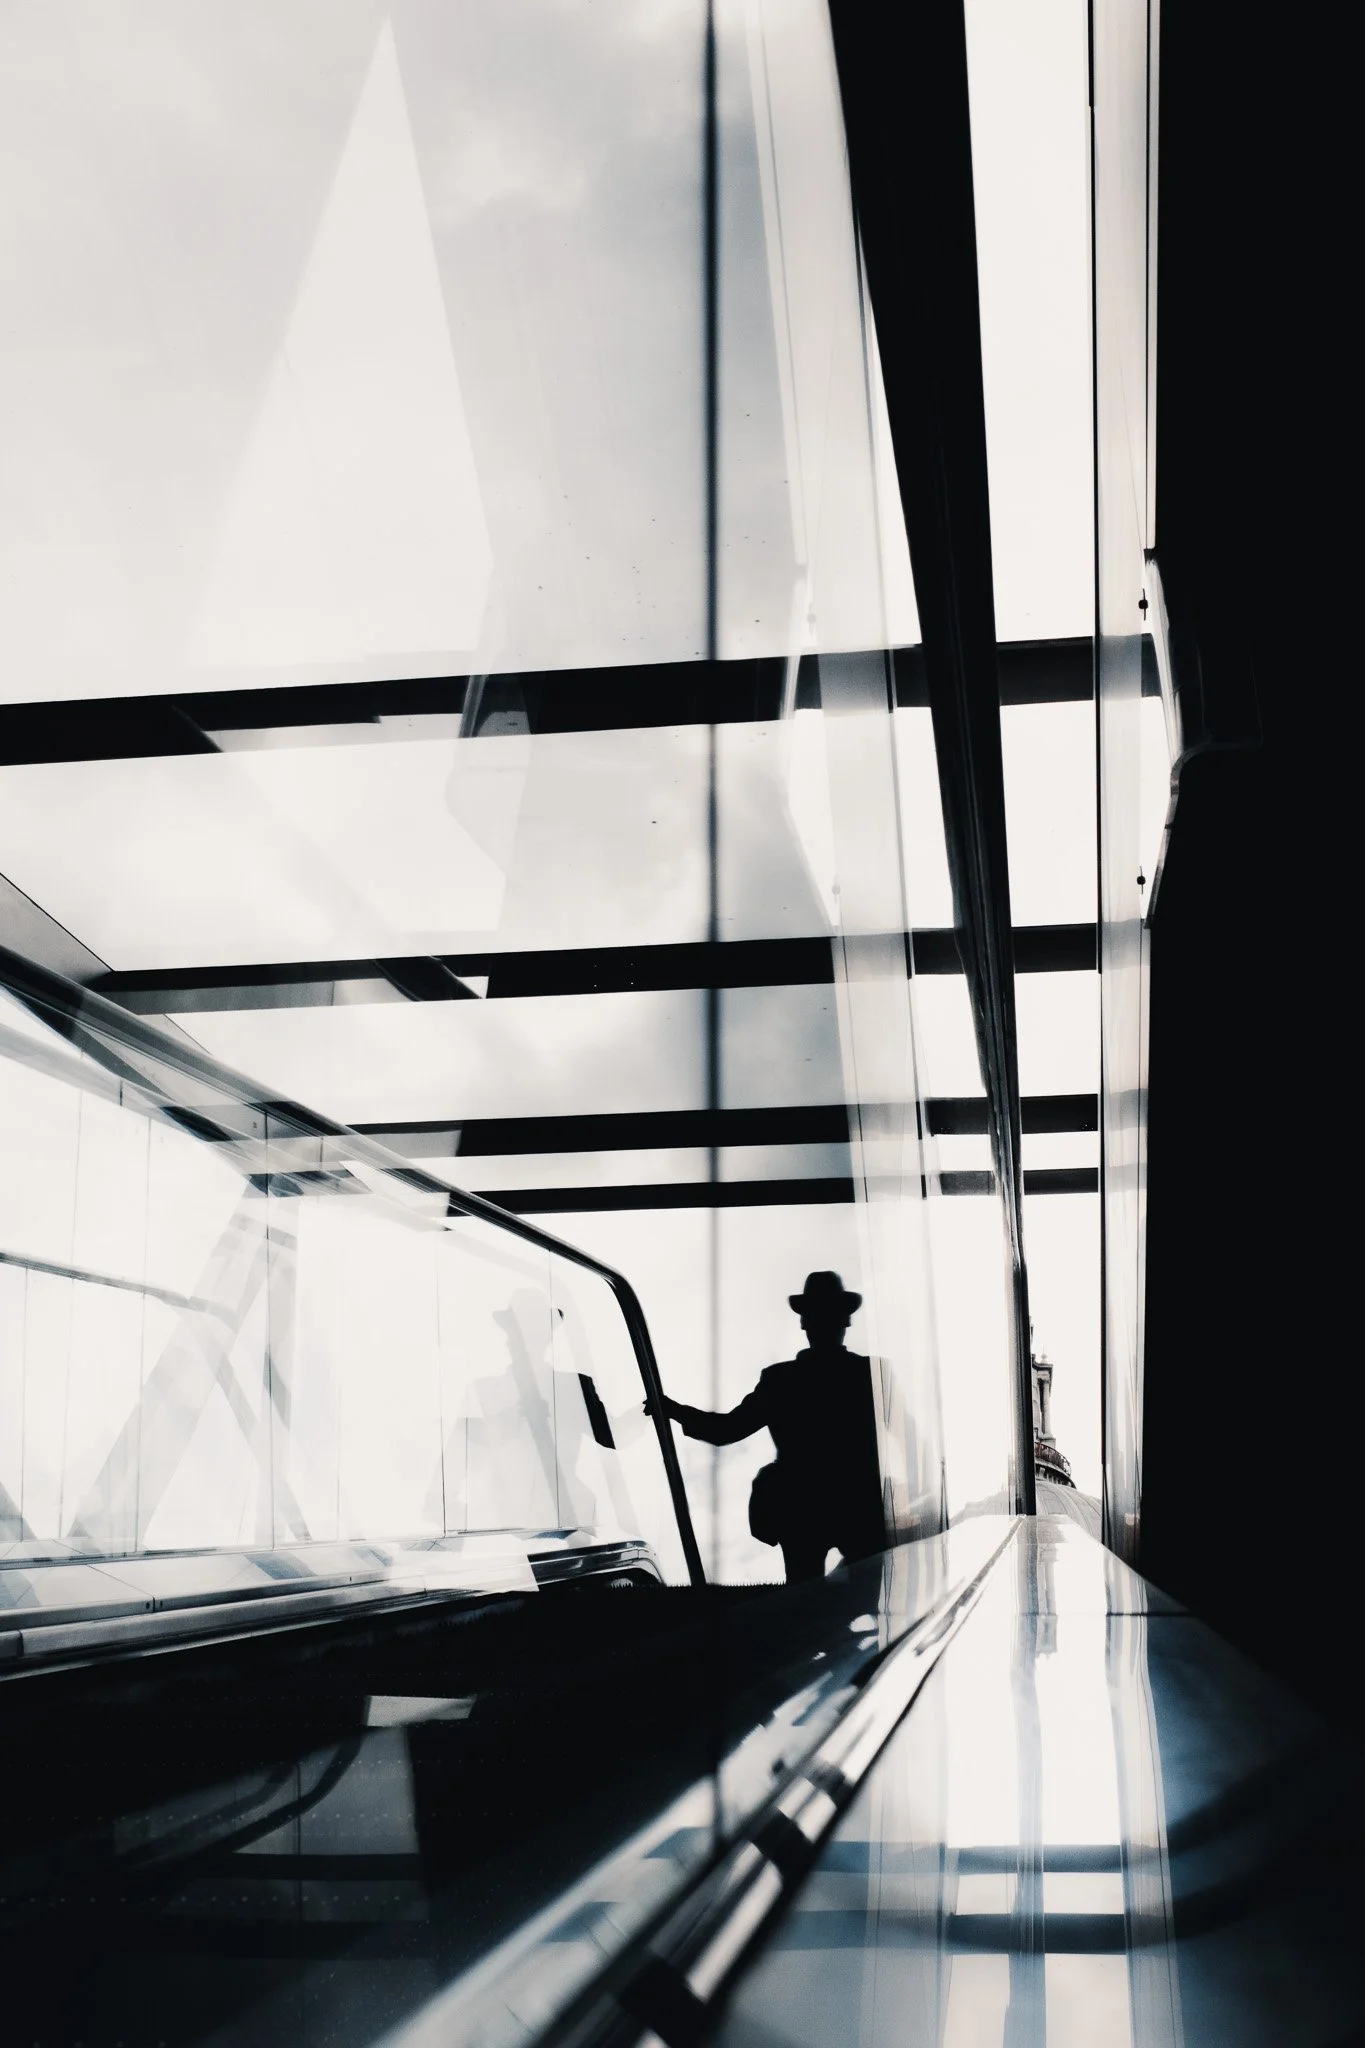
When shooting wide, even a slight change in angle or camera height can make a vast difference to the composition. There isn’t a specific rule about what you should do because it’s entirely subjective. The aim is simply to experiment.
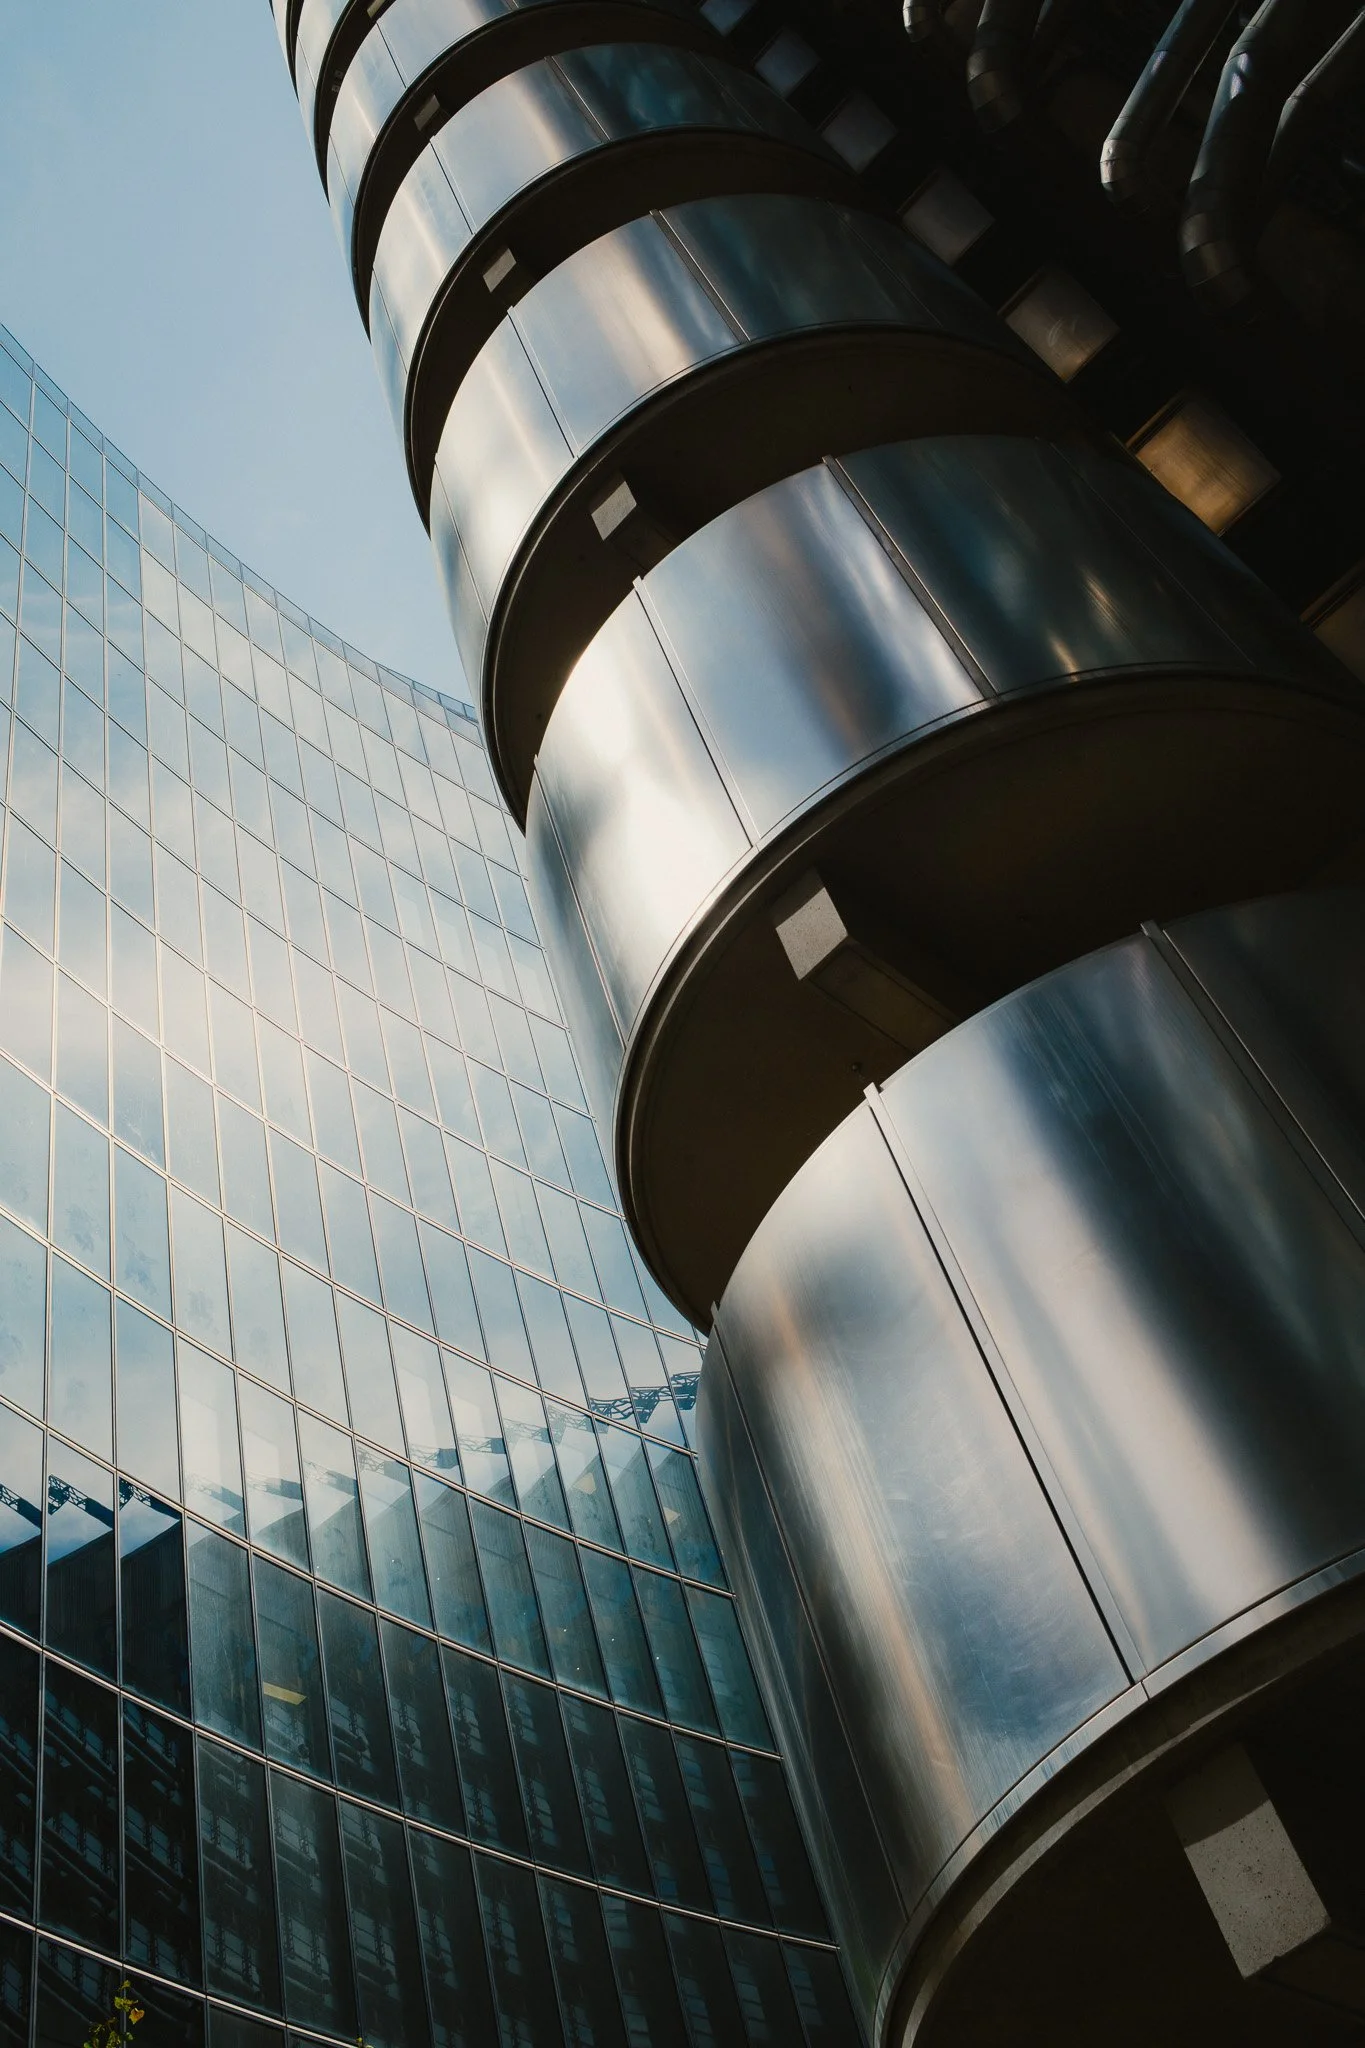
Hold your camera above your head and point it down. Place it on the floor and point it up. Put it against a reflective surface, position it in the gap between two panes of glass, or even tilt it slightly. Have fun and experiment.
Shoot Into the Corner
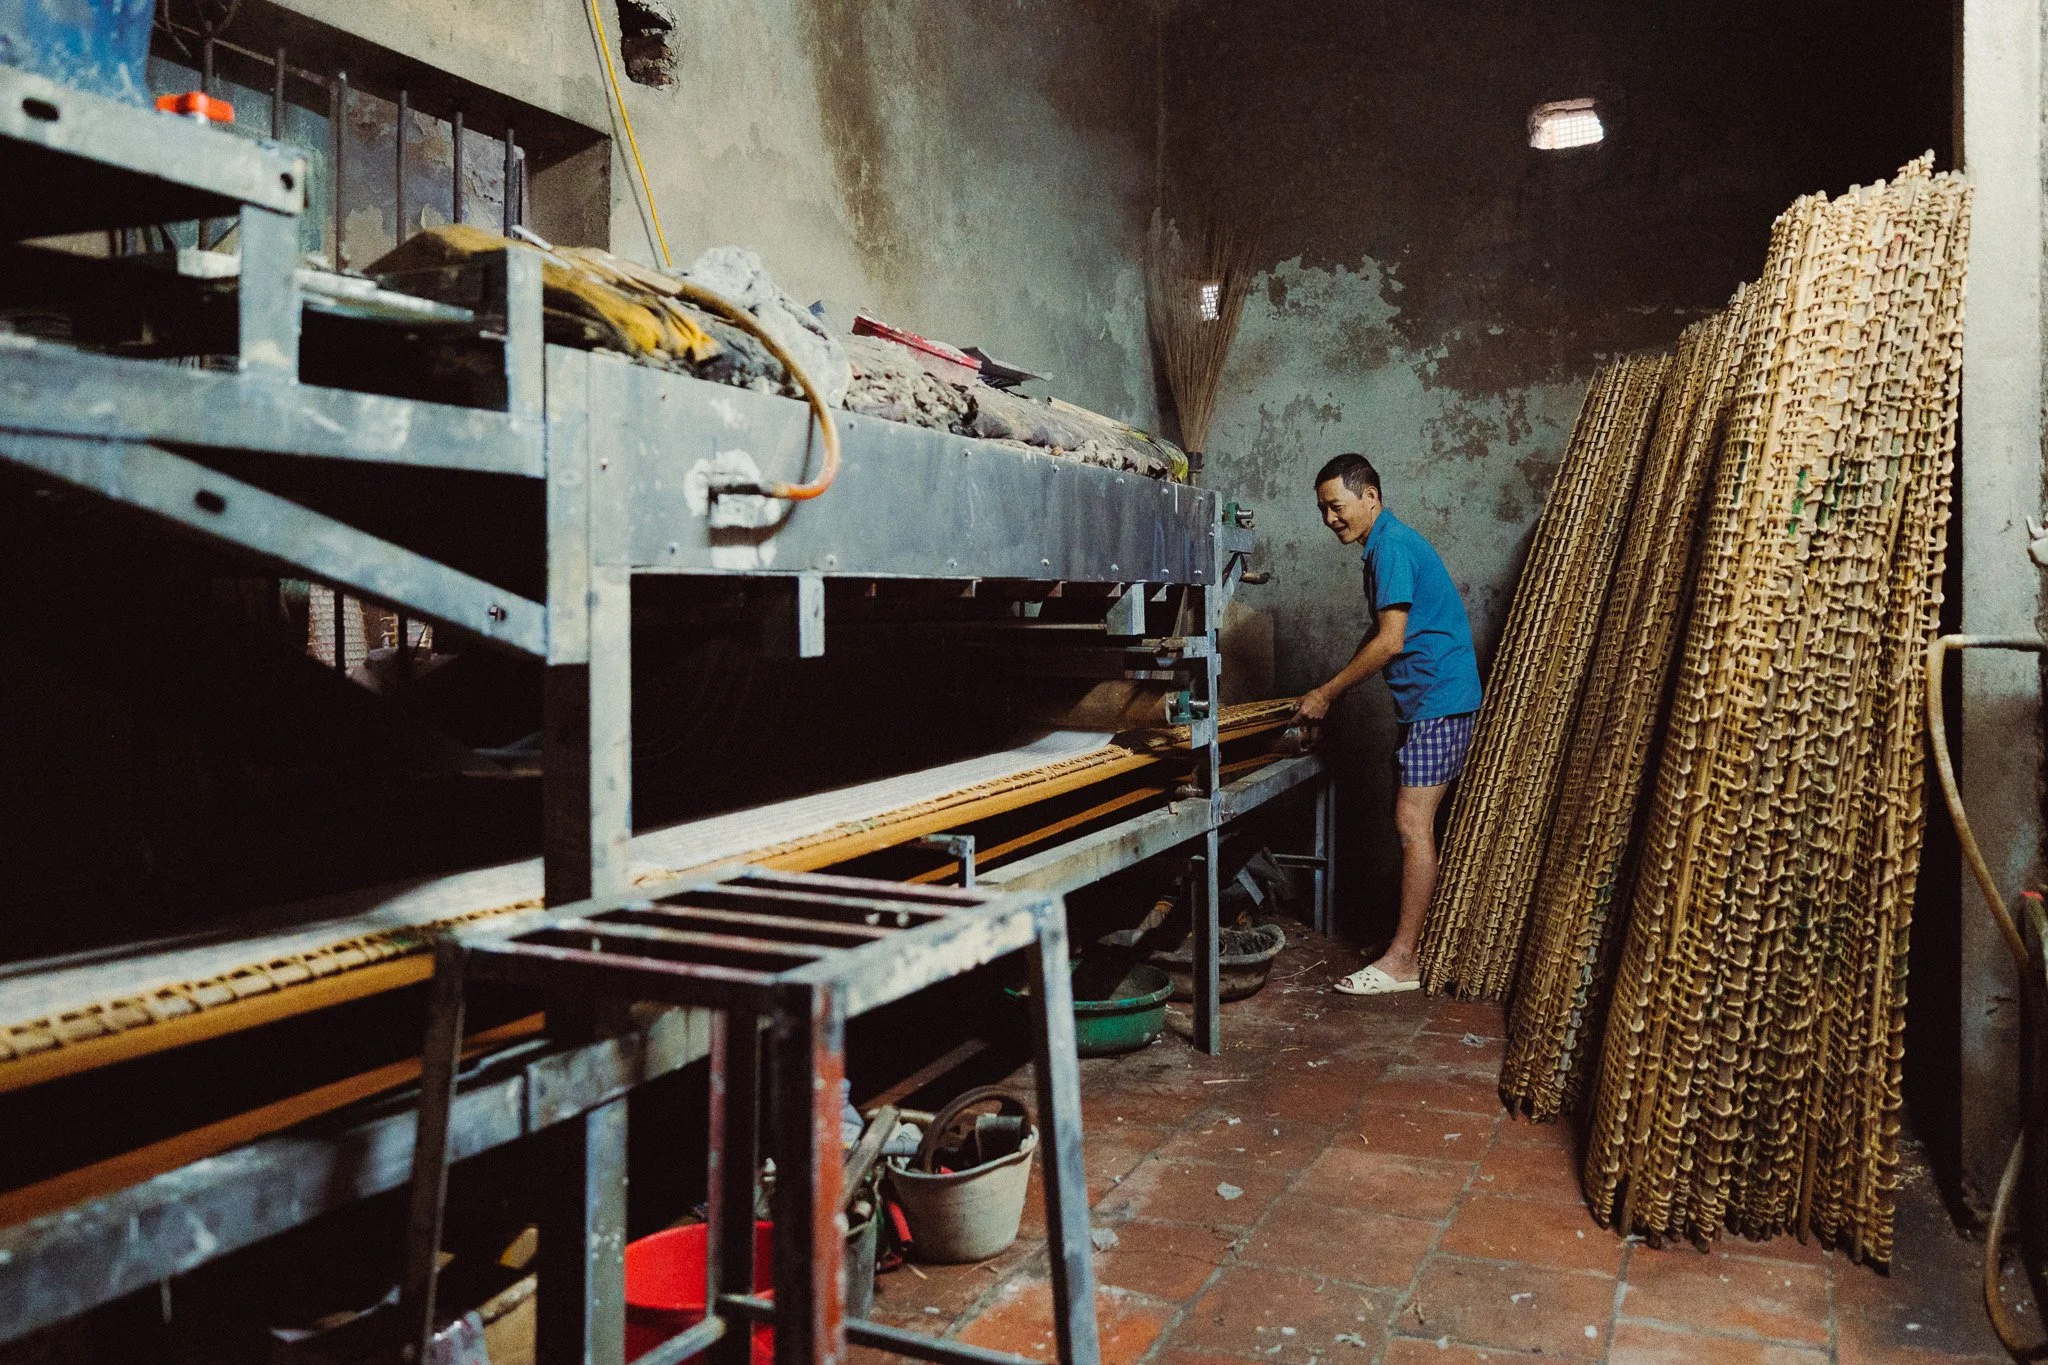
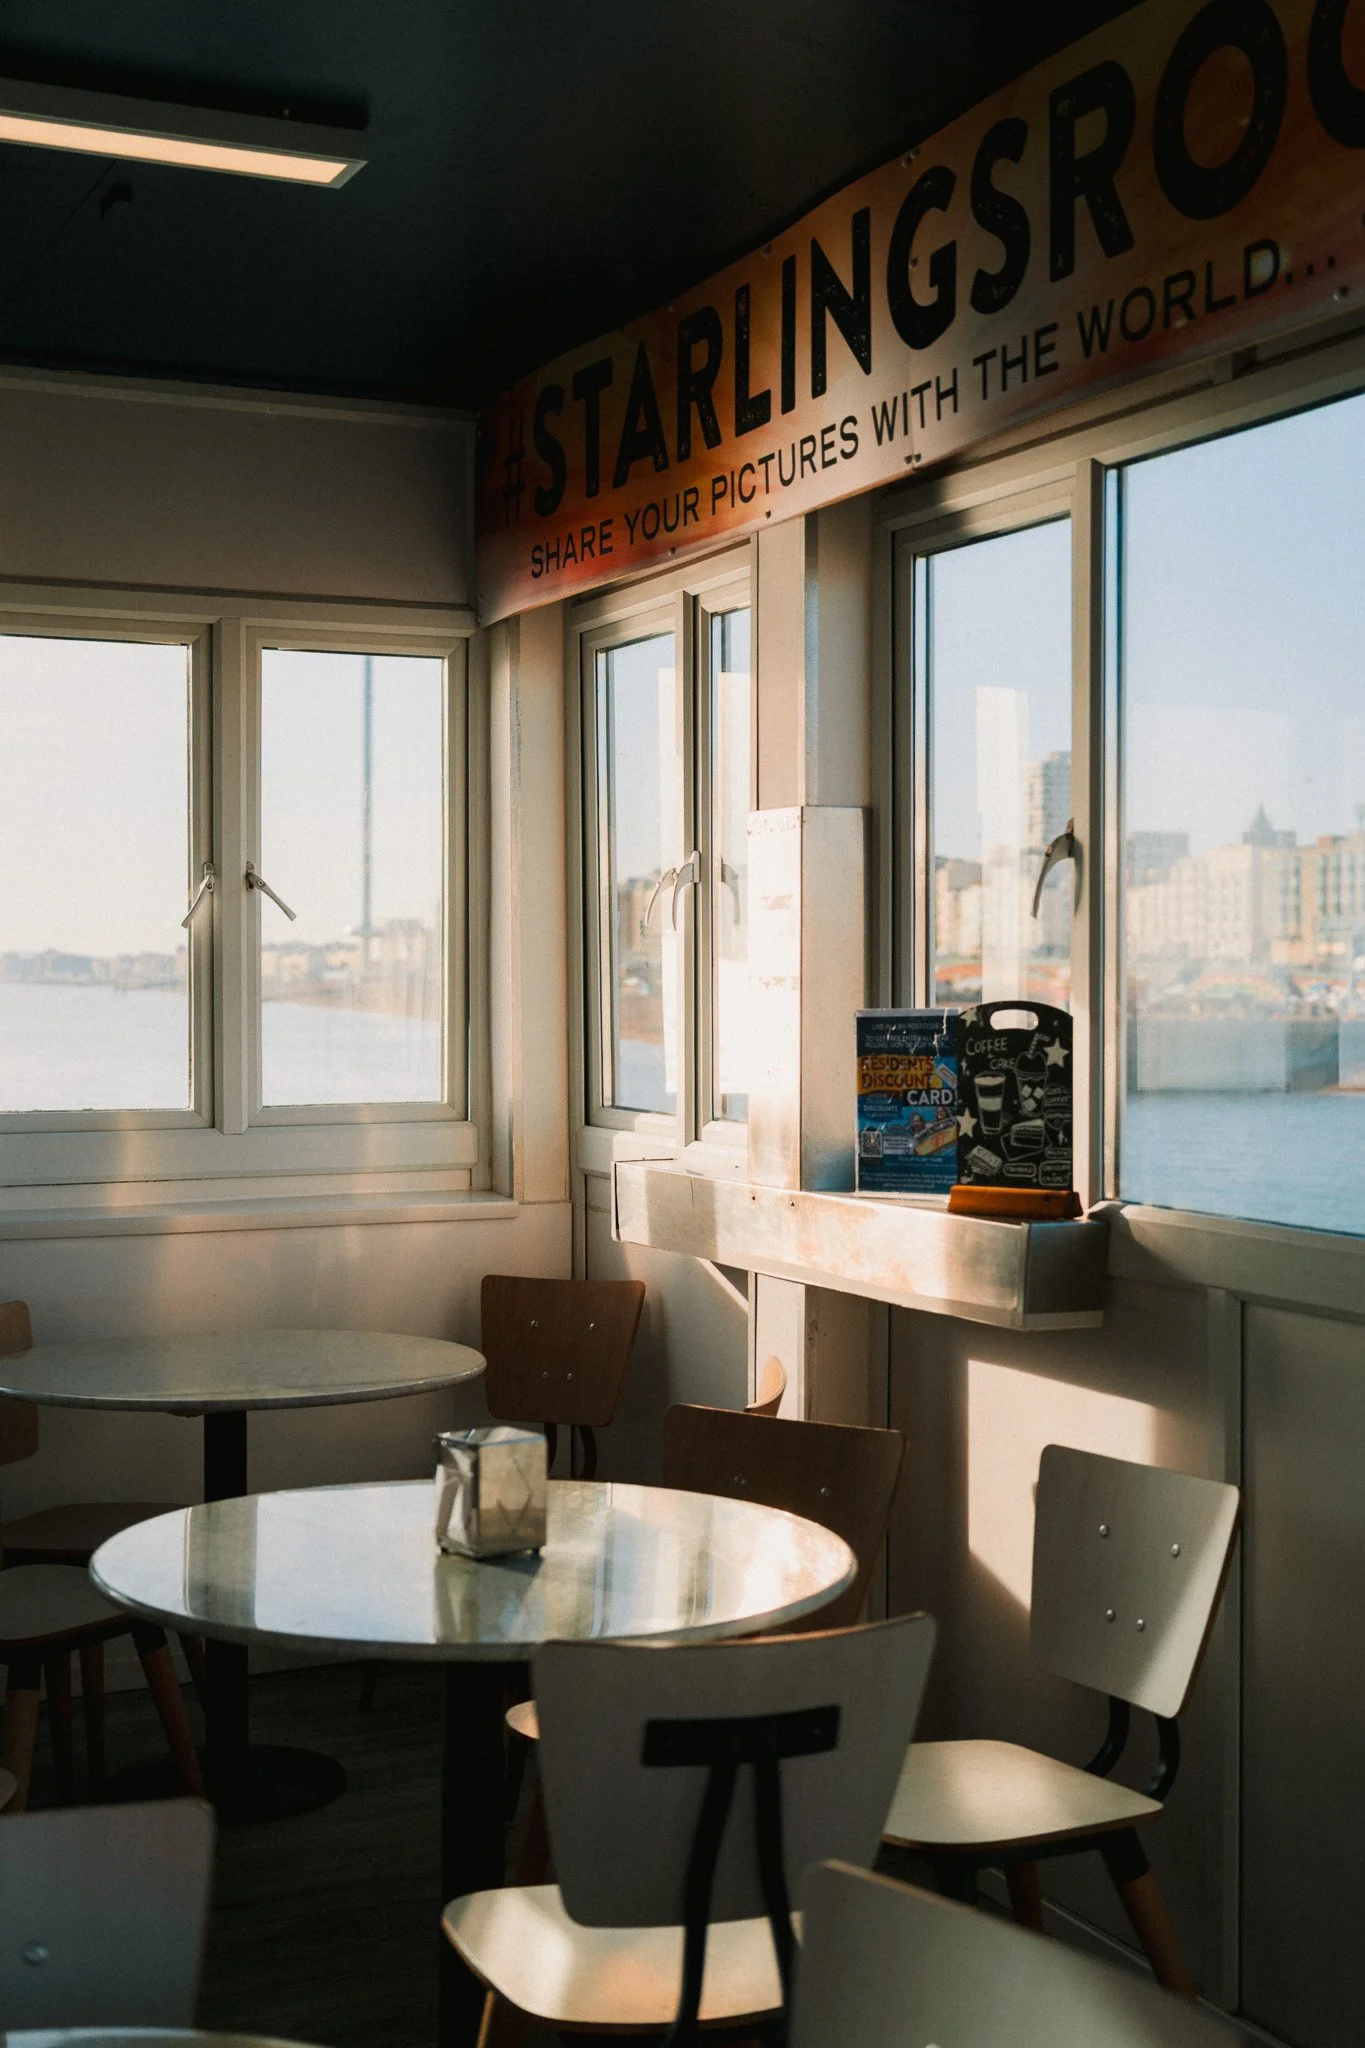
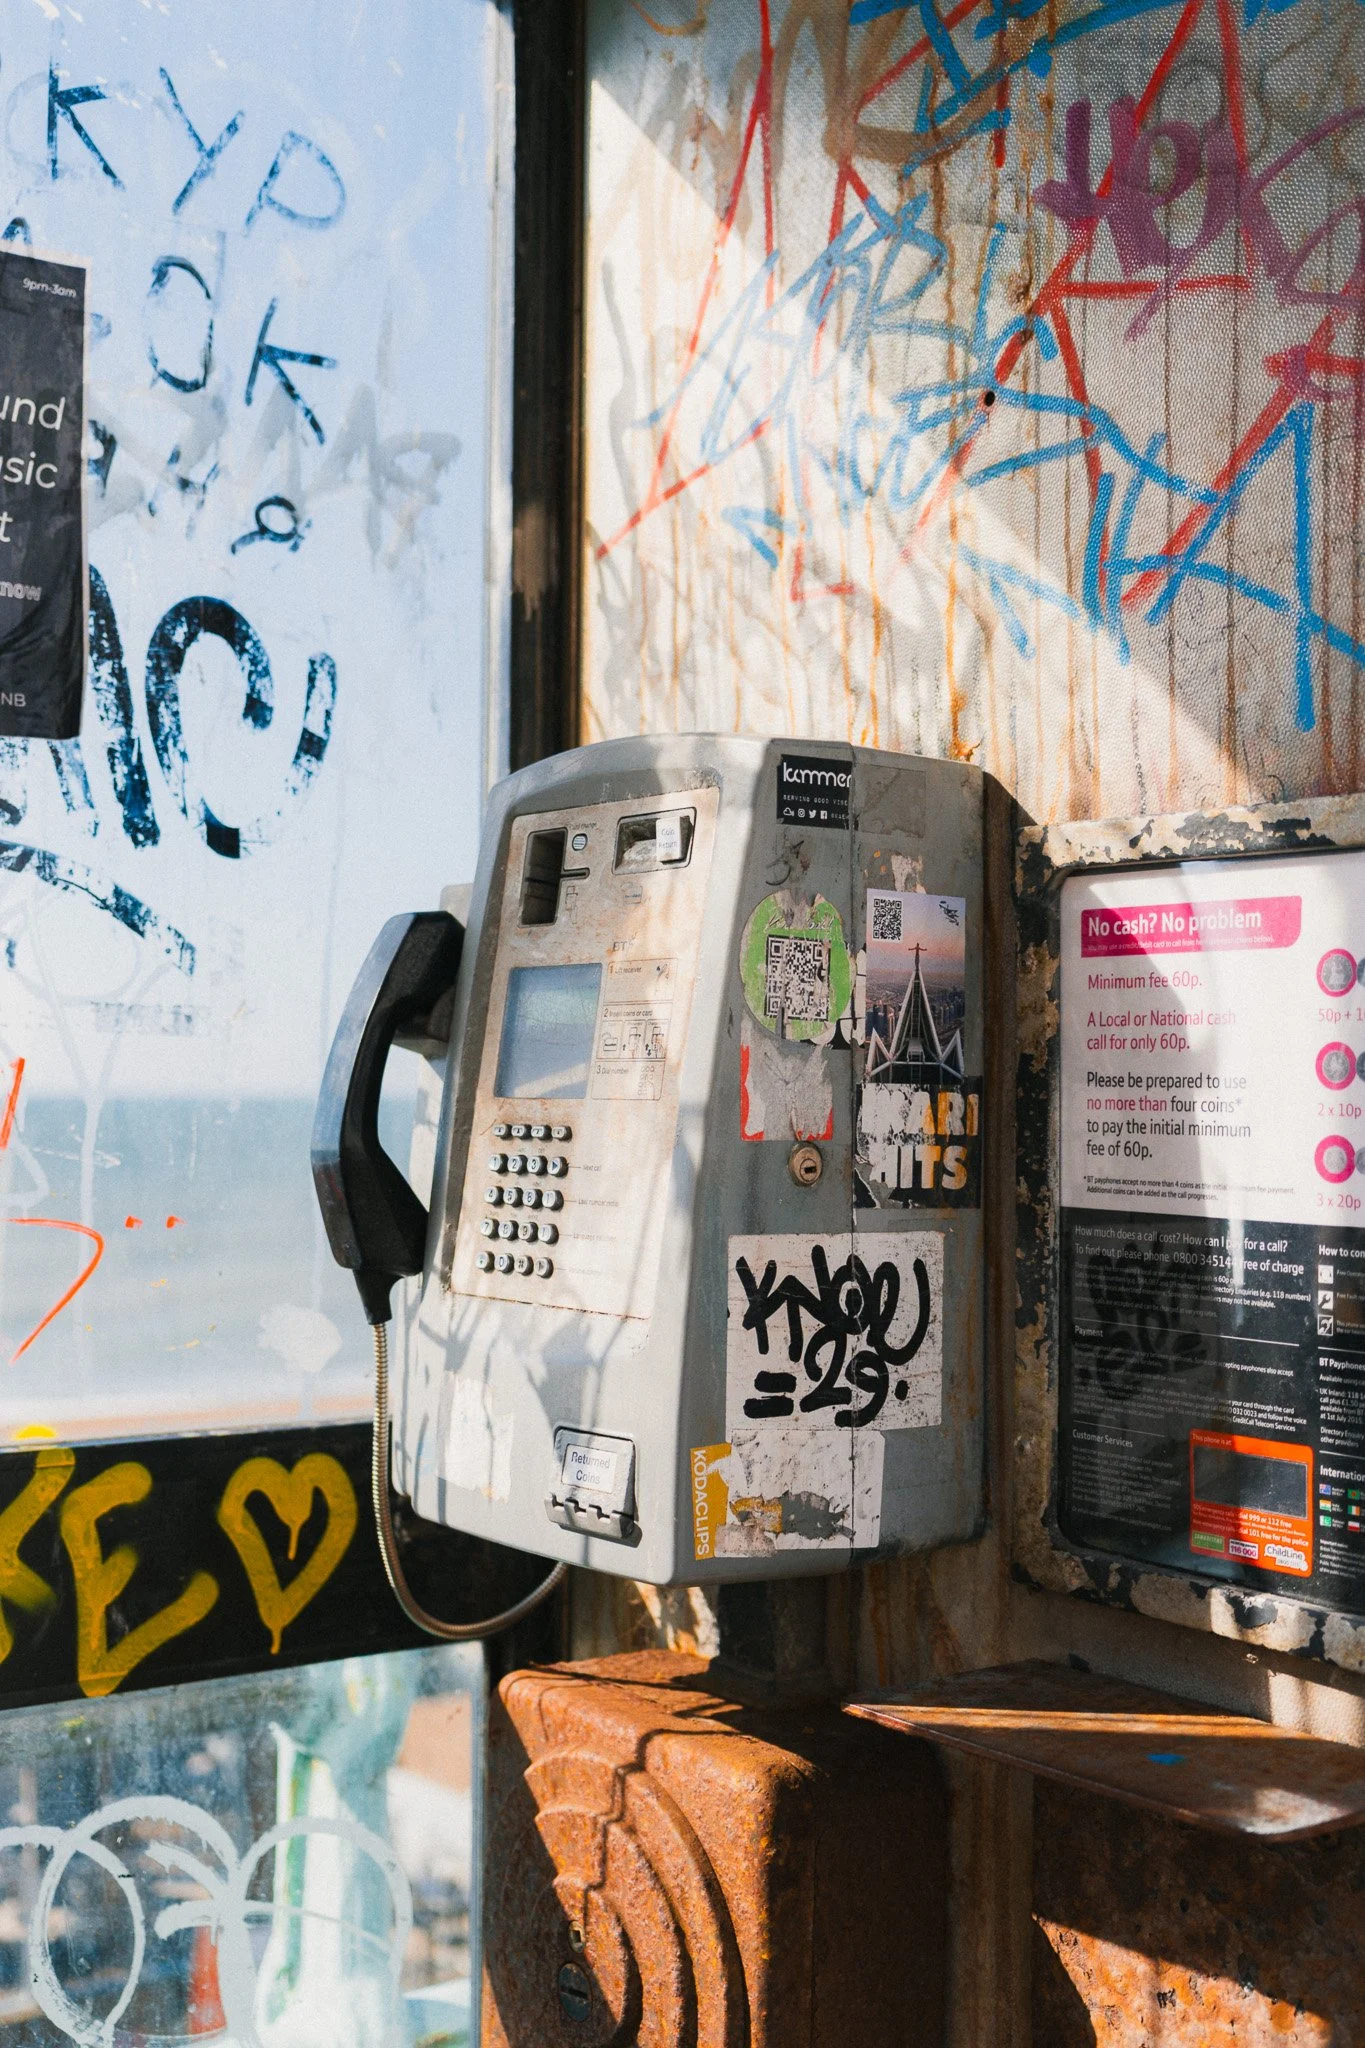
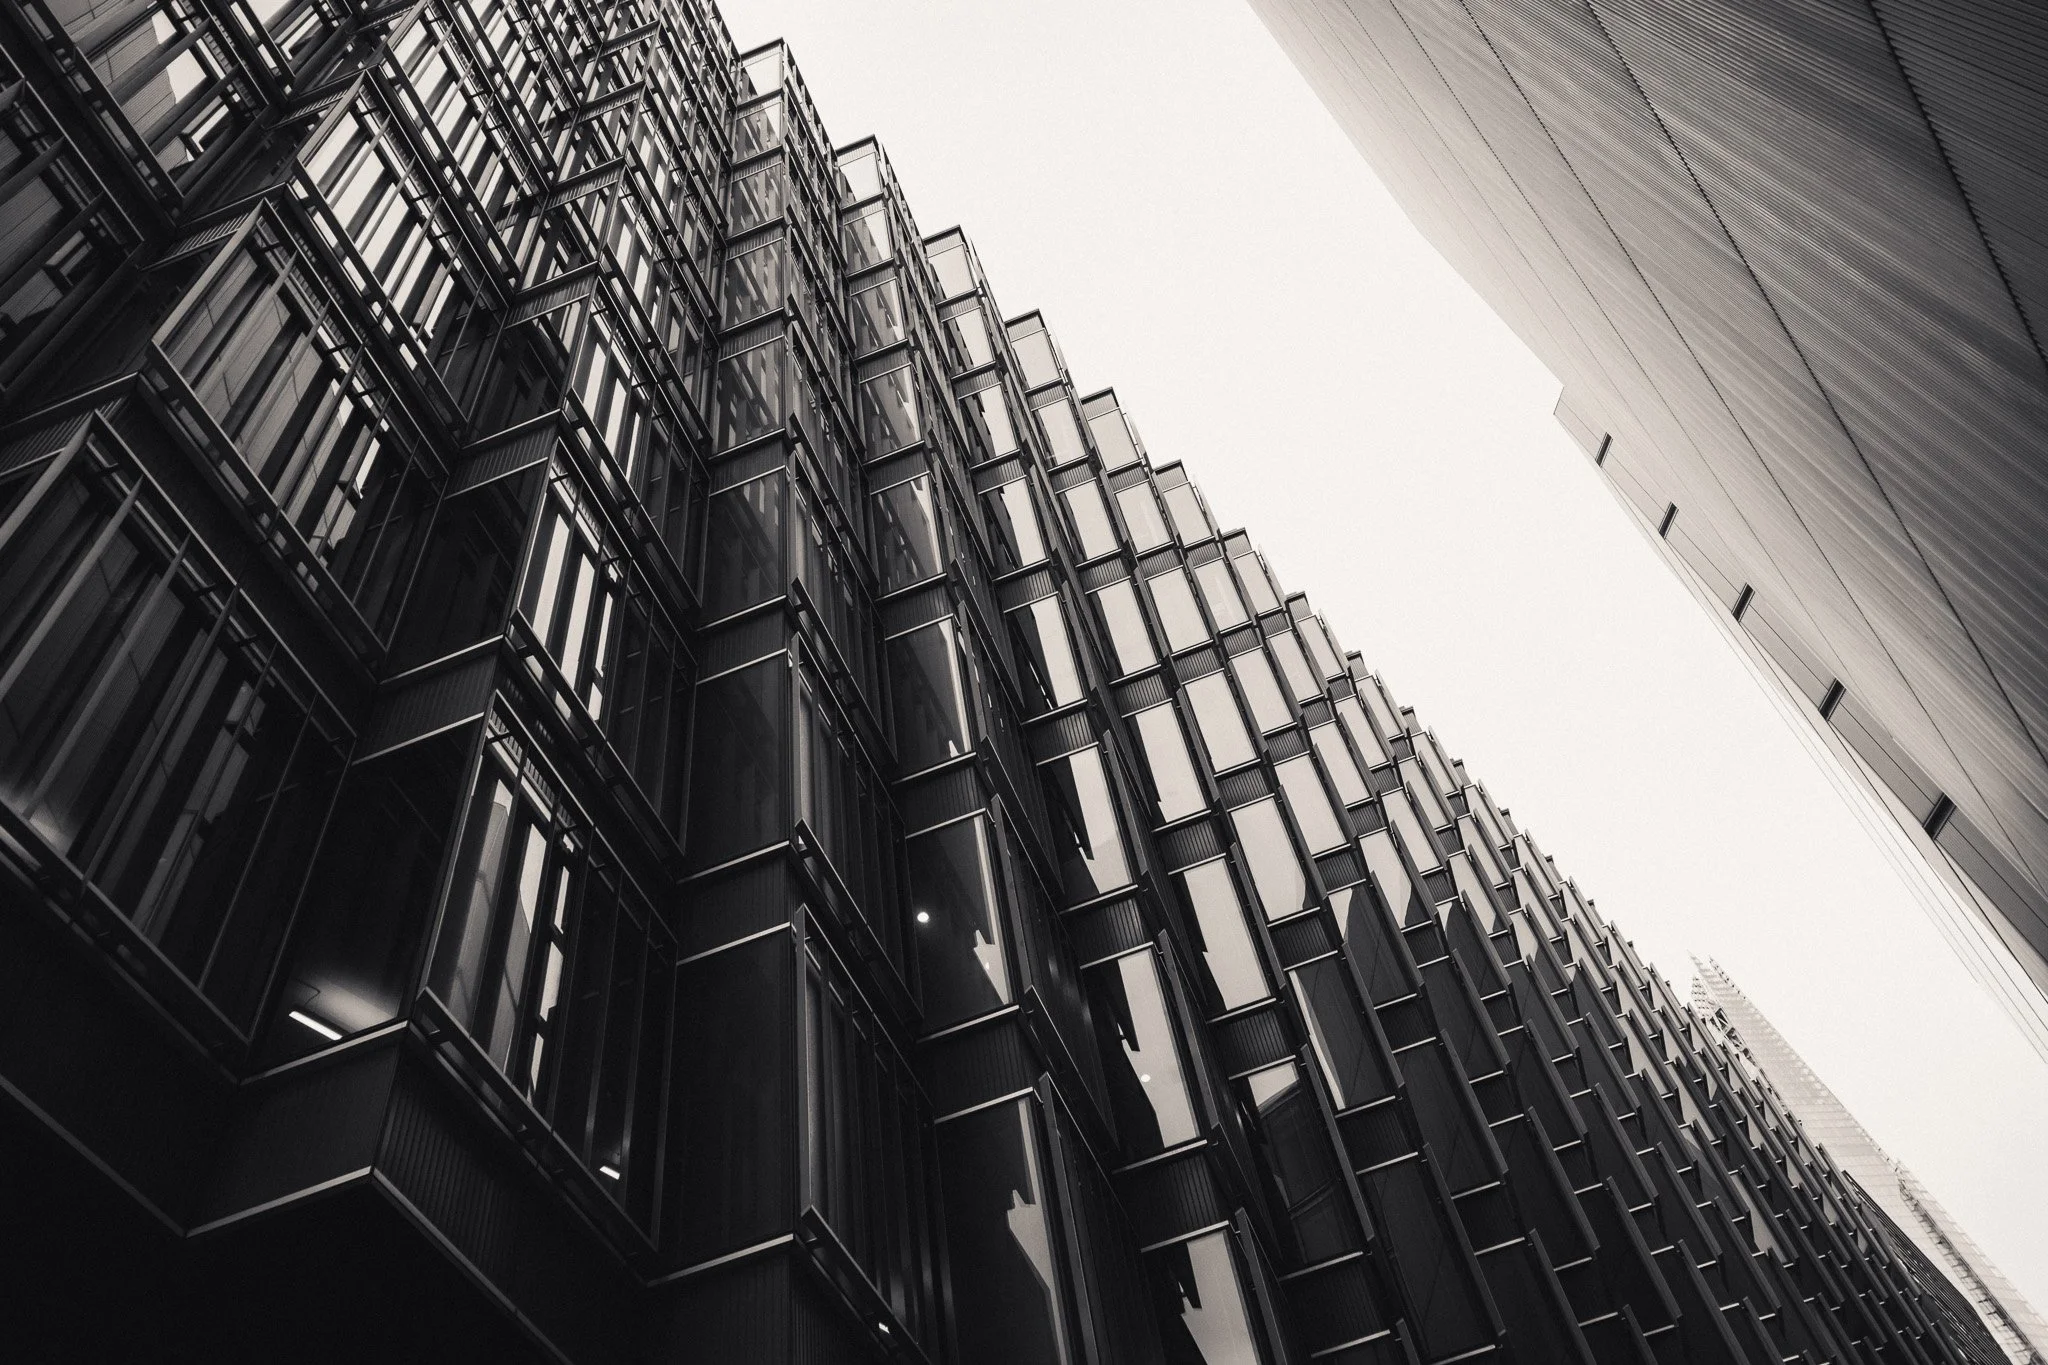
Whenever you are photographing a building, an interior, or any other physical structure, it is good practice to shoot into a corner. Shooting into a corner is an effective way to add depth and create strong leading lines. In turn, this can transform a fairly mundane scene into something more interesting.
Use Contrast
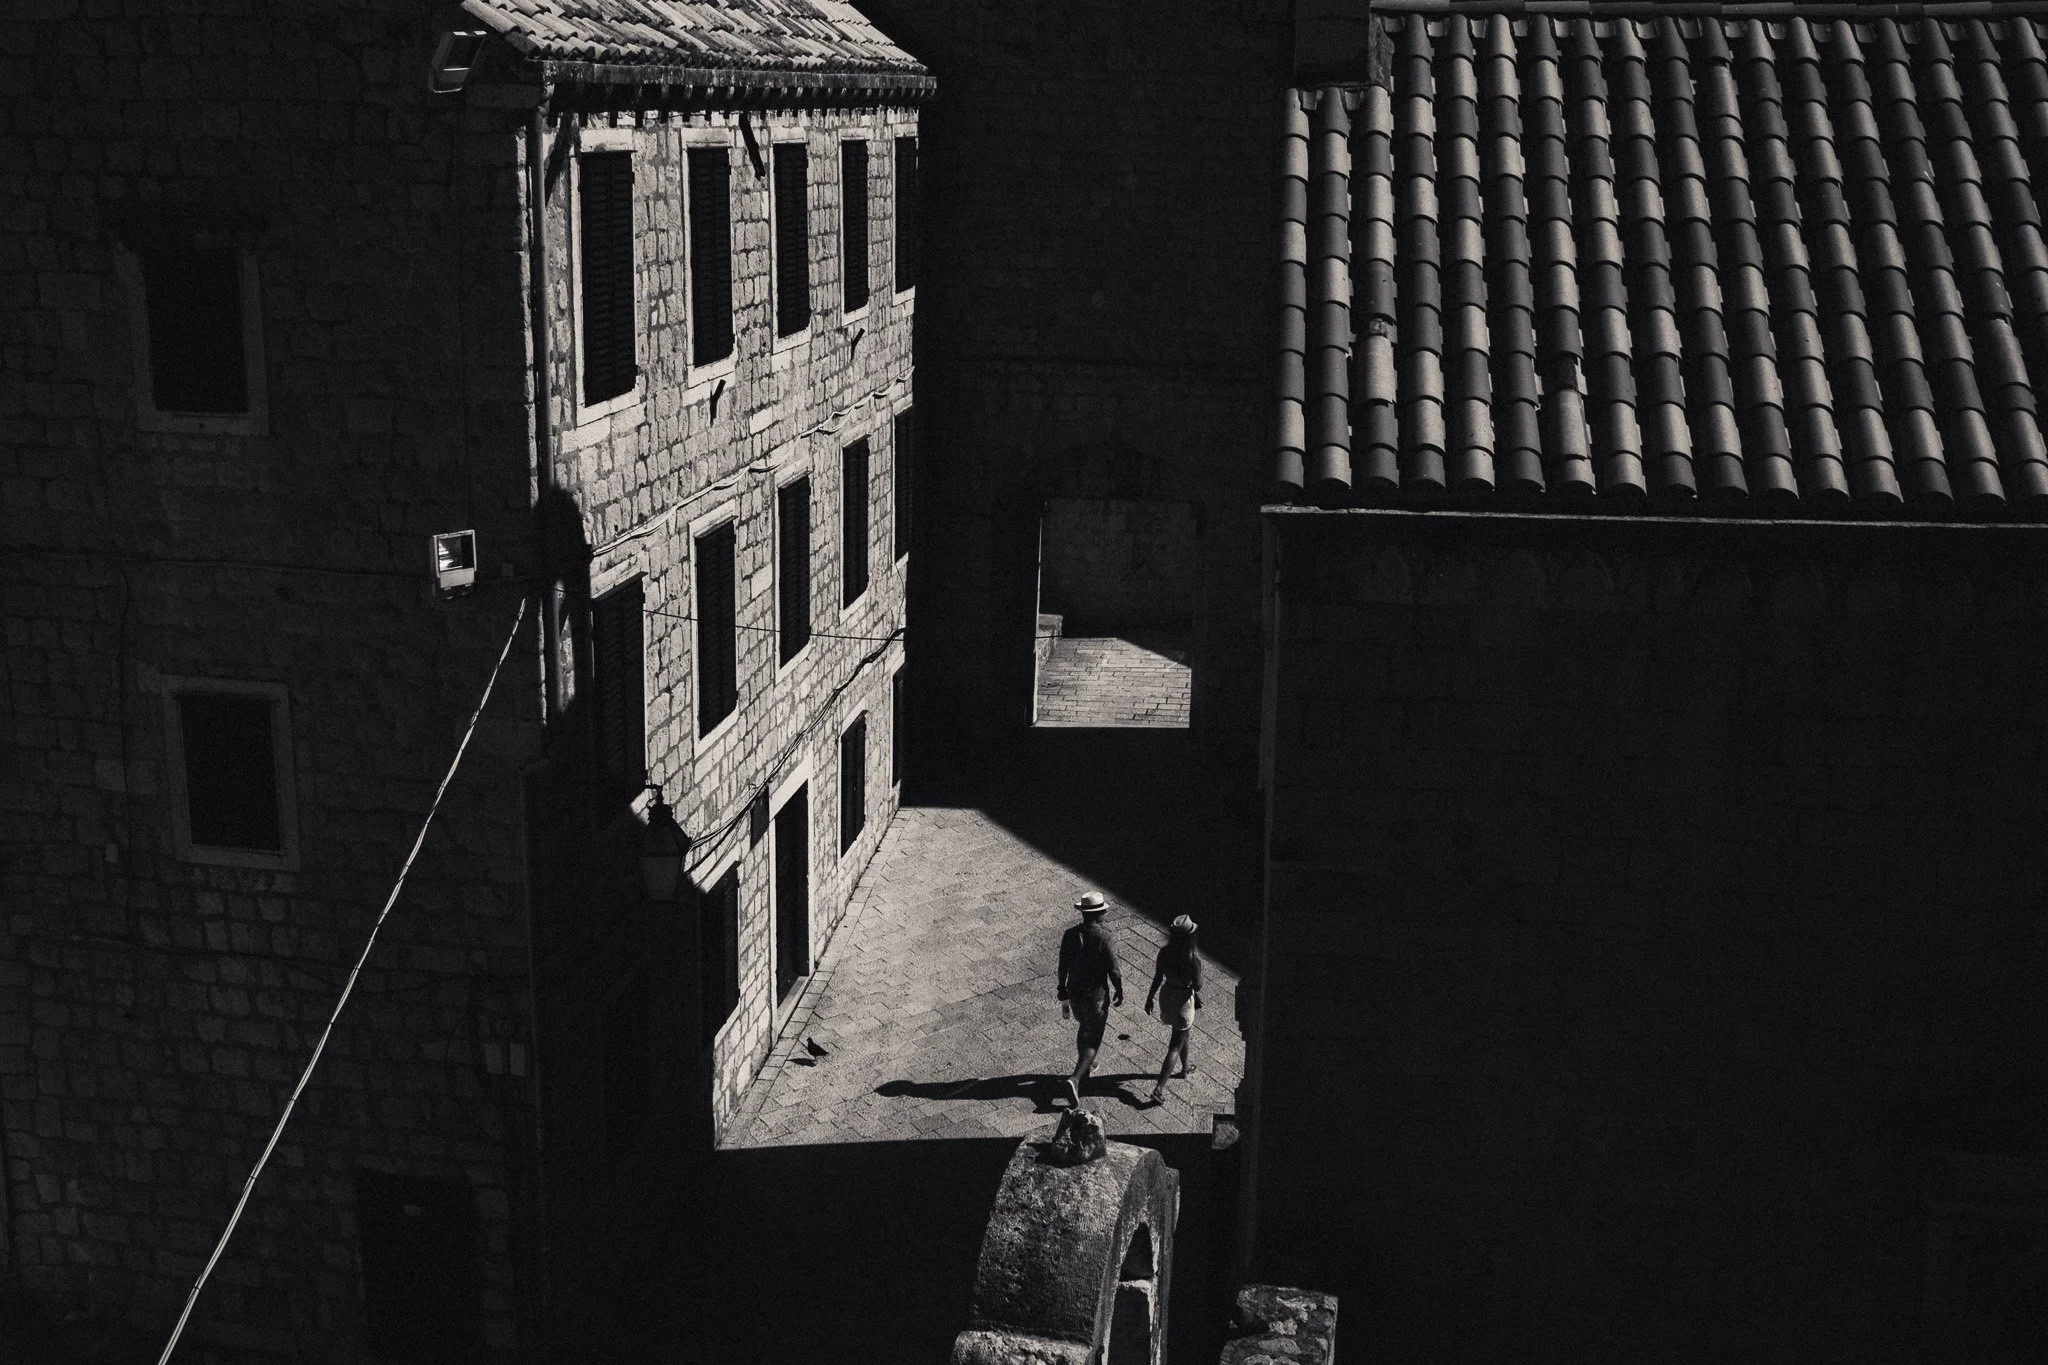
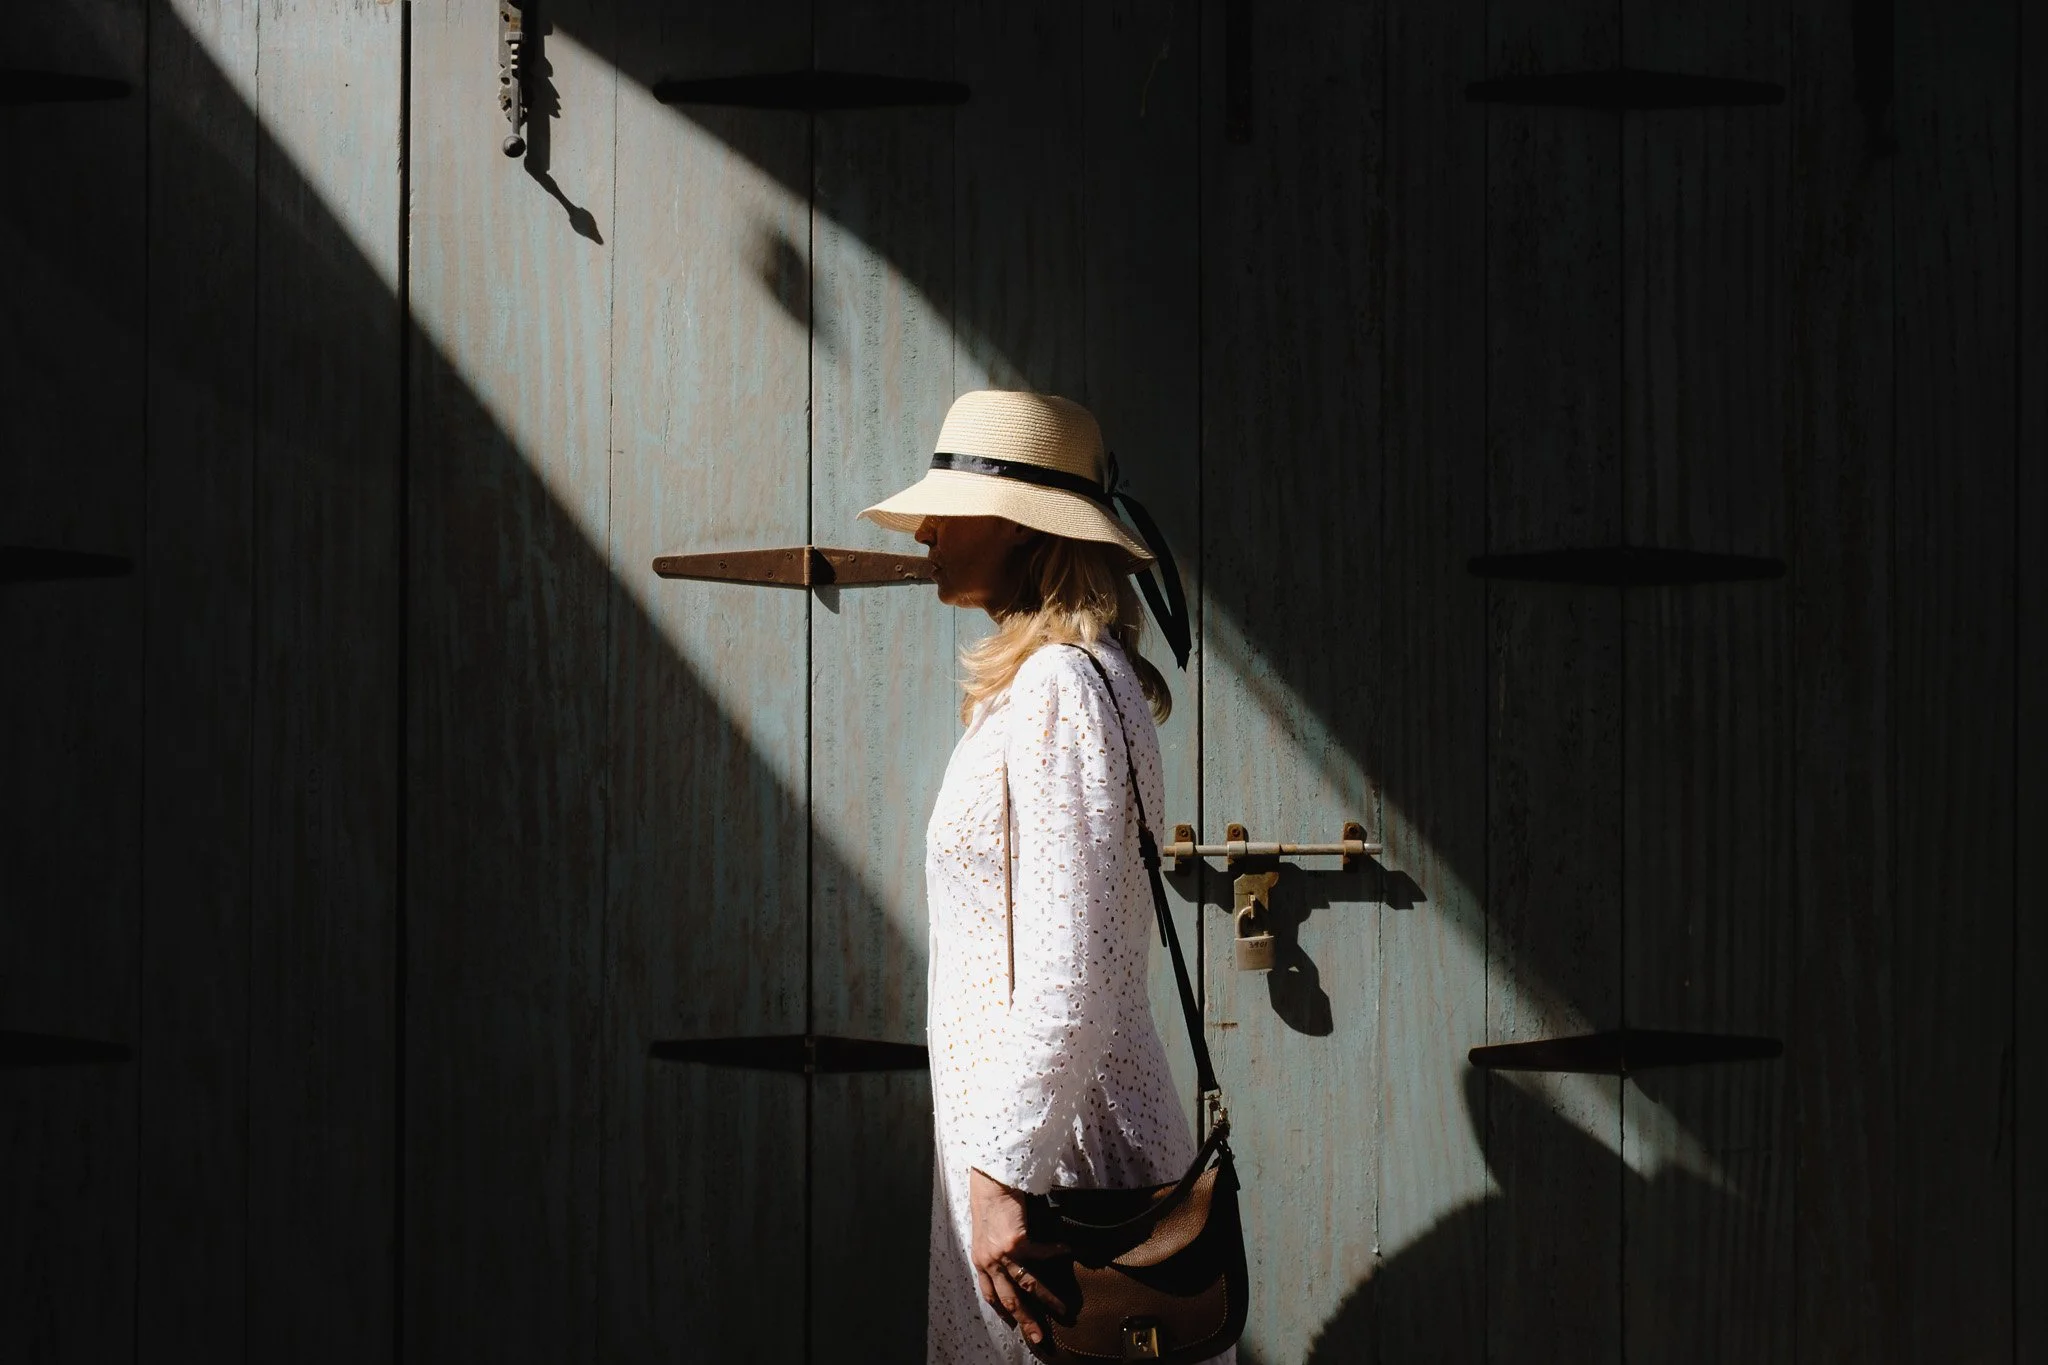
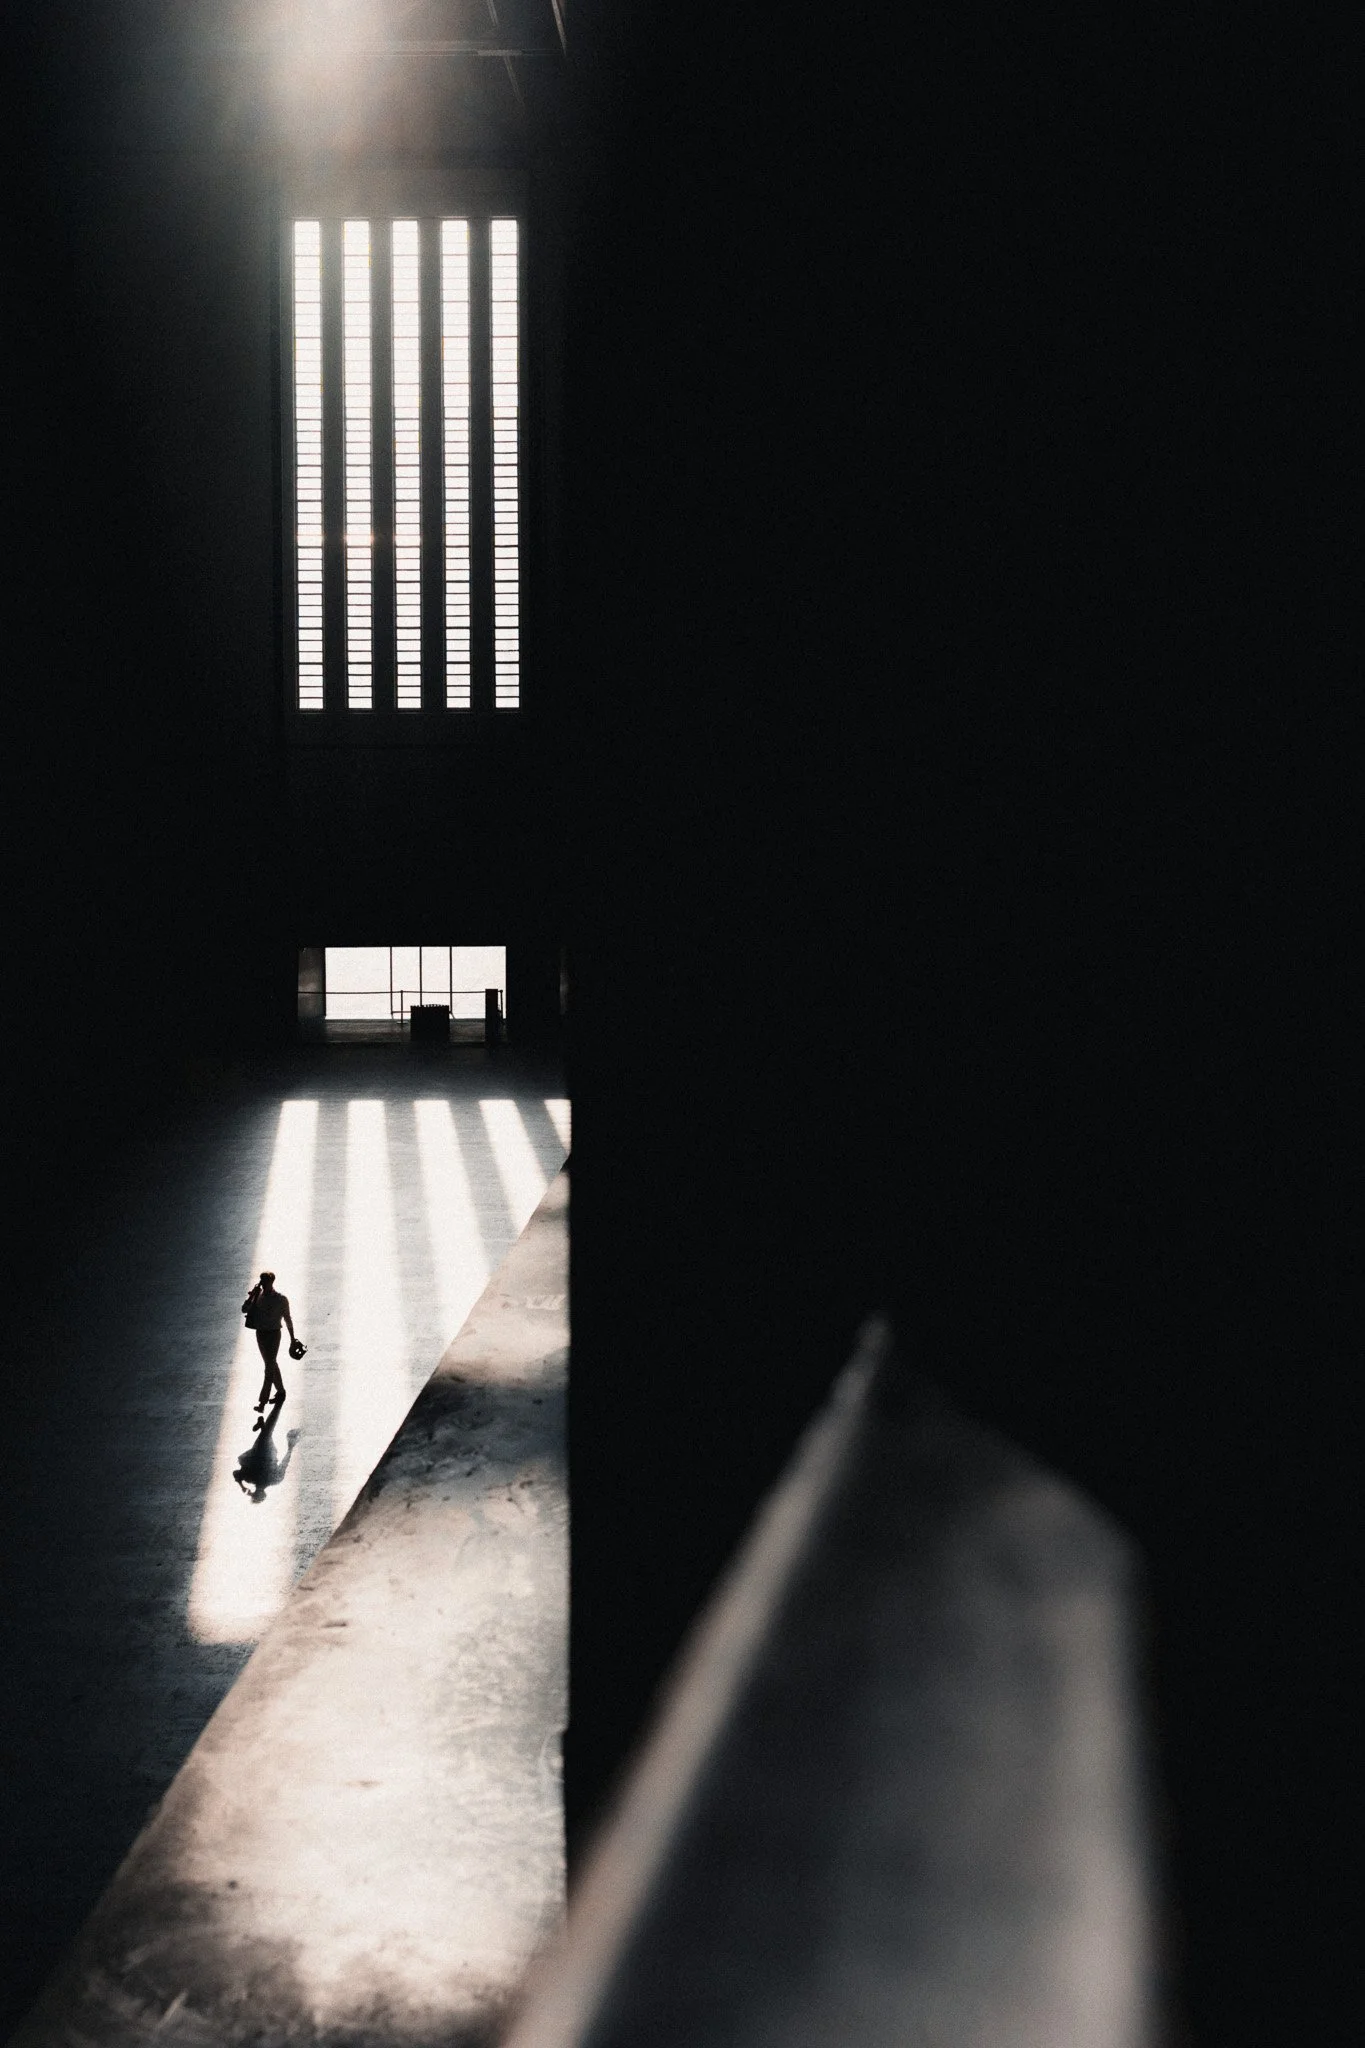
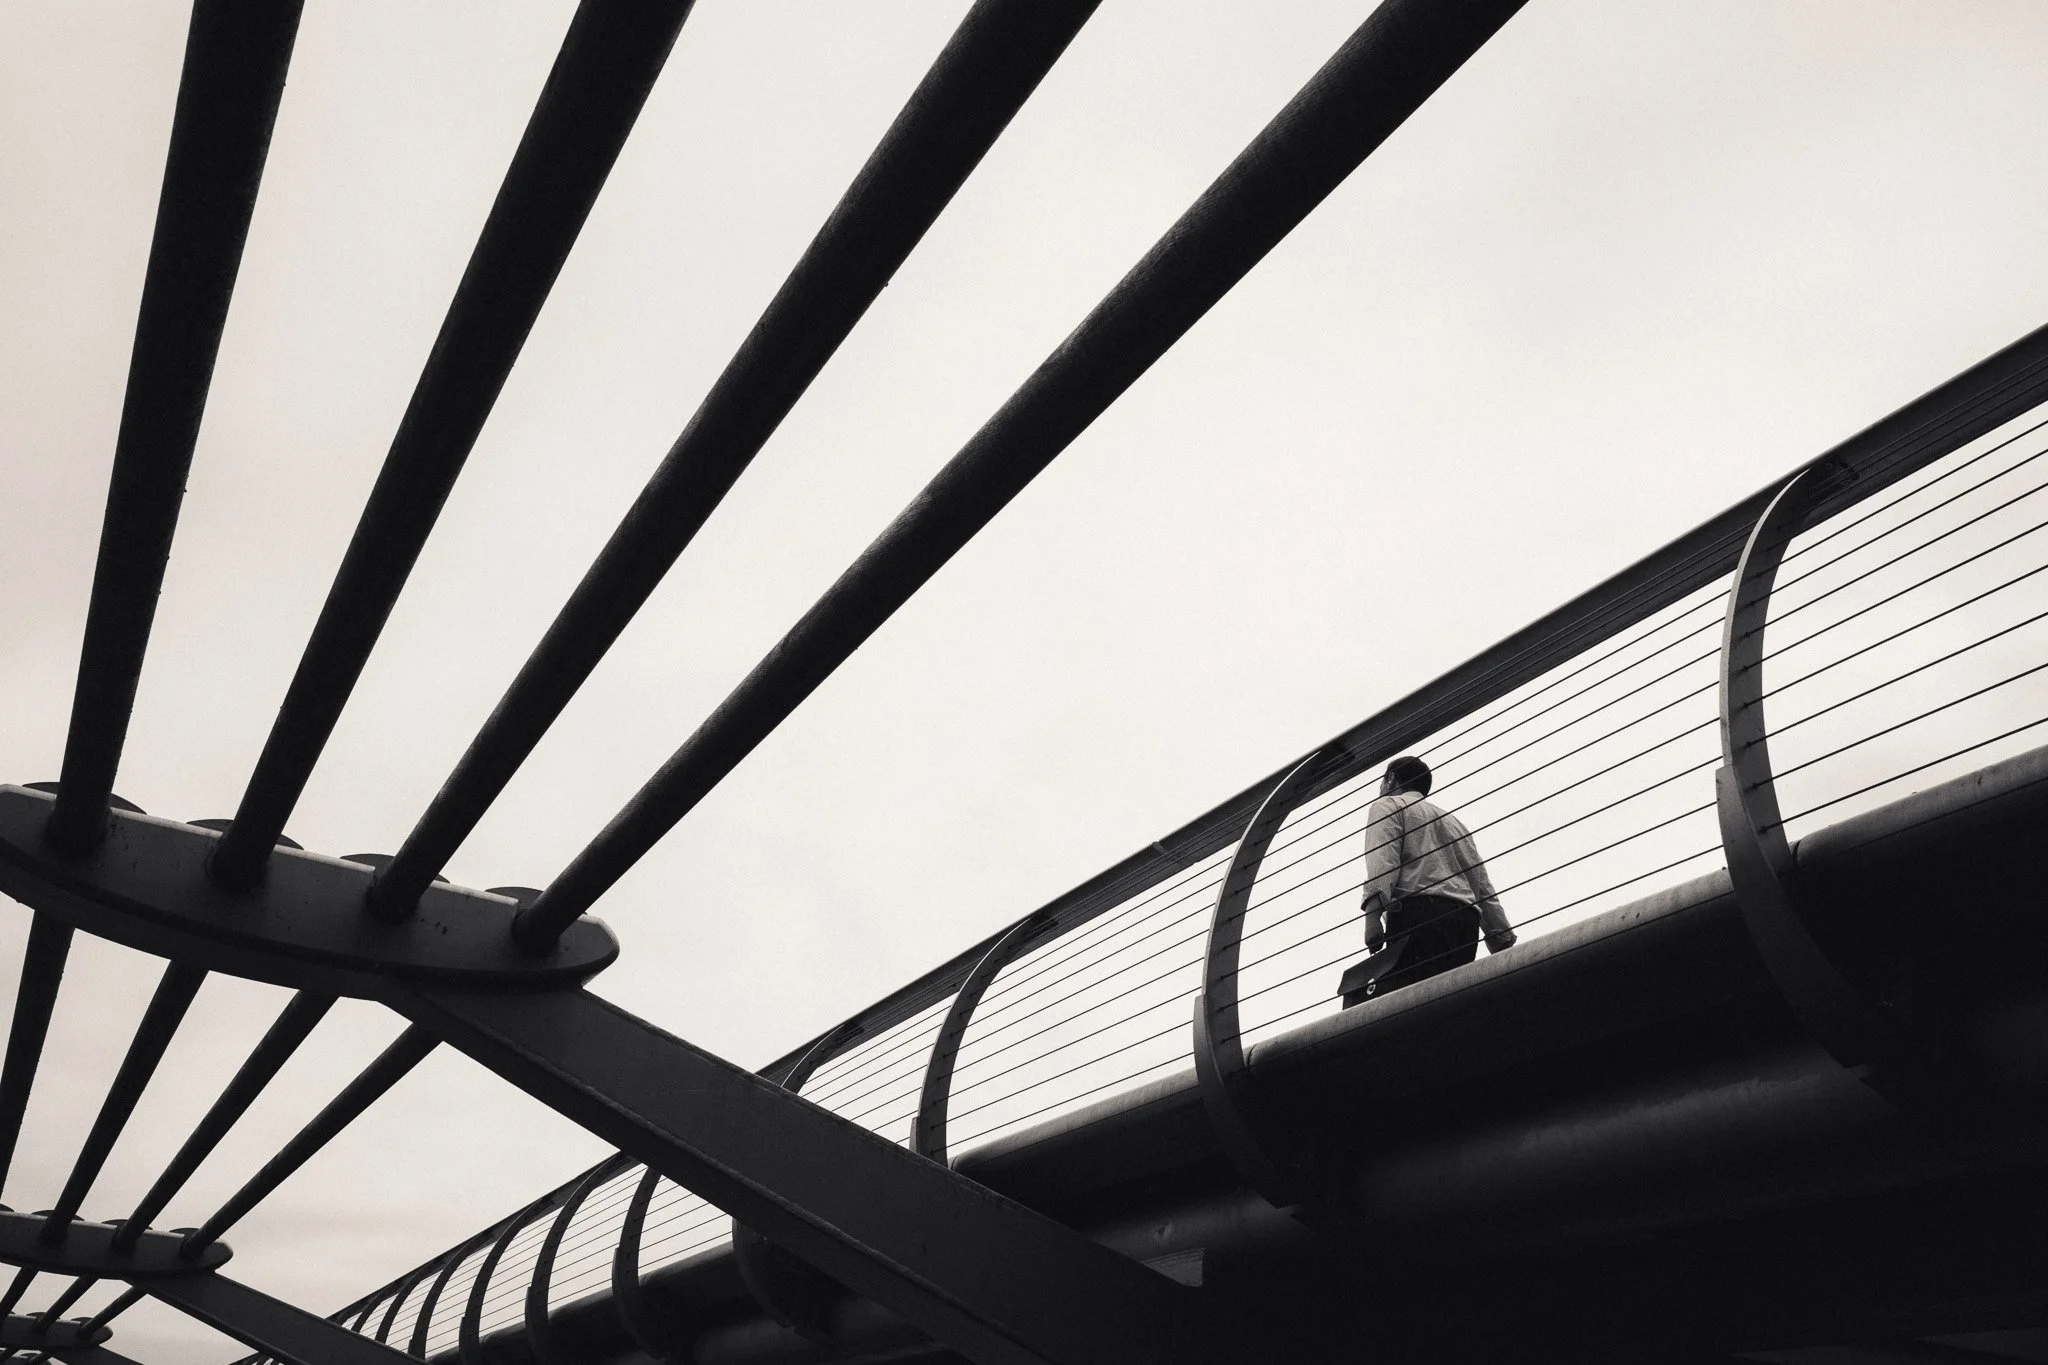
Looking for contrast is a great way to improve your wide-angle photographs. Contrast can emphasise one part of the scene while hiding unnecessary details in another. It can also transform a chaotic mess into a clean, almost fine-art-like aesthetic. This approach won’t be for everyone, but it is worth exploring.
Use Negative Space
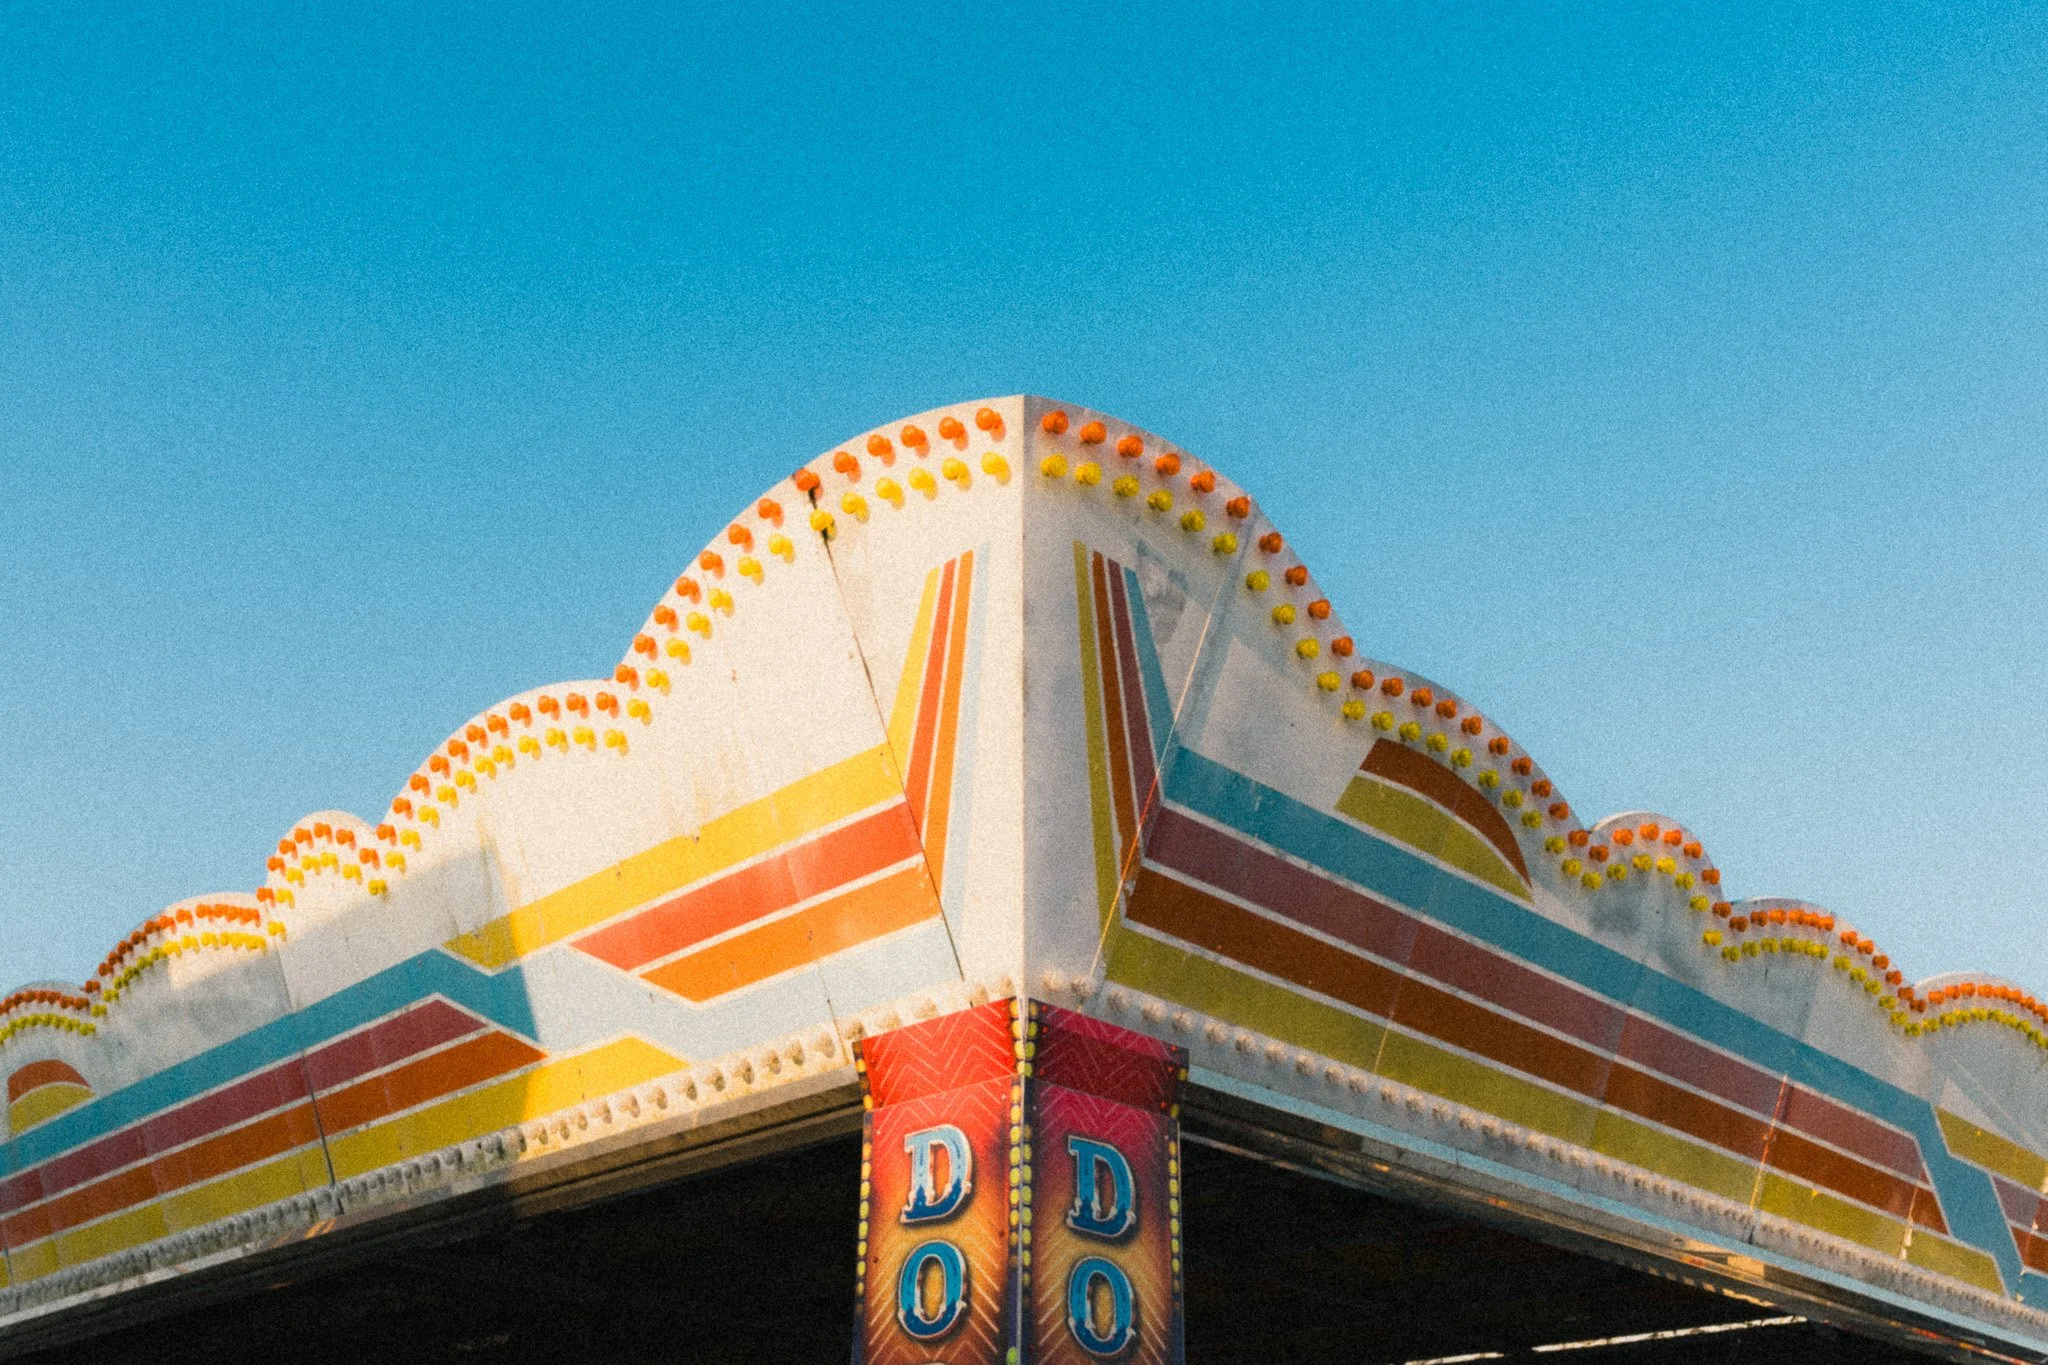
Find areas of negative space within your scene to help balance the image. Occasionally, a chaotic composition can work if all the elements align. More often than not, however, some negative space will help balance the photograph and give the viewer room to breathe.
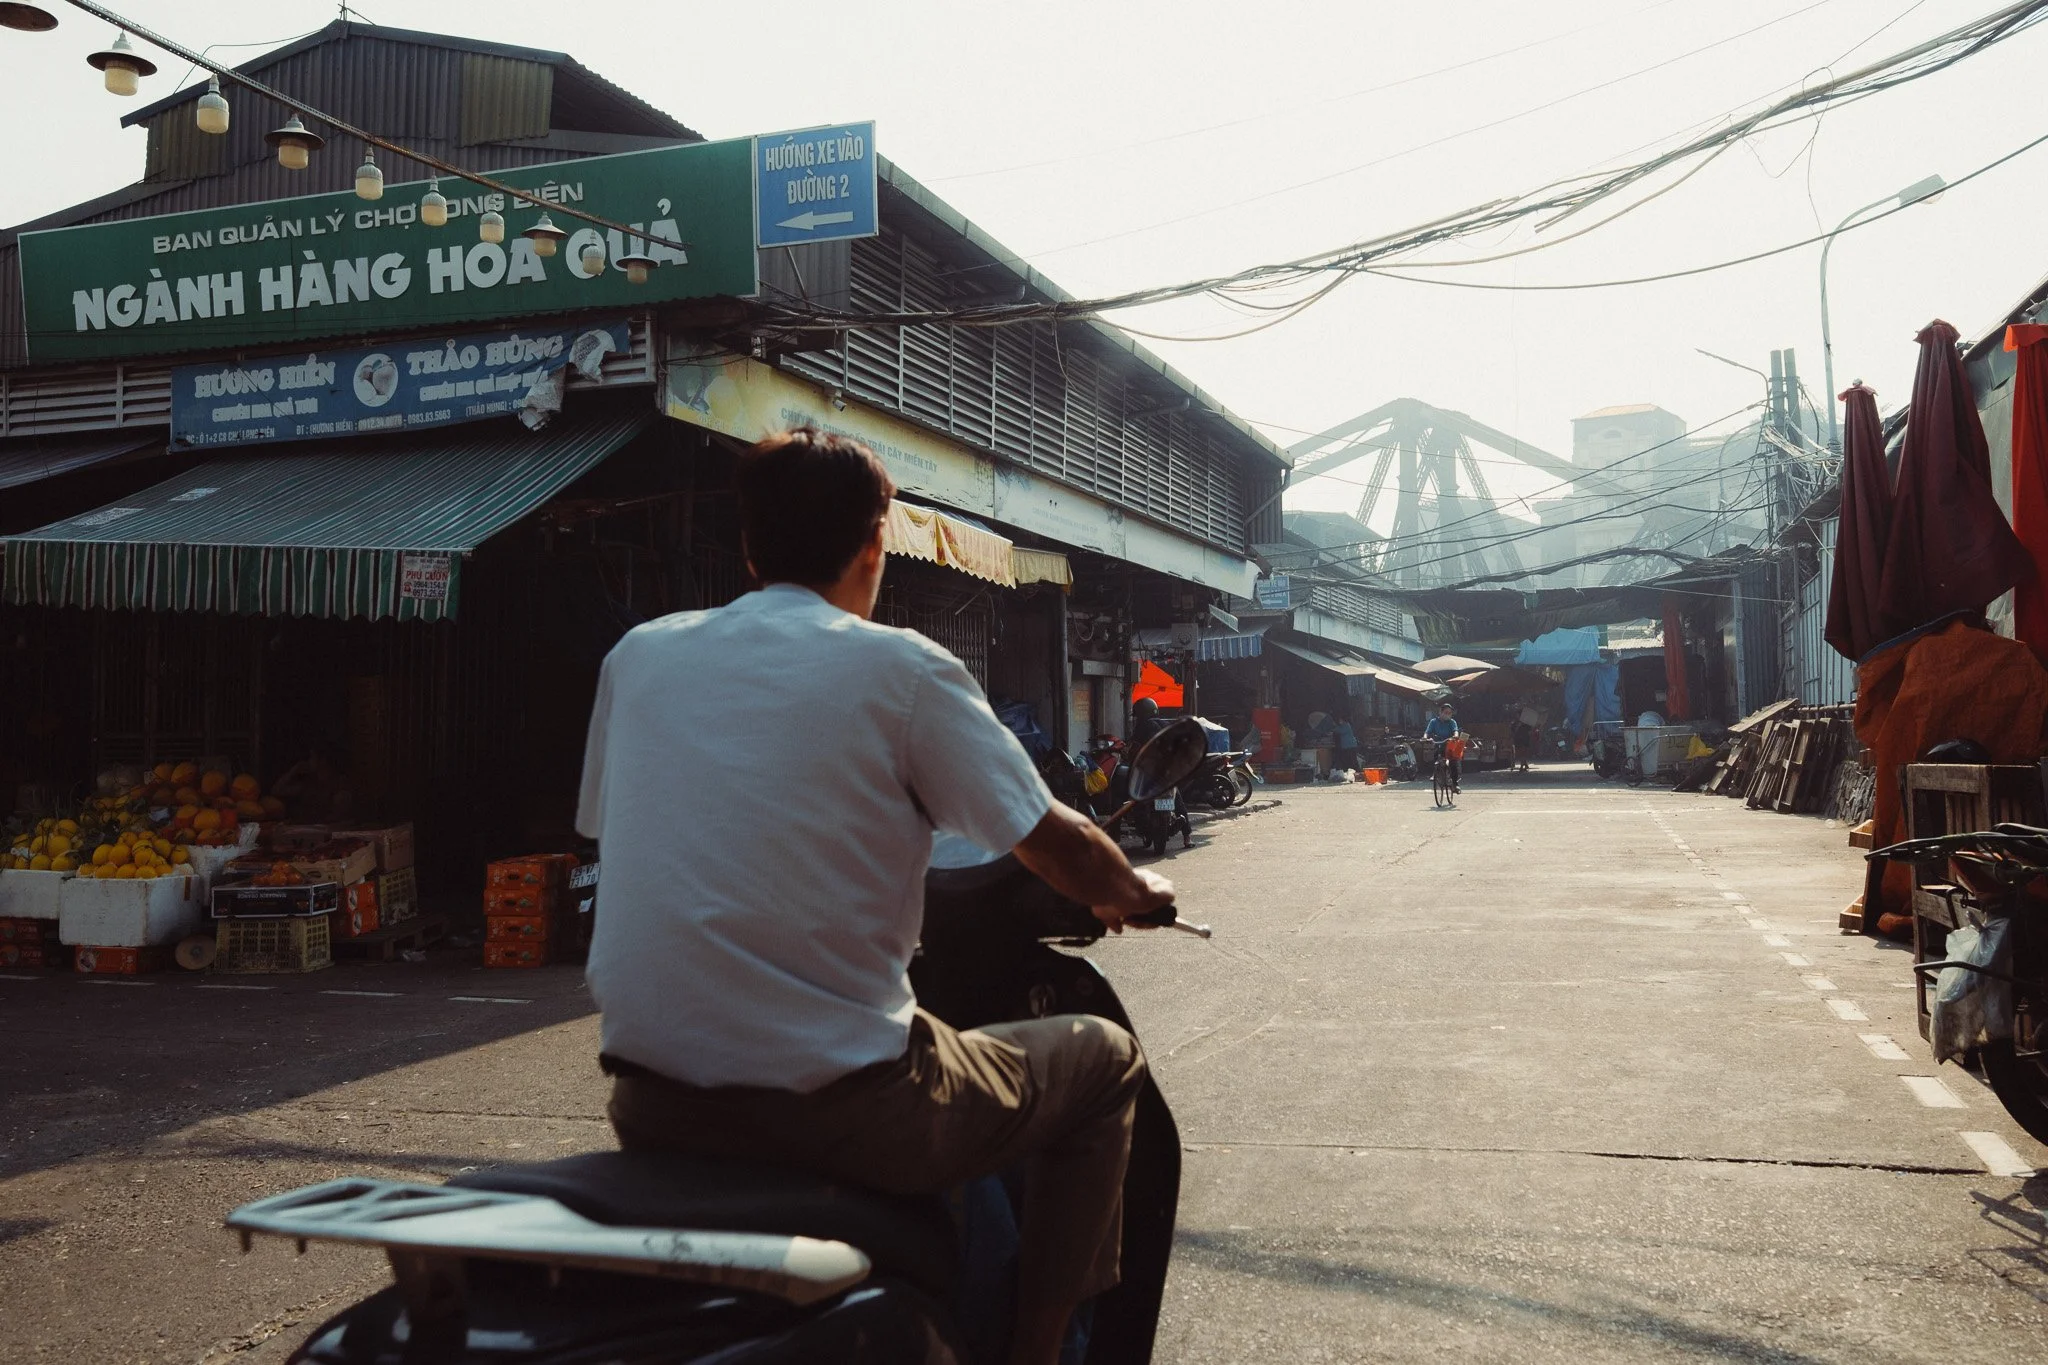
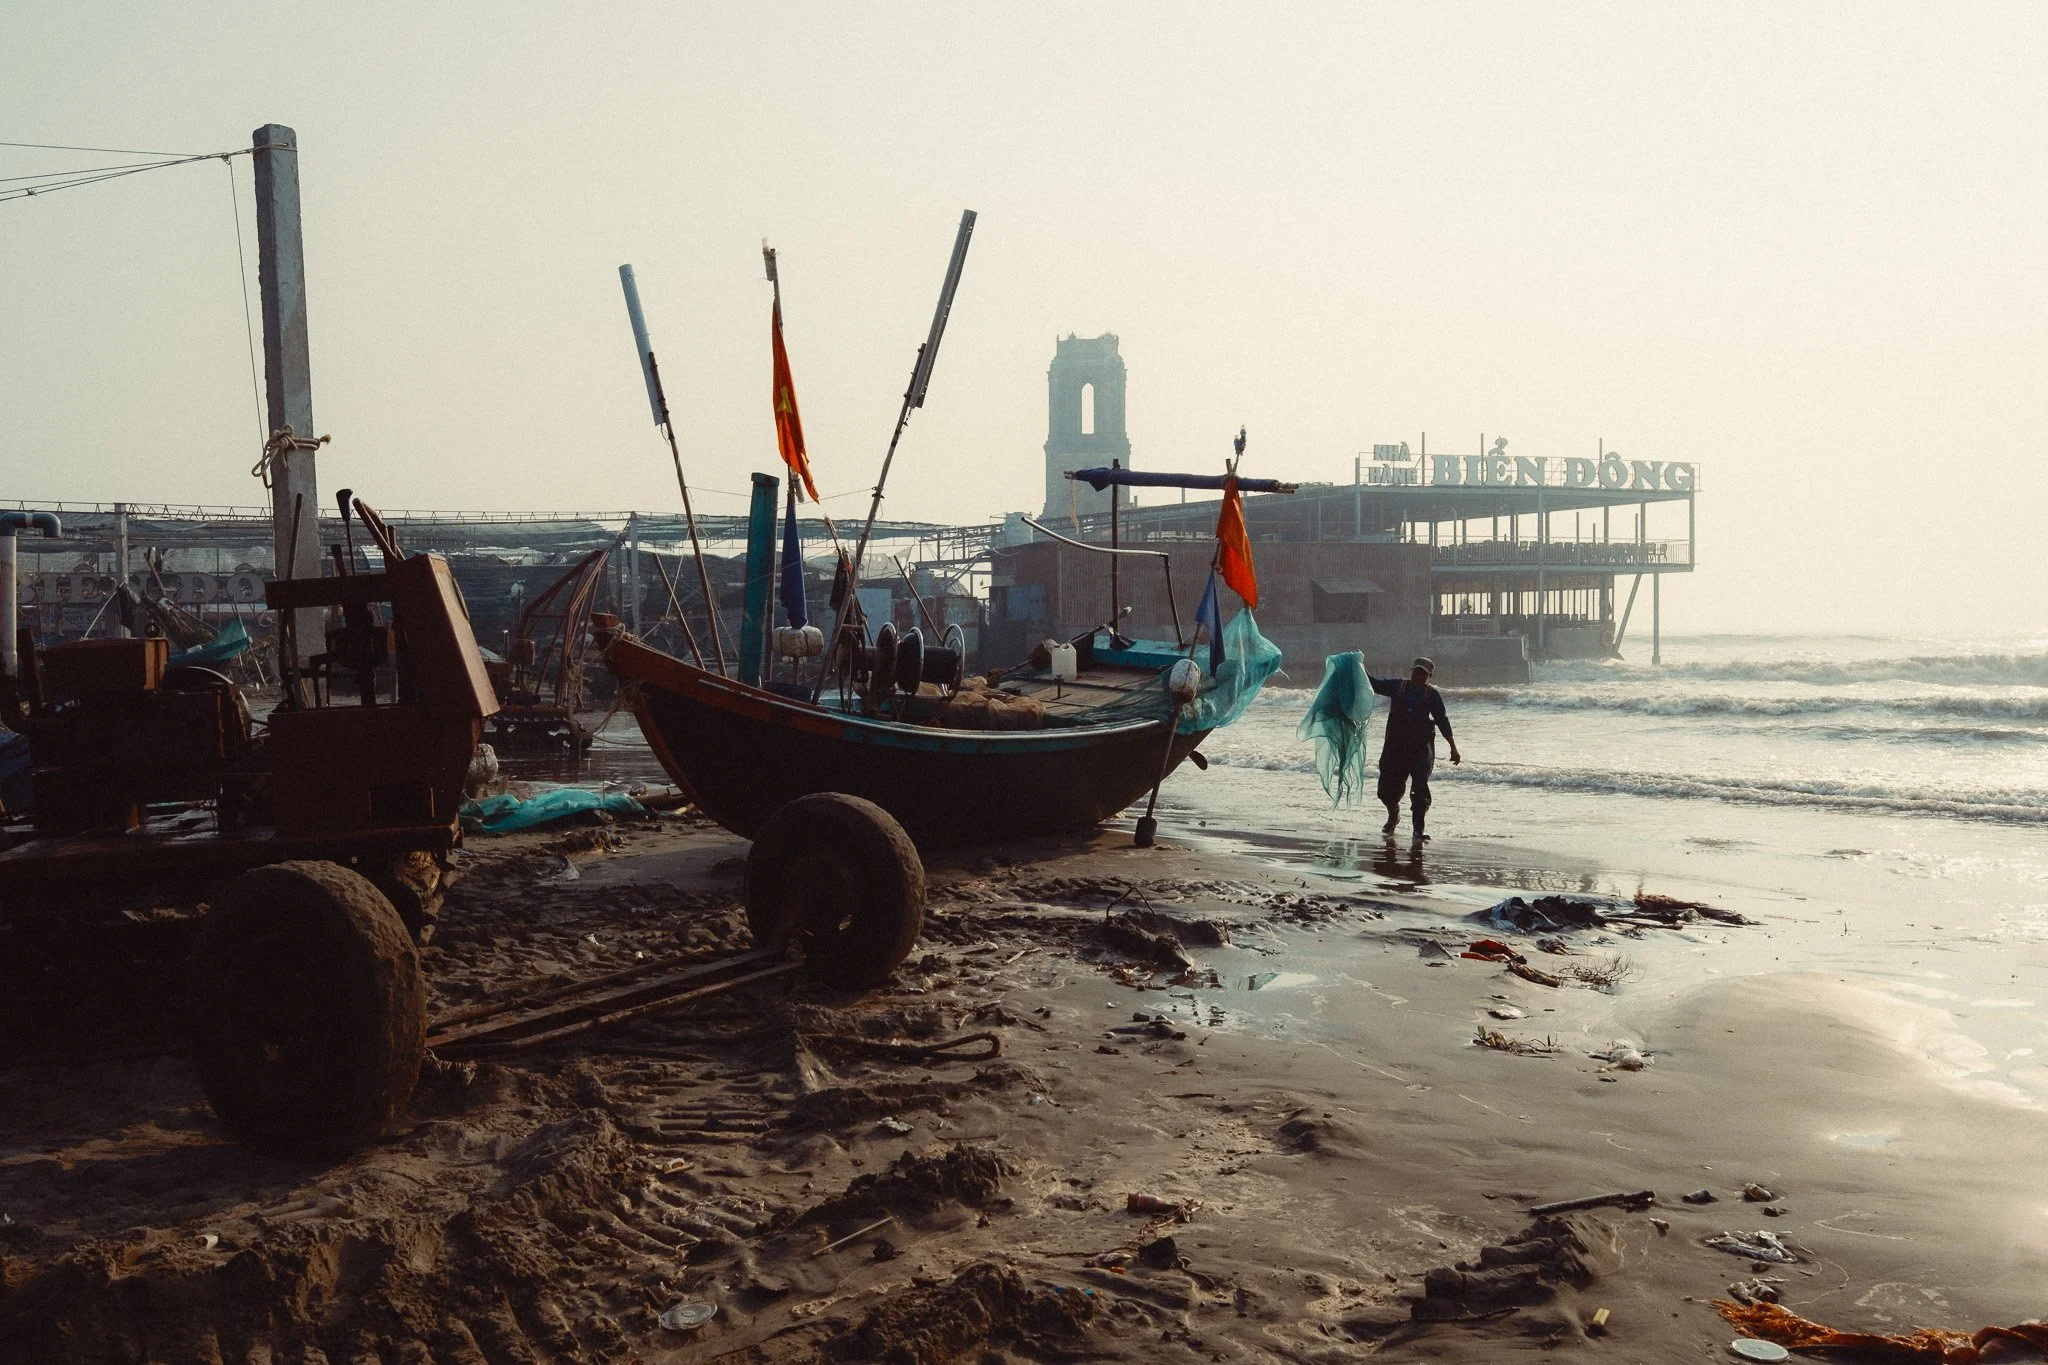
Negative space can take many forms. It could be a clear sky, a shadow, a clean wall on a building, or even the side of a white van. I often look for these patches of negative space and try to build my composition around them.
Embrace Minimalism
This isn’t a blog about minimalism, so I will keep this final point short: less is more. Just because you can fit the whole world into the field of view of a 28mm lens doesn’t mean you should. Your primary role isn’t to include everything in the frame; it’s to remove everything that doesn’t add to the story.














Instead of telling you how these will change your life, I would rather be practical and answer the most common questions that people tend to have when buying presets.
What are presets?
They are editing settings that are saved in a file and can be applied to any image.
Why do people buy presets?
Sometimes because they like the work of the photographer and want that style for their own photos. Mostly because they would like to see how other people edit and learn by reverse engineering the presets. Other times it’s just to support their favourite photographers, thank you!
What’s the overall style of these presets?
- Filmic
- Warm
- Soft
- Bright
What are these presets suitable for?
Street & Travel Photography
Some Nature (with further editing)
Some Portraits (with extensive editing)
Do I actually use these?
Yes. This is the same pack I use right now for all my editing. This isn’t a pack made just to sell.
Do these presets get updated?
Yes, as my style changes, these presets will also be updated. Any time a new update is available, you will get a free update via email. Of course you also keep all the old presets in case you prefer the older looks. Only presets purchased from 2025 onwards will receive the updates.
What file types are these presets for?
- All RAW files
- JPEGs & TIFFs (not recommended)
What camera brands are these presets for?
These were designed around Fujifilm, Sony, and Leica sensors. With that said, they will work with all camera brands. While there might be differences due to individual camera colour science, the overall feel of the preset will carry over.
Will these work with JPEG files?
Yes, but you will need to reduce the intensity and make further edits. I strongly recommend editing RAW files.
Are these one click edits?
95% No. You would need to do some basic adjustments as each image is different. These adjustments can include exposure, colour balance etc. In 5% of cases you can just apply and leave it alone.
Do I need to know how to edit?
You need to have a basic understanding of adjusting exposure, highlights, shadows, etc. A more comprehensive editing skillset will let you get the most out of them.
How many presets are included?
10 in the main pack and 24 in the extras pack
Why two packs?
The main pack is what I use for 99% of my edits and is kept small to reduce wasted time scrolling through presets. The extras pack is everything I don’t use often.
What software do I need?
These presets will work with any of the following:
- Photoshop (adobe camera raw)
- Lightroom Classic
- Lightroom Desktop
- Lightroom Mobile
Will these presets work with free versions of the above software?
You need to research and double check before buying. These presets were designed for the full paid versions.
Will these presets work with very old versions of the above software?
You need to research and double check before buying. These presets were designed on and for the latest software.
What file type do I get?
XMP
What else do I get?
- Comprehensive PDF guide
Can I modify these and turn them into my own?
Yes! In fact I encourage you to modify them and play around. Use these to help you get your own style.
I have more questions…. What do I do?
Make a cup of tea and drop me an email on hello@snapsbyfox.com
Please note that due to the nature of digital products, refunds are generally not accepted. However, if you experience any issues, feel free to contact me and I’ll review your situation individually. You are welcome to use this product for personal or commercial projects, but you may not copy, distribute, or resell the files in their original or modified form.
Finally I want to say a massive thank you for supporting me. Buying these presets is the most direct way you can support my work.
Thank you!