
The Most Fun With a Camera
For most of us, photography is a way to document our life, travels, and experiences. While it’s a creative pursuit and an art form, it’s also one where we often see cameras as tools to freeze a moment in time.
Up until last year, I always saw photography as a way to show a scene exactly as you’d see it if you were standing there yourself. While I edit my images and occasionally remove bits of rubbish from the floor or a stray reflection from a window, I never altered a photo, in camera or in post, for creative purposes.
Then I accidentally stumbled across an account that exclusively shot using slow shutter speeds and intentional camera movement, creating what I can only describe as the most artistic take on photography I’ve seen. The concept of the camera being a brush also came up. Just as a painter doesn’t simply use a brush to put ink on paper, a photographer doesn’t need to use a camera only to capture a static snapshot of reality.
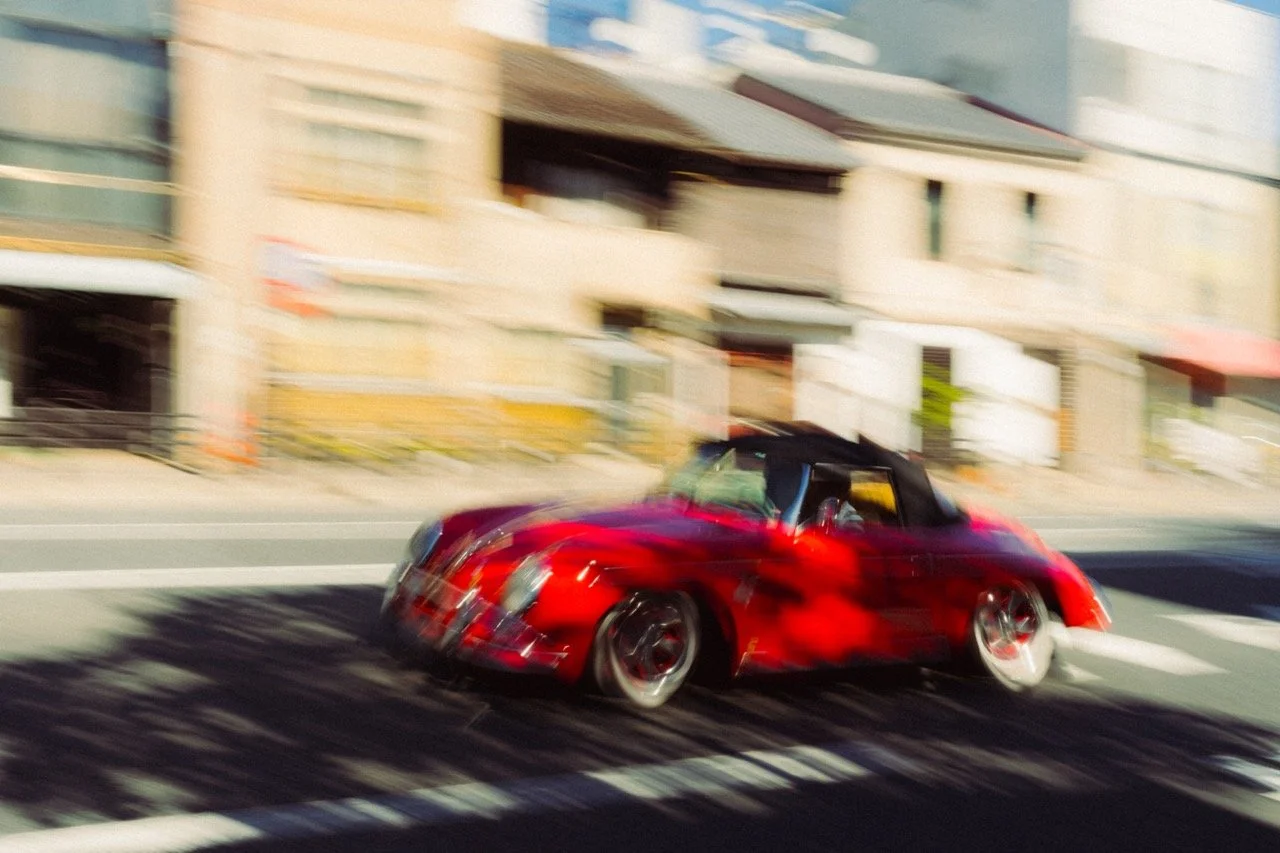
I started experimenting with adding motion into my work, and while I still prefer 90% of my photos to be realistic, that last 10% that involves motion is the most fun you can have with a camera. In this blog, I’ll share my process for shooting with motion, covering settings, techniques, and a few examples.
The What and The Why
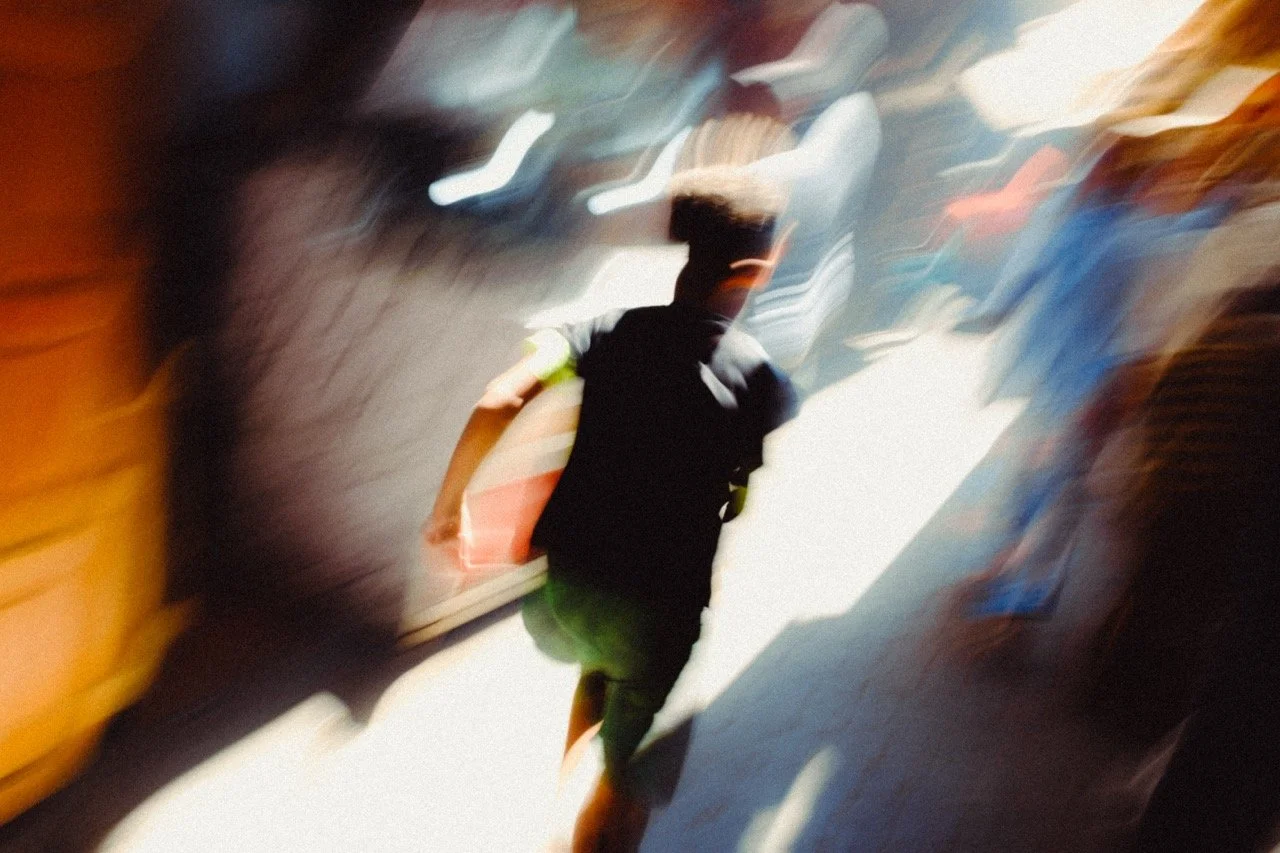
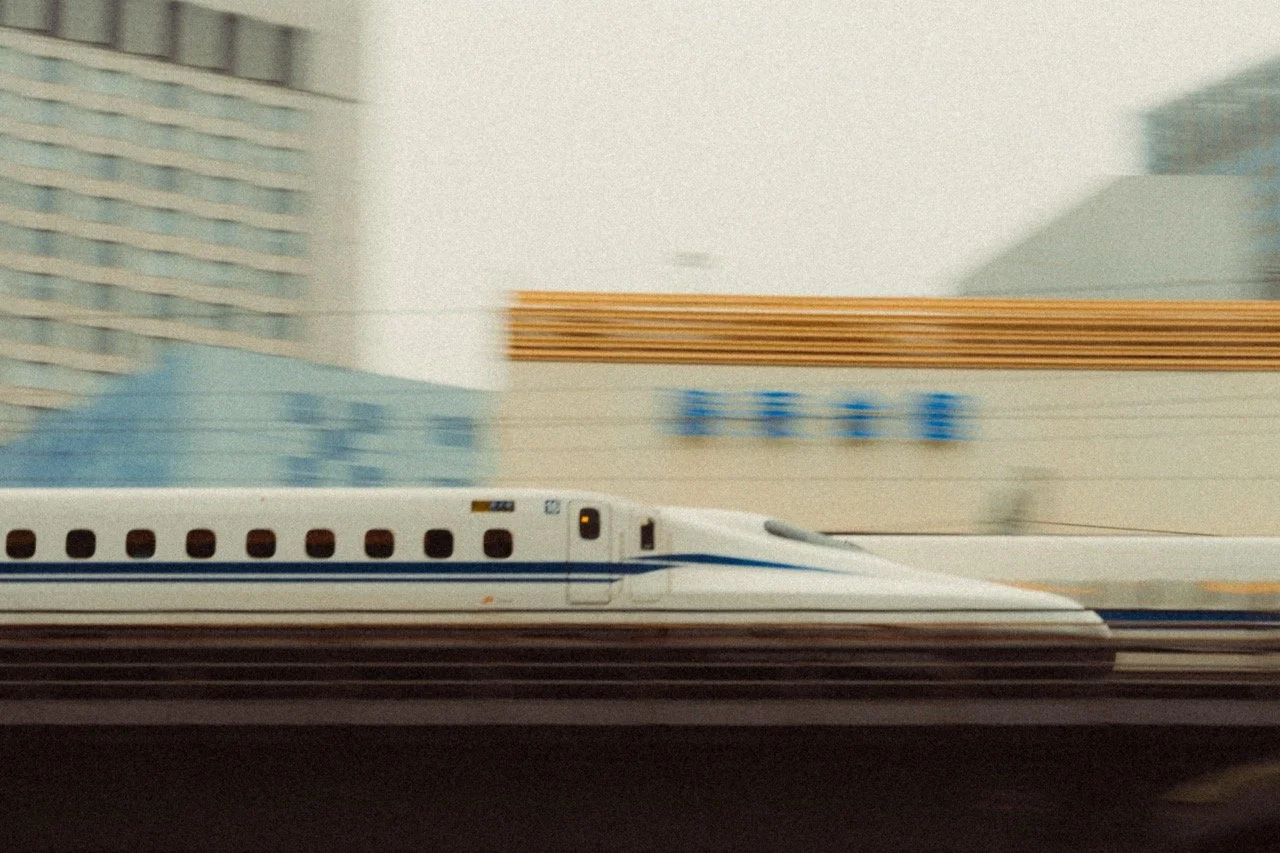
For me, motion blur achieves three things. It exaggerates movement, thus adding the feeling of motion into the shot. Whether it’s a car whizzing by, a person running through the frame, or a train pulling into a station, motion blur can make the image feel more alive.
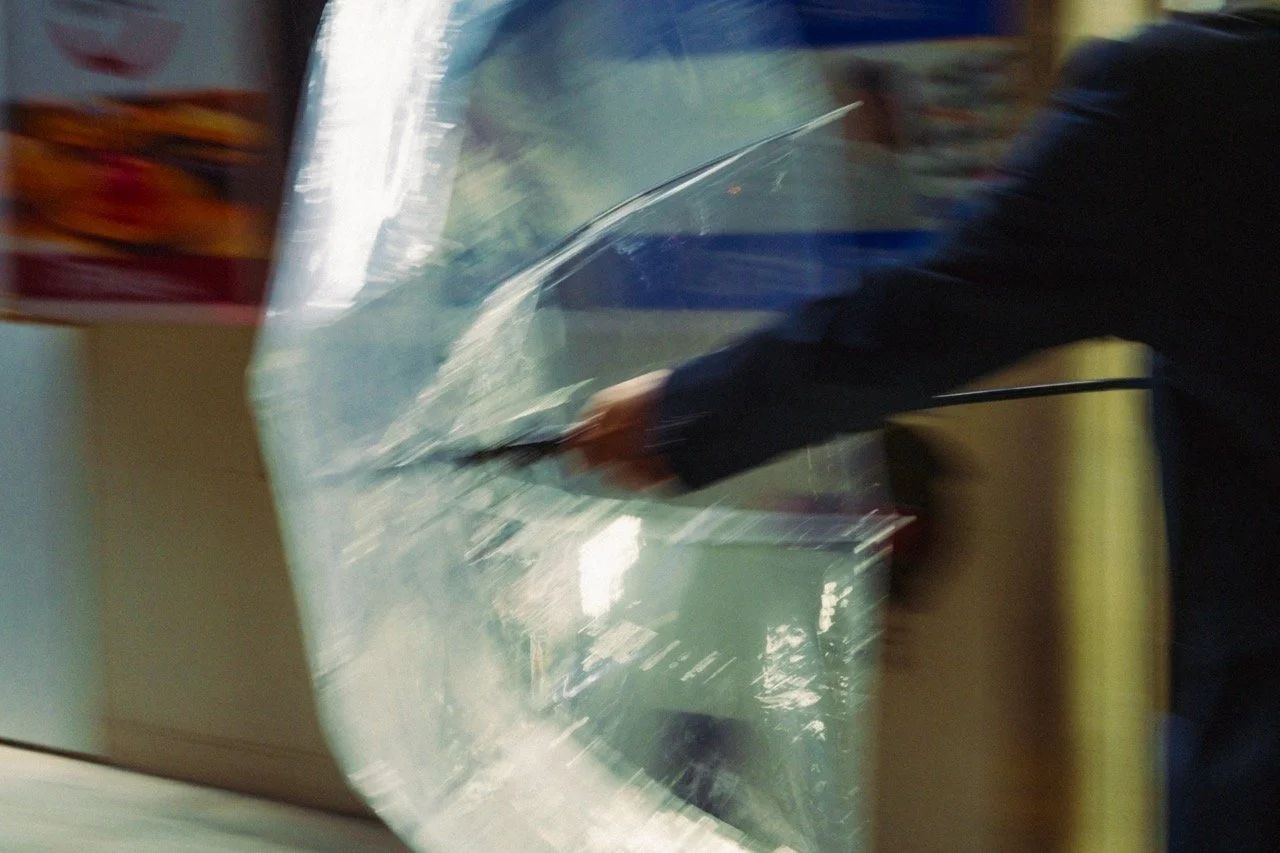
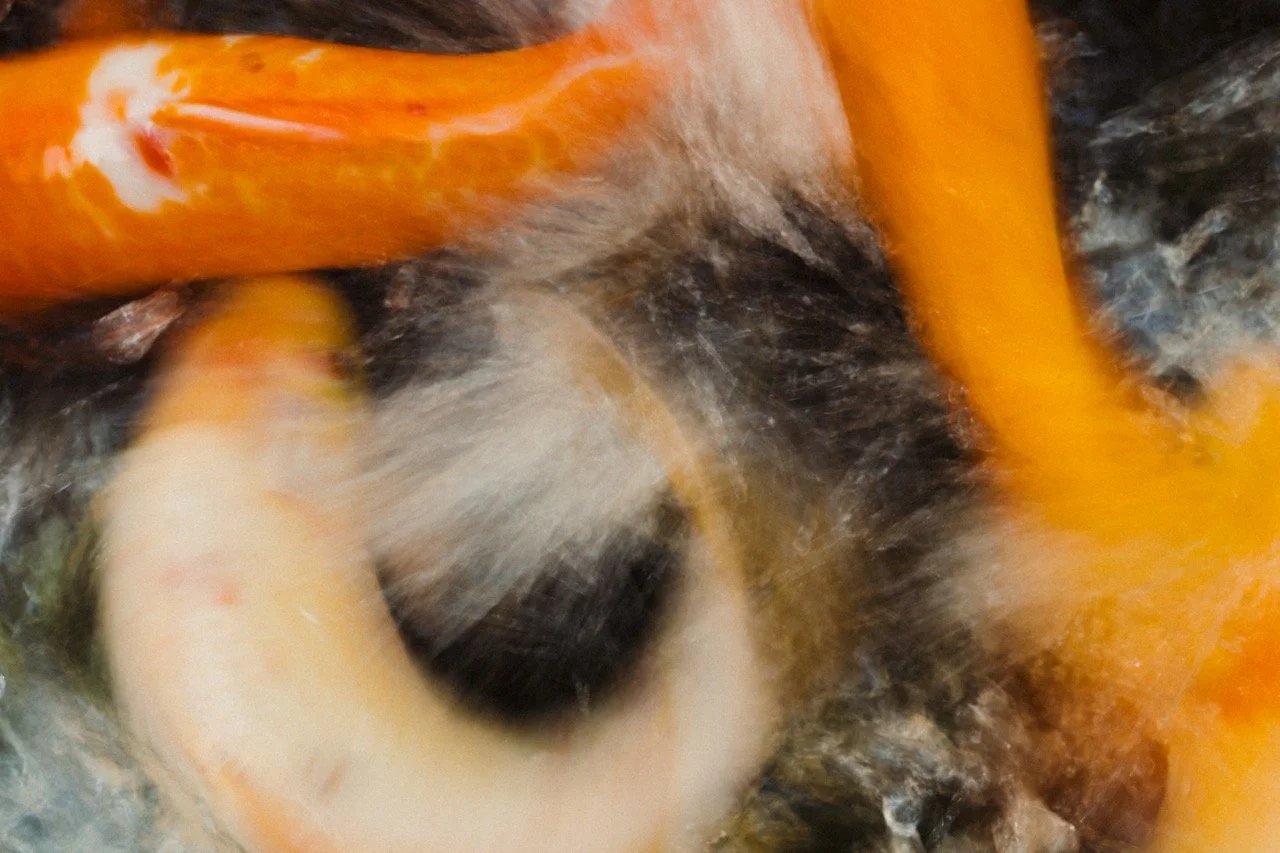
You can use it to bring attention on the subject by keeping the subject sharp while allowing the rest of the image to blur slightly. Finally, you can go full Picasso and introduce random in-camera movements, hoping to create something unique.
Camera Settings
You only need two things: manual shutter speed control and an ND filter if you’re shooting during the day.
The shutter speed is your primary tool for dictating how the image turns out. I usually start at 1/30s, as it gives minimal motion blur to faster-moving subjects like cars or bikes. If I want to slow things down and focus more on people walking, I’ll drop it to around 1/10s to 1/20s. For more creative effects with intentional camera movement, 1/8s and below is where you want to be.
I personally wouldn’t go below 1/2s, as that’s when you start to lose all context in the photo. This is why the ND filter is essential for daytime shooting because at 1/10s, your aperture might be forced to f/22, which won’t look good.
When it comes to focusing, use a wider zone focus box and shoot in AF-C mode so your camera has the best chance of locking onto the subject. If your camera has IBIS (In-Body Image Stabilisation), leave it on. As for metering, a normal multi-segment or evaluative mode will be fine. Regarding composition, shoot a little wider, so you have room to crop and adjust the final composition.
My Little Photography Book
If you’re finding these types of blogs helpful, please consider picking up a copy of My Little Photography Book. This book is everything I know about photography laid out in an easy to understand format. You also get free lifetime updates as new chapters are added. This is the most direct way to support this blog and keep it ad-free. Thank you.

My Little Photography Book is everything I know about photography in one concise place. This book is designed to save you time and share years’ worth of knowledge in an easy-to-follow format. Think of this as a workshop and a course in one affordable 300-page package.
This book covers psychology, gear, lighting, composition, storytelling, style, and a lot more. In other words, I’ve emptied my photography brain into this PDF. As always, keep in mind that this is simply my approach to photography, and everything I share is from my own experience.
The book is a digital PDF download and comes in two flavours. Two page spread and single page. The spread might be better for landscape viewing and printing, while the single page is more suited for vertical scrolling on a phone or tablet. The total download will be just over 100mb with each PDF being around 50mb.
This book has been in the making since mid-2017 and is by far my most involved project to date. This is also entirely done by myself from scratch. All the writing, editing, formatting, everything… it’s all me with no external input. I really do hope you like it, and as always, I welcome any feedback.
Please note that due to the nature of digital products, refunds are generally not accepted. However, if you experience any issues, feel free to contact me and I’ll review your situation individually. You are welcome to use this product for personal or commercial projects, but you may not copy, distribute, or resell the files in their original or modified form.
Finally, being a digital product means free updates when new chapters become available. The last update was in February 2025 to V2.
Thank you so much for your support
Much Love
Rome
Techniques
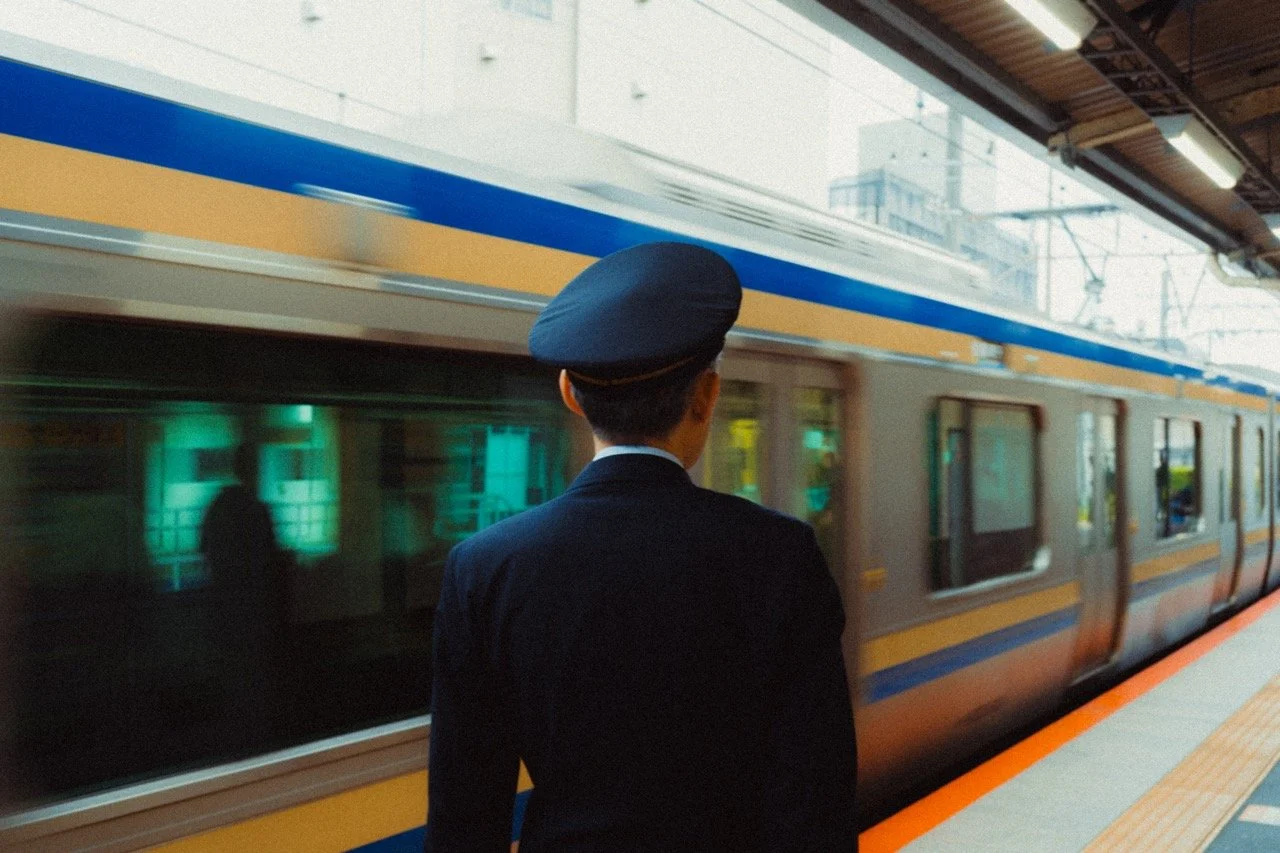
There are a few techniques I use to create motion blur. The first one is panning. A simple but effective classic. Match the speed of your pan with the subject’s movement and take a burst of photos. This keeps the subject sharp while blurring the background.
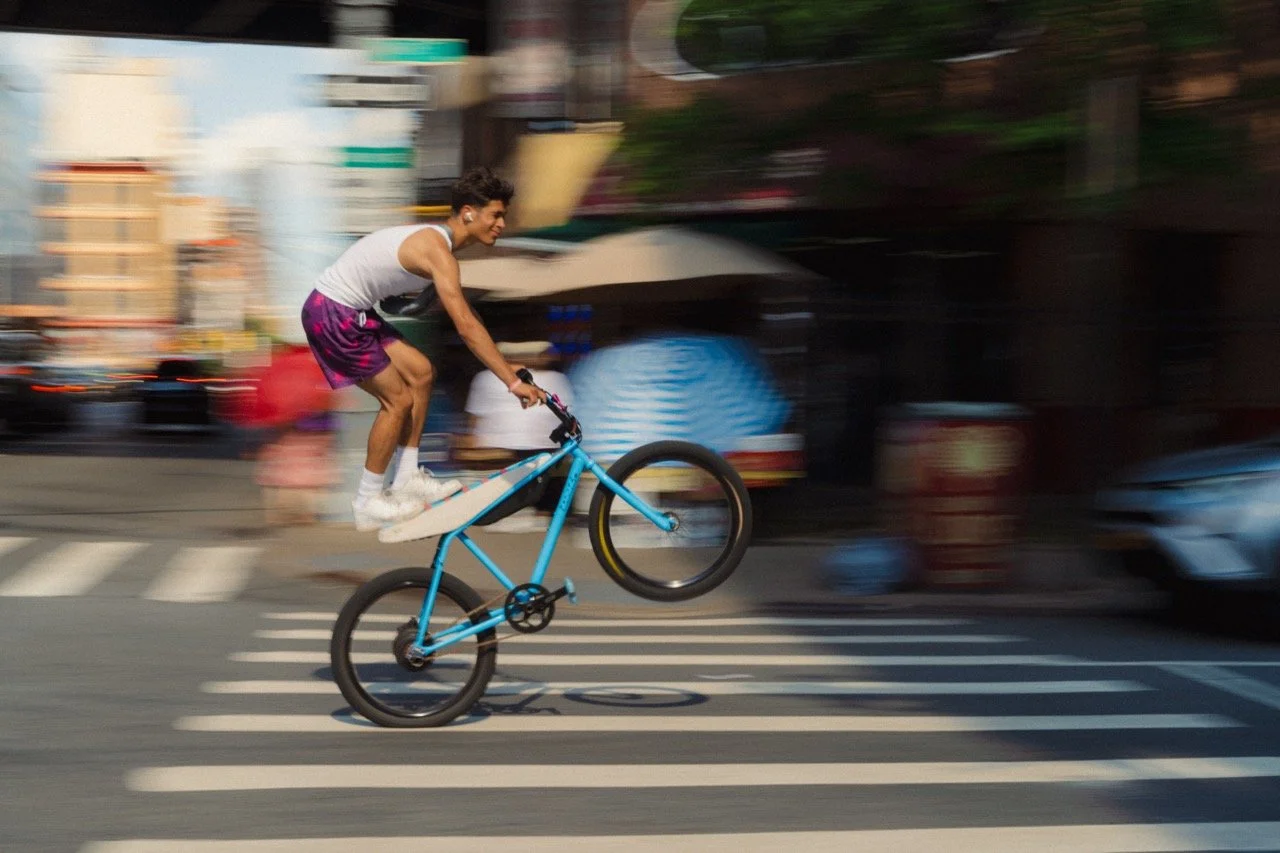
Another method is the abstract pan. Use a slightly higher shutter speed than you think you need, pan with the subject, and at the same time make small, jerky movements with your camera. This still gives you a pan but with a more abstract, textured twist.
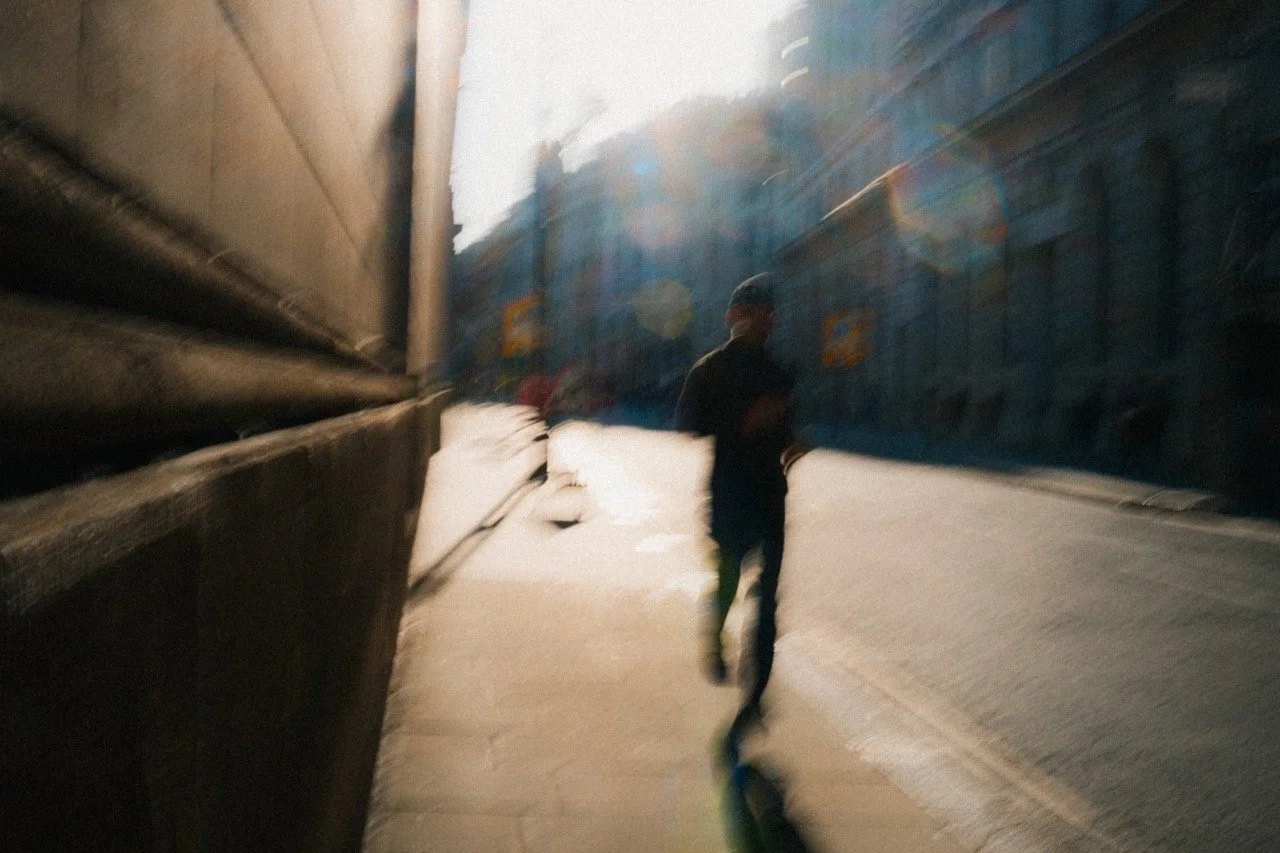
You can also try rotational movement. Turn the camera while keeping the subject centred in the frame. Under the right conditions, this can create a dynamic swirl effect that feels energetic and cinematic.
The zoom blur technique is another one to experiment with. If you’re using a zoom lens, start zooming in or out while taking a burst of photos. Keep shooting throughout the zoom and see what results you get.
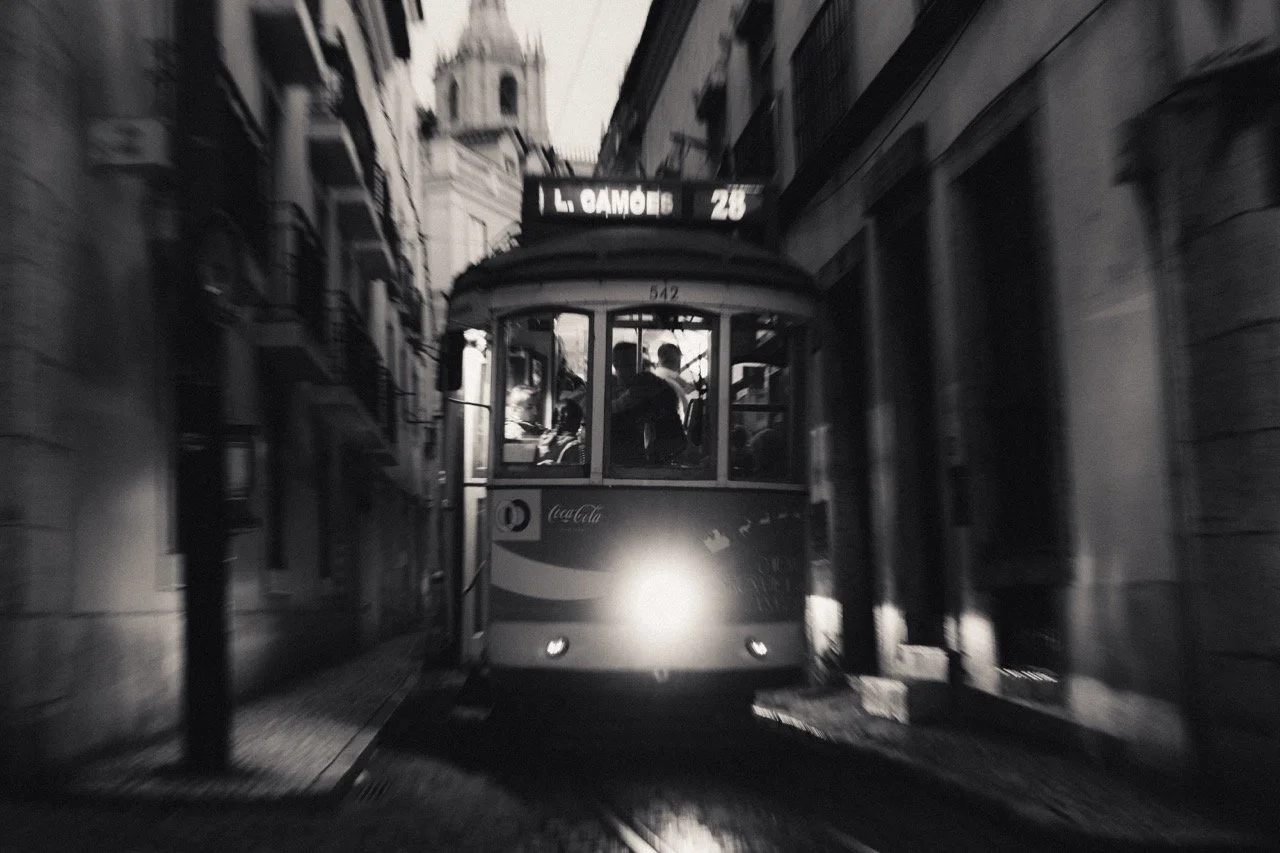
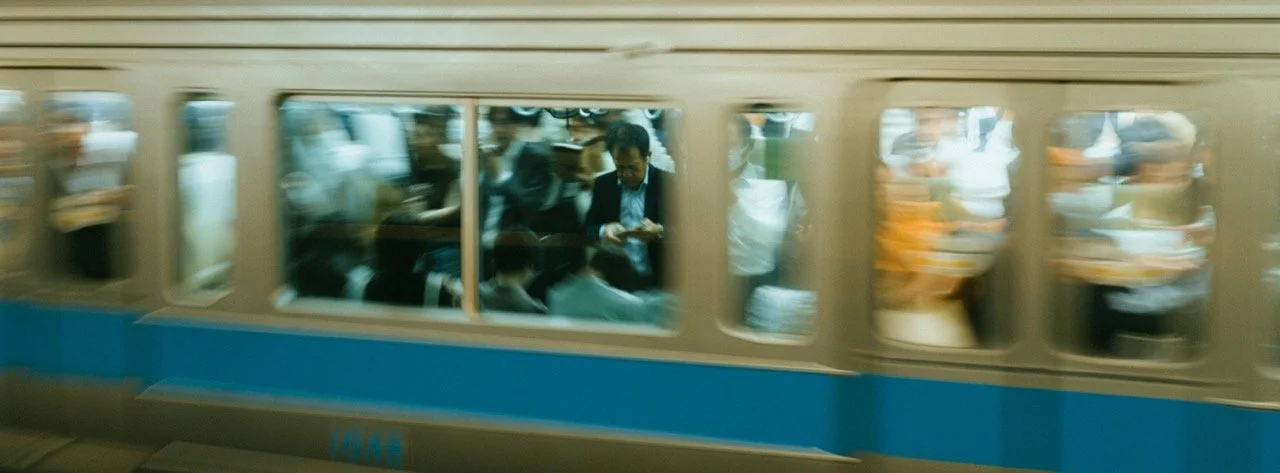
Motion can also come from the subjects, not the camera. You can stay completely still and shoot at a slow shutter speed, letting only the subjects move. This creates a beautiful contrast between static and motion-filled areas.
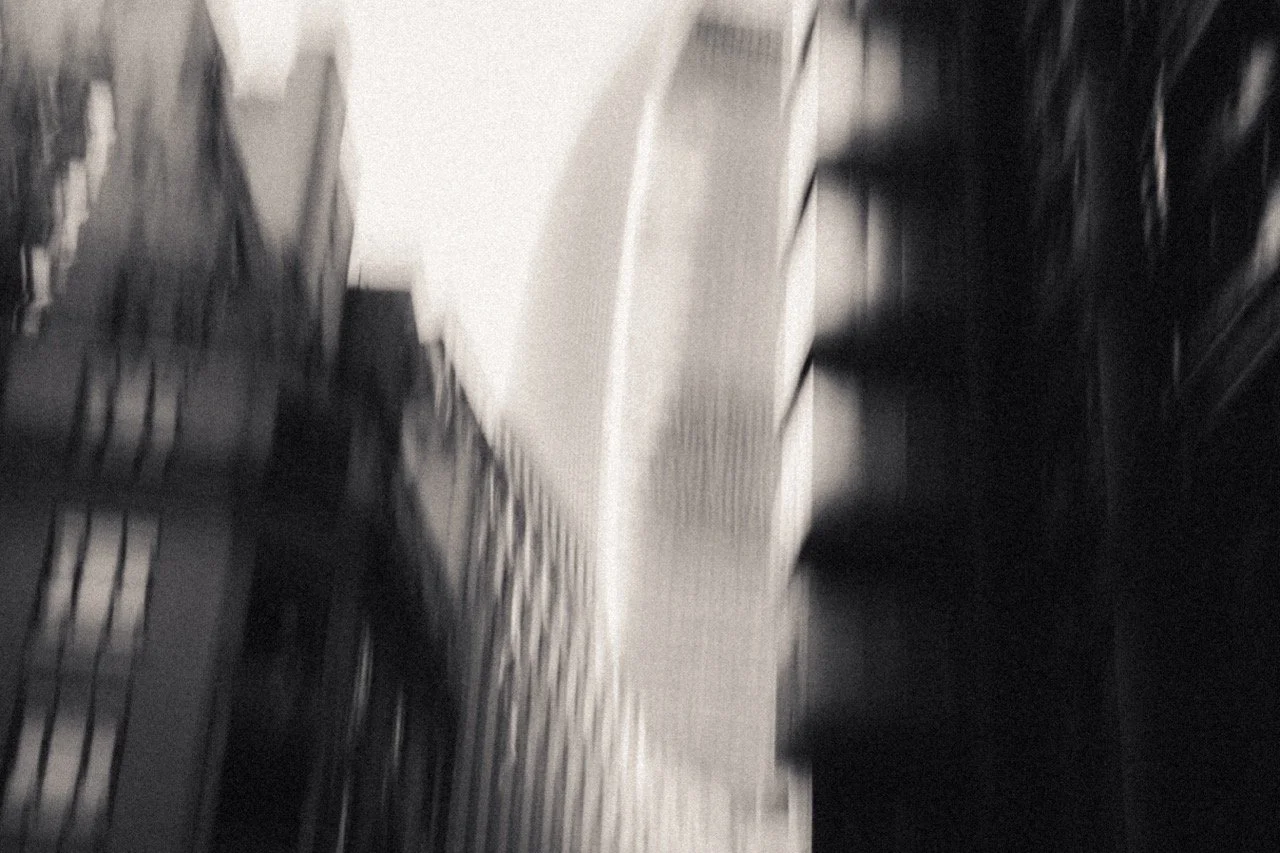
Finally, there’s pure chaos. Make all sorts of random camera movements and see what happens. A lot of spraying and even more praying. Sometimes the best shots come from pure experimentation.













Instead of telling you how these will change your life, I would rather be practical and answer the most common questions that people tend to have when buying presets.
What are presets?
They are editing settings that are saved in a file and can be applied to any image.
Why do people buy presets?
Sometimes because they like the work of the photographer and want that style for their own photos. Mostly because they would like to see how other people edit and learn by reverse engineering the presets. Other times it’s just to support their favourite photographers, thank you!
What’s the overall style of these presets?
- Filmic
- Warm
- Soft
- Bright
What are these presets suitable for?
Street & Travel Photography
Some Nature (with further editing)
Some Portraits (with extensive editing)
Do I actually use these?
Yes. This is the same pack I use right now for all my editing. This isn’t a pack made just to sell.
Do these presets get updated?
Yes, as my style changes, these presets will also be updated. Any time a new update is available, you will get a free update via email. Of course you also keep all the old presets in case you prefer the older looks. Only presets purchased from 2025 onwards will receive the updates.
What file types are these presets for?
- All RAW files
- JPEGs & TIFFs (not recommended)
What camera brands are these presets for?
These were designed around Fujifilm, Sony, and Leica sensors. With that said, they will work with all camera brands. While there might be differences due to individual camera colour science, the overall feel of the preset will carry over.
Will these work with JPEG files?
Yes, but you will need to reduce the intensity and make further edits. I strongly recommend editing RAW files.
Are these one click edits?
95% No. You would need to do some basic adjustments as each image is different. These adjustments can include exposure, colour balance etc. In 5% of cases you can just apply and leave it alone.
Do I need to know how to edit?
You need to have a basic understanding of adjusting exposure, highlights, shadows, etc. A more comprehensive editing skillset will let you get the most out of them.
How many presets are included?
10 in the main pack and 24 in the extras pack
Why two packs?
The main pack is what I use for 99% of my edits and is kept small to reduce wasted time scrolling through presets. The extras pack is everything I don’t use often.
What software do I need?
These presets will work with any of the following:
- Photoshop (adobe camera raw)
- Lightroom Classic
- Lightroom Desktop
- Lightroom Mobile
Will these presets work with free versions of the above software?
You need to research and double check before buying. These presets were designed for the full paid versions.
Will these presets work with very old versions of the above software?
You need to research and double check before buying. These presets were designed on and for the latest software.
What file type do I get?
XMP
What else do I get?
- Comprehensive PDF guide
Can I modify these and turn them into my own?
Yes! In fact I encourage you to modify them and play around. Use these to help you get your own style.
I have more questions…. What do I do?
Make a cup of tea and drop me an email on hello@snapsbyfox.com
Please note that due to the nature of digital products, refunds are generally not accepted. However, if you experience any issues, feel free to contact me and I’ll review your situation individually. You are welcome to use this product for personal or commercial projects, but you may not copy, distribute, or resell the files in their original or modified form.
Finally I want to say a massive thank you for supporting me. Buying these presets is the most direct way you can support my work.
Thank you!