
Simple Night Photography Camera Settings
It’s firmly winter time and in this blog I will share with you the typical camera settings I use when I shoot at night.
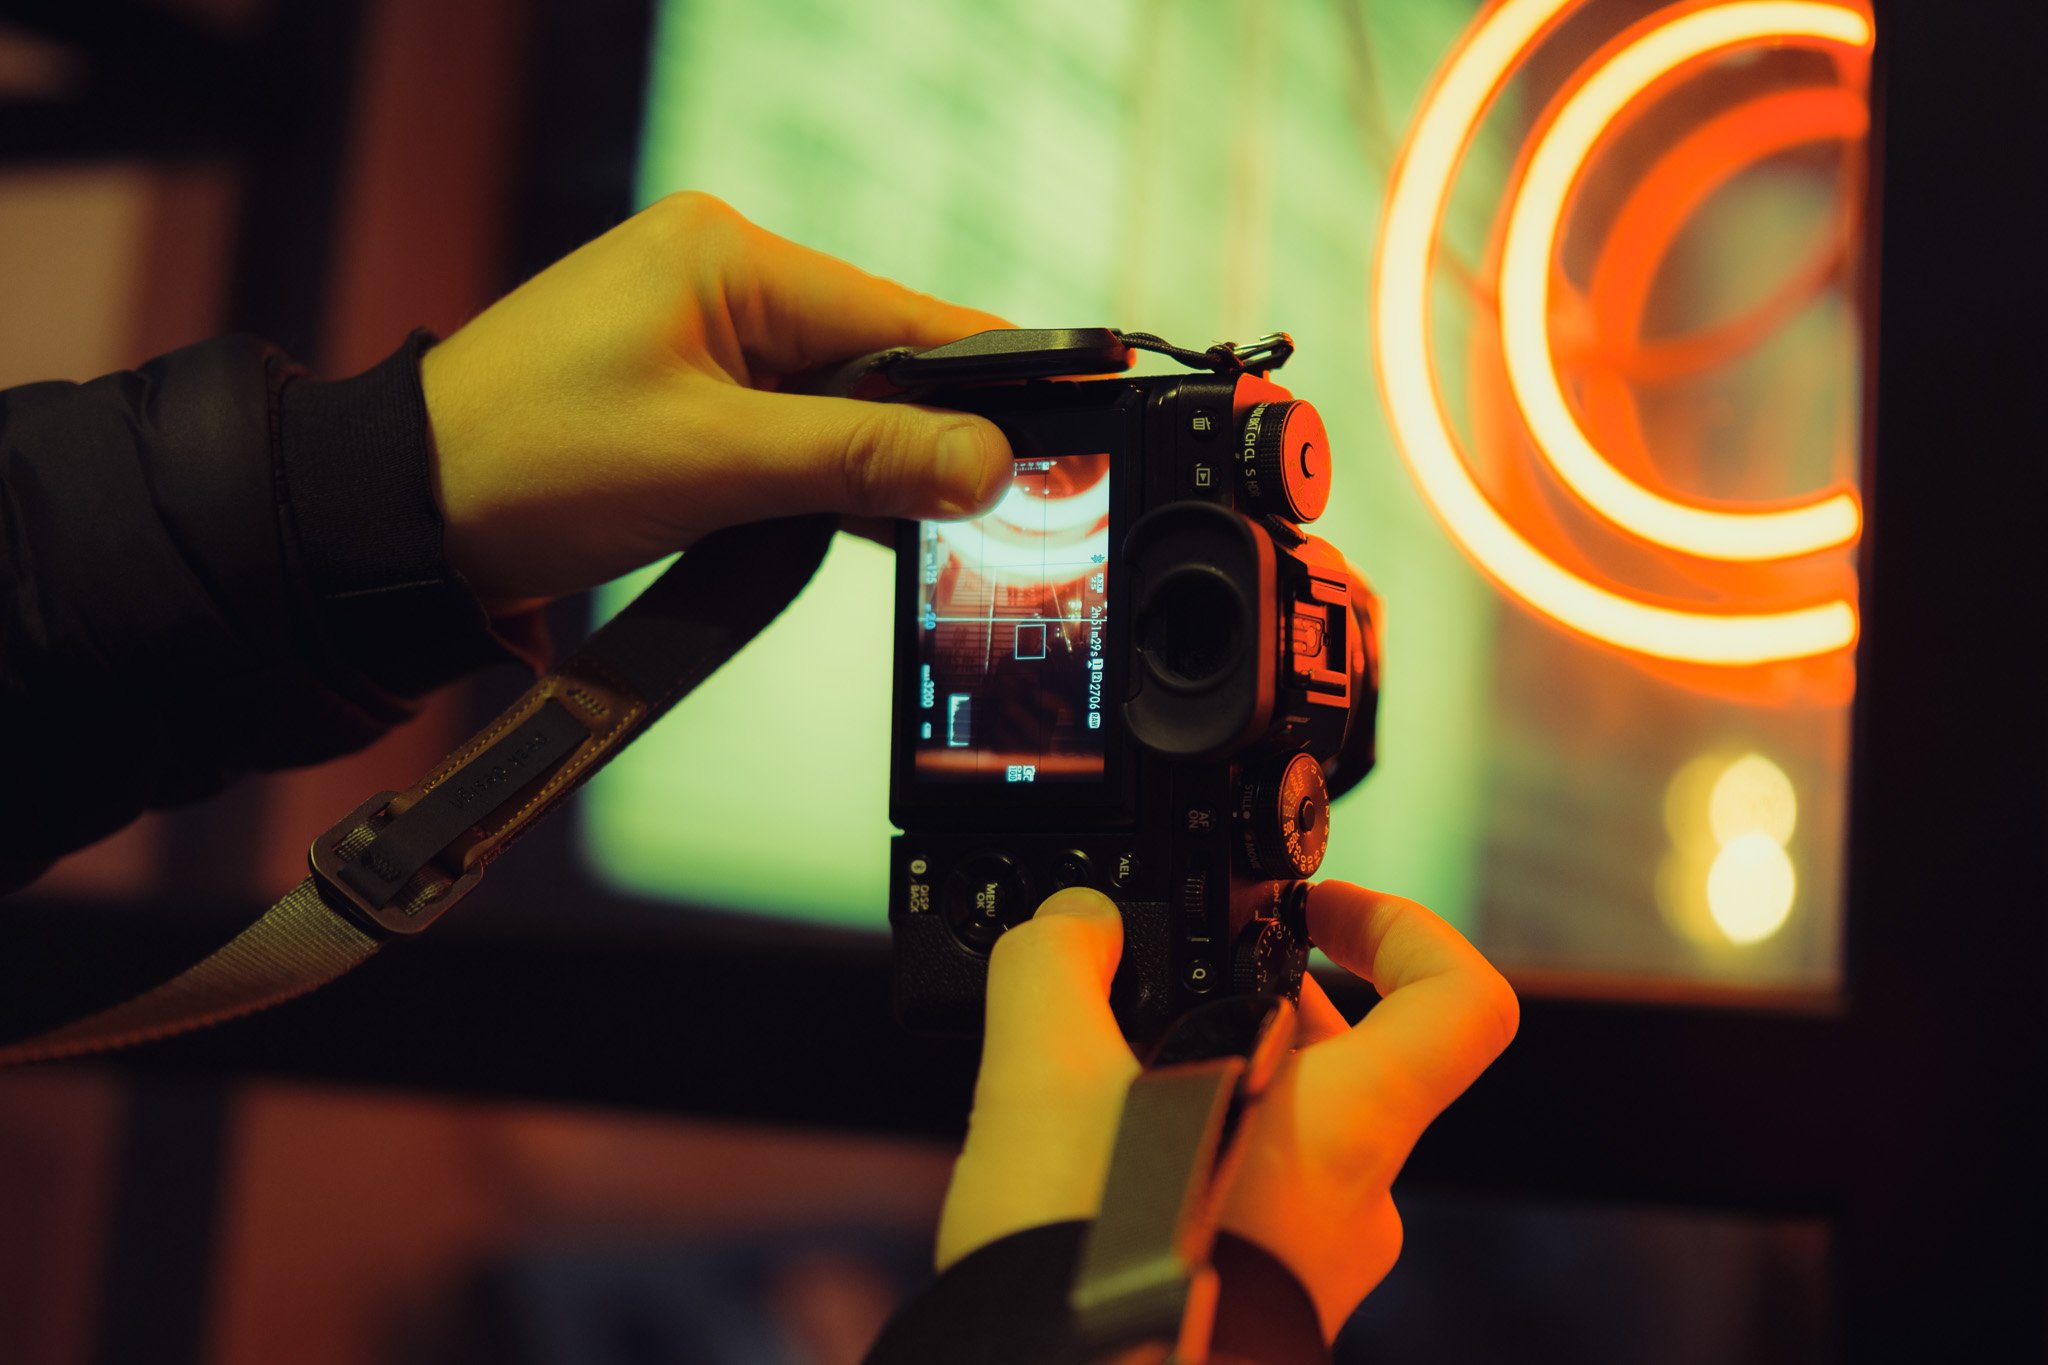
Everyone shoots in different ways so I will cover settings whether you’re shooting in Aperture Priority, Shutter Priority or Full Manual. I shoot on Fujifilm cameras however this applies across the board. These settings work for me however depending on your camera, lens or environment you might have to tweak them. For example if you shoot on a medium format camera with an f2 prime in Soho, you might have more available light compared to shooting on an APSC at f5.6 in a less well lit part of town. Finally shoot in RAW if you can.
Aperture Priority
Aperture Priority is probably the most popular mode that people use at any time of day and it can easily work at night too. The first thing we need to do is set up your Auto ISO settings and minimum shutter speed. We need to tell the camera within what parameters to keep ISO and what is the lowest shutter speed it should select. This does slightly depend on if you have IBIS and what lens you’re using. If you have IBIS, you can generally reduce the shutter speed a little. If you have a longer lens, then you will need a higher shutter speed. There are a lot of variables here however from trial and error I found that 1/100 is a good starting point. As for ISO I typically set the minimum at 500 and maximum at 6400. If light is really bad and you just need to get shots. Or if this setting is still requiring a lower shutter speed, then I would consider moving it to 1000 and 12800 respectively.
The next thing we need to adjust is the global exposure. This might seem counterintuitive however I would suggest under exposing your photos for 3 reasons.
First of all most cameras will overexpose at night. Don’t believe me? Set your camera to 0 exposure at night and compare the rear LCD to real life. The image on the LCD will almost always be brighter.
Secondly we need to protect the highlights especially if shooting in brightly lit places. They are easy to blow out.
Thirdly It’s generally easier and cleaner to raise shadows in editing.

I would typically under expose by anything between -0.6 to -1.6 as it really depends on ambient light. Try to make sure the image you see on your camera roughly matches what your eyes can see. Finally there is the aperture value. Personally I leave it wide open unless it causes a specific creative issue, then I might close it to f4 but no more. You really want to let as much light in as possible.

Shutter Priority
When shutter speeds are already that low and we most likely will already be shooting wide open, then one could argue that shutter priority is a more suitable mode. Furthermore with shutter priority you can get very creative with how you shoot especially when it comes to motion blur. This one should be easy because the bulk of settings have already been dialled in previously.
The Auto ISO values stay the same as for Aperture Priority. The global exposure stays the same. The Aperture is in auto but will most likely be wide open or somewhere near that. All we have to do is set our shutter speed and fine tune it as we go.

Just like before 1/100 is a good starting point but keep an eye on what aperture value your camera is choosing. Because if it’s selecting f5.6 then you might swell increase the shutter speed to 1/200 and have less risk of motion blur. Over time you will get a feeling for what your camera is doing and can balance the correct settings based on the shutter speed alone.

Manual
Given that so many settings at night are either fixed or don’t move that much, then shooting in manual mode can actually be pretty straight forward. Not only that but now you have the ultimate control over your exposure and settings. The biggest thing you need to remember however is that you’re responsible for keeping the global exposure at the desired level, not the camera like before.

Let’s start with ISO and I will initially set it to 1000. This gives us a nice starting point and still maintains a very clean image. Moving on to the aperture, I will set it to wide open for now. Be it f4, f2 or f1.2. Finally I will set the shutter speed to a setting where the global exposure is sitting at around -1. You could see that on the exposure meter.

Now see where your shutter speed is. Ideally you want to have it between 1/100 and 1/200 but as mentioned before it depends on your situation. From here on you can adjust the overall exposure using the ISO. In my experience you will typically be between ISO 1000 and 6400 depending on the scenario. As you adjust the ISO to reflect the ambient light, keep an eye on the exposure meter to ensure you stay an around -1. If a high ISO is not your cup of tea then the only option you have is to reduce the shutter speed even lower and take more care. If your shutter speed is already low then believe it or not gear matters so maybe it’s time for a faster lens such as an f1.4 or something on those lines.


