
Simple Editing Workflow
Photo editing is not a science nor is there a ‘best way to edit’. However over the years I have created a process that works for me anytime I want to edit a photo from scratch. If I decide to use presets instead, then I will still do steps 1-4 before applying them and then go from there. Same goes for B&W conversions and other big changes. Ultimately it doesn’t matter too much what order you do things as nothing is permanent. Below is what works for me. Finally what I’m sharing can be done in any decent photo editing app.
Step 1 - Geometry
The first step is to fix any geometry issues. Not every photo needs it and in some cases it can do more harm than good however I personally like to ensure that any vertical or diagonal lines are straight. The reason I do this first is because it can impact the overall crop and composition of the image.

Step 2 - Crop
The second step is to set an initial crop and composition. This can be fine tuned later however the reason I do this early on is because editing decisions can vary depending on the composition. Perhaps with one particular crop, the shadows need to be darker to balance the photo out while with a different crop, the opposite needs to happen.

Step 3 - Exposure
With the geometry and crop set, we now need to make sure the image is properly exposed. By properly I don’t mean having the histogram in the middle. I mean making sure that it looks how you want it to look. Personally I like brighter photos so I slightly over expose however this is a personal preference. Set it to the point where you feel it looks right. The reason we do it now is because if you start making fine adjustments to the tone or colours, you don’t want to ruin it all by having to fix the global exposure later. Also in many cases tone and colour will appear different on a photo that’s even slightly over or under exposed. So set the correct exposure first.

Step 4 - White Balance
Just like with exposure, we need to look at white balance too. In 95% of cases the auto white balance of modern cameras is very accurate and no correction will need to be done. However sometimes, this might need tweaking. Equally any creative white balance shift is better to be done earlier on as it will be easier to edit a correct image instead of having to go back on yourself later. Creative adjustments could be warming up a sunrise photo or cooling down a blue hour shot.

Step 5 - Details
The final step in getting the baseline photo is to work on the sharpness and any lens issues. If the lens has a lot of vignetting, then use the lens correction tool to remove it. I also like to reduce the sharpness and drop the clarity because I tend to find modern cameras a little too sharp and my personal preference is for a softer photo. This is extremely subjective though. I usually keep sharpness at default and reduce clarity around 10-20 points on the slider.

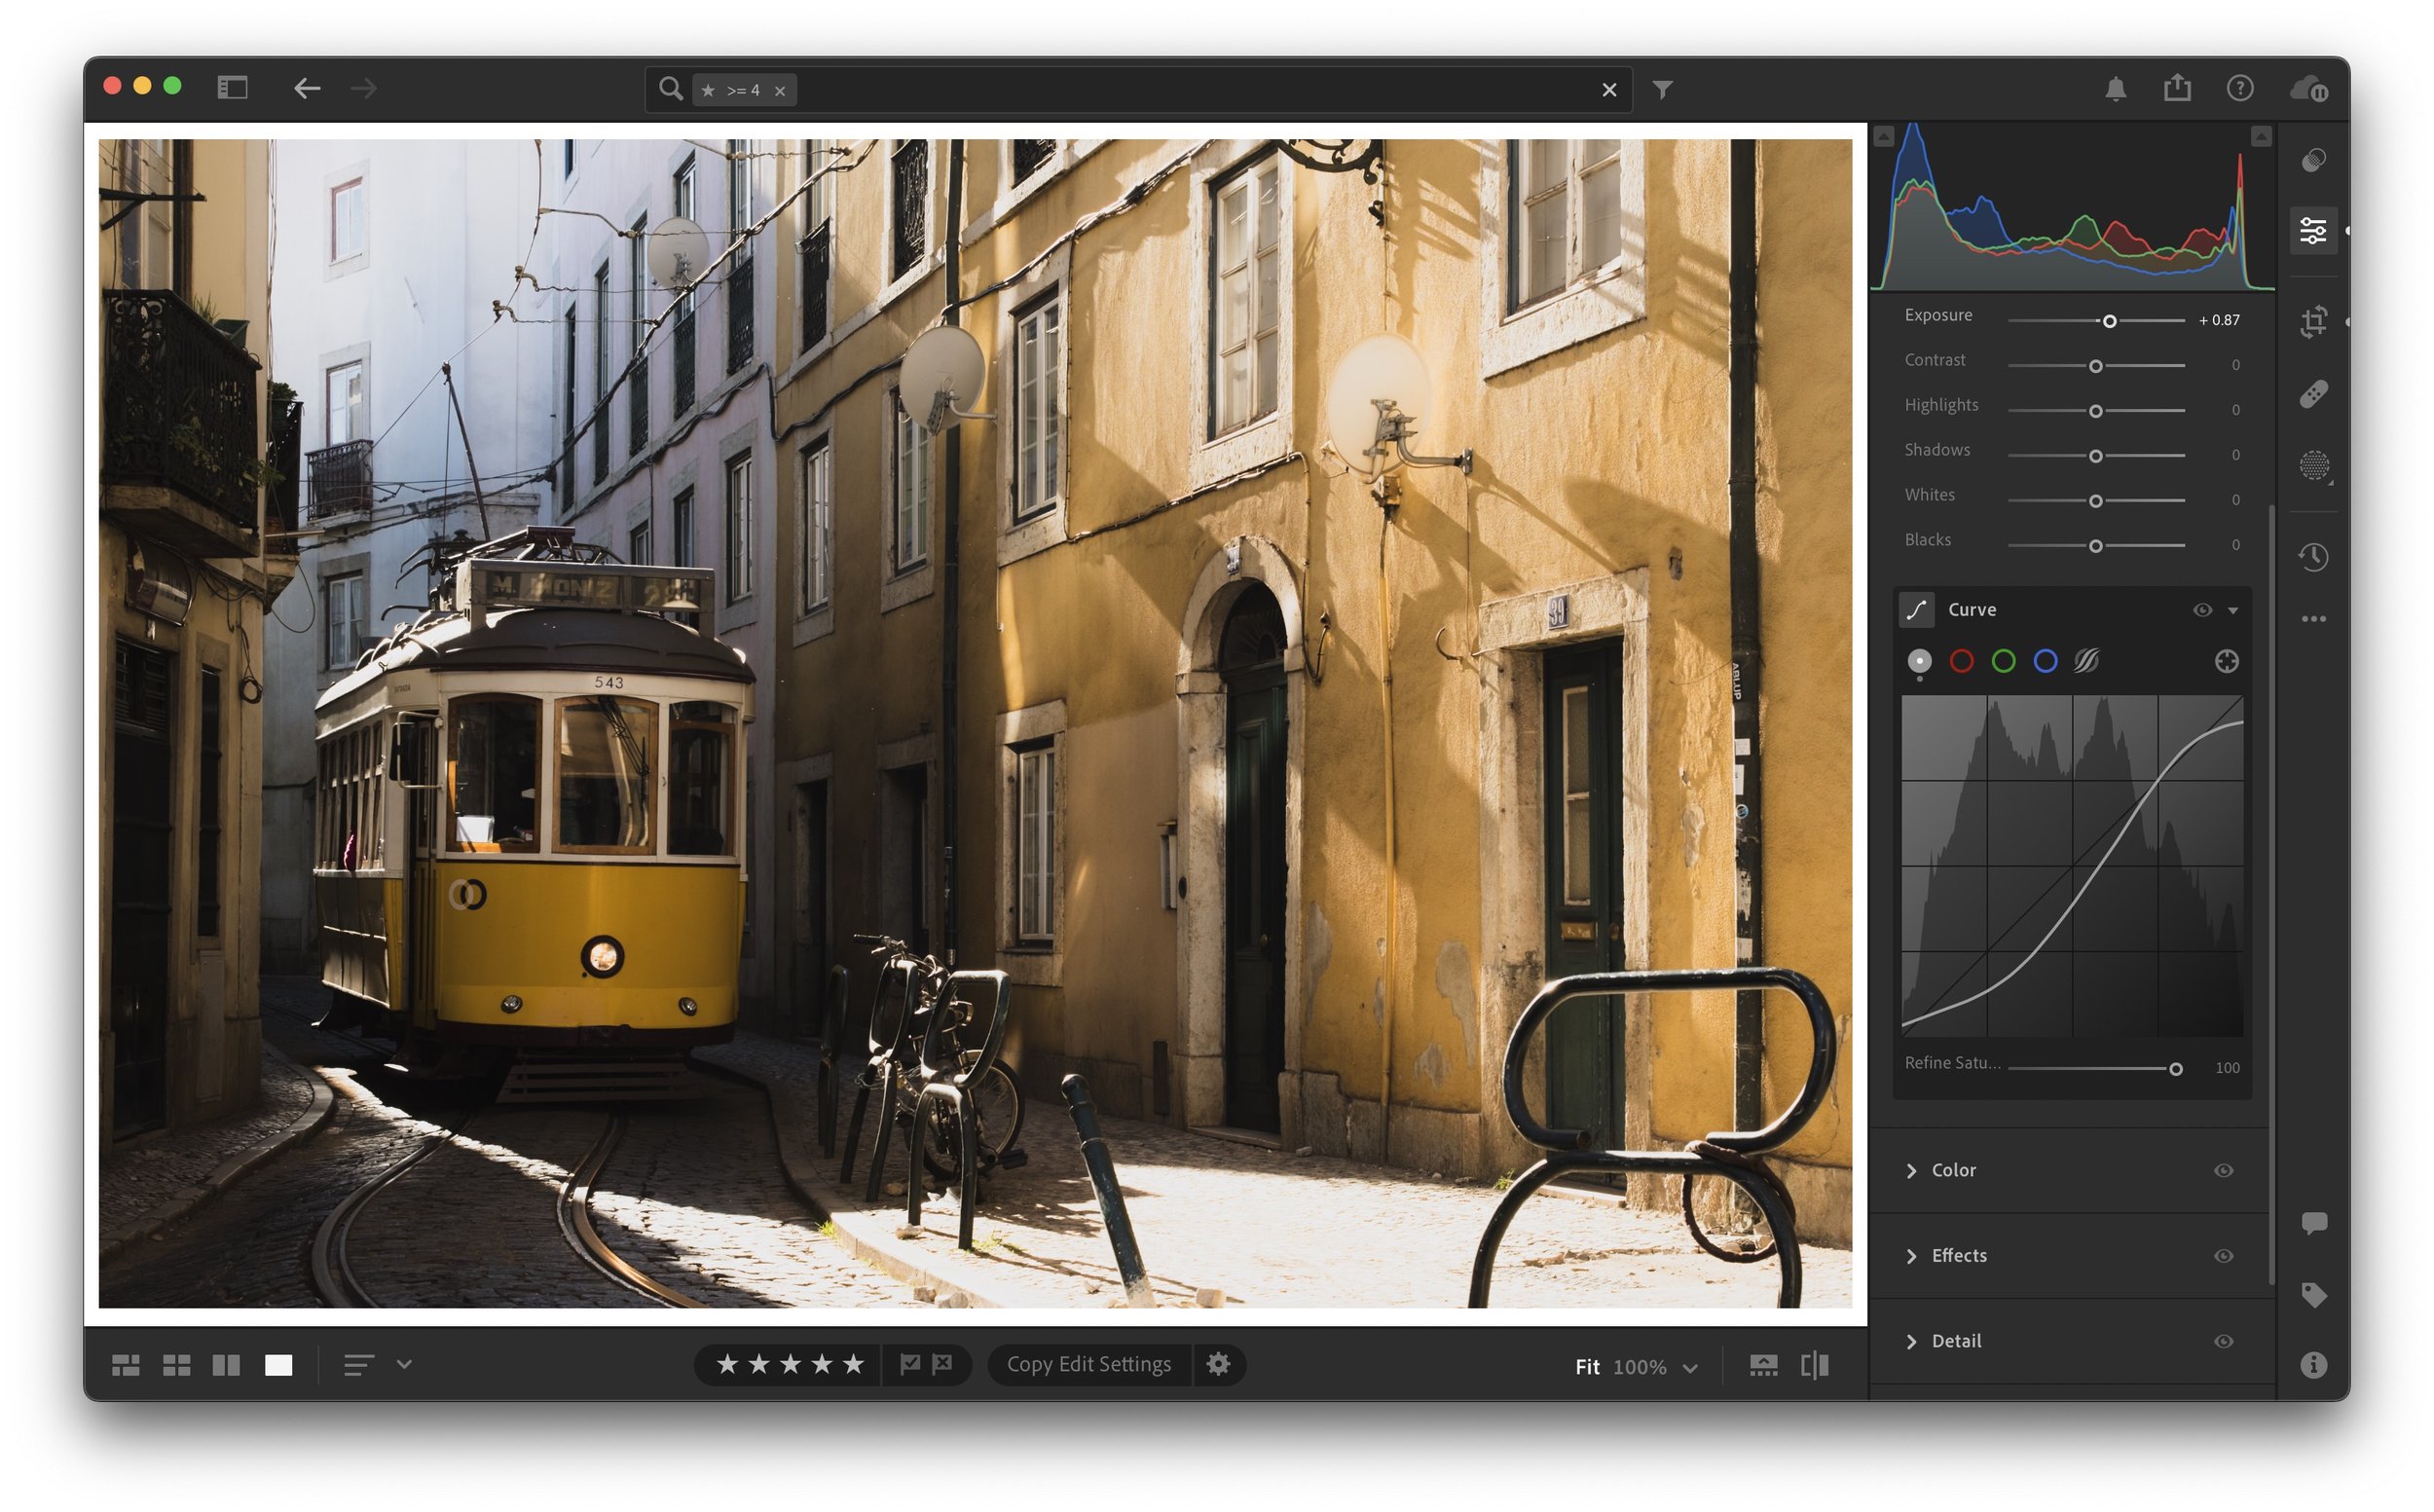
Step 6 - Tone
The first creative adjustment will be to the tone of the image. For this I would be using the tone curve and the aim is to get the image roughly where I want it. This is of course different for every photo however if there is one common theme, it’s the fading of whites and blacks. I do this by slightly lifting the extreme ends of the tone curve to make blacks slightly grey and whites slightly off-white. As for the tone curve itself, in most cases there would be some sort of an S curve.
Step 7 - Colour HSL
With the tone done, next I will make slight adjustments to the hue, saturation and luminance of each colour. This is also subjective however in general I like to make my reds a little more orange, the greens a little more yellow and the blues a little more teal. I also tend to boost the saturation of warm colours and slightly mute the cooler colours. Of course this isn’t on every single image and there are instances where I do the opposite.

Step 8 - Colour Grade
With the tone and colour set, the final creative step is to add a colour grade. To be clear, not every image needs a colour grade and it’s very easy to ruin the work you’ve done so far by slapping a strong grade on. I say start with a very small adjustment and see how it looks. Personally I do the following depending on each image:
Highlights - Orange or Cyan
Midtowns - Yellow or Green
Shadows - Blue or Red

Step 9 - Finishing Touches
With the basic edit now done, it’s time to go over to the exposure sliders and fine tune the final look. This could be done by playing with the highlights or shadows sliders, general brightness, black point, vibrance and more. This is where you make everything look just right.

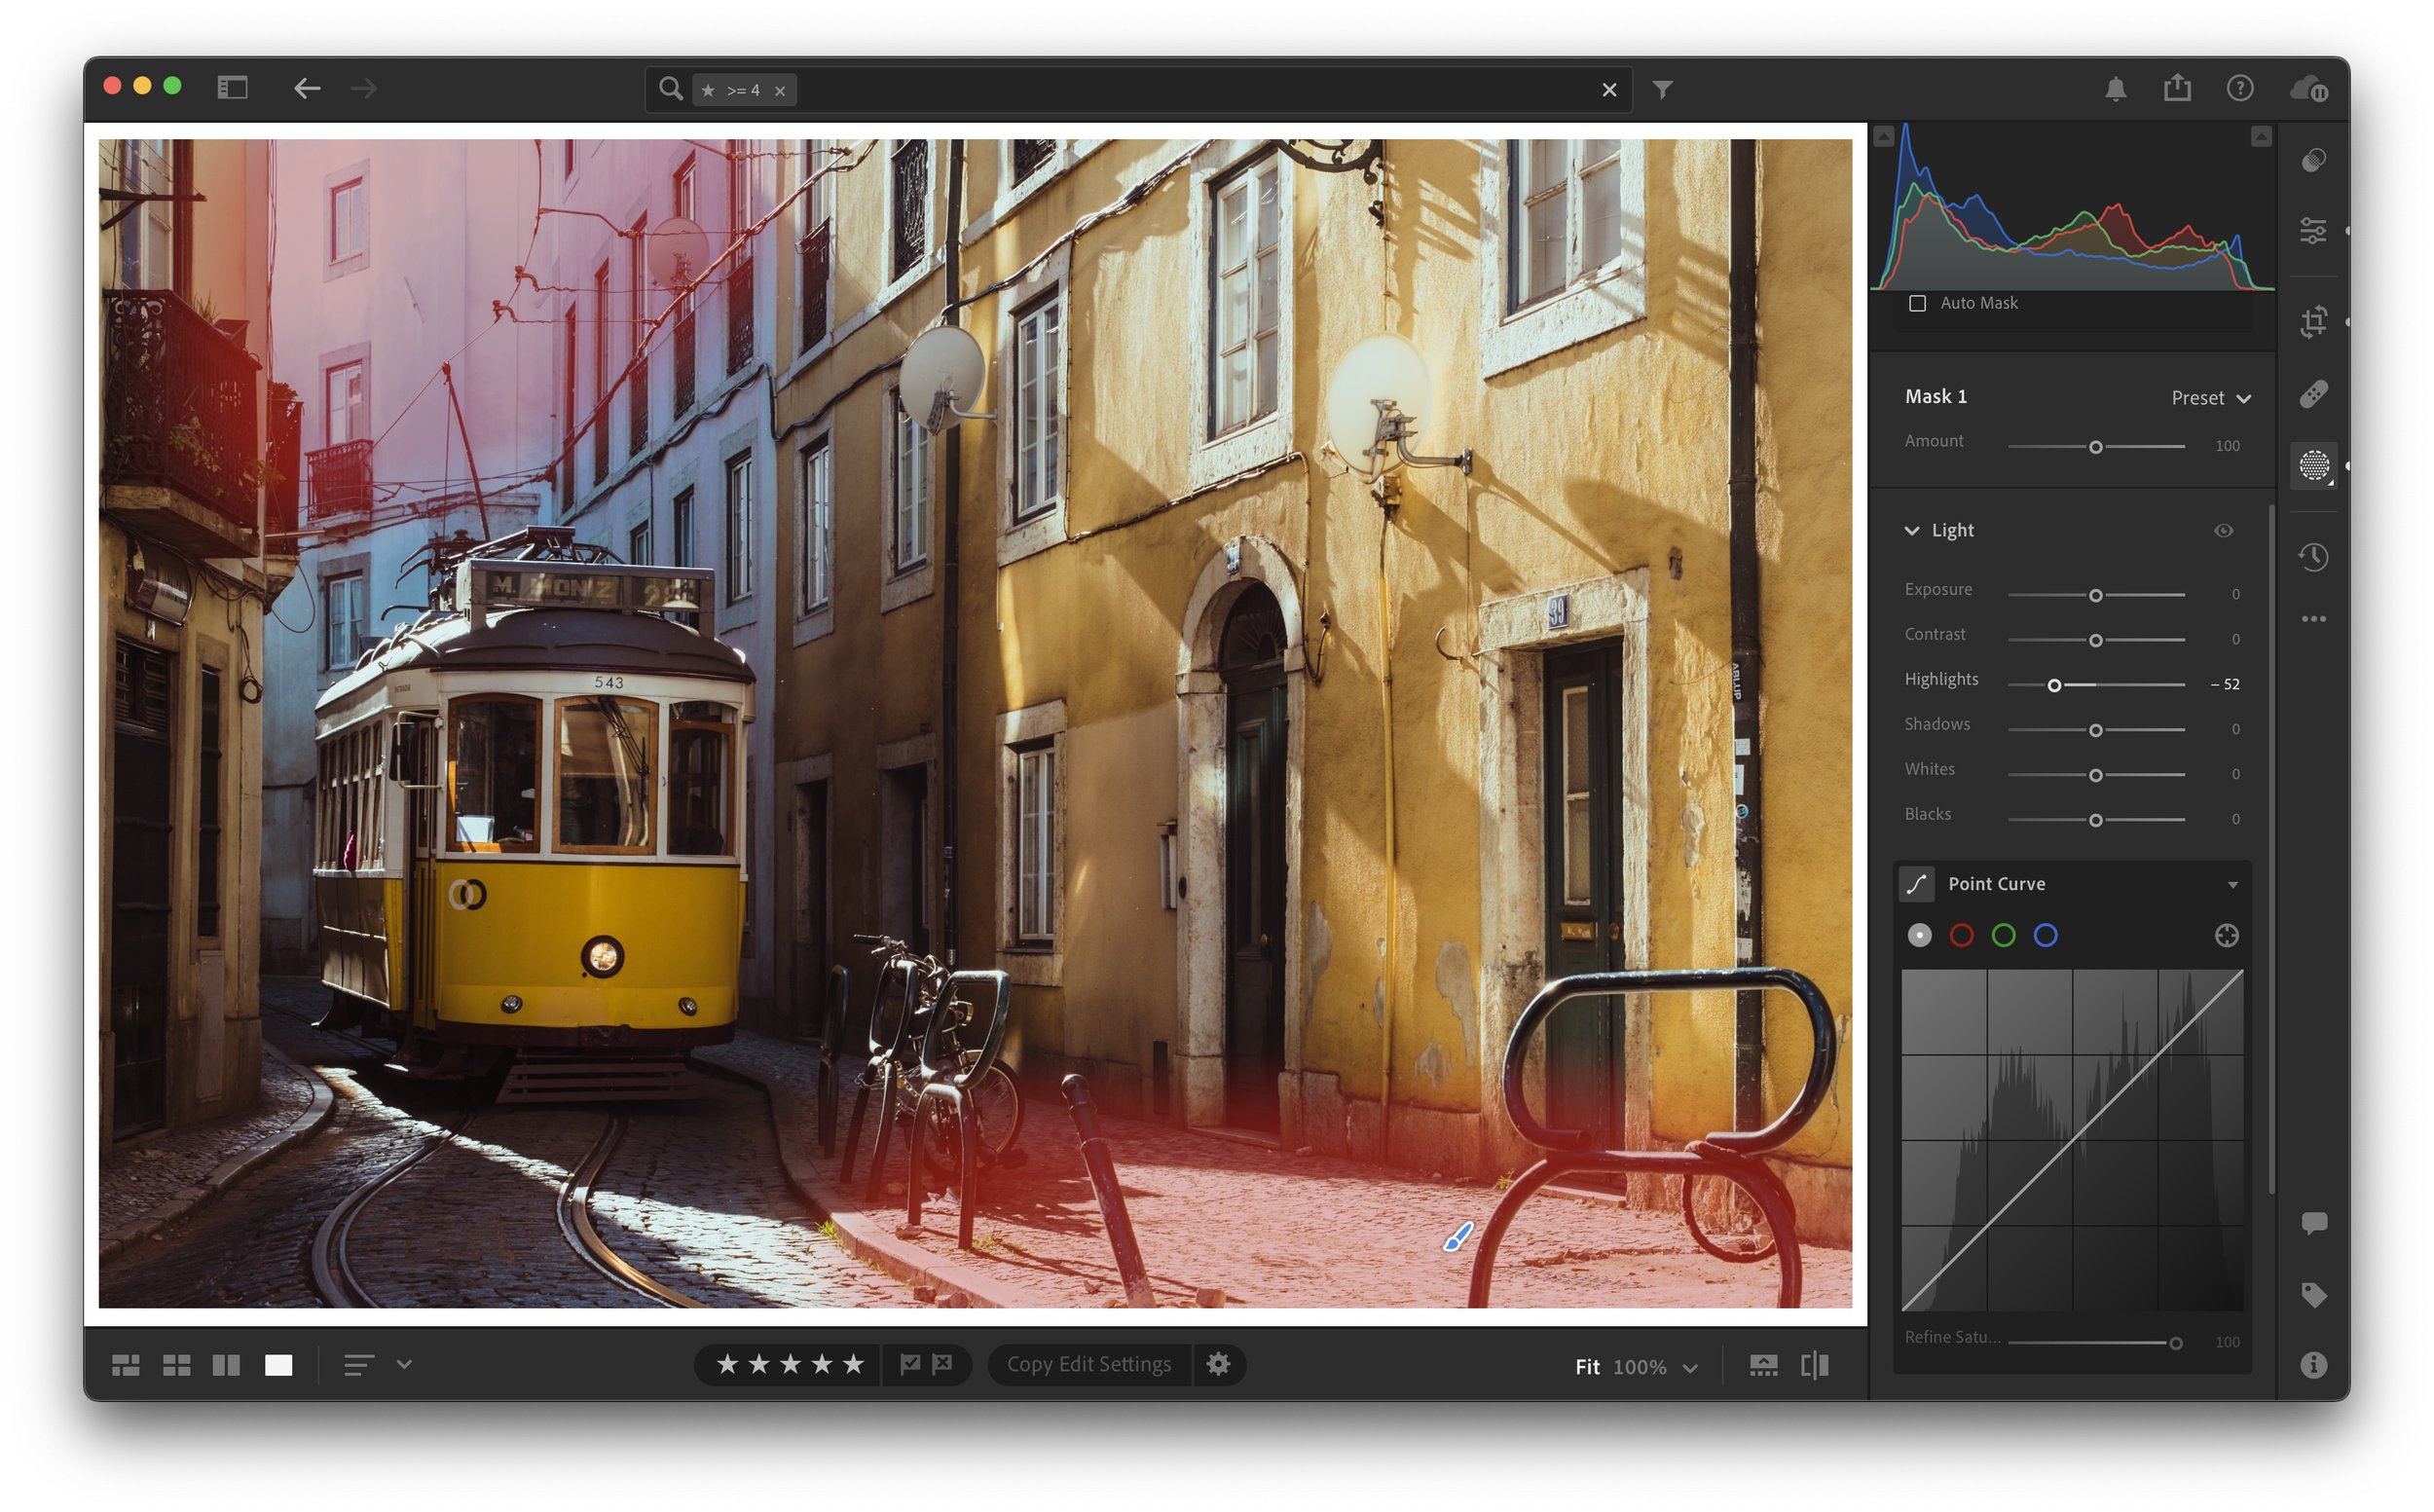
Step 10 - Local repairs
This step involves making any local repairs. Maybe you need to clone out the rubbish on the floor or use a local adjustment to repair a blown out reflection. In many photos, this step won’t be needed at all.
Step 11 - Walk Away
This is the easiest step and it involves you walking away and giving it at least a few hours or ideally a day away from editing. When we are focused and working on our images, it can be very easy to either miss something or get sucked into the edit and lose track of whether it actually looks good or not. By walking away, we give our eyes a break and upon returning we see the photos in a new light.
Step 12 - Final Finishing Touches
Once you returned from your break, you might find that you’ve over edited the photo or perhaps some aspects need adjusting. This is where you will make the final tweaks before exporting. I personally find around 50% of my images need minor adjustments following some time away.


