Sharp Photos For The Rest Of Your Life
How to get sharp photos. This really seems to be a topic that many people keep asking and since I haven’t covered it before, it’s time to do so now. There are a ton of different methods one can use to improve the sharpness or the perceived sharpness of a photo. This blog will cover a bunch of different methods. Some will be better than others. Some will work in certain conditions while others won’t. Some will increase the perceived sharpness. However between everything I am about to share, there will be something that will help you.
Gear
Gear seems to be the first solution most resort to. Yes, a brand new Sony G Master lens will be sharper than a 40 year old vintage Minolta. Yes, an APSC sensor will produce cleaner and shaper results compared to an iPhone. Yes, a cheap $60 Amazon special lens will be noticeably softer compared to a more premium lens that’s 10 times the price. When comparing extremes, gear absolutely does matter. However if you own a mid level camera or lens from any of the main brands that has been produced in the last 5 or so years, then you have nothing to worry about.
Perceived Sharpness
Now we need to talk about perceived sharpness. Did you ever see a photo that from a distance just look soft and muddy, yet when zoomed in it’s actually tac sharp? This happens a lot and is simply a sign of poor lighting. Having a well lit scene with plenty of natural contrast and clean bright light can make even a 5 year old iPhone photo look sharp. Sure when zoomed in, it all falls apart, however from a normal viewing distance it looks fine. Speaking of zooming in, this is where you need to be honest with yourself. There is no judgement on my part but there is a large number of photographers who seem to get aroused by zooming in to 400% and drooling over the sharp detail. If that’s something that you’re into, then perhaps most of the upcoming tips will help. Along with a 100mp medium format camera. However for everyone else who doesn’t pixel peep, it’s worth remembering that a photo only needs to look sharp from a normal viewing distance that depends on the format and size.


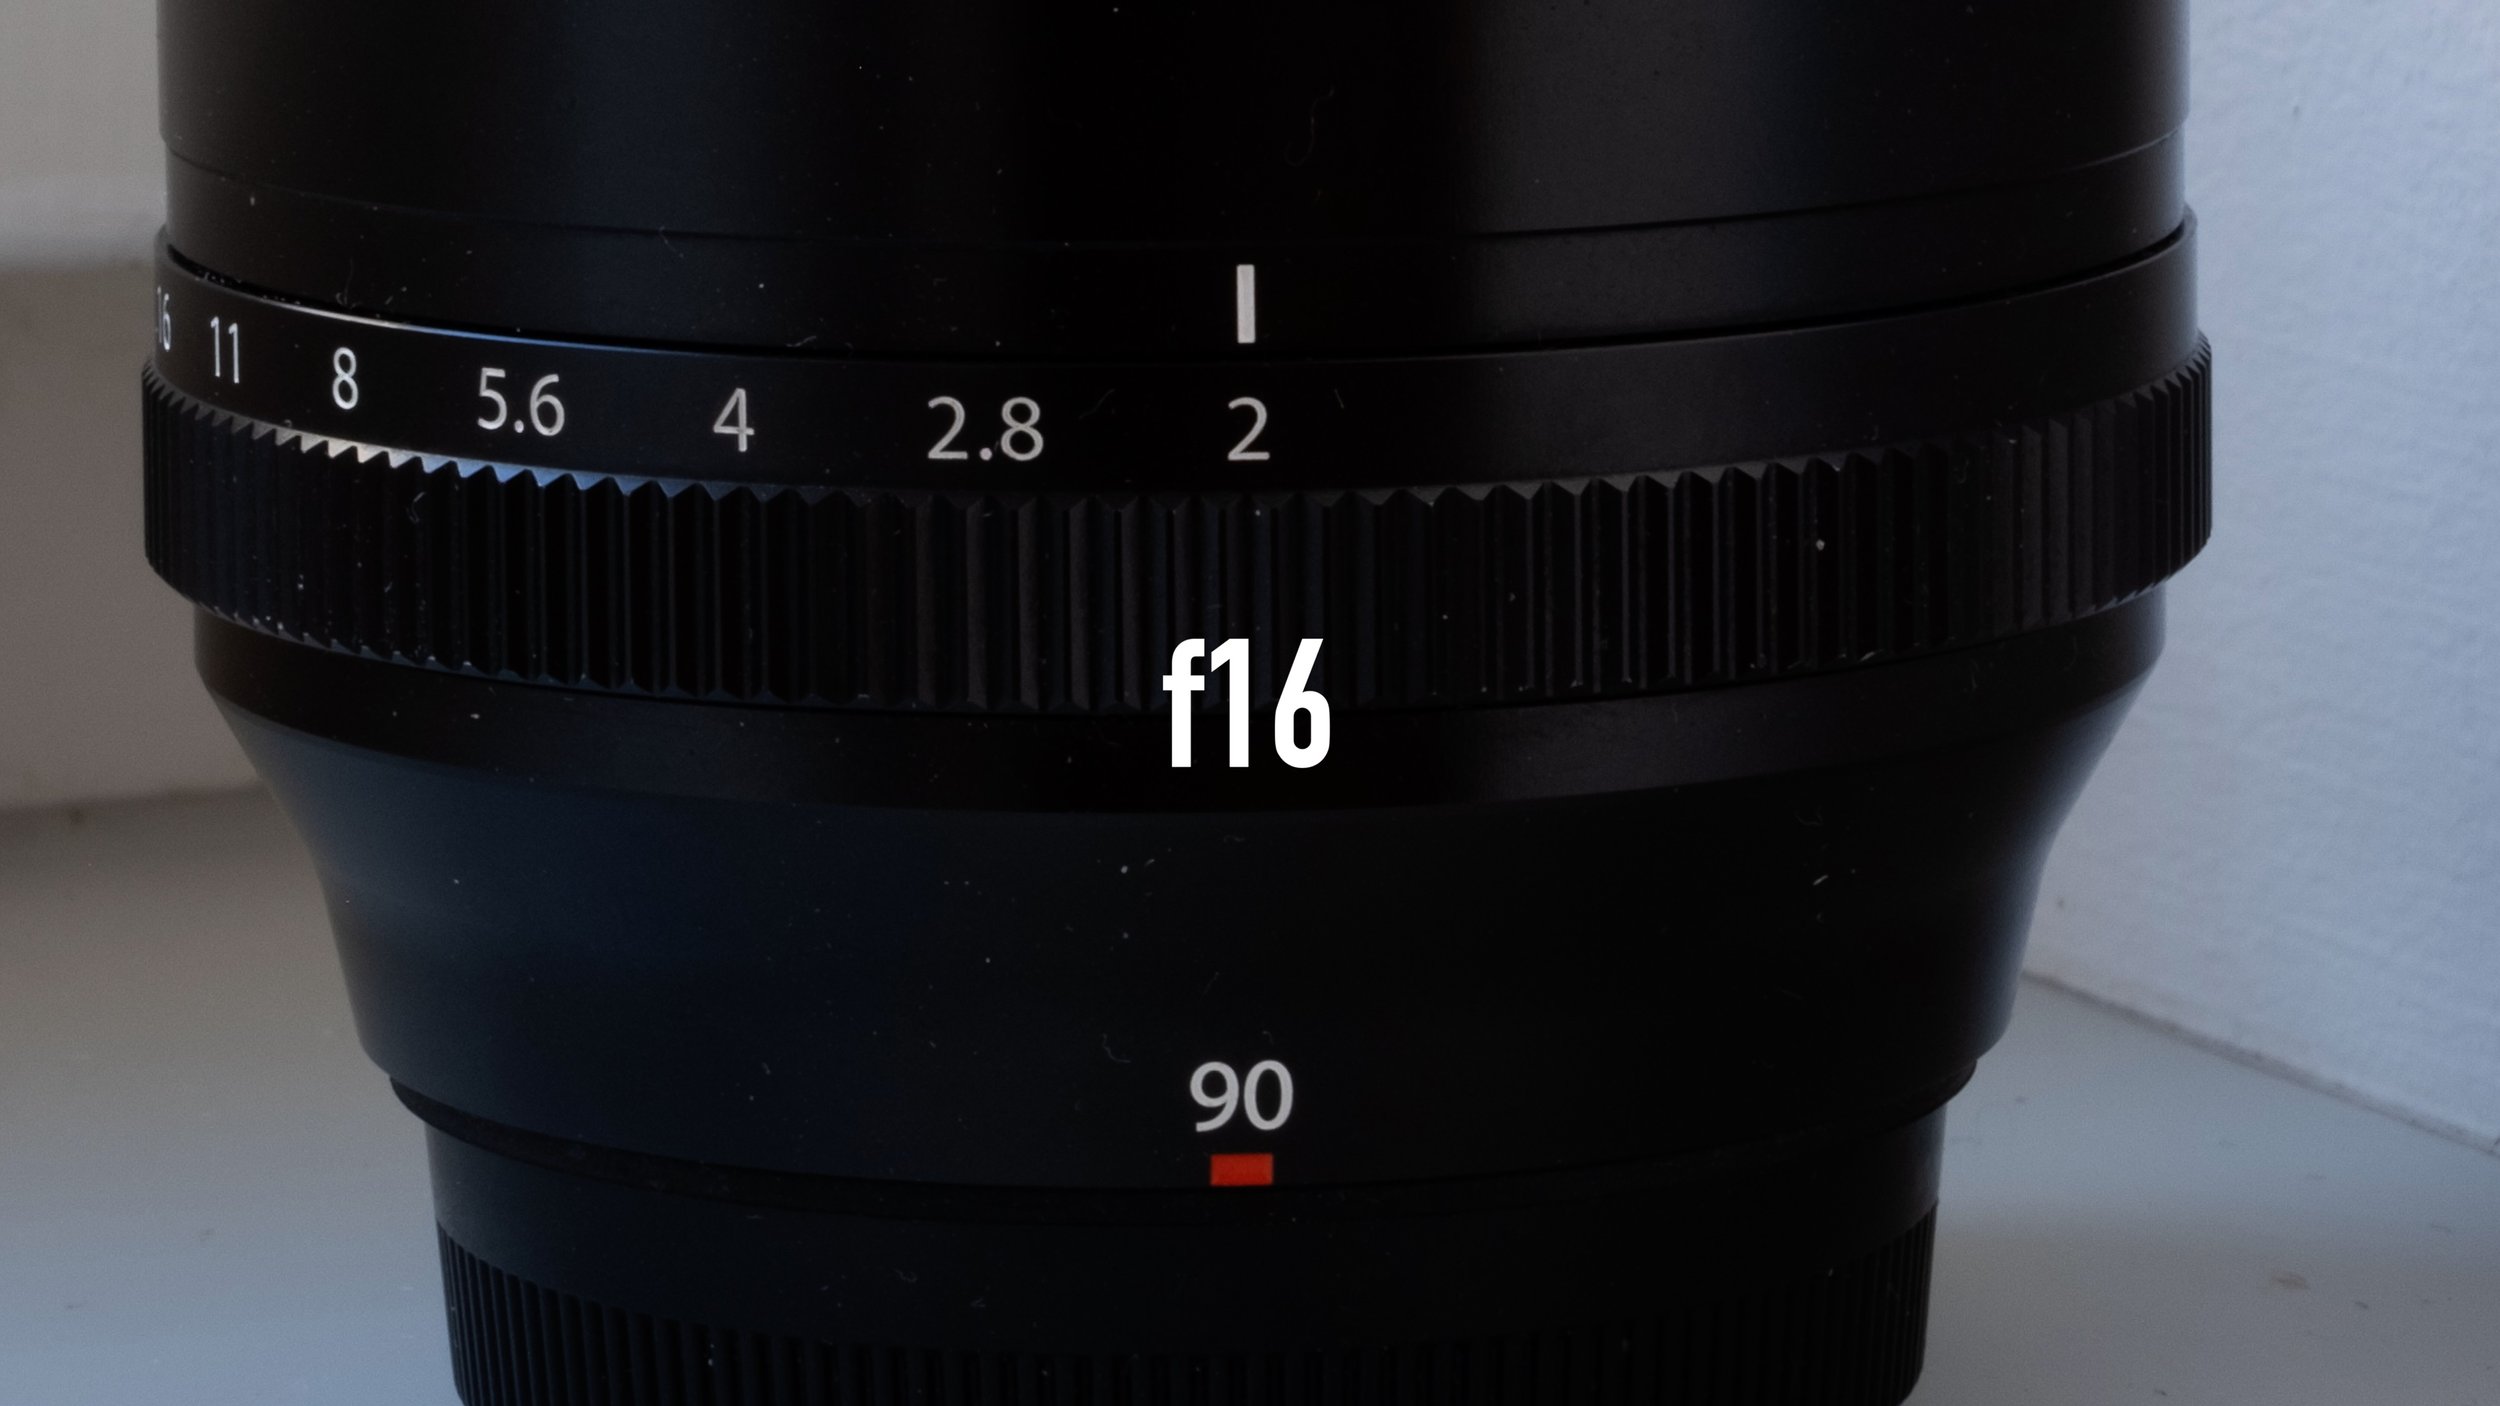
Aperture
Typically lenses are sharpest roughly in the middle of the aperture range. So on a lens that goes from f2 to f16, around f8 to f11 will give you the sharpest results. Each lens is different and the best way to find out is to take identical photos at all aperture values, zoom in and see which one is the sharpest. It is worth noting that when lenses are wide open, they will render a softer image. It is also worth noting that if you close your lens down to f16 or f22, you will start introducing diffraction which will kill any sharpness and look a bit crap. Finally if you are shooting wide open at f2 or less, then making sure you actually nail the focus is important. We will cover this in a bit.


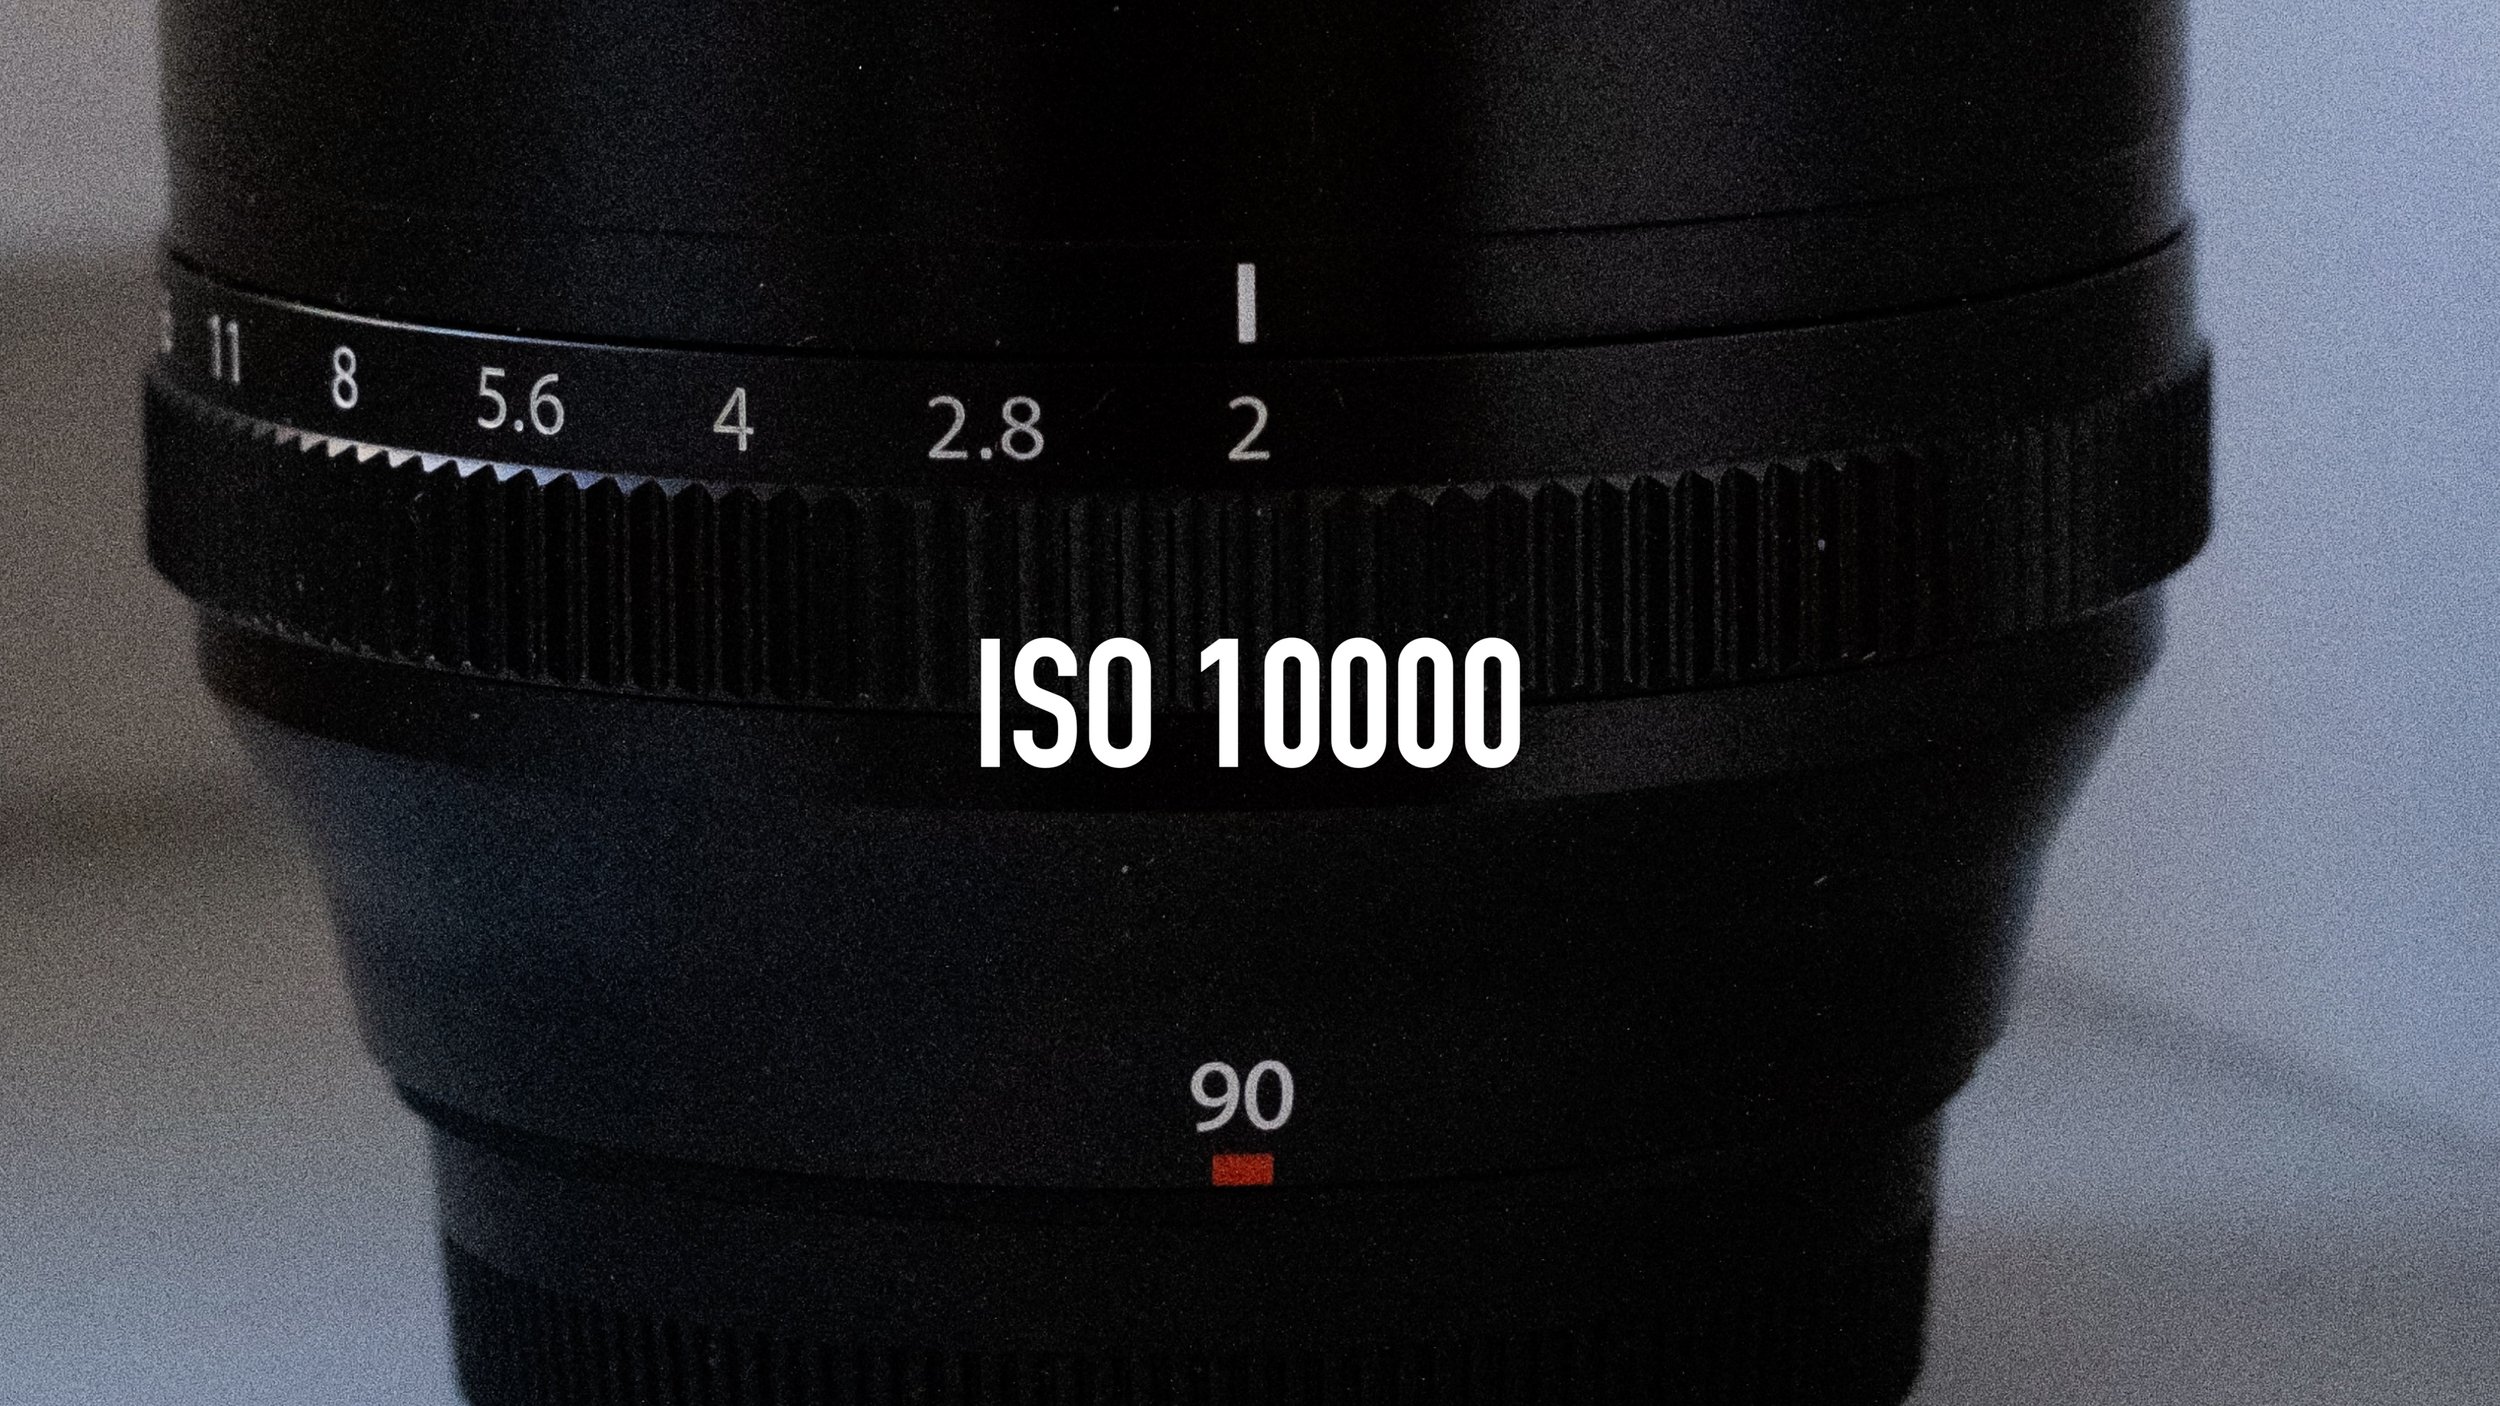
ISO
ISO does not have a direct correlation to image sharpness however if you shoot at higher ISO values, then you will introduce more noise into the image. A noisy image will lose detail and appear less sharp. For the sharpest image possible, you would want to keep the ISO value as close to base as possible. It really is as simple as that. This is also where full frame cameras excel and phone cameras look like crap. A larger sensor can gather more light thus requiring less ISO and resulting in a cleaner image.


Focus Mode
In many cases the lack of sharpness can simply be a slightly out of focus image. Therefore making sure that you are focusing using the best method for the scenario is important. It is also worth noting that if nothing here works, then maybe send your lens in for calibration especially if it’s been heavily used or been dropped.
Most cameras will have three focus modes. Single, continuous and manual. They might be called different things but the concept is the same. Single acquires focus once and then stays locked till the photo is taken. Continuous keeps tracking whatever the focus point is aimed at. Manual is manual.
Different scenarios will require a different focus mode. For example if you’re shooting still life, you’re working slowly and not moving around, then single will be the best method. If you’re shooting moving subjects or you’re moving around yourself, then continuous will give you the best results. If you’re shooting a foggy cityscape or perhaps you have very difficult lighting conditions, then manual focus will probably be the best option.

Focus Point
There are two focus point types you can choose that will have a vastly different impact on the end result. Single point & zone. Again these could be called something else in different cameras but the idea is the same. Single point is one small square. Anything that square is aimed at will be focused on. Zone is a small area that is full of single points. You select which area of the scene you want the camera to focus on and the camera will choose a specific point within that zone based on its algorithm. Personally I use single point when I am still and I want to be very specific with where I am focusing. Zone I will use when I am moving around and the subject I am shooting is also moving around. Another way to look at it is that single point autofocus is extremely accurate but will take longer to acquire focus. Zone is less accurate but will acquire focus quicker.


Shutter Speed
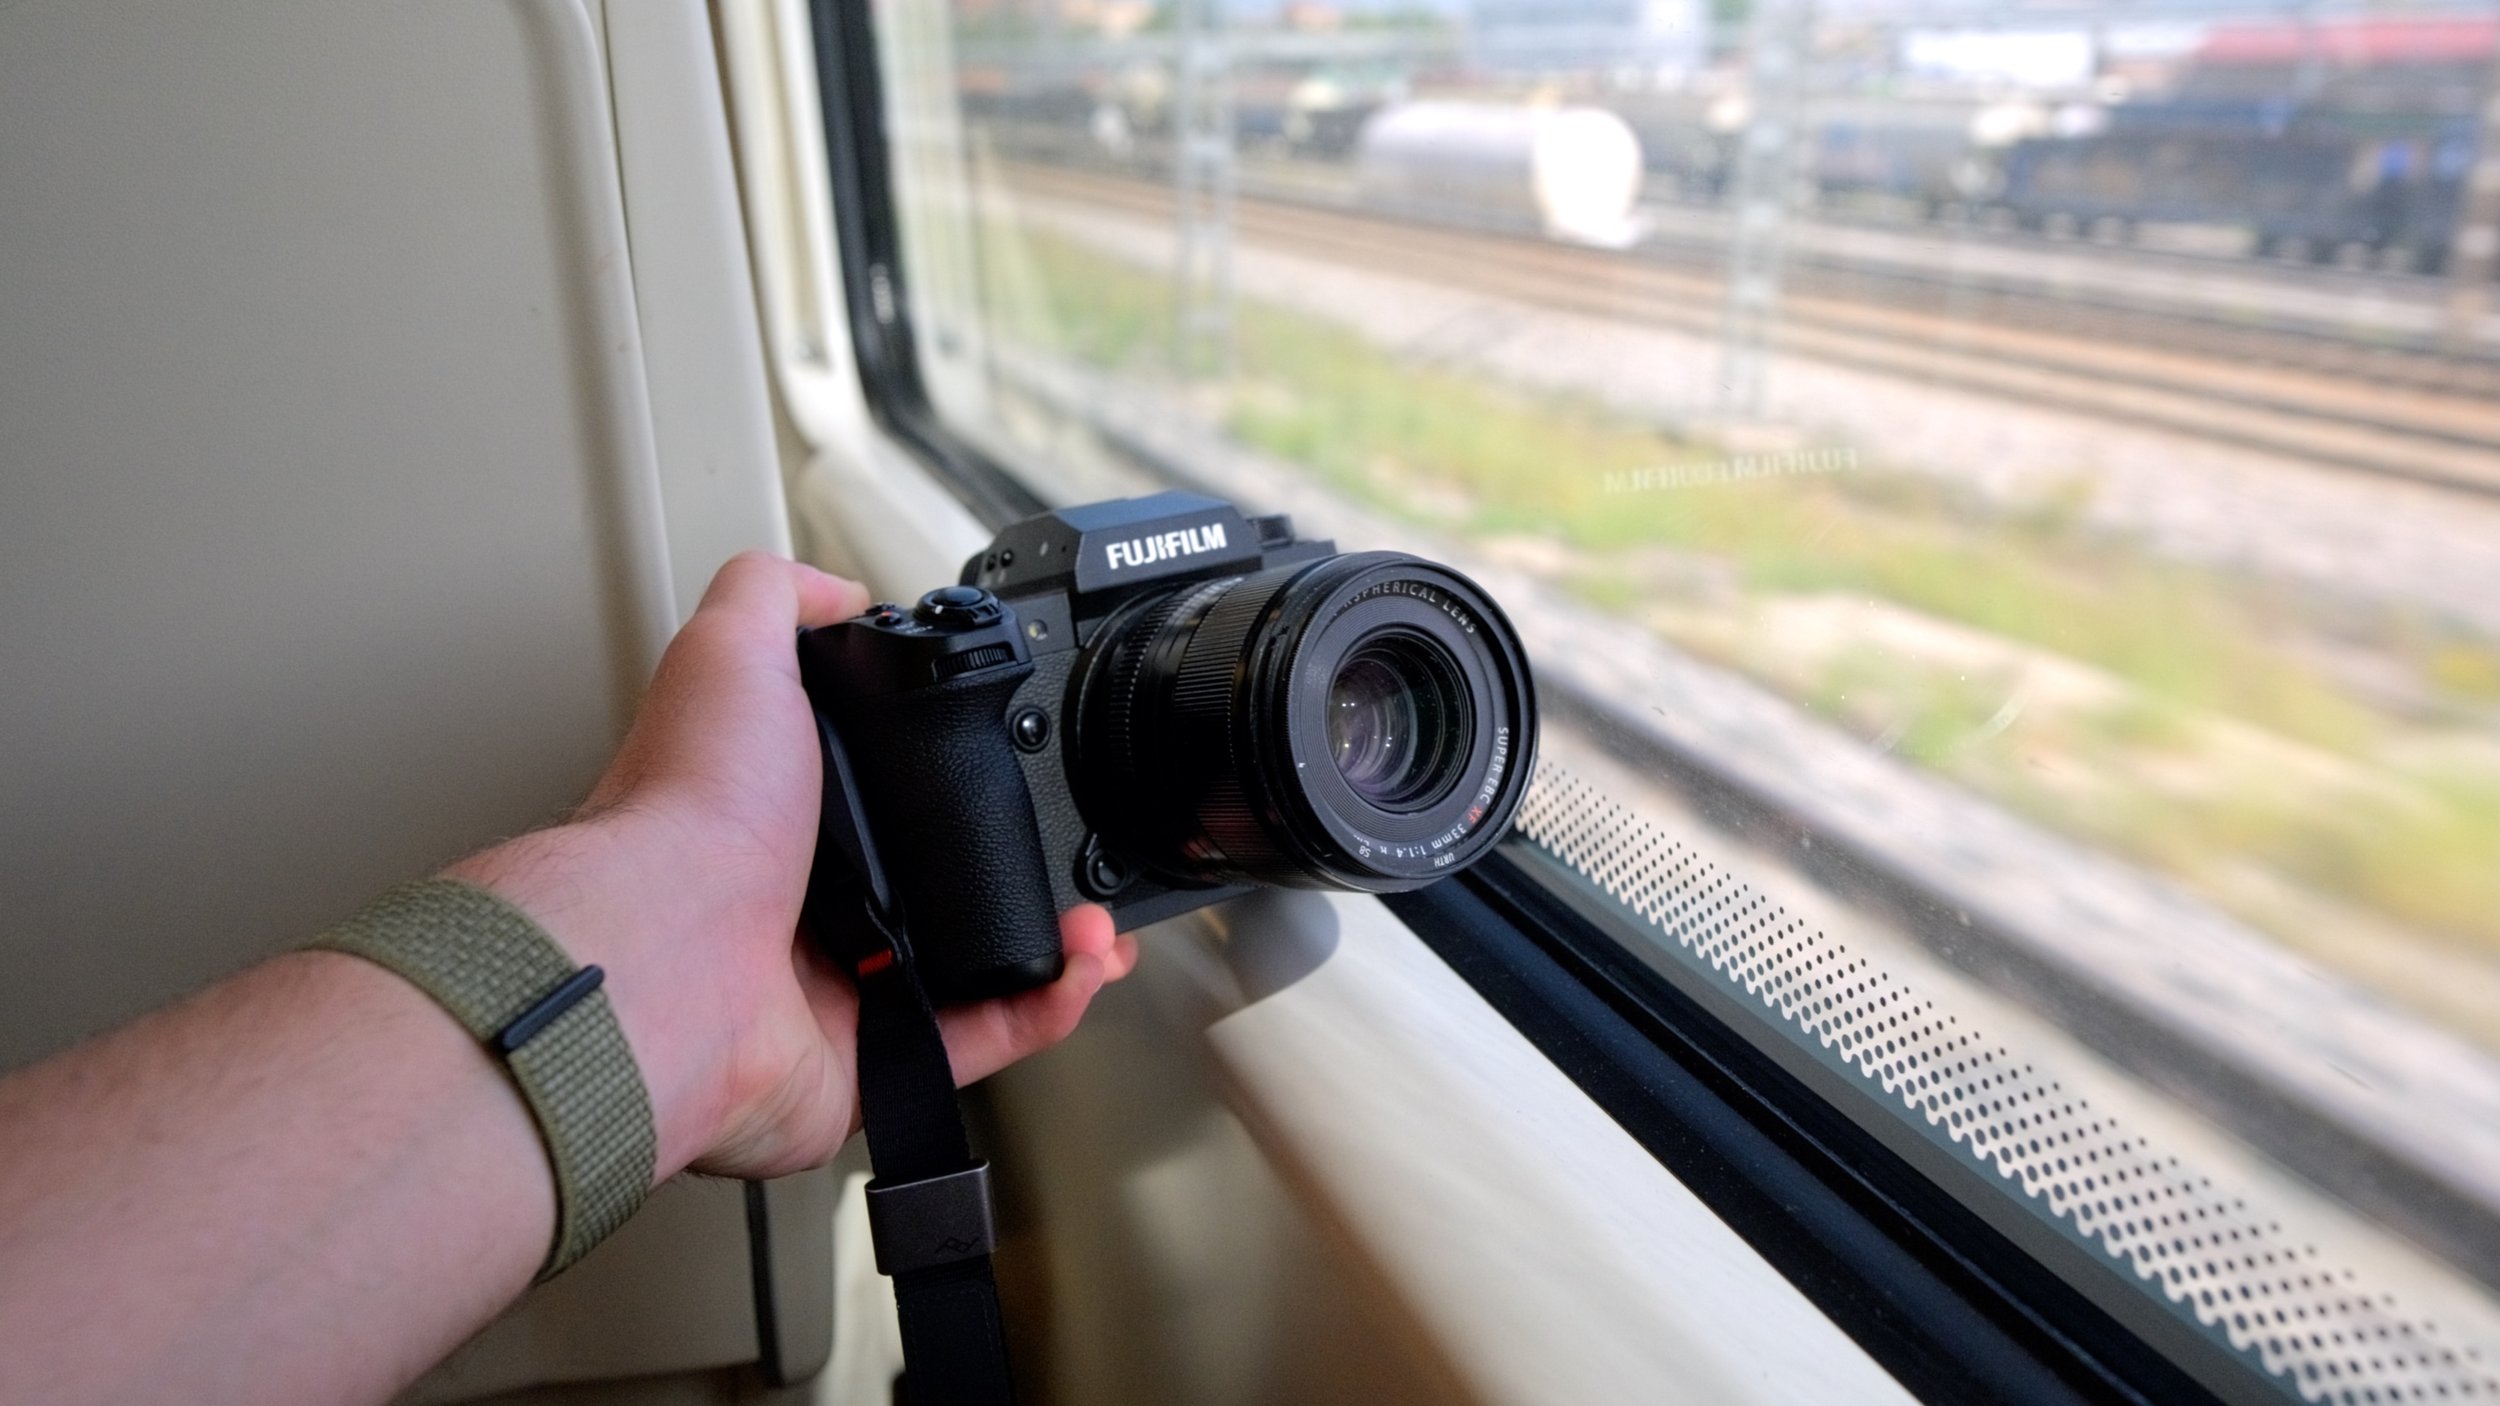
Using the appropriate shutter speed will reduce any motion blur when handholding therefore resulting in a sharper image. Personally I try to use a shutter speed roughly double my focal length. So if shooting at 50mm then using a minimum shutter speed of 1/100 is needed. Overall this is a good starting point however with modern cameras and IBIS, it can go a fair bit lower. I use a Fujifilm XH2s and with 33mm lens which is around 50mm full frame, I can go down to 1/30 shutter speed and still get perfectly sharp results. This is just done through trial and error and I suggest you do the same with your system. With that said, I try to never go below 1/200 and ideally I want to stay as close to 1/500 as possible. I found that 1/500 is the sweet spot and anything higher is just a bonus.
Resolution, IBIS & Tripods
Generally speaking the higher resolution your camera is, the more prominent any camera shake will be. So if you’re shooting on a 60mp camera, then you would need to take more care compared to a 20mp camera. Having IBIS or OIS can save you from motion blur but keep in mind that not all stabilisation systems are created equal. Some cameras are better than others and you would need to test out the limit of your one. Finally using a tripod is of course the best way to eliminate camera shake, however make sure to switch off any IBIS or OIS. Leaving those systems on when the camera is locked off, can actually introduce motion blur.
Burst Mode
In an ideal world we will shoot everything at 1/2000 and never worry about camera shape and motion blur. However in the real world it is not always possible. I will now share some tips for stabilising your camera thus allowing for lower shutter speeds. When you press the shutter button, you introduce movement into the camera regardless of how delicate you are. So if shooting at lower shutter speeds, simply take a short burst. The first and last photo might be a little shaky however the photo in the middle of the burst will be the steadiest one.
Self Timer
If you’re shooting still life and have the luxury of time, then instead of taking a burst and filling up your memory card, simply set a 3 second timer. This gives you a chance to really hold the camera tight, hold your breath and remove any risk of shake.
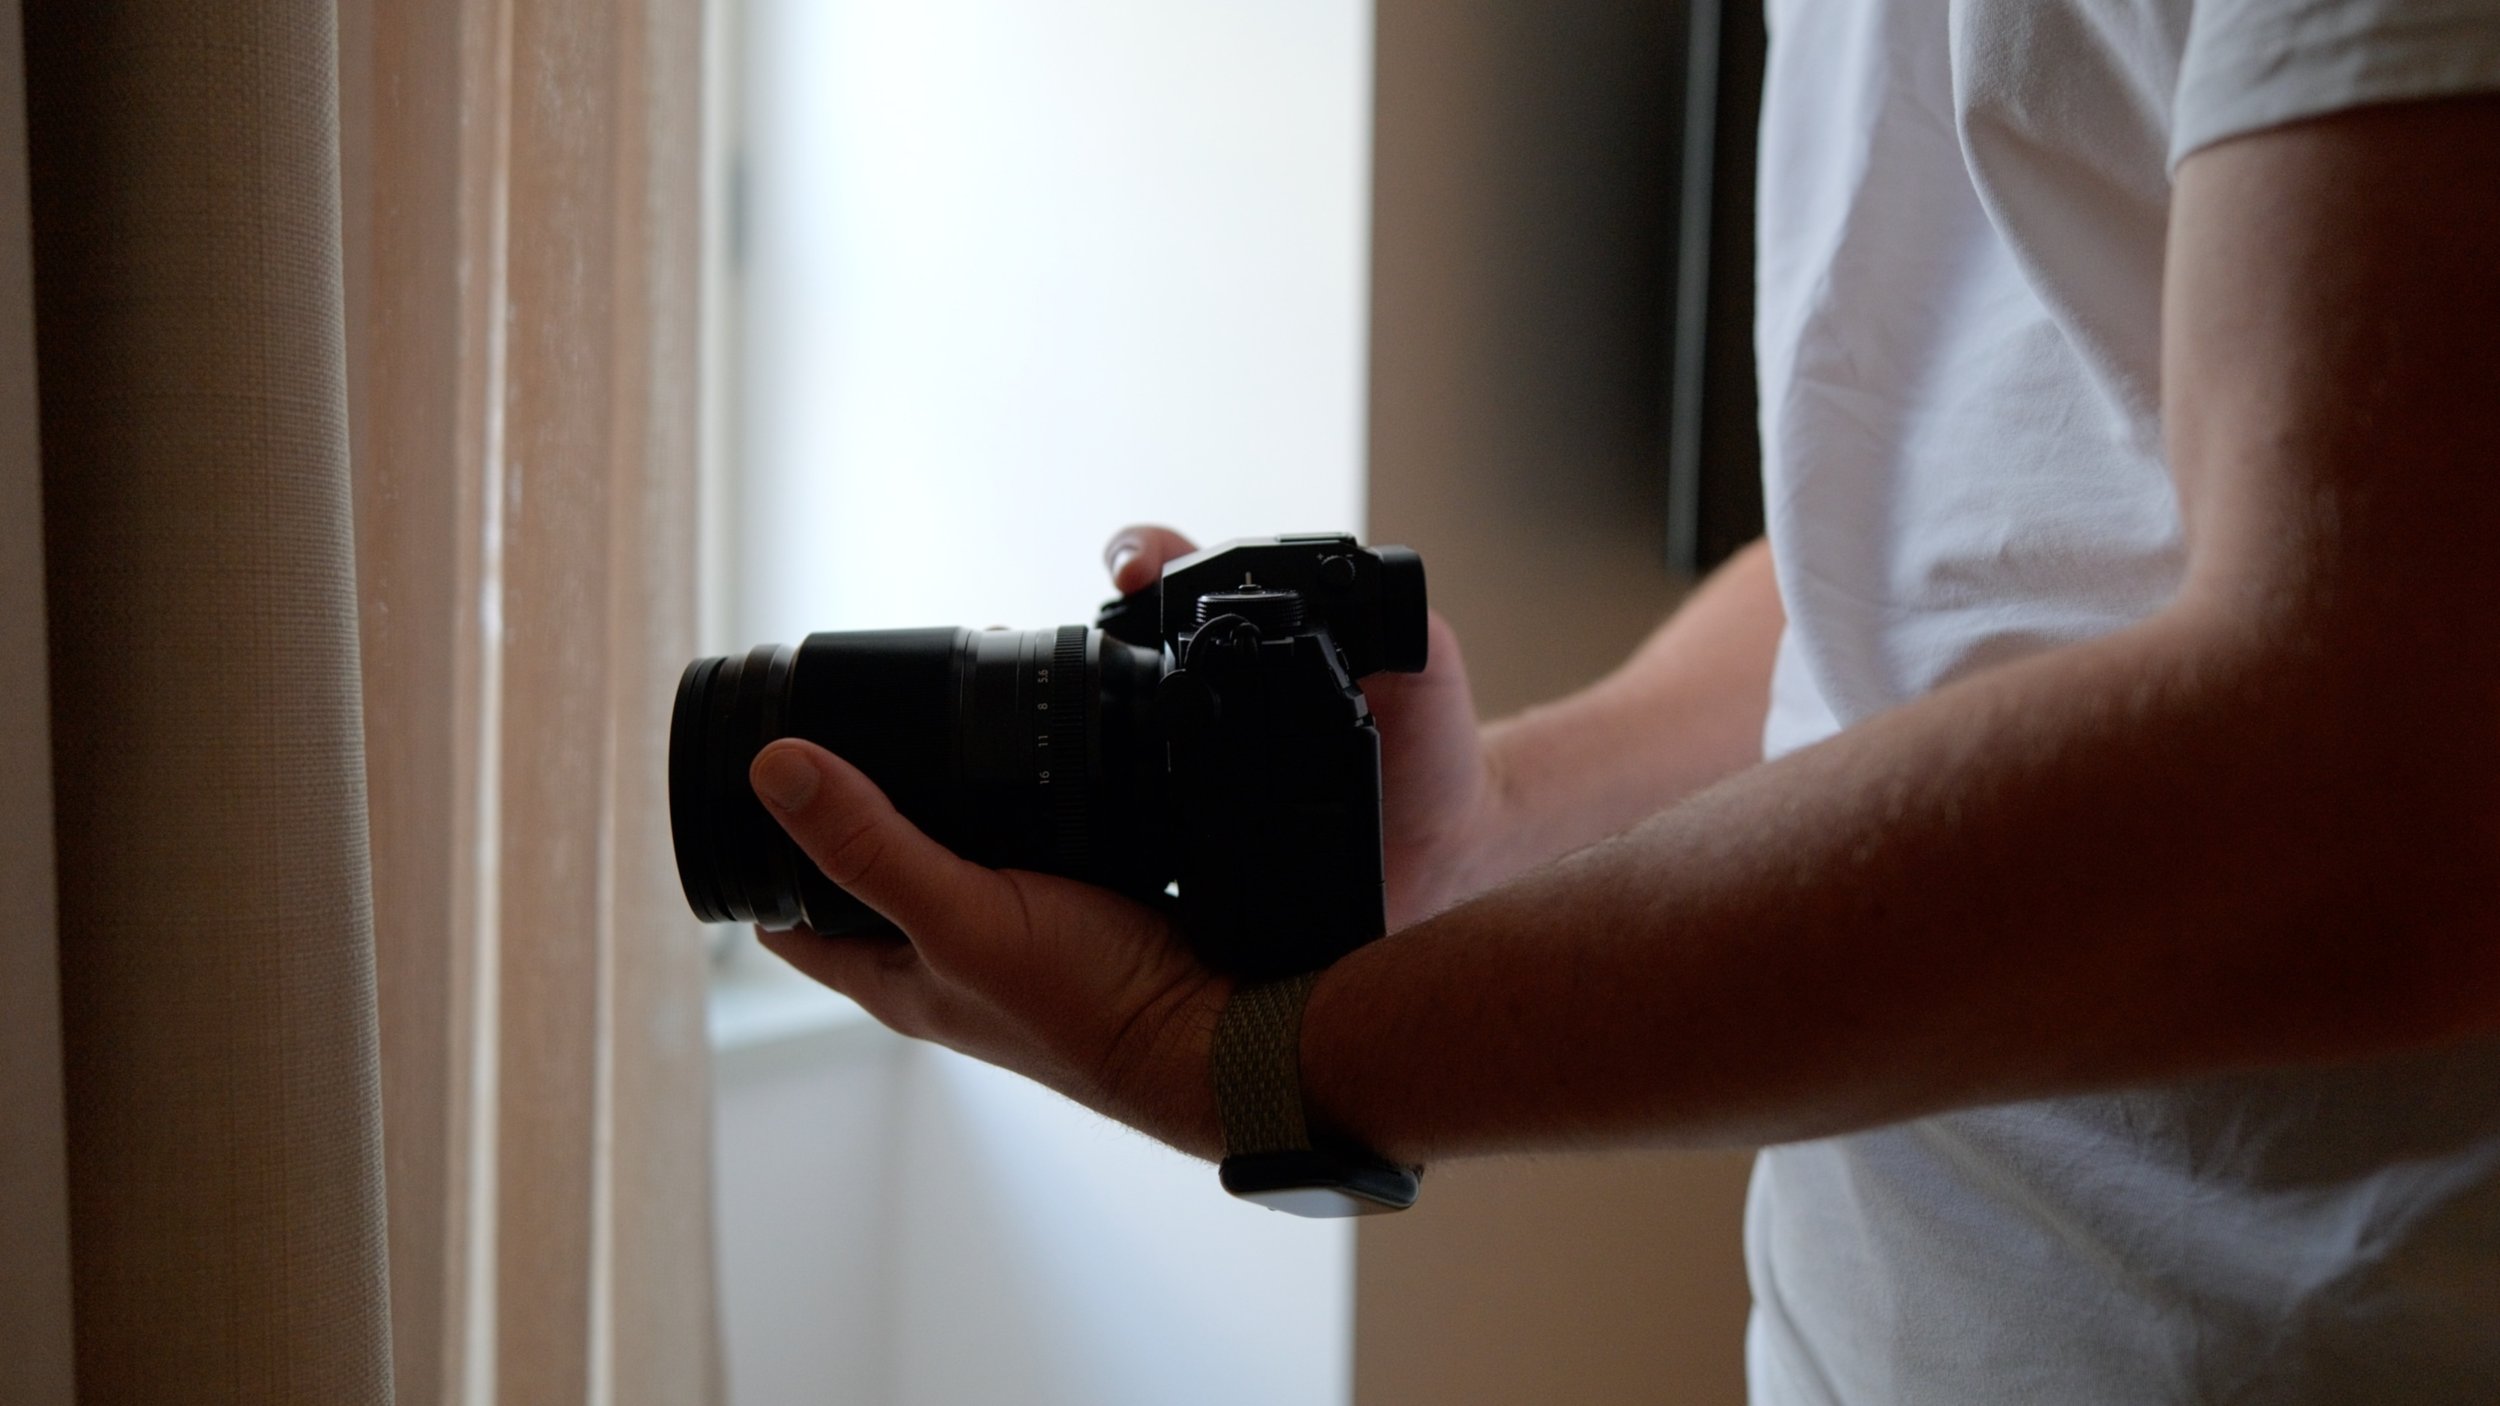
Hold The Lens
If you’re using a big lens, try to hold it from underneath rather than from the side. This means the muscles in your fingers are more relaxed and the weight of the system is on your arm. This should prove to be easier to hold and more stable.
Neck Strap
If you have neck or a cross body strap, you can use it as a 3rd point of contact. Simply pull the camera away from you until the strap is tight, then take a photo. You should find the camera is steadier.

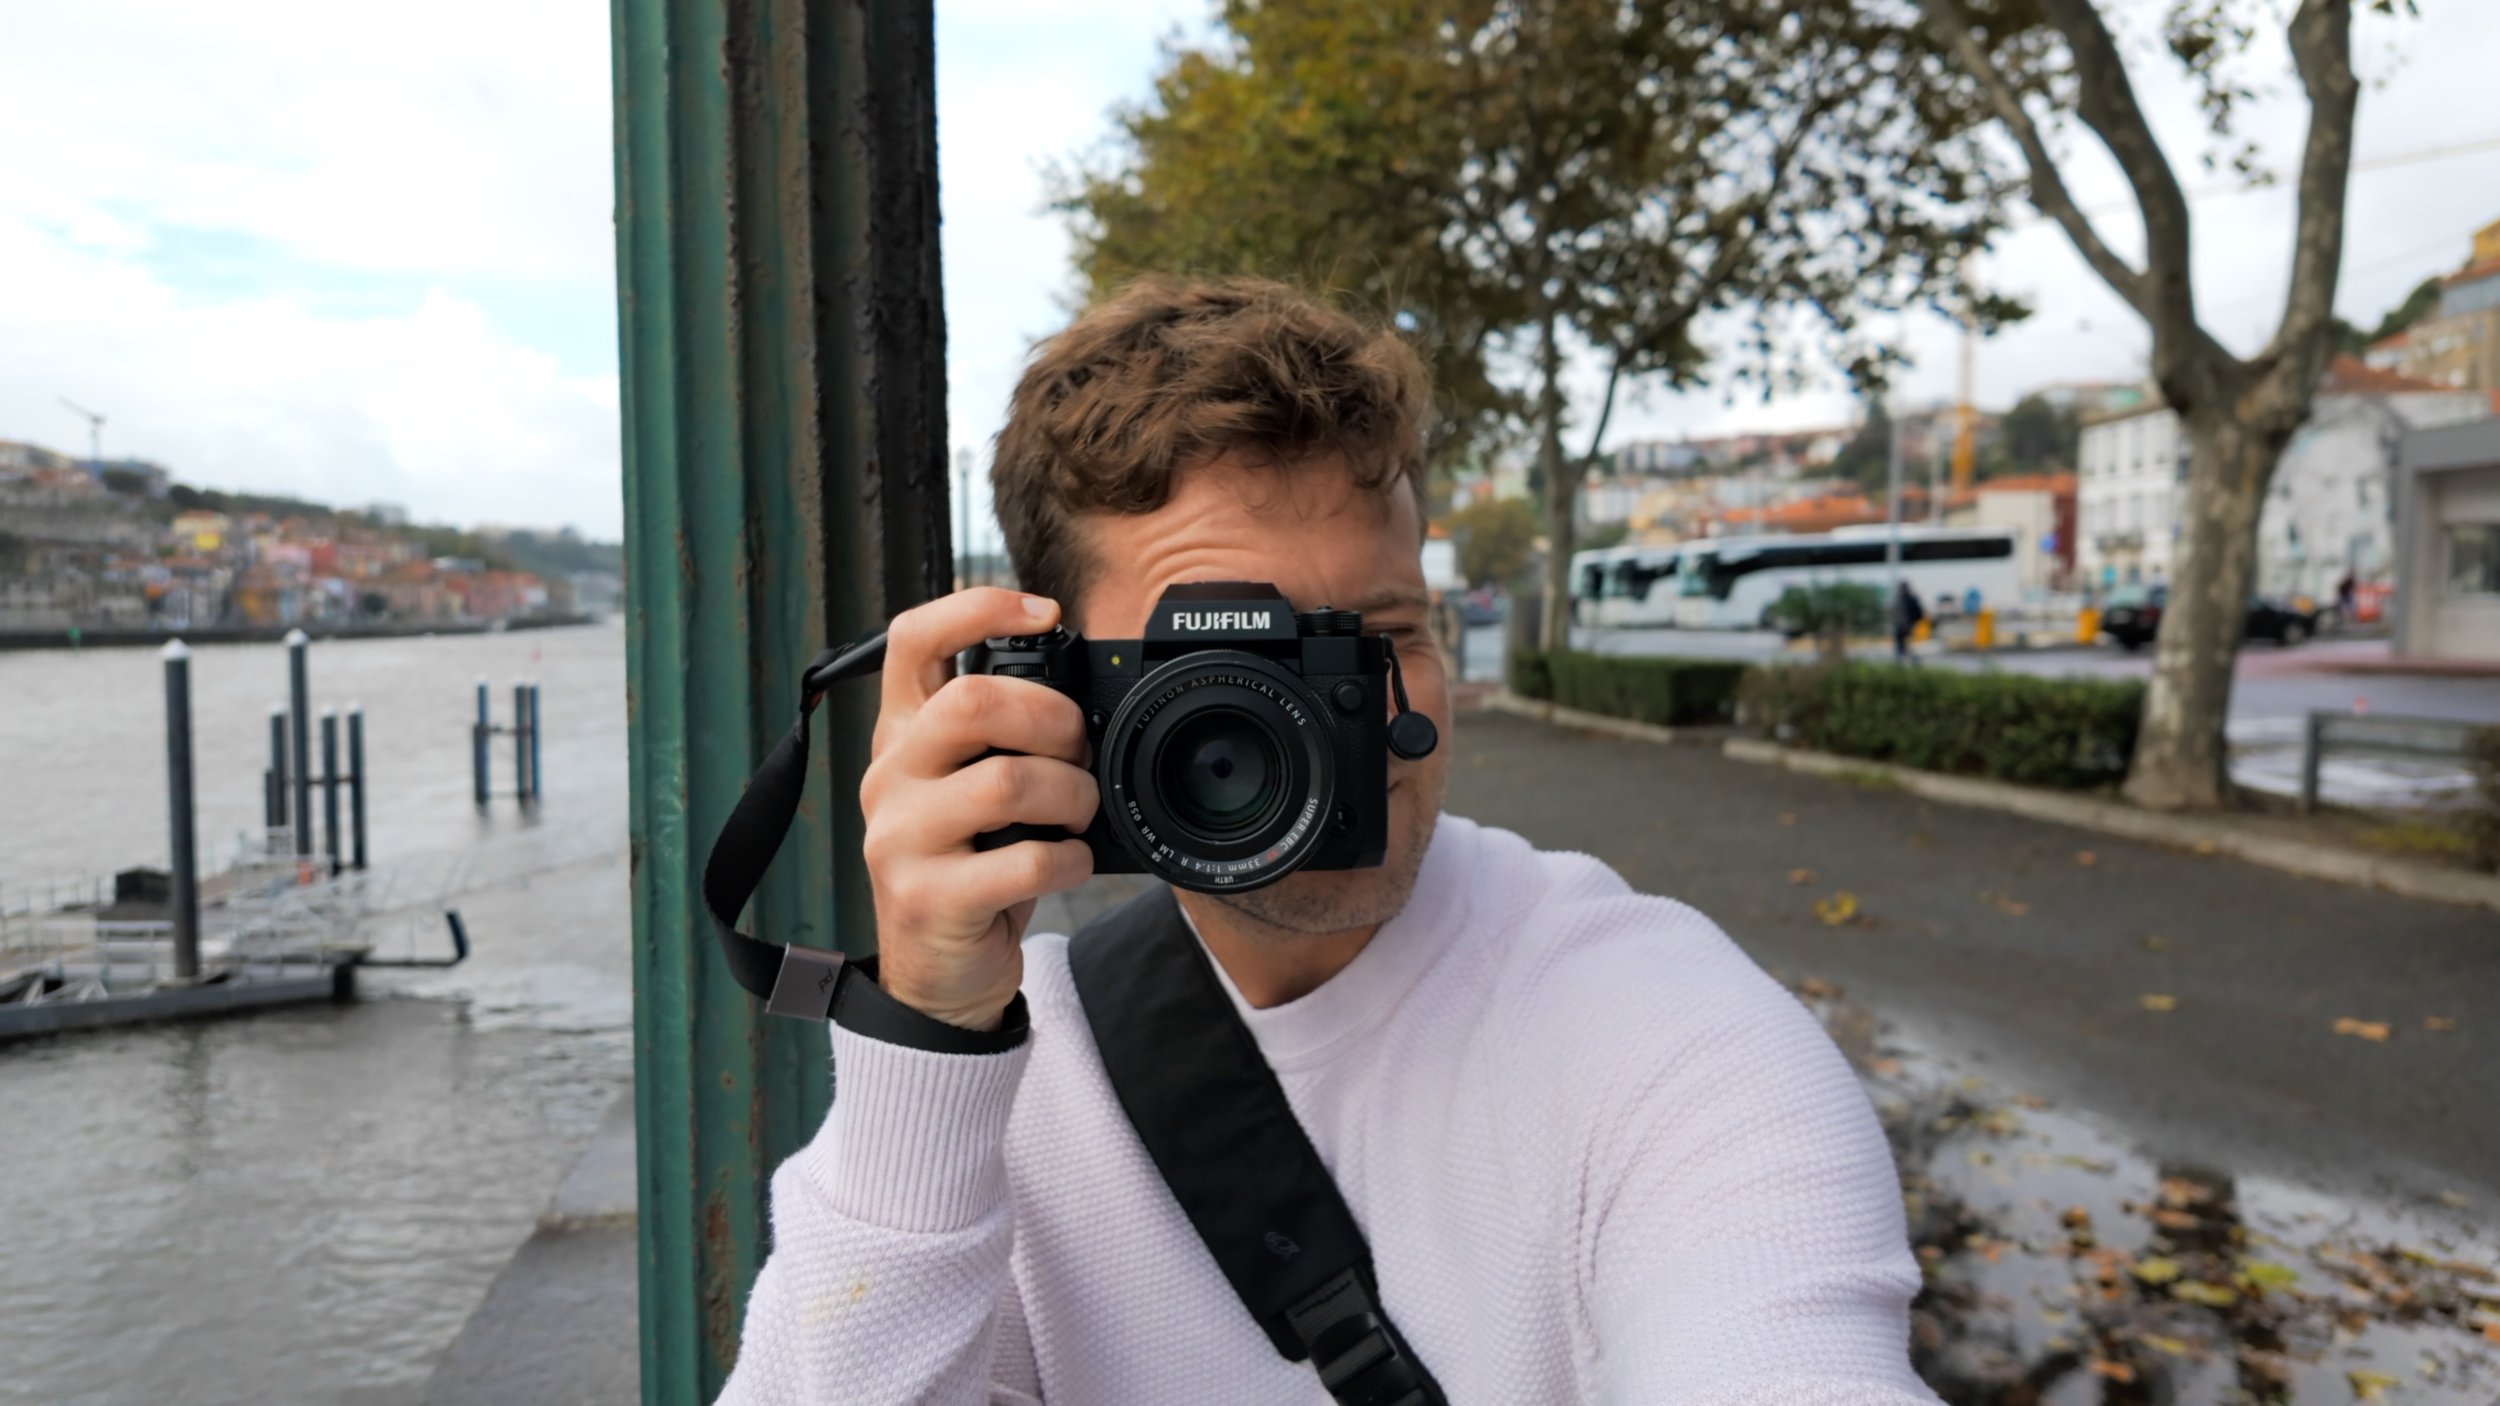
Viewfinder & Breath
A viewfinder is a simple third point of contact. Although not as steady as the neck strap technique in my opinion, it’s better than just holding the camera with two hands. However I would suggest that along with the viewfinder, you use either the self timer or burst mode. Finally make sure to hold your breath when the photo is being taken. Even light breathing can add motion to your upper body.

Lean Against Something
Another suggestion is to lean against something. It could be a wall, a tree or anything really. By leaning against something, you’re adding another point of contact and further stabilising yourself.
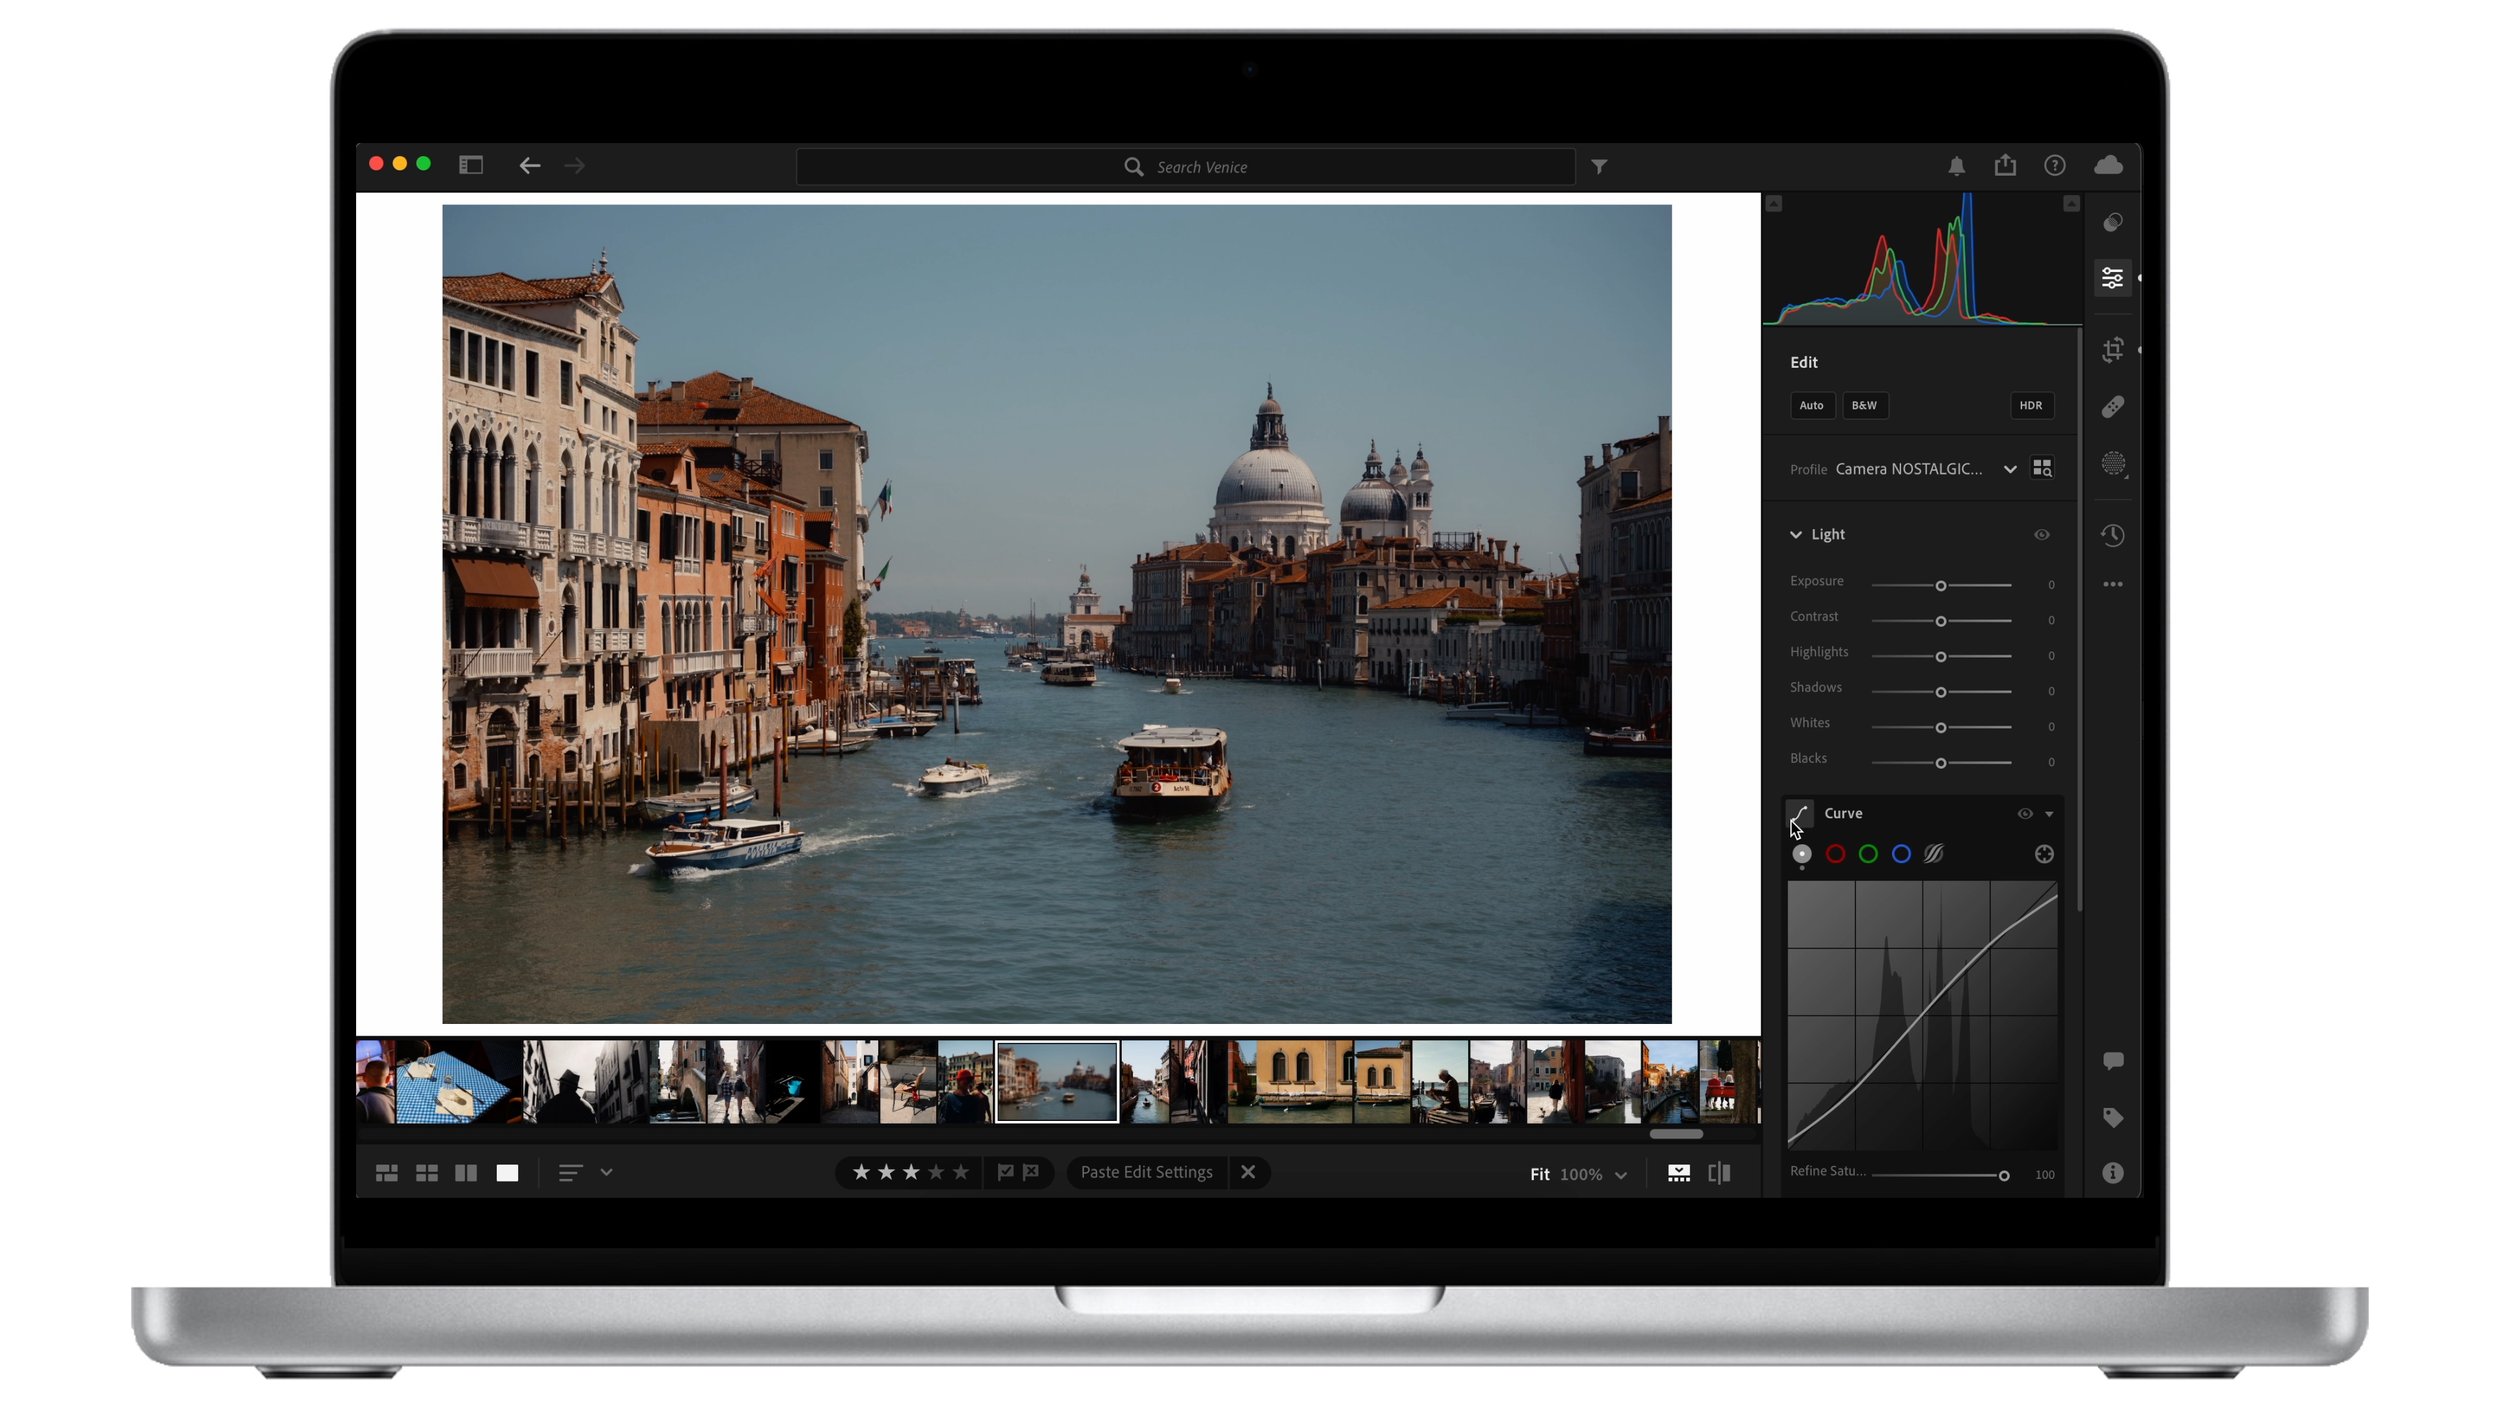
Exposure & Contrast
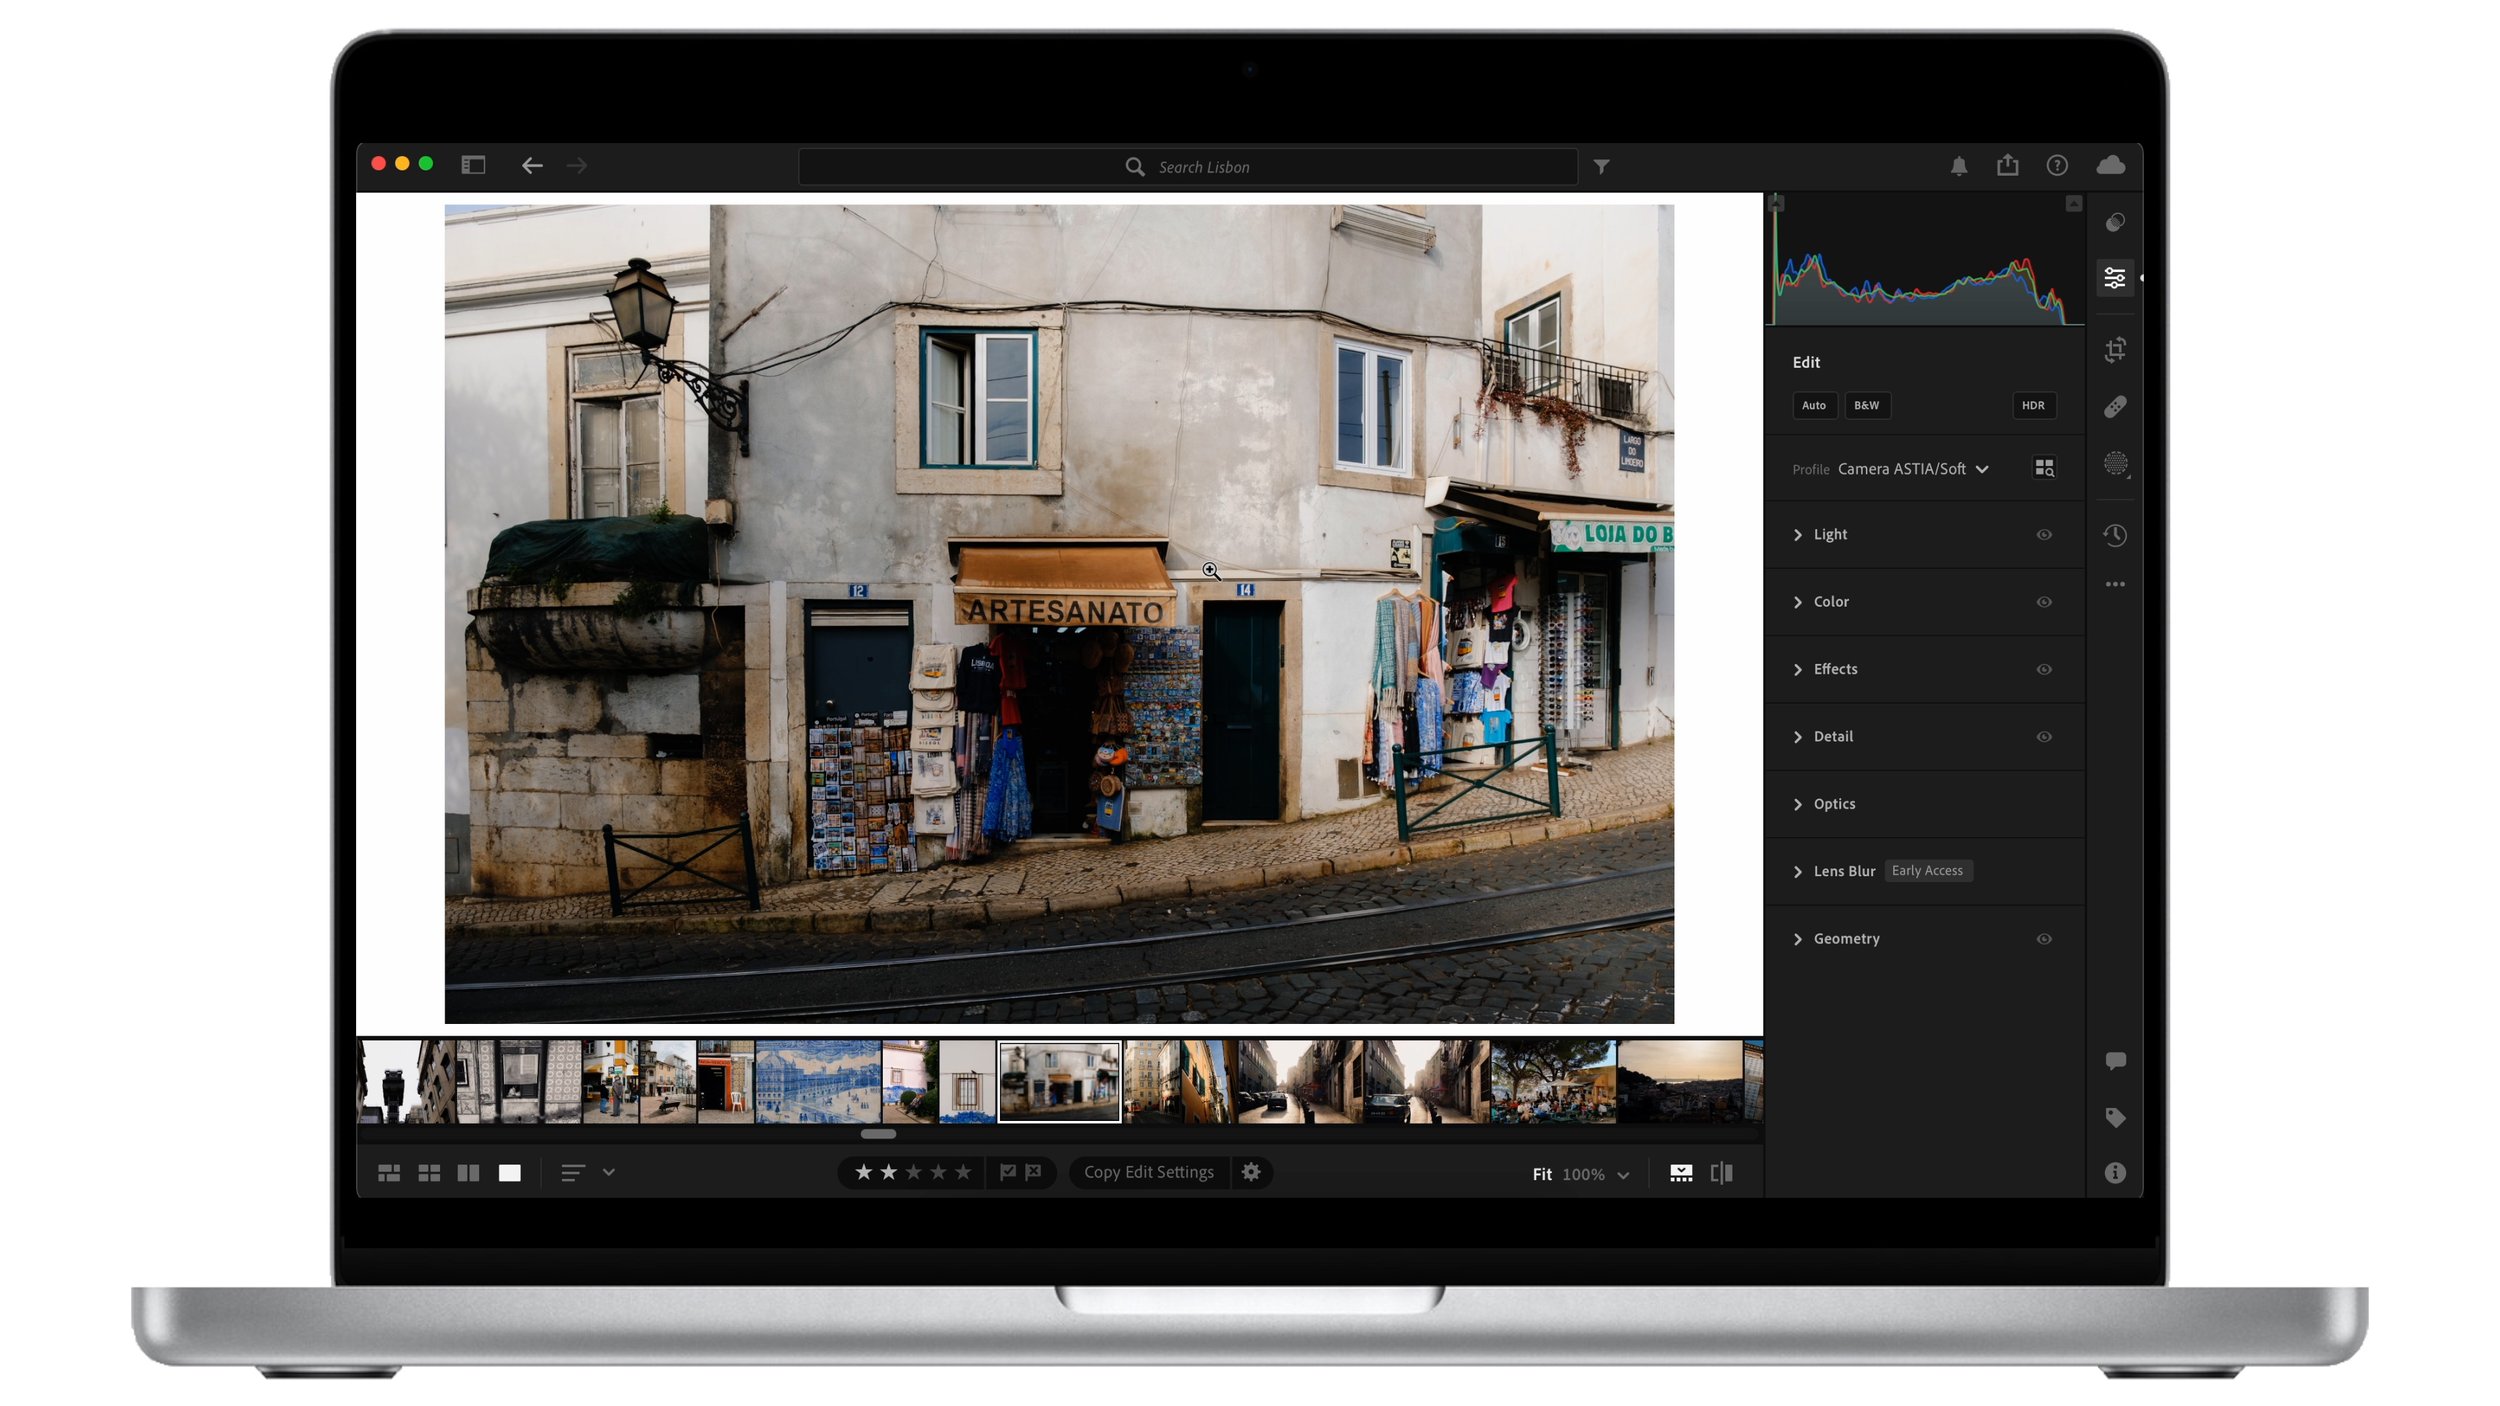
Editing will not magically fix your out of focus image or remove motion blur. However it can enhance the perceived sharpness. Perceived sharpness simply means that the photo will appear sharper from the correct viewing distance. First of all make sure your photo is bright and properly exposed. An under exposed image can look soft, lack detail and appear muddy. Secondly make sure there is enough contrast. Be careful with this one as it’s easy to get carried away. However having some global contrast can really set the image apart. Just these two adjustments alone can noticeably improve the perceived sharpness.

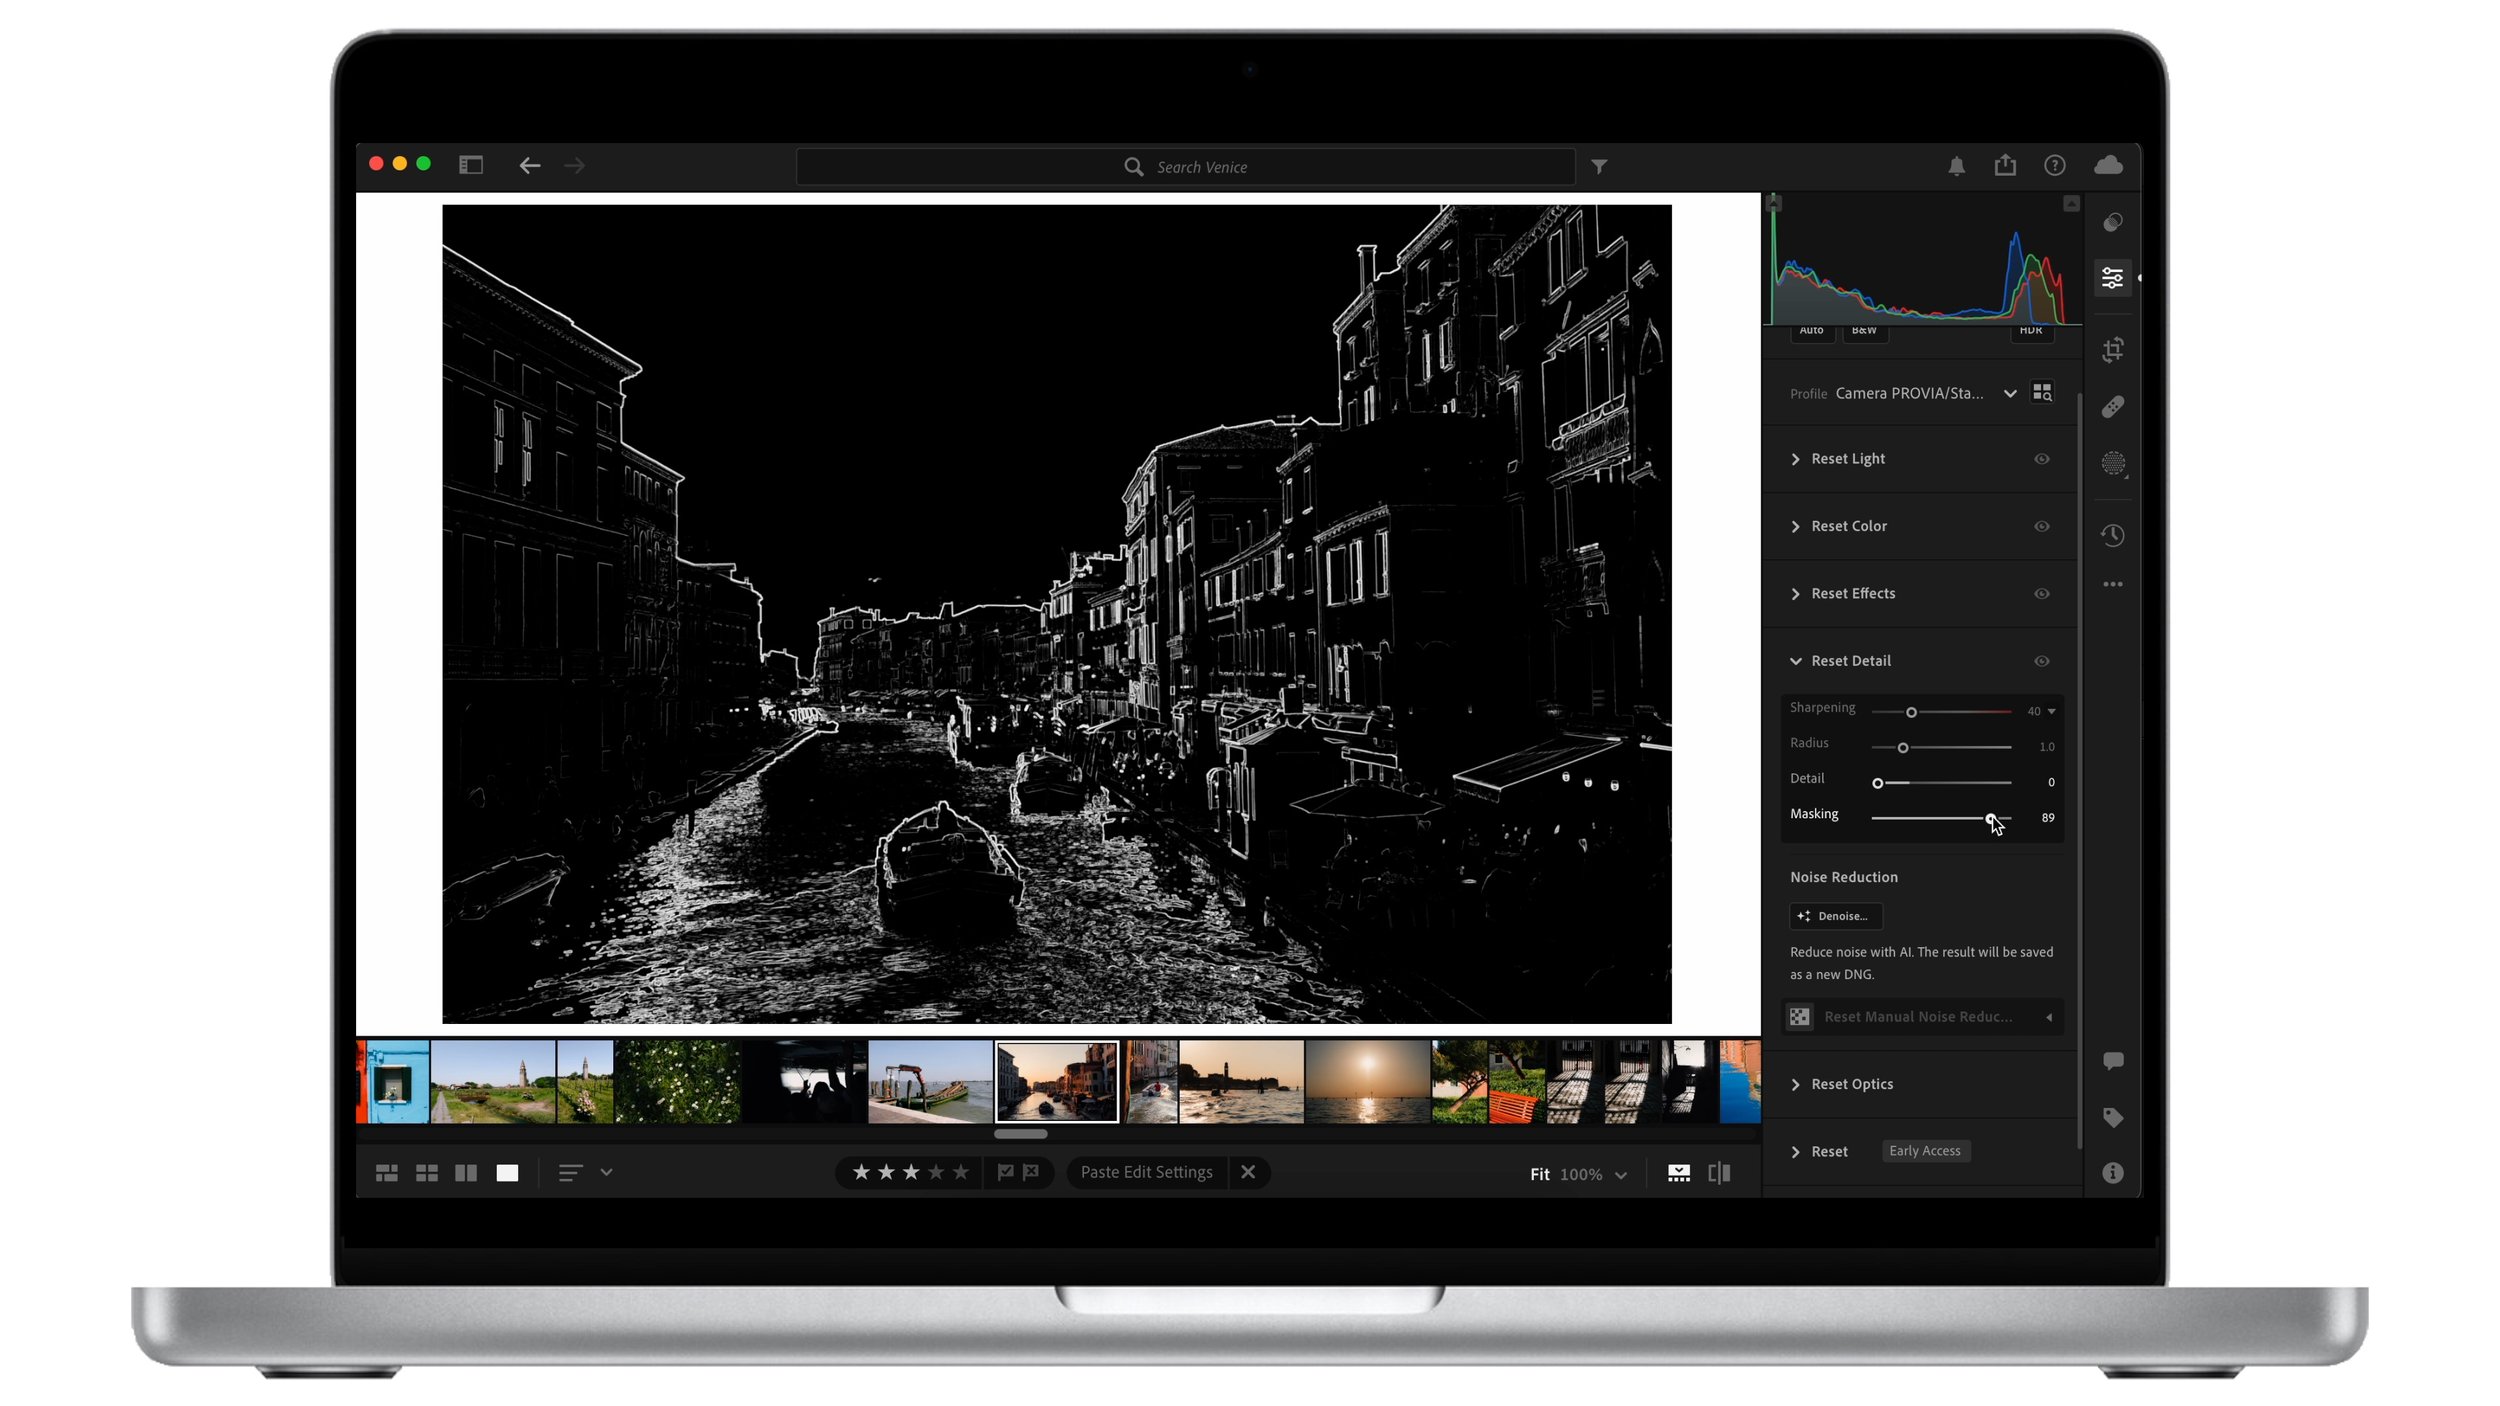
Selective Sharpening
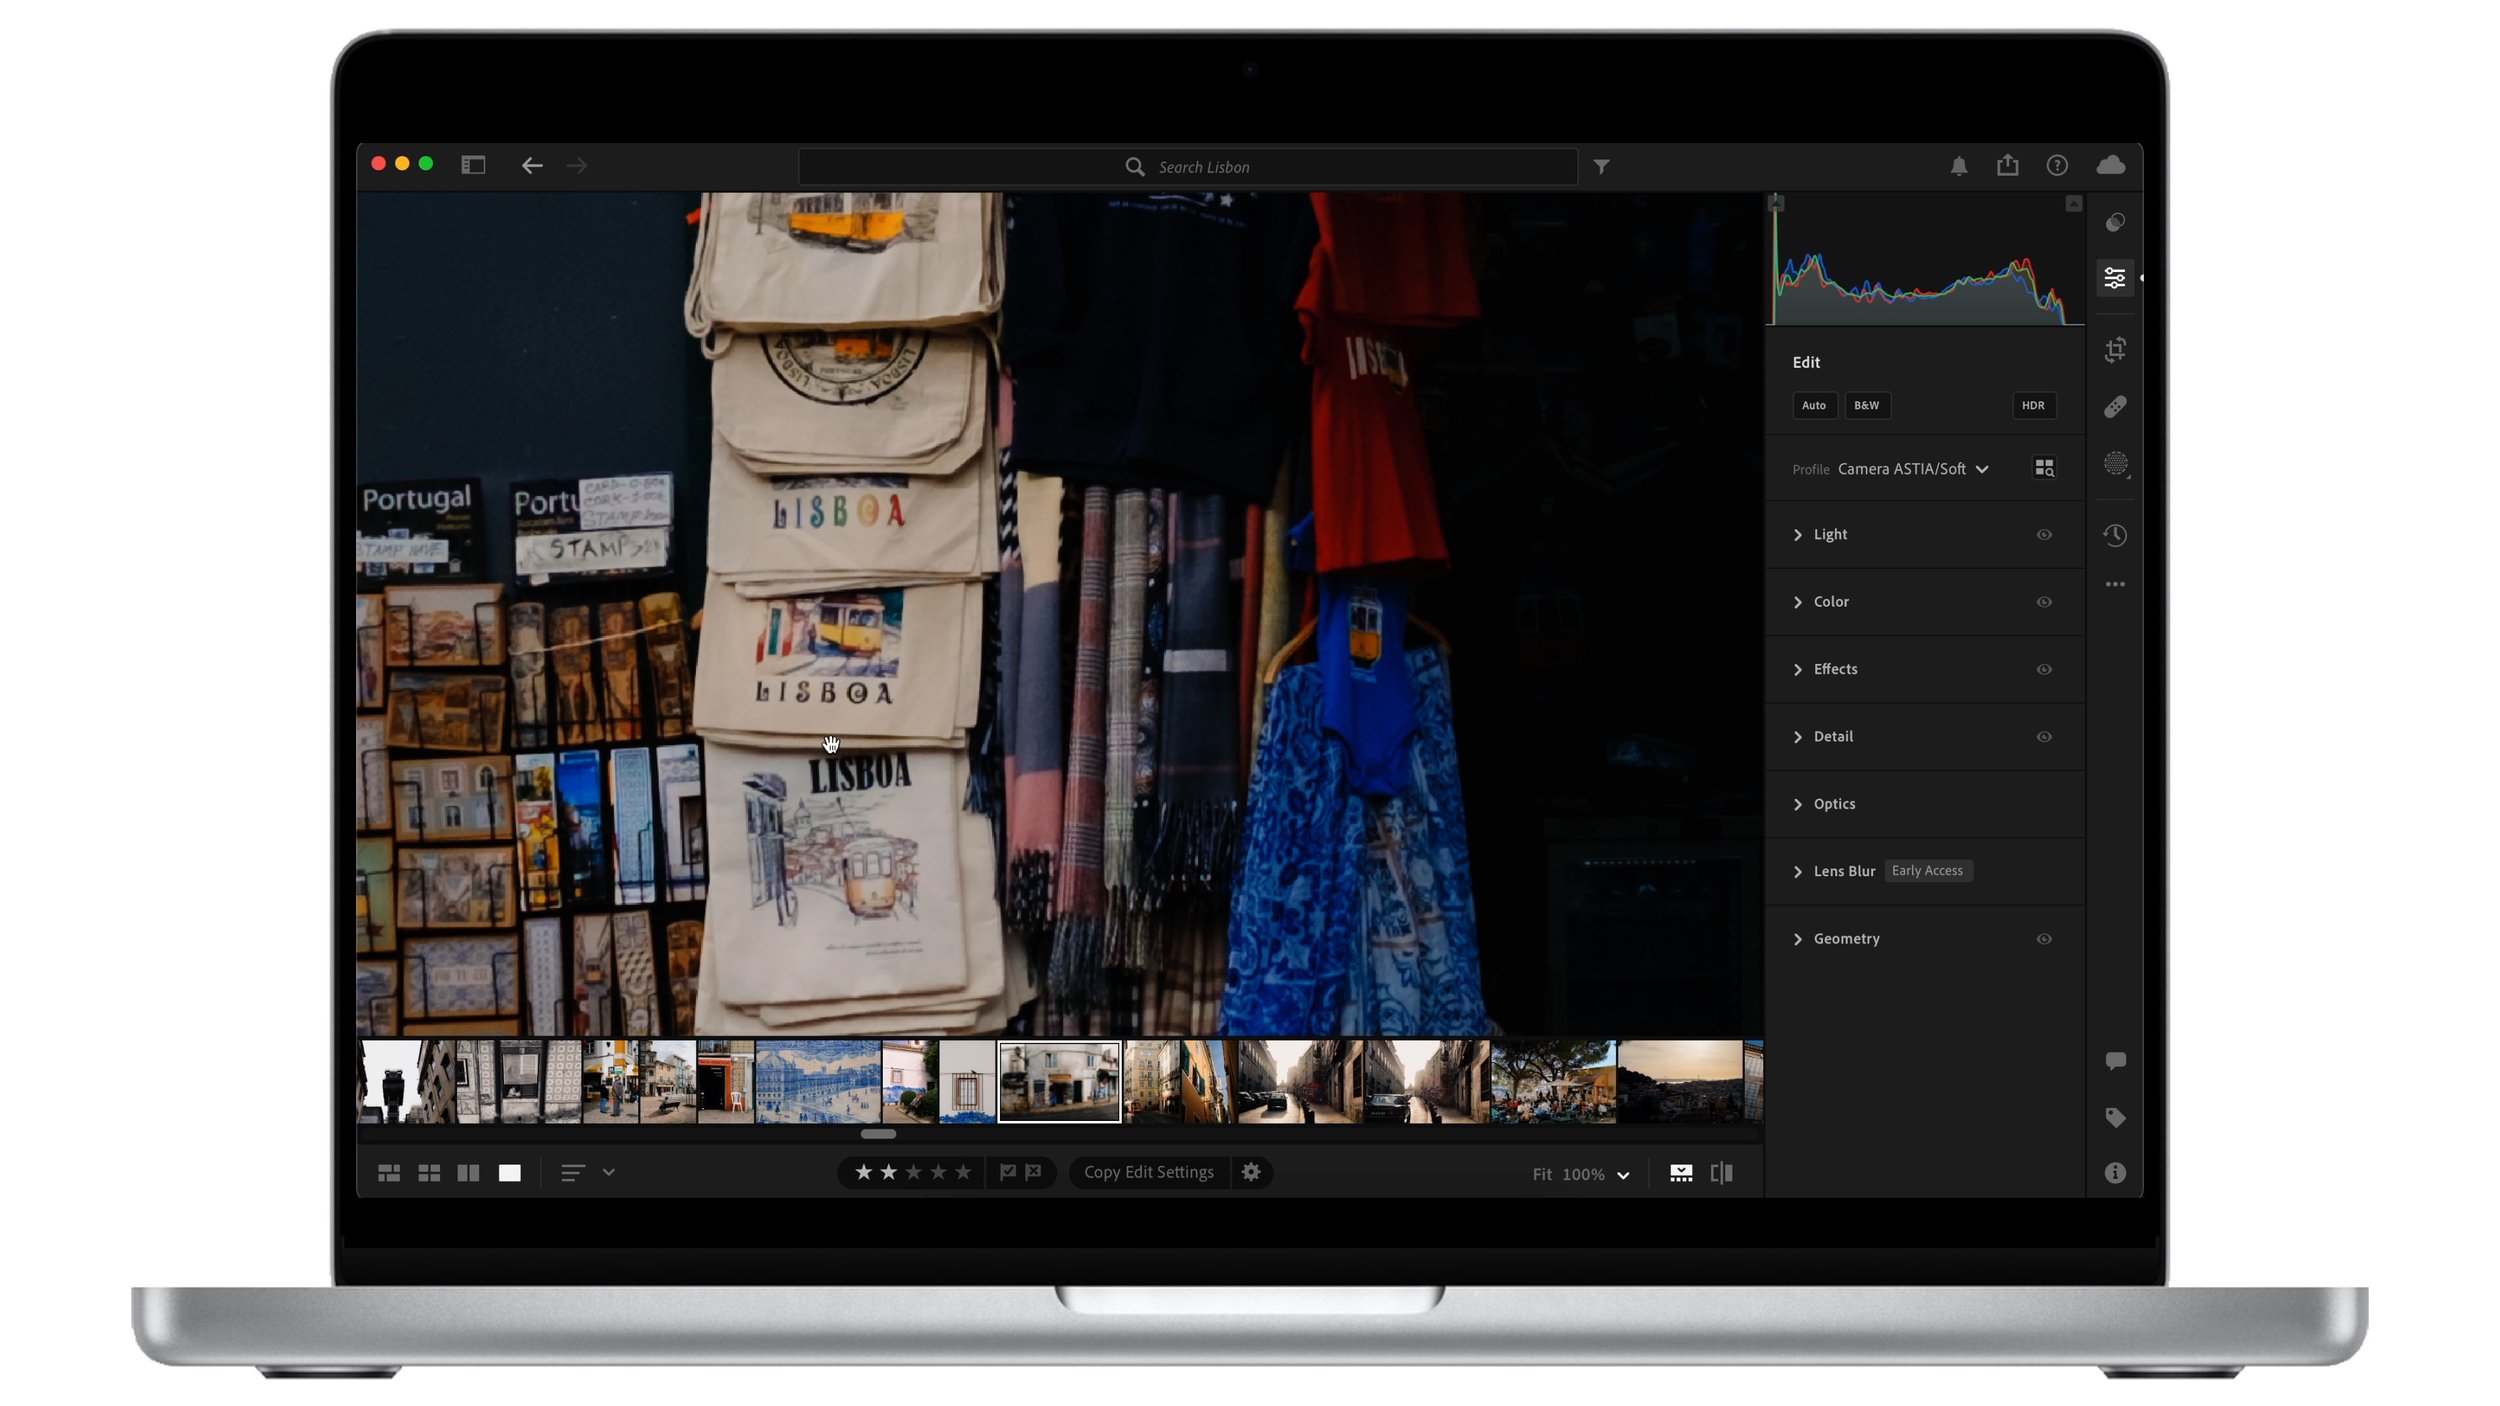
Of course we can further sharpen our photos but here I would exercise caution as it’s easy to over do it and end up with a photo that looks like it was taken on an iPhone 5. There are different methods of sharpening however I found that the default setting in Lightroom along with an 80% mask, does the job. The mask is important because it only applies sharpening to the edge details that actually need it. A flat blue sky or an area with no detail does not need sharpening.
Selective Clarity
I generally use negative clarity on all my photo edits because I like a soft look and I find the photos almost too sharp. However if you have very strong details that you want emphasising, then adding some local clarity can really help. To do this I use the brush tool and paint it in over the areas that would benefit from it. As with sharpening, less is more and only do what is essential.

Removing Distractions
The final tip is to use the spot removal tool and get rid of random details that can add noise to the image. It could be chewing gums on the floor, cigarette butts, rubbish, reflections or anything which just adds clutter to the photo. This can really go a long way in cleaning up a photo and improving the perceived sharpness of the overall shot.