If I started photography today…
If I started photography today, this is the blog I would want to read. I’ll simplify an overwhelming topic and give you a simple, actionable framework to follow. Once you’ve finished reading, I promise you’ll walk away with more clarity and understanding. Everything I share comes from nearly 10 years of photography experience.

Know Your Why
I’m a big fan of self-awareness, and understanding why you’ve started photography can make the rest of your journey easier and more rewarding. By having a clear vision of why you started, what you find interesting, and what you might want to say with your work, you’ll find progress comes more naturally. Some people want to document their life, travels, family, and friends. Others use photography as a tool for social justice. A few want to make six figures shooting for brands. Ask yourself why you do what you do. It’s vital for longevity, fulfilment, and shaping your approach to the craft. And remember, your ‘why’ can, and will, change with time. That’s fine.
Set Your Expectations
The term ‘overnight success’ is heavily romanticised in today’s world. If you dream of your Instagram blowing up, five-figure shoots in your inbox within two years, and instant recognition, you might be setting yourself up for disappointment. This isn’t to say it never happens, because it does, but only for a very small number of people. You need to approach photography as a marathon, not a sprint. Done right, it’s something you could be doing for the rest of your life. This doesn’t mean don’t aim high. Quite the opposite, aim as high as you can, but understand that all good things take time to build properly.
Gear
Now for everyone’s favourite topic: gear. To some, cameras are just tools to tell a story. To others, they’re status symbols treated with more care than their partners. Either way, it’s a topic that leaves beginners confused. Do you listen to photographer A, who swears 2000 focus points at 500 frames per second are essential? Or photographer B, who insists you need an $8000 camera because it has “soul”, whatever that means? Let me break it down simply.
Pick one system and stick to it. The brand doesn’t matter, because every modern camera from the last five years is excellent. Pick one you like the look of and one you can grow into. By sticking with a single system, you’ll learn it inside out until using it becomes second nature. Constantly switching brands kills your muscle memory and wastes time fiddling with menus instead of taking photos. It’s also a huge drain on your time, money, and energy.
Some cameras attract hype. Having owned a few of them myself, I can tell you they rarely live up to it. That doesn’t mean they’re bad, but they’re never as good as the die-hard vocal fanboys will claim.
Now, you might think I’m one of those people who says gear doesn’t matter. That’s not true. It does matter, because you need a camera you love using. One that makes you want to get out and shoot. The camera is a big part of the process, so it’s worth having one you enjoy holding.
You only need two cameras and two lenses. The first is your main camera for 95% of your work. The second is a daily carry, like your phone or a compact point-and-shoot. For lenses, I suggest one general zoom (like a 24–70mm) and a 35mm prime. The zoom is perfect for travel and versatility, while the prime will sharpen your composition skills, perform better in low light, and keep your setup small.
Key Skills
There are six key skills that will get you 90% of the way. The first is learning your camera inside out.
When I ran workshops, I lost count of how many people fumbled with their settings and missed the moment. You should know your camera so well that you can make adjustments blindfolded.
You don’t need to master manual mode or use your eyes as a light meter, but you do need a basic understanding of shutter speed, ISO, and aperture. These principles let you bring your vision to life, whether that’s using f1.4 for depth or 1/20th shutter speed for motion.
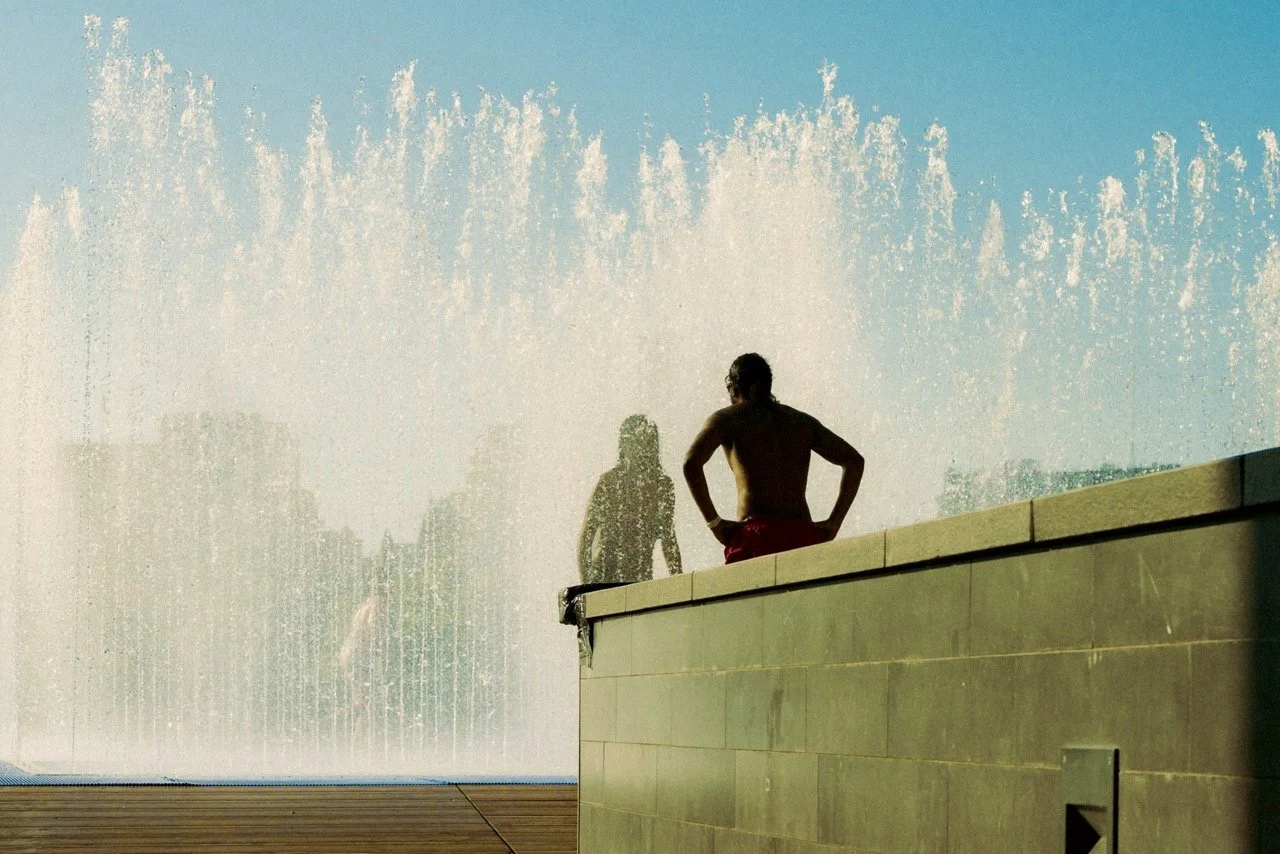
A high shutter speed will freeze motion in the water
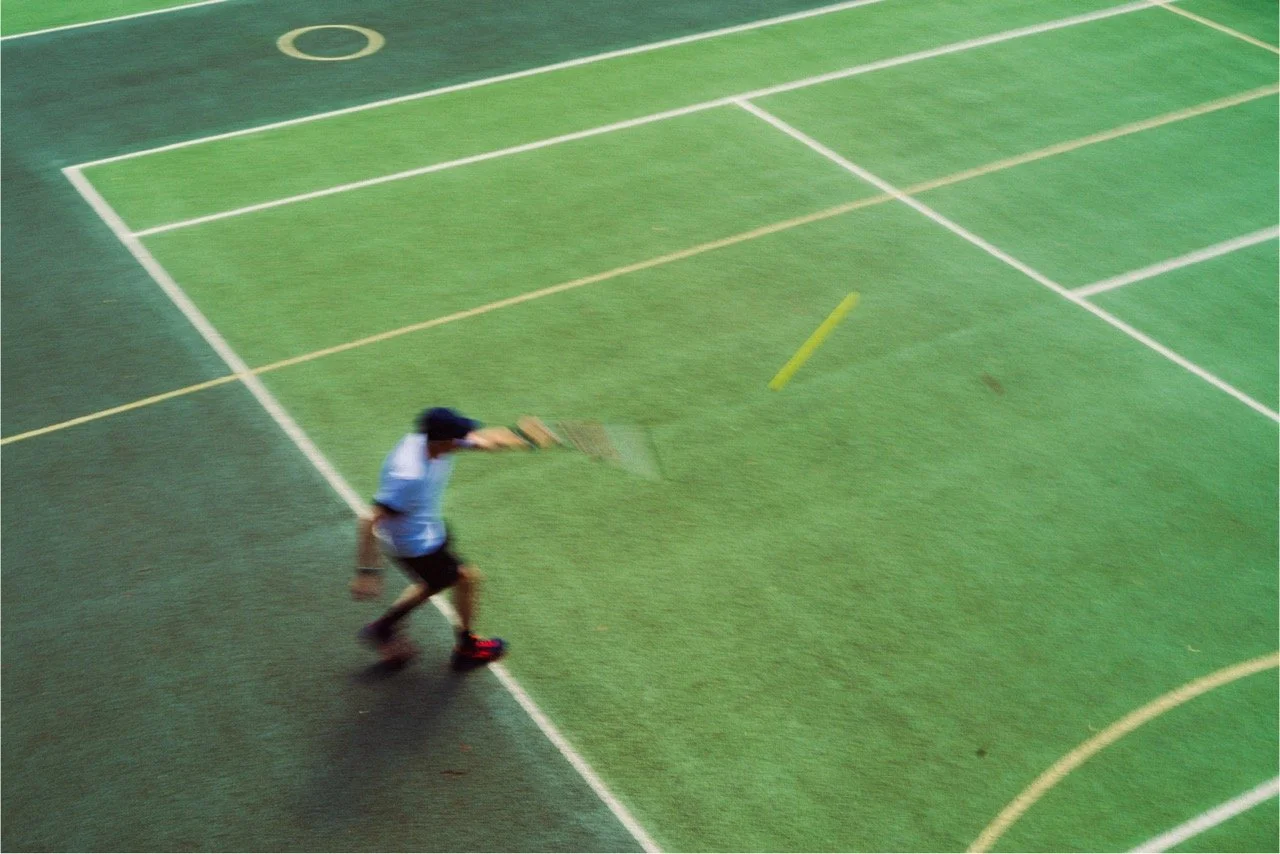
A slow shutter speed will show the motion
At f1.4 you can focus on the subject

At f14 you can see the entire scene
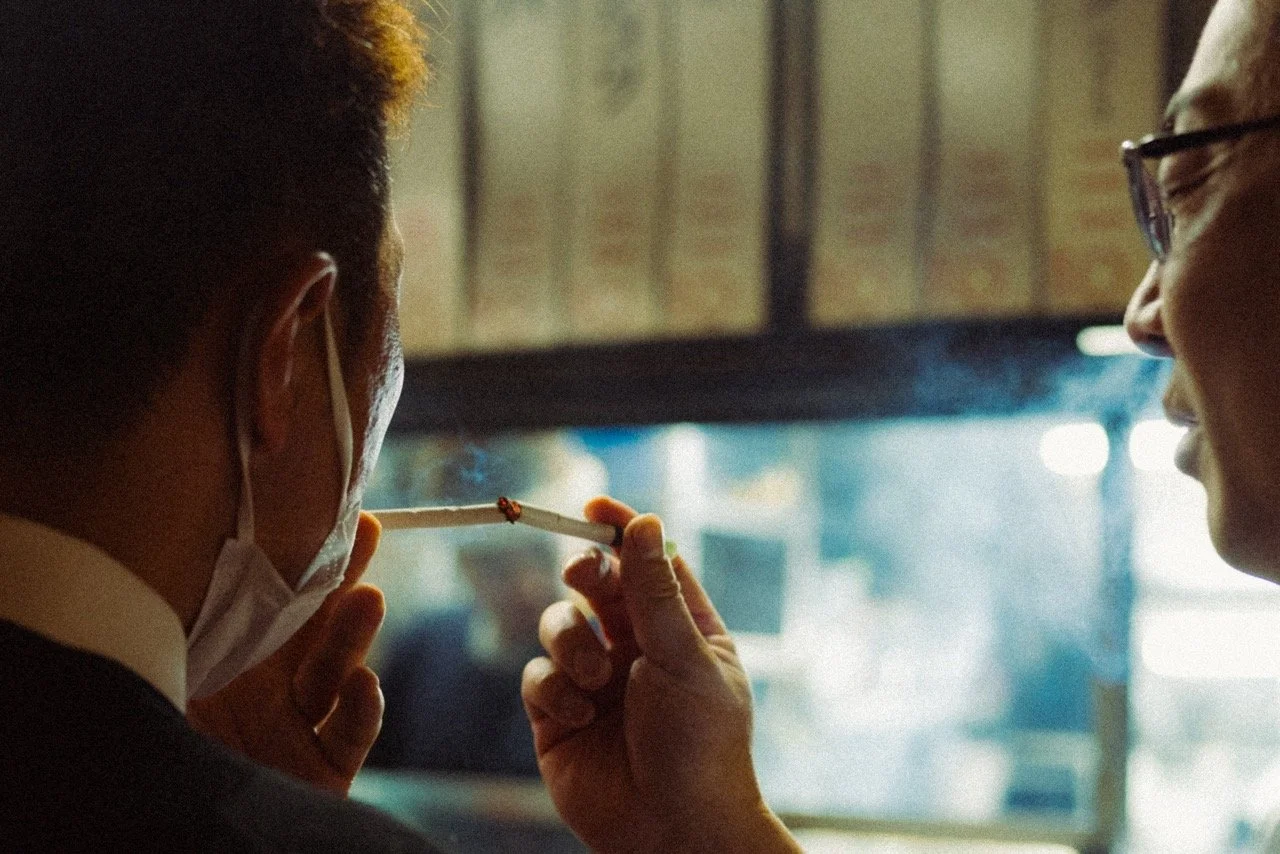
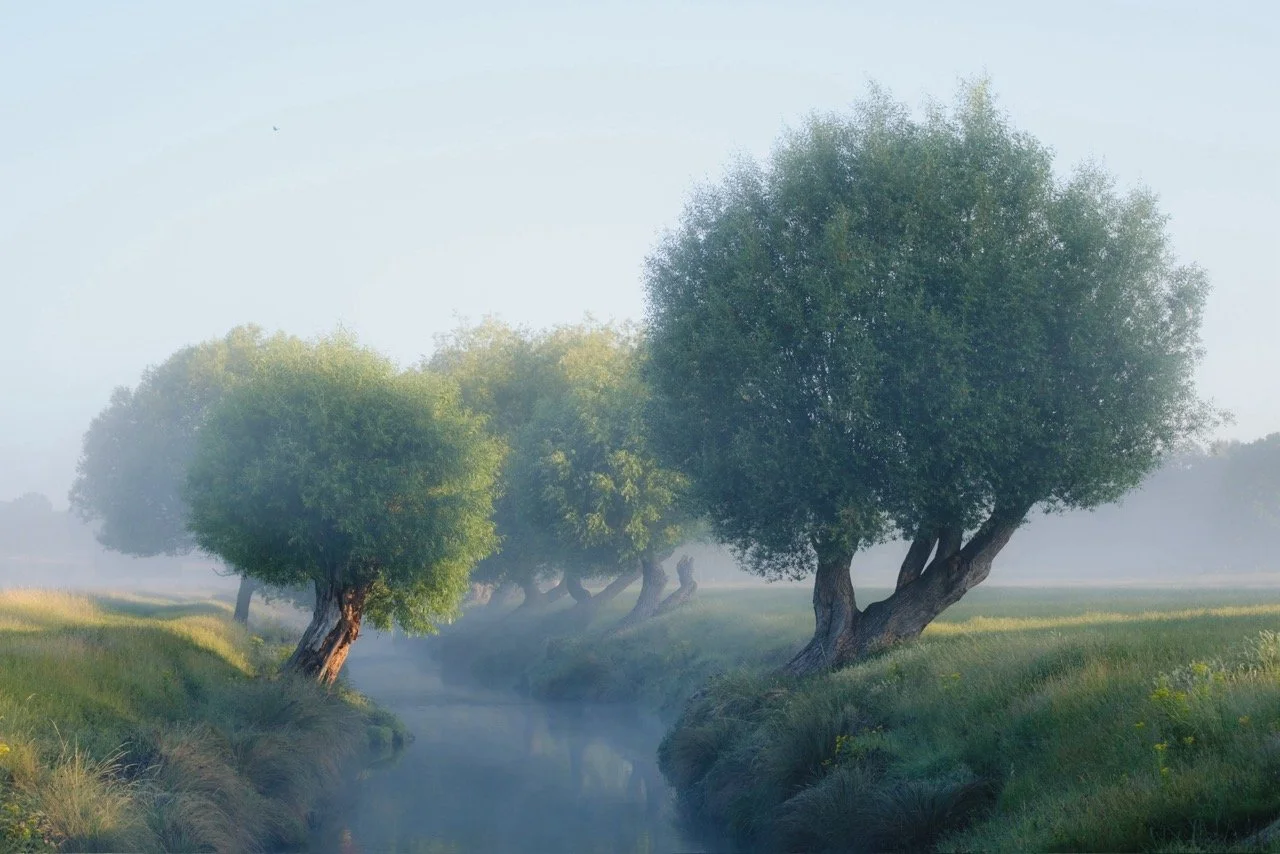
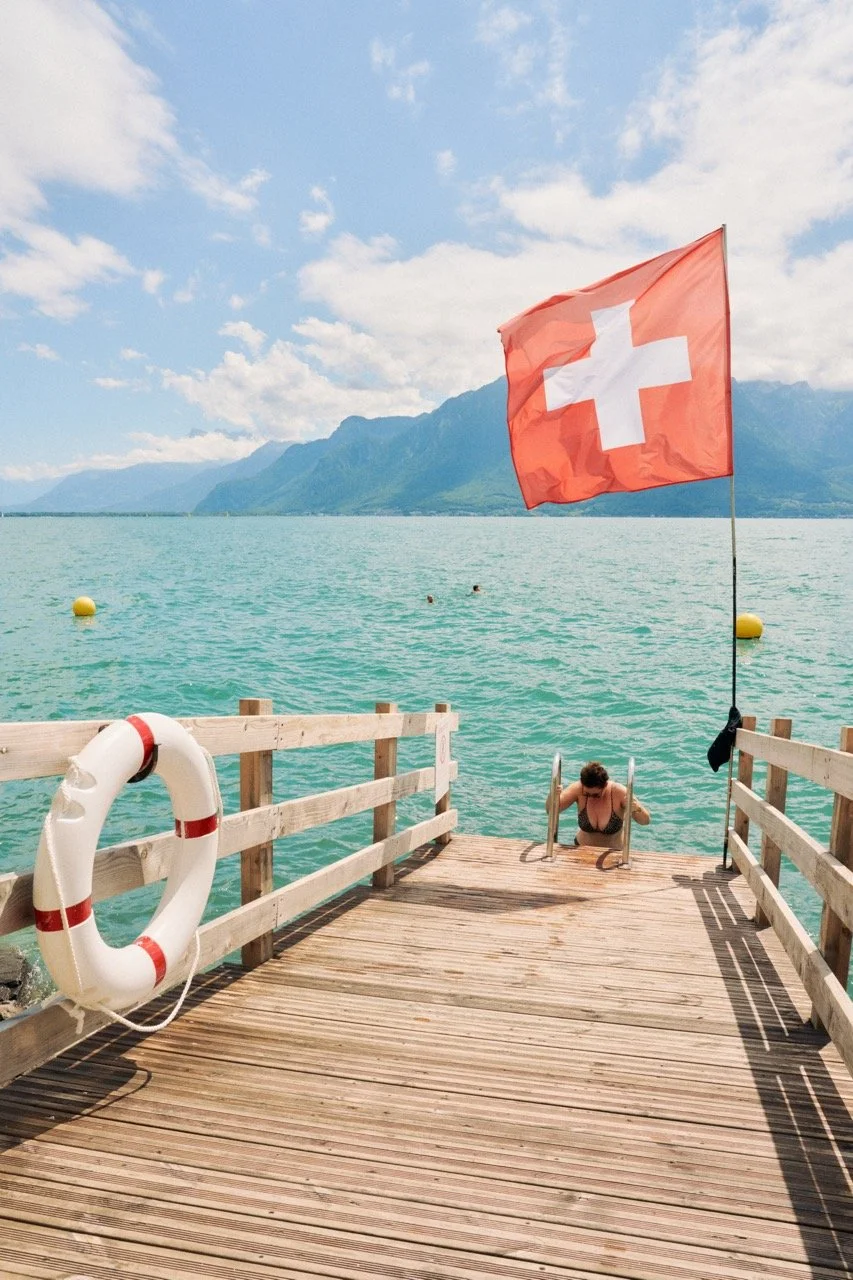
Photography is capturing light. Recognising and using light will transform your images. Start by noticing where the light comes from. It could be the sun, a lamp, or even light spilling into a dark tunnel. Once you spot it, think about how you want it to hit your subject. Backlight puts the light behind them, side lighting hits from the side, and front lighting hits from the front. Light can be soft, harsh, or diffused. A soft backlight can create a cinematic feel, while flat harsh light can look sharp. There’s no right or wrong, it all depends on your creative vision.

Harsh light
Soft light
Diffused light

Back light
Side light
Flat light
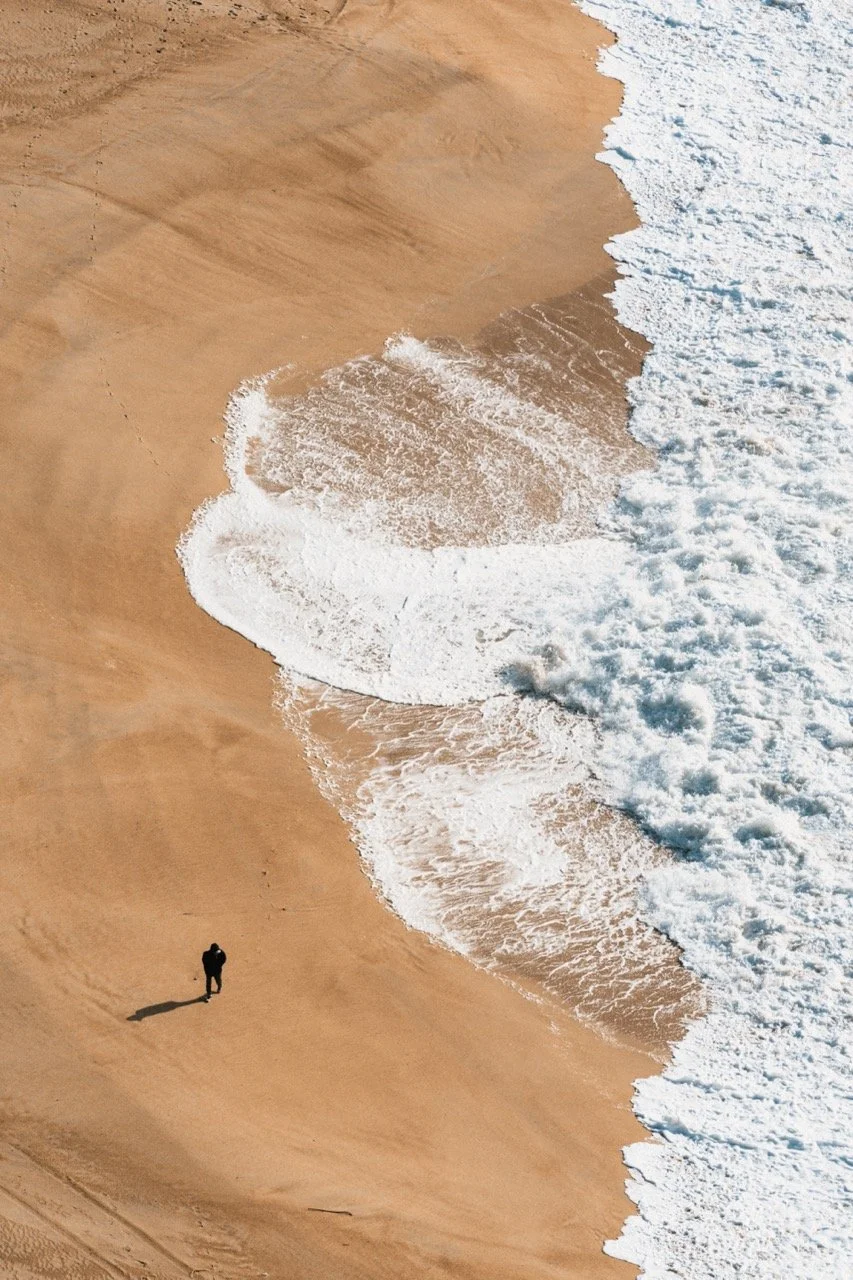
Next, learn what to keep in your shot and what to leave out. Composition matters, and while it seems daunting at first, the basics are simple. A well-composed photo is balanced. Within a scene you’ll have bright, dark, detailed, and empty areas. Each draws a different level of attention. Bright areas grab the most, dark the least. Composition is about balancing them. For example, a bright sky might need a big shadow area to balance it.

The bright green table balances out the details in the cards and shadows on the left
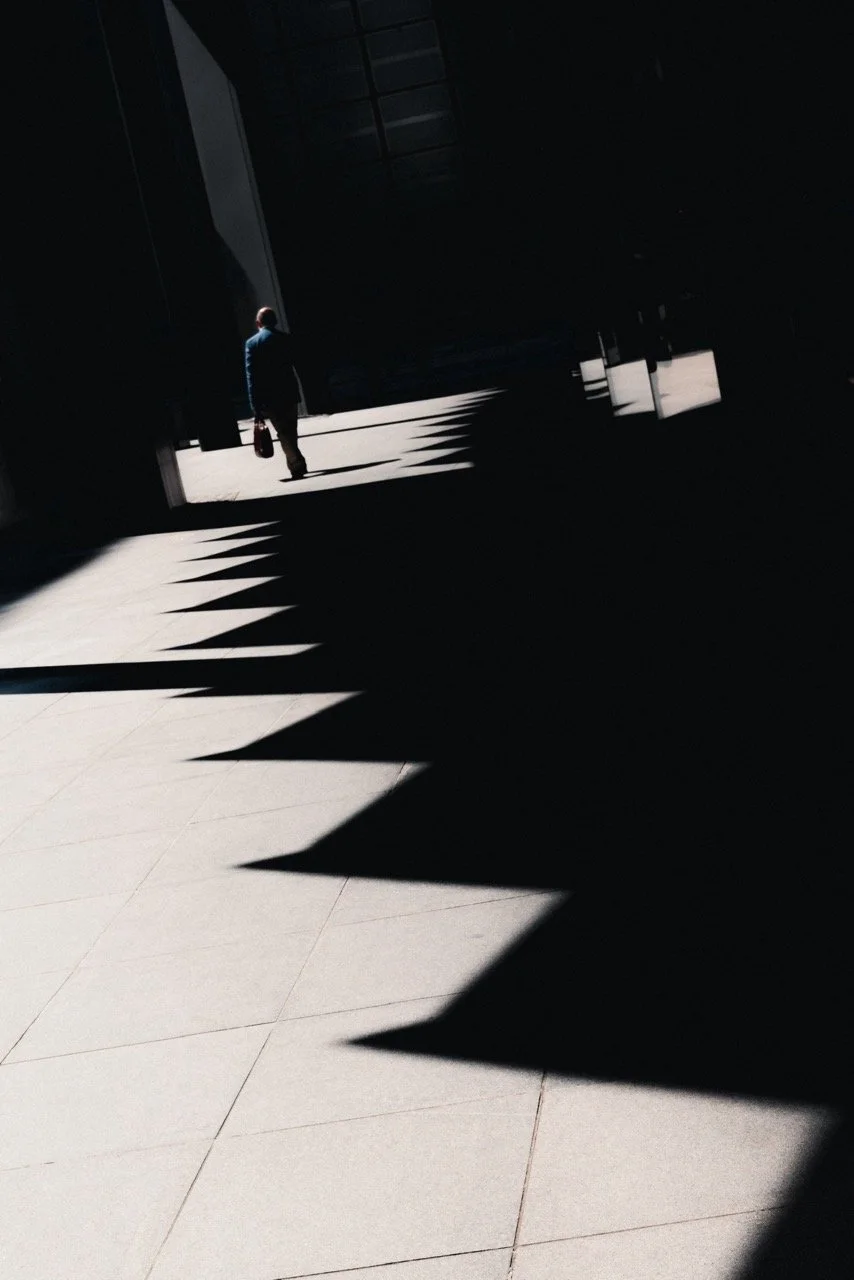
Classic example with highlights and shadows being balanced out, as well as negative space and all the details

The clean highlight area of the sky is small compared to the rest of the image, however it’s powerful enough to grab your attention
You also have tools like leading lines and framing. Leading lines draw the eye to the subject. Framing puts your subject inside a natural frame. And of course, there’s the rule of thirds, placing the subject along one of the thirds of your frame.
Leading lines - fence
Leading line - path
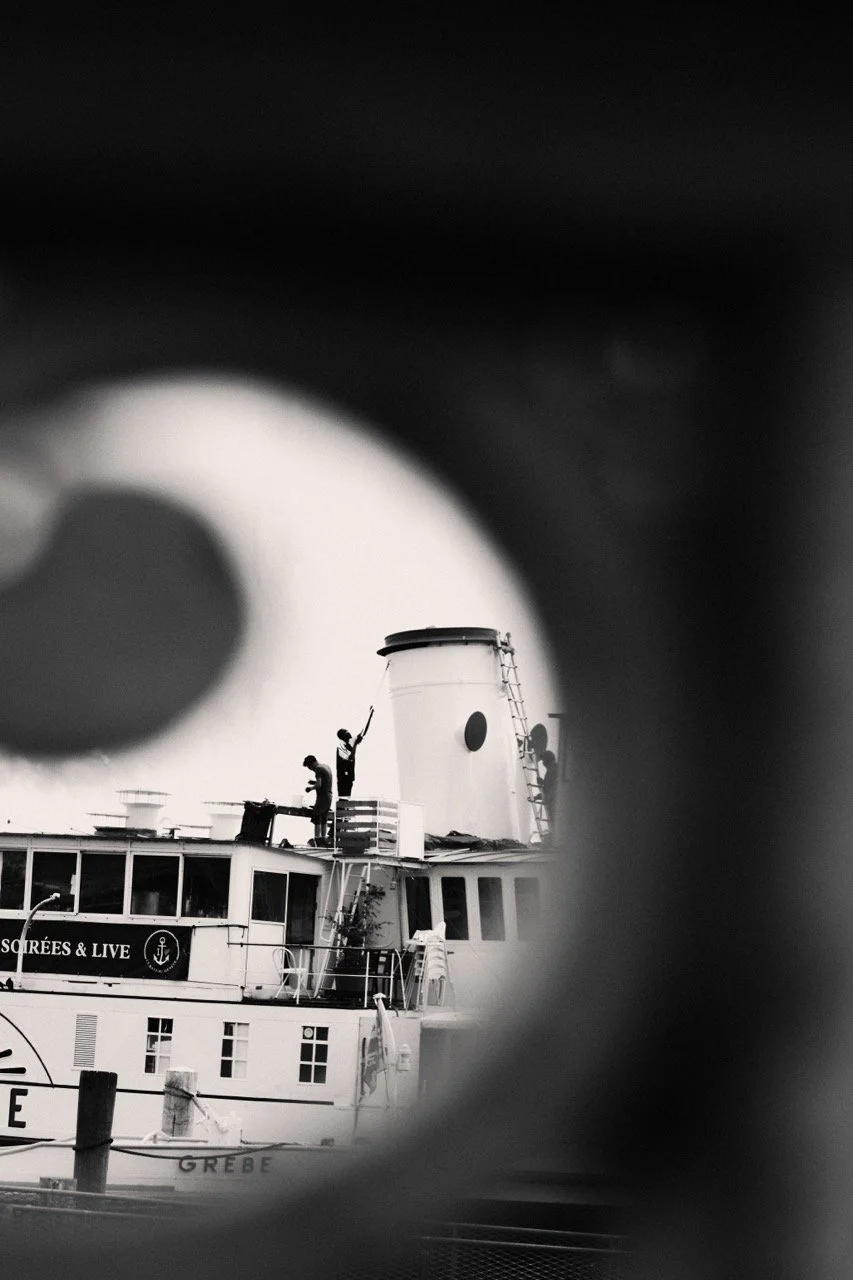
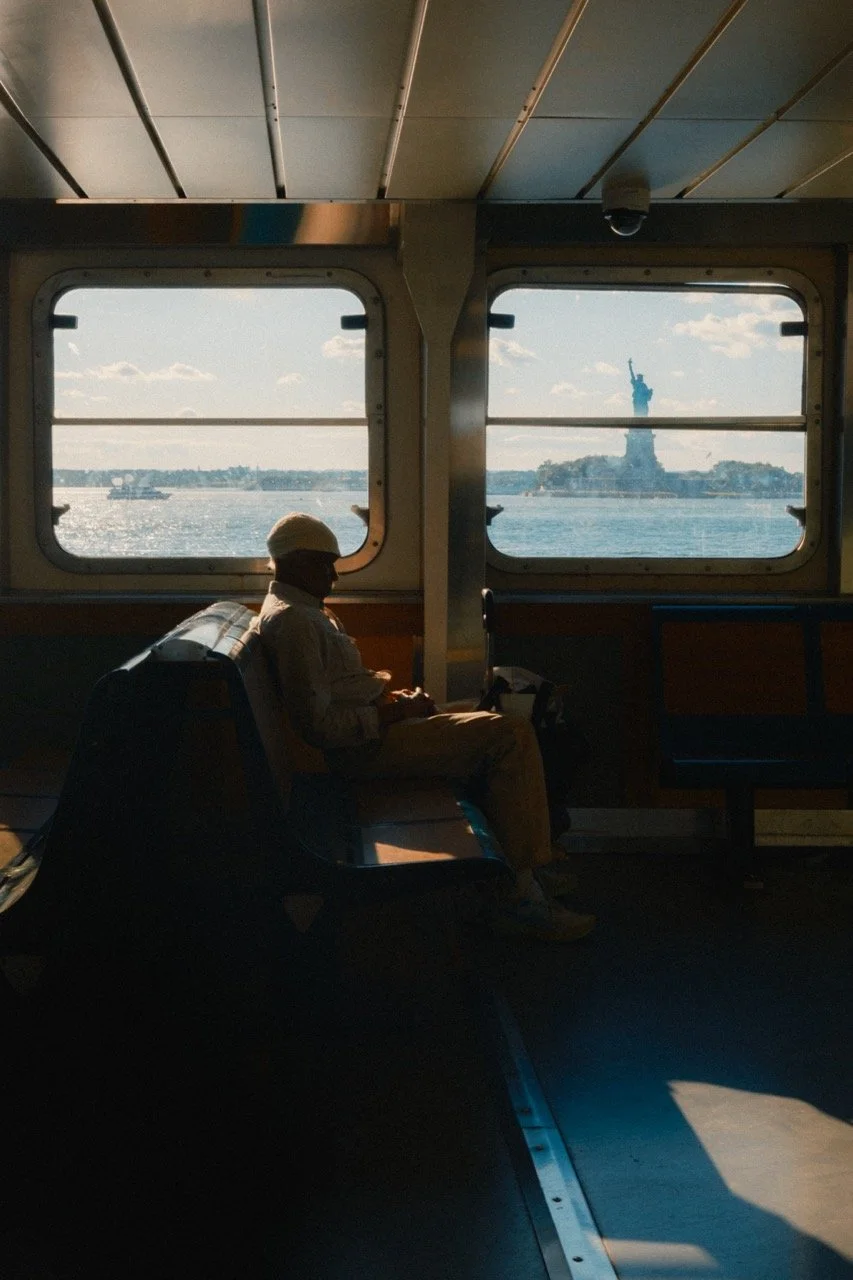
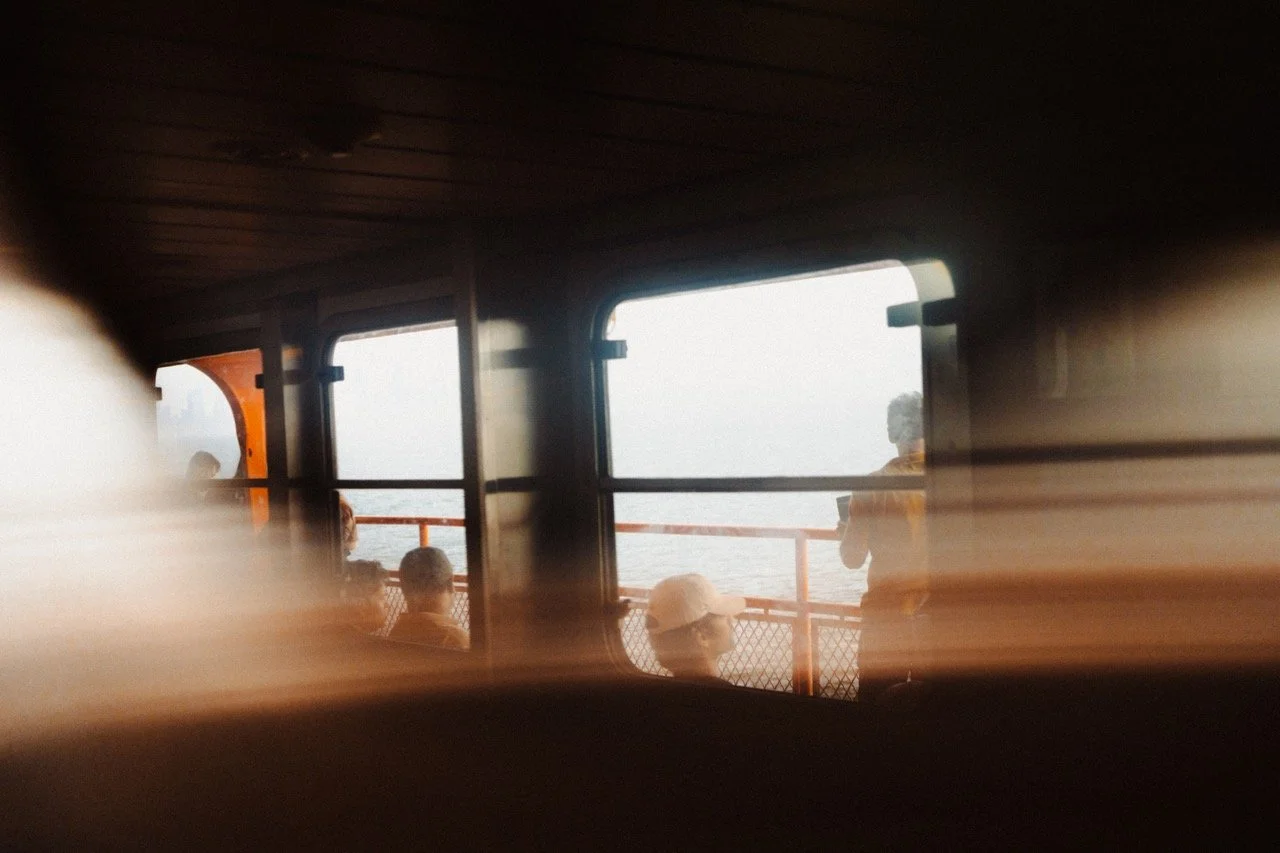
Frame shooting through a fence
Frame using a window
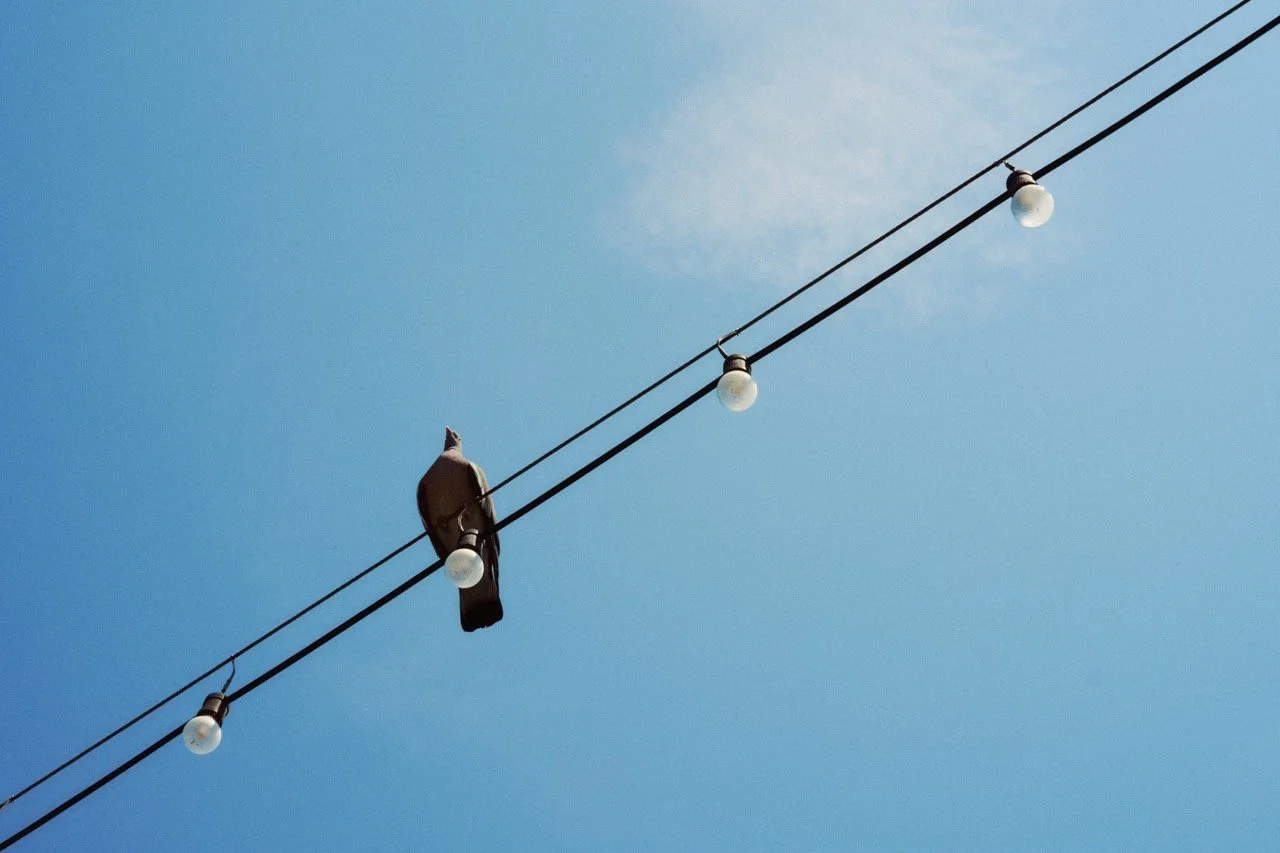
Rule of thirds
Rule of thirds
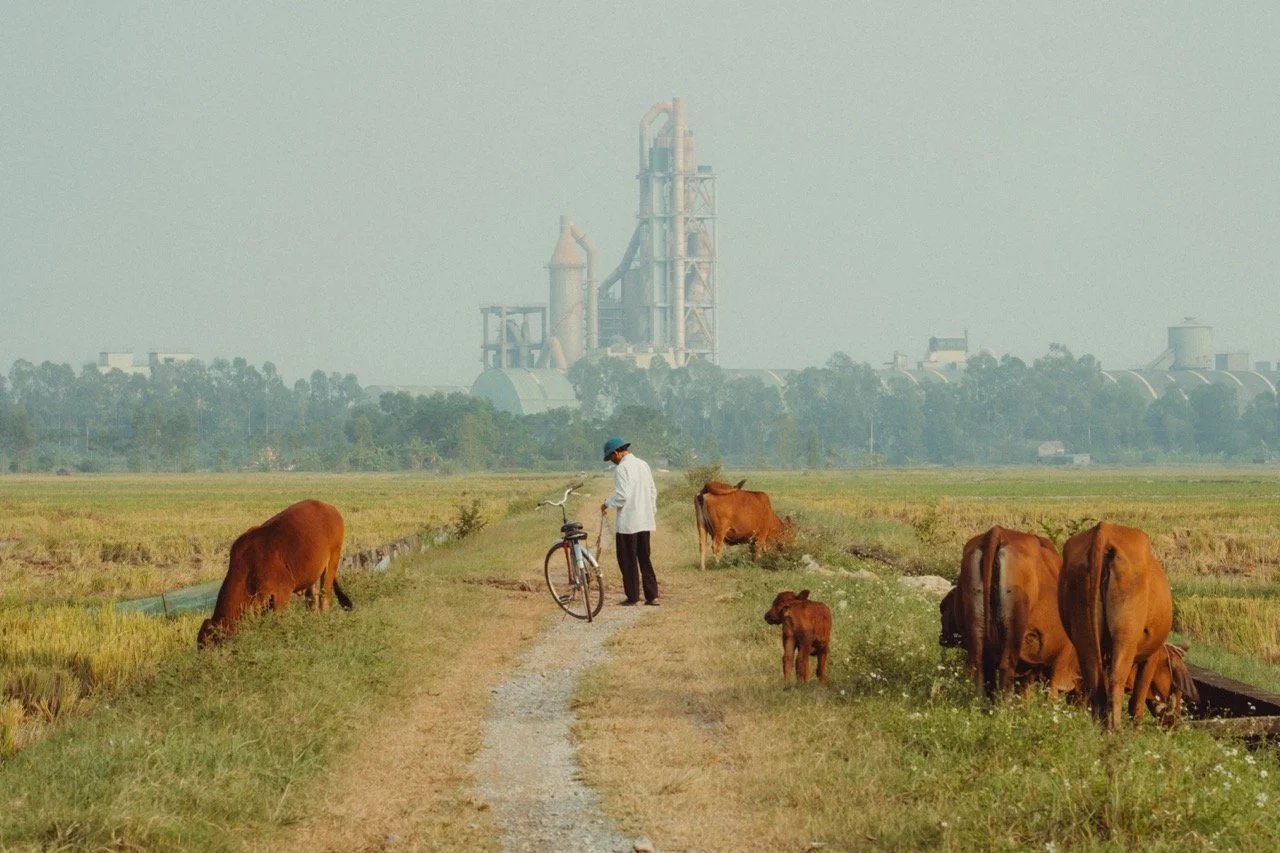
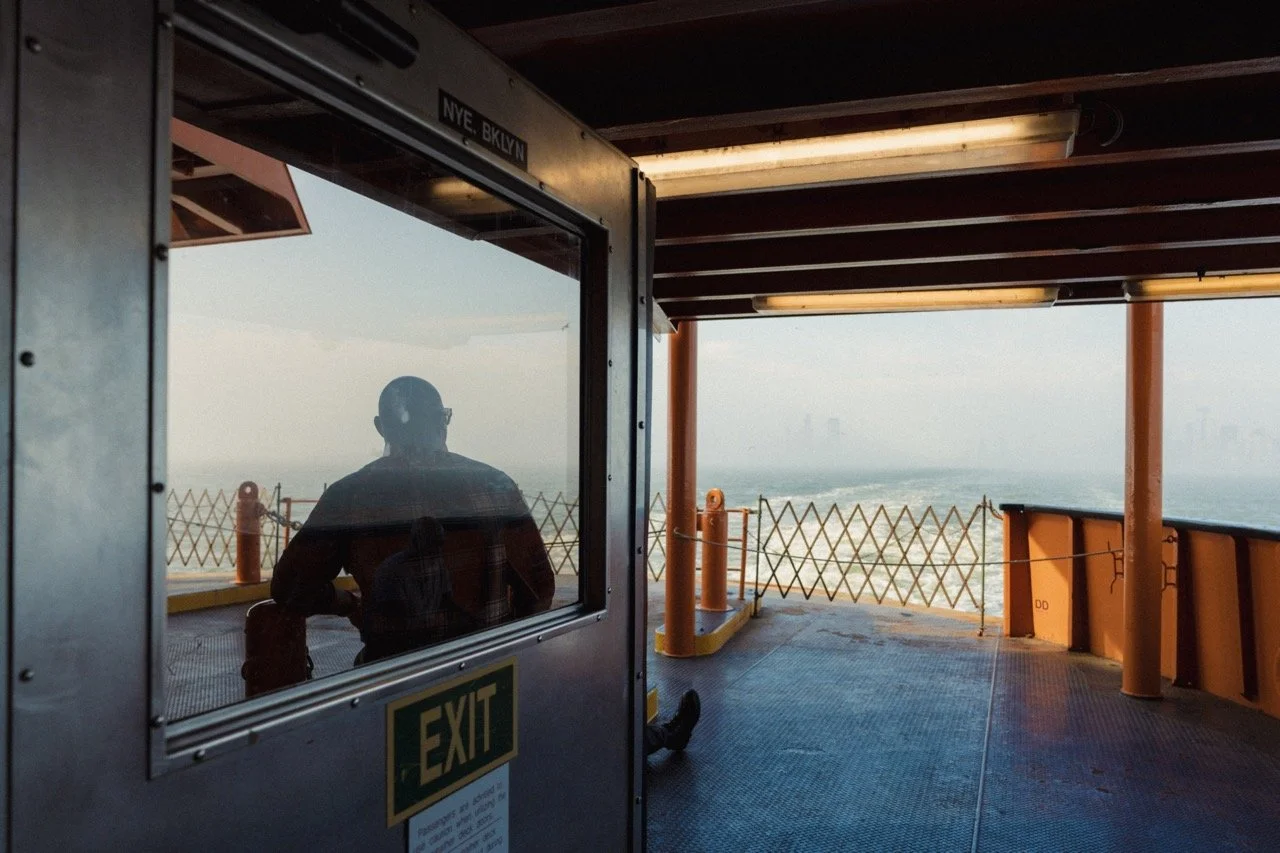
When you’re out shooting, think wide, medium, and tight. The wide sets the scene, the medium highlights the subject, and the tight reveals details. Together, they create a stronger body of work than shooting the same kind of frame over and over.
Wide establishing shot
Medium subject shot
Tight detail shot
Finally, master observation. Stay present and pay attention to your environment. It’s easy to zone out thinking about problems, listening to podcasts, or daydreaming, but that’s how you miss shots. It takes practice, but staying aware makes all the difference.
If you’re finding this blog helpful, and want to learn much more, please check out my book below. Over 300 pages of everything I know about photography, and free lifetime updates. This book supports my work and keeps this blog ad-free.

My Little Photography Book is everything I know about photography in one concise place. This book is designed to save you time and share years’ worth of knowledge in an easy-to-follow format. Think of this as a workshop and a course in one affordable 300-page package.
This book covers psychology, gear, lighting, composition, storytelling, style, and a lot more. In other words, I’ve emptied my photography brain into this PDF. As always, keep in mind that this is simply my approach to photography, and everything I share is from my own experience.
The book is a digital PDF download and comes in two flavours. Two page spread and single page. The spread might be better for landscape viewing and printing, while the single page is more suited for vertical scrolling on a phone or tablet. The total download will be just over 100mb with each PDF being around 50mb.
This book has been in the making since mid-2017 and is by far my most involved project to date. This is also entirely done by myself from scratch. All the writing, editing, formatting, everything… it’s all me with no external input. I really do hope you like it, and as always, I welcome any feedback.
Please note that due to the nature of digital products, refunds are generally not accepted. However, if you experience any issues, feel free to contact me and I’ll review your situation individually. You are welcome to use this product for personal or commercial projects, but you may not copy, distribute, or resell the files in their original or modified form.
Finally, being a digital product means free updates when new chapters become available. The last update was in February 2025 to V2.
Thank you so much for your support
Much Love
Rome
Editing
Editing or photography, which is more important? It’s a tough question with no single answer, but here’s how I see it.
Think of editing like polishing a car. Imagine your first car, probably a cheap old banger. You loved it, washed it every weekend, polished it to death. But under the bonnet, the engine still leaked oil, the chassis was rusting, and the suspension knocked. You patched it up again and again, but the problems never went away. In hindsight, the money spent polishing and patching would have been better saved for a car in better condition.
Now, think of that old car as a poorly taken photo. The polish is the edit. No amount of editing can fix bad fundamentals. You can relight in Photoshop, clone, or use AI, but it will always feel off. Editing enhances a good photo, it doesn’t rescue a bad one.
A good edit is like a detail polish on a brand-new car. It was already good, but the polish makes it shine. Editing should finalise and elevate a good photo, not try to disguise a bad one.
Most of my editing is done on an iPad. Others prefer a desk and monitor. Some use just their phone. Unless you’re editing for a client who needs colour accuracy, it doesn’t matter. Pick what fits your workflow. Lightroom is the gold standard, but even the Photos app on your computer has the basics you need to learn. Try a few and see what works for you.
Most issues can be fixed with exposure and white balance. I’ve lost count of how many times a photo looked wrong until I brightened it and warmed the tones.
Go easy on sharpness and clarity. Many people overdo it chasing “sharp” photos, but it quickly makes things worse. Less is more. And just because Lightroom has 100 sliders doesn’t mean you need to use them all. Adjust only what helps the image.
When you think you’re done, step away. Give your eyes a few hours, then come back. You’ll often spot over-editing or small fixes you missed.
Style
People often ask, “how do I find my style?” The truth is, the harder you try, the more it escapes you. Style isn’t created overnight, and it’s never finished. It develops naturally as you shoot, learn, and repeat. Style is more than colour grading. It’s your focal length, your environments, your light, your subjects, and even your settings. Don’t stress about not having a style, and don’t try to force one. Focus on becoming a better photographer, and your style will evolve with you. The key word is evolve, because you never arrive at your style. It keeps changing.
Learning
Whether you started today or 10 years ago, always keep learning. While I hope this blog is useful, the best way to improve is through workshops and practice. I’m attending a workshop later this year myself. Many established photographers still do. If workshops aren’t an option, set personal projects. For example, shoot only one subject or in one style until you’ve pushed yourself. Keep challenging yourself. However you do it, never stop learning, and embrace failure, because that’s where your biggest lessons will be.
Believe in Yourself
This will sound cheesy, but you need an almost delusional level of belief in yourself and your vision. Whatever your goal is, if you don’t believe you can reach it, chances are you won’t. If you do believe, the odds swing in your favour. Everything feels impossible until it’s achieved.