How To Spend A Day in Doha
If you’re travelling from West to East, or vice versa, a common route often includes a layover in Doha Airport, Qatar. I don’t know about you, but if I have extra time, I love squeezing in a day or two in a new location. In this blog I’ll share what to do in Doha if you find yourself with some spare time. Everything here can be done in one hectic day, or stretched over two more relaxed days.
Unless you miss your flight and end up with an unexpected day to kill, the best way to plan this layover is through a package deal. We booked with Qatar Airways Holidays and got our hotel almost for free. This isn’t sponsored, and I’m sure there are other ways to organise a similar stopover.

When to Visit
We went in mid-September, and it was unbearably hot. Every day was in the mid-40s and it didn’t cool down until after 16:00. We tried to explore outdoors but found ourselves overwhelmed after 30–40 minutes. Beaches were closed during the day, and most outdoor areas were deserted. Luckily, our plan included museums, so this didn’t affect us too much, though it did mean we couldn’t walk as much as we’d hoped. Visit in winter, and your experience will be totally different and far more pleasant.
Where to Stay
We stayed just outside Souq Waqif, and if we return to Doha, we’d stay there again. It’s close to many museums and right on the metro line. Being near the Souq was also incredibly convenient. I would splash out a little more and stay in the Souq next time for more convenience.
Dress Code
As with any Islamic country, it’s important to keep the dress code in mind. Qatar isn’t as strict as some, but it’s more conservative than Dubai. I wore shorts and a T-shirt the whole time and had no issues, though I did need to cover my legs when entering a mosque. My girlfriend wore trousers and a T-shirt and also had no problems, except for when visiting a mosque where coverings were provided free of charge. Public swimming areas have stricter rules, so it’s best to check with your hotel for specifics. Overall, we didn’t encounter any difficulties – common sense goes a long way.
Getting Around
We used a mix of Uber and the metro. Both were affordable, fast, and efficient. Most key locations can be reached by metro, and often it was quicker than a car. That said, the system is limited, so Uber was still necessary for some spots.
Photography
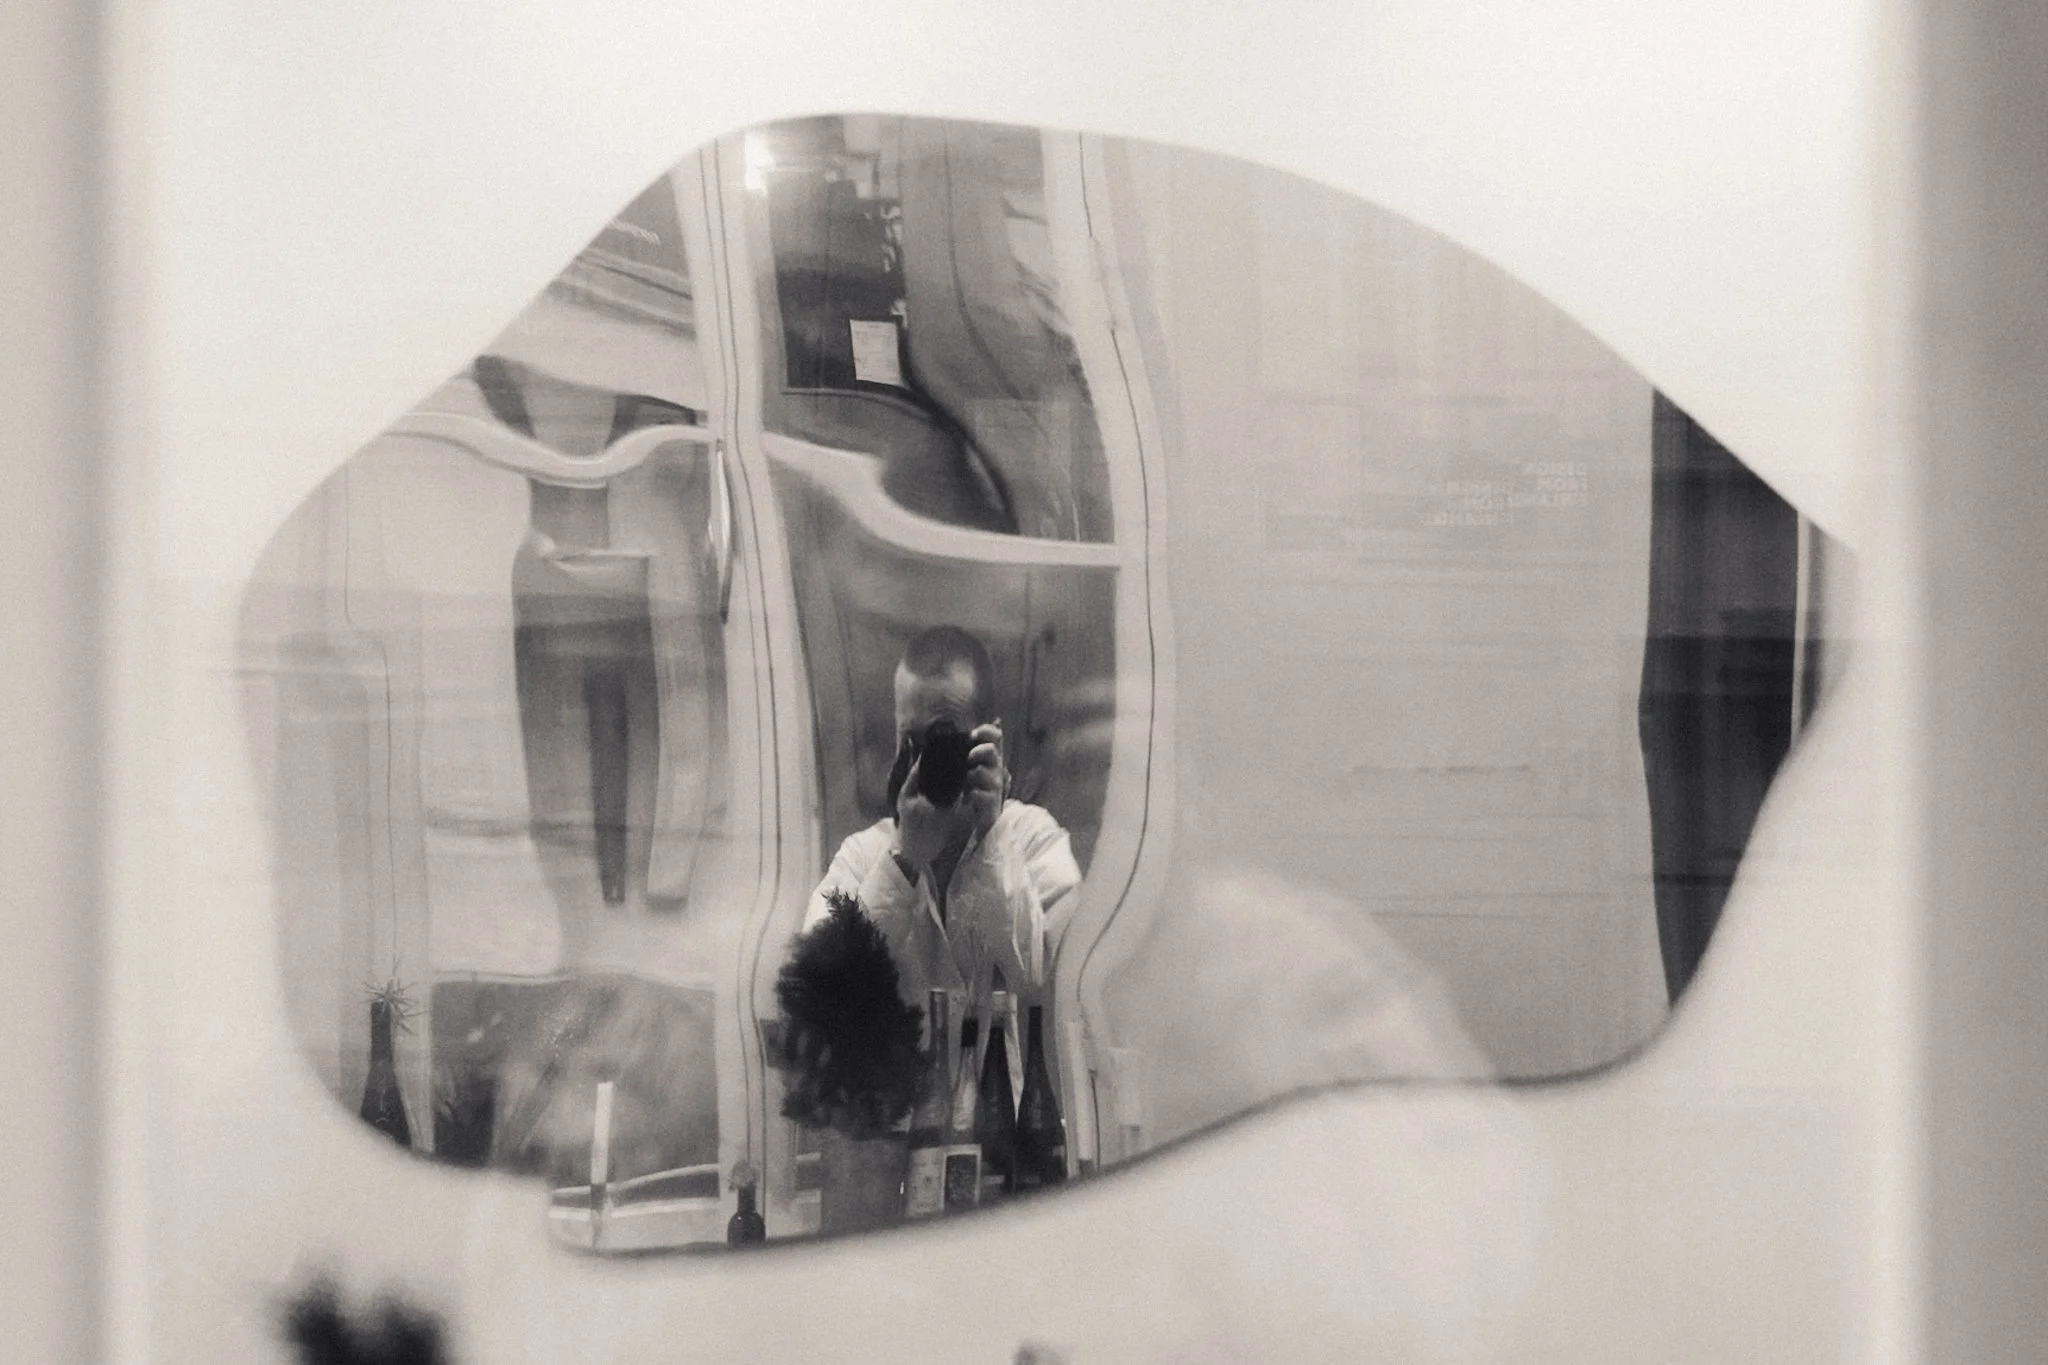
I didn’t have any issues taking photos, but as with anywhere, it’s worth being aware of local rules. In general, photography was fine and I never faced any problems. My style isn’t intrusive, and if I sense my presence isn’t welcome, I put the camera down and move on. If you want to take close-up portraits where someone is the sole subject, it’s best to ask for permission. For gear, I used my Sony A7RV with a 40mm prime. I wanted to keep my setup small, and this focal length was perfect for Doha.
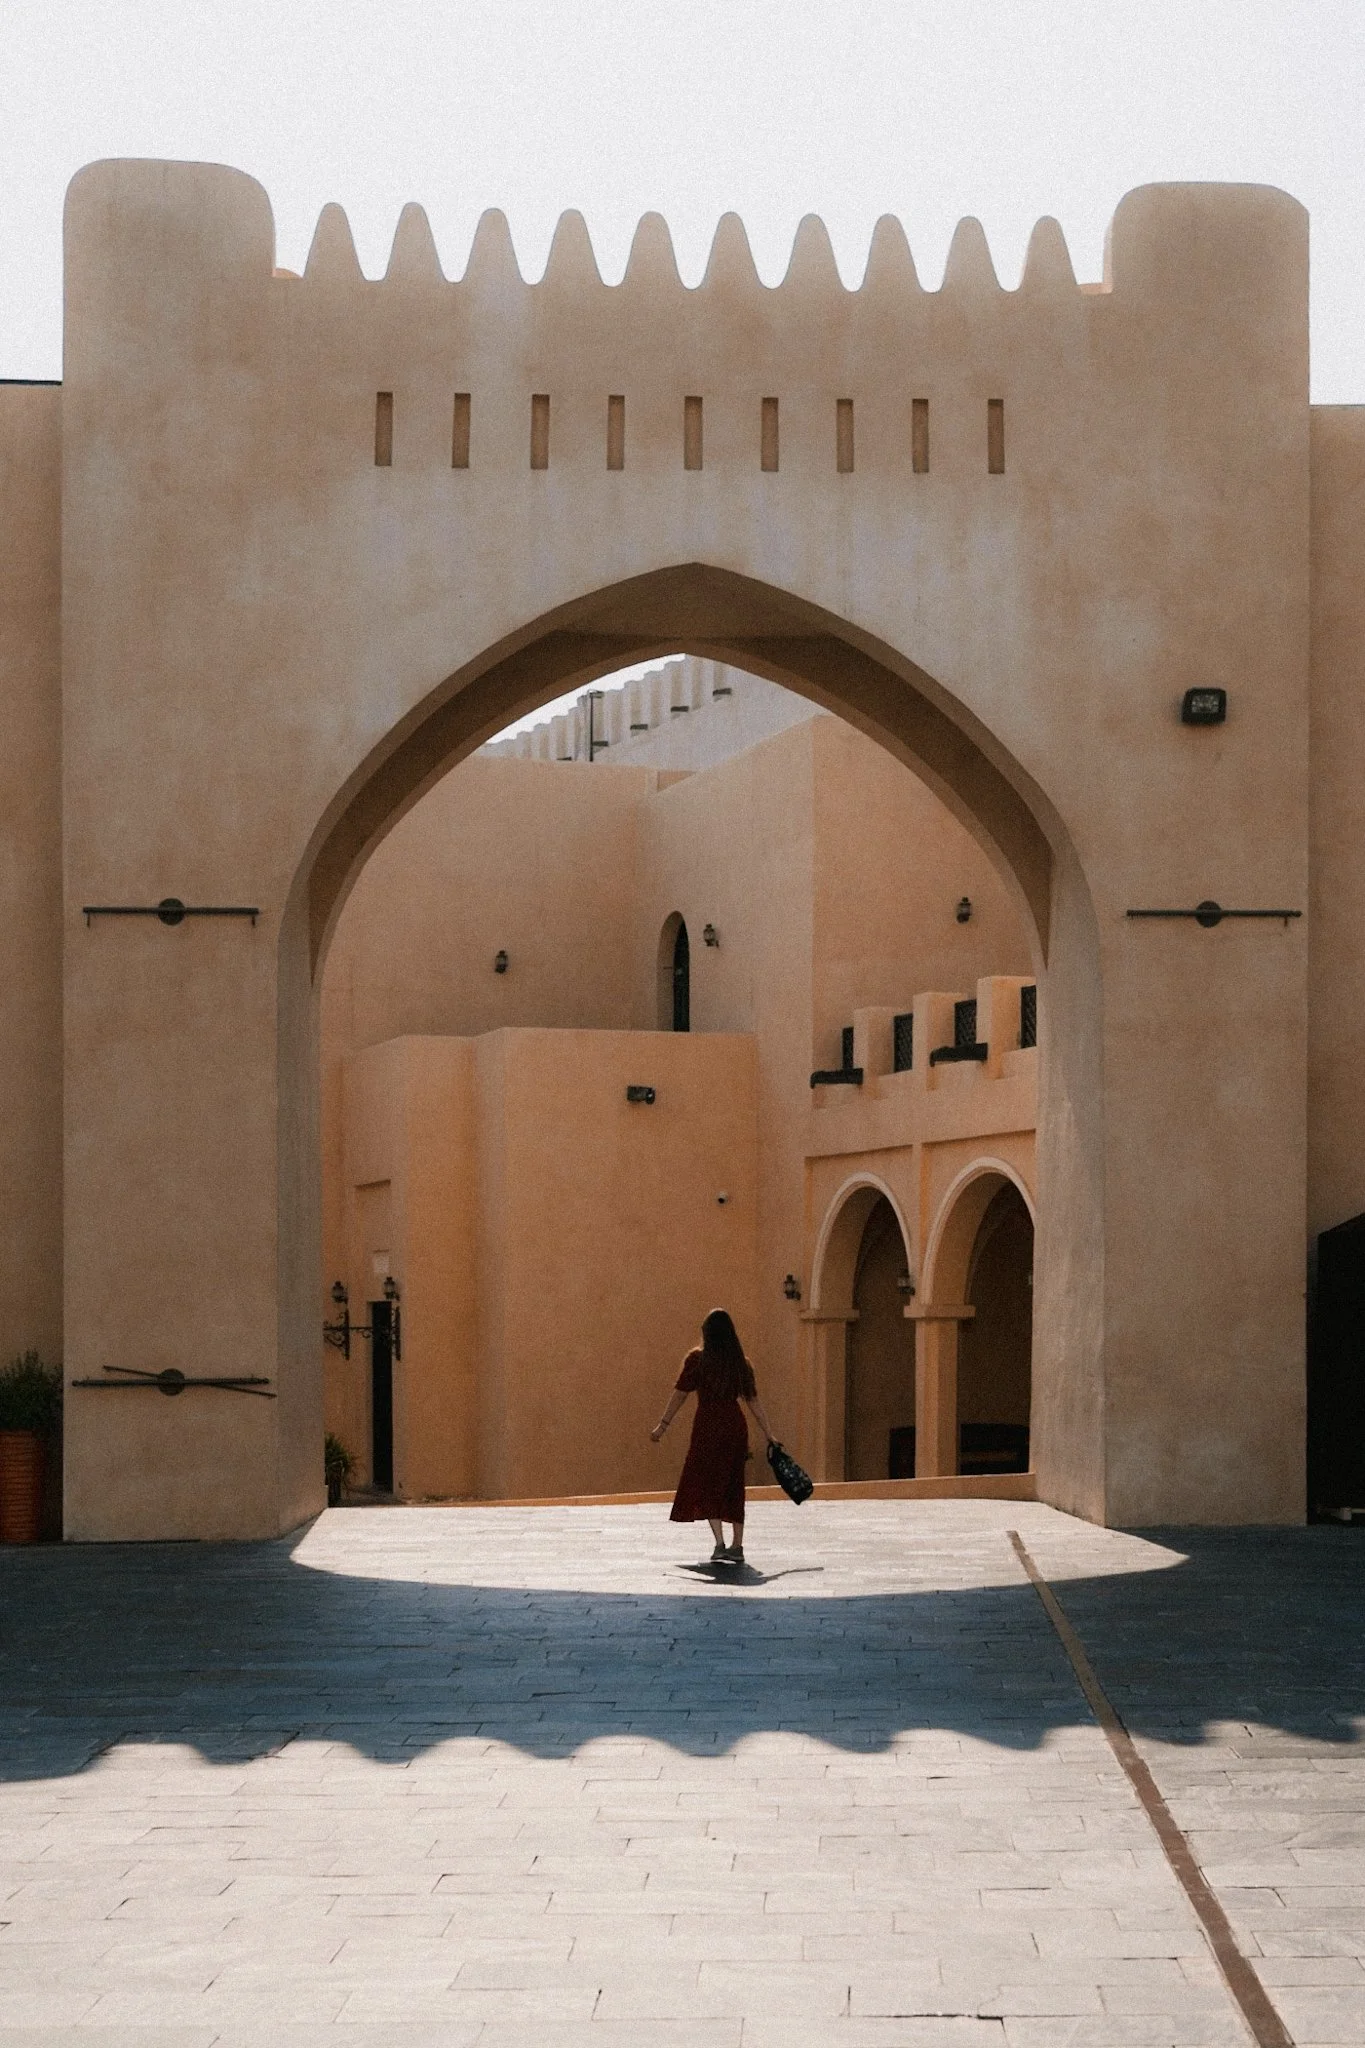
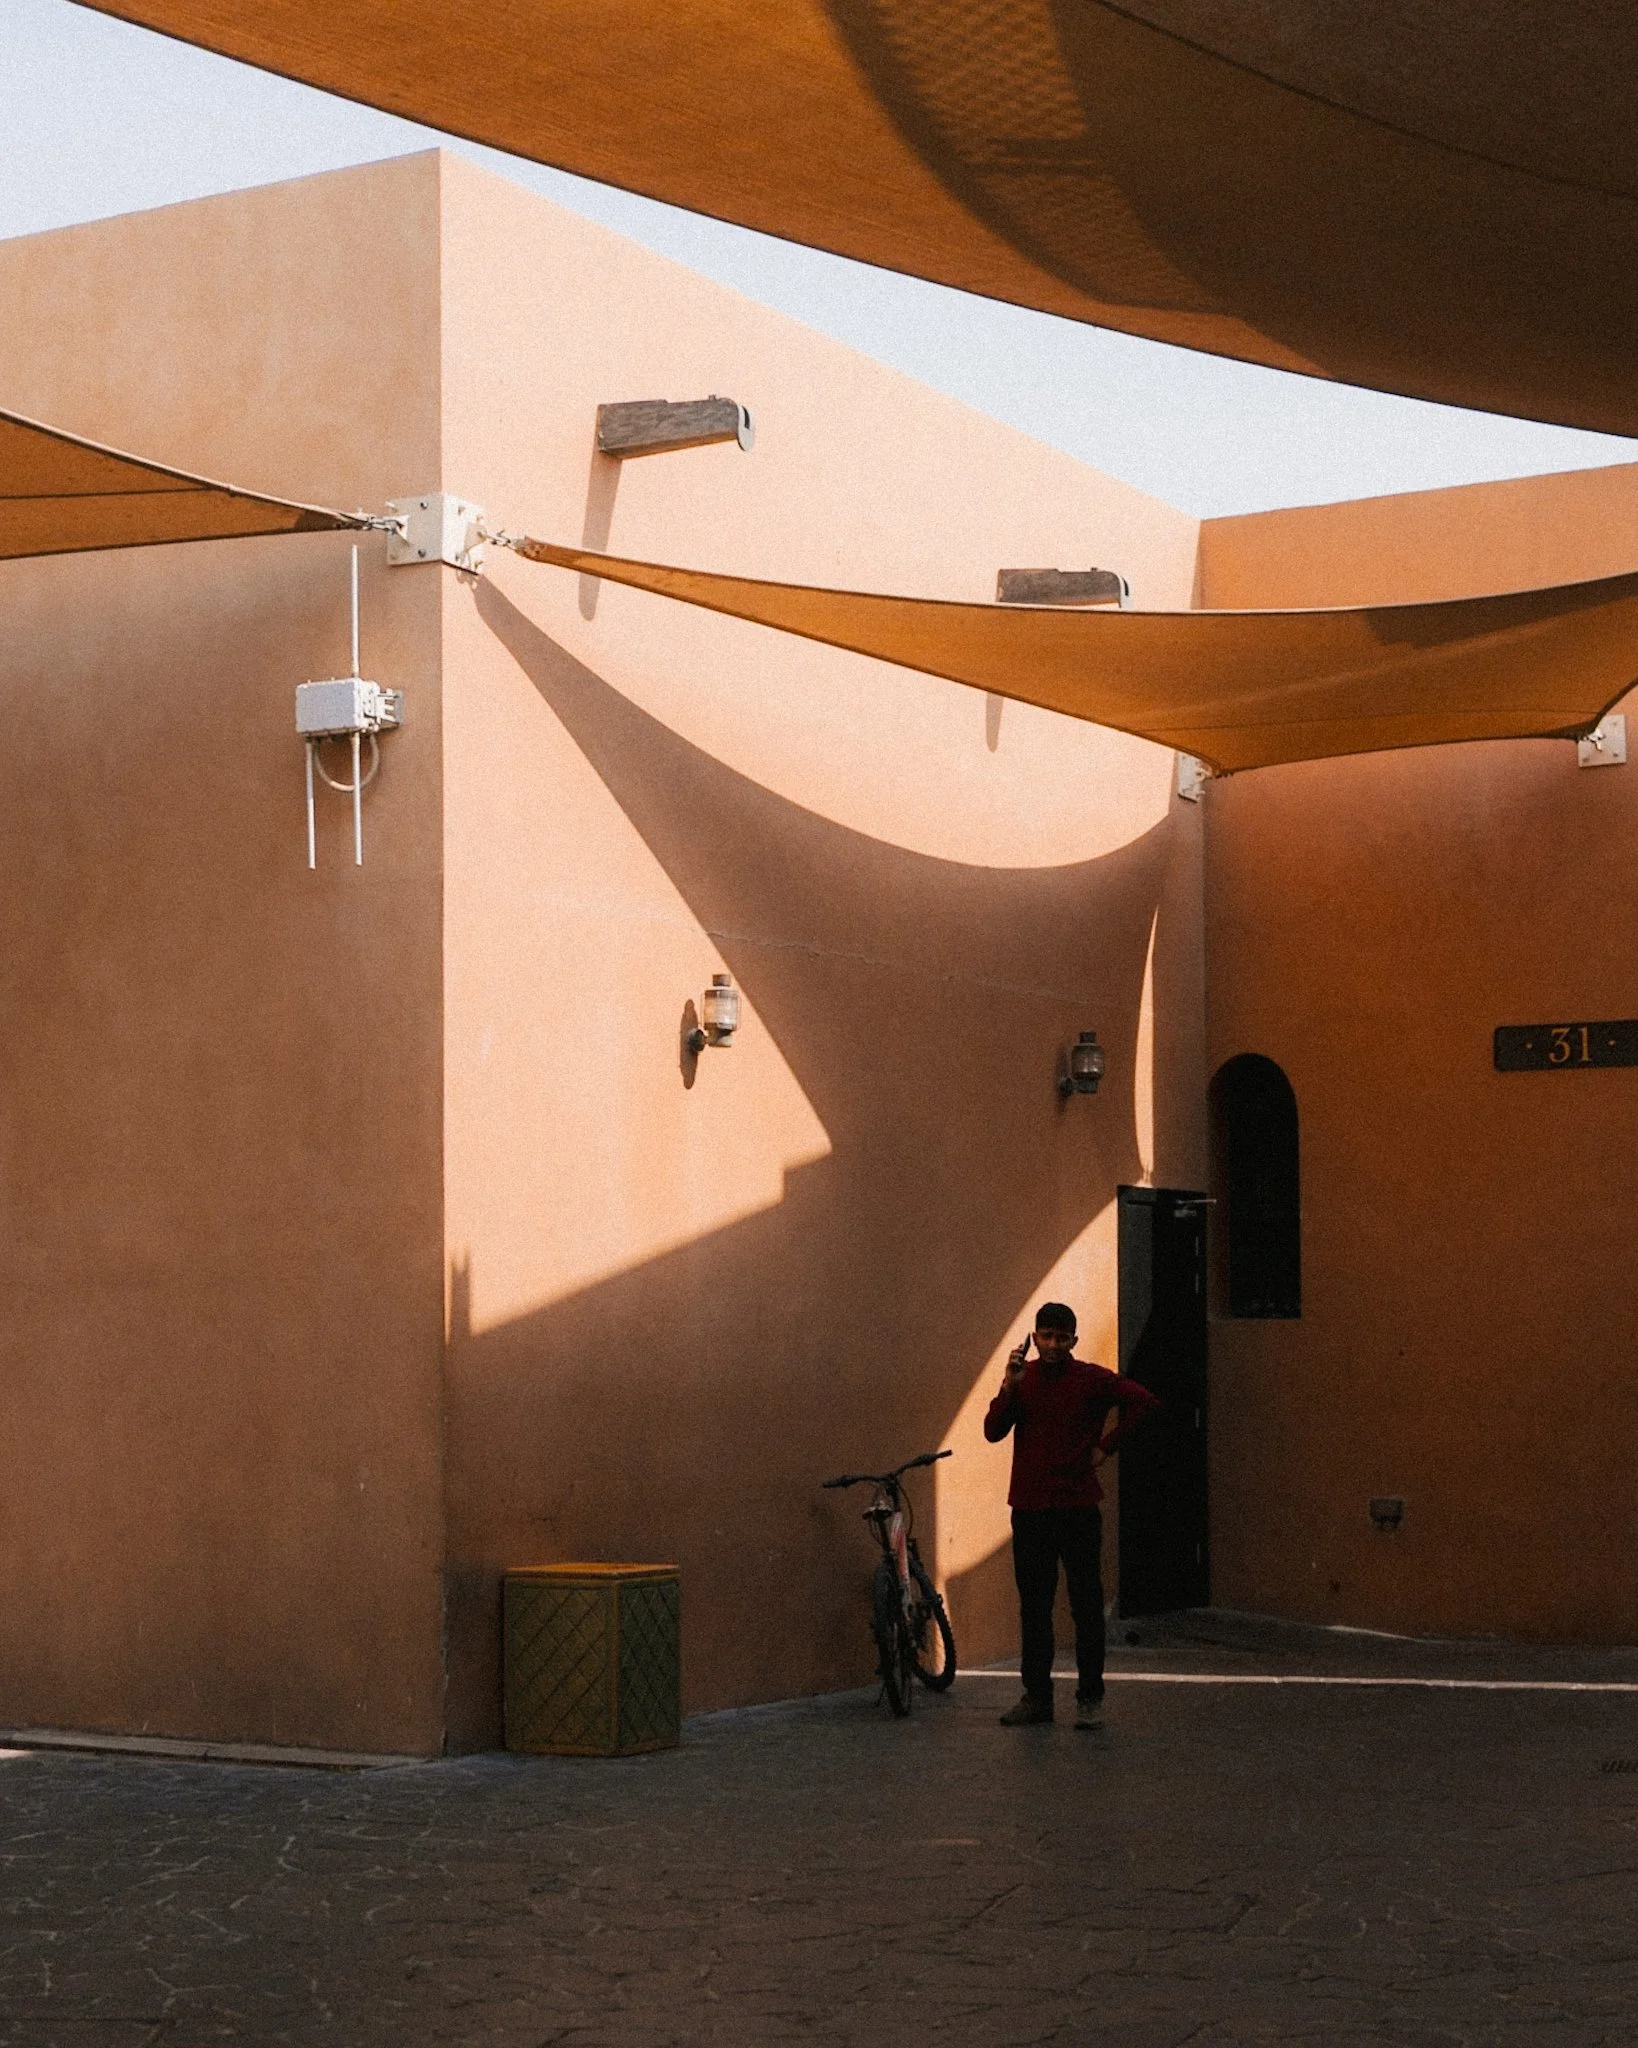
Morning – Katara
We started the day in Katara, a short Uber or metro ride from Souq Waqif. Katara is a cultural centre with theatres, exhibitions, galleries, and more. It’s both interesting to visit and fantastic for photography. The architecture lends itself well to minimalist, geometric shots. You can easily spend a few hours here. Don’t miss the photo gallery or the open-air theatre.


Midday – Museum of Islamic Art
Depending on the time of year, midday sun can be brutal, making this the perfect time to escape indoors. The Museum of Islamic Art is as photogenic as it is fascinating. The building itself is stunning, with great views of the city and plenty of photography opportunities inside. In cooler weather, the huge outdoor area is also worth exploring.

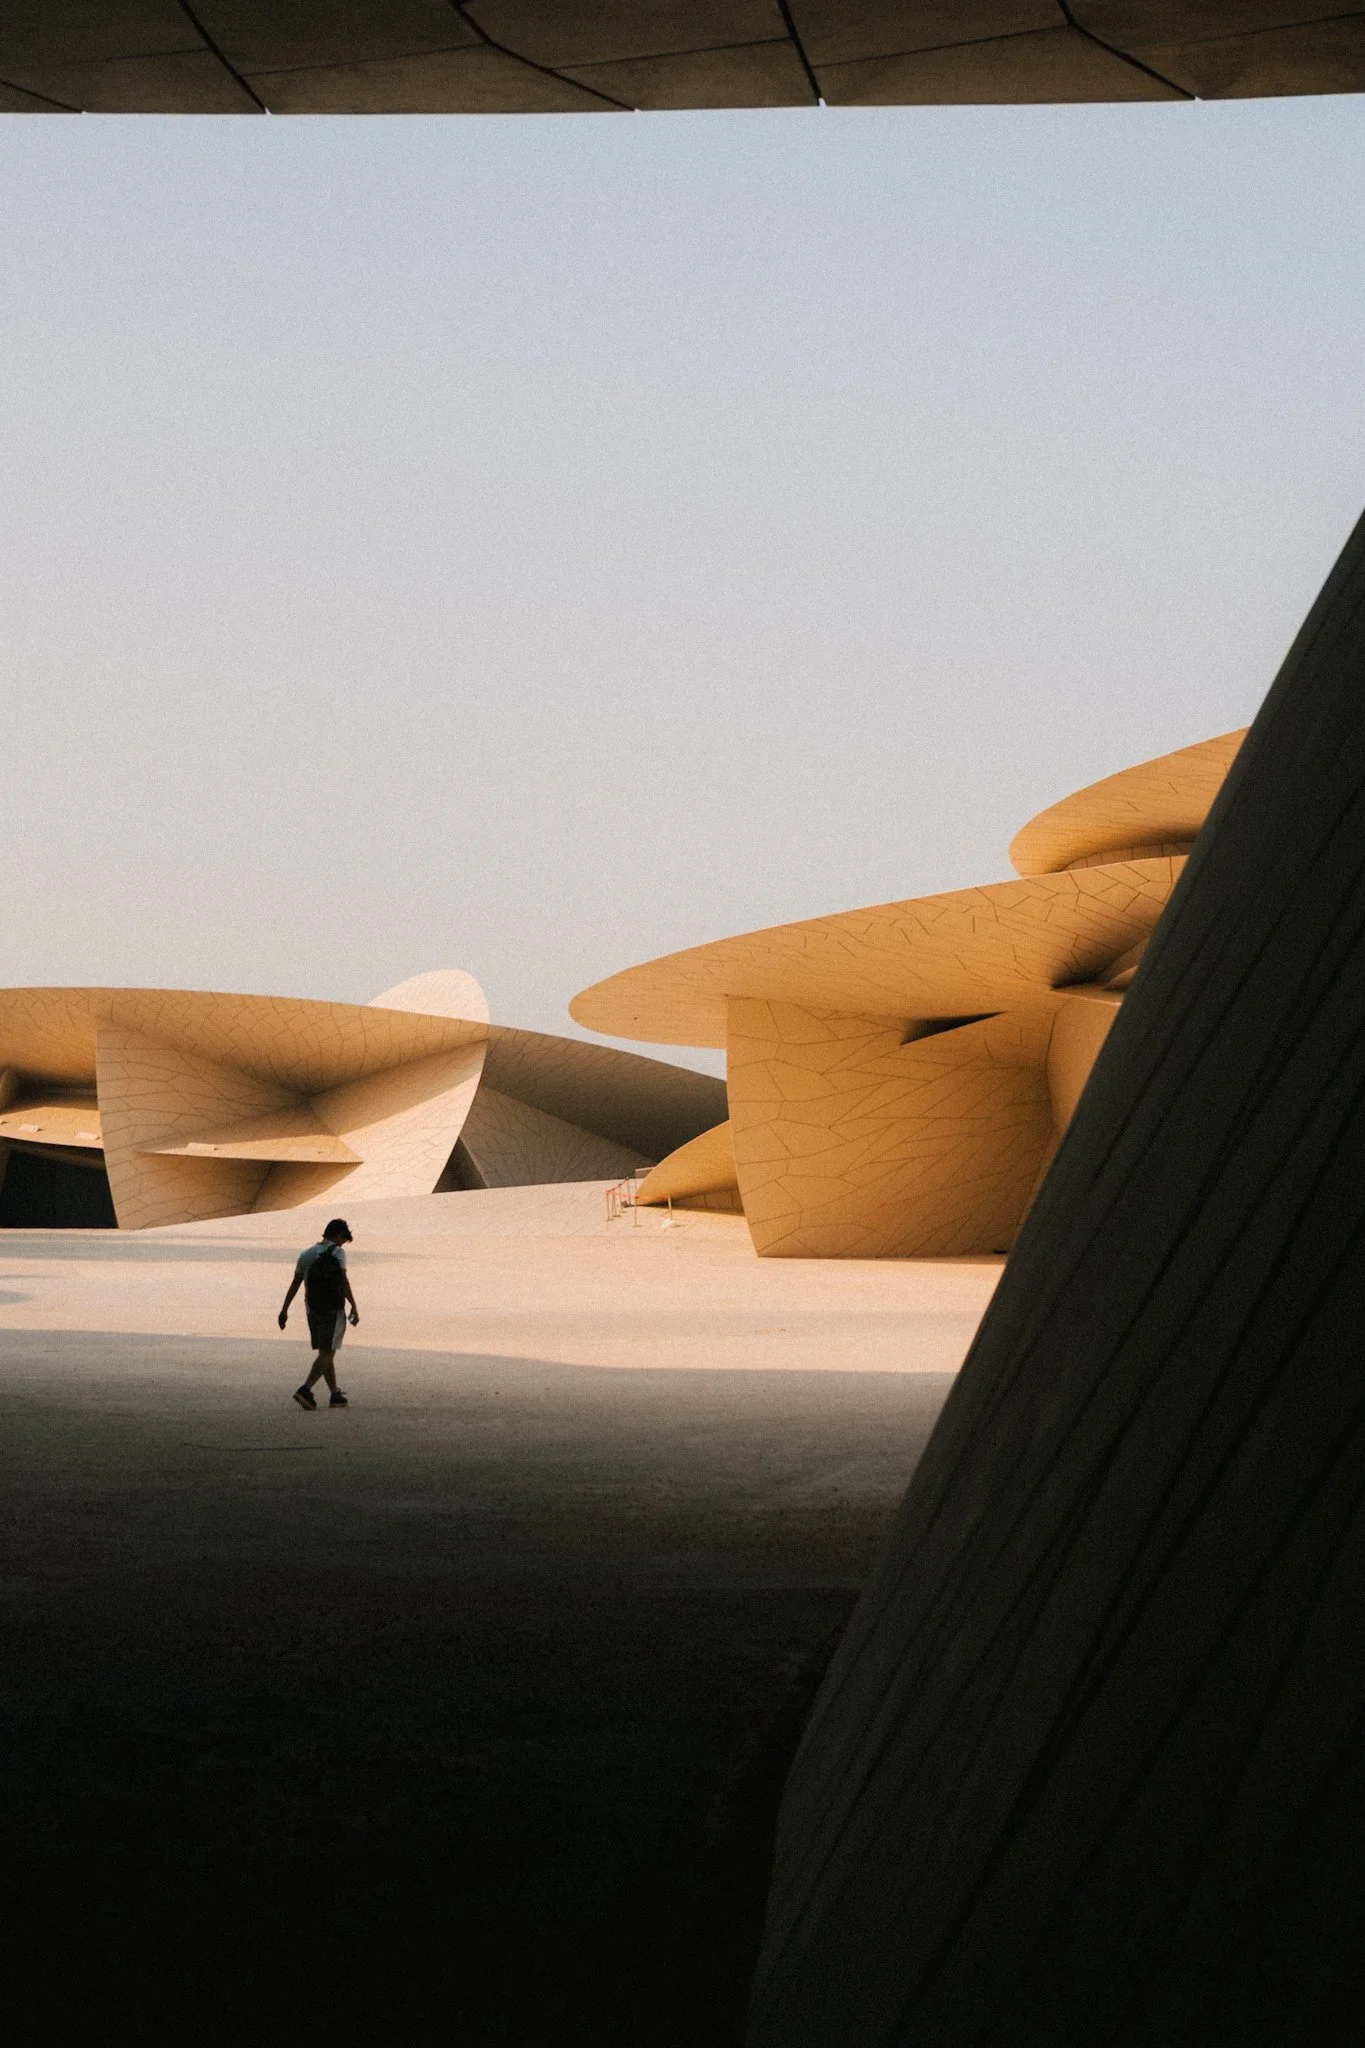
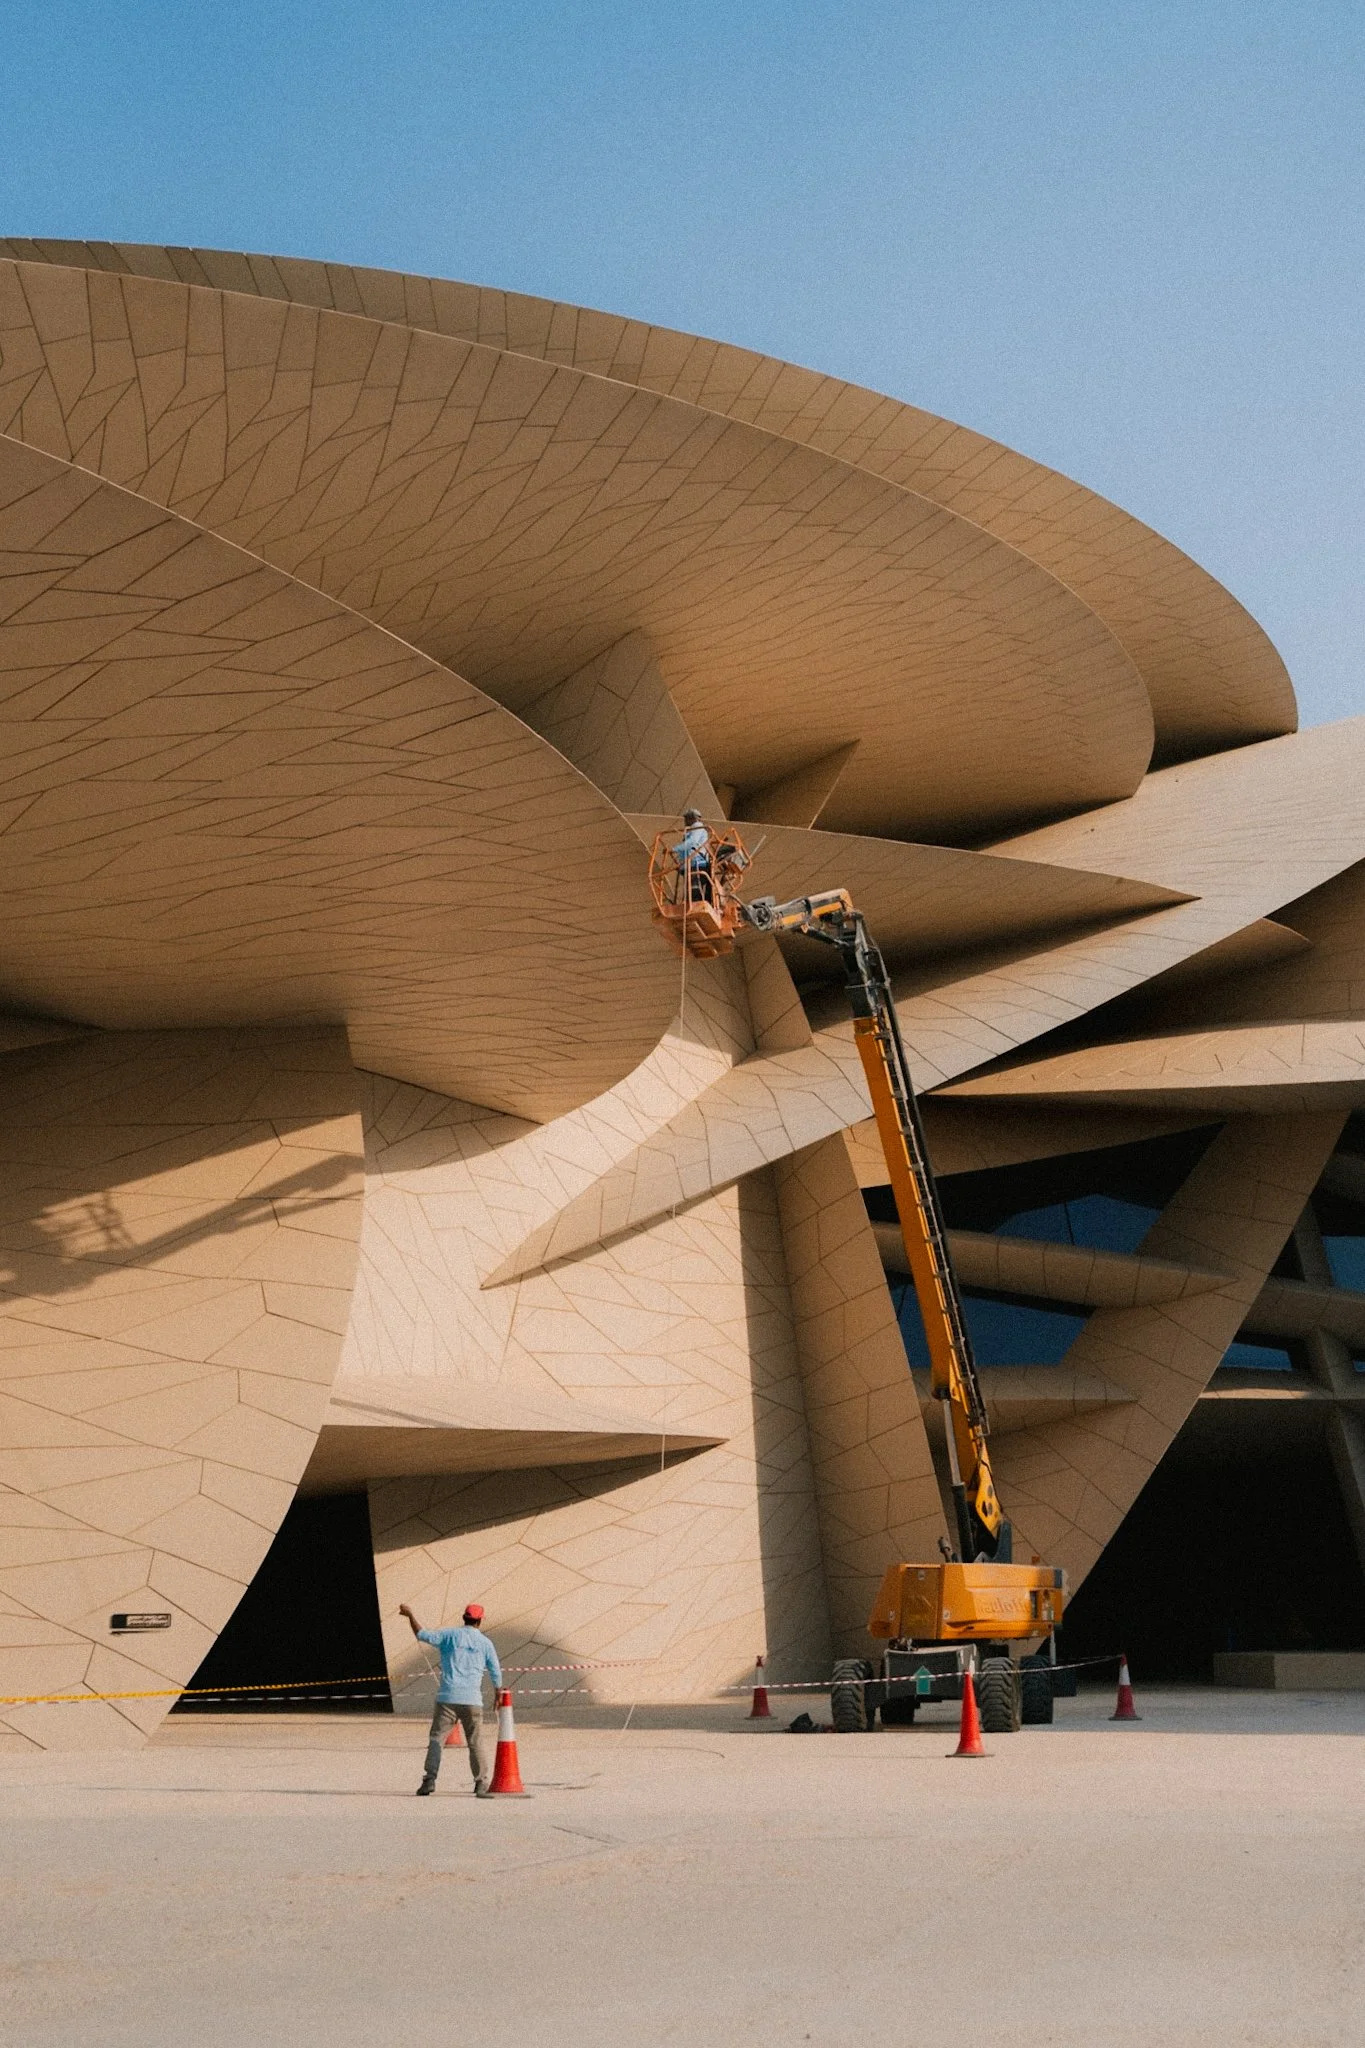
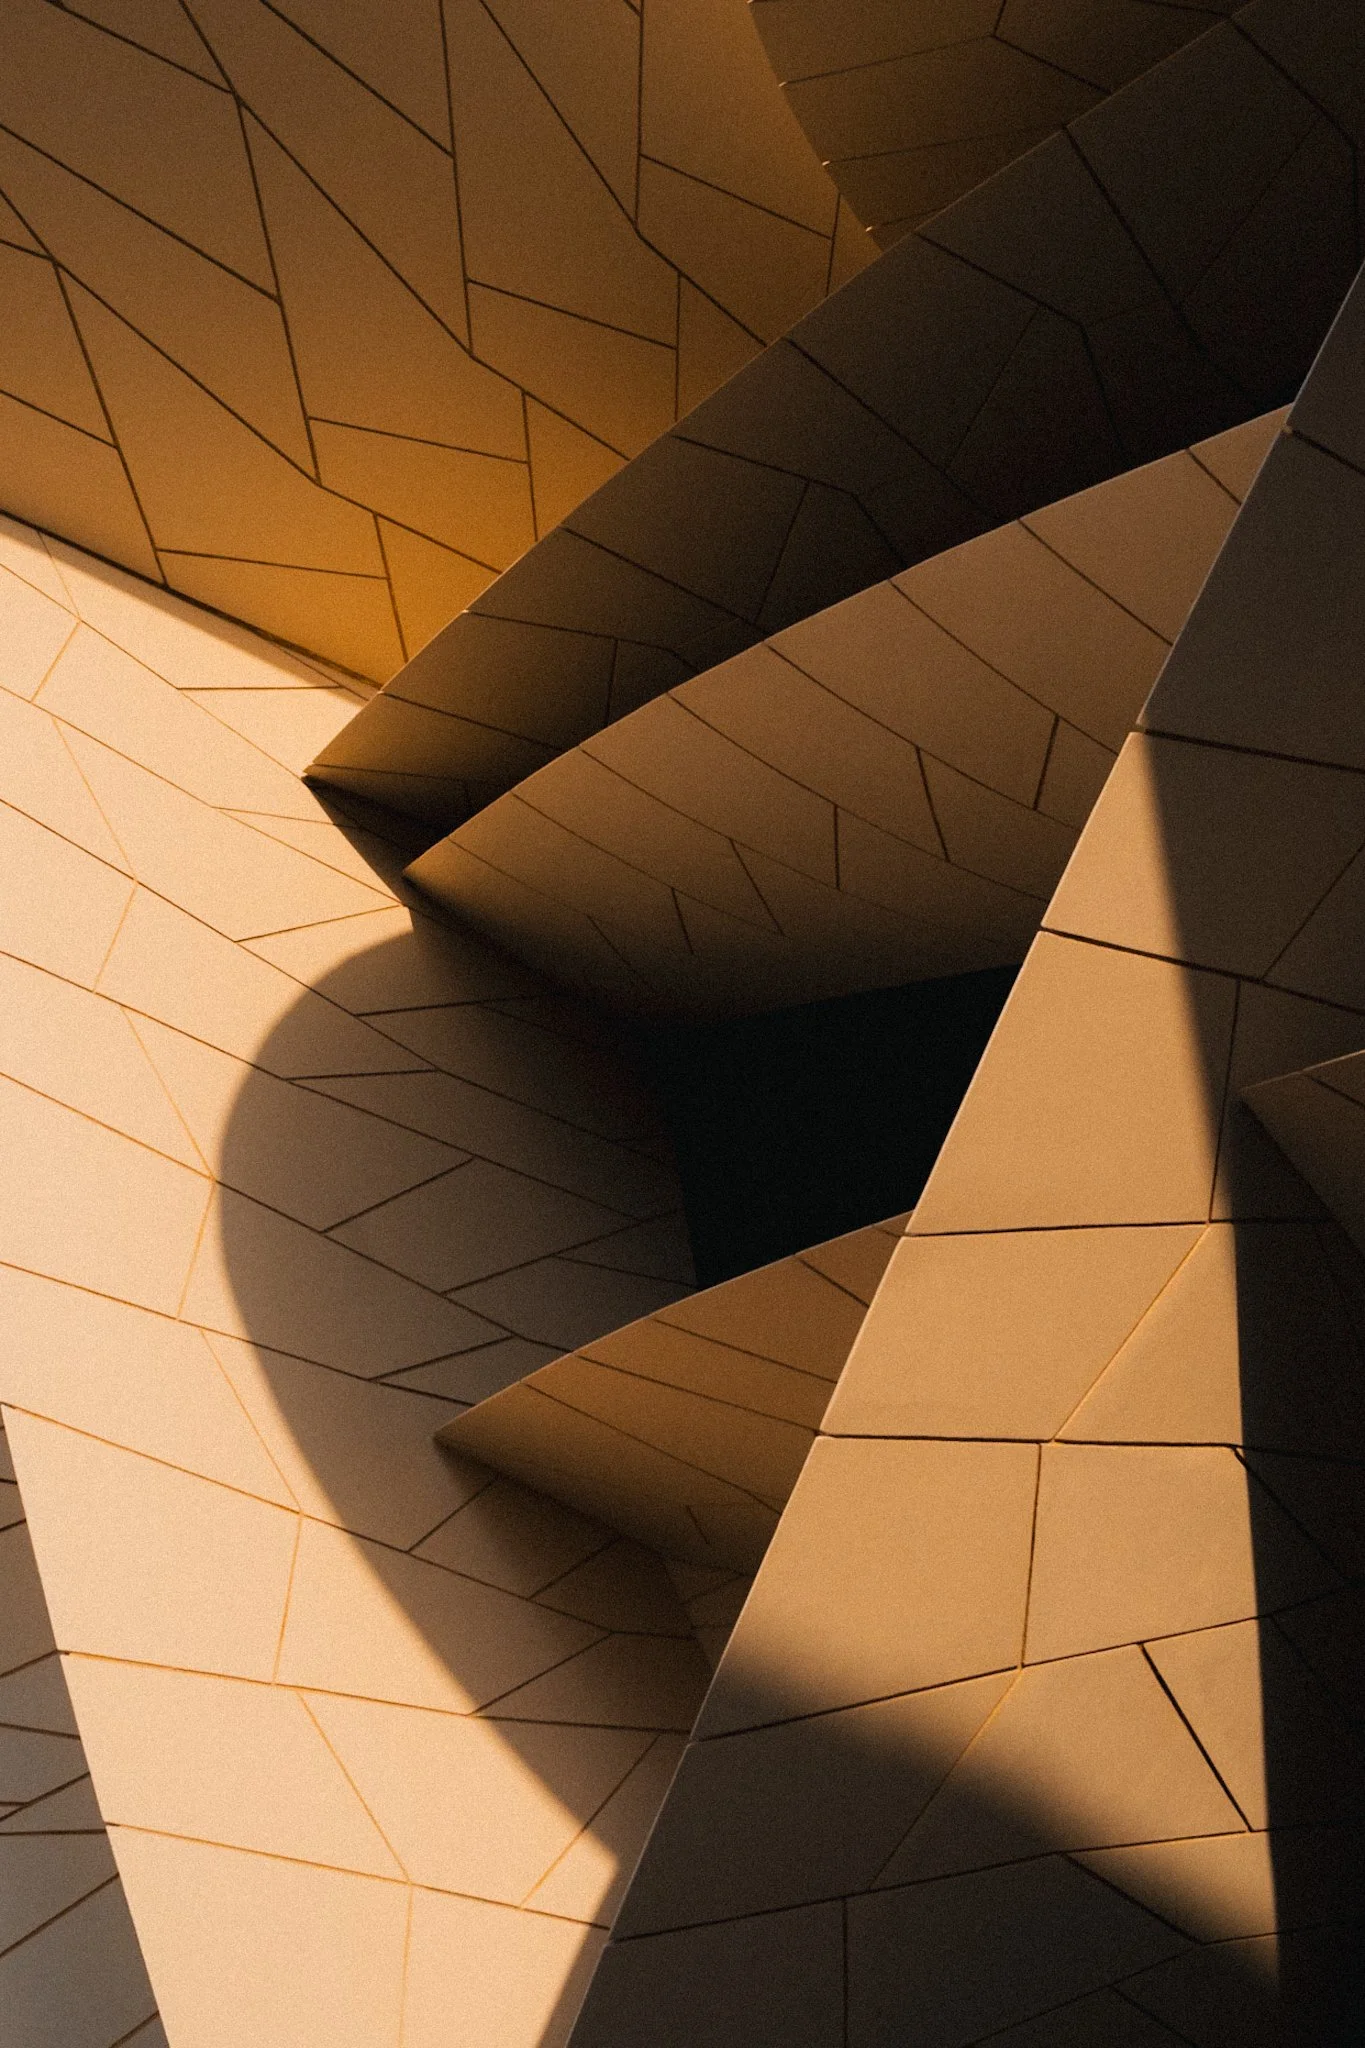
Midday – National Museum of Qatar
This was my favourite spot thanks to its jaw-dropping architecture. From a distance, it looks impossible, and as you get closer, it leaves you speechless. Arrive mid-afternoon for the best golden light as you can easily spend an hour photographing the exterior before even stepping inside. Indoors, there are fewer opportunities, but you’ll still find plenty of abstract shots using mirrors and reflective surfaces.

Lightroom Presets
If you find this blog helpful, and like how the photos are edited, please consider supporting it by picking up my Lightroom Presets below. Each purchase ensures the blog remains Ad-Free for your reading pleasure.

Instead of telling you how these will change your life, I would rather be practical and answer the most common questions that people tend to have when buying presets.
What are presets?
They are editing settings that are saved in a file and can be applied to any image.
Why do people buy presets?
Sometimes because they like the work of the photographer and want that style for their own photos. Mostly because they would like to see how other people edit and learn by reverse engineering the presets. Other times it’s just to support their favourite photographers, thank you!
What’s the overall style of these presets?
- Filmic
- Minimal
- Soft
- Bright
What are these presets suitable for?
Street & Travel Photography
Some Nature (with further editing)
Some Portraits (with extensive editing)
What do these presets look like?
These presets 100% reflect my current editing style. Please see examples of work below.
Do these presets get updated?
Yes, as my style changes, these presets will also be updated. Any time a new update is available, you will get a free update via email. Of course you also keep all the old presets in case you prefer the older looks. Only presets purchased from 2025 onwards will receive the updates.
What file types are these presets for?
- All RAW files
- JPEGs & TIFFs (not recommended)
What camera brands are these presets for?
These were designed around Fujifilm, Sony, and Leica sensors. With that said, they will work with all camera brands. While there might be subtle colour changes due to individual camera colour science, the overall feel of the preset will carry over.
Will these work with JPEG files?
Yes, but you will need to reduce the intensity and make further edits. I strongly recommend editing RAW files.
Are these one click edits?
95% No. You would need to do some basic adjustments as each image is different. These adjustments can include exposure, colour balance etc. In 5% of cases you can just apply and leave it alone.
Do I need to know how to edit?
You need to have a basic understanding of adjusting exposure, highlights, shadows, etc. A more comprehensive editing skillset will let you get the most out of them.
How many presets are included?
15 in the main pack and 20 in the extras pack
Why two packs?
The main pack is what I use for 99% of my edits. The extras pack is random test presets, one-off looks, and looks I don’t use often.
What software do I need?
These presets will work with any of the following:
- Photoshop (adobe camera raw)
- Lightroom Classic
- Lightroom Desktop
- Lightroom Mobile
Will these presets work with free versions of the above software?
You need to research and double check before buying. These presets were designed for the full paid versions.
Will these presets work with very old versions of the above software?
You need to research and double check before buying. These presets were designed on and for the latest software.
What file type do I get?
XMP
What else do I get?
- Comprehensive PDF guide
- Short video of me editing using these presets
Can I modify these and turn them into my own?
Yes! In fact I encourage you to modify them and play around. Use these to help you get your own style.
I have more questions…. What do I do?
Make a cup of tea and drop me an email on hello@snapsbyfox.com
Please note that due to the nature of digital products, refunds are generally not accepted. However, if you experience any issues, feel free to contact me and I’ll review your situation individually. You are welcome to use this product for personal or commercial projects, but you may not copy, distribute, or resell the files in their original or modified form.
Finally I want to say a massive thank you for supporting me. Buying these presets is the most direct way you can support my work thus allowing me to make more videos / photos / tutorials for you.
Thank you for your support!
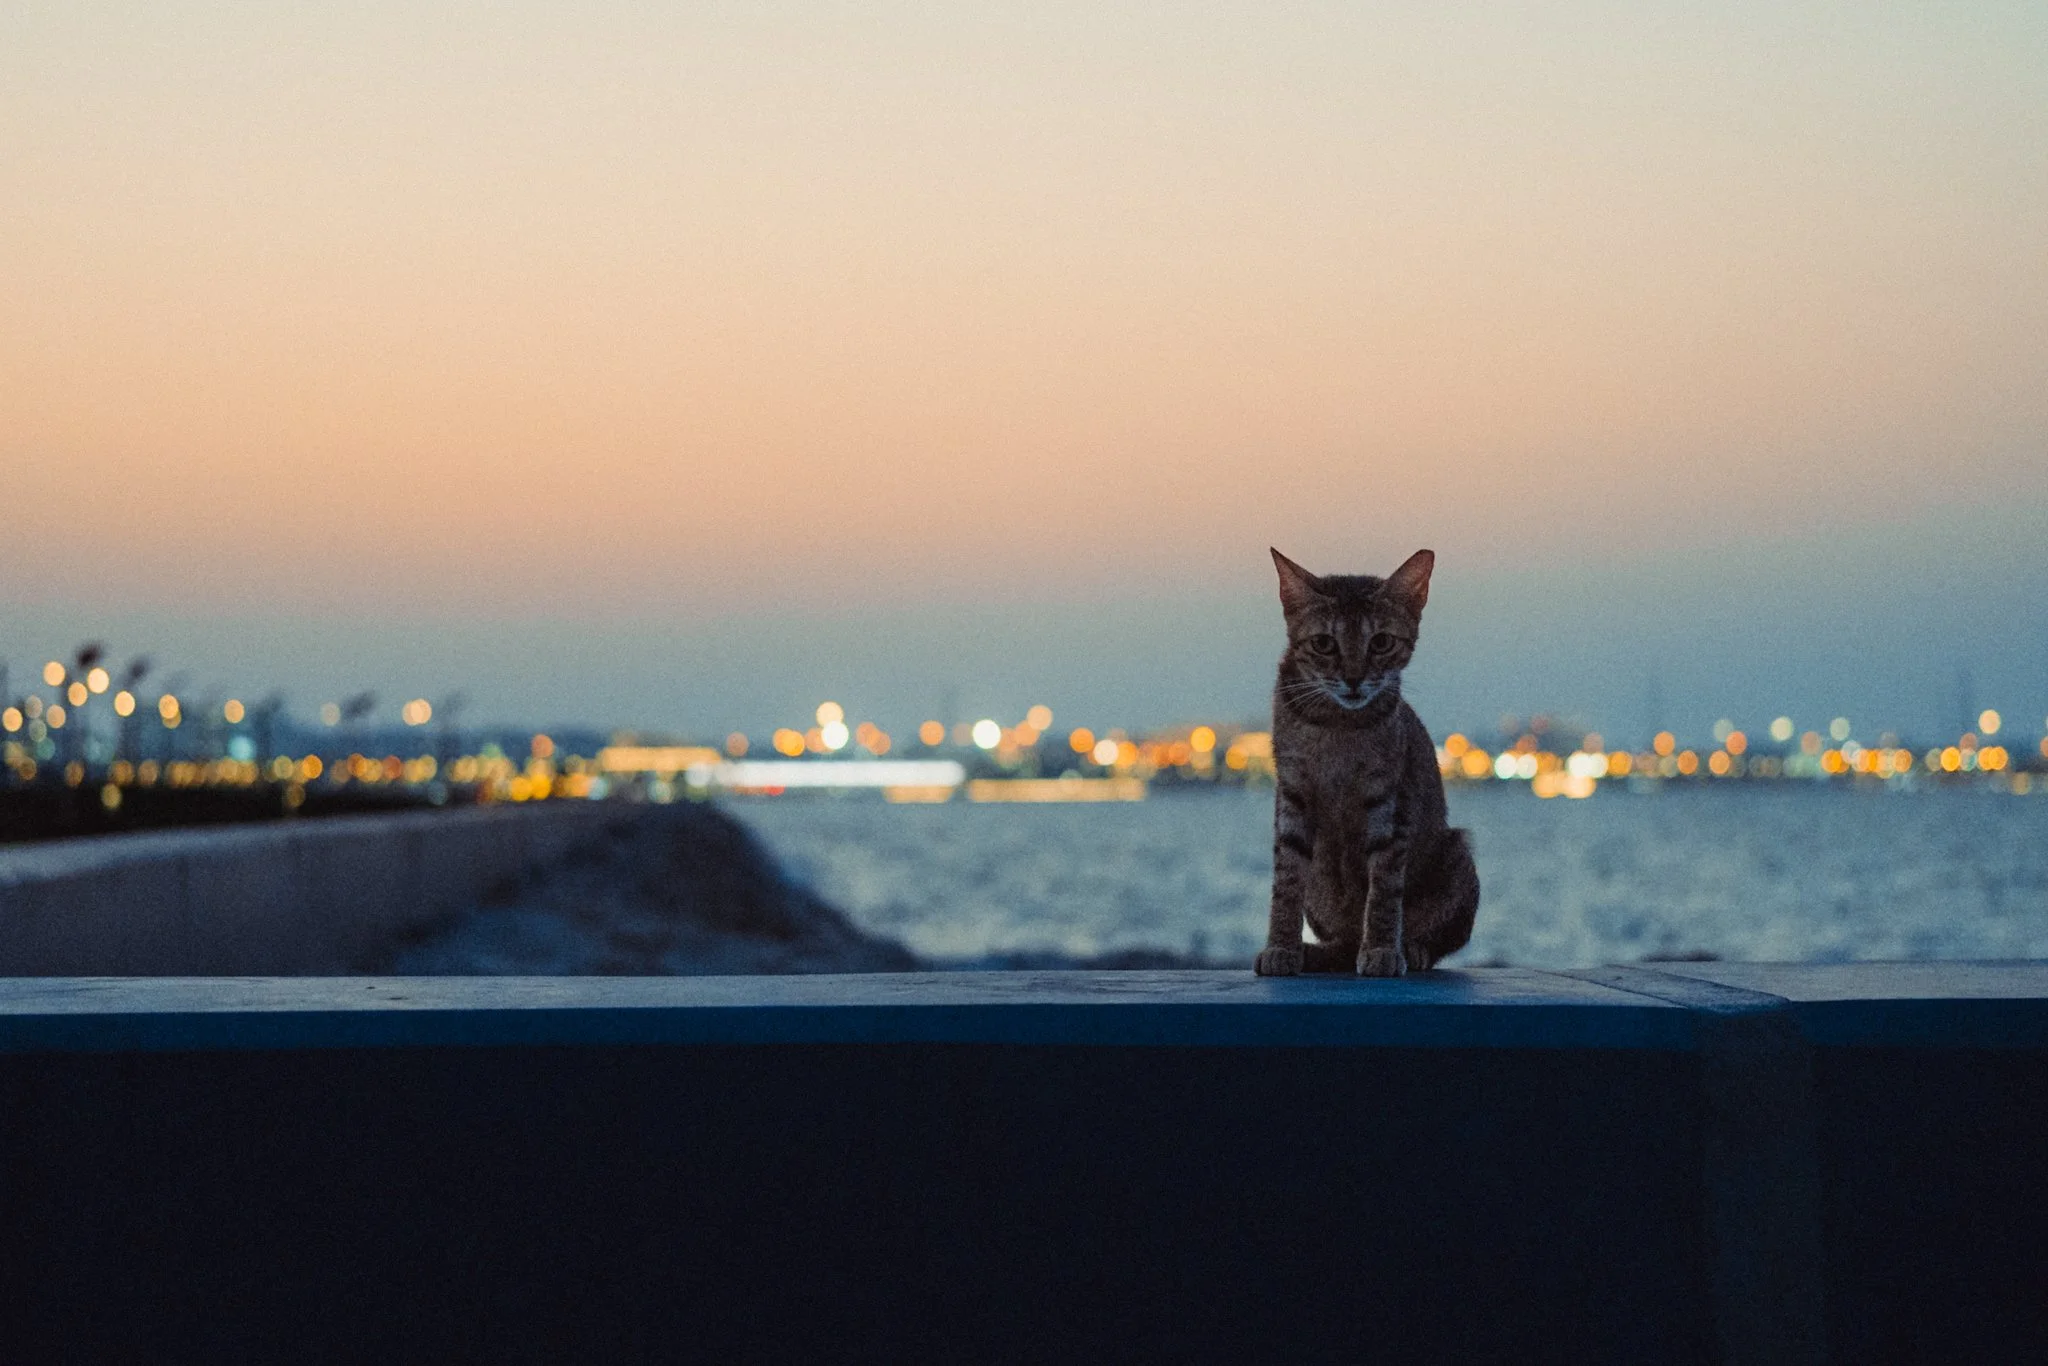
Afternoon – Bandar Skyview Point
Head to Bandar Skyview Point in the afternoon for sunset and sweeping city views. Bring a drink, sit back, and enjoy – the local cats will likely keep you company.

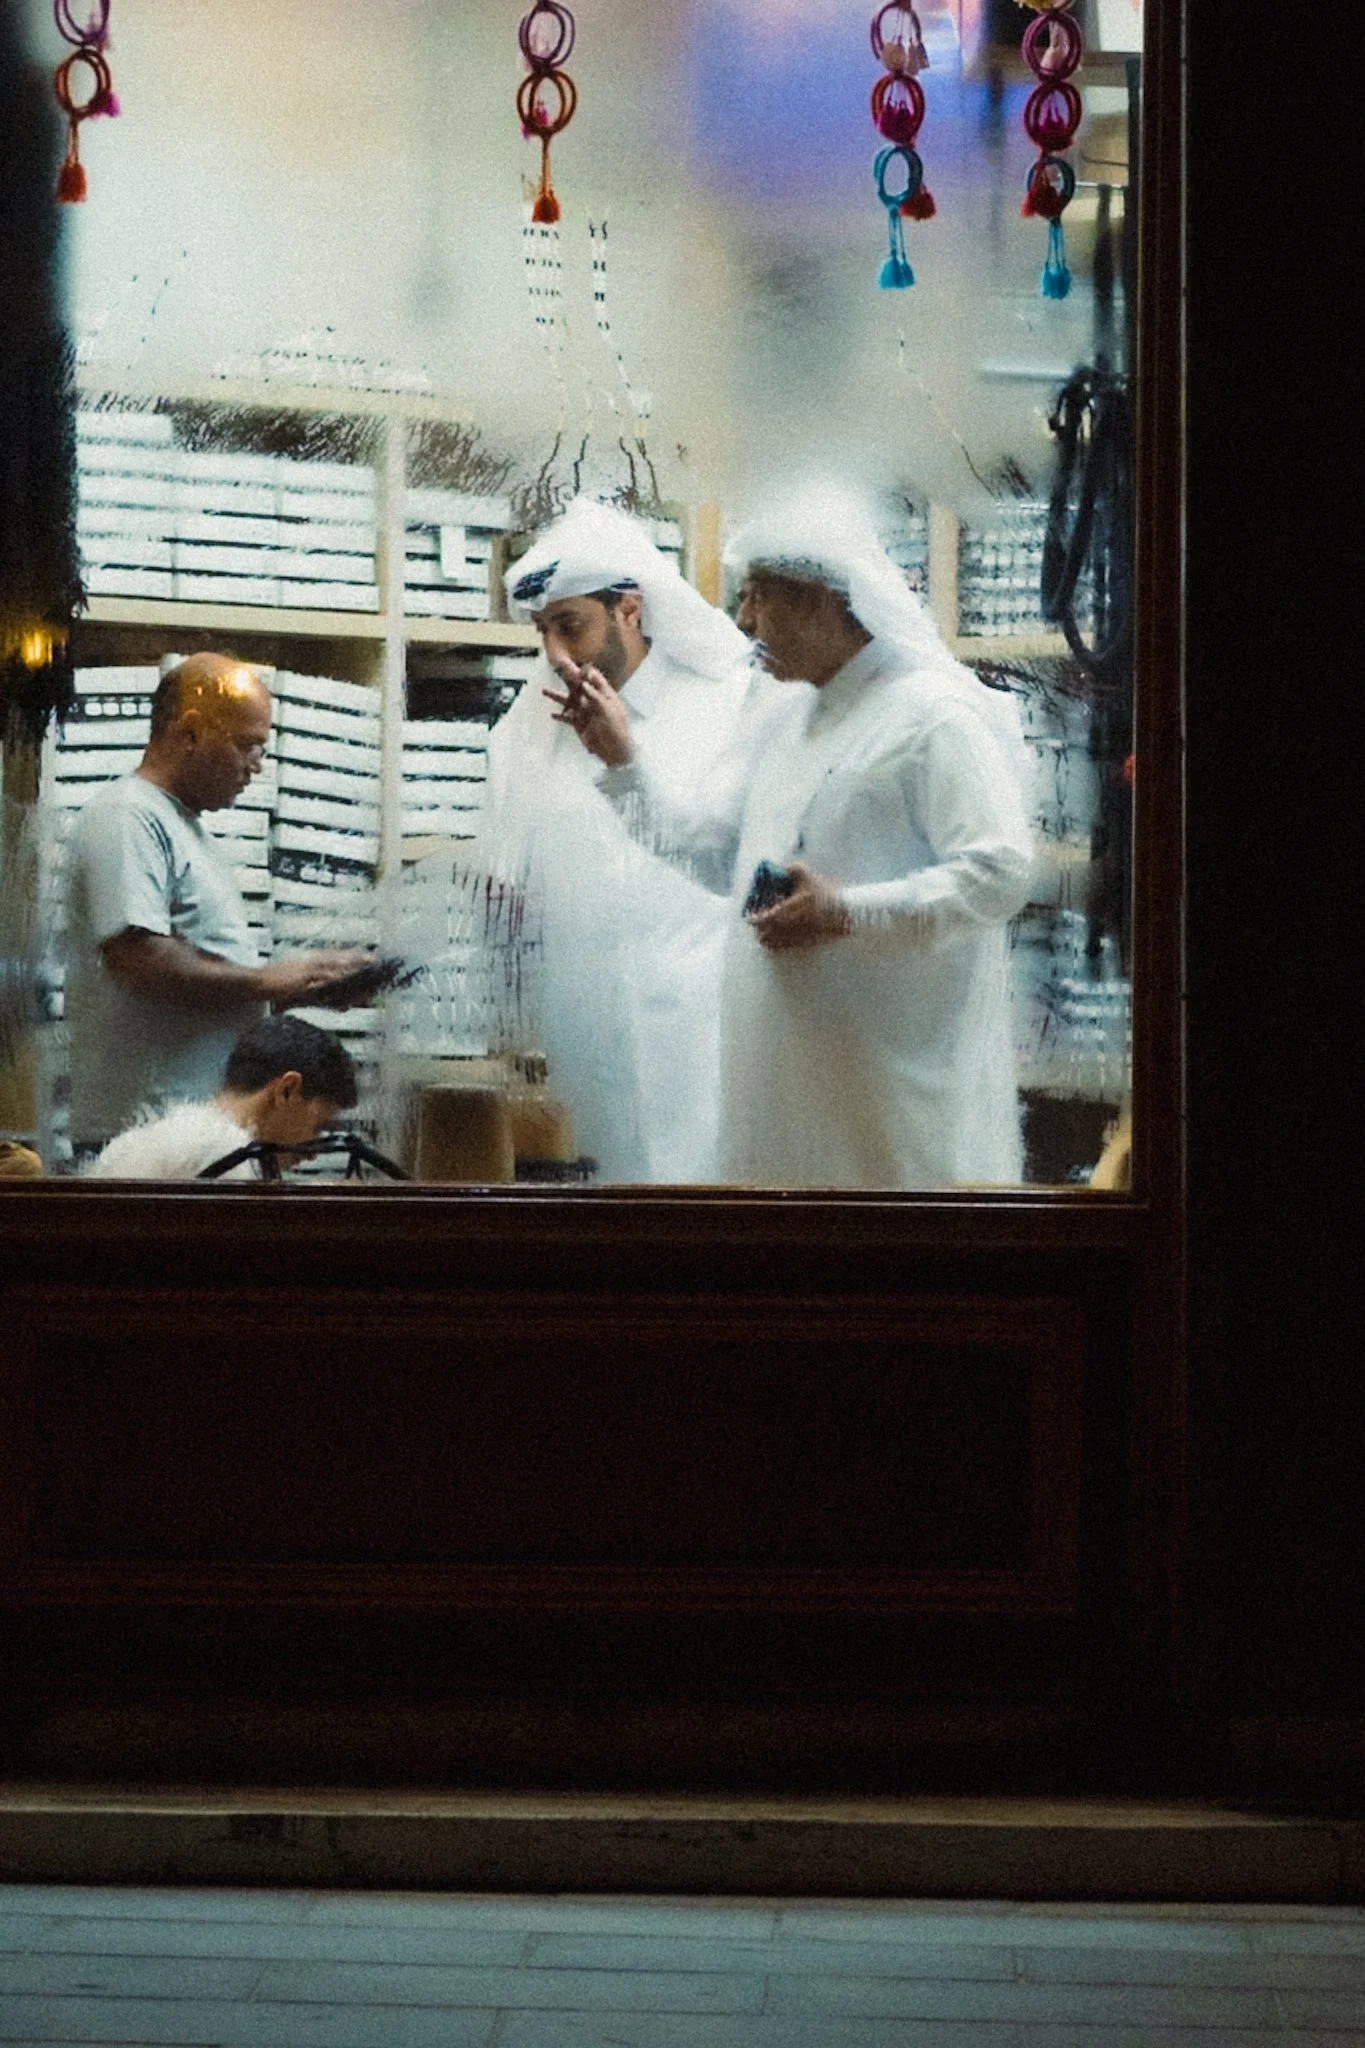
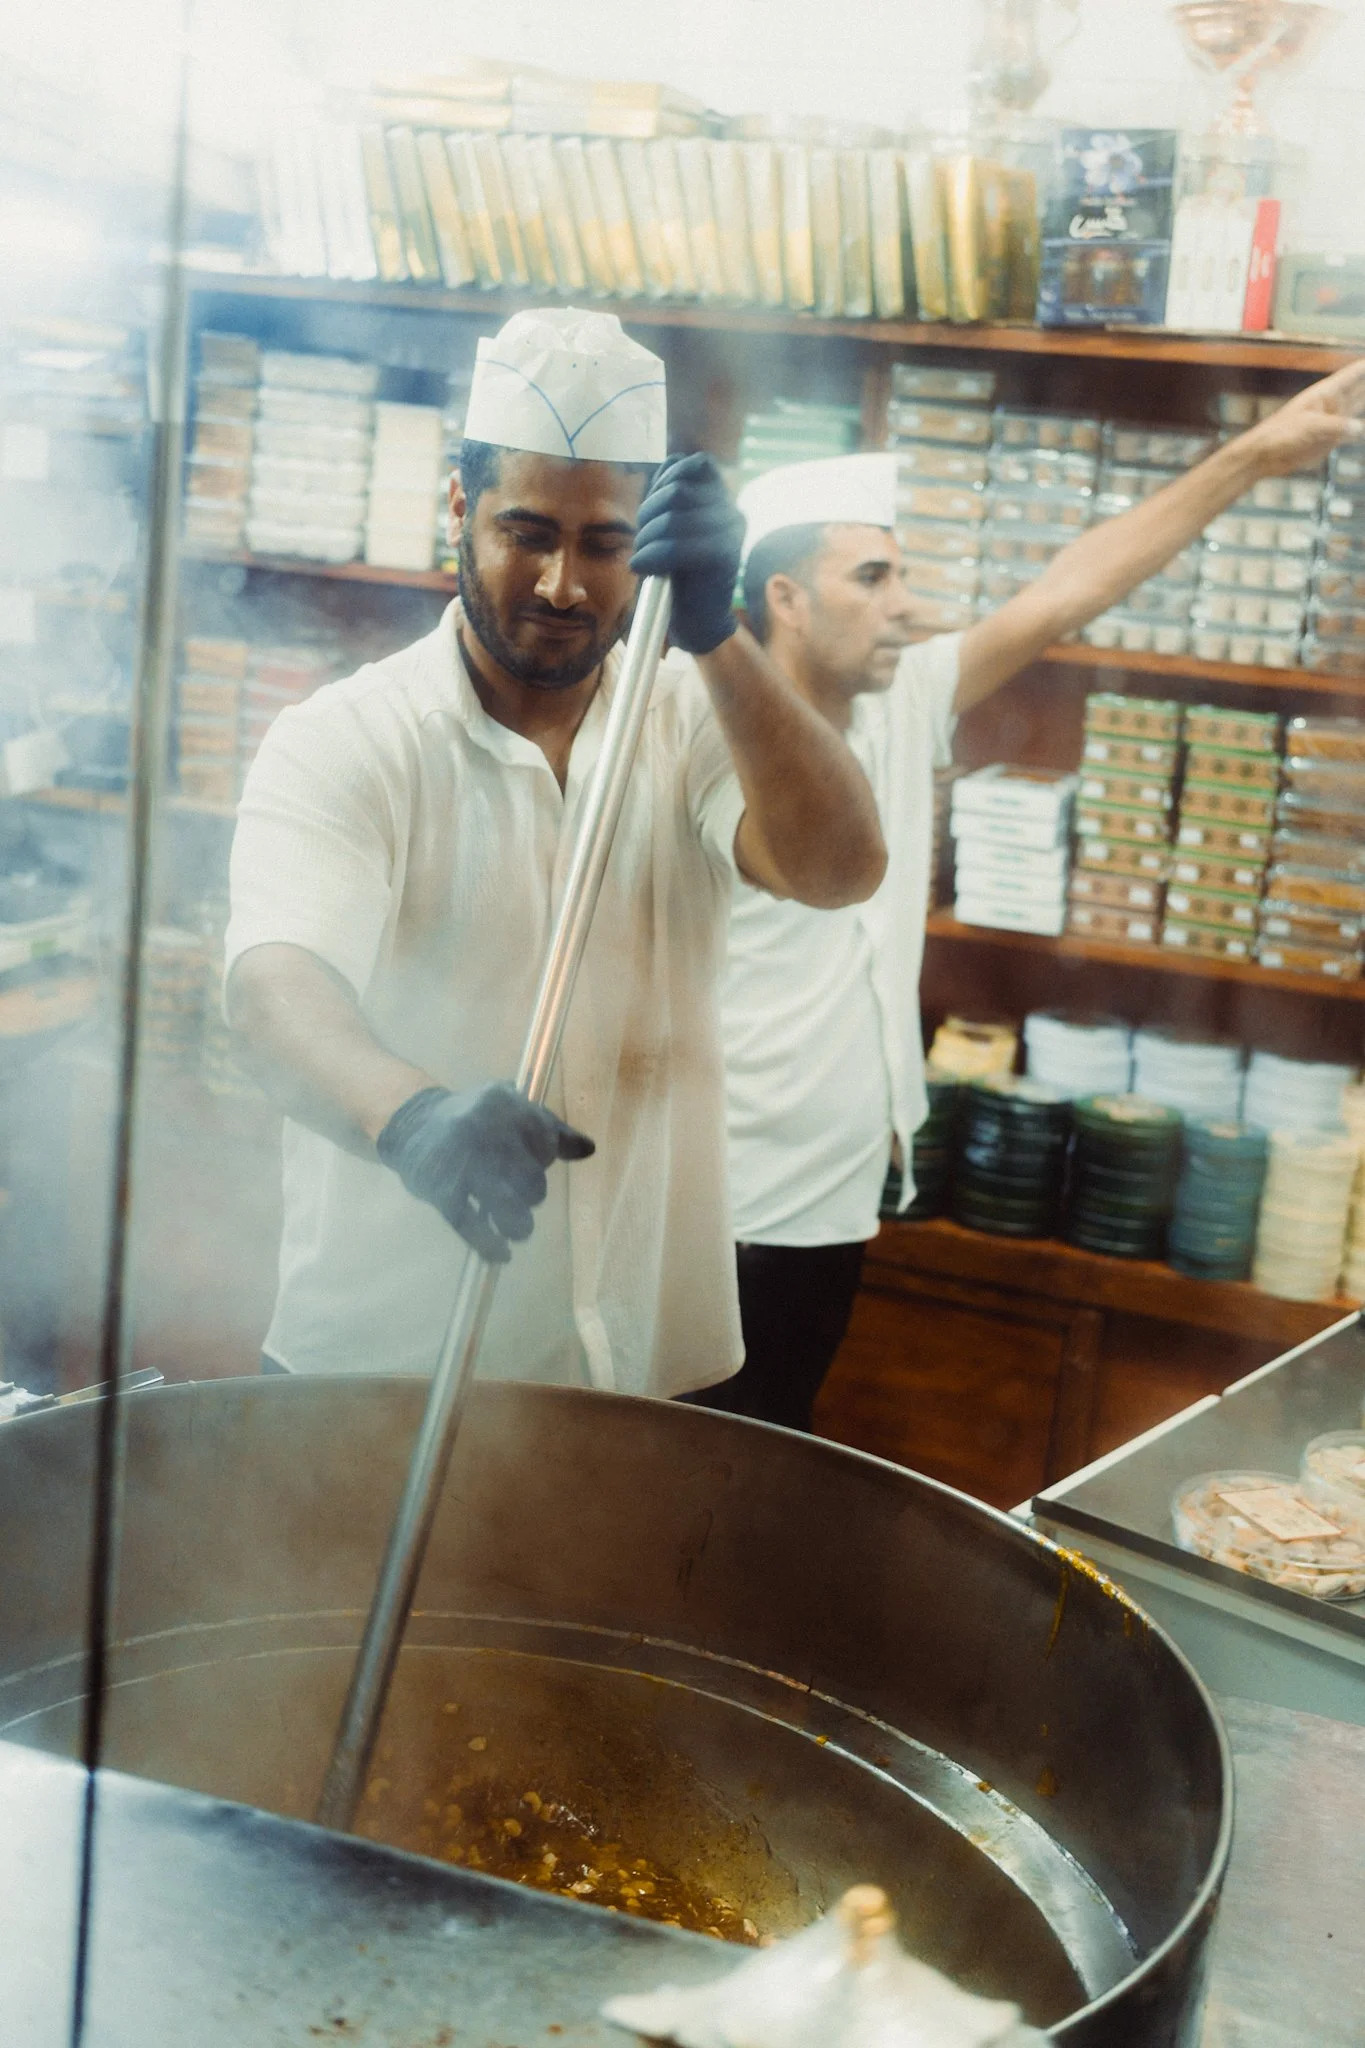
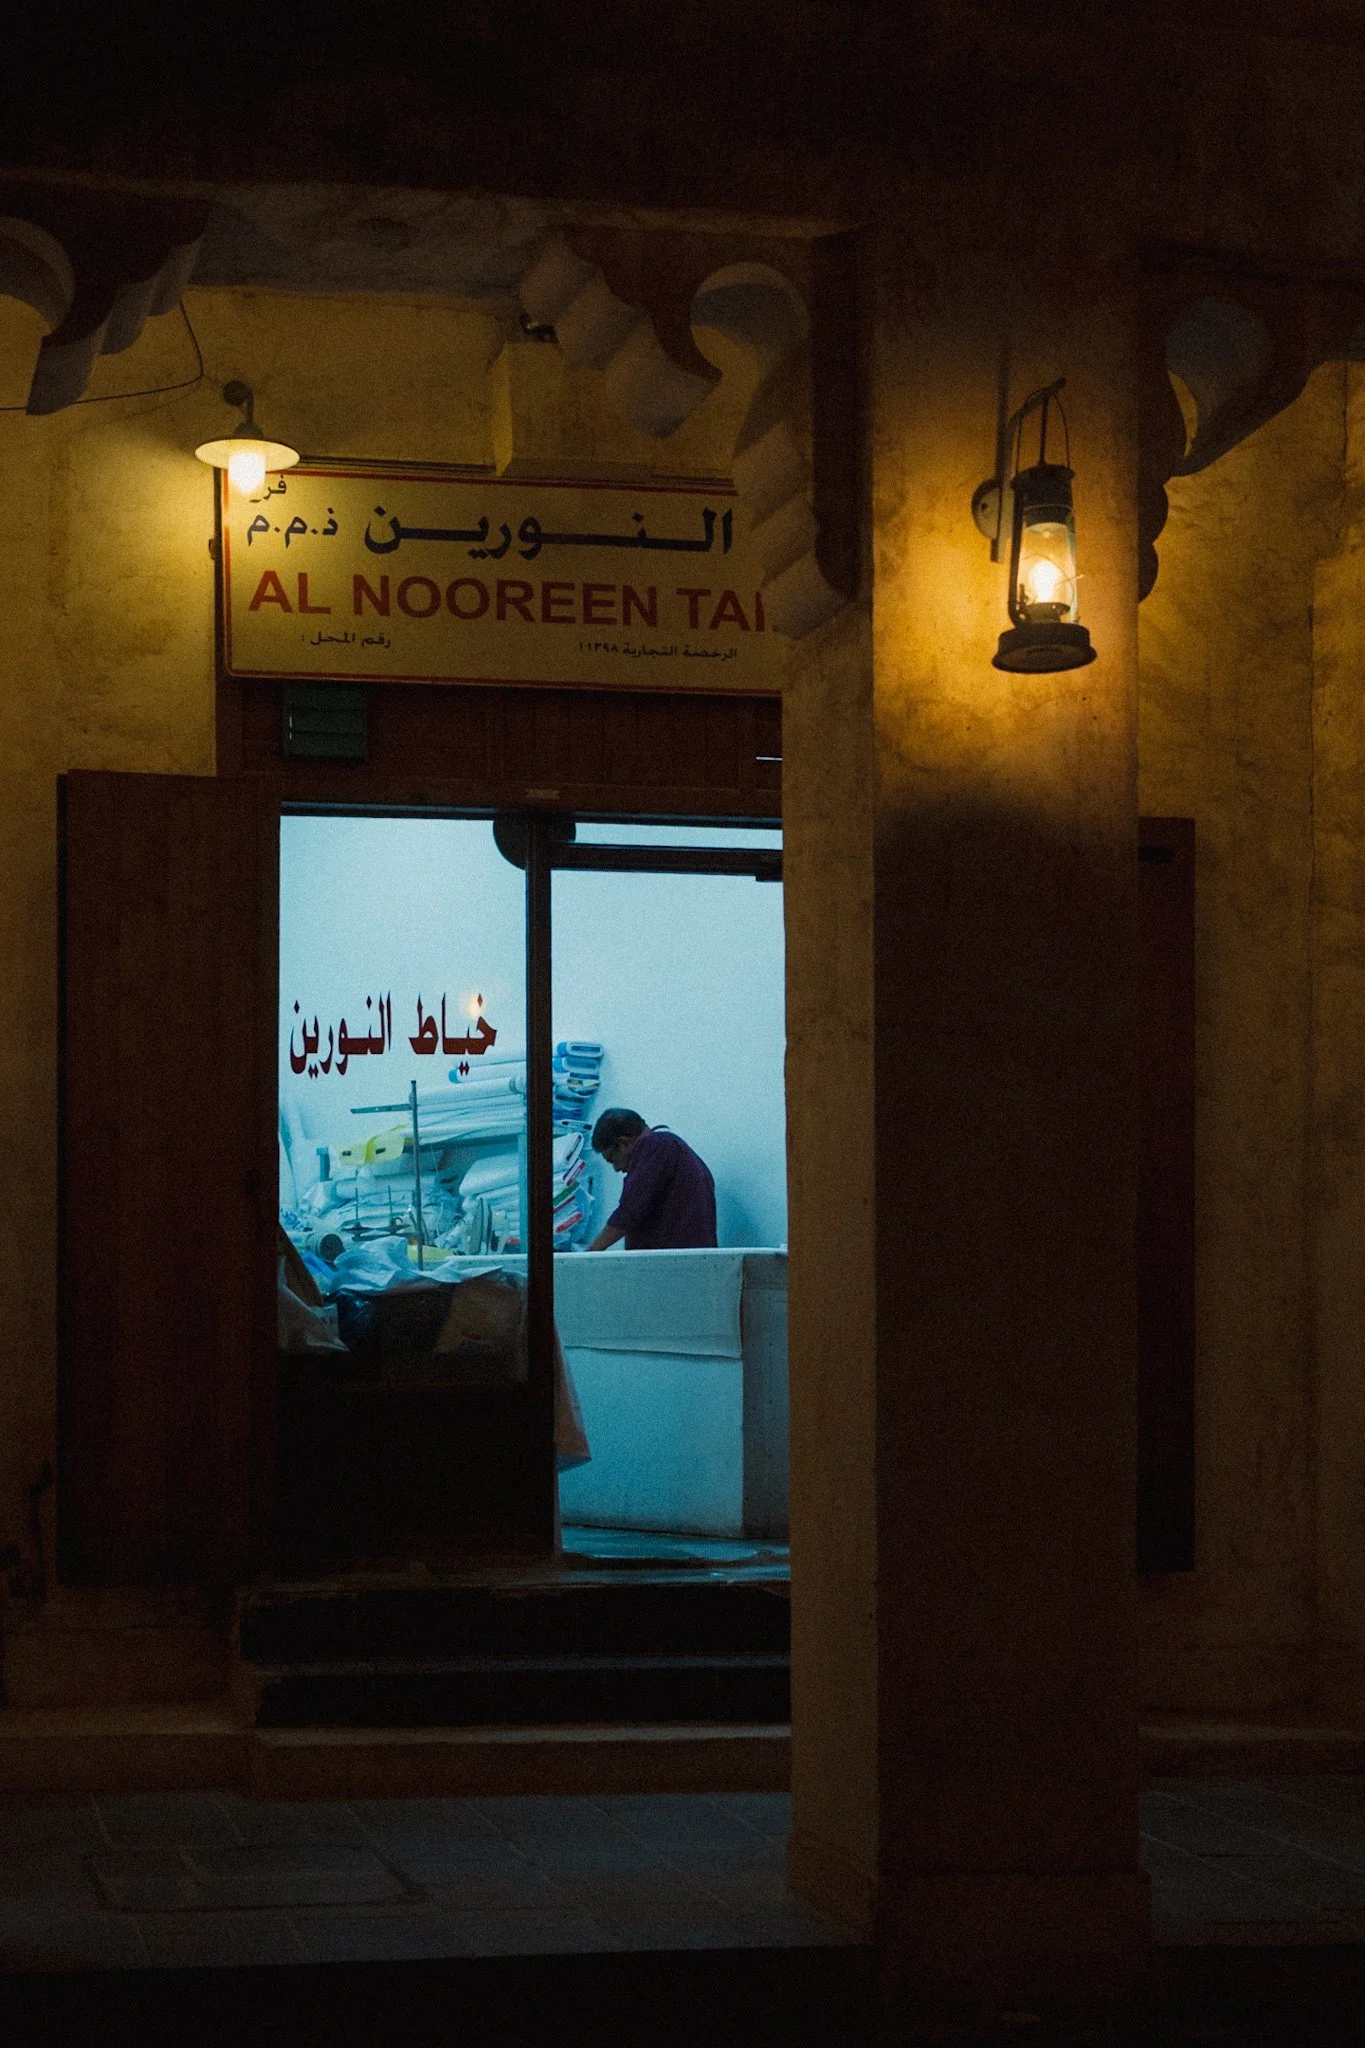
Evening – Souq Waqif
Last but not least, Souq Waqif is a vibrant market right next to Skyview Point. During the day it’s quiet due to the heat, but at night it comes alive. Wide and narrow streets, interesting characters, and glowing shop windows make for plenty of photo opportunities. There’s a surprising amount of light, and even with my f/2.5 lens I never needed anything faster. Spend a couple of hours zig-zagging the market and you’re guaranteed to leave with great shots. When you’re done, head to Parisa for delicious Persian food in one of the most beautiful restaurants I’ve ever seen.