
How I Travel Light (photography edition)
In this blog, I’ll explain how I manage to travel light without sacrificing comfort while still carrying everything I need for photography, video, and some work.
Travelling light is, of course, subjective. For some people, it means carrying a 20L backpack, while for others, it means using a 70L suitcase. For me, travelling light means being able to walk around with all my belongings without them getting in the way. It means not having to leave anything at the hotel on travel days and never needing to check luggage on a flight or place it in the storage compartment of a bus.
This is a very subjective blog. Just because I do something or use a particular piece of gear doesn’t make it the best or right choice for everyone. Finally, I want to make it clear that I’m not endorsing any of the brands mentioned here, nor am I being paid to use a particular product.
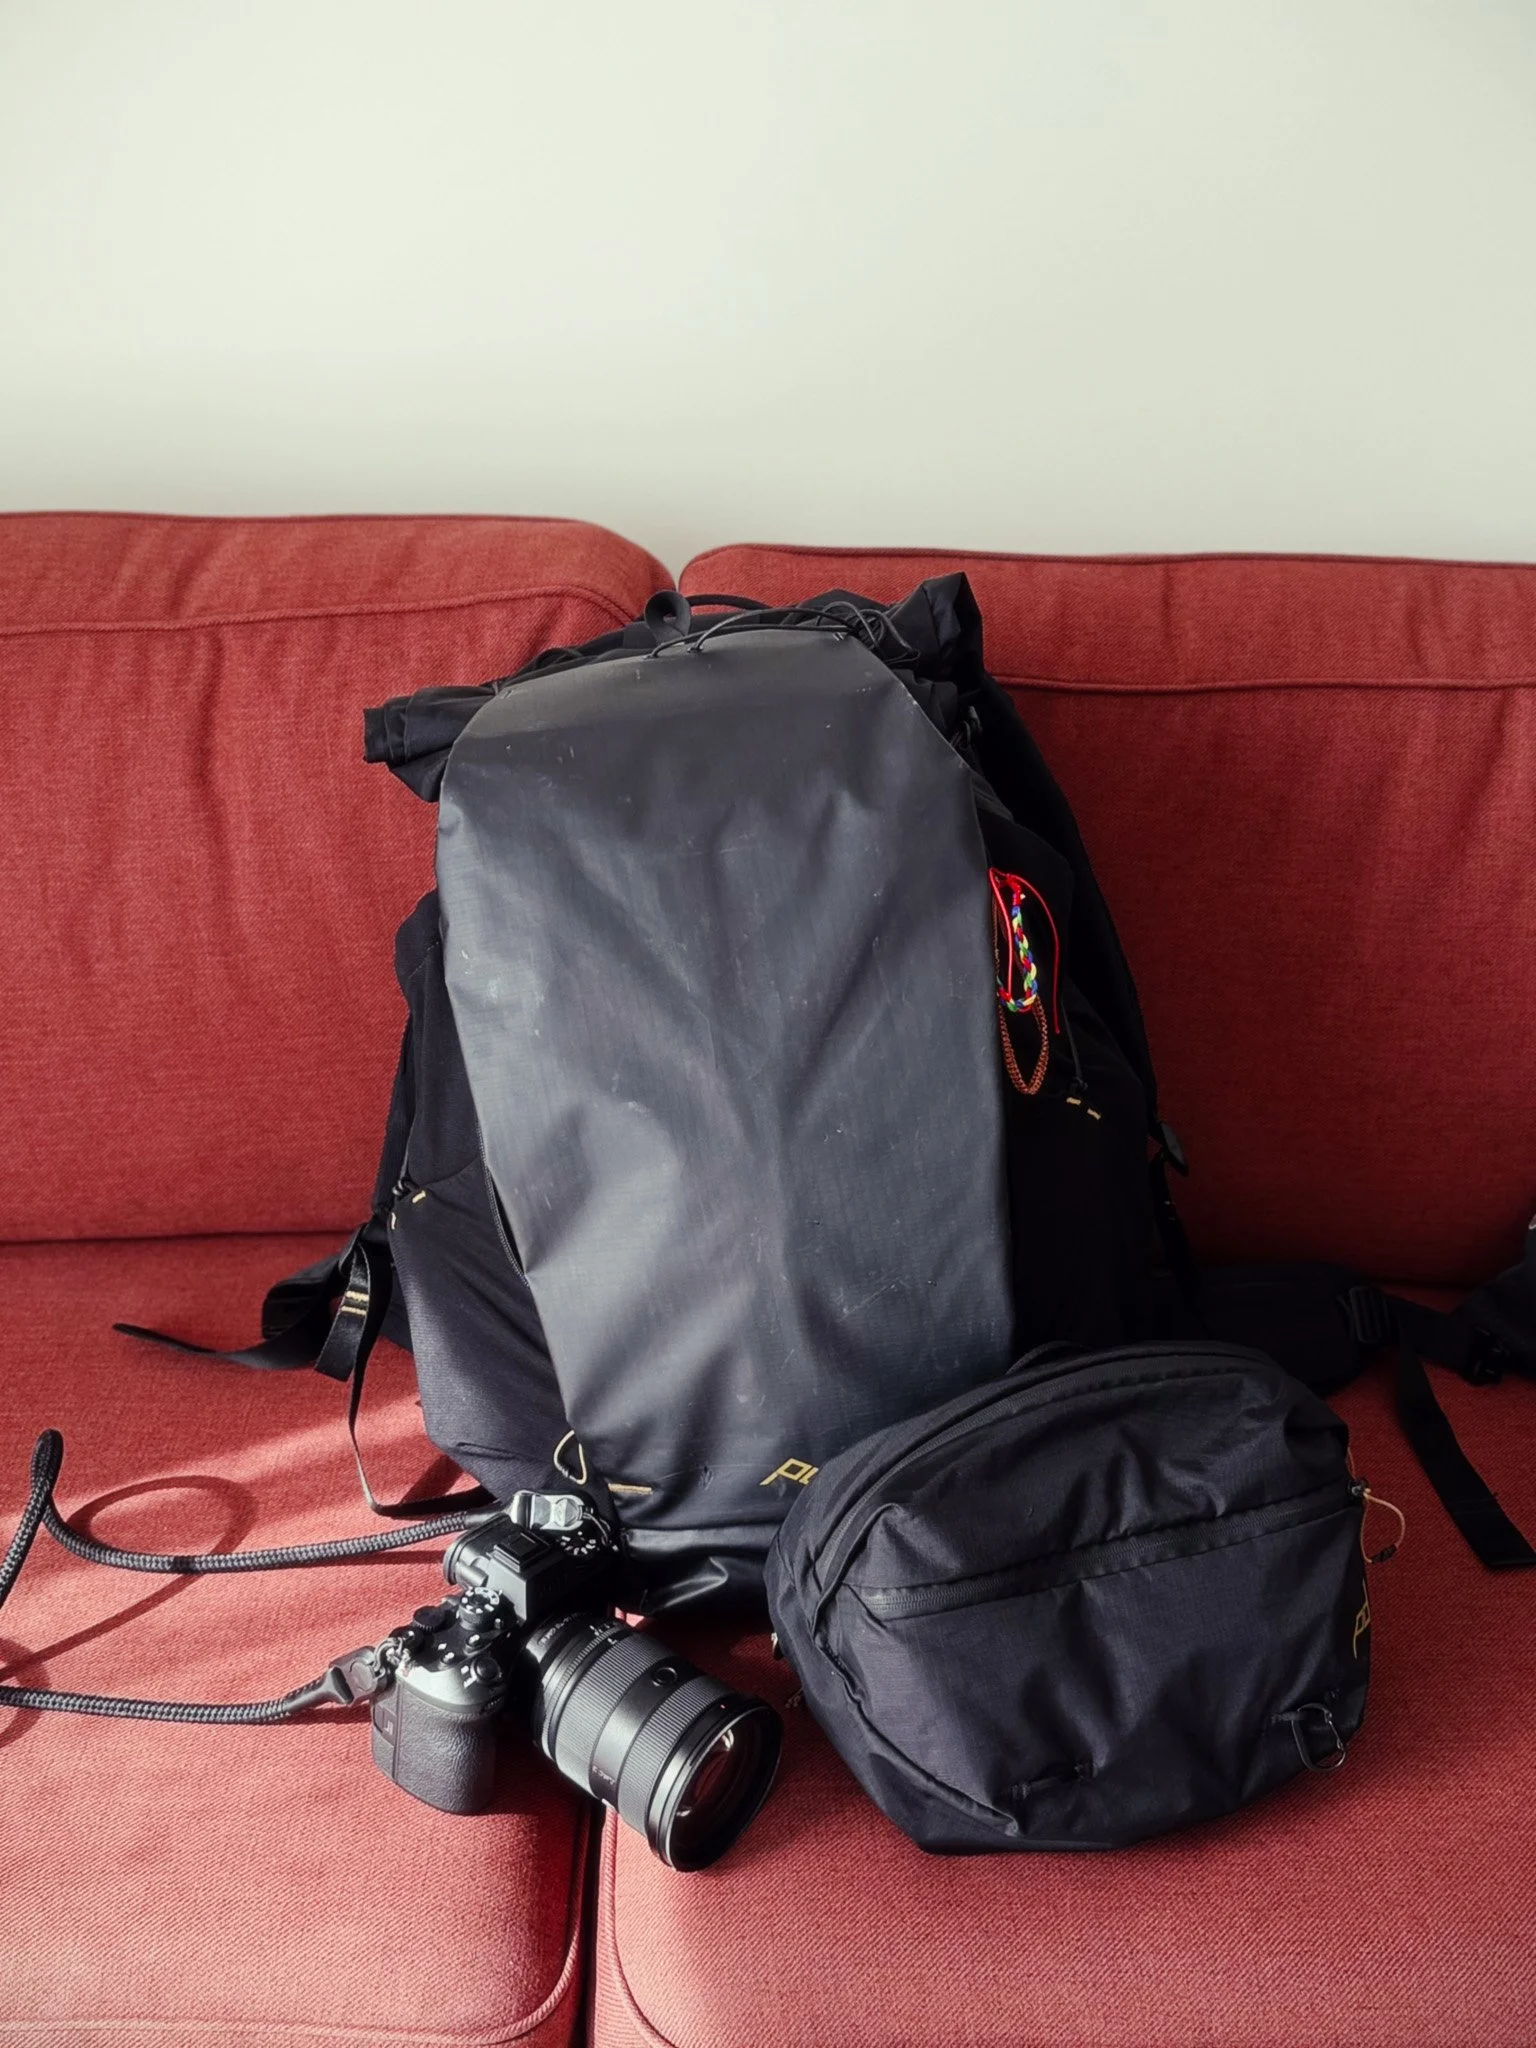
Context
This packing list is the result of years of travel. I’ve packed like this for a road trip across Morocco, an autumnal city break in Europe, and six months travelling around Asia. I’m not exaggerating when I say that I could easily travel and live full-time with this setup.
Of course, some extreme situations require additional equipment, such as specialist camera gear or clothing for severe climates. I’ll explain how I approach those situations throughout this blog.
Main Backpack
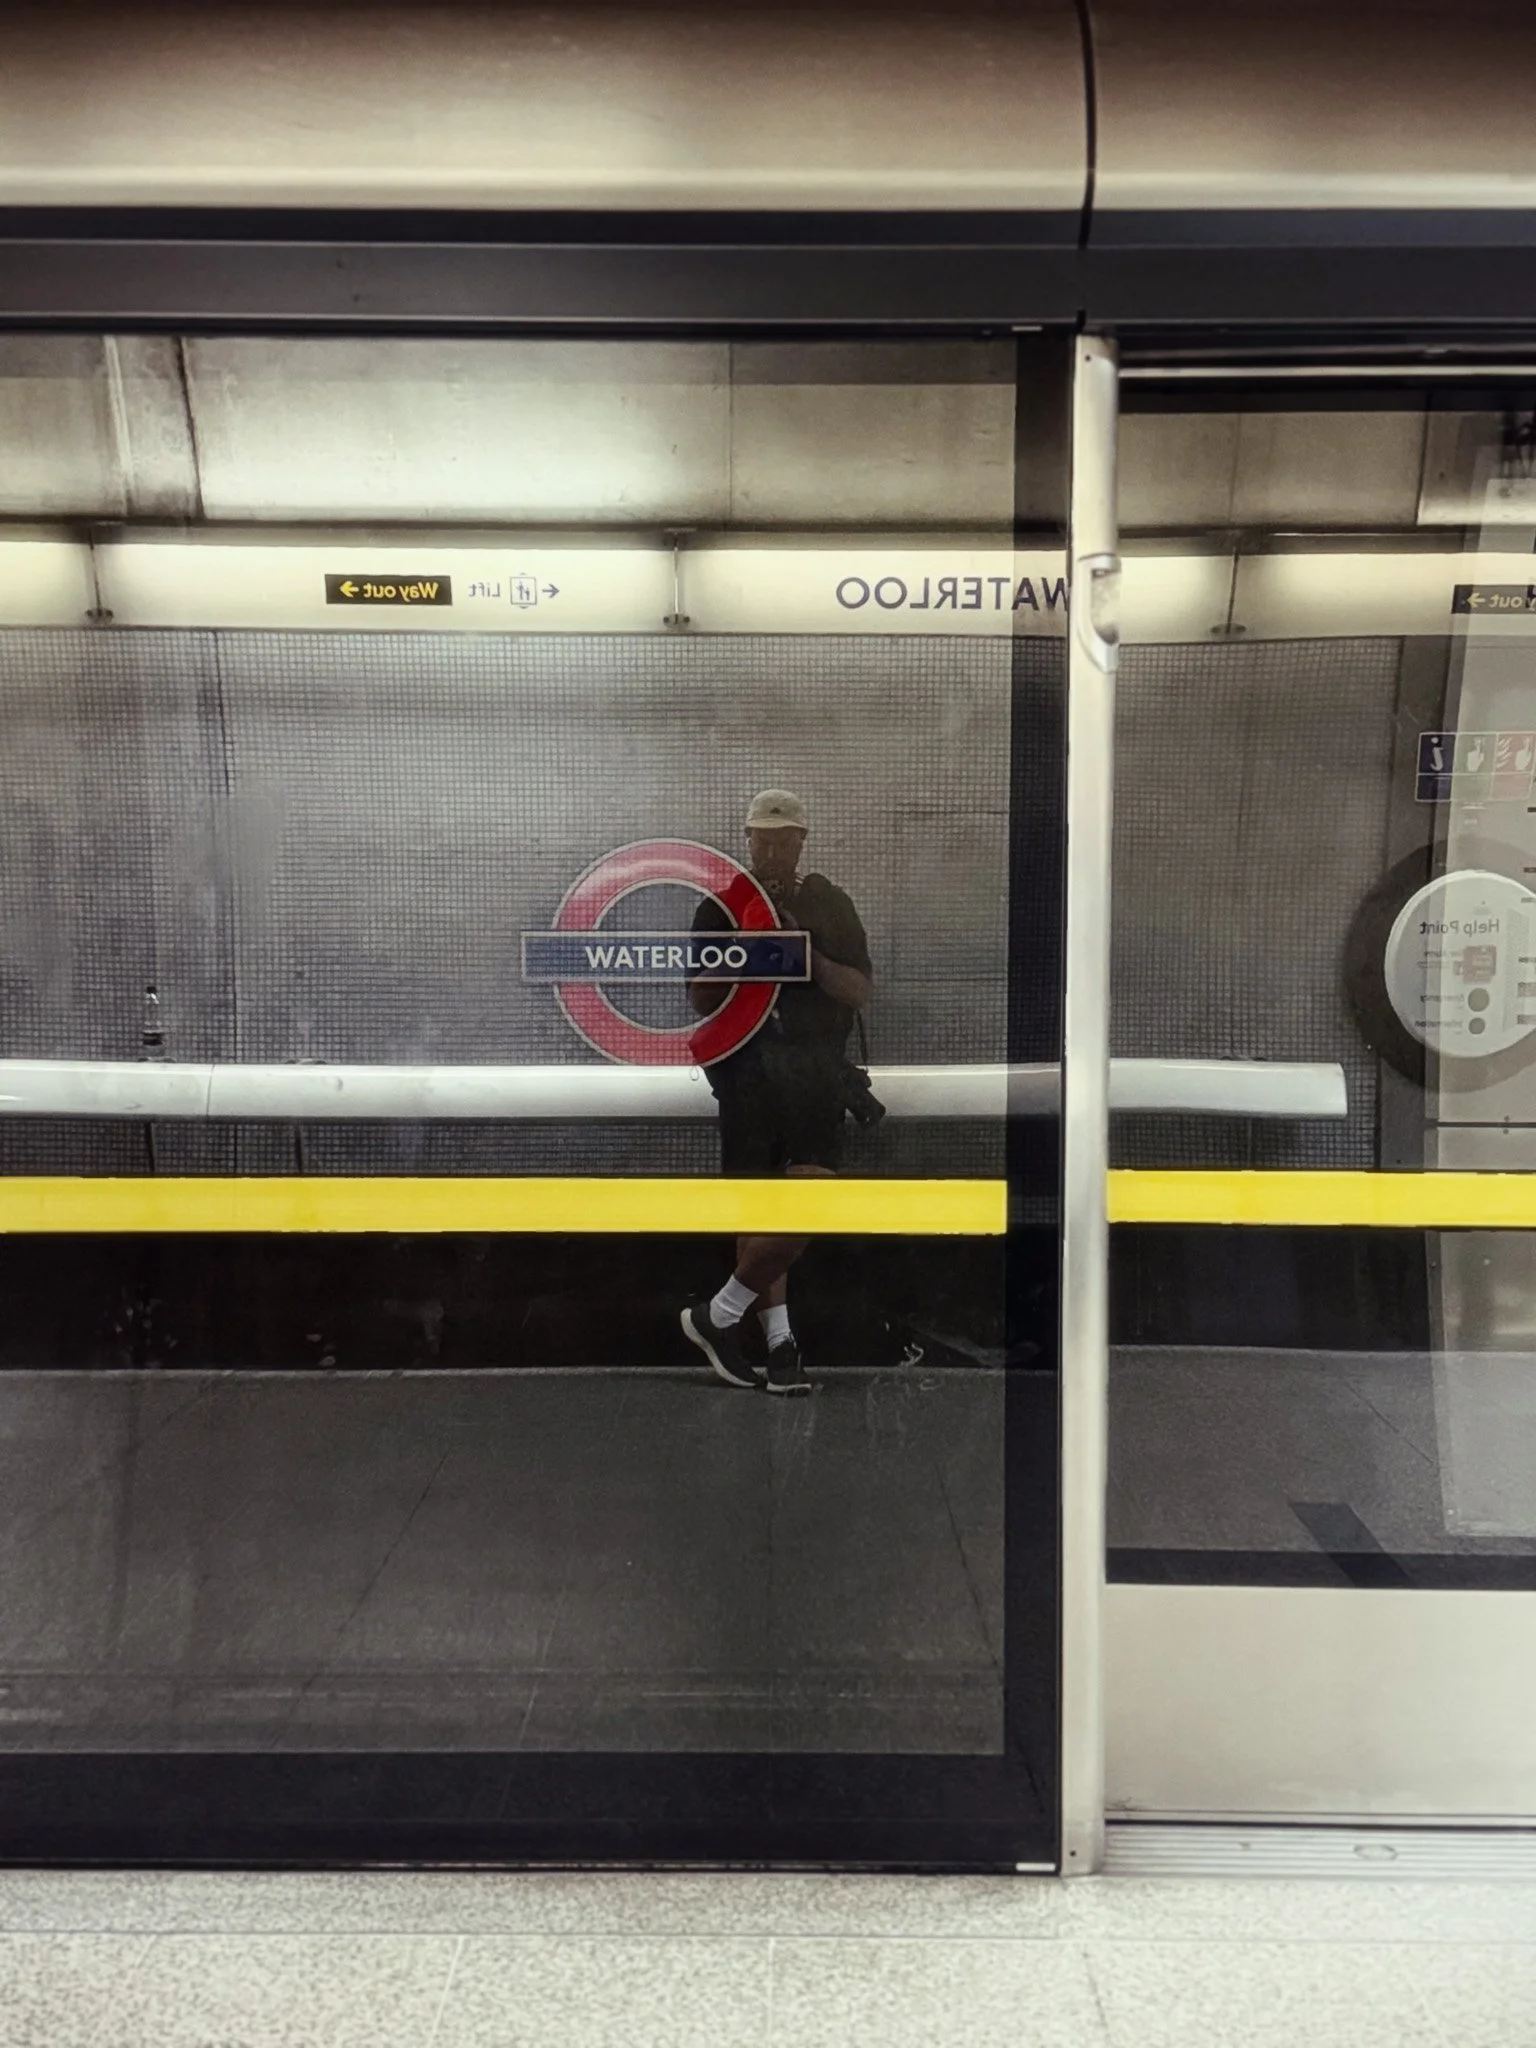
My main bag is the Peak Design Outdoor 40L. Having tried many different bags, I’ve found this to be the best in terms of functionality and, more importantly, how it feels on my back. The removable hip belt, roll-top design, rear access, weather resistance, and ability to look smaller than it actually is are all things I love about it. Mine is approaching two years old. It has been all over the world and still has years of use left in it. I usually pack it to around 70–80% of its capacity so that I have some extra room if needed and the bag isn’t bulging.
Main Sling
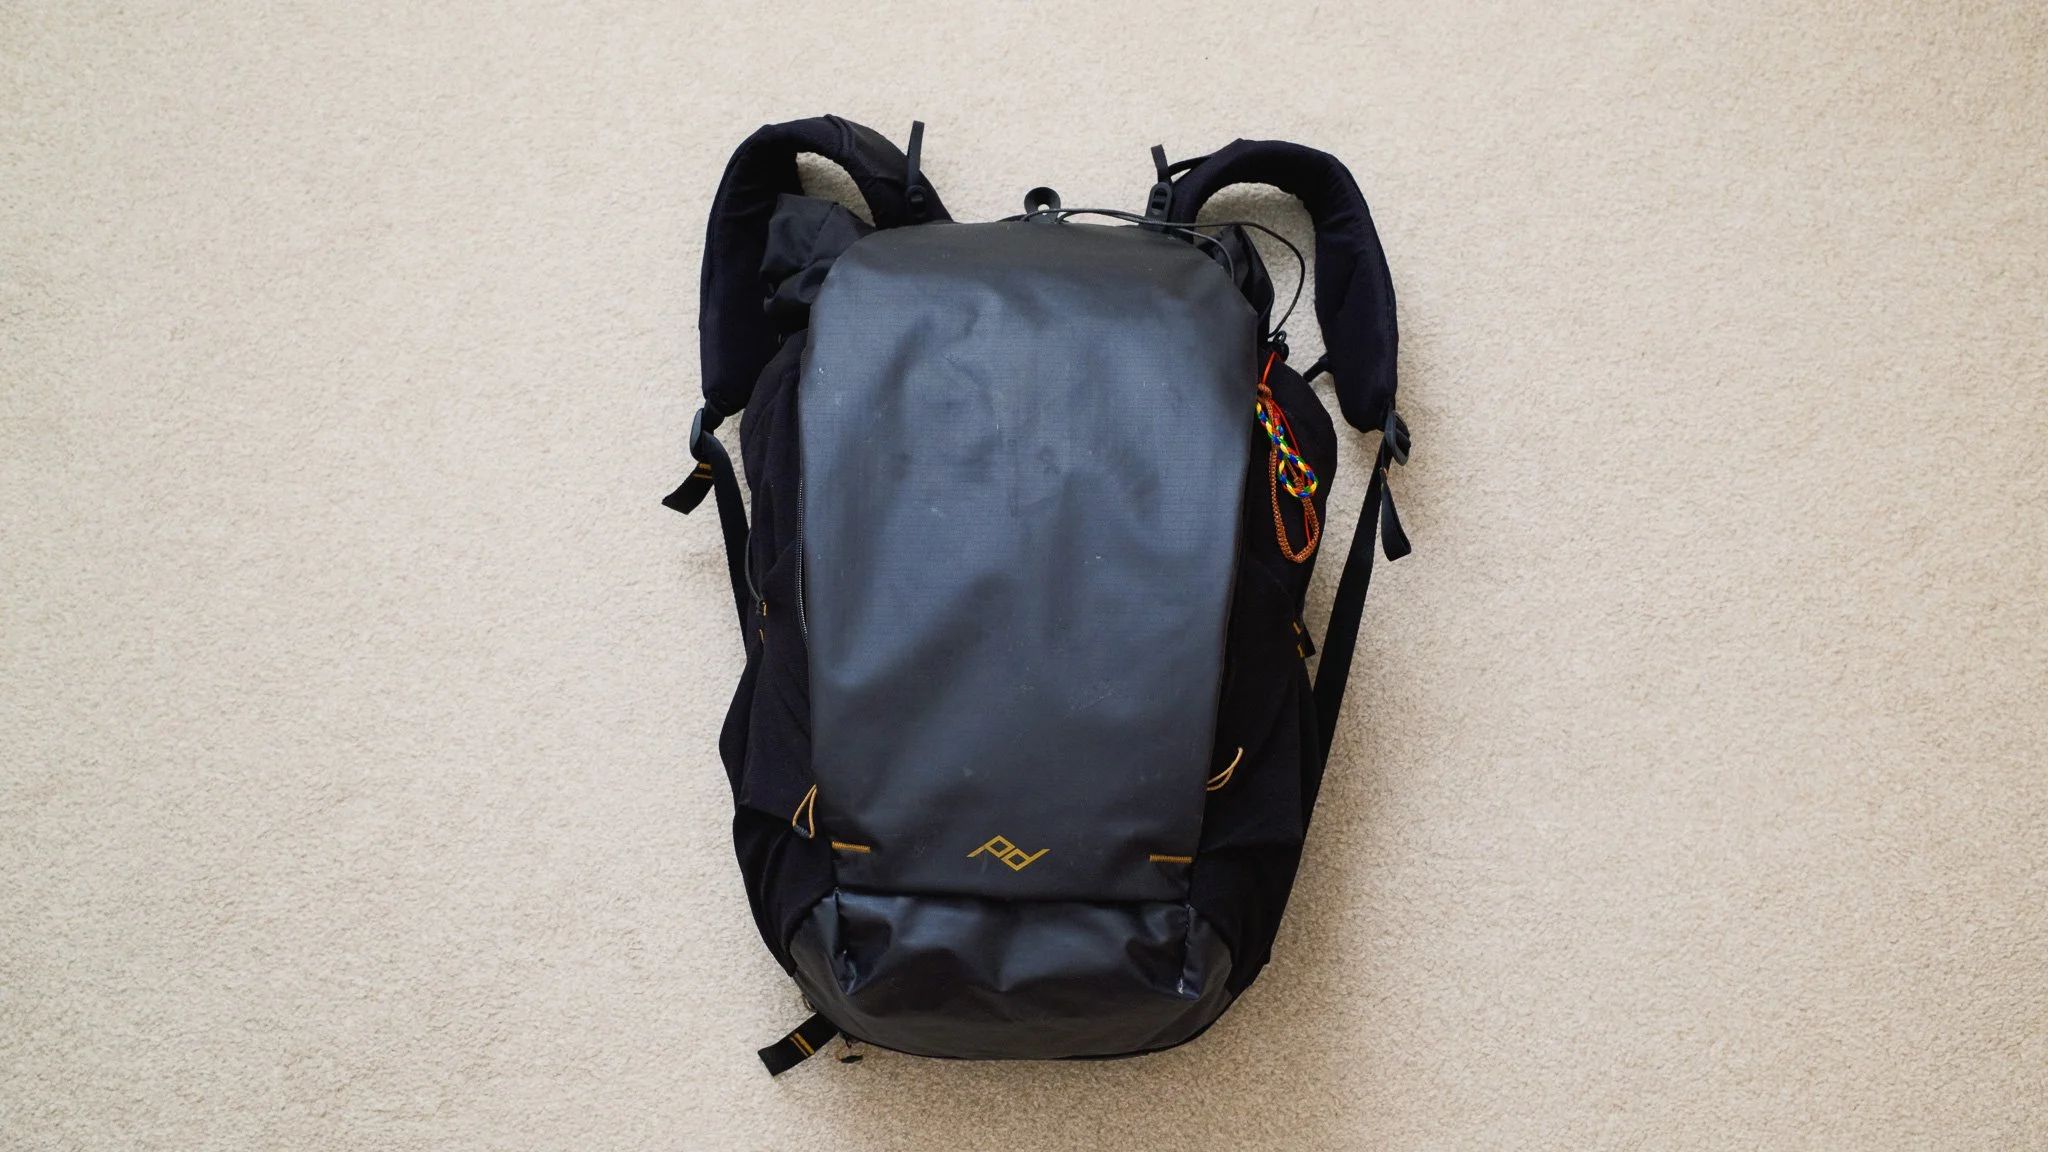
My main sling is the Peak Design Outdoor 7L. The primary reason I chose it is how much it can hold without becoming too bulky. It can easily swallow my 11-inch iPad, a bottle of water, a battery pack, and all the other essentials I might need. On travel days, I use it as my personal item and keep all my important belongings inside. Once I reach my destination, it becomes my day bag for carrying whatever I need.
I’ve made one change that I feel has significantly improved the bag: I replaced its original strap with a thick Peak Design camera strap. I found that the original strap unclipped too easily, made clicking noises because of the loose buckle, and never felt quite right. The thicker Peak Design camera strap gives me more security, comfort, and adjustability. It also doubles as a backup camera strap.
Packable Backpack
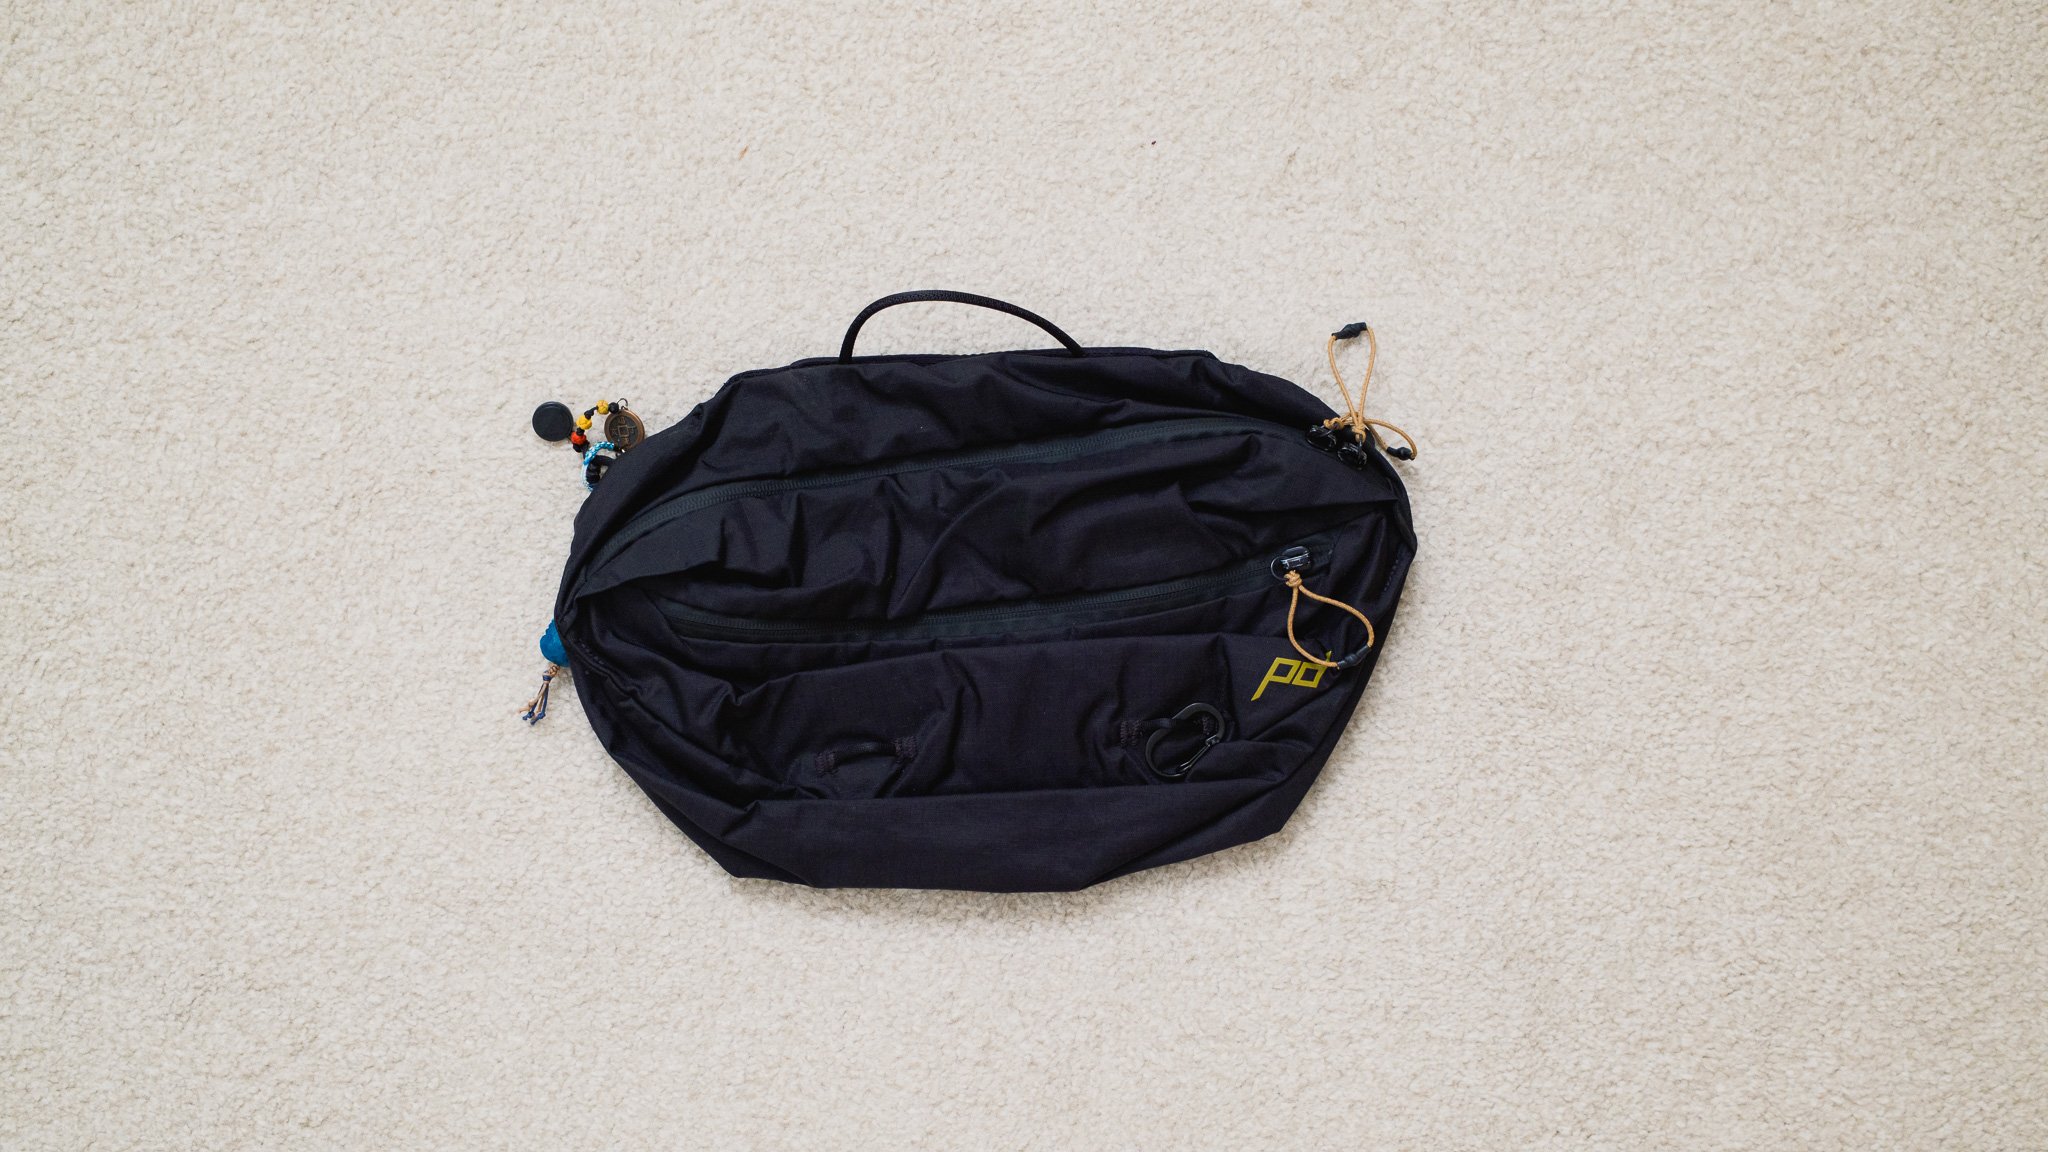
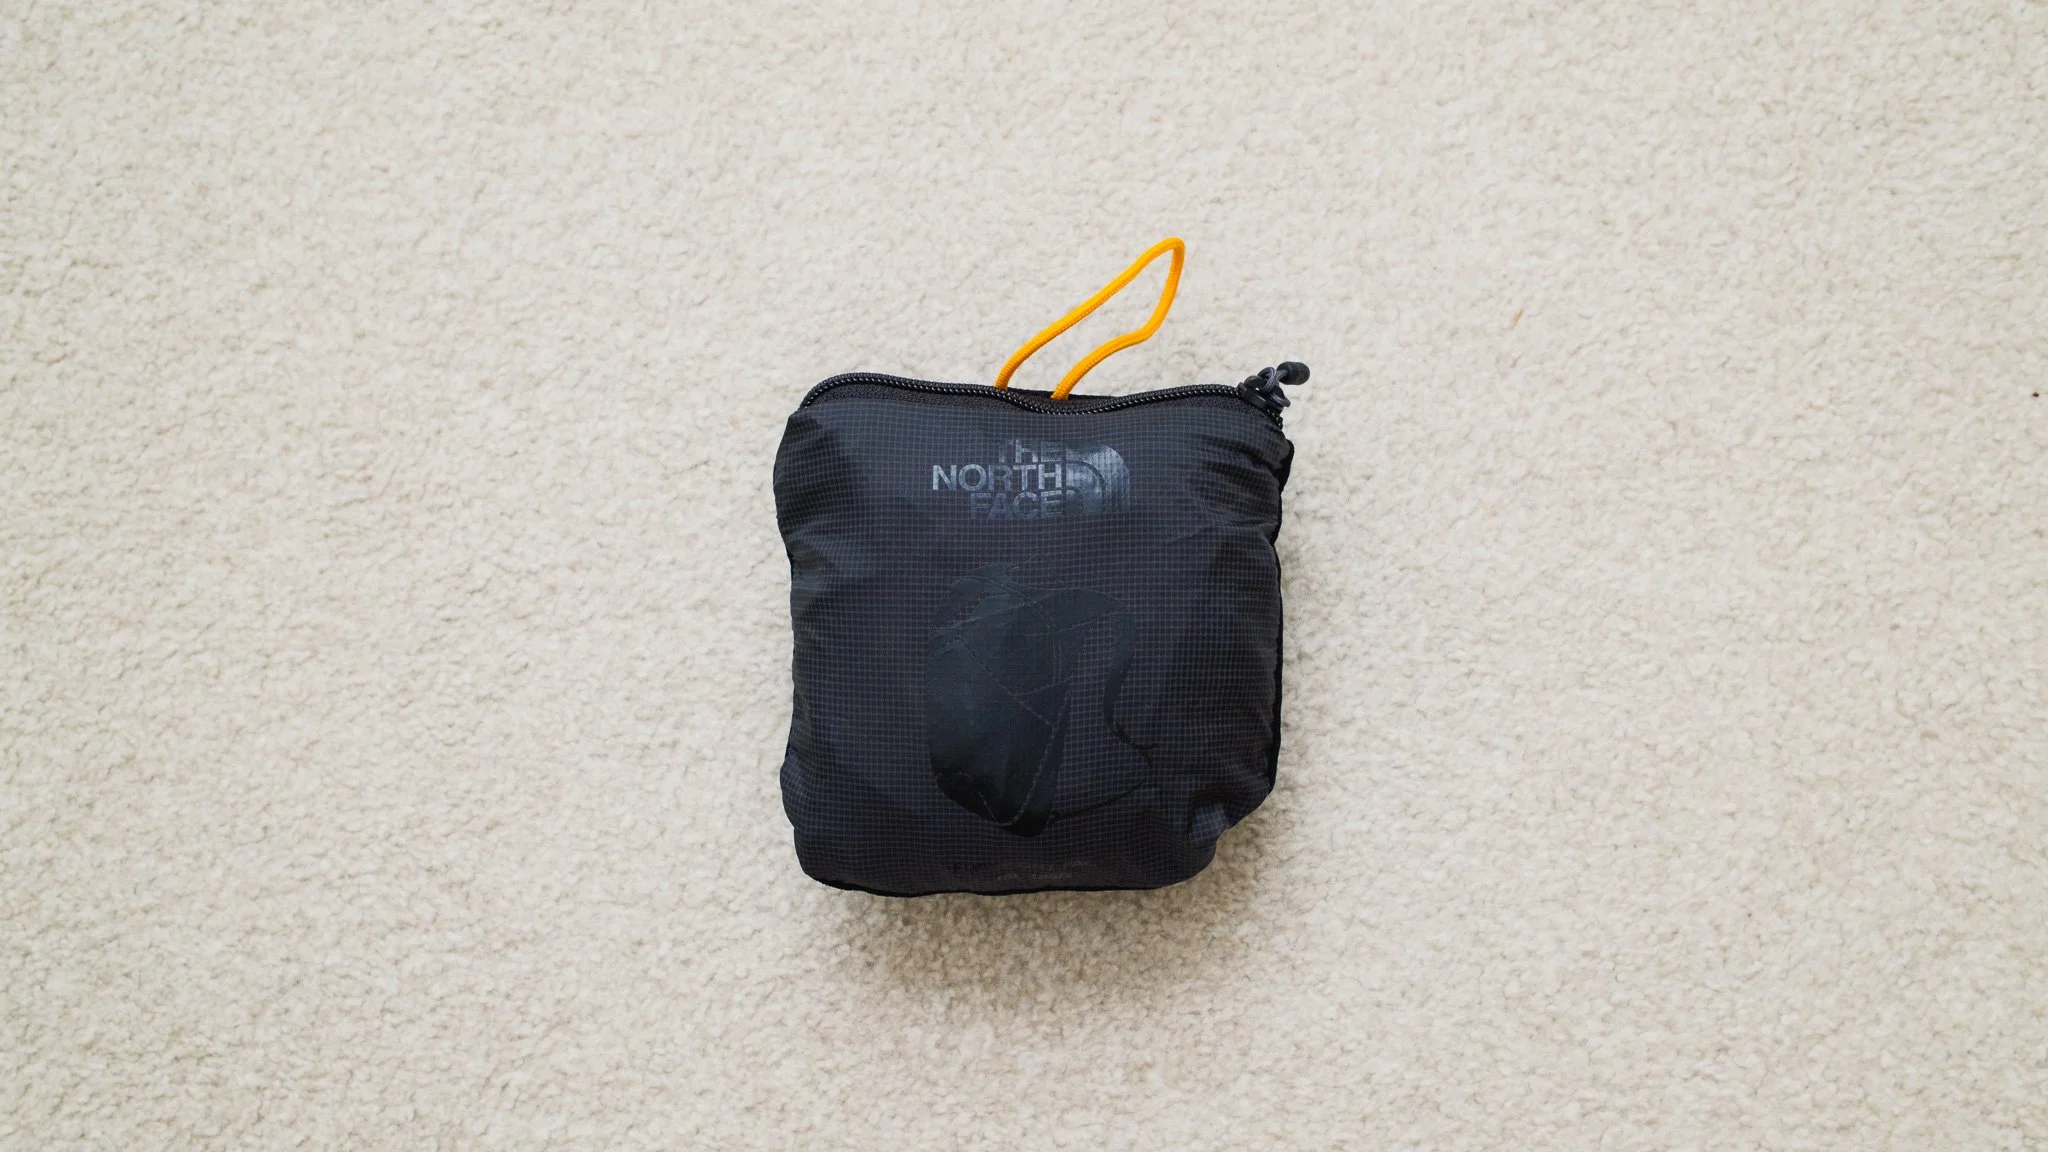
Some days require a backpack. If I’m not planning to bring a second, smaller backpack, I’ll pack a foldable one instead. I have an old North Face model that I’ve been using for more than seven years.
Packing Cubes and Organisers
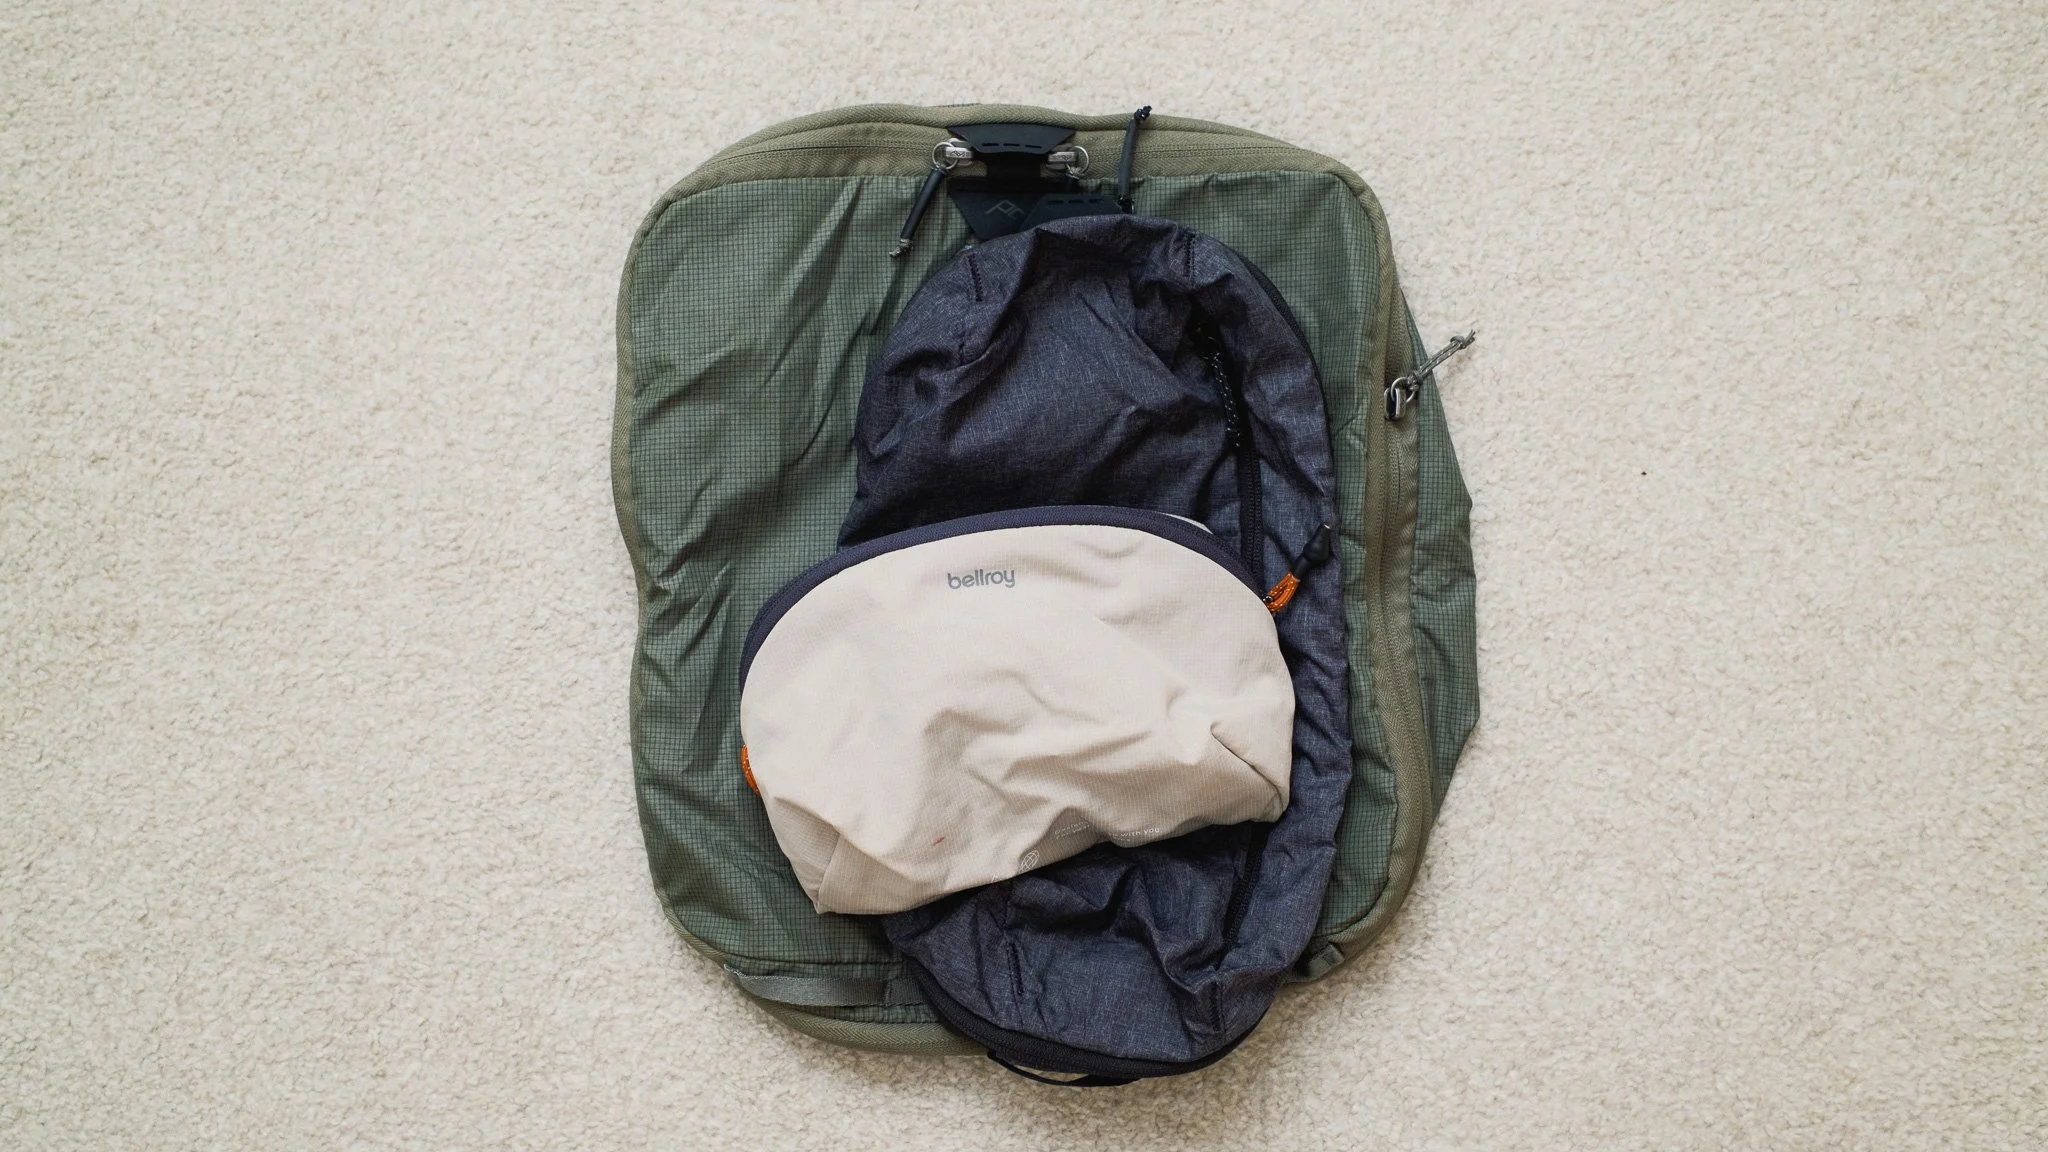
I use two Peak Design compression cubes for my clothes: one medium and one small. I find that this is enough for most trips. If I need bulkier winter clothing, I’ll add another small cube or replace the existing one with a second medium cube. Finally, I have a couple of small Bellroy organisers that I use for my toiletries, shaving equipment, and other miscellaneous items.
Second Backpack - Optional
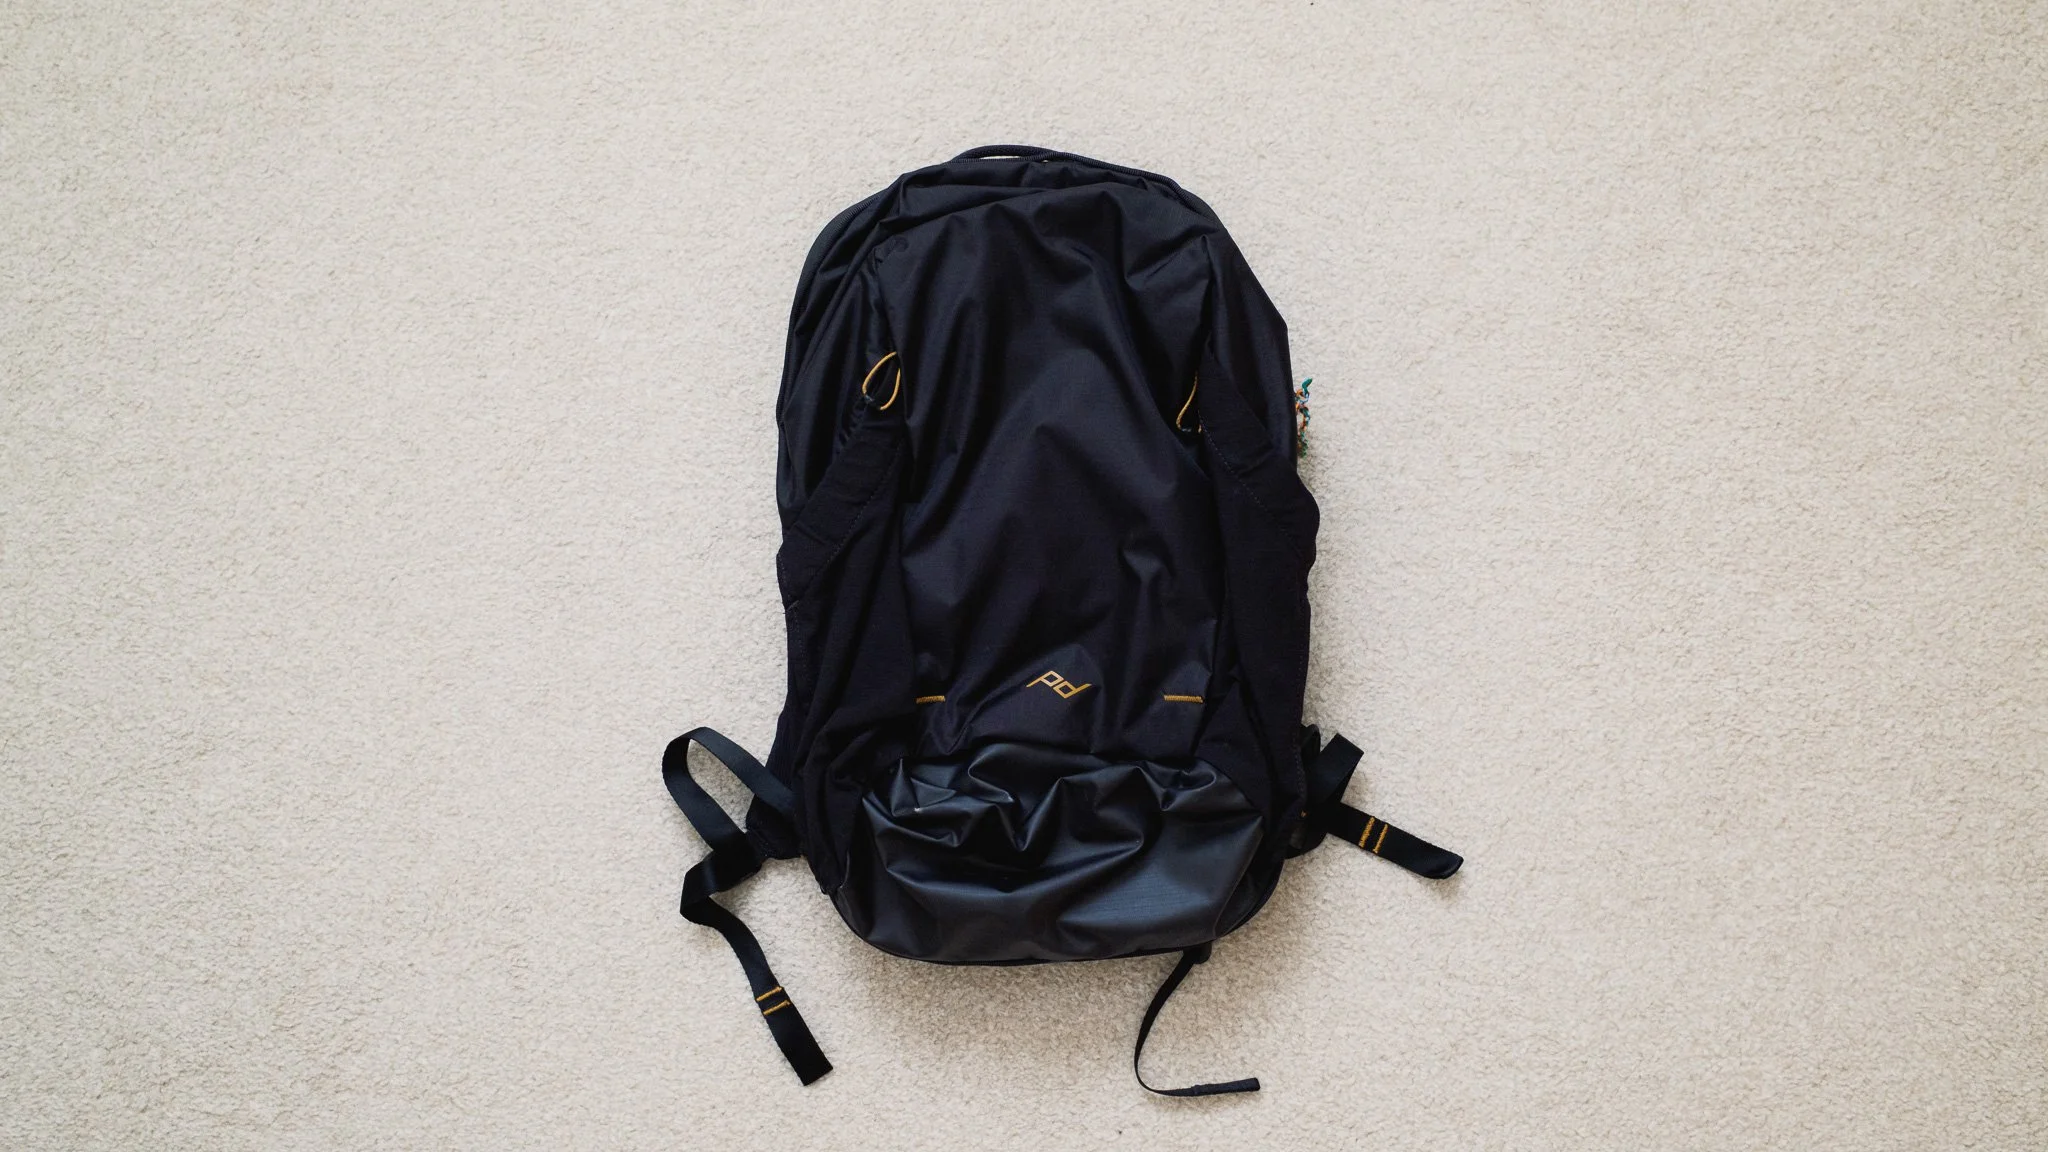
When I need to carry additional gear or know that I’ll be doing extensive hiking, I bring the smaller Peak Design Outdoor 20L backpack. It holds everything I need for a long day out and can carry all my camera equipment on travel days. I use this particular bag because it can only be opened from the back, has mounting points for a hip belt, is comfortable enough for all-day use, and is very light. It only comes with me on around one in four trips.
Main Camera
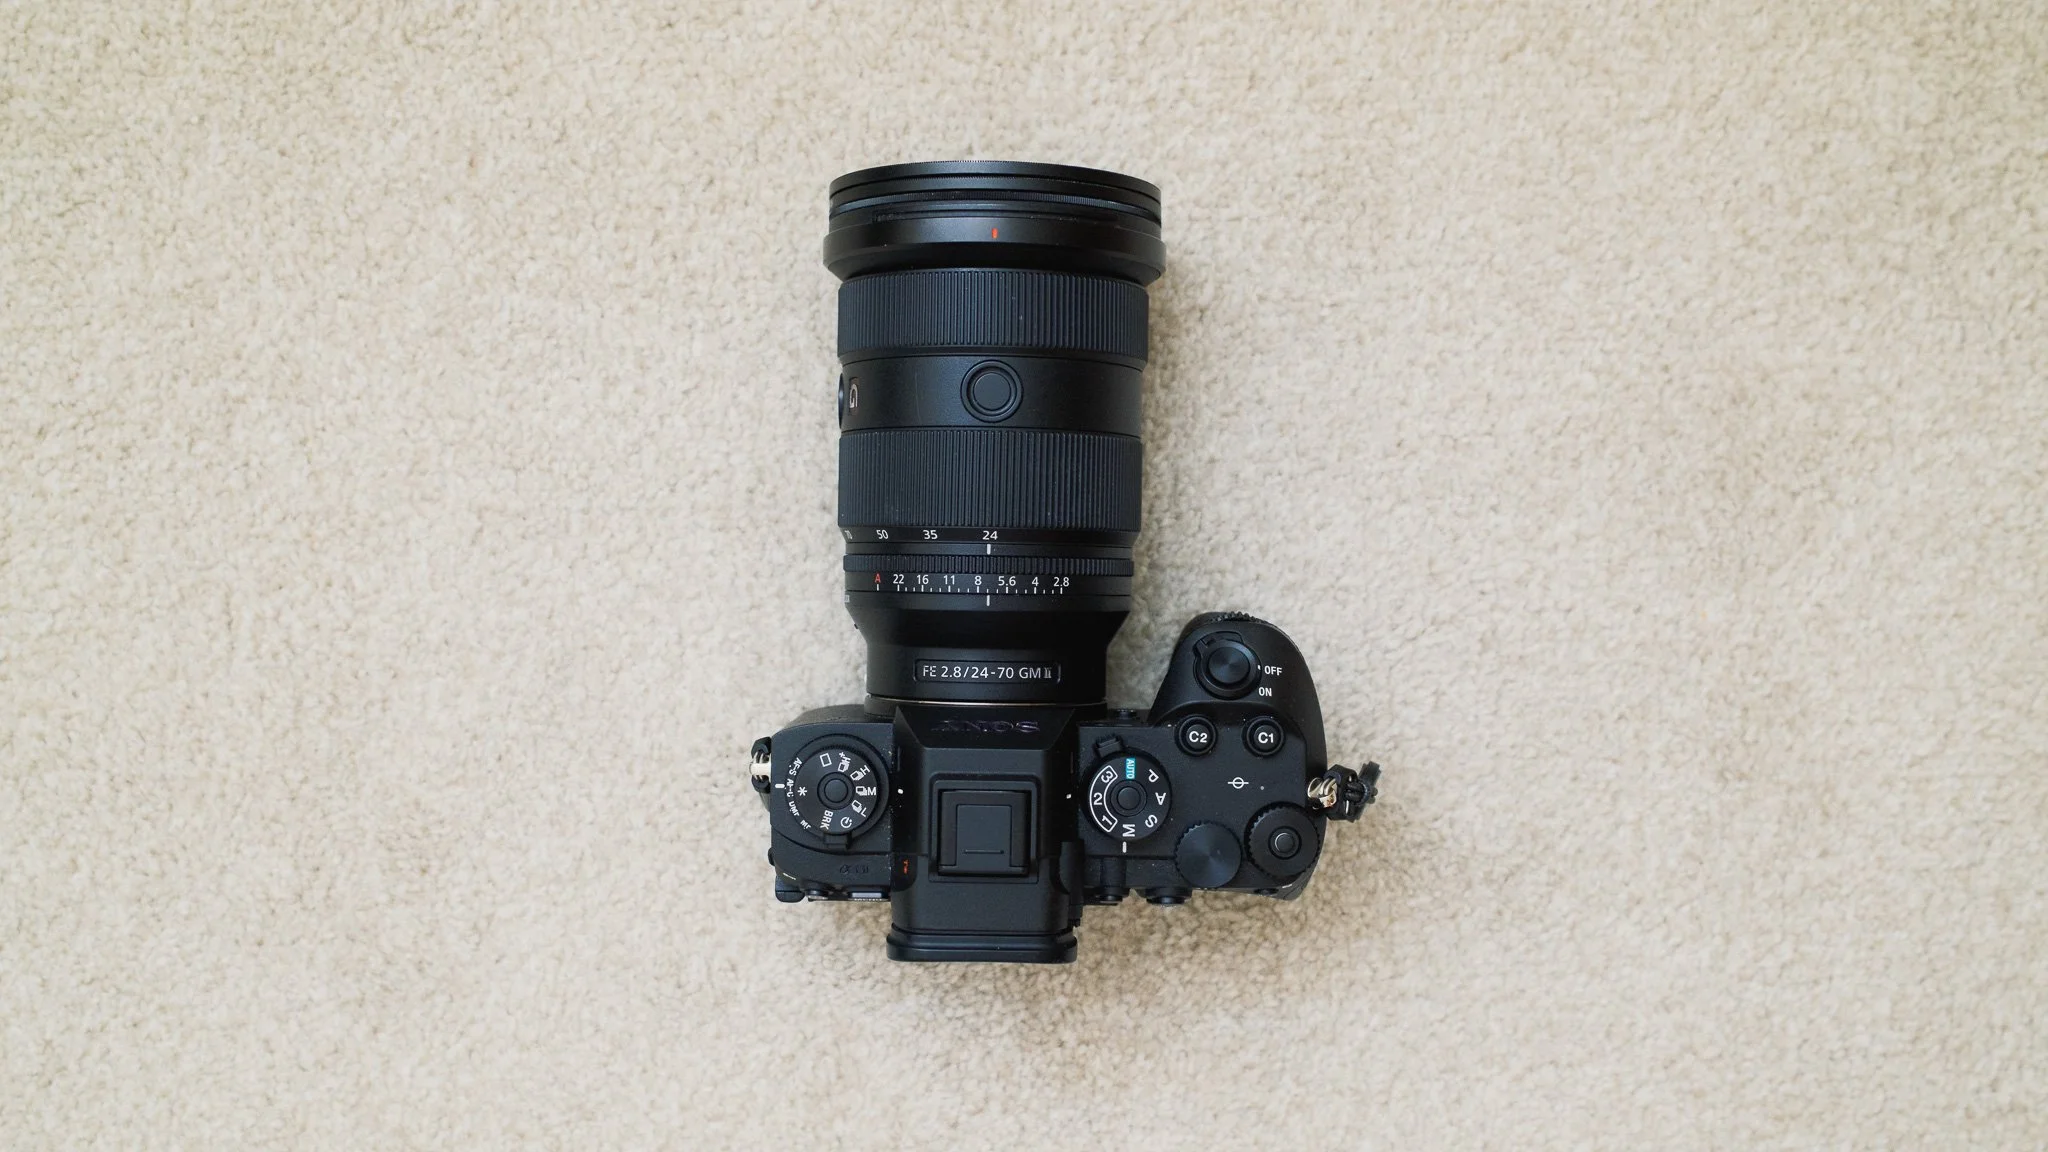
My main camera is the Sony A1 II. It’s a workhorse that can do almost everything without compromise. It’s big, heavy, and perhaps not particularly “fun” to use for some people. For me, however, it’s the one tool I know I can rely on, especially when balancing photography and video at the same time. I have yet to find a more capable hybrid camera.
Second Camera
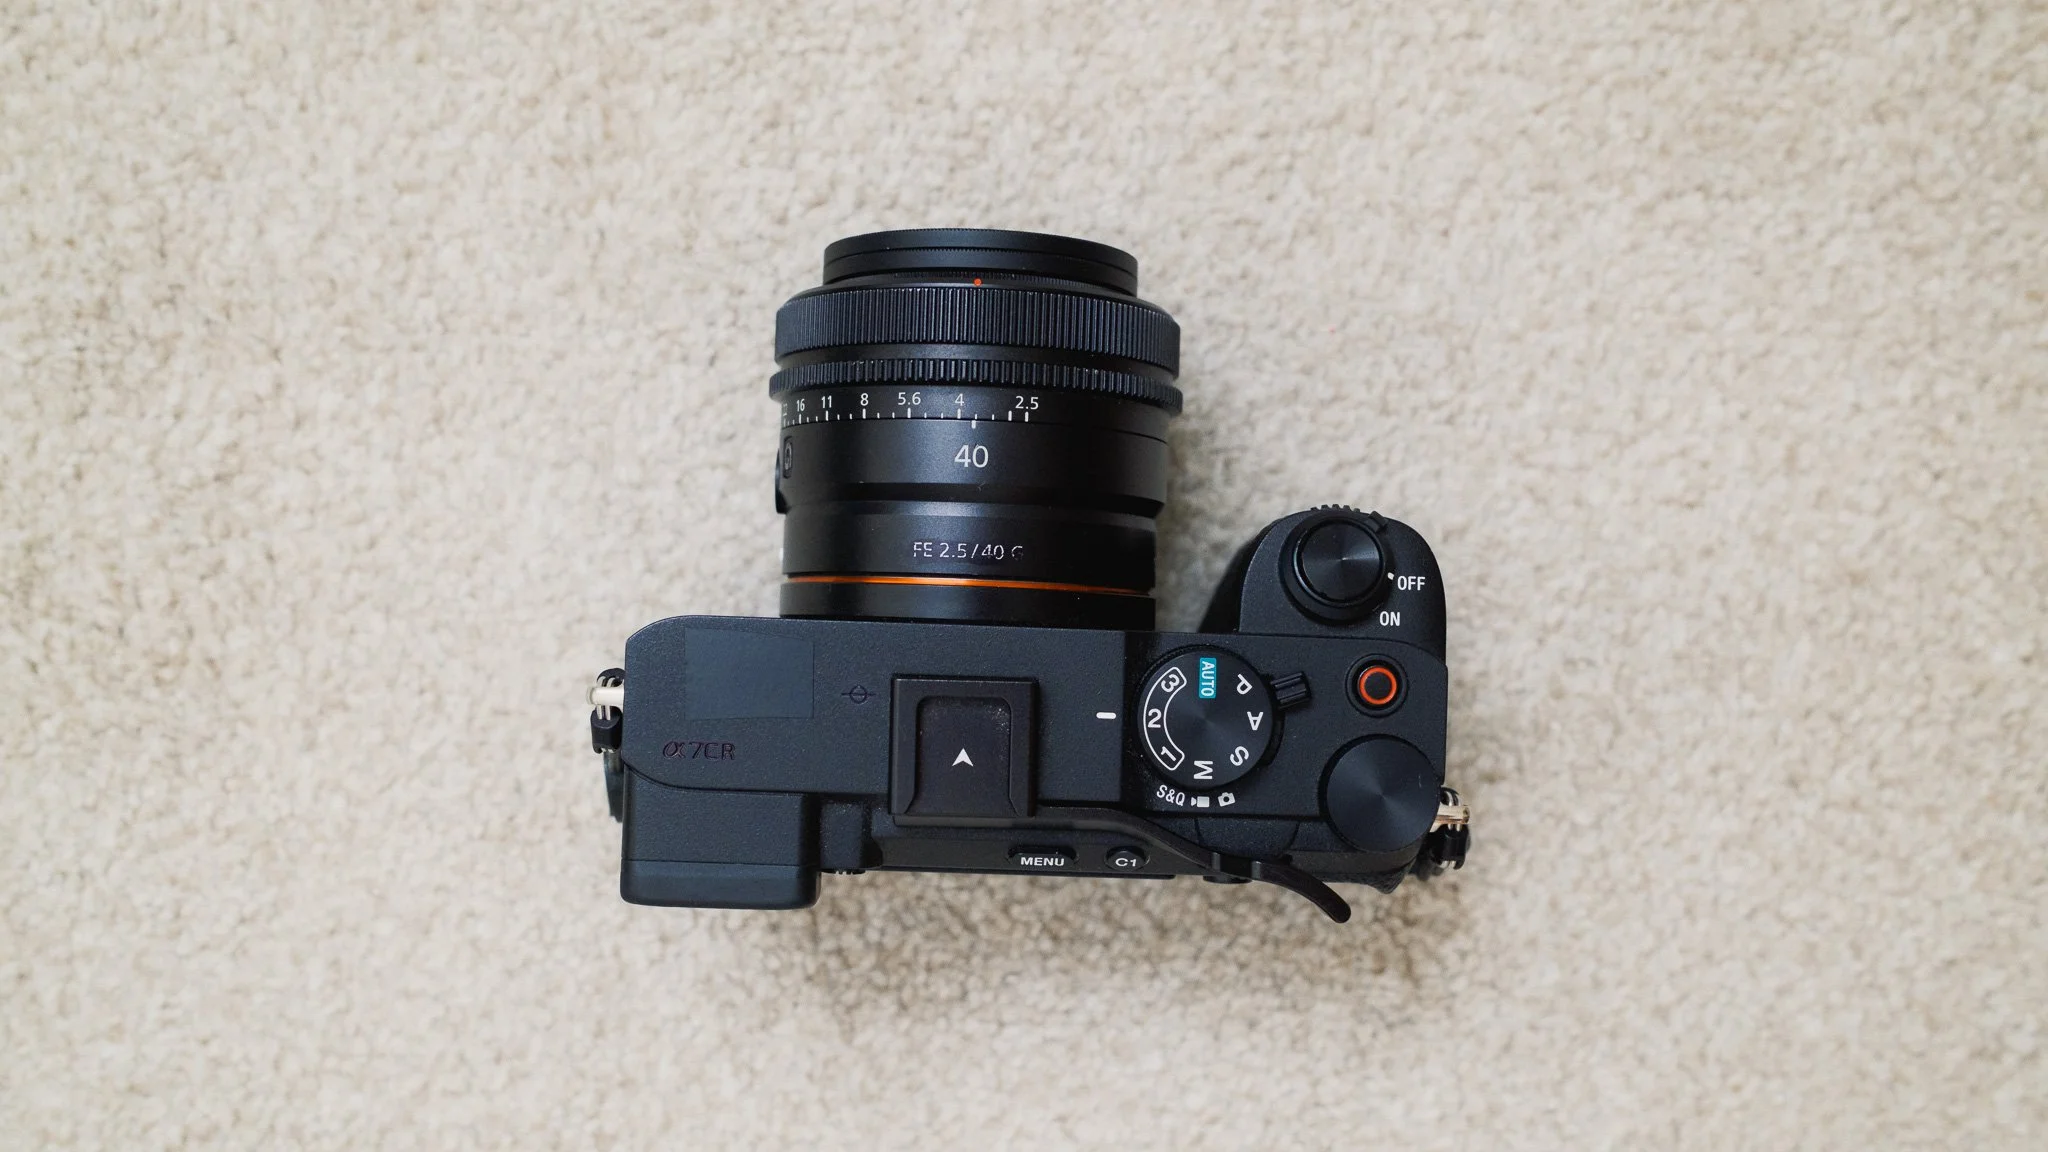
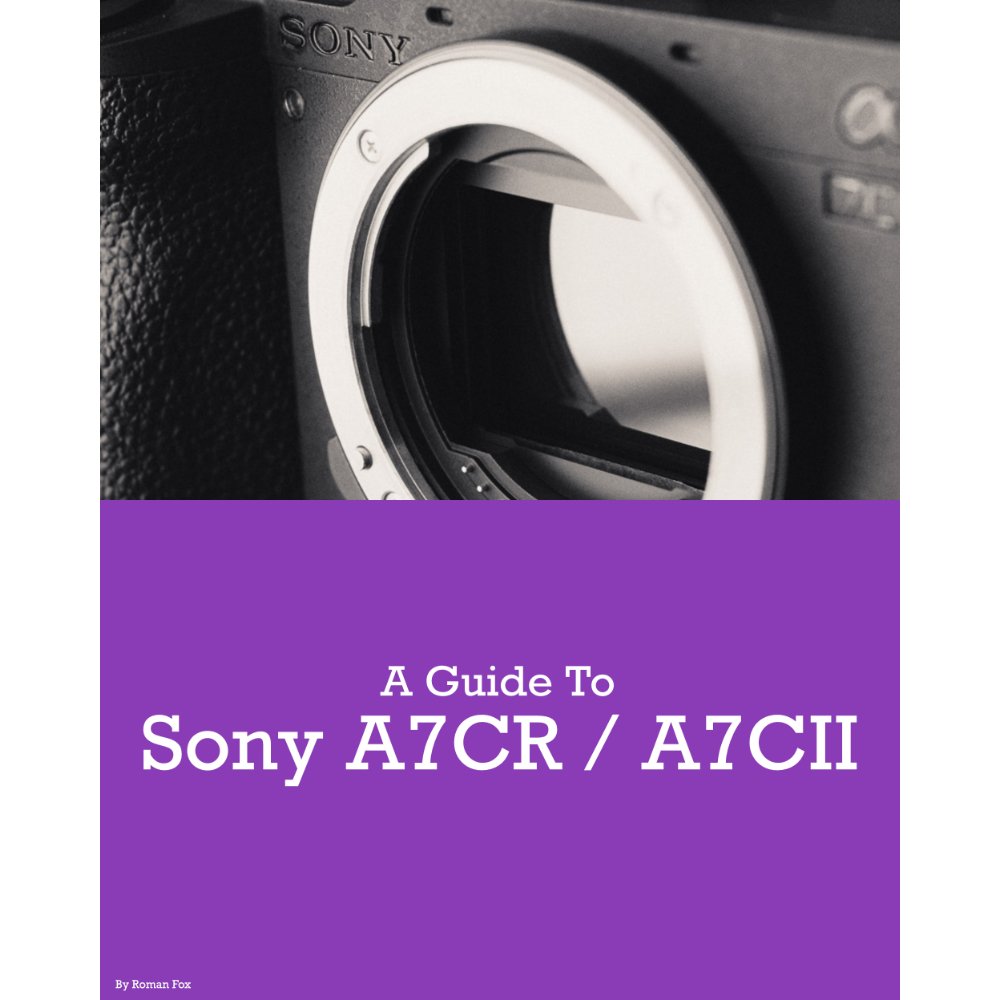
My second camera is the Sony A7CR. The body is small, the sensor is excellent, and it can share lenses and accessories with my main camera. In most cases, it never leaves the hotel because it’s primarily there as a backup or for situations where I might not want to risk using my A1 II. It looks less professional and is considerably more compact. While it has several limitations compared with the A1 II, it can still produce outstanding photos and videos at a blistering pace.
Action Camera
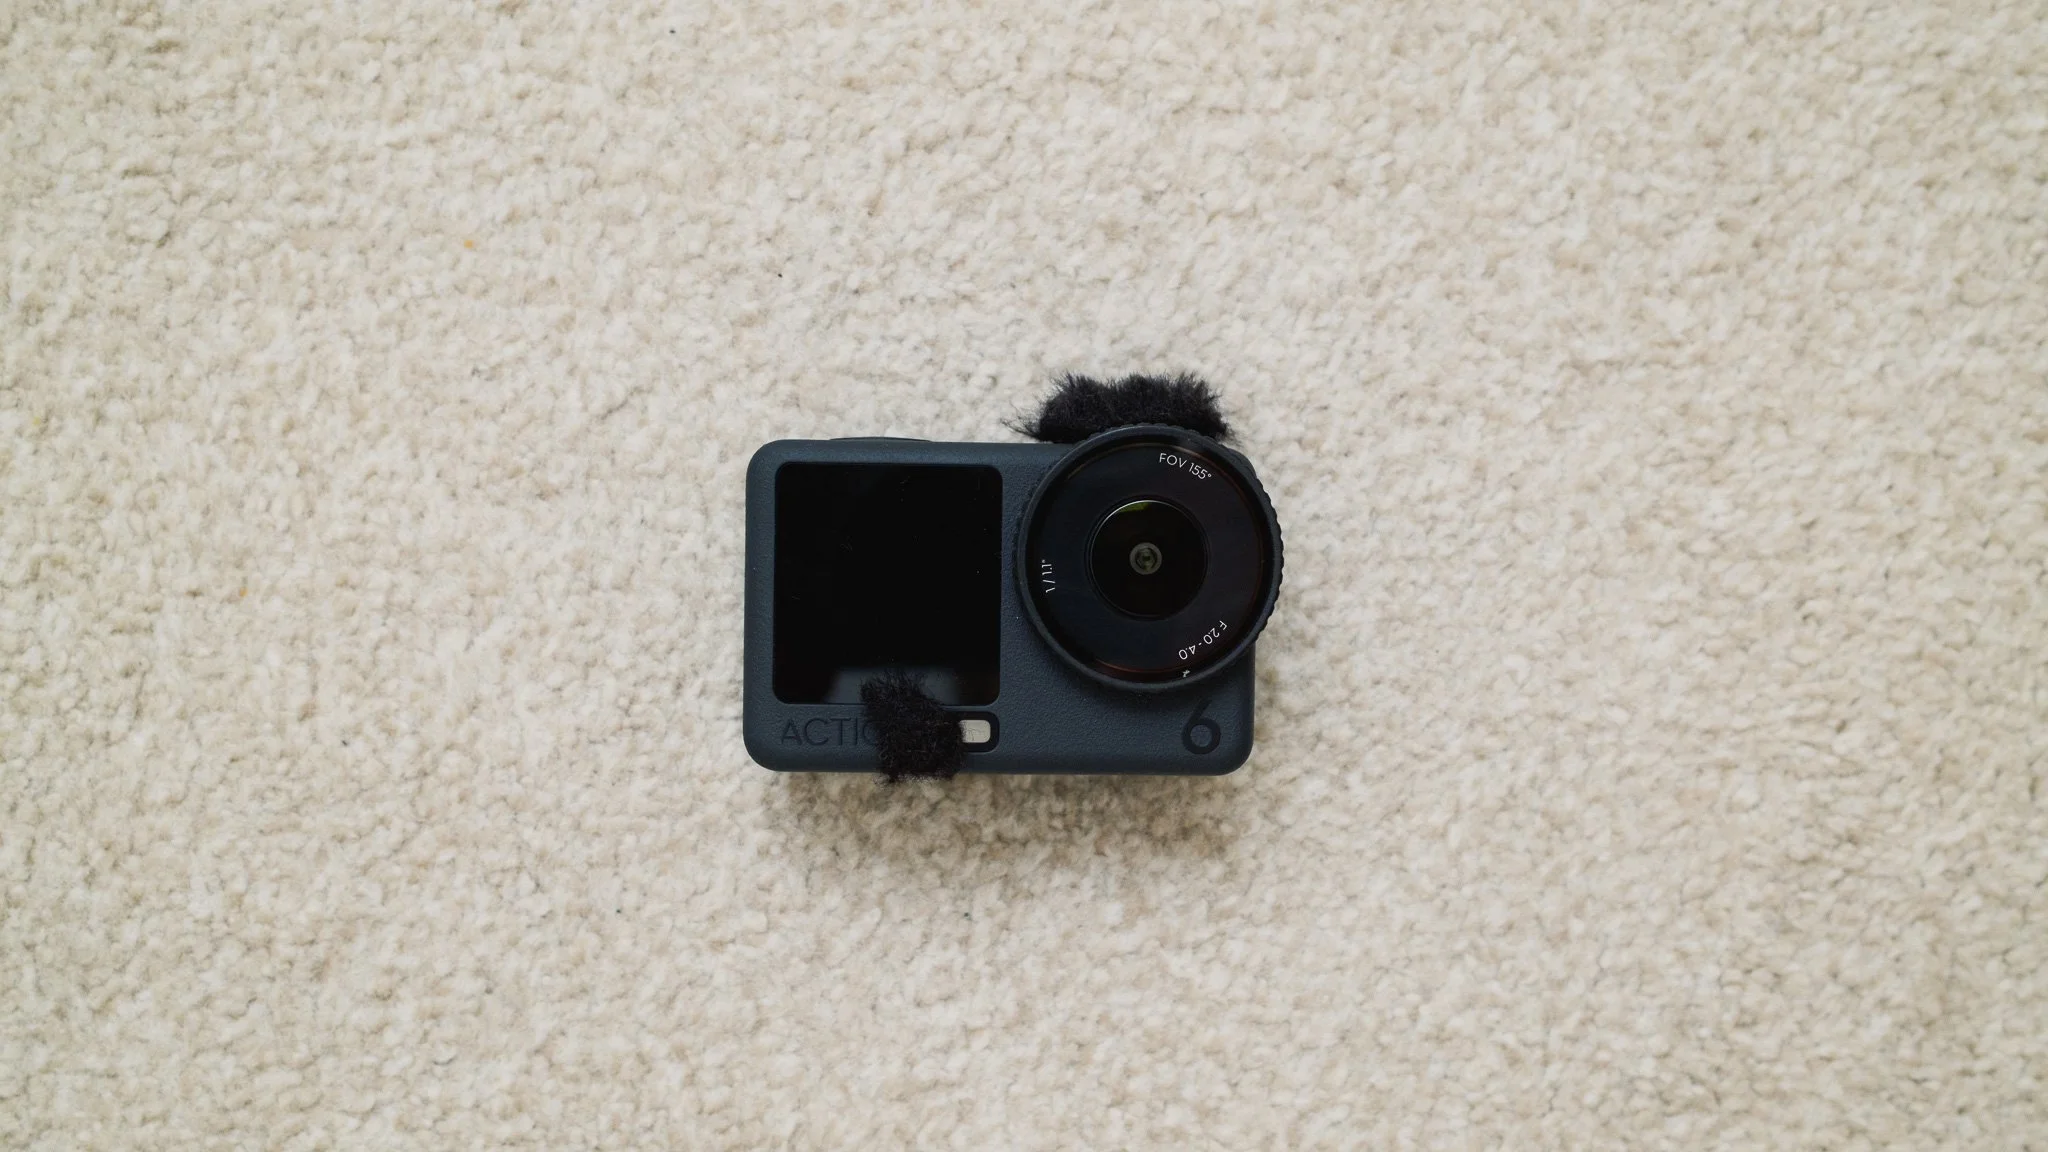
My final camera is a small action camera. At the moment, my go-to option is the DJI Action 6 because of its image quality, compatibility with my microphone, compact size, ruggedness, and overall feature set. I bring it when I want to film behind-the-scenes footage, vlogs, or general travel memories. I use the original DJI ball head with a SmallRig micro tripod, which is also magnetic. It’s the most versatile setup I’ve found.
Main Lens
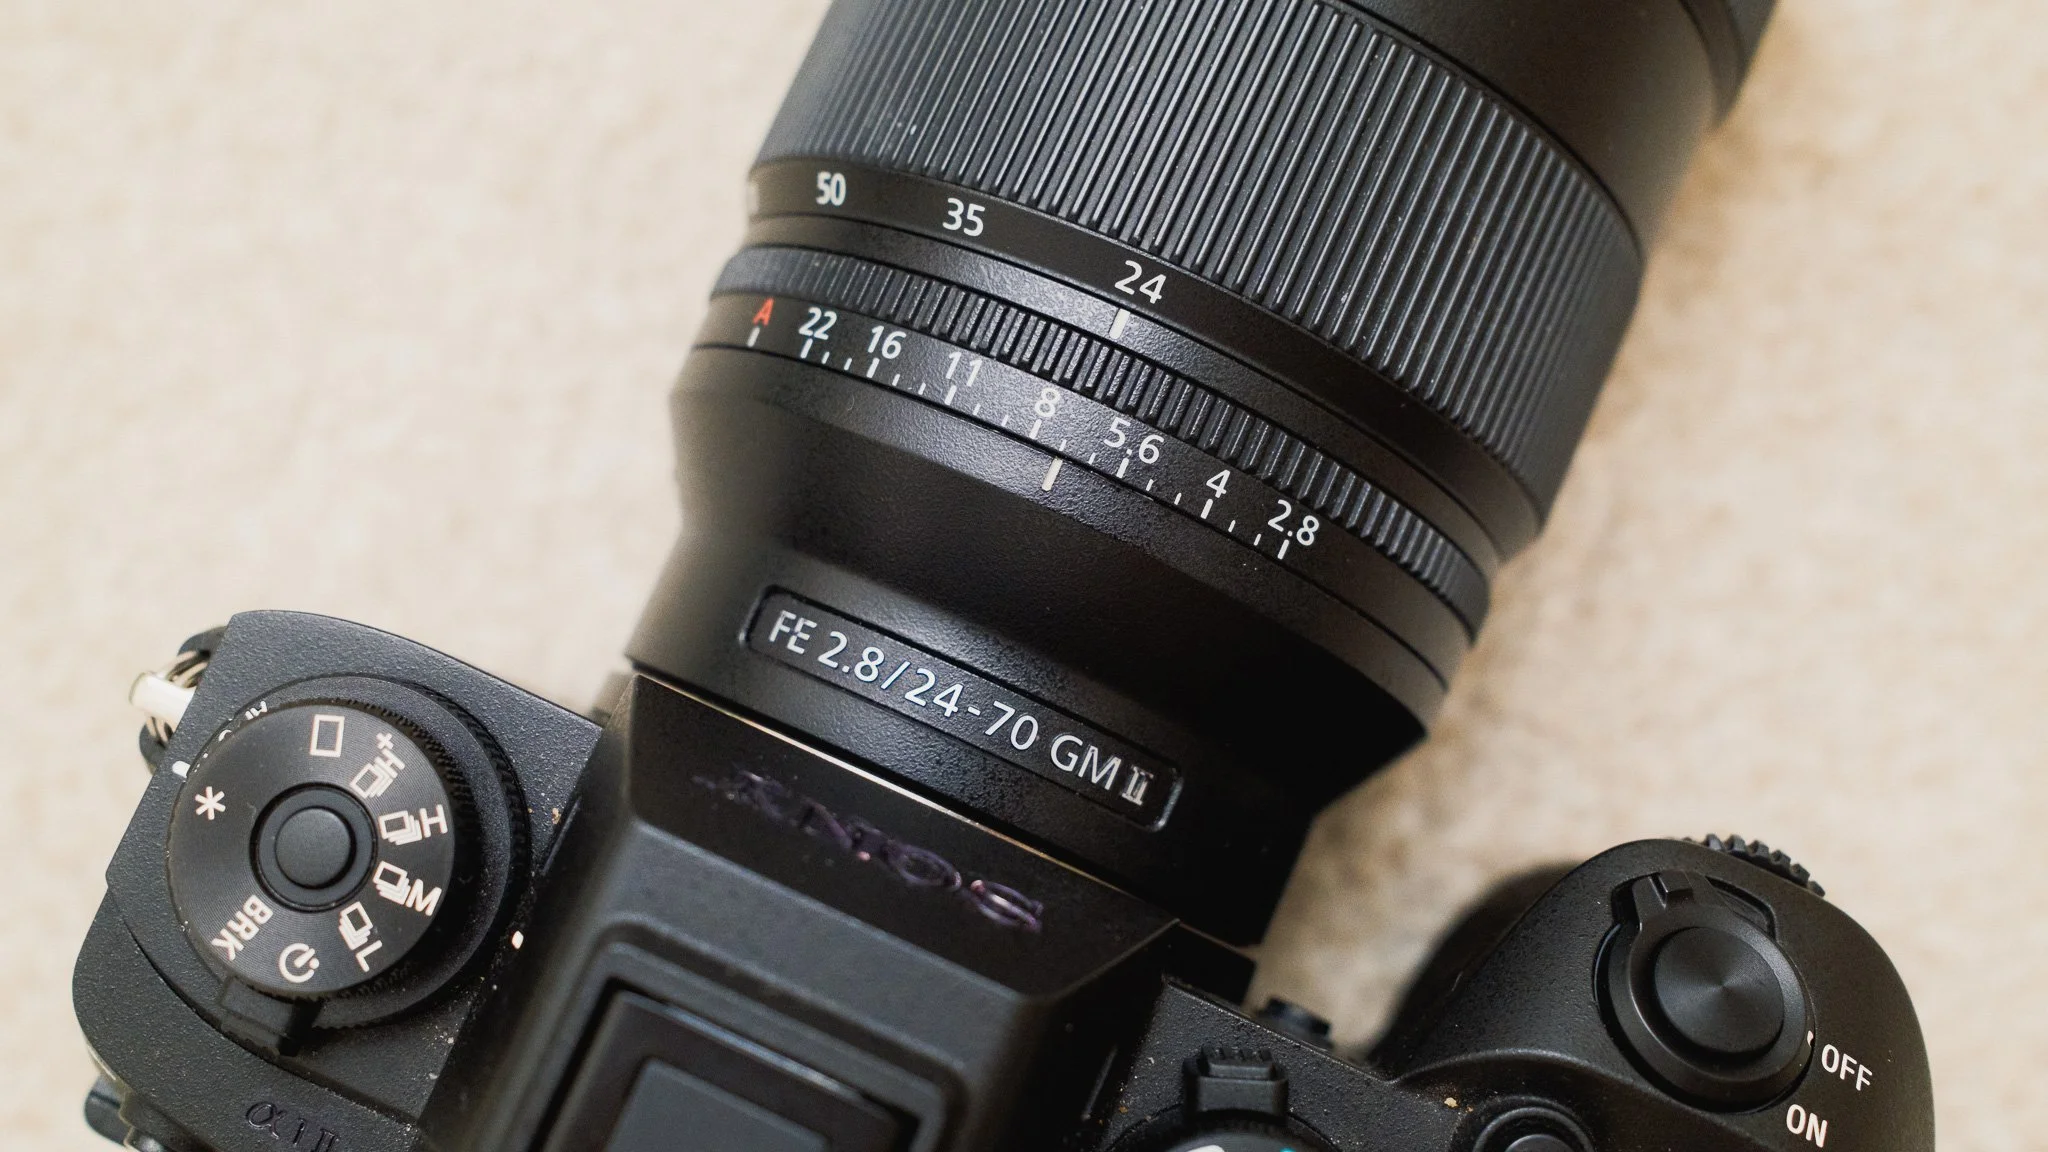
The lens I use most often is the Sony 24–70mm f/2.8 GM II. While it’s large, it covers around 95% of the focal lengths I use. It offers outstanding image quality, is durable, and is easy to use. When travelling, I don’t want to keep switching between prime lenses, so this zoom keeps my workflow simple. It stays attached to the A1 II most of the time.
Second Lens
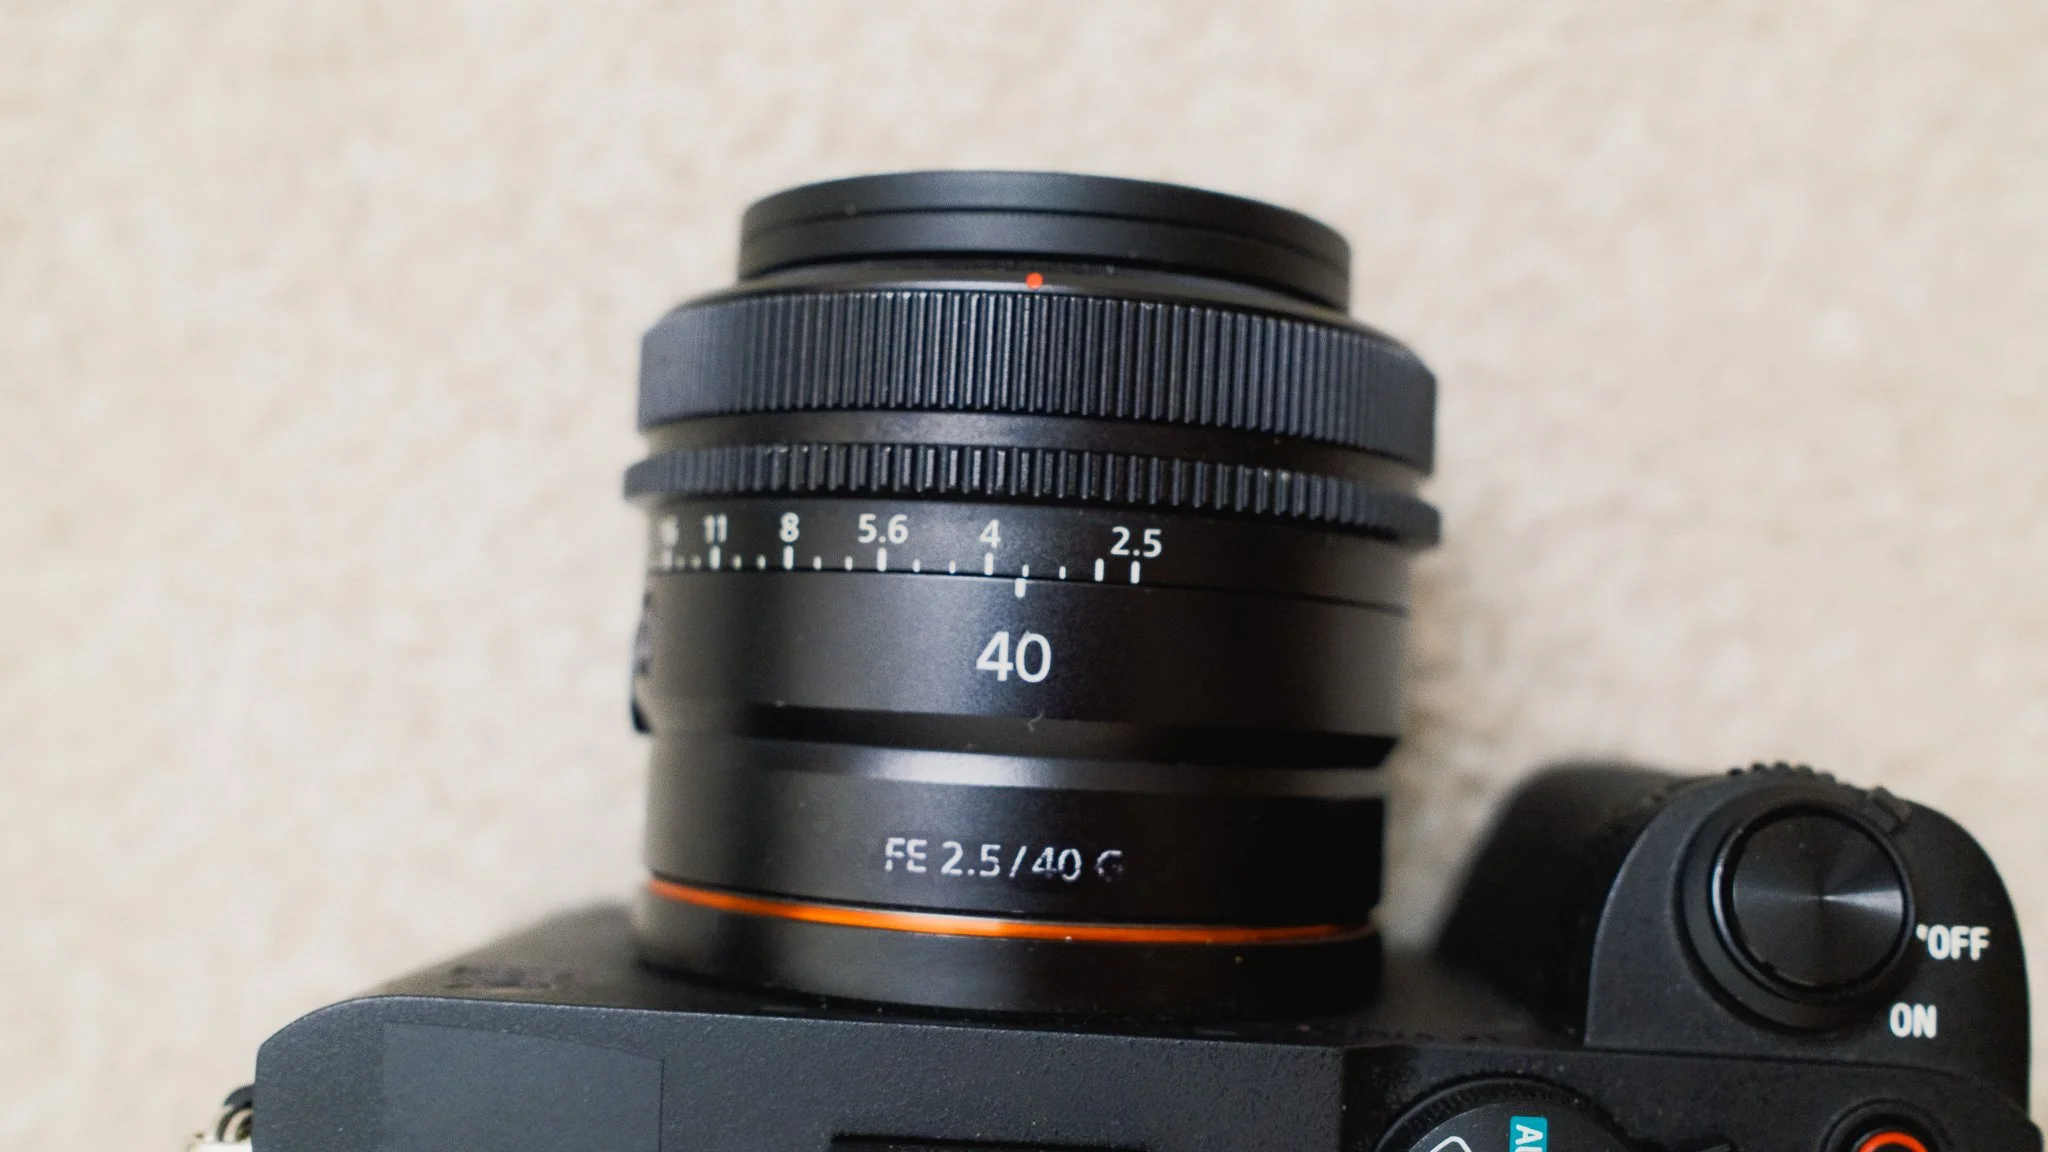
My second lens is the Sony 40mm f/2.5 G pancake. This is by far my favourite lens because of its size and focal length. It’s small, light, and a joy to use. It’s my go-to lens for casual photo walks around cities, street photography, or whenever I get tired of carrying the larger zoom lens. While the zoom is more practical, the 40mm is more fun to use. It usually stays attached to the A7CR, creating a great compact setup.
Filters
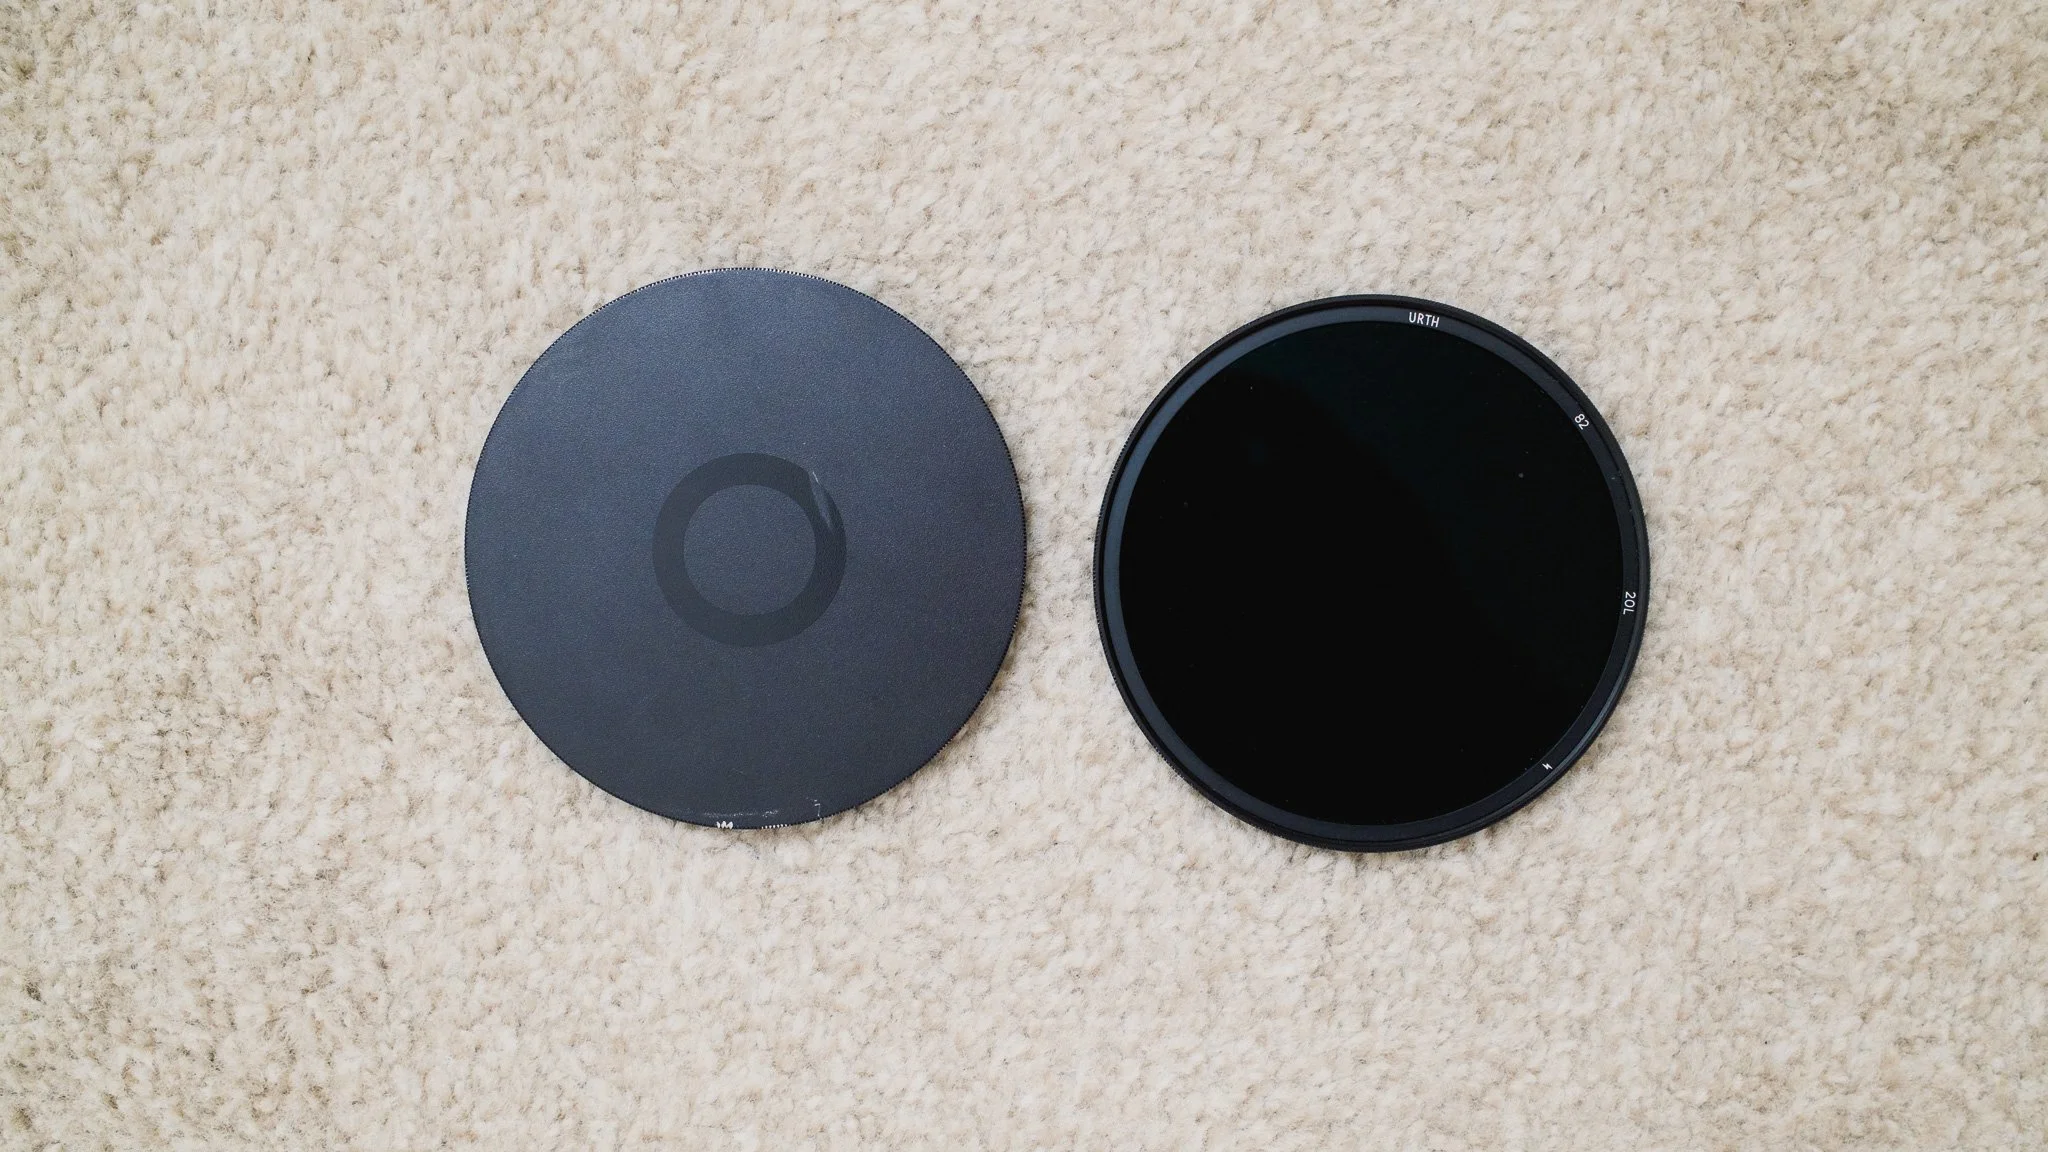
I use Urth magnetic filters because of their ease of use and portability. I also use their magnetic lens caps, which I find much better than the original caps. I carry three filters:
ND8
ND64
Circular polariser
The ND filters are primarily for video, while the circular polariser helps control reflections in certain situations. If I’m going to photograph in an extreme environment where debris could hit the front of the lens, I’ll also bring a UV filter for protection.
Microphone
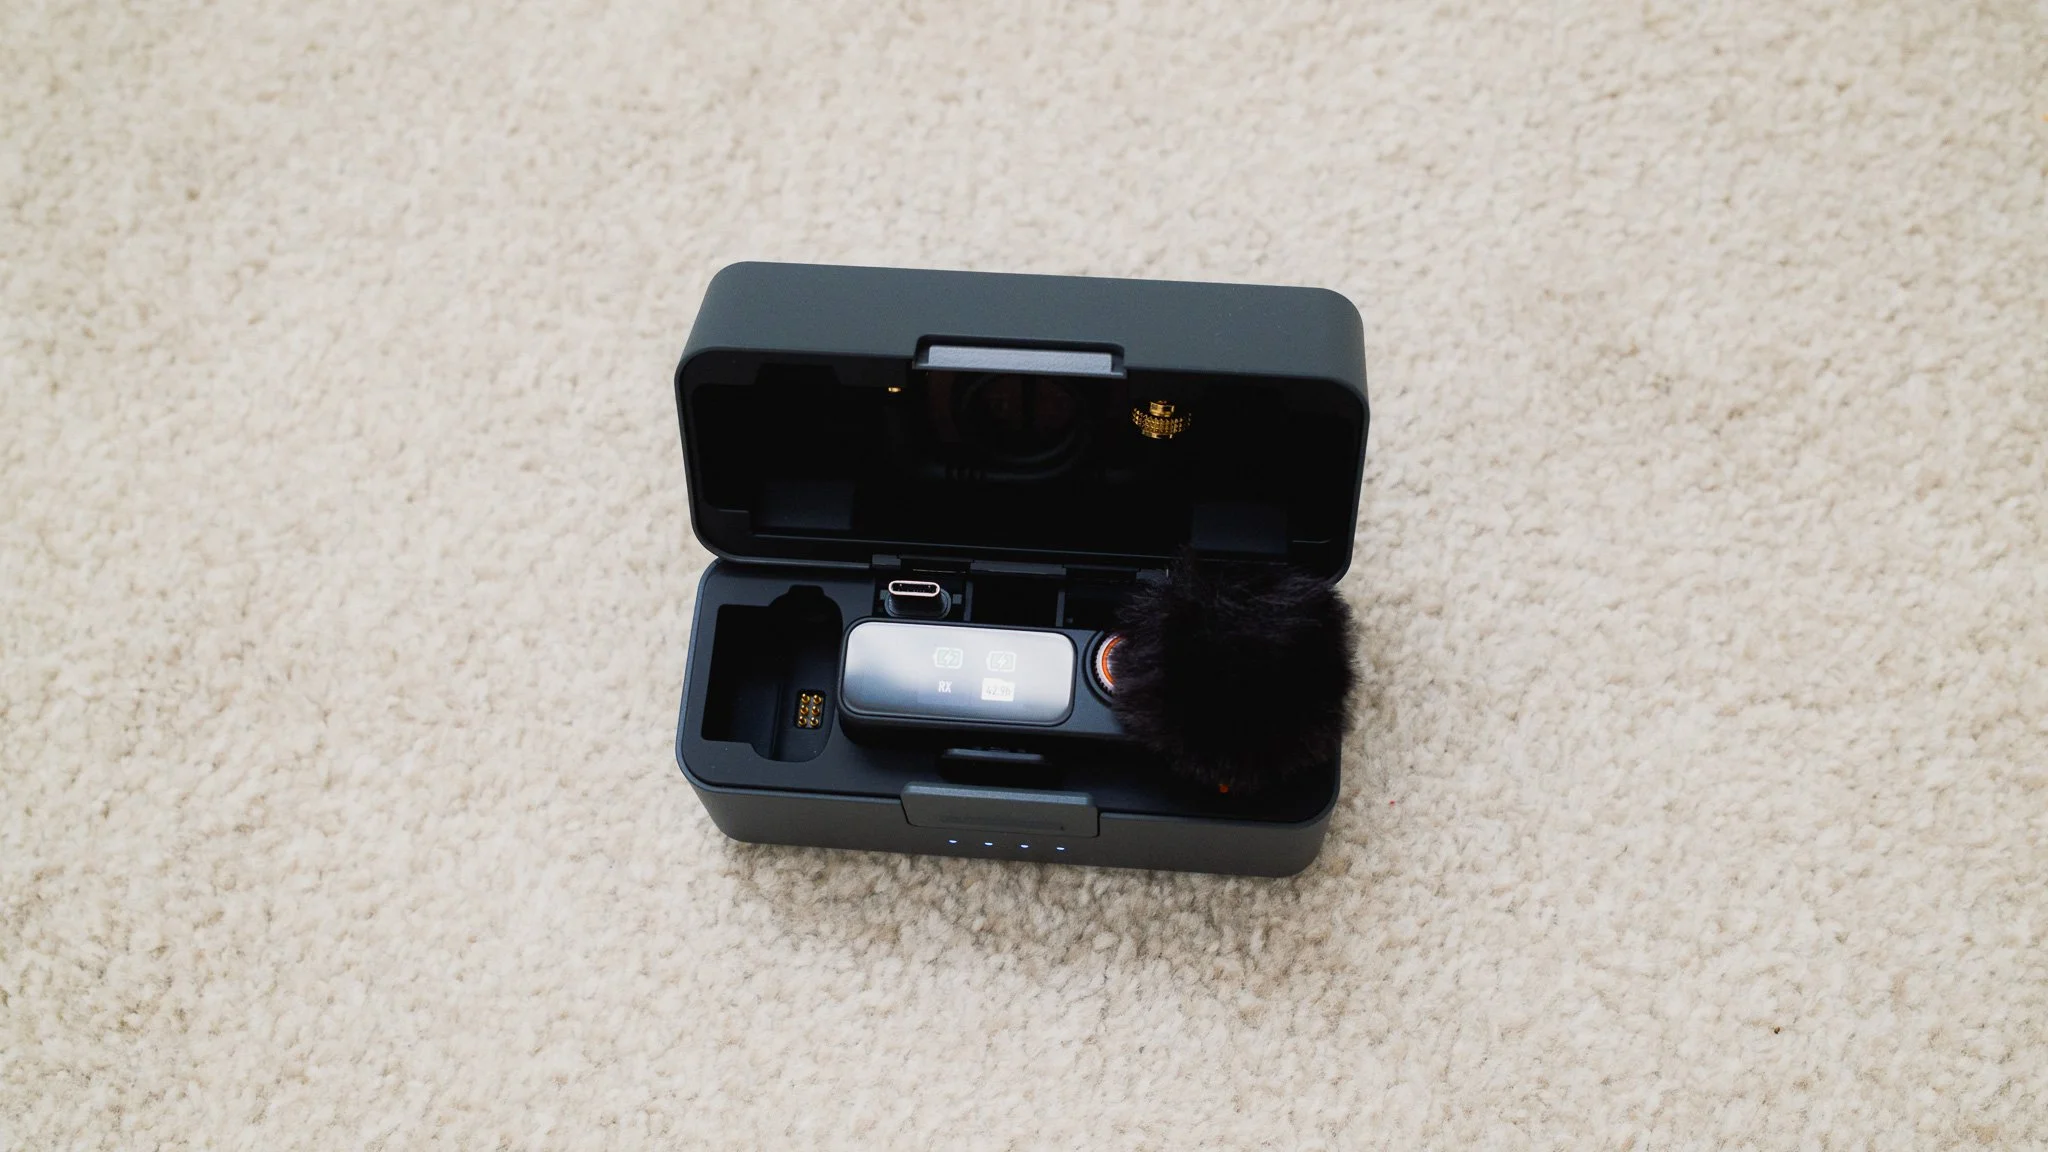
I use the DJI Mic 3 kit for most of my travels because it provides a great deal of versatility in a small package. I use the microphone for any dialogue I want to record, as well as for capturing high-quality ambient sound. I can easily attach it to the camera’s hot shoe or clip it to myself and record good audio to synchronise later if needed. It also connects directly to the Action 6. I can adjust its settings and download audio files using the iPhone or iPad app.
Other Camera Accessories
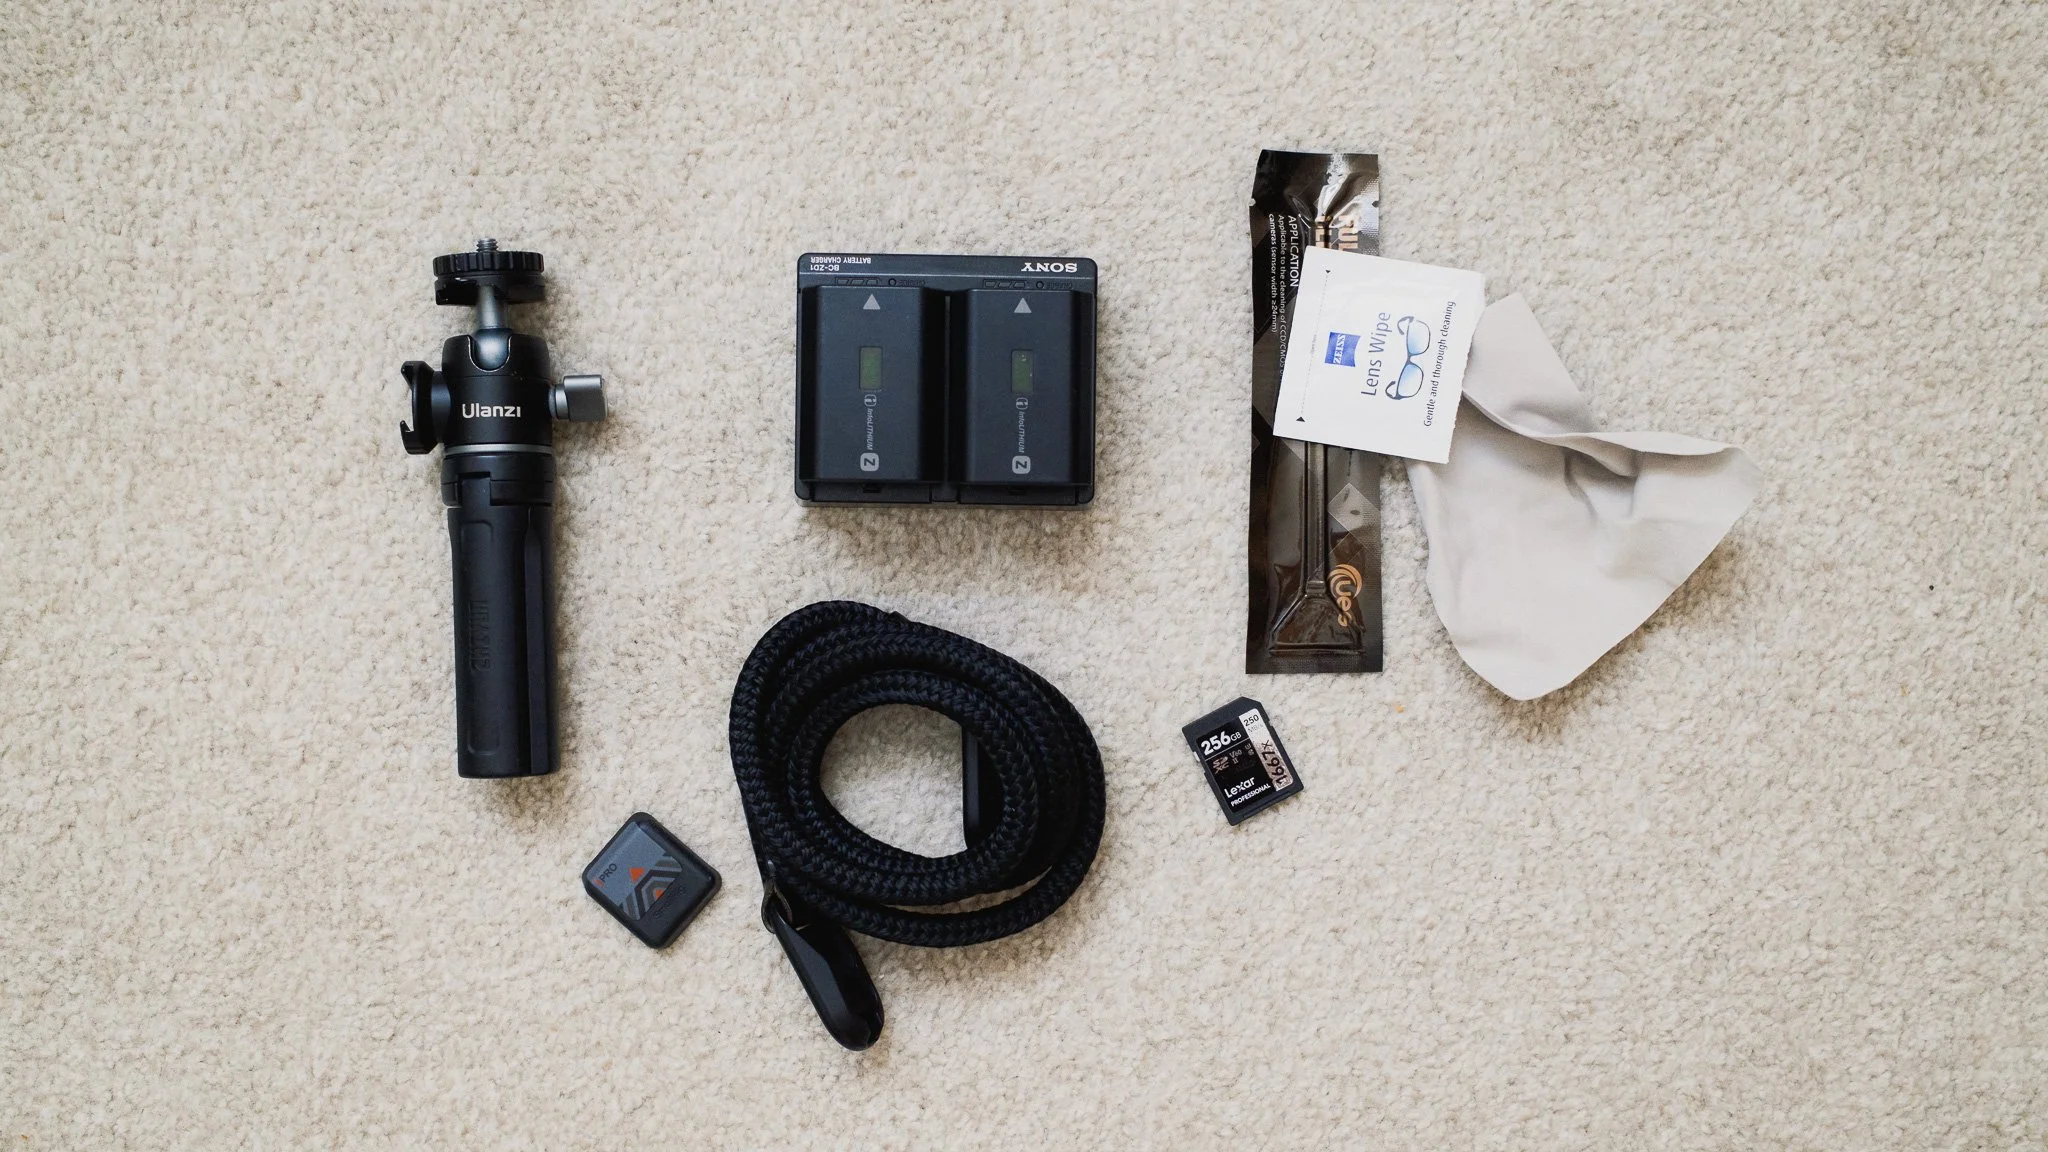
There are a few other odds and ends that I carry:
SmallRig hot-shoe cover
Two spare batteries and a USB-C charger
Spare SD card
Ulanzi tripod
Rope strap
Lens cloth and wipes
Sensor cleaner
Computer
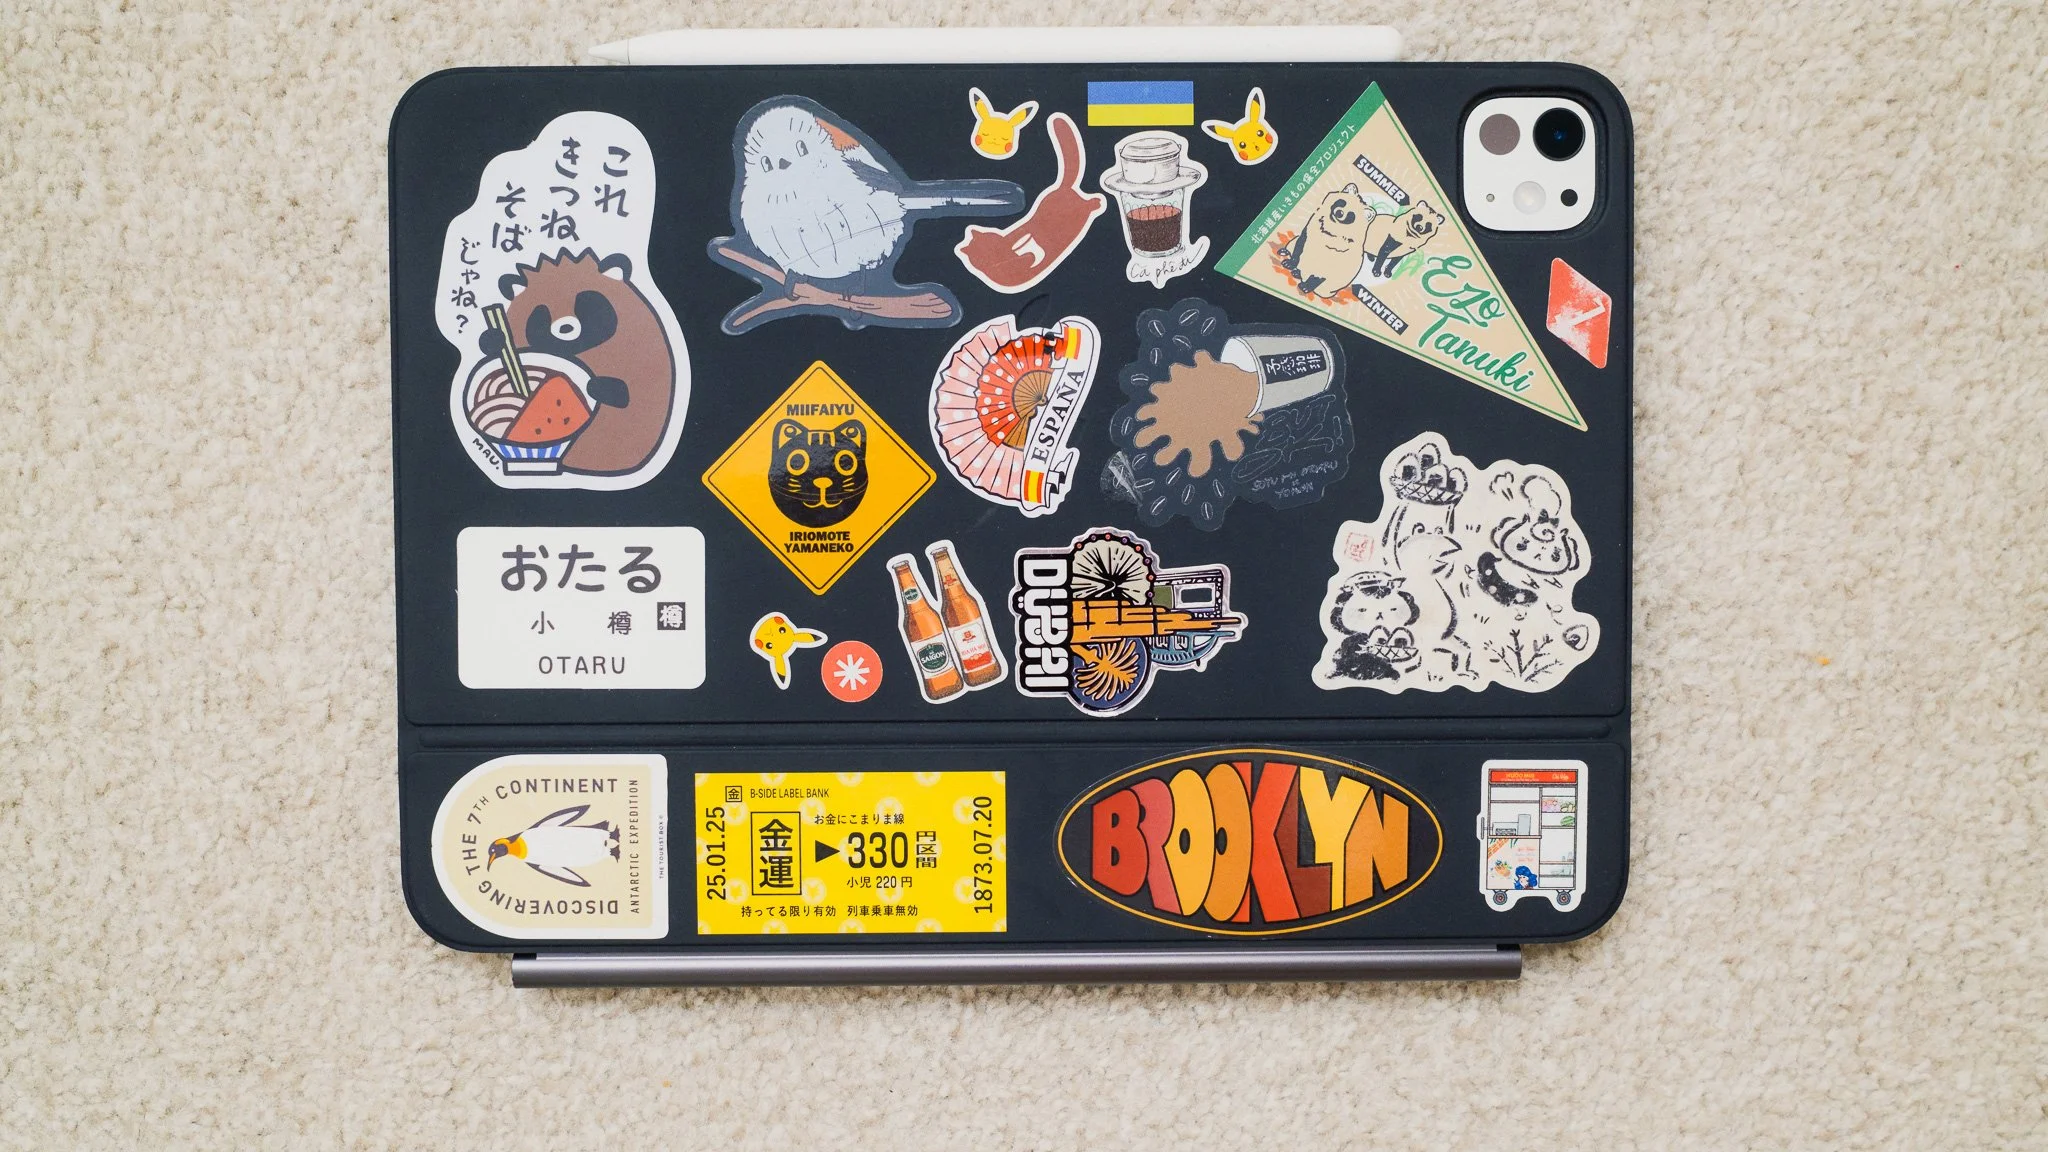
When I’m on the road, my computer is an 11-inch M4 iPad Pro. It can handle around 90% of the tasks I need to complete while travelling, and it fits inside my sling or can be used comfortably on cramped buses.
The main reason I don’t take my laptop is that I don’t want to work when I travel. If I have my laptop with me, I’ll inevitably end up working. I also don’t want to risk damaging or losing a very expensive device that is essential to my livelihood. I can still write blogs, edit photos, produce videos, and even create digital products on my iPad when necessary. Of course if I am going to be gone for a few months, or there is a bigger project where I need to work, the laptop will come, along with the extra 20L backpack I mentioned earlier.
Other Electronics
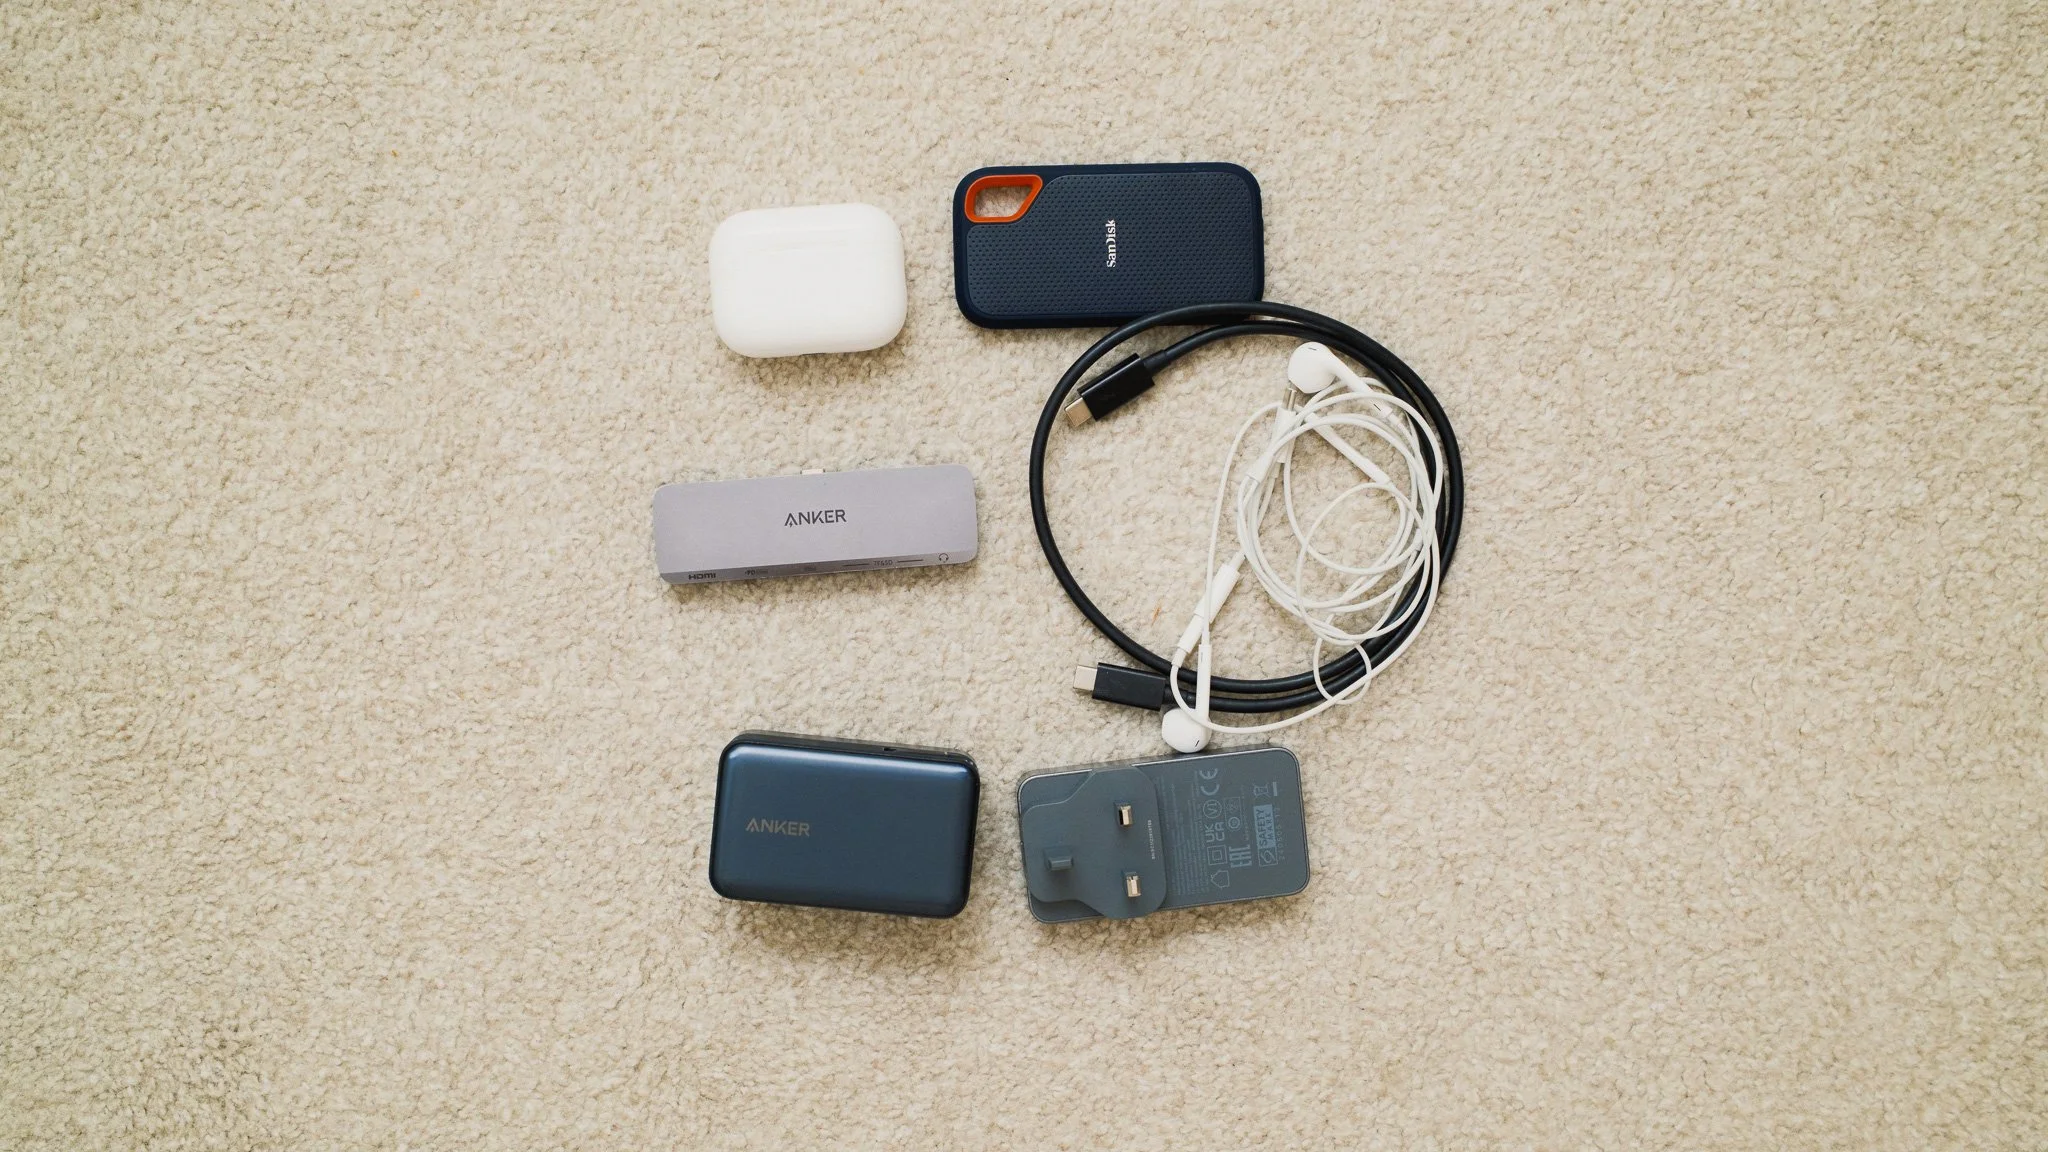
SanDisk 8TB SSD
Anker Nano power bank
Ugreen slim charger
Anker Thunderbolt 4 cables
Anker dongle
Apple AirPods Pro
Apple wired headphones
Clothes and Shoes
What I pack depends heavily on where I’m going, the time of year, and what I plan to do. A winter hiking trip requires a very different wardrobe from a summer city break. I generally travel to cities and small towns and only take part in relatively easy hikes that don’t require specialist equipment. I also avoid places with extreme temperatures, which makes packing easier. The kit below is designed for temperatures ranging from around 5°C to 40°C. It can also handle rain, light snow, and fairly easy hiking conditions. In fact, I spend around 95% of my time in built-up areas.
Of course if I am going to places where I know I need special equipment, I would bring it. For example for my Antarctica trip, I had to bring thermals, big coat, gloves, hat, and so on. This is an average, do-it-all kit, and I adjust it depending on the destination and season. I wash my clothes at the hotel, in a launderette, or in the sink.
Five cotton T-shirts
Two gym T-shirts
One button-up shirt
One jumper
Two pairs of trousers
Two pairs of shorts
One pair of gym/swimming shorts
Seven pairs of socks
Seven pairs of underwear
One packable puffer jacket
One waterproof coat
One buff
Two pairs of trainers
One pair of sandals
Toiletries
Luckily, I’m happy to use the toiletries provided by hotels. However, there are still a few things I bring with me:
Moisturising cream
Toothpaste and toothbrush
Deodorant
Aftershave
Hair and beard trimmer
Nail clippers
Cotton buds
Miscellaneous
A few other items always make the list:
Apple Watch
Apple AirTags
First-aid kit
Travel clothesline
Water filter for certain destinations
Padlock for my bag
Face mask
Eye mask
Earplugs
Cash in both local currency and US dollars
Travel wallet for my passport and documents
I’m sure there are a few things I’ve forgotten to include. However, after packing and repacking hundreds of times during the past five years of constant travel, my setup is fairly dialled in.
Either way, I hope you found this useful. Thanks for reading!














Instead of telling you how these will change your life, I would rather be practical and answer the most common questions that people tend to have when buying presets.
What are presets?
They are editing settings that are saved in a file and can be applied to any image.
Why do people buy presets?
Sometimes because they like the work of the photographer and want that style for their own photos. Mostly because they would like to see how other people edit and learn by reverse engineering the presets. Other times it’s just to support their favourite photographers, thank you!
What’s the overall style of these presets?
- Filmic
- Warm
- Soft
- Bright
What are these presets suitable for?
Street & Travel Photography
Some Nature (with further editing)
Some Portraits (with extensive editing)
Do I actually use these?
Yes. This is the same pack I use right now for all my editing. This isn’t a pack made just to sell.
Do these presets get updated?
Yes, as my style changes, these presets will also be updated. Any time a new update is available, you will get a free update via email. Of course you also keep all the old presets in case you prefer the older looks. Only presets purchased from 2025 onwards will receive the updates.
What file types are these presets for?
- All RAW files
- JPEGs & TIFFs (not recommended)
What camera brands are these presets for?
These were designed around Fujifilm, Sony, and Leica sensors. With that said, they will work with all camera brands. While there might be differences due to individual camera colour science, the overall feel of the preset will carry over.
Will these work with JPEG files?
Yes, but you will need to reduce the intensity and make further edits. I strongly recommend editing RAW files.
Are these one click edits?
95% No. You would need to do some basic adjustments as each image is different. These adjustments can include exposure, colour balance etc. In 5% of cases you can just apply and leave it alone.
Do I need to know how to edit?
You need to have a basic understanding of adjusting exposure, highlights, shadows, etc. A more comprehensive editing skillset will let you get the most out of them.
How many presets are included?
10 in the main pack and 24 in the extras pack
Why two packs?
The main pack is what I use for 99% of my edits and is kept small to reduce wasted time scrolling through presets. The extras pack is everything I don’t use often.
What software do I need?
These presets will work with any of the following:
- Photoshop (adobe camera raw)
- Lightroom Classic
- Lightroom Desktop
- Lightroom Mobile
Will these presets work with free versions of the above software?
You need to research and double check before buying. These presets were designed for the full paid versions.
Will these presets work with very old versions of the above software?
You need to research and double check before buying. These presets were designed on and for the latest software.
What file type do I get?
XMP
What else do I get?
- Comprehensive PDF guide
Can I modify these and turn them into my own?
Yes! In fact I encourage you to modify them and play around. Use these to help you get your own style.
I have more questions…. What do I do?
Make a cup of tea and drop me an email on hello@snapsbyfox.com
Please note that due to the nature of digital products, refunds are generally not accepted. However, if you experience any issues, feel free to contact me and I’ll review your situation individually. You are welcome to use this product for personal or commercial projects, but you may not copy, distribute, or resell the files in their original or modified form.
Finally I want to say a massive thank you for supporting me. Buying these presets is the most direct way you can support my work.
Thank you!