
Day Trip To Fujiyoshida (Best Tokyo Day Trips)
One of the perks of visiting Tokyo is that you’re not too far from one of the most iconic locations in the world, Mt Fuji. There are many different ways to visit Fuji and it could be a lifetimes work to find every possible viewpoint and angle. For most people visiting Japan, time is of the essence so spending weeks driving around the mountain might not be realistic. This is why I suggest visiting Fujiyoshida, a small sleepy town right next to the mountain.

Not only does it have some of the most famous viewpoints, but also plenty of lesser known areas. If you’re worried about too many tourists, that worry only applies to a handful of Instagram spots that everyone flocks to. Those areas will be busy and for good reason, they offer some of the most beautiful views of Fuji. If you come early enough, you can avoid 80% of the chaos. With that said, the vast majority of Fujiyoshida is empty and some can be described as deserted.

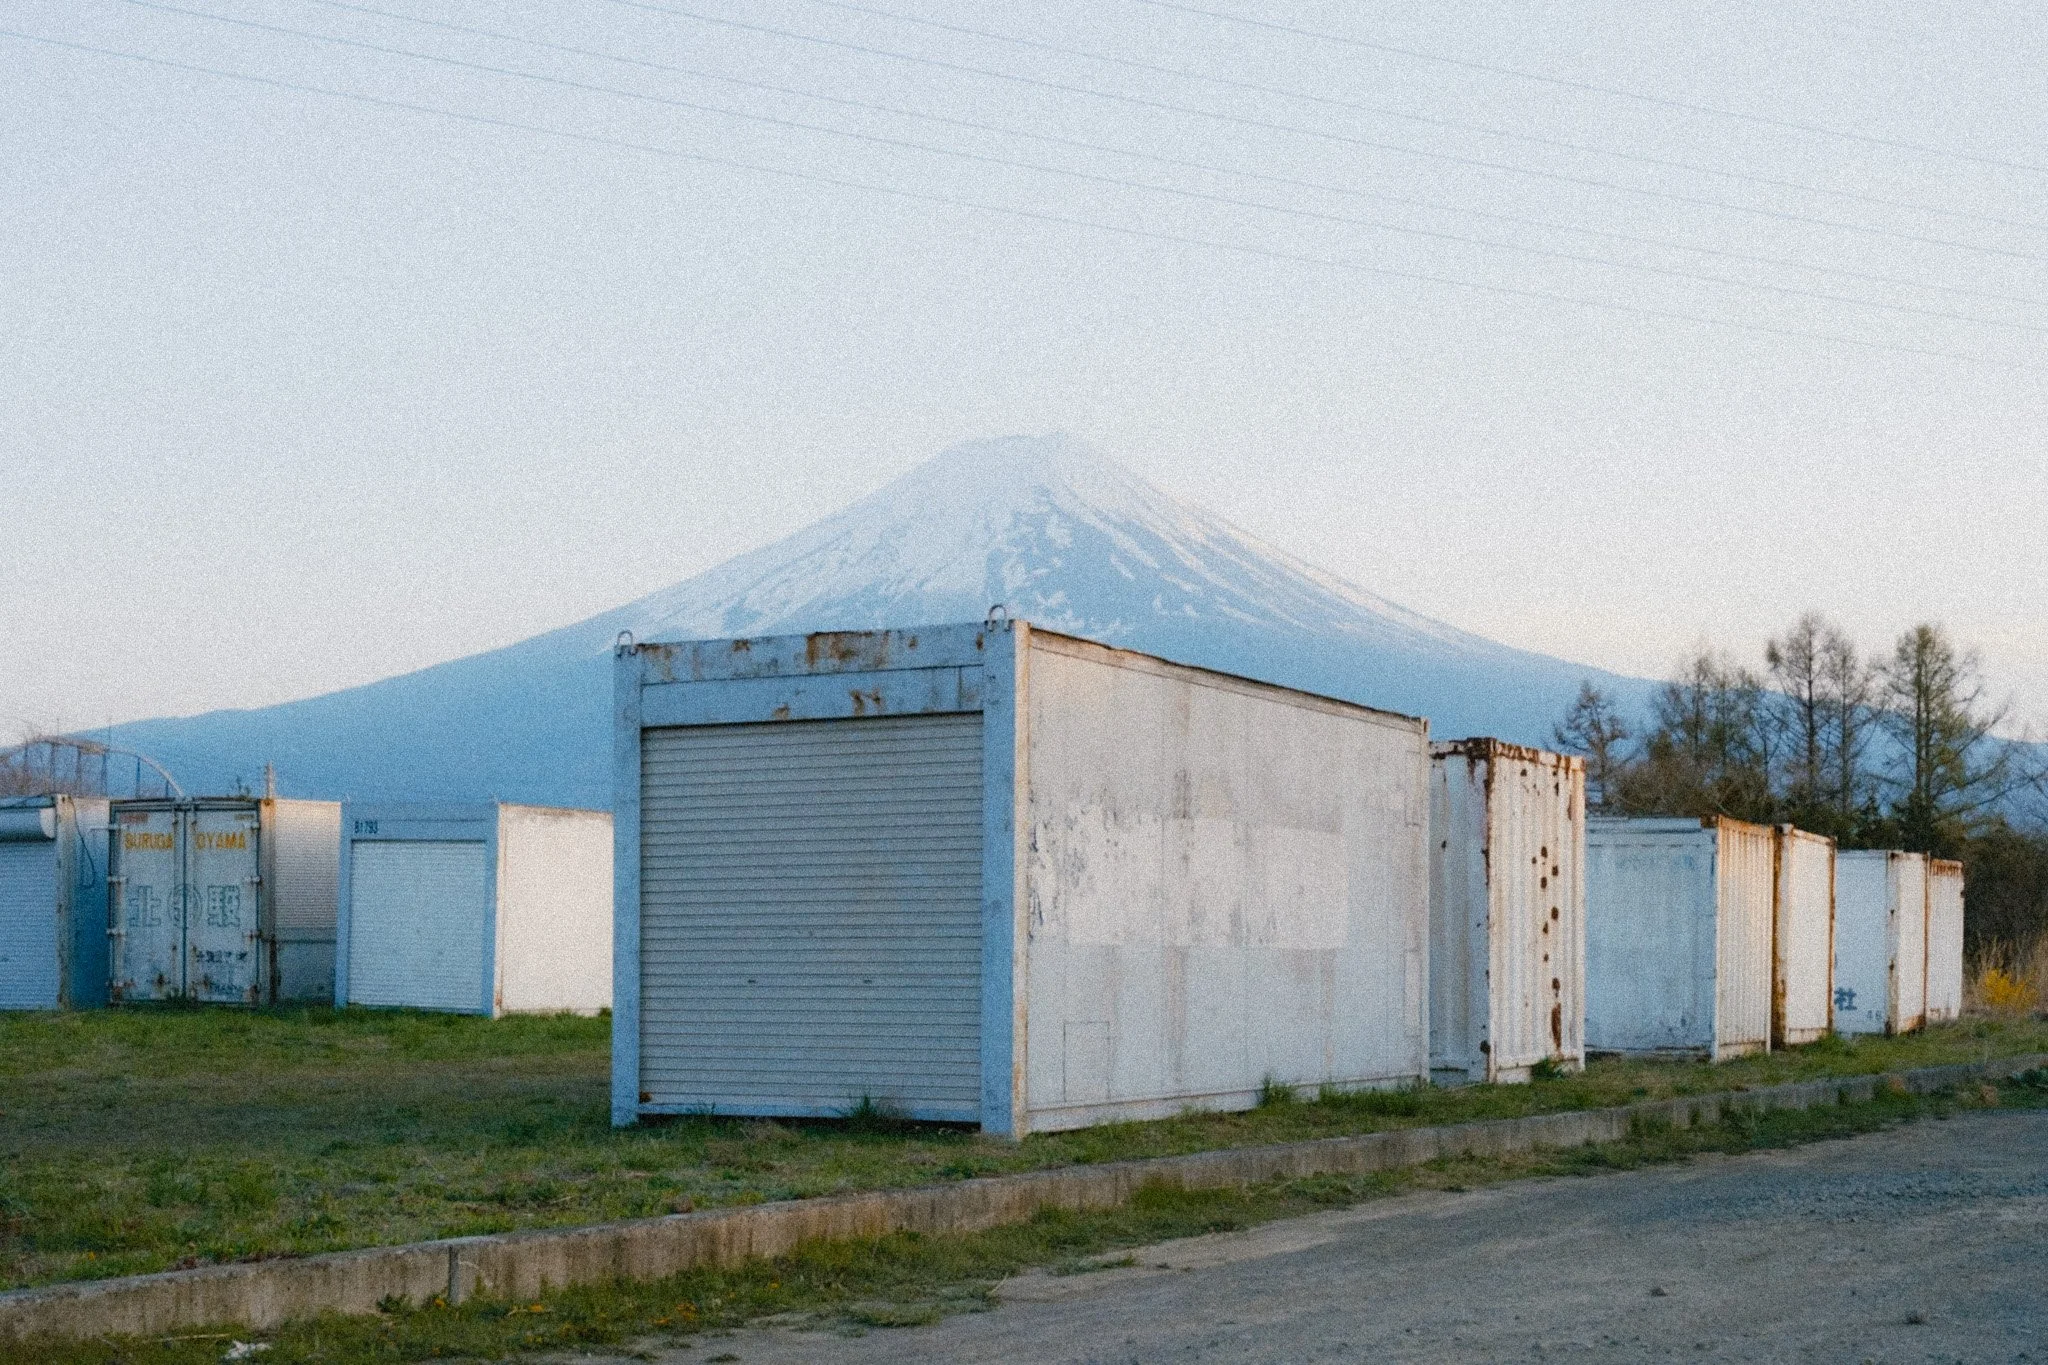
Another great reason to visit Fujiyoshida is for a Japanese small sleepy town feel. If you like to photograph still life and some old semi abandoned places, this is a great location for it. In many cases you can incorporate Fuji into the background too.

Getting Here
There are 4 main ways to get to Fujiyoshida. By far the easiest and cheapest way is to take the bus from Shinjuku. You need to pre-book your seats and keep in mind that seats get booked days in advance. So although it’s affordable, you do have to gamble with the weather. We got lucky but many don’t. The journey takes around 2 hours and you need to pre-book specific times, so you are restricted in that way. Make sure to book a return from Kawaguchiko. There are many operators. We used https://highway-buses.jp.

Another option is to take the train. You don’t need to book ahead and it’s also a fairly affordable option although more expensive than the bus. The issue is the journey isn’t straight forward and takes up to 3+ hours depending on connections and stops. It’s definitely doable if you didn’t get a chance to reserve the bus.

One other option for going from Tokyo to Fujiyoshida is to use Uber. It’s expensive at around $200 one way however if there are 4 of you and you plan on going very early, it might be a good option. Then you can always reserve a bus for the way back. One thing to note is that although it might be fairly easy to get a cab to Fuji, the other way around might not be as straight forward. Finally you can always hire your own car and drive.

How Much Time Do You Need
A full day is the absolute minimum however if you want to explore everything at a relaxing pace, then 2-3 days is a good amount. You can always stay here overnight and save the commute from Tokyo.

Fujiyoshida
When you arrive in the town, there are two main instagram spots that you have seen everywhere. Honcho street and the Chureito Pogoda. These places will be busy so come early. Although most instagram spots are over rated, in all honesty these two look incredible. No wonder they are so popular.


After that I suggest to walk around the town. When I visited I simply walked from one end to the other, walked across and then back down. It took me about 5-6 hours to cover a good part of it.



Fujikawaguchiko
Once you’re done, I suggest walking to Kawaguchiko. It’s about an hour walk from the town and it’s where the bus will pick you up and where you can get a train. You can also take a train there from any number of stations on the way if you prefer. The town is very nice and worth exploring as well as walking along the lake.


You will see a cable car that can take you to the top of a small mountain overlooking Fuji, however I don’t recommend using it. Instead follow the hiking trail along side and enjoy amazing views and a good workout. The trail is clearly marked on Google Maps and it starts just to the right of the cable car. Give yourself an hour to get up, 30 minutes at the tip and another hour back down.


Finally not far from the cable cars you will see little huts where you can pay to take a speed boat out on the lake. I highly recommend this as you will get an amazing experience and great view of Fuji.


If you found this blog helpful and wish to learn more about photography & travel while having direct access to me, please consider joining my Patreon community.


















Instead of telling you how these will change your life, I would rather be practical and answer the most common questions that people tend to have when buying presets.
What are presets?
They are editing settings that are saved in a file and can be applied to any image.
Why do people buy presets?
Sometimes because they like the work of the photographer and want that style for their own photos. Mostly because they would like to see how other people edit and learn by reverse engineering the presets. Other times it’s just to support their favourite photographers, thank you!
What’s the overall style of these presets?
- Filmic
- Warm
- Soft
- Bright
What are these presets suitable for?
Street & Travel Photography
Some Nature (with further editing)
Some Portraits (with extensive editing)
Do I actually use these?
Yes. This is the same pack I use right now for all my editing. This isn’t a pack made just to sell.
Do these presets get updated?
Yes, as my style changes, these presets will also be updated. Any time a new update is available, you will get a free update via email. Of course you also keep all the old presets in case you prefer the older looks. Only presets purchased from 2025 onwards will receive the updates.
What file types are these presets for?
- All RAW files
- JPEGs & TIFFs (not recommended)
What camera brands are these presets for?
These were designed around Fujifilm, Sony, and Leica sensors. With that said, they will work with all camera brands. While there might be differences due to individual camera colour science, the overall feel of the preset will carry over.
Will these work with JPEG files?
Yes, but you will need to reduce the intensity and make further edits. I strongly recommend editing RAW files.
Are these one click edits?
95% No. You would need to do some basic adjustments as each image is different. These adjustments can include exposure, colour balance etc. In 5% of cases you can just apply and leave it alone.
Do I need to know how to edit?
You need to have a basic understanding of adjusting exposure, highlights, shadows, etc. A more comprehensive editing skillset will let you get the most out of them.
How many presets are included?
10 in the main pack and 24 in the extras pack
Why two packs?
The main pack is what I use for 99% of my edits and is kept small to reduce wasted time scrolling through presets. The extras pack is everything I don’t use often.
What software do I need?
These presets will work with any of the following:
- Photoshop (adobe camera raw)
- Lightroom Classic
- Lightroom Desktop
- Lightroom Mobile
Will these presets work with free versions of the above software?
You need to research and double check before buying. These presets were designed for the full paid versions.
Will these presets work with very old versions of the above software?
You need to research and double check before buying. These presets were designed on and for the latest software.
What file type do I get?
XMP
What else do I get?
- Comprehensive PDF guide
Can I modify these and turn them into my own?
Yes! In fact I encourage you to modify them and play around. Use these to help you get your own style.
I have more questions…. What do I do?
Make a cup of tea and drop me an email on hello@snapsbyfox.com
Please note that due to the nature of digital products, refunds are generally not accepted. However, if you experience any issues, feel free to contact me and I’ll review your situation individually. You are welcome to use this product for personal or commercial projects, but you may not copy, distribute, or resell the files in their original or modified form.
Finally I want to say a massive thank you for supporting me. Buying these presets is the most direct way you can support my work.
Thank you!