
Best Way To Improve Your Photos
There are many skills you need as a photographer however I feel one skill in particular gets overlooked. That skill is knowing what to cut out of your image.

Whenever we arrive at a grand scene, a landscape, a cityscape or a street full of life, it can be tempting to try and get as much into the frame as possible. We want to convey everything we are seeings into one shot, however in most cases that will not result in a good photo.

Where the skill lies is being able to select one or two key elements and cut or hide everything else. In other words, we need to get better at removing as many distractions from our photos as possible and aiming for less.

In this blog I will share with you some tips on how you can simplify your photos. We will go from the easiest quick fix options to more involved techniques.

Lens Choice
We will start with the easiest way you can simplify your photos and that is through lens choice. I personally shoot at around 50mm full frame most of the time. I find it is wide enough to get context yet tight enough to cut out a lot of the noise. However the lens choice is heavily reliant on your scene.
In some environments you can even use a 28mm while in others a 200mm will be more appropriate. If you feel like your photos are always crowded and you just can’t seem to isolate your subject or cut distractions, then try a tighter lens. For example if you mostly shoot at 35mm then why not try a 50mm. Over time as your skills improve you will be able to simplify your scenes with a wider lens too. However to get going, try shooting a little tighter.

Location
The next quick fix is to change locations. Perhaps shooting in a busy Sunday market or during rush hour on a Tuesday does not bode well for simple scenes. Instead try to visit the same location but at a quieter time. Maybe go to the financial district on a Sunday morning.

If you have options to travel, then perhaps why not jump on a bus and leave the city in favour of a quiet coastal town. By placing yourself in a naturally quieter and simpler environment, you can make it easier to find simple scenes. Just like with the lens, over time as you will improve, you might want to re-introduce more hectic environments and find simplicity there.

Light
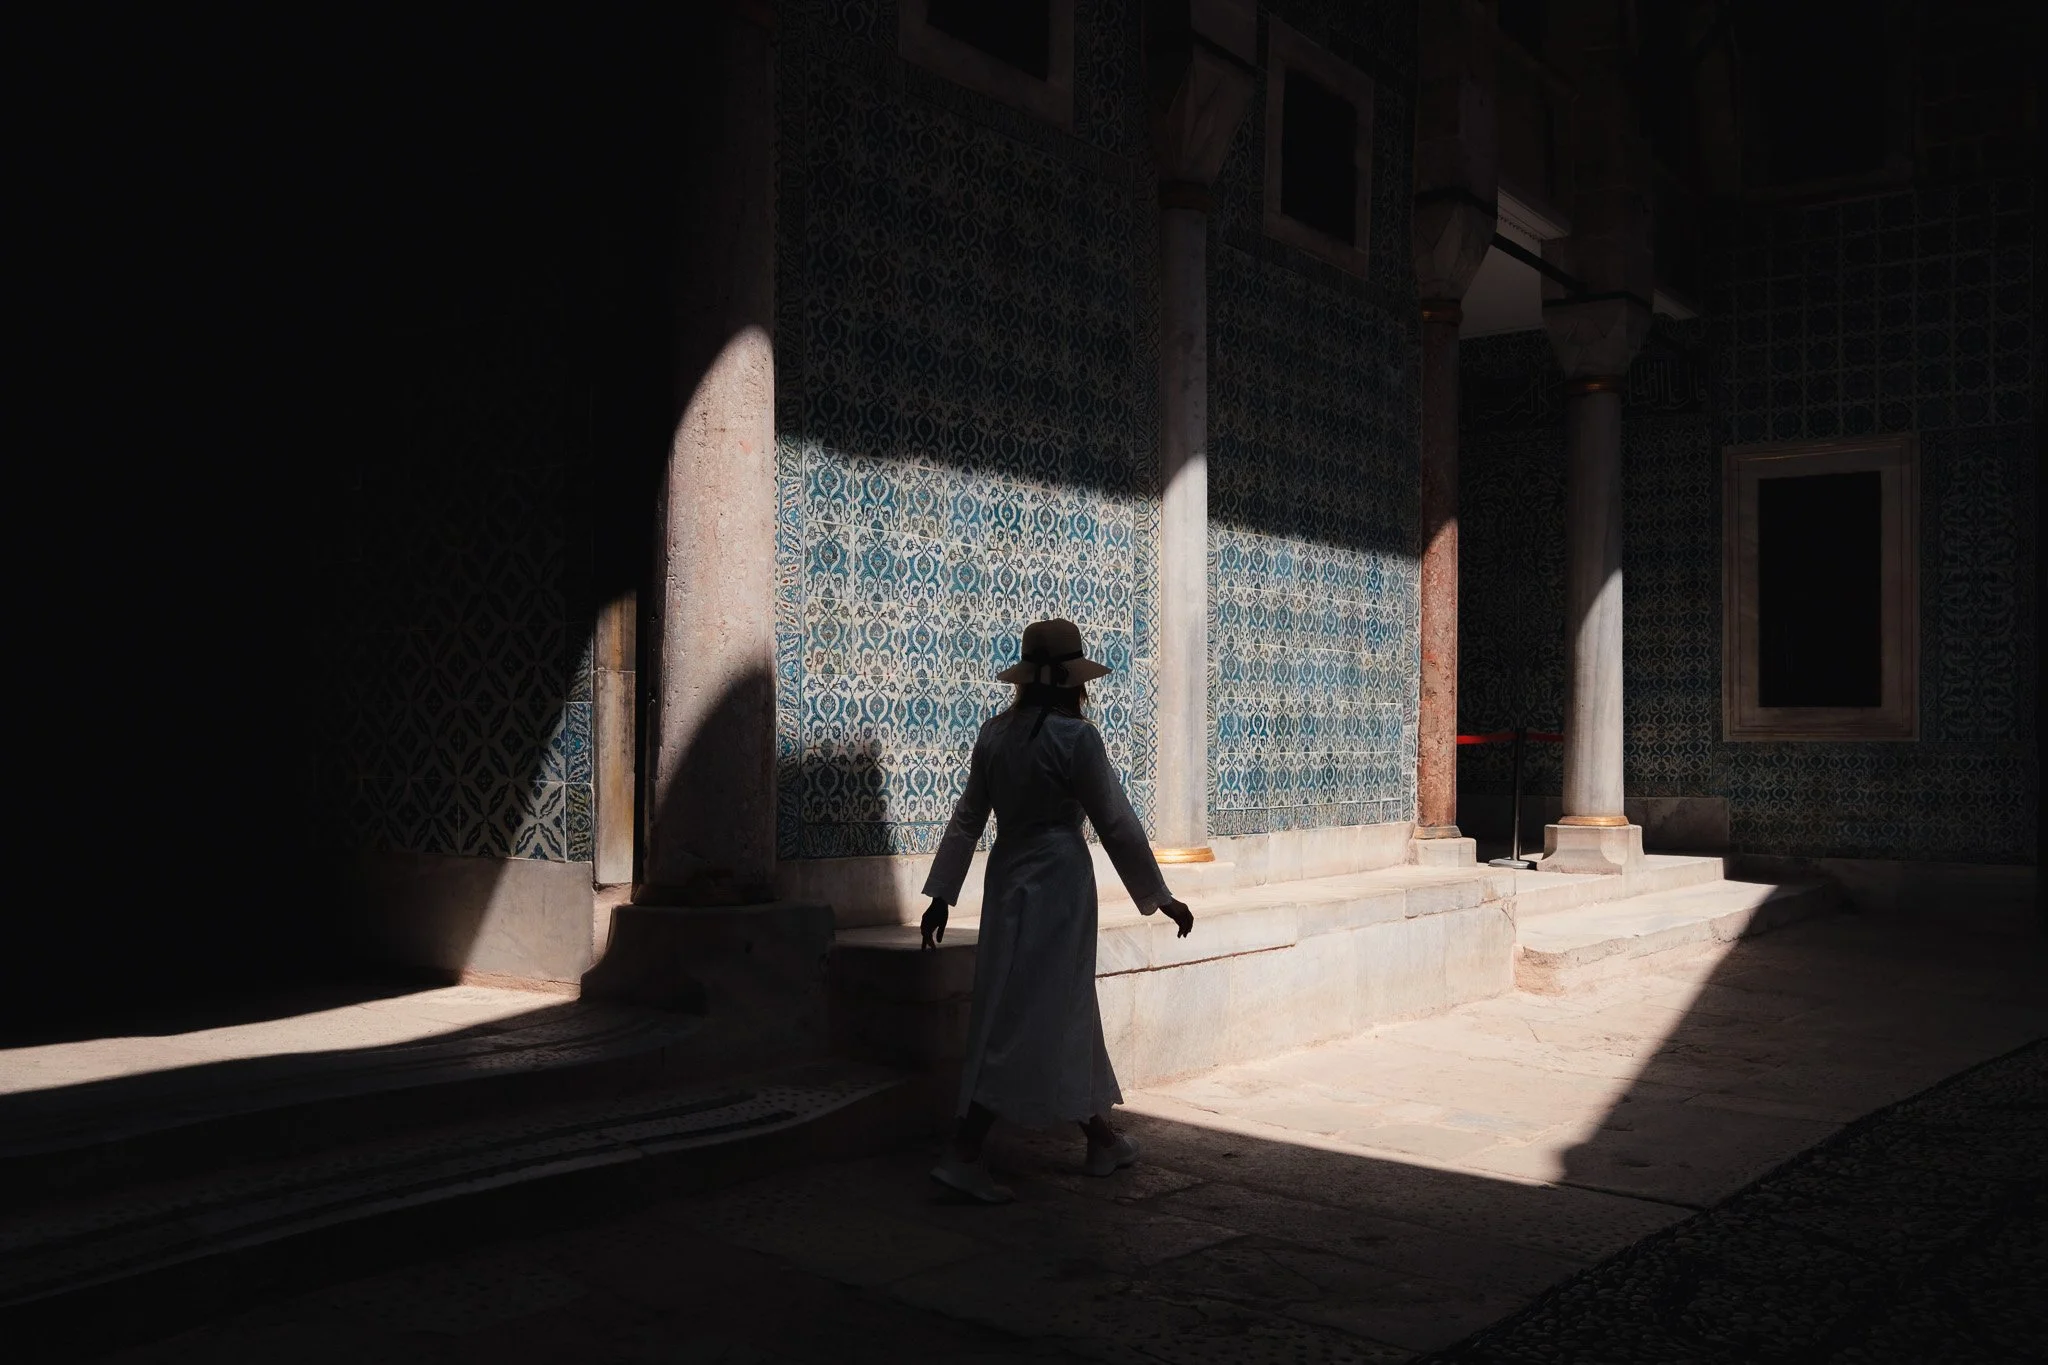
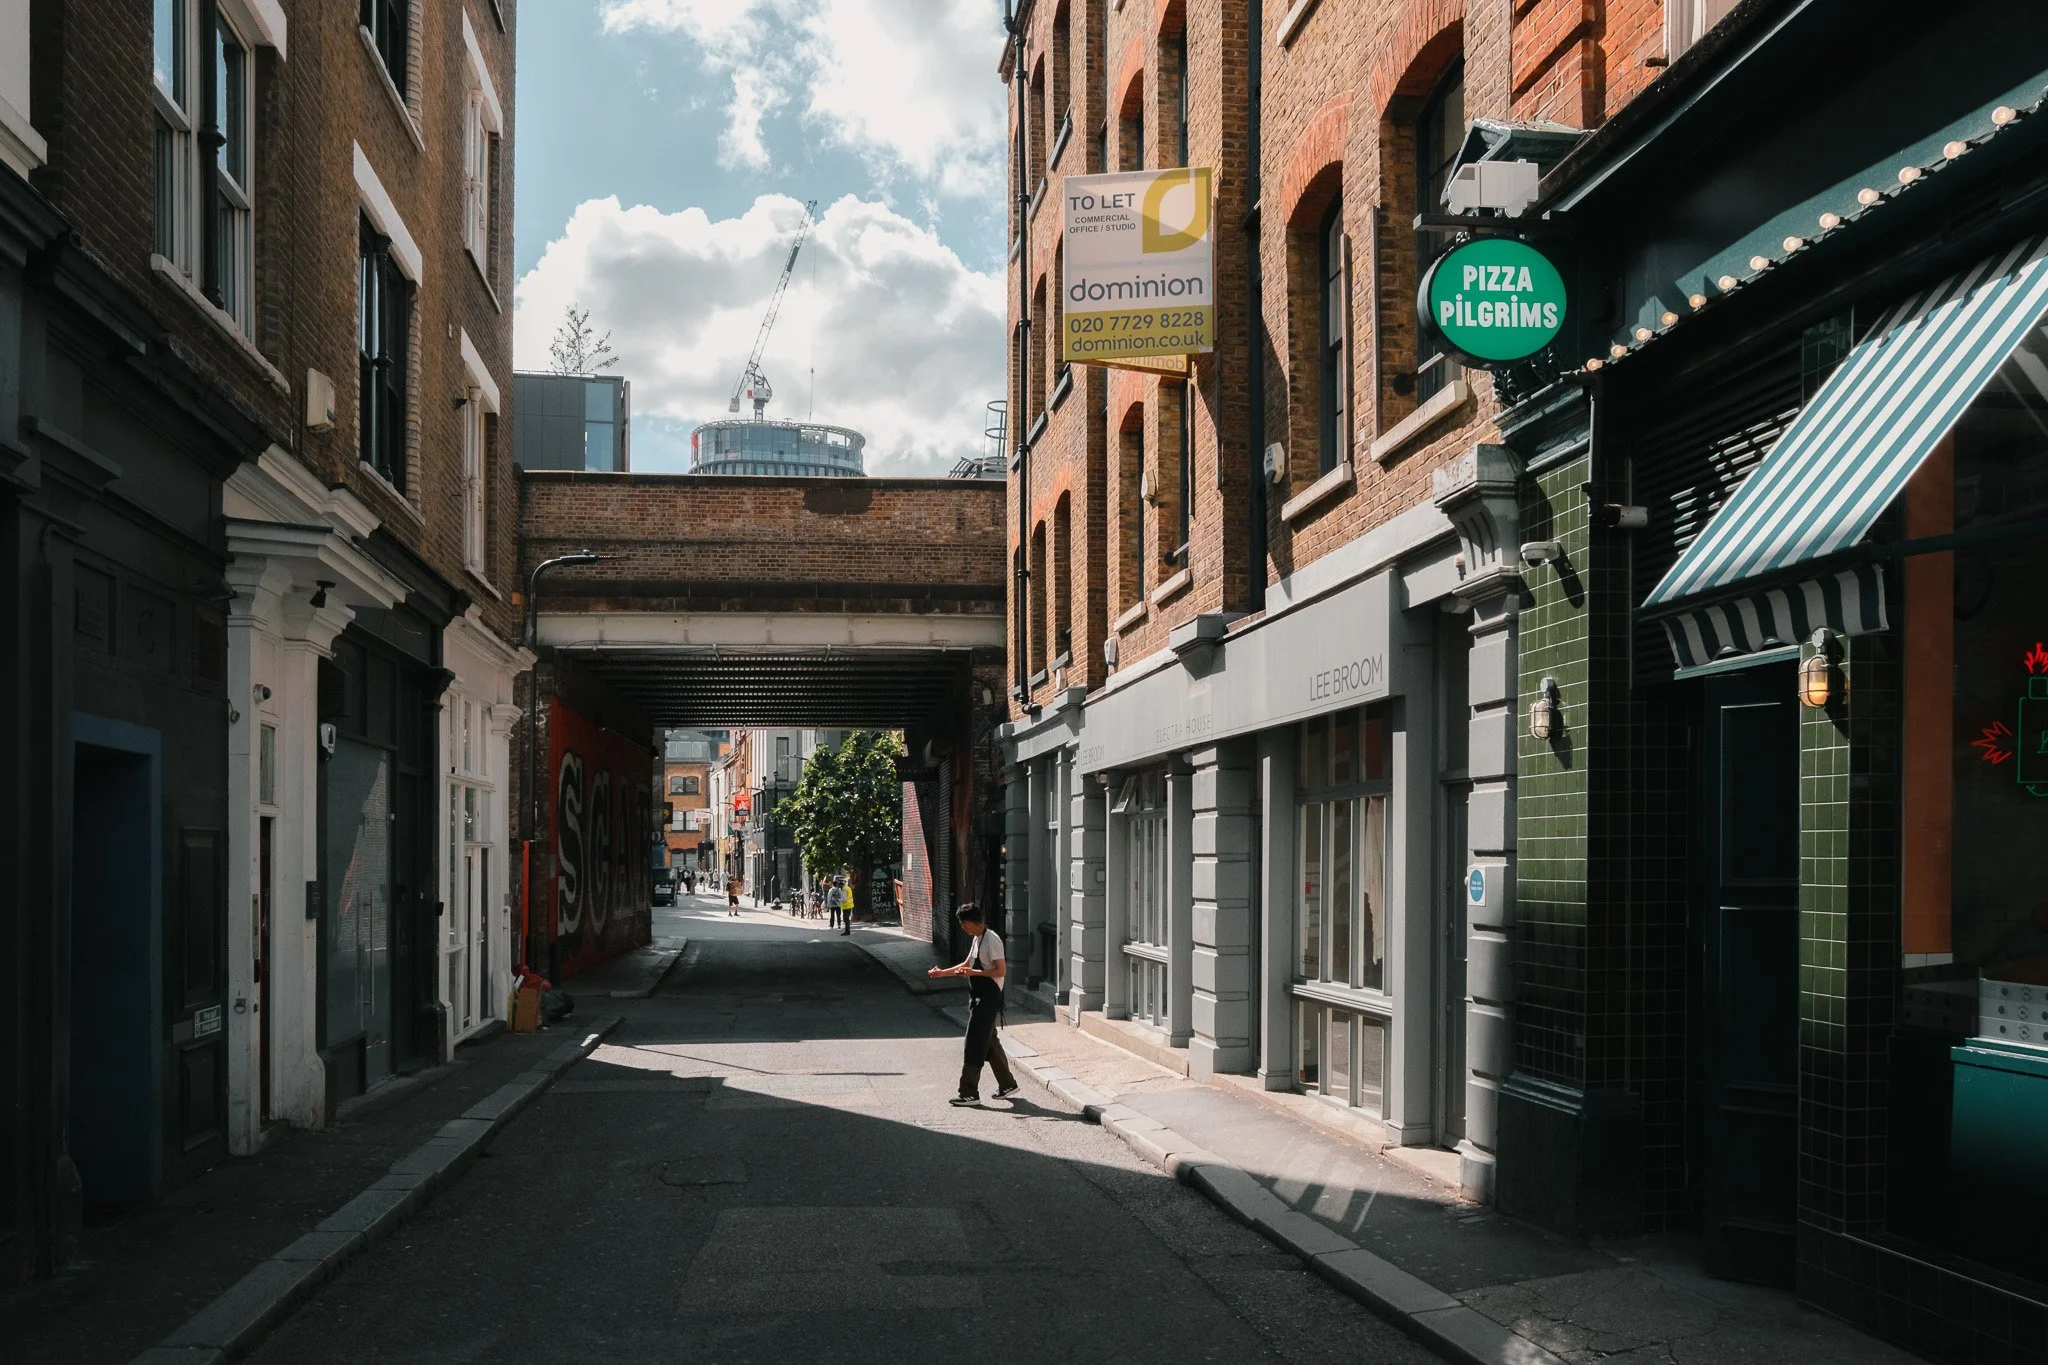
If changing your lens or going somewhere is not for you then the next method is to use light. For this you do need to shoot either in good sunlight or anywhere with enough contrast. Effectively you would want your subject or point of interest to be well lit and any distractions to fall into shadow or pure black.

For example this photo in Venice is taken at 28mm which is wide however the light was perfectly highlighting the subject and everything else was in shadow and out of the way. If I lift the shadows, you can see just how much noise is hidden.


This wouldn’t really work in flat light and you would need to find patches of light along with shadow areas. However most cities in most lighting conditions can offer this.
Composition
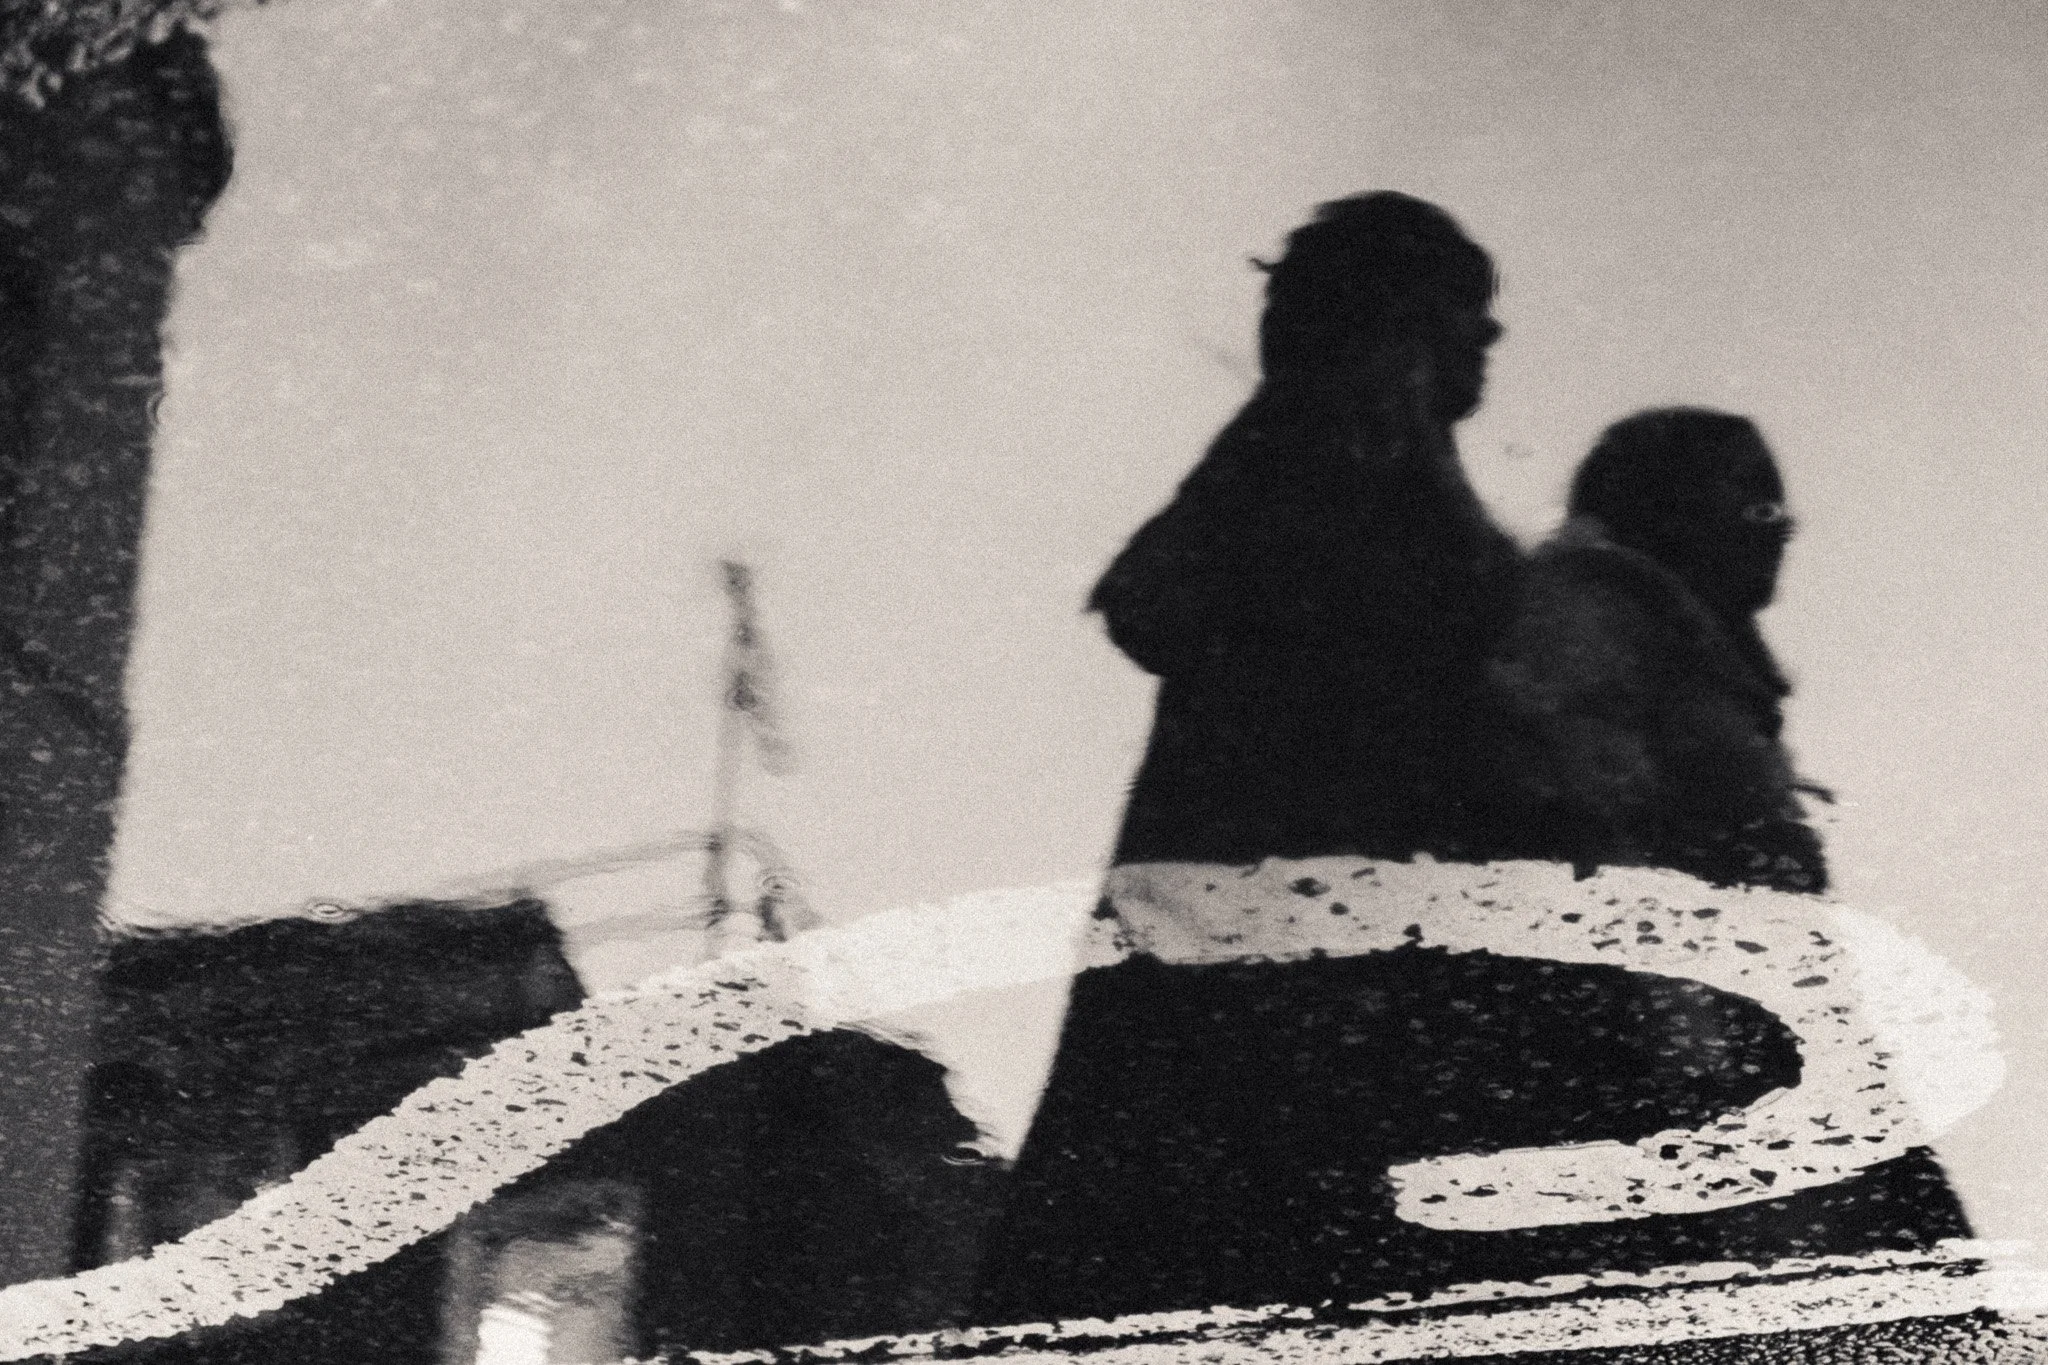
Now we are onto the most powerful way to simplify your photo. Composition is a big topic however there are some basic techniques that will make a huge difference.First of all shooting landscape or portrait is a choice. Some scenes work better with one or the other. Don’t just shoot portrait for social media or landscape for YouTube or a blog. Your decision of orientation should be entirely based on the scene. If unsure shoot both.
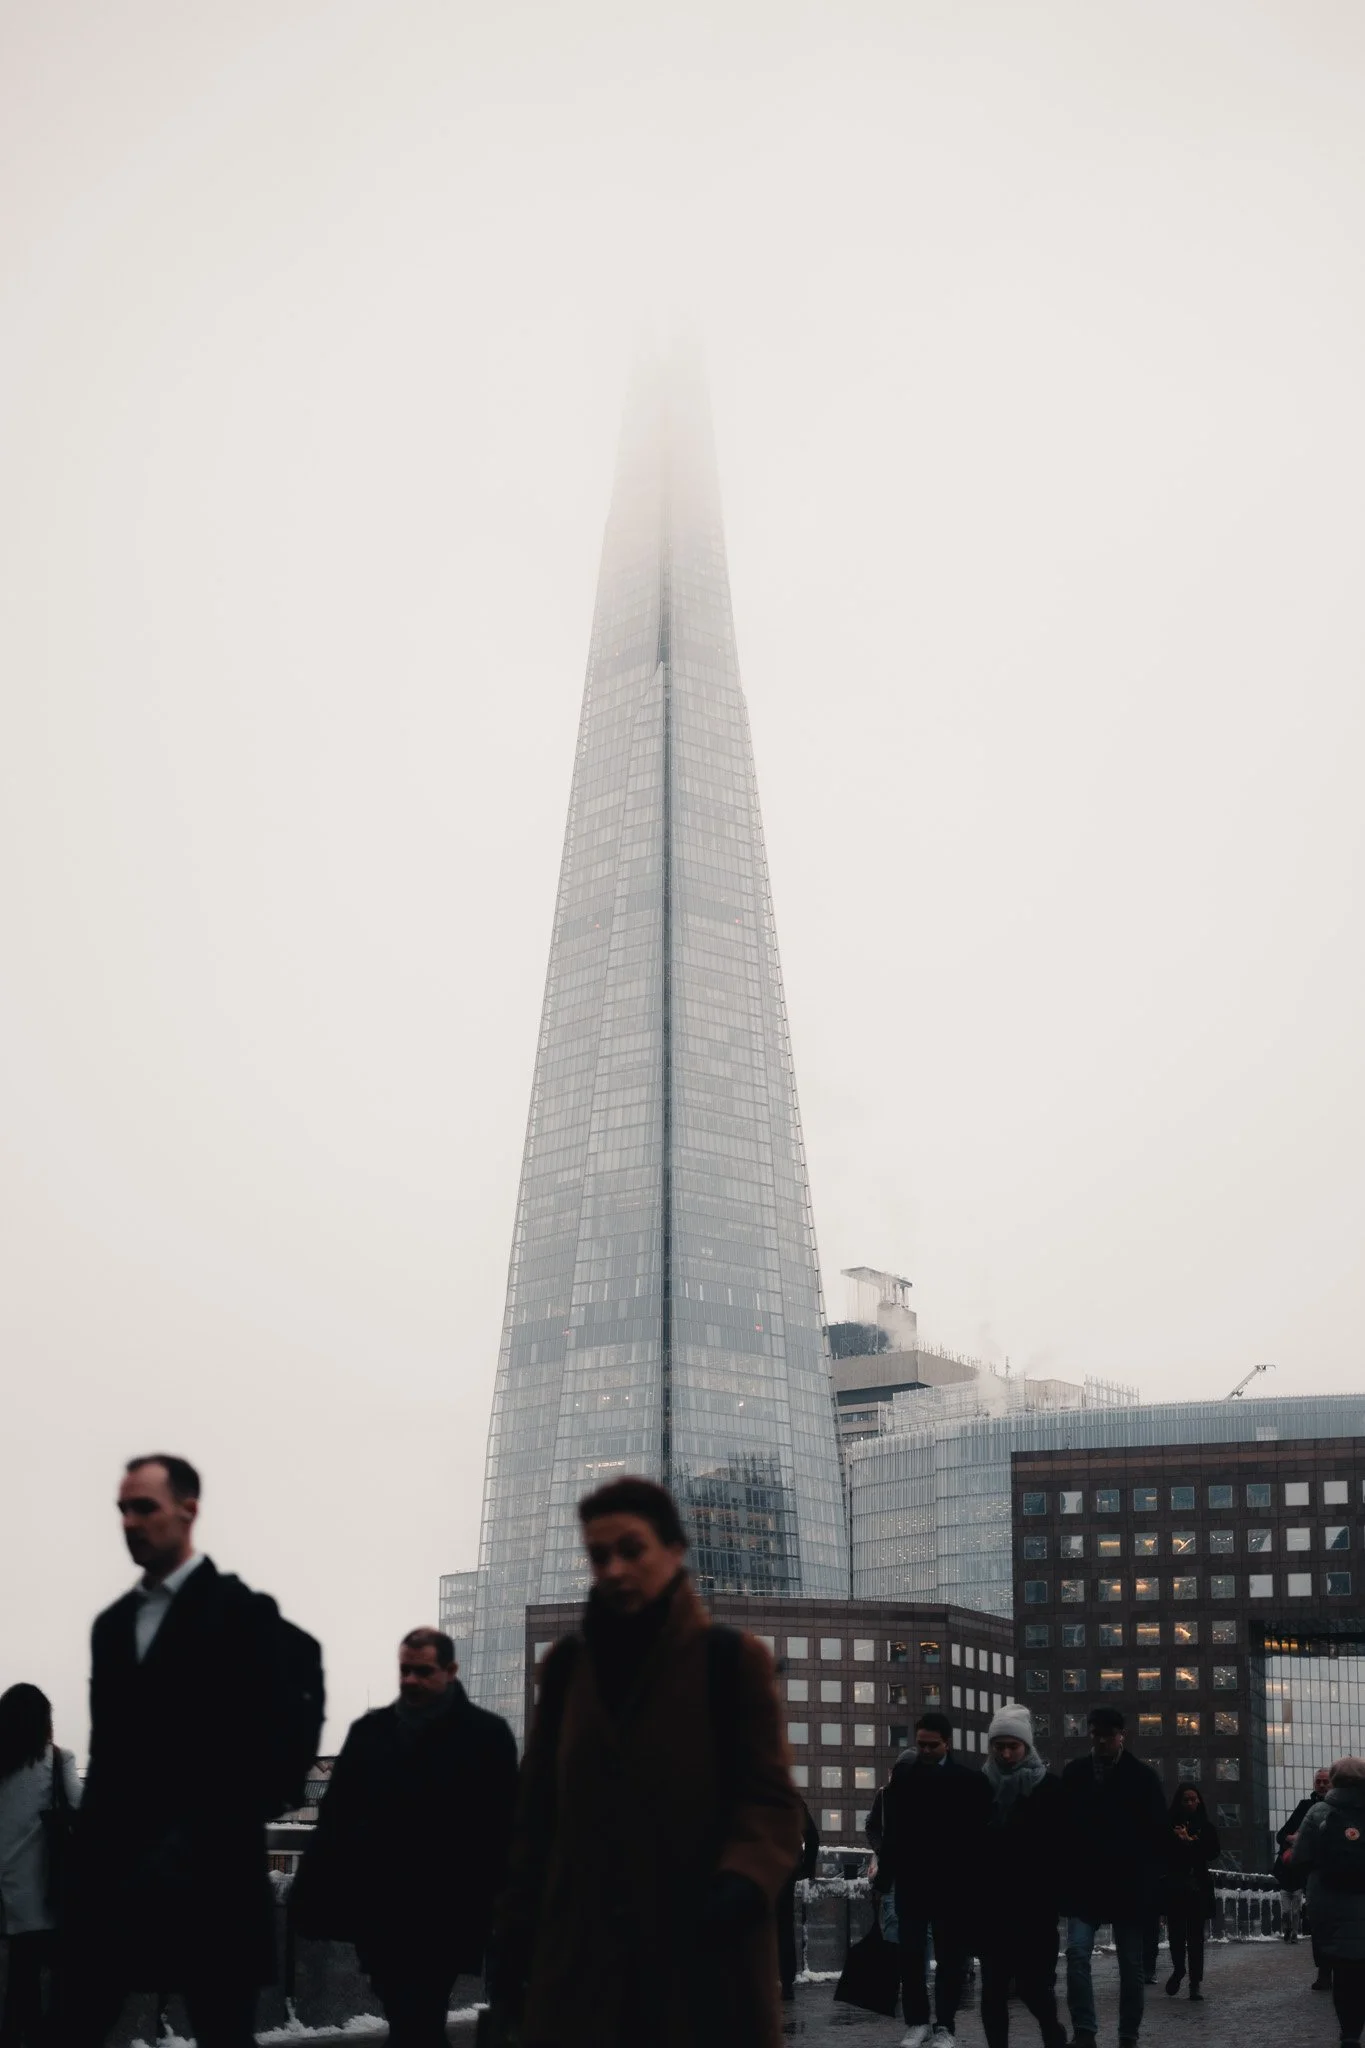
Aspect ration is also a consideration. Some photos will work better in a 4x5 ratio, some at 3x2 while others look best as squares. Always shoot in your cameras default and then you can adjust this later if needed.

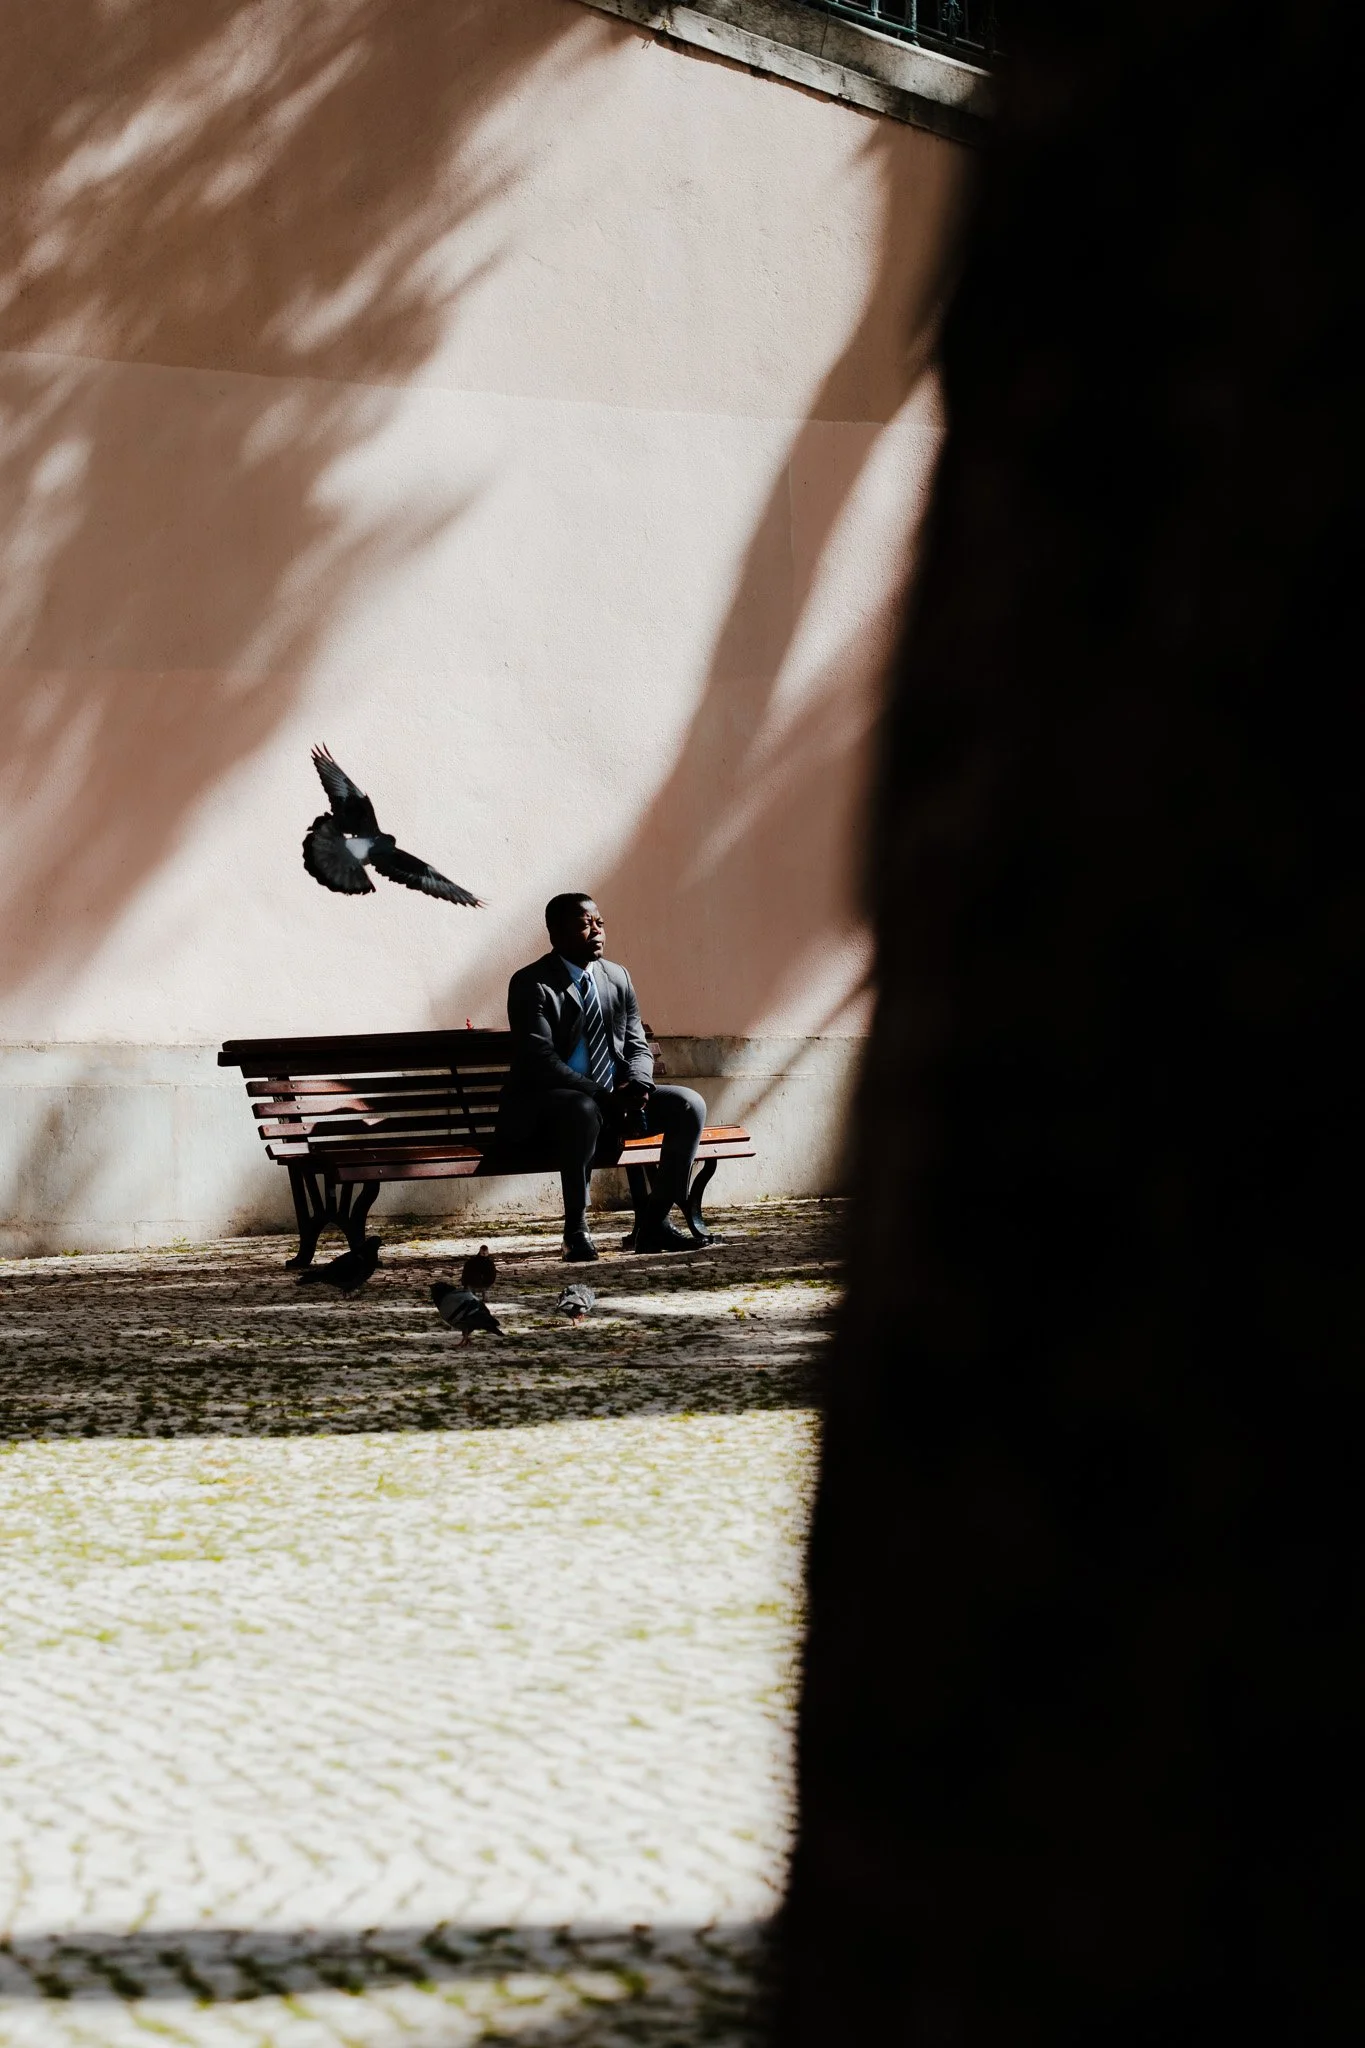
Next up use the environment around you to block off unnecessary parts of the image. For example this photo from Lisbon has a tree on the right hand side blocking half the image. What you don’t see is the overflowing bin and an empty bench. If I included these elements, the image would not be the same. By having a clean negative space, it simplifies the overall composition and keeps things tidy.
Finally your photos don’t always need to be eye level. Perhaps shooting from the hip will make for a cleaner image. Or maybe a top down will look better. I suggest experiment and over time you will develop a good gut feeling for how to shoot a particular scene.
One Clear Subject
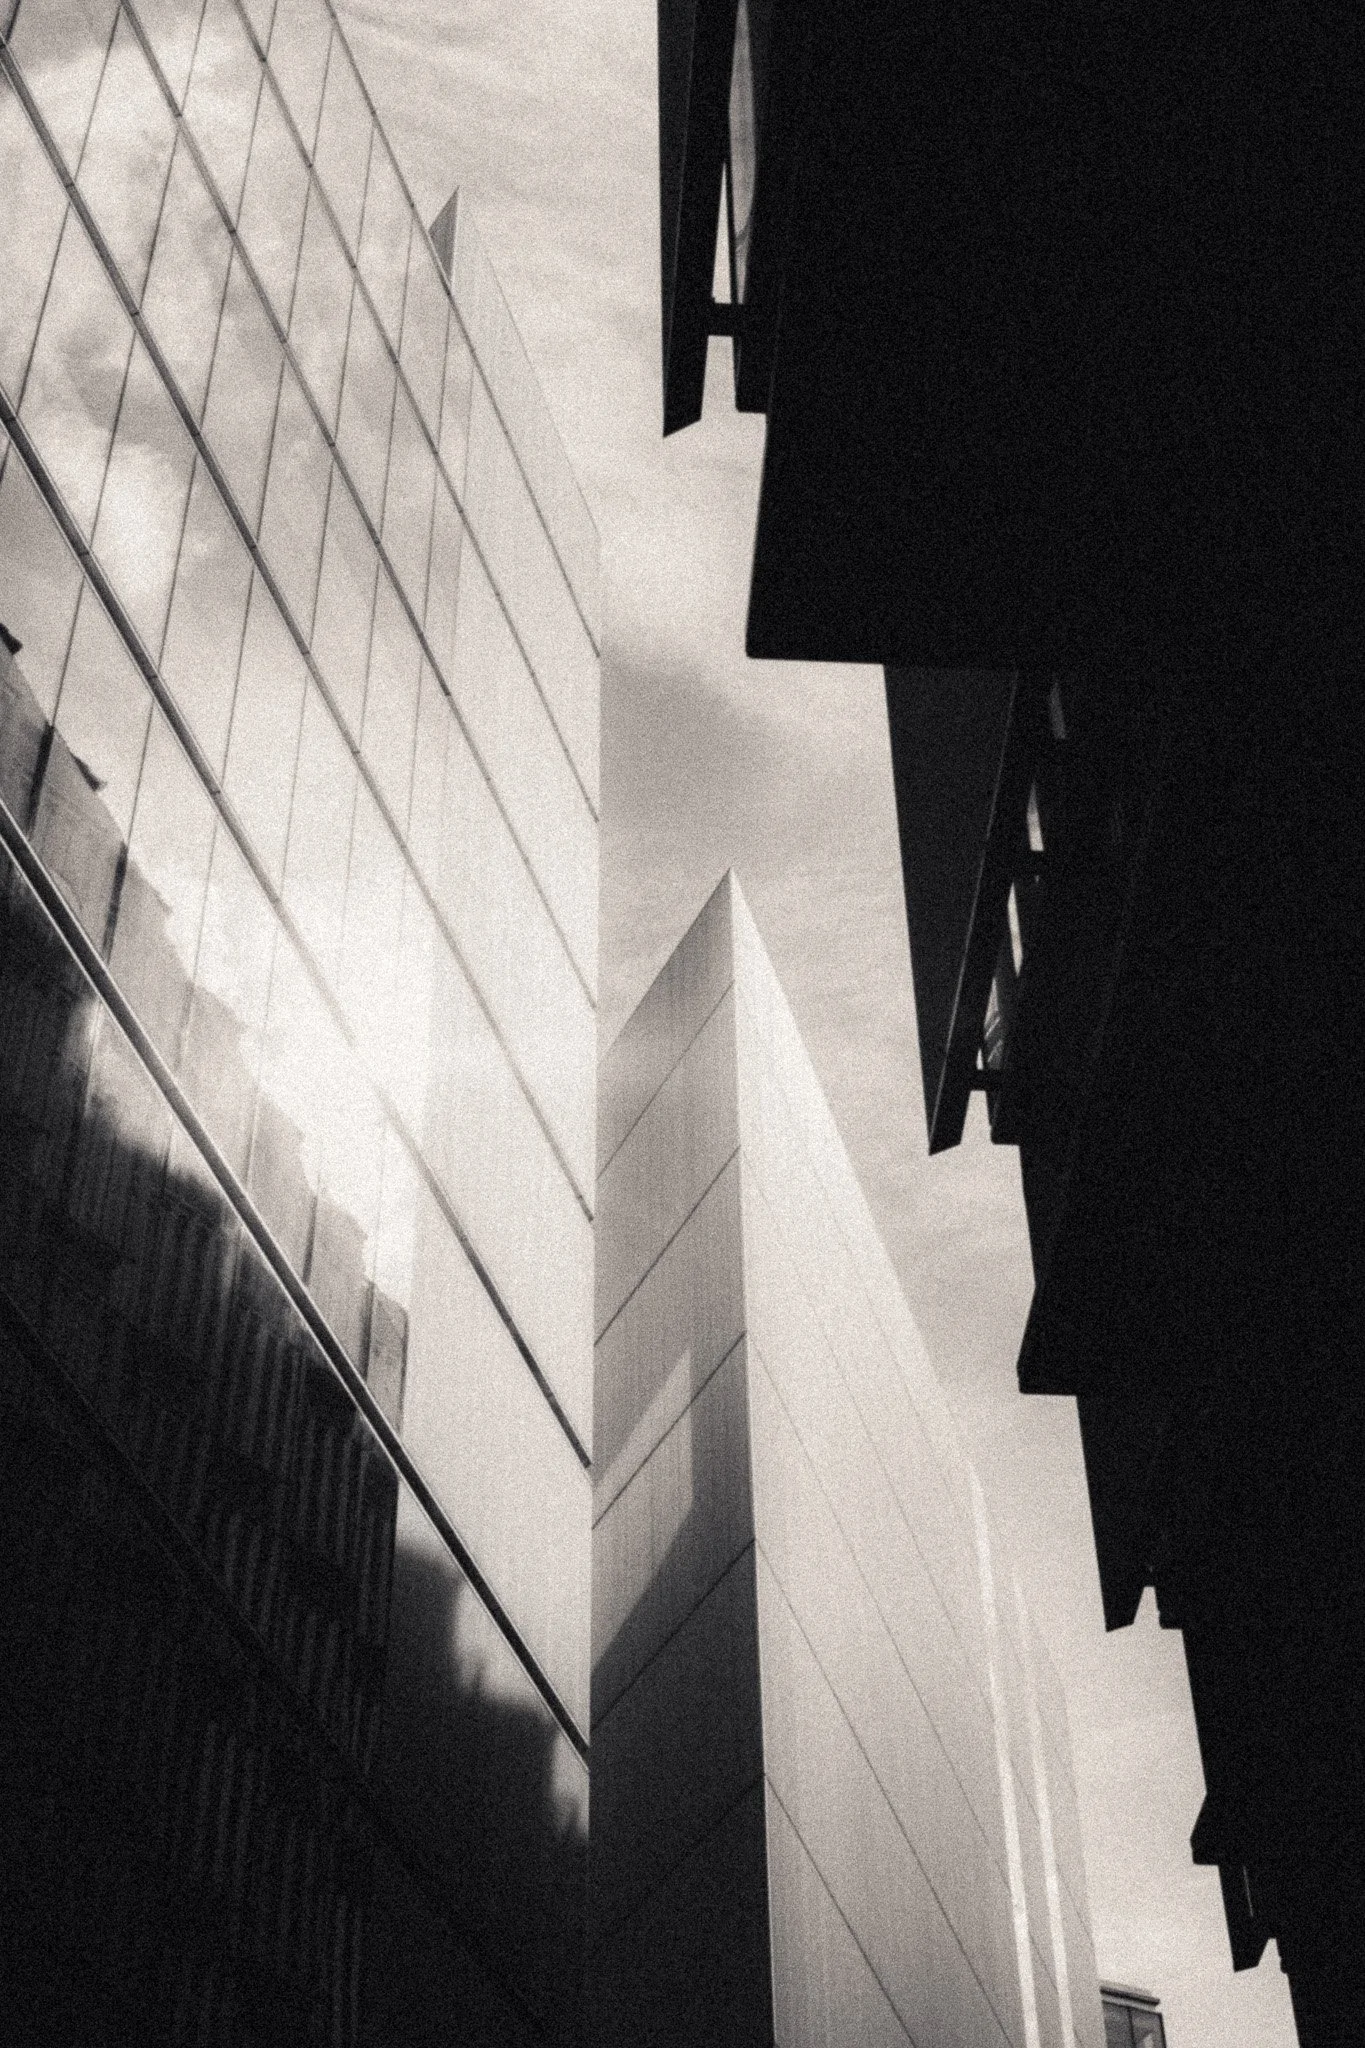
Try to make sure each photo has one or max two clear subjects that stand out. When someone looks at your image, they should be immediately drawn to where you want them to look. If they are scanning your image trying to figure out what they should be looking at, chances are they will get bored and stop looking. Remember, when someone is confused they usually lose interest, say no or walk away. With that in mind, make sure your image has one or two clear strong subjects that will catch attention.
Editing
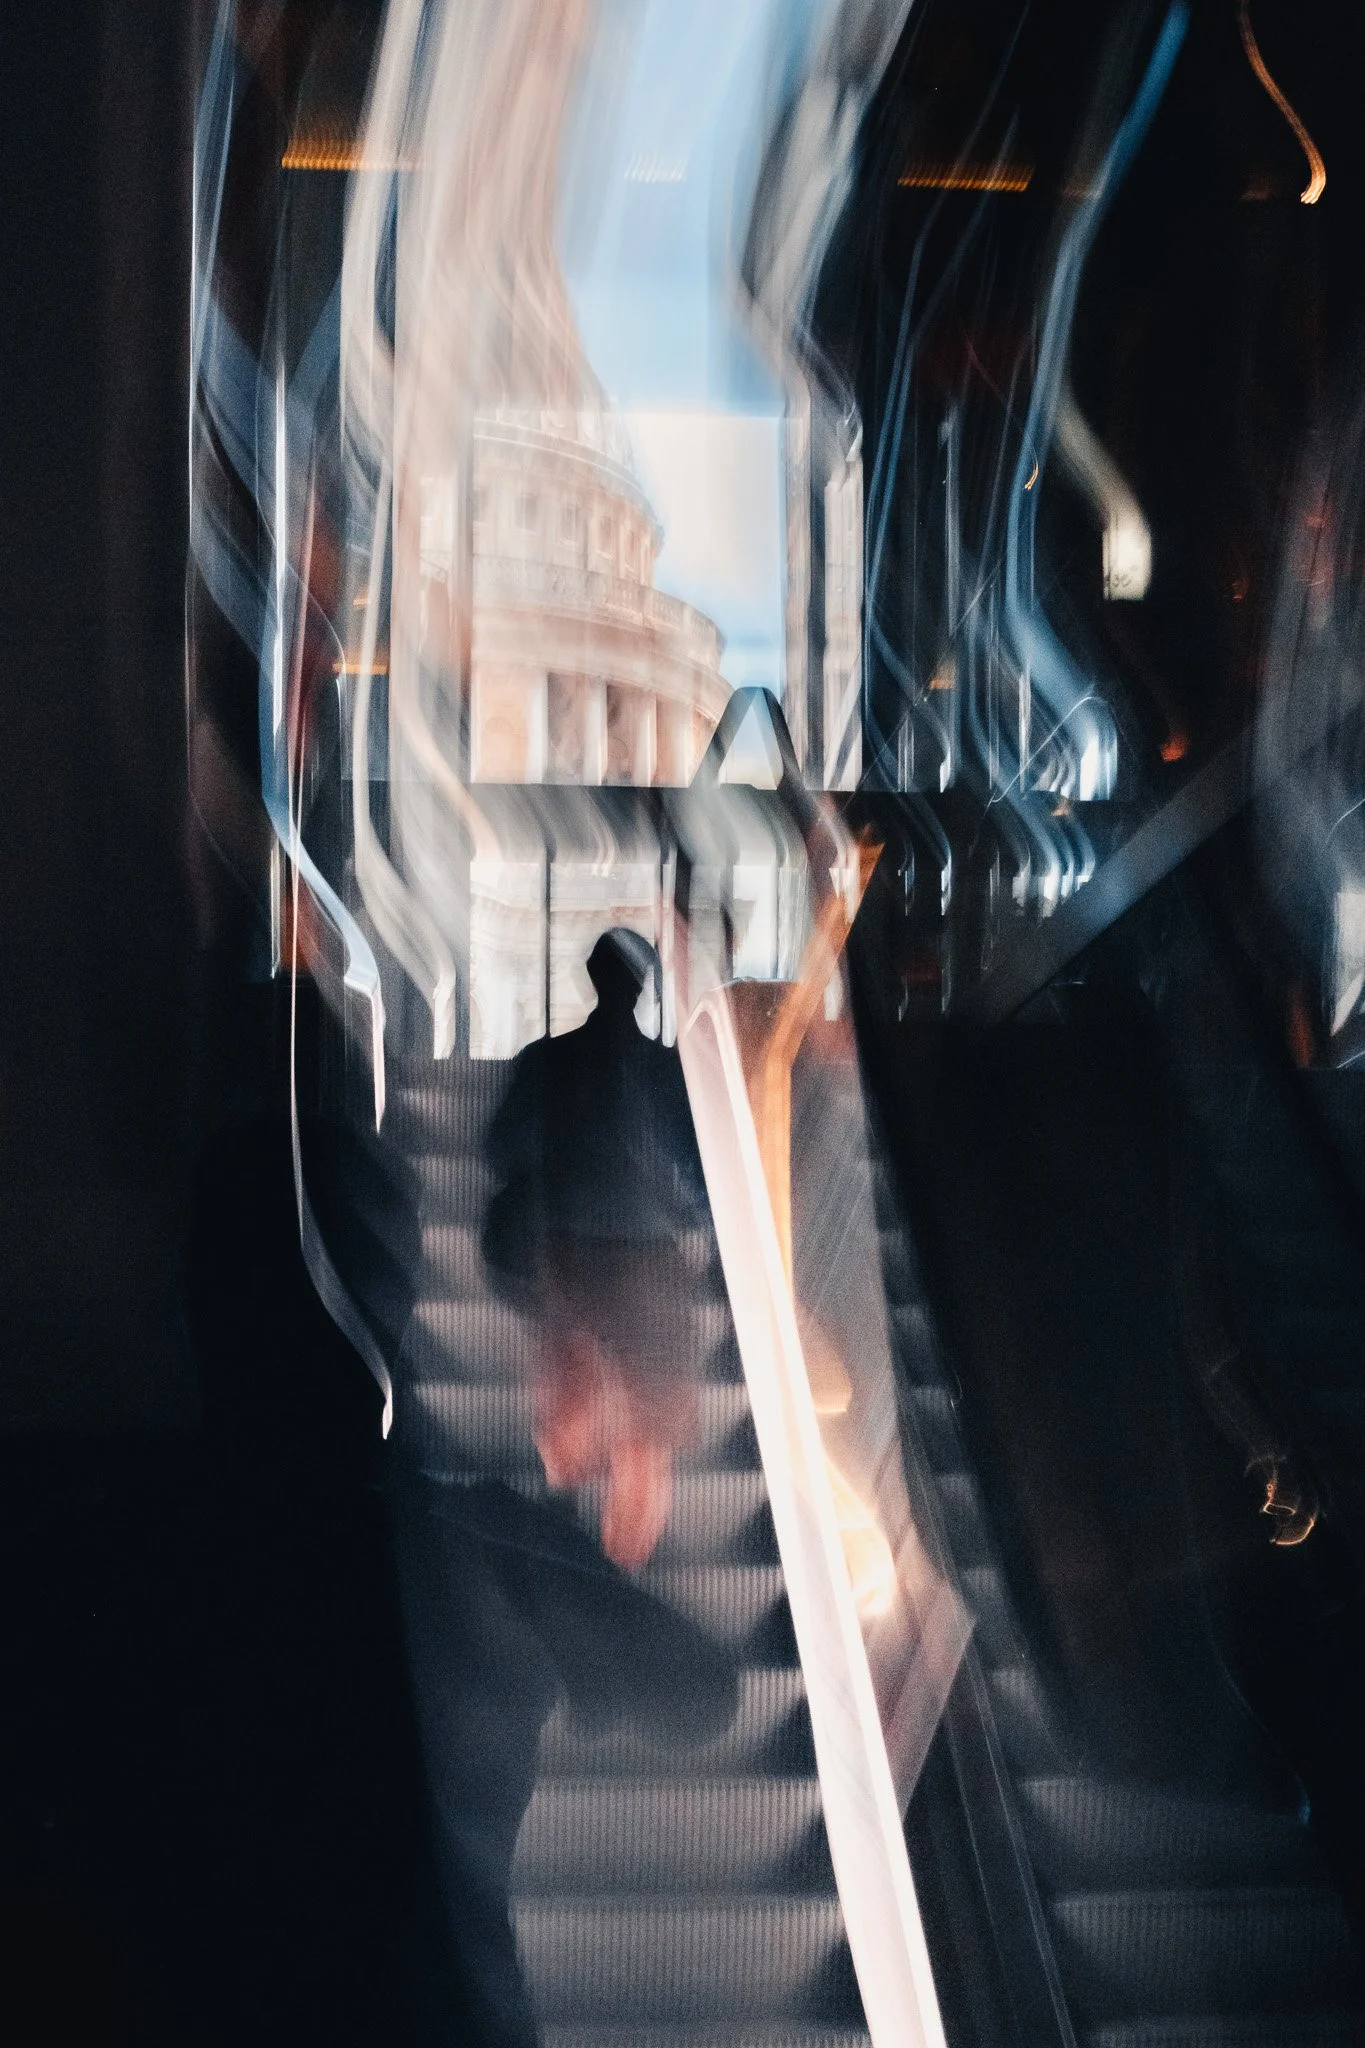
Finally you can use editing to further simplify your photos. First up you can exaggerate the light and shadow areas to further hide or show certain parts of the image. You can do this by adjusting the global exposure, highlights, shadows, whites and blacks.
Another thing you can do if you have many different colours is to bring some colours closer to each other.This can be done using HSL however honesty I can count on one hand how many times I’ve done this.

Of course you have the crop tool to help you refine your composition further. This is where you can recompose and put more weight on a specific part of the image. This is where shooting a little wider can help by giving you room to move. This is also where high megapixel cameras become really useful.
Finally use the spot removal tool to remove and distractions, rubbish and dust spots. I use this to remove small bits of rubbish from the floor or unwanted distractions from the edges of the frame.















Instead of telling you how these will change your life, I would rather be practical and answer the most common questions that people tend to have when buying presets.
What are presets?
They are editing settings that are saved in a file and can be applied to any image.
Why do people buy presets?
Sometimes because they like the work of the photographer and want that style for their own photos. Mostly because they would like to see how other people edit and learn by reverse engineering the presets. Other times it’s just to support their favourite photographers, thank you!
What’s the overall style of these presets?
- Filmic
- Warm
- Soft
- Bright
What are these presets suitable for?
Street & Travel Photography
Some Nature (with further editing)
Some Portraits (with extensive editing)
Do I actually use these?
Yes. This is the same pack I use right now for all my editing. This isn’t a pack made just to sell.
Do these presets get updated?
Yes, as my style changes, these presets will also be updated. Any time a new update is available, you will get a free update via email. Of course you also keep all the old presets in case you prefer the older looks. Only presets purchased from 2025 onwards will receive the updates.
What file types are these presets for?
- All RAW files
- JPEGs & TIFFs (not recommended)
What camera brands are these presets for?
These were designed around Fujifilm, Sony, and Leica sensors. With that said, they will work with all camera brands. While there might be differences due to individual camera colour science, the overall feel of the preset will carry over.
Will these work with JPEG files?
Yes, but you will need to reduce the intensity and make further edits. I strongly recommend editing RAW files.
Are these one click edits?
95% No. You would need to do some basic adjustments as each image is different. These adjustments can include exposure, colour balance etc. In 5% of cases you can just apply and leave it alone.
Do I need to know how to edit?
You need to have a basic understanding of adjusting exposure, highlights, shadows, etc. A more comprehensive editing skillset will let you get the most out of them.
How many presets are included?
10 in the main pack and 24 in the extras pack
Why two packs?
The main pack is what I use for 99% of my edits and is kept small to reduce wasted time scrolling through presets. The extras pack is everything I don’t use often.
What software do I need?
These presets will work with any of the following:
- Photoshop (adobe camera raw)
- Lightroom Classic
- Lightroom Desktop
- Lightroom Mobile
Will these presets work with free versions of the above software?
You need to research and double check before buying. These presets were designed for the full paid versions.
Will these presets work with very old versions of the above software?
You need to research and double check before buying. These presets were designed on and for the latest software.
What file type do I get?
XMP
What else do I get?
- Comprehensive PDF guide
Can I modify these and turn them into my own?
Yes! In fact I encourage you to modify them and play around. Use these to help you get your own style.
I have more questions…. What do I do?
Make a cup of tea and drop me an email on hello@snapsbyfox.com
Please note that due to the nature of digital products, refunds are generally not accepted. However, if you experience any issues, feel free to contact me and I’ll review your situation individually. You are welcome to use this product for personal or commercial projects, but you may not copy, distribute, or resell the files in their original or modified form.
Finally I want to say a massive thank you for supporting me. Buying these presets is the most direct way you can support my work.
Thank you!