
50mm Lens | How To Shoot
In this blog I will share some tips and advice on how to shoot with a 50mm prime lens. 50mm is a classic focal length loved by photographers from all genres and walks of life. For many of us, it was our first prime, and the first time we properly got to blur the background while taking a photo of a flower.
As I progressed in this craft, the 50mm stayed with me, and to this day it remains a critical part of my photography kit. In a previous blog I talked about the 35mm being my travel and everyday carry lens. I even said that it would be my one lens for life, a statement I firmly stand by. However, the 50mm is what I default to when I want to zone in on street photography. If I’m about to hit the streets in a big city, the 35mm doesn’t even enter the conversation. It’s 50mm all the way.
Look ahead
In my previous life I used to test cars for a living and had to go through a heap of different driver training. One of those training sessions involved learning how to drift a car. Specifically, how to get the back out and keep it sliding indefinitely. Much harder than it looks.
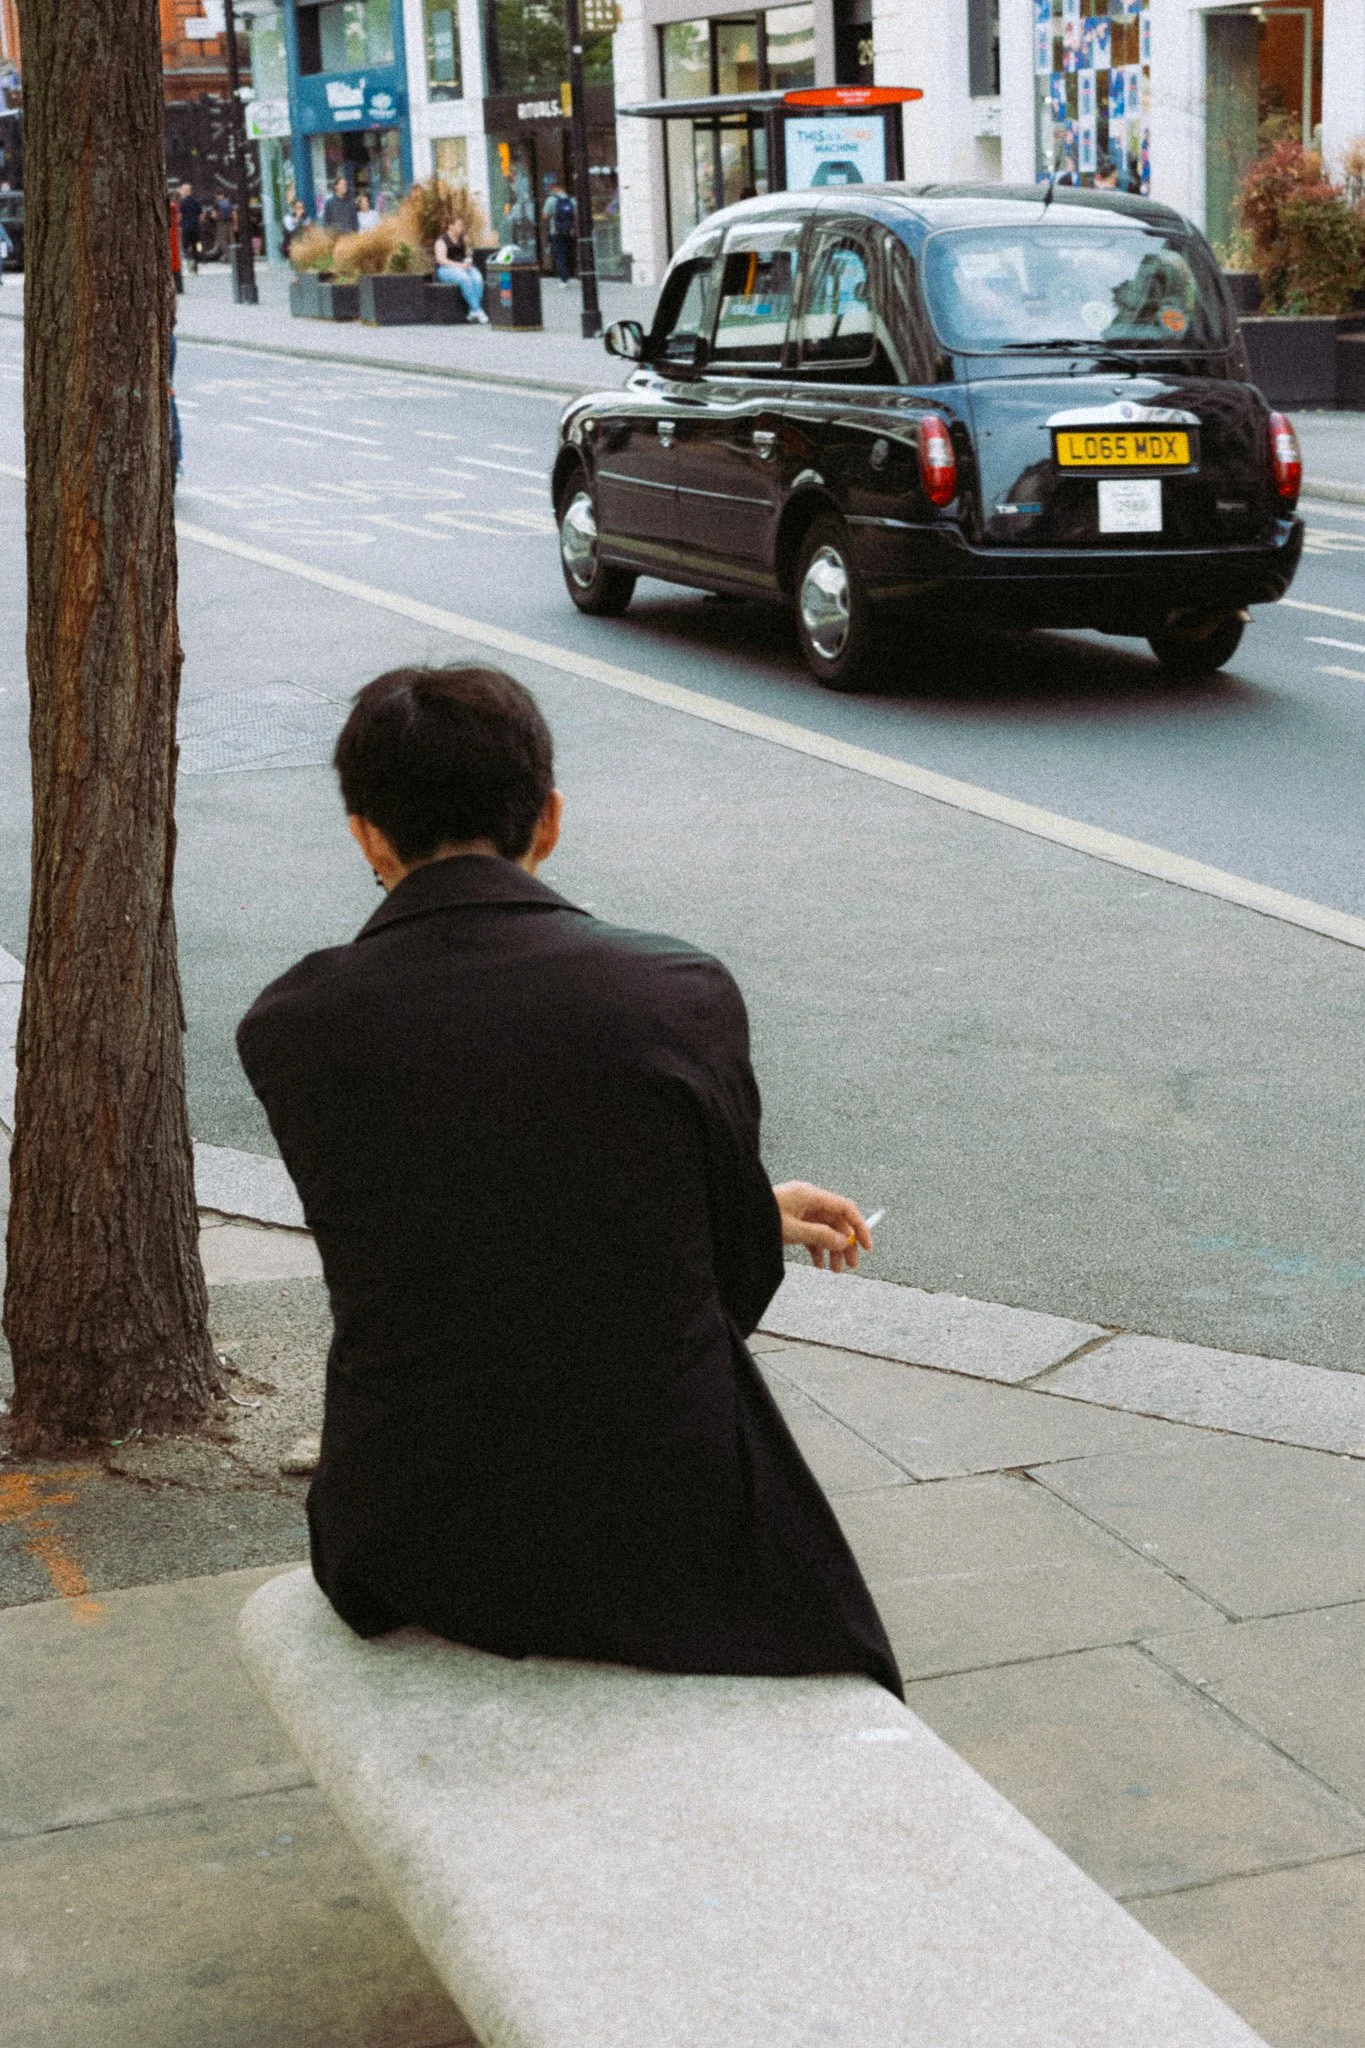
One of the first lessons the instructor taught me was to look ahead to where you will be soon, not where you are right now. This is because you will subconsciously adjust the car to keep it sliding, whereas if you only look directly in front of you, your reactions will be slower and you will spin out.
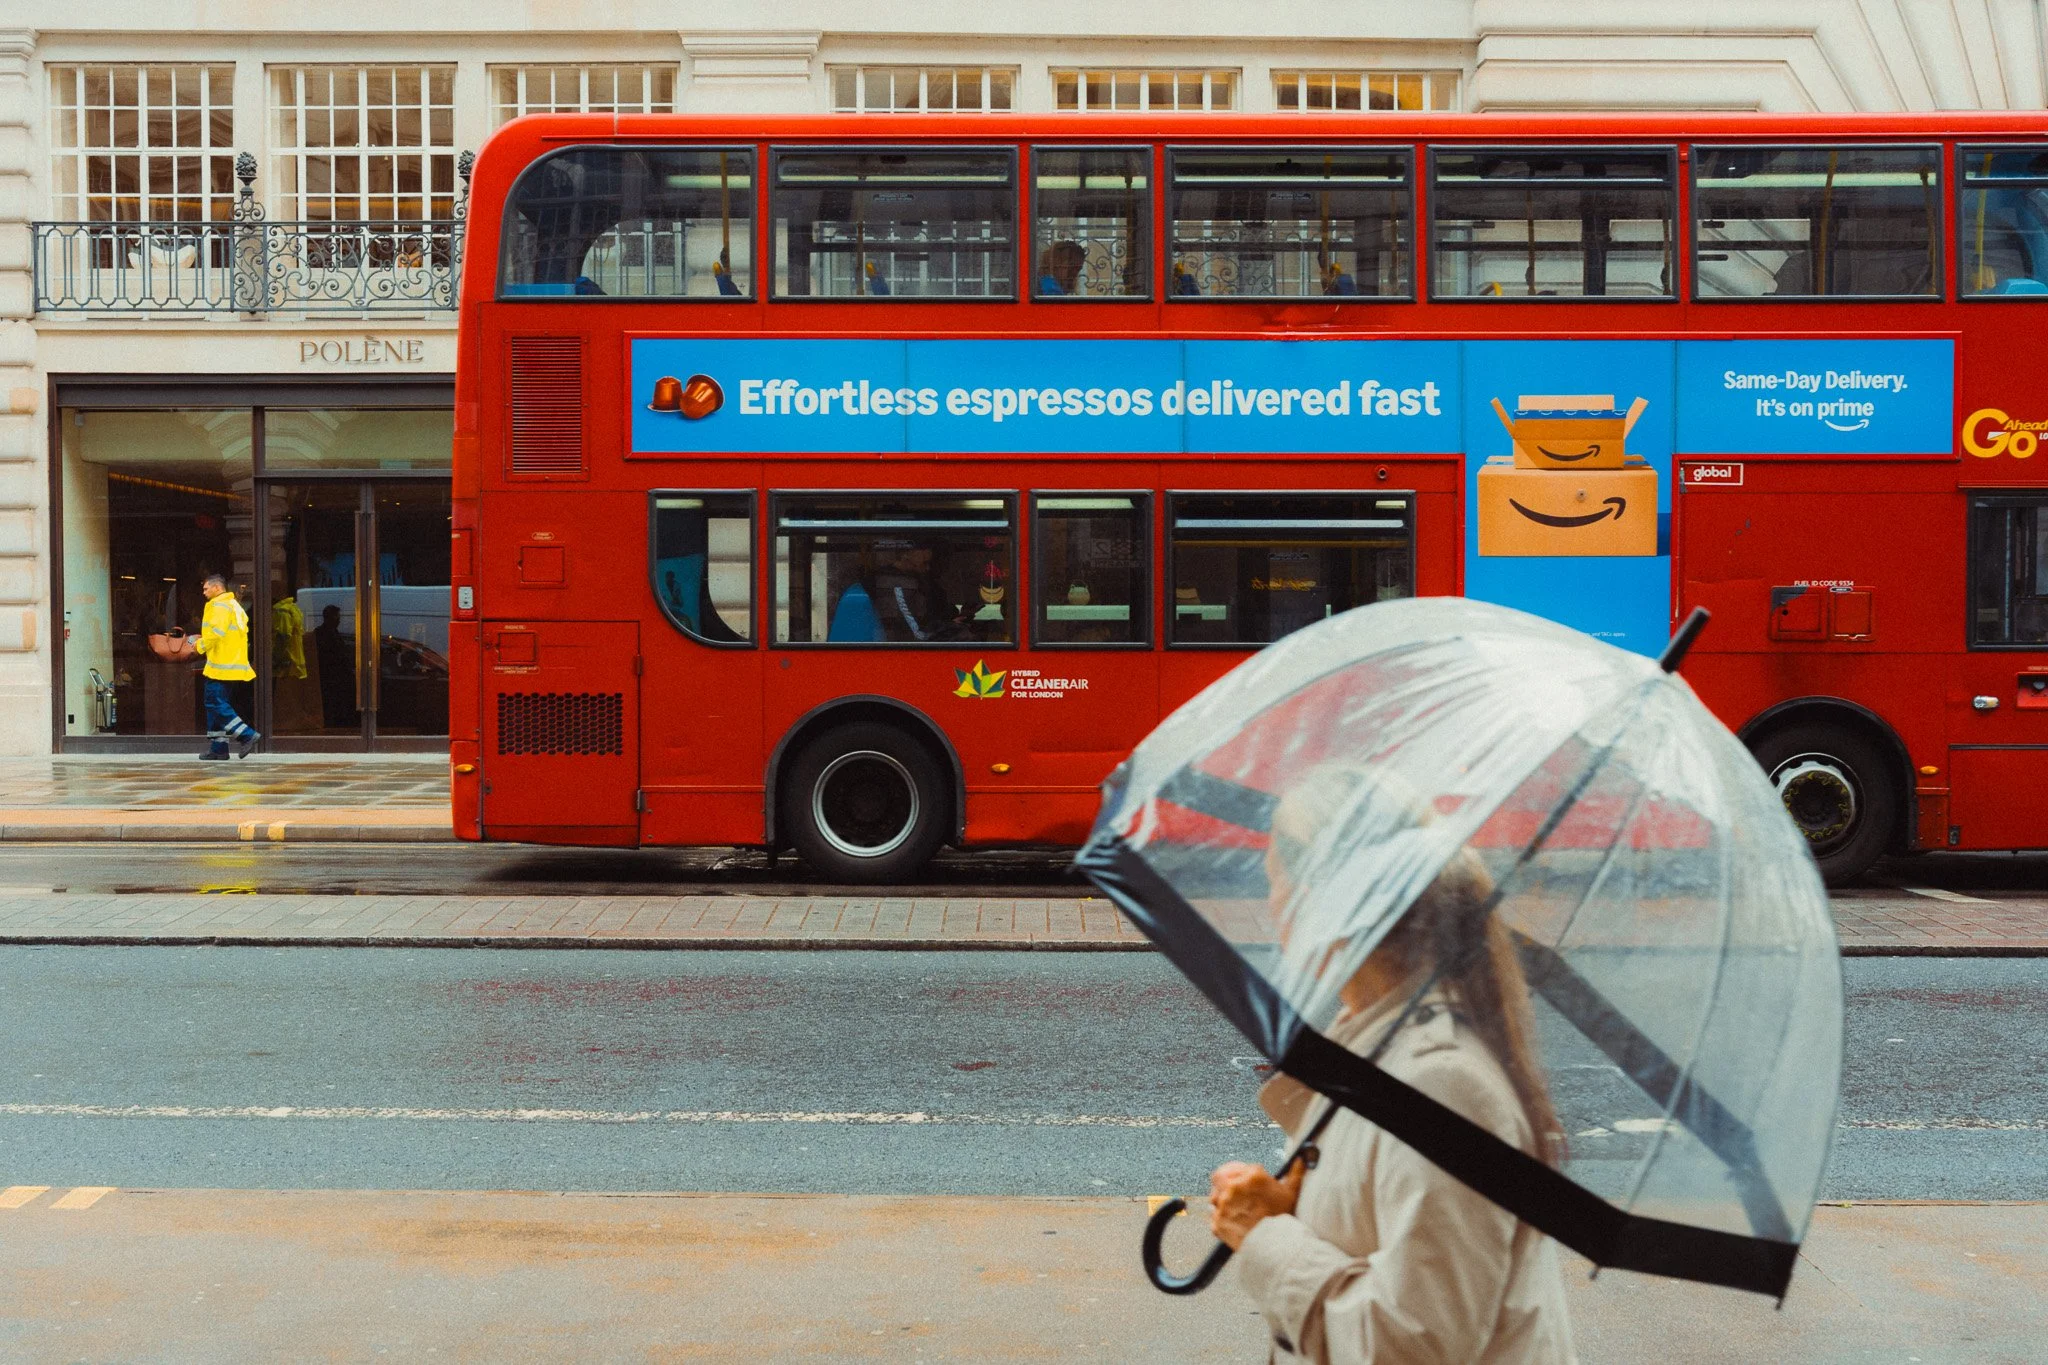
The same logic applies to shooting with a 50mm lens. When you’re using a 28mm or even a 35mm, you tend to look at what’s right in front of you. However, with a 50mm, that approach will result in missed photos because you will react too late. So rather than looking a few metres ahead, try looking 10 to 20 metres ahead. That doesn’t mean your photos will be taken from that far away, it just means that you have more time to prepare for anything you see.
Slow down
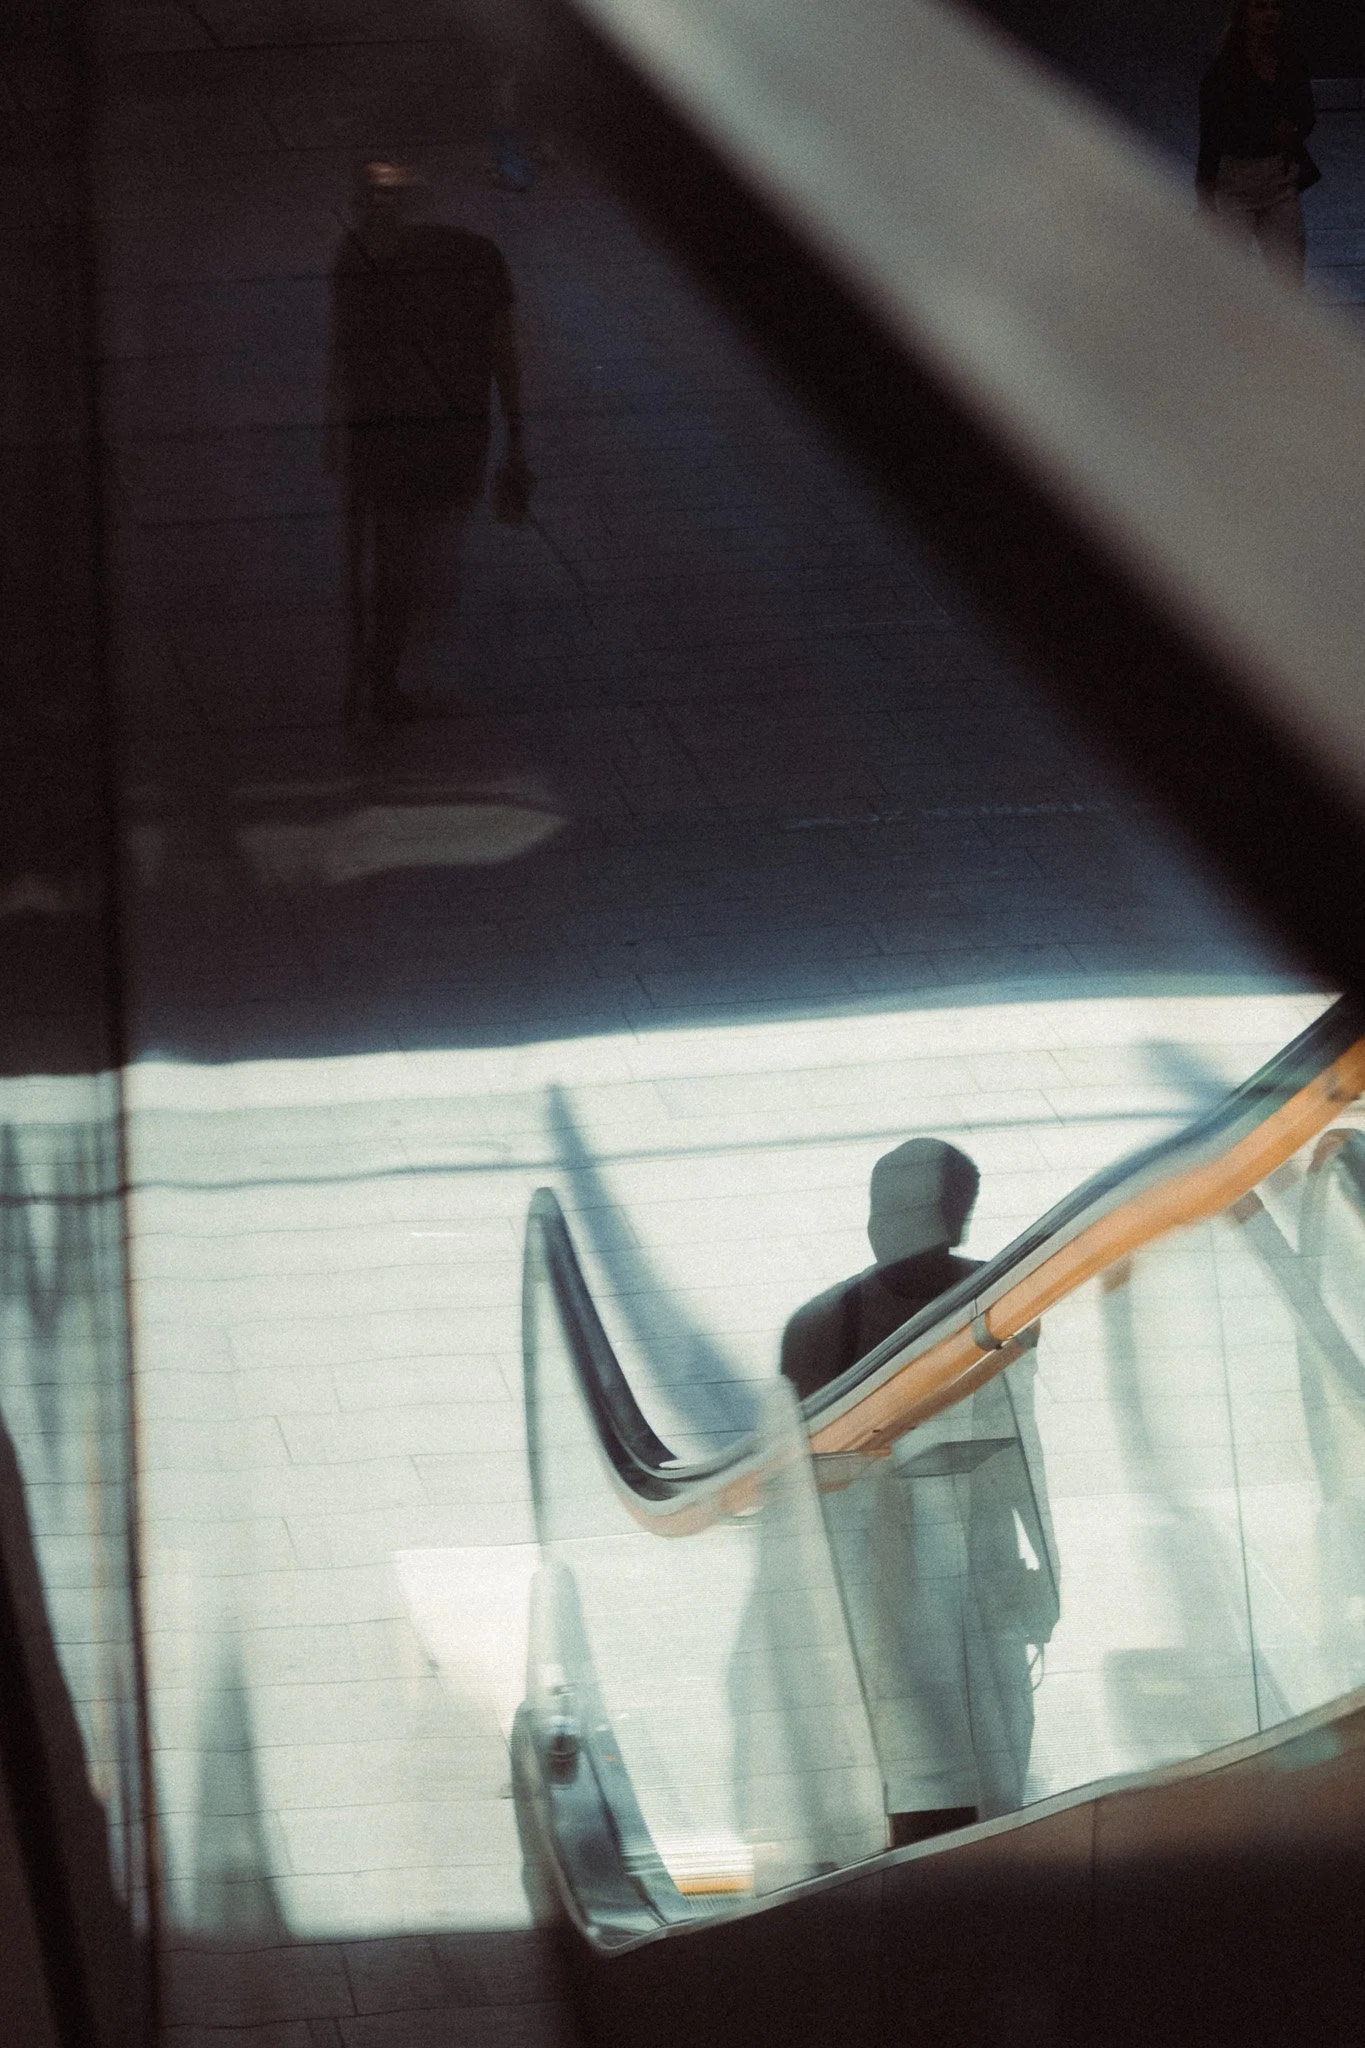
I’ve watched plenty of street photographers who shoot at 28mm and they are lightning fast. They have almost no time to ponder as the action happens right in front of their eyes. With a 50mm, you have the luxury of slowing down and letting the scene play out before shooting. This will give you the mental space to be more selective and specific with your shots. It will also help you avoid blurry photos when shooting with lower shutter speed values.
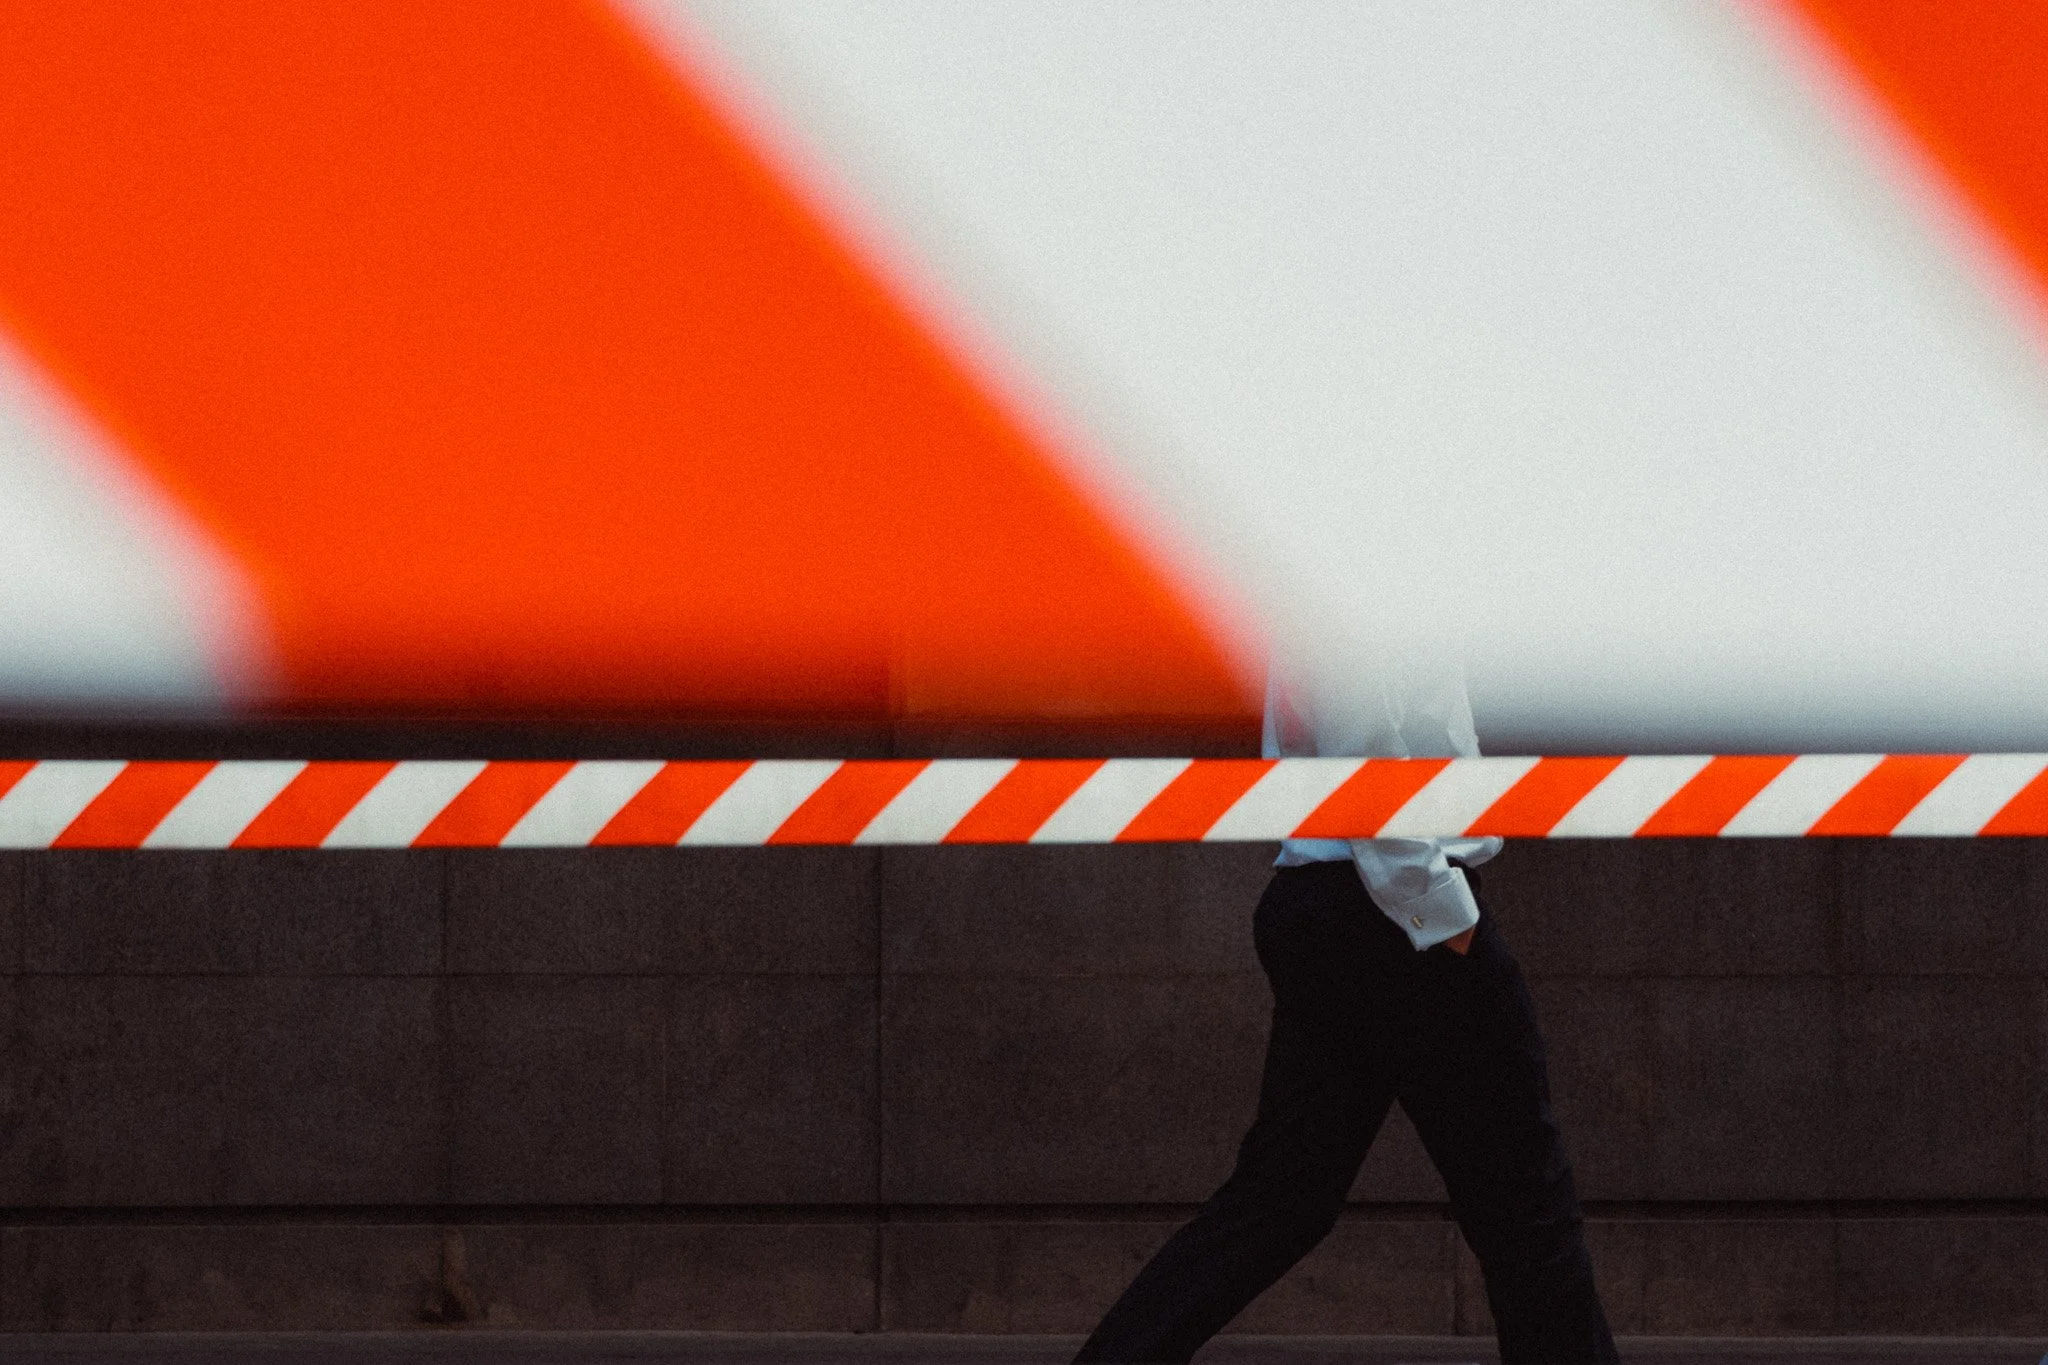
Be mindful of your aperture
While not telephoto, 50mm is tight enough that your aperture starts to have a bigger impact on the image. This is then amplified by your sensor size. On an iPhone, it might make no difference. On medium format, even shooting at f4 can obliterate the background. Most of us shoot on APS-C and full frame cameras, meaning the aperture has a direct impact on what your photo is trying to tell. This is also affected by how close or far away you are from your subject. F2 at 2m might seem excessive, but at 10m it can look perfect.
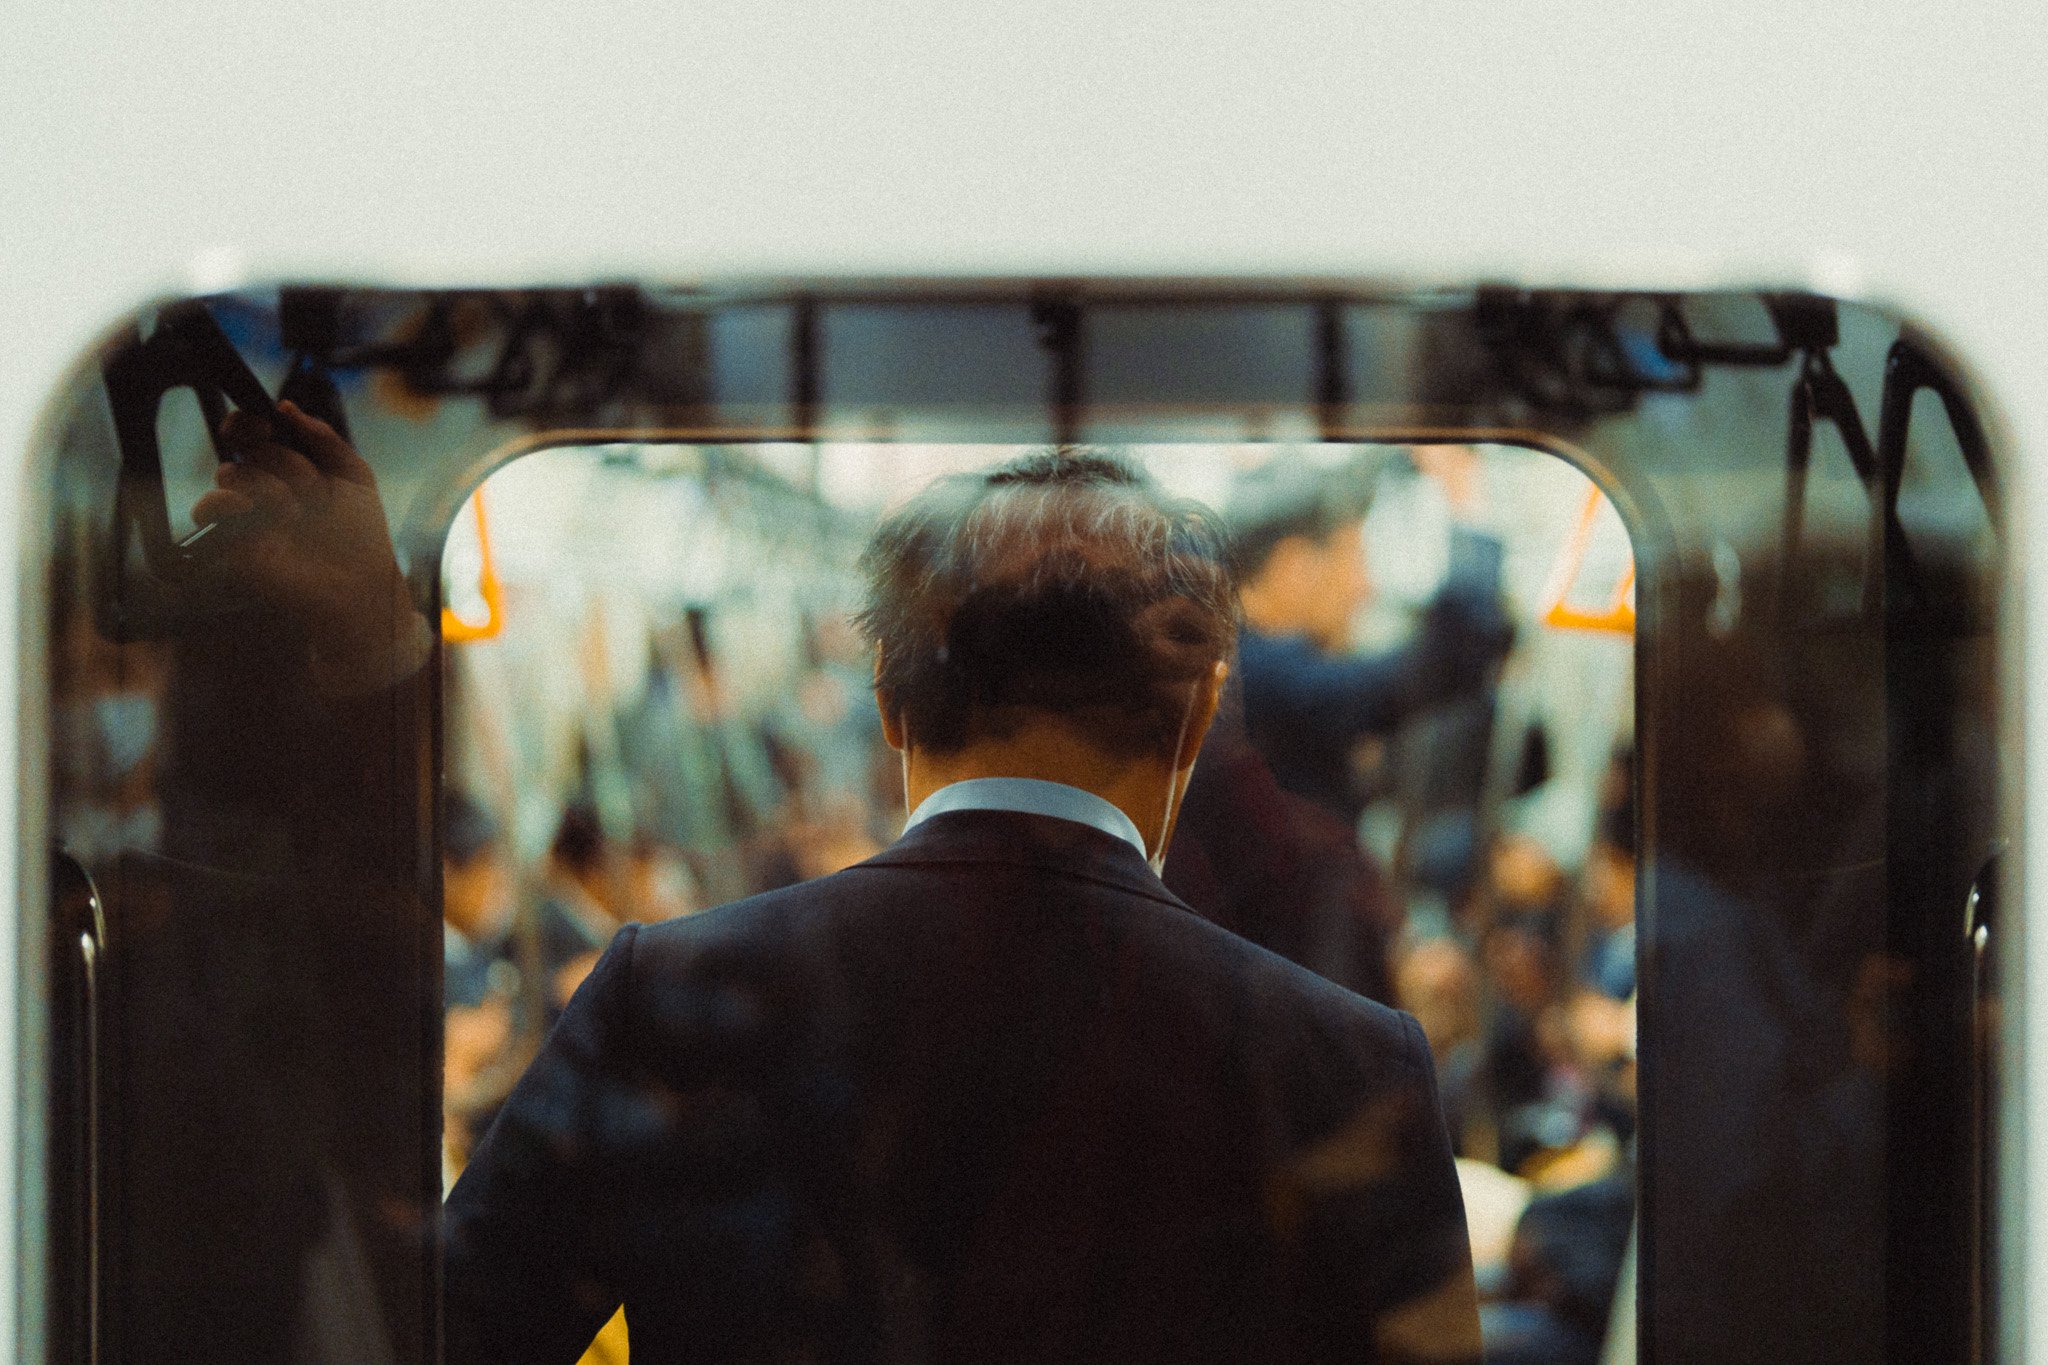
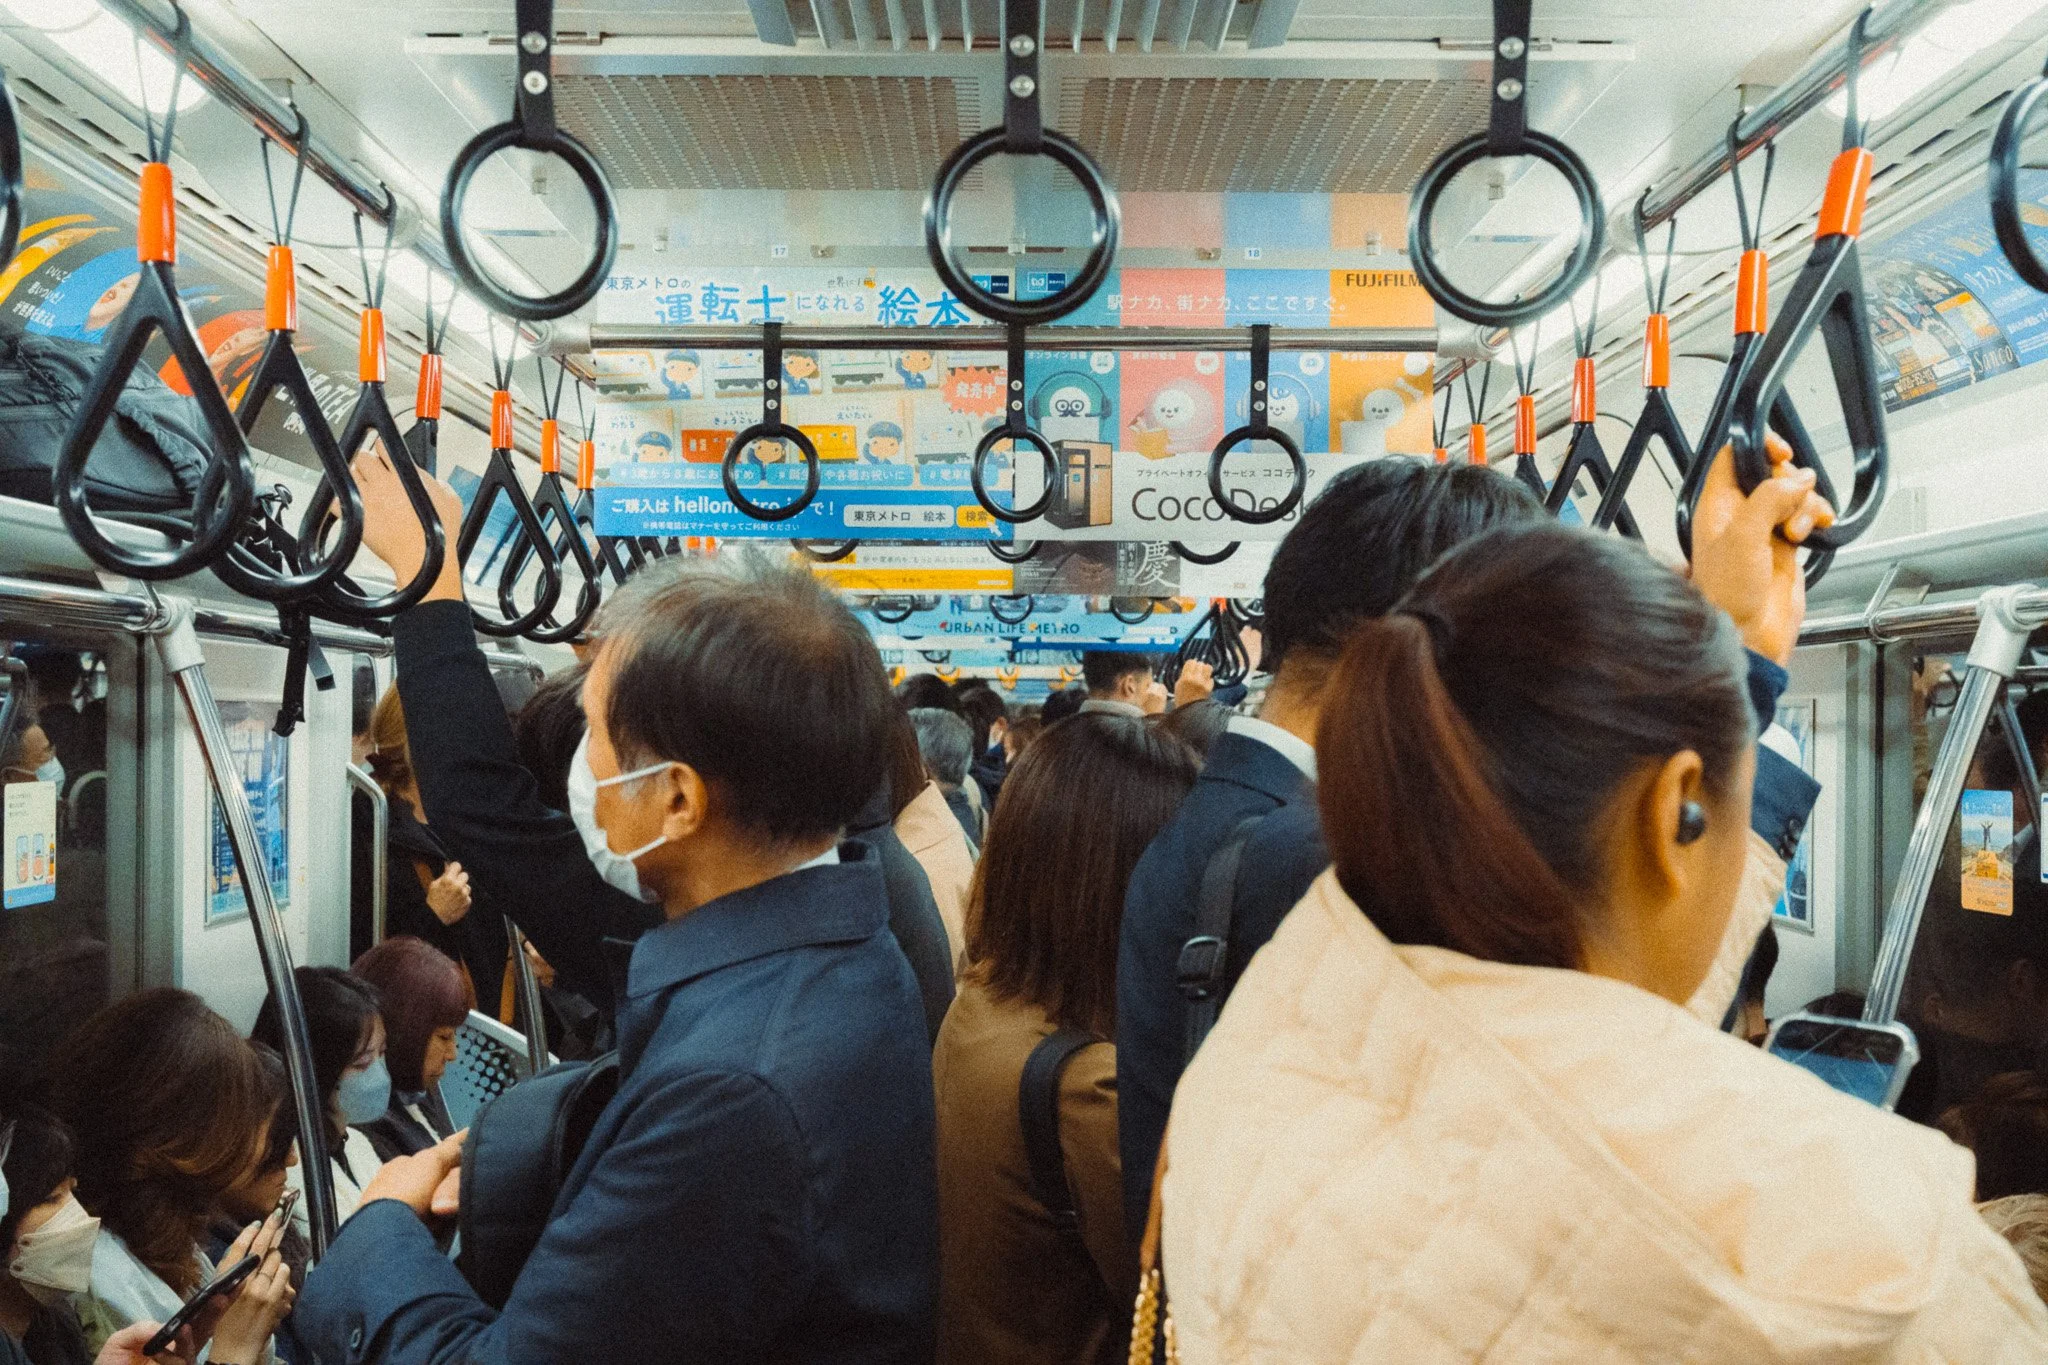
If you shoot at a wider aperture such as f1.4, then you have to be mindful of not losing context from the scene. While blurry backgrounds look cool, unless done intentionally, they can often remove a lot of the character from the photo. Equally, shooting at f11 will make almost everything in focus, which can be great, but it can also invite a lot of unwanted details that take away from the story or subject.
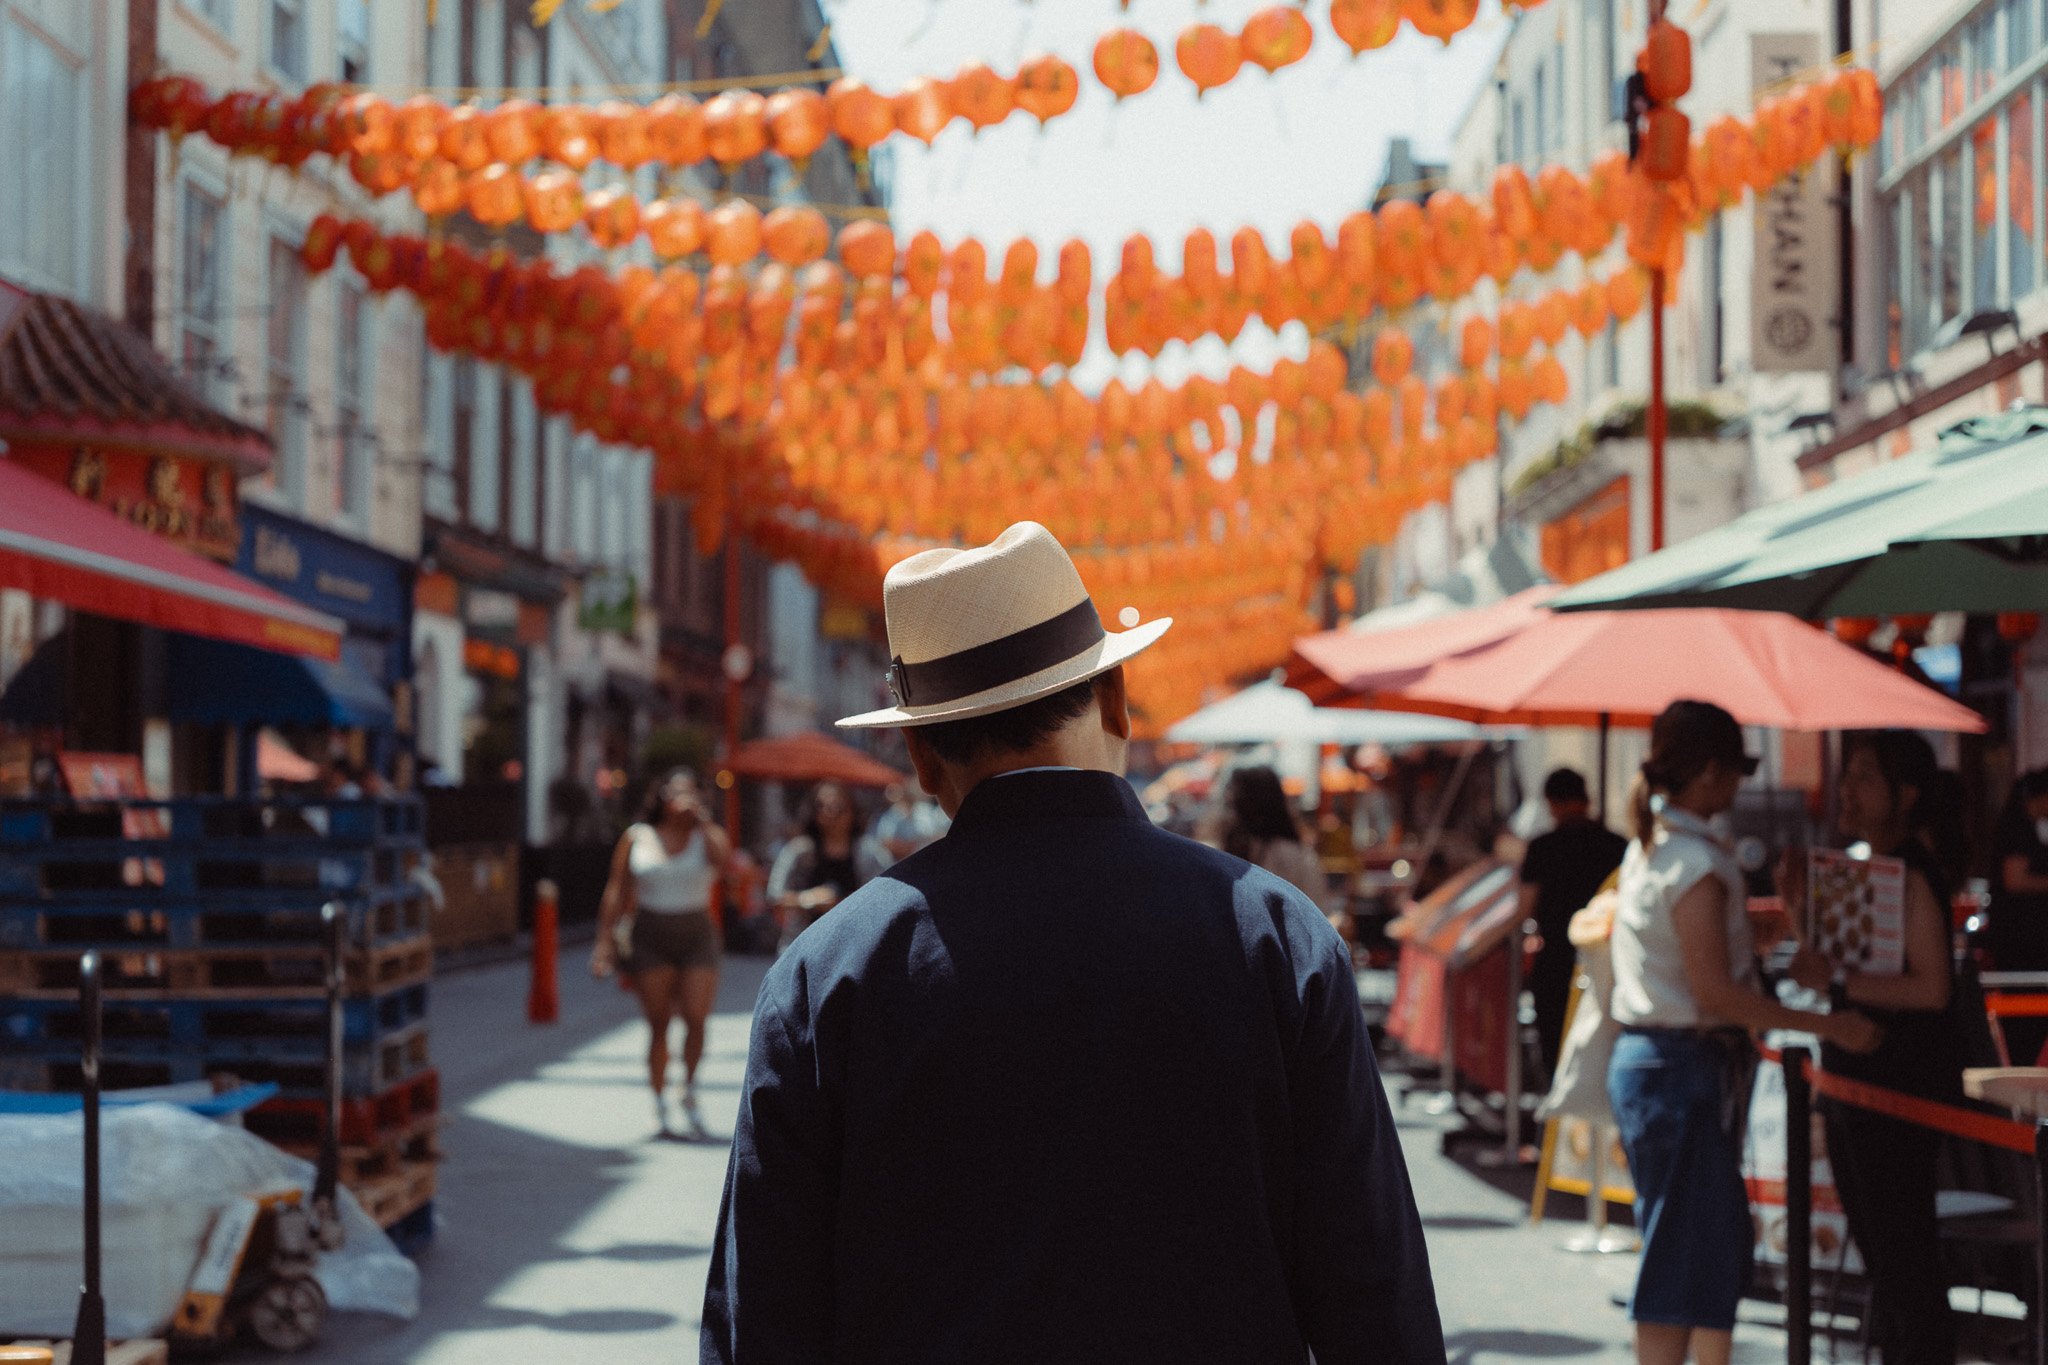
There is no “best” aperture value, as there are many variables. On a full frame sensor, I often start around f5.6, as I find it gives a nice balance of in and out of focus elements. I then adjust as needed. Most of the time I am between f2.8 and f8.
Be mindful of your shutter speed
This is a quick one. Shooting at longer focal lengths will generally require a higher shutter speed. I’m not going to get into the exact shutter speeds because this varies a lot depending on IBIS, OIS, sensor size, and the biggest variable, you.
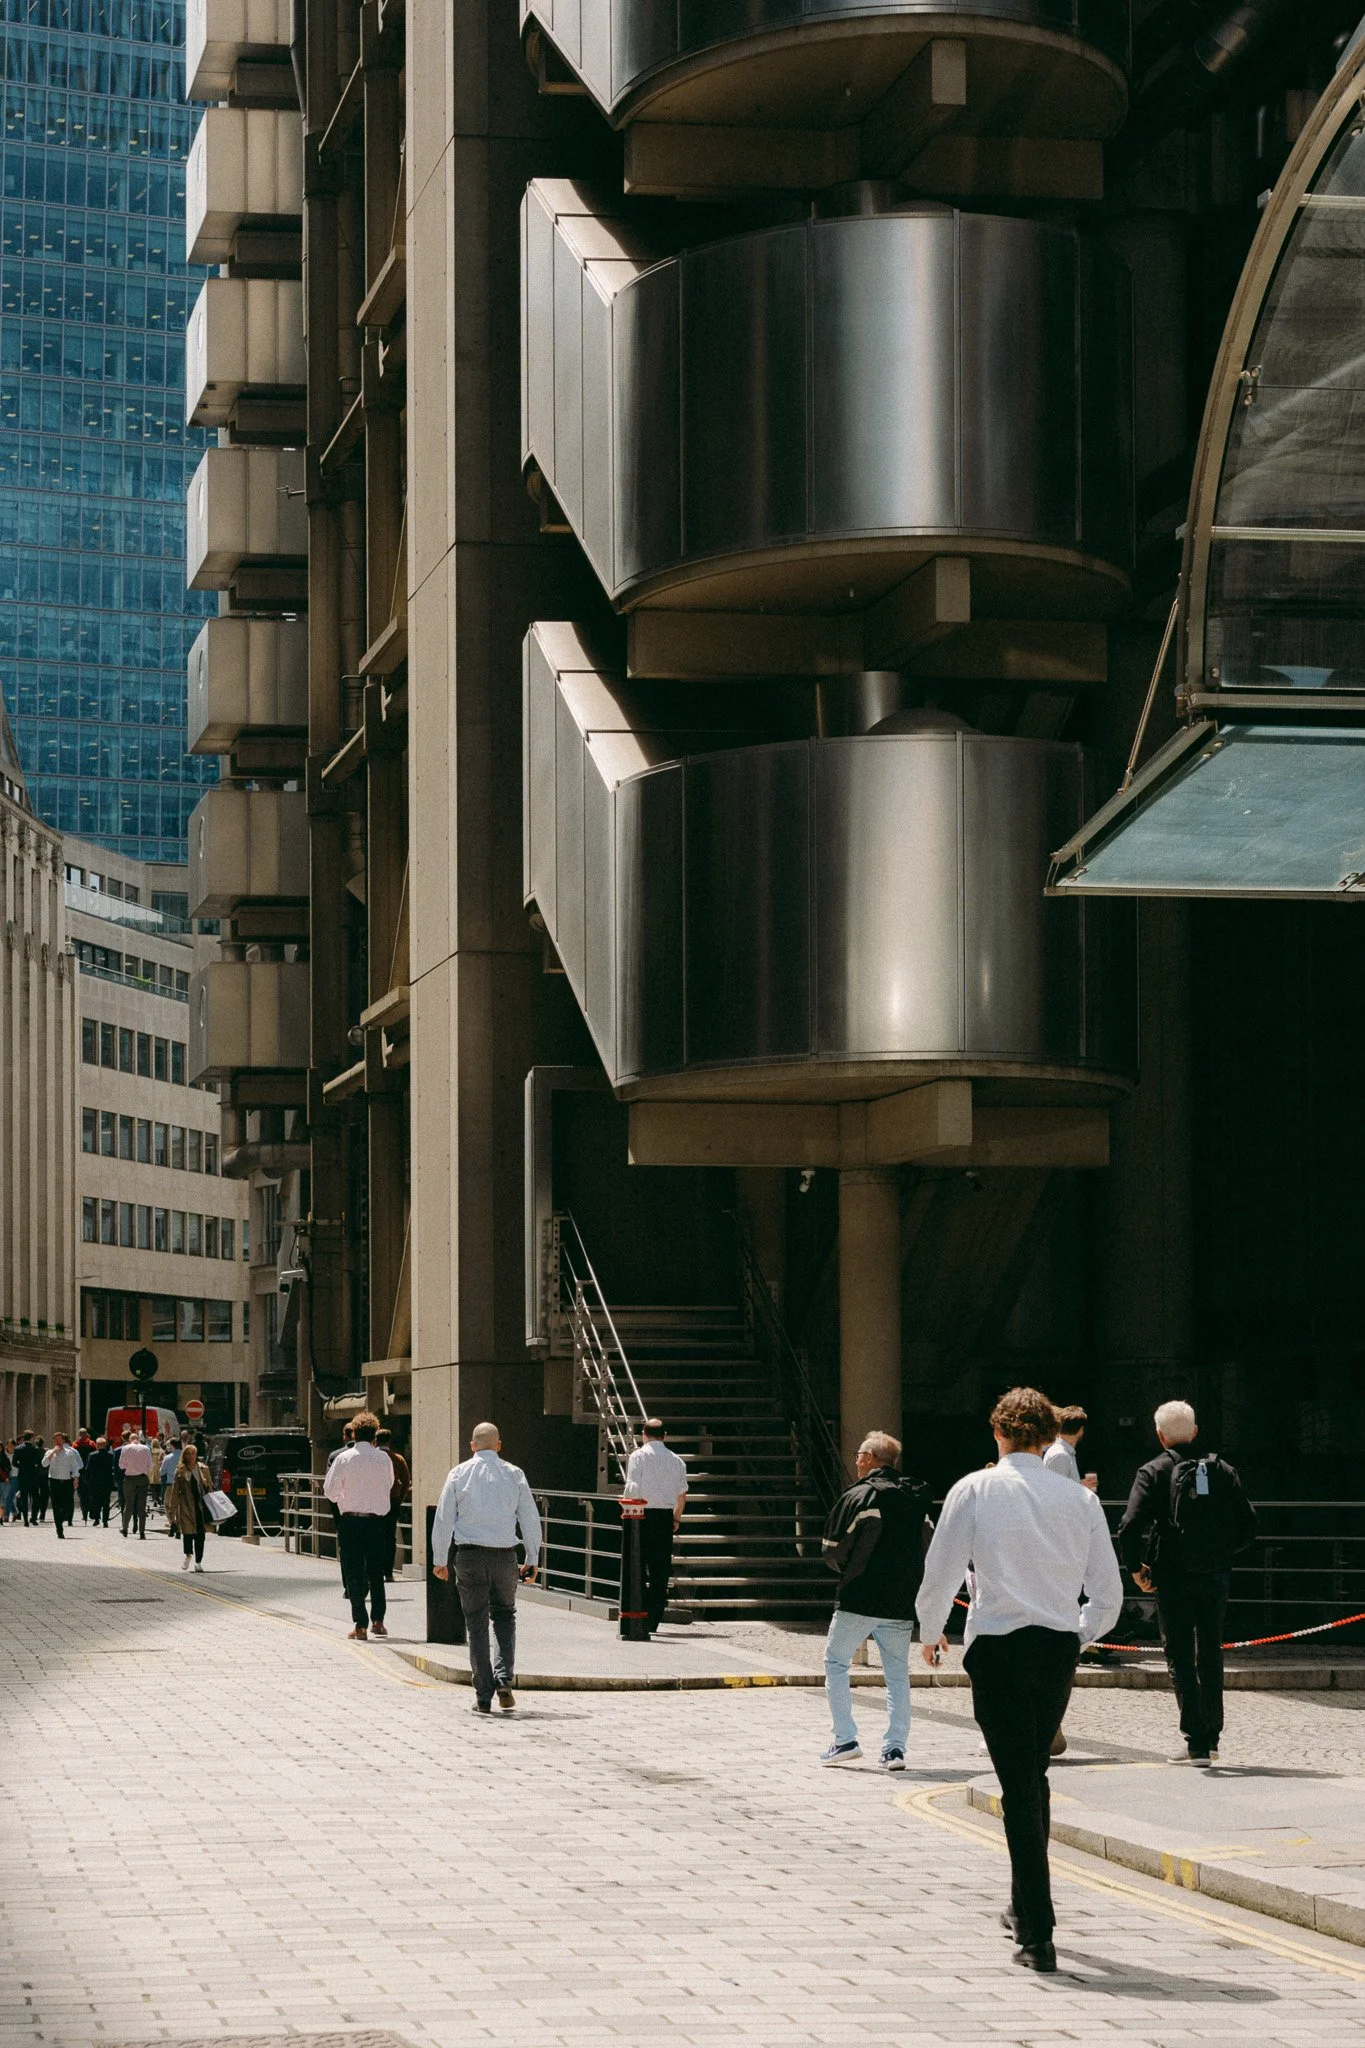
When shooting at 50mm, I generally don’t go below 1/250 for daytime and around 1/125 at night. I would much rather increase the ISO than reduce the shutter speed and risk blurry photos. Even at those shutter speeds, you are at risk of a blurry photo if you move too quickly, so if you really want to guarantee a motion free photo, go for 1/500.
Take one step back
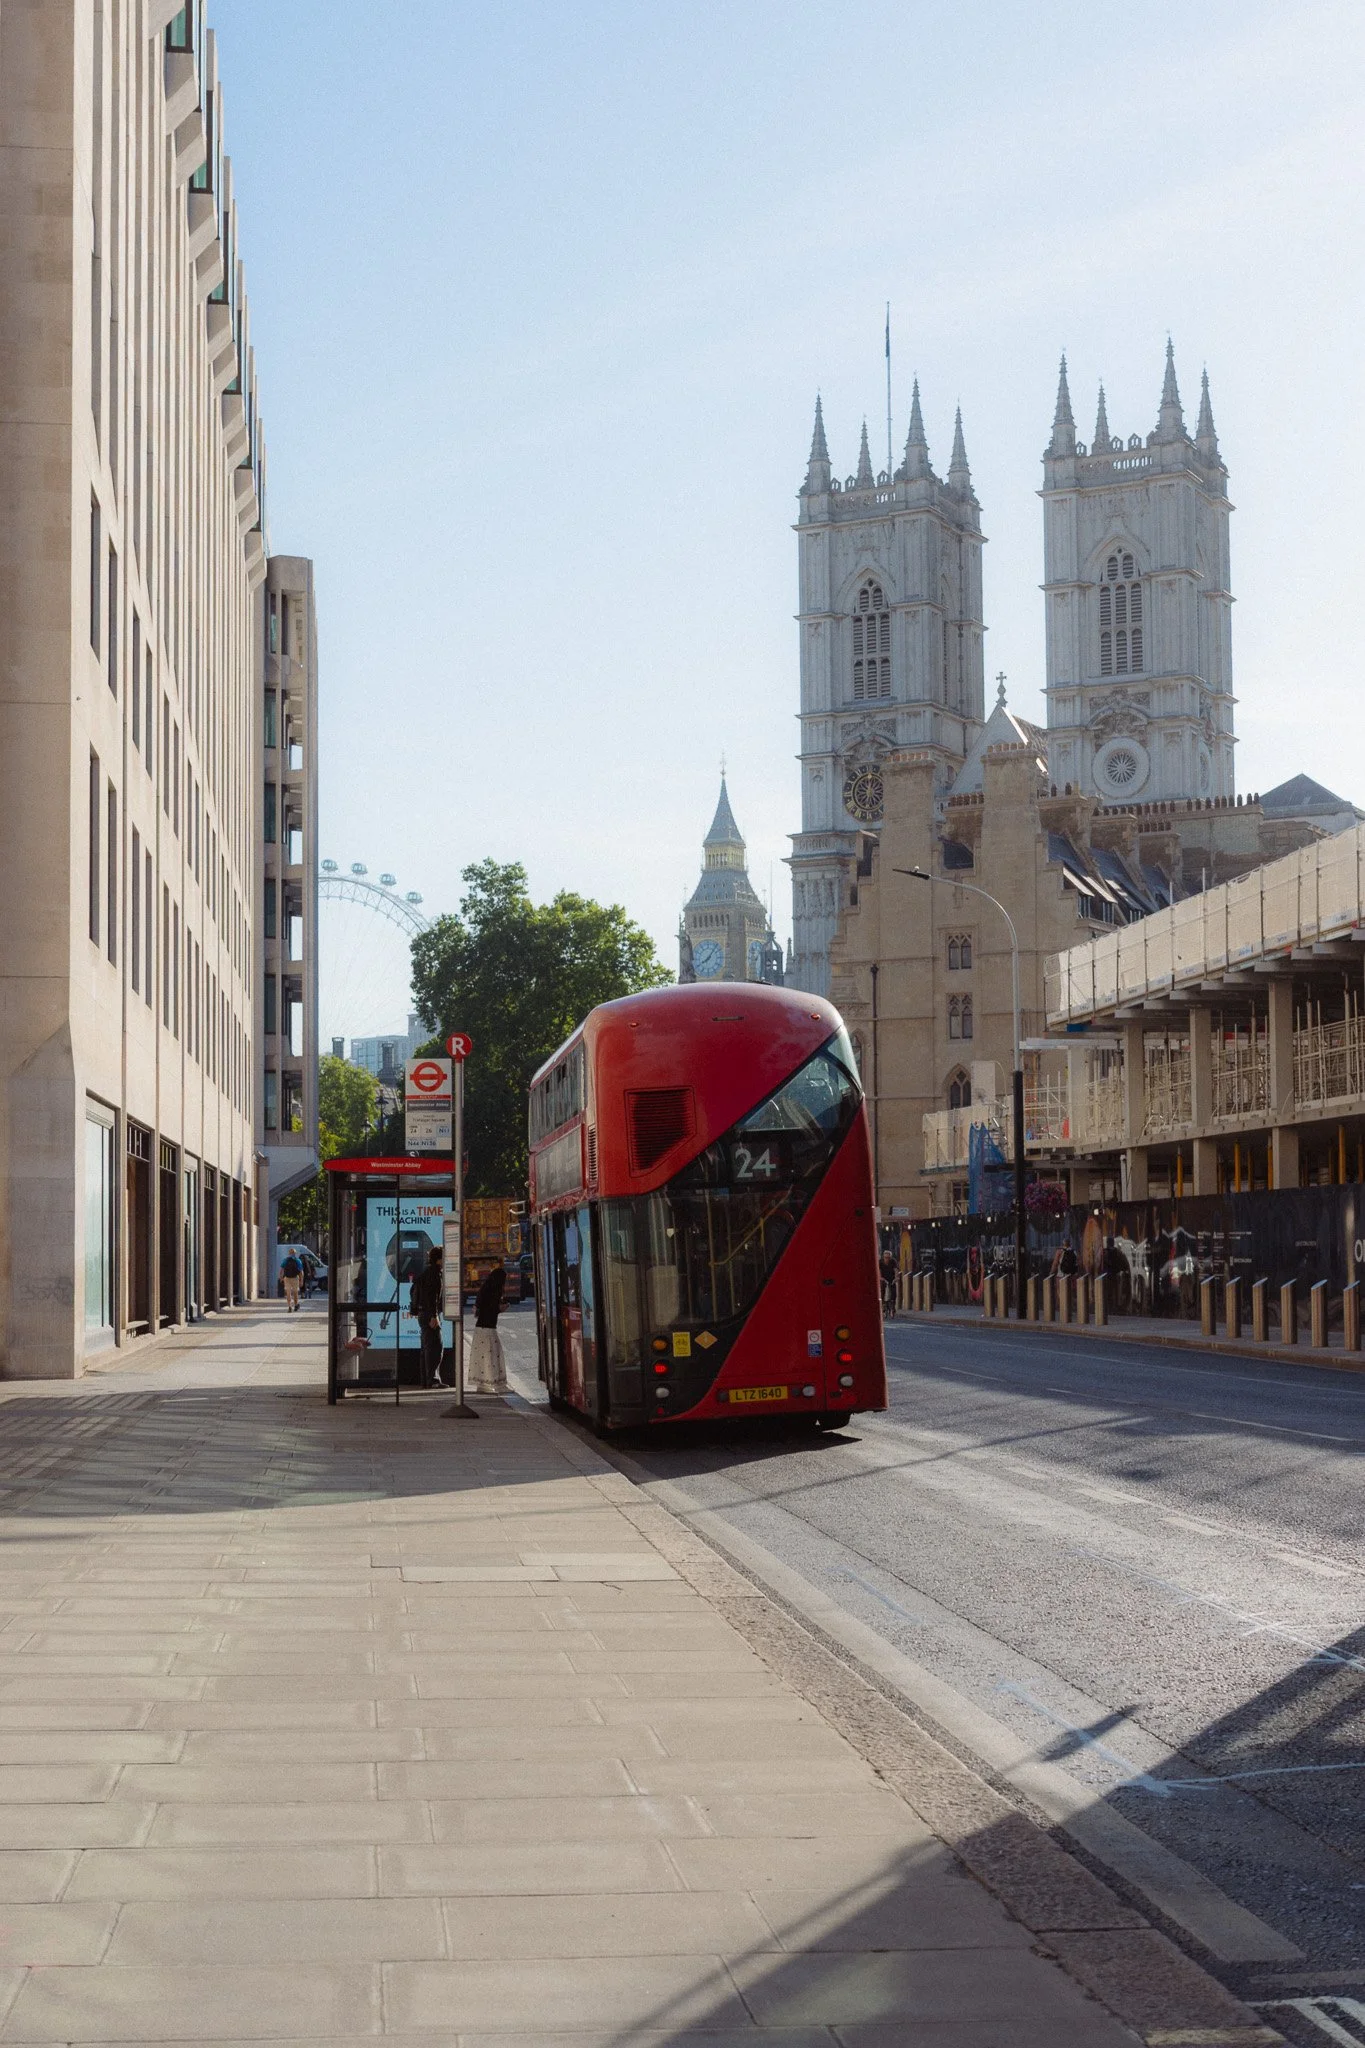
With a 50mm you have less room to move, and sometimes, in the heat of the moment, you can end up with a composition that’s a little too tight. This happened to me all too often, so I ended up getting into the habit of always taking a step back.
In the grand scheme of things, this won’t change your composition to the point where the shot doesn’t work as intended, but it will give you that tiny smidge of adjustment in the edit, and often it will actually save the composition.
Try to anticipate
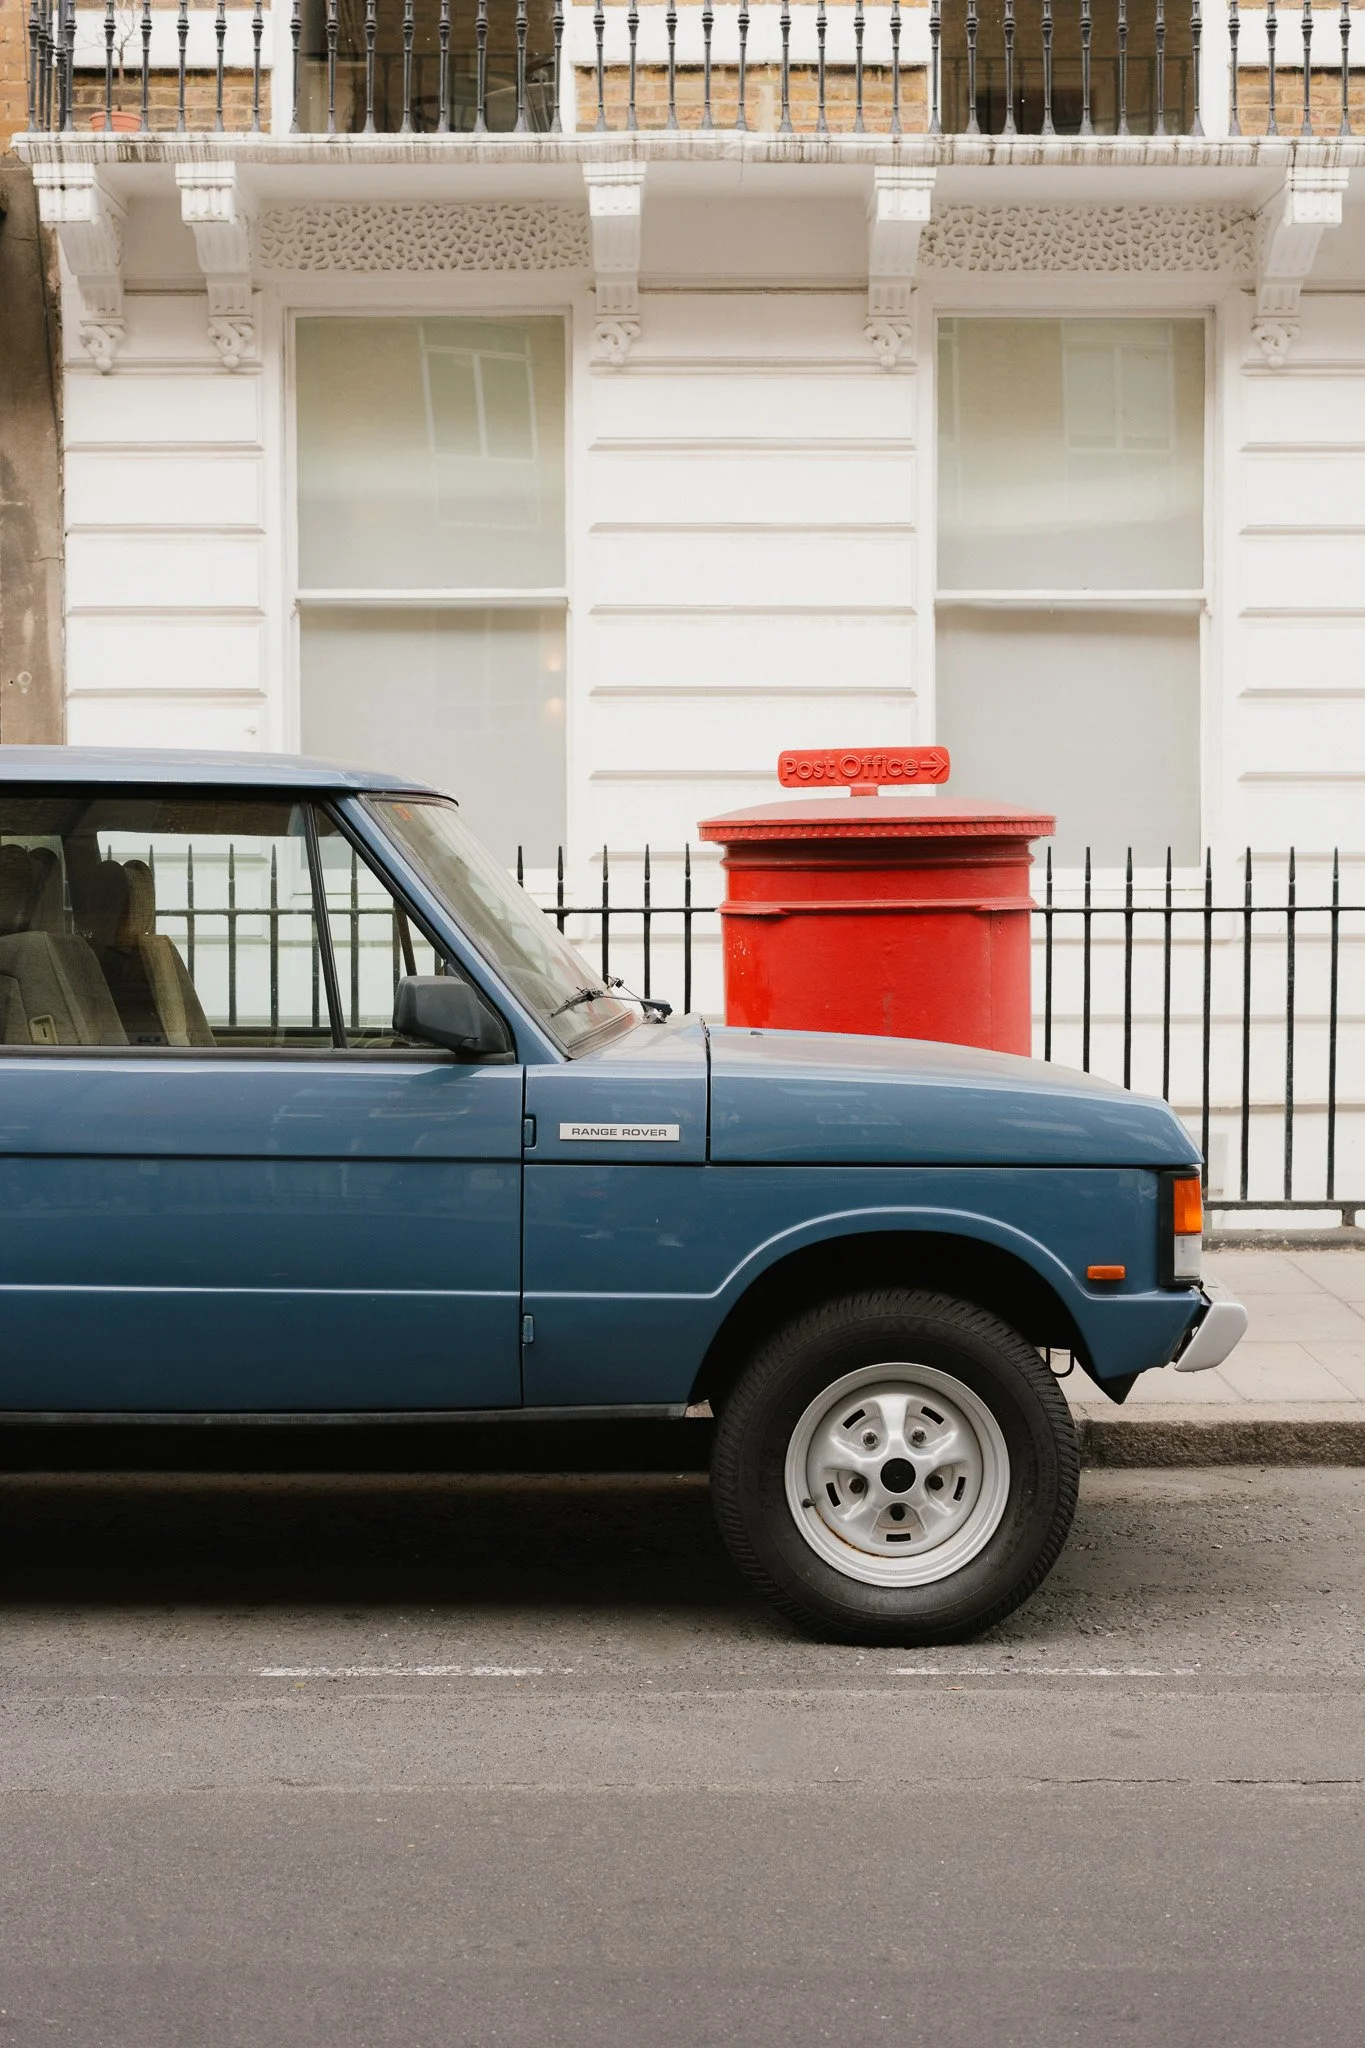
When shooting wider, you often have to react to what’s ahead of you. However, with a 50mm, being able to anticipate will yield better results. If you see an interesting subject up ahead, rather than reacting immediately, see what’s actually going on. If it’s a person, what direction are they walking? Can you maybe cross the road and get a better shot? Do you need to get closer? Or further away? This is a skill that only hours on the street will teach you, but it’s one that will get solid results.
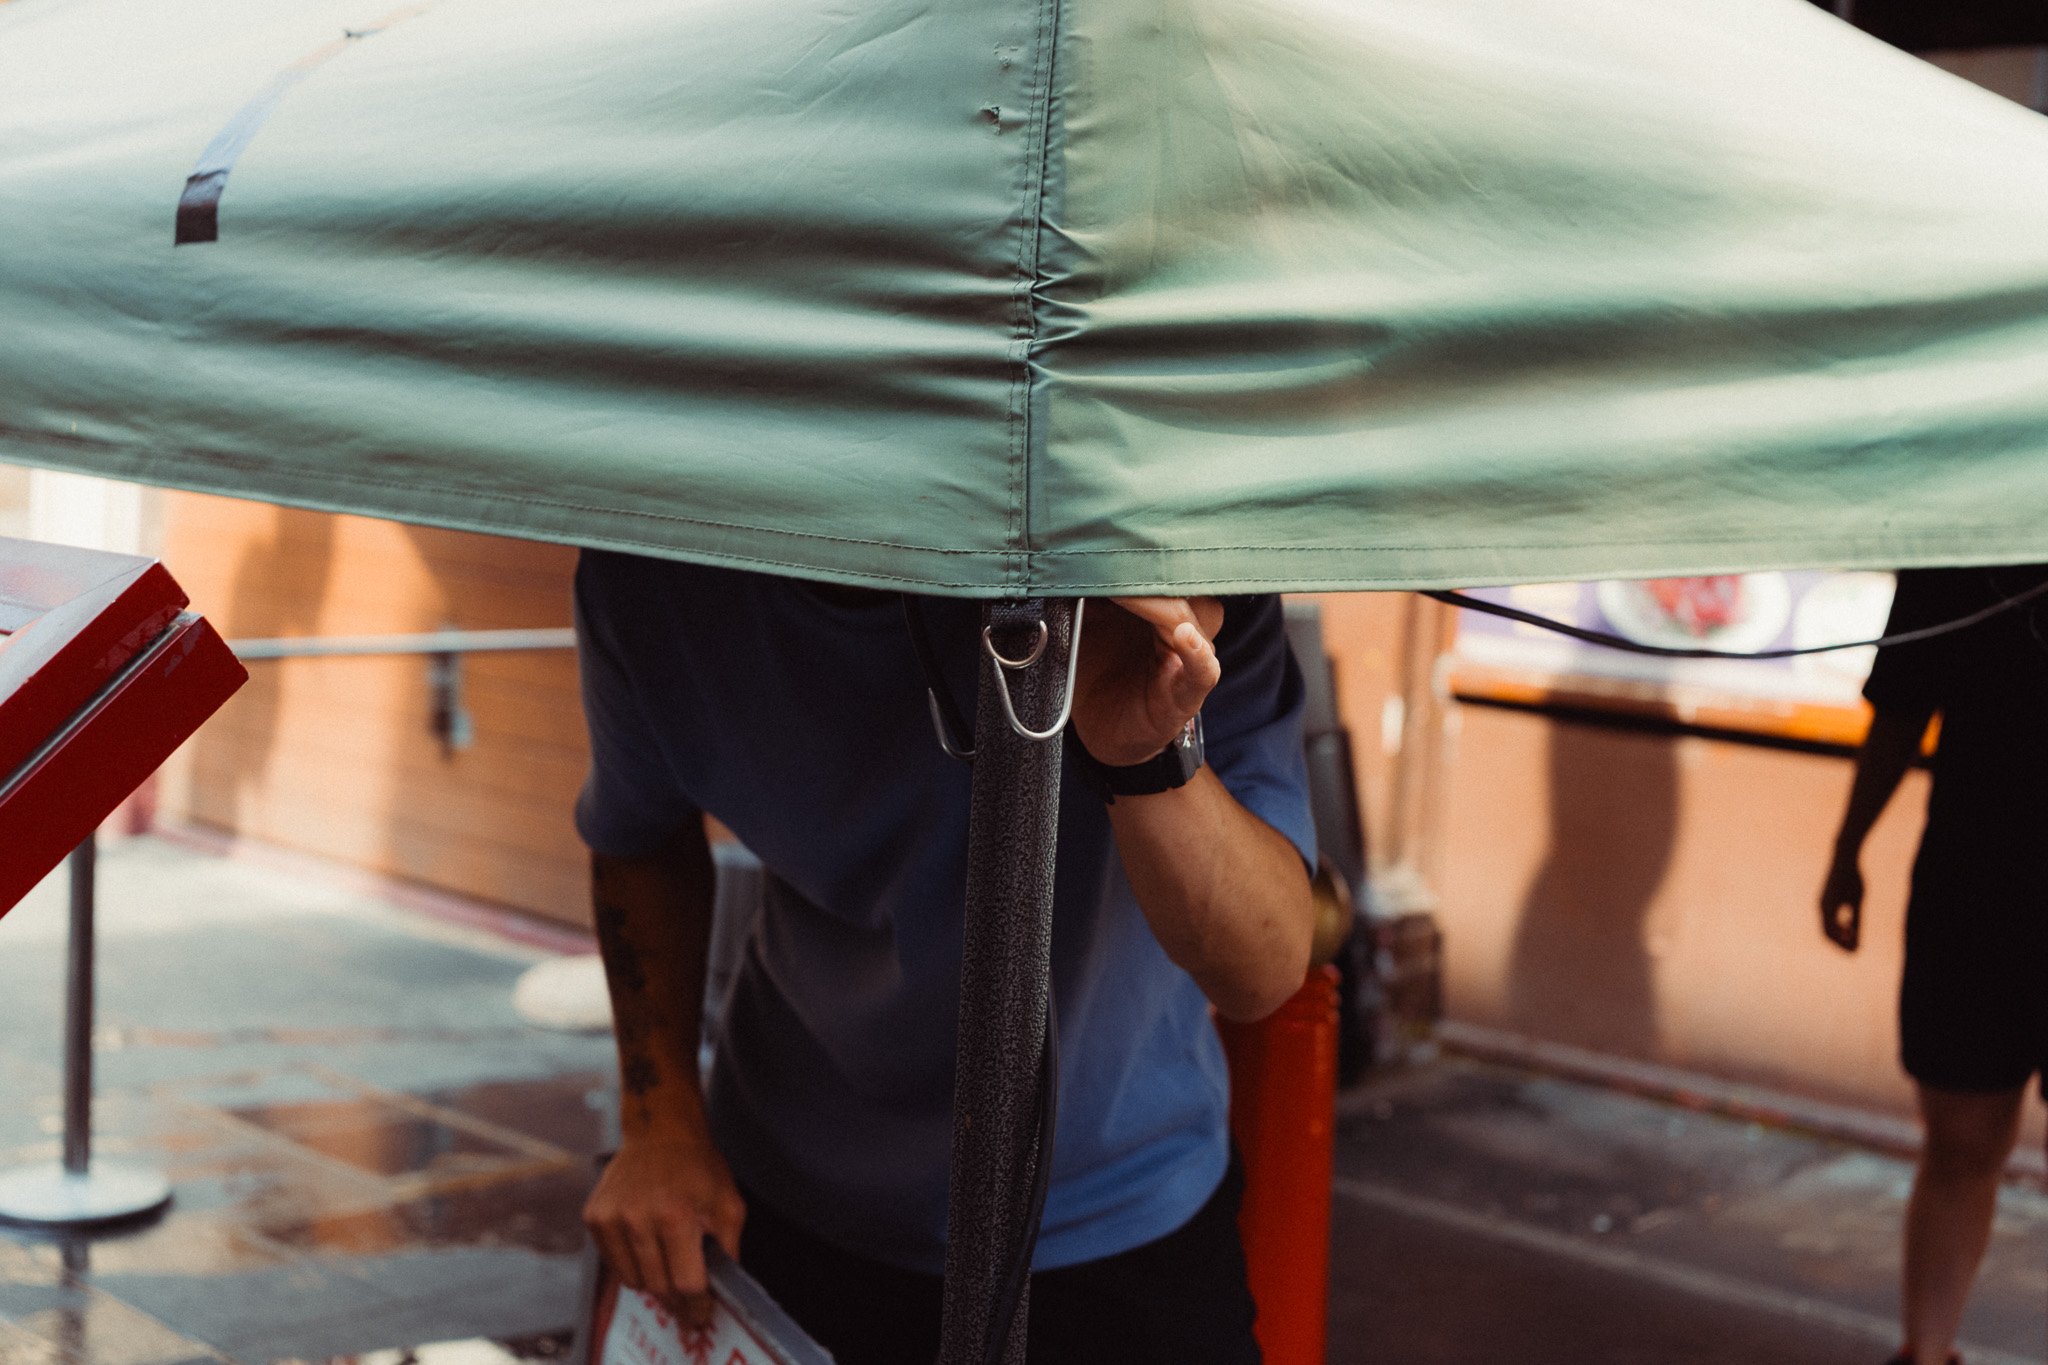
Shoot through something
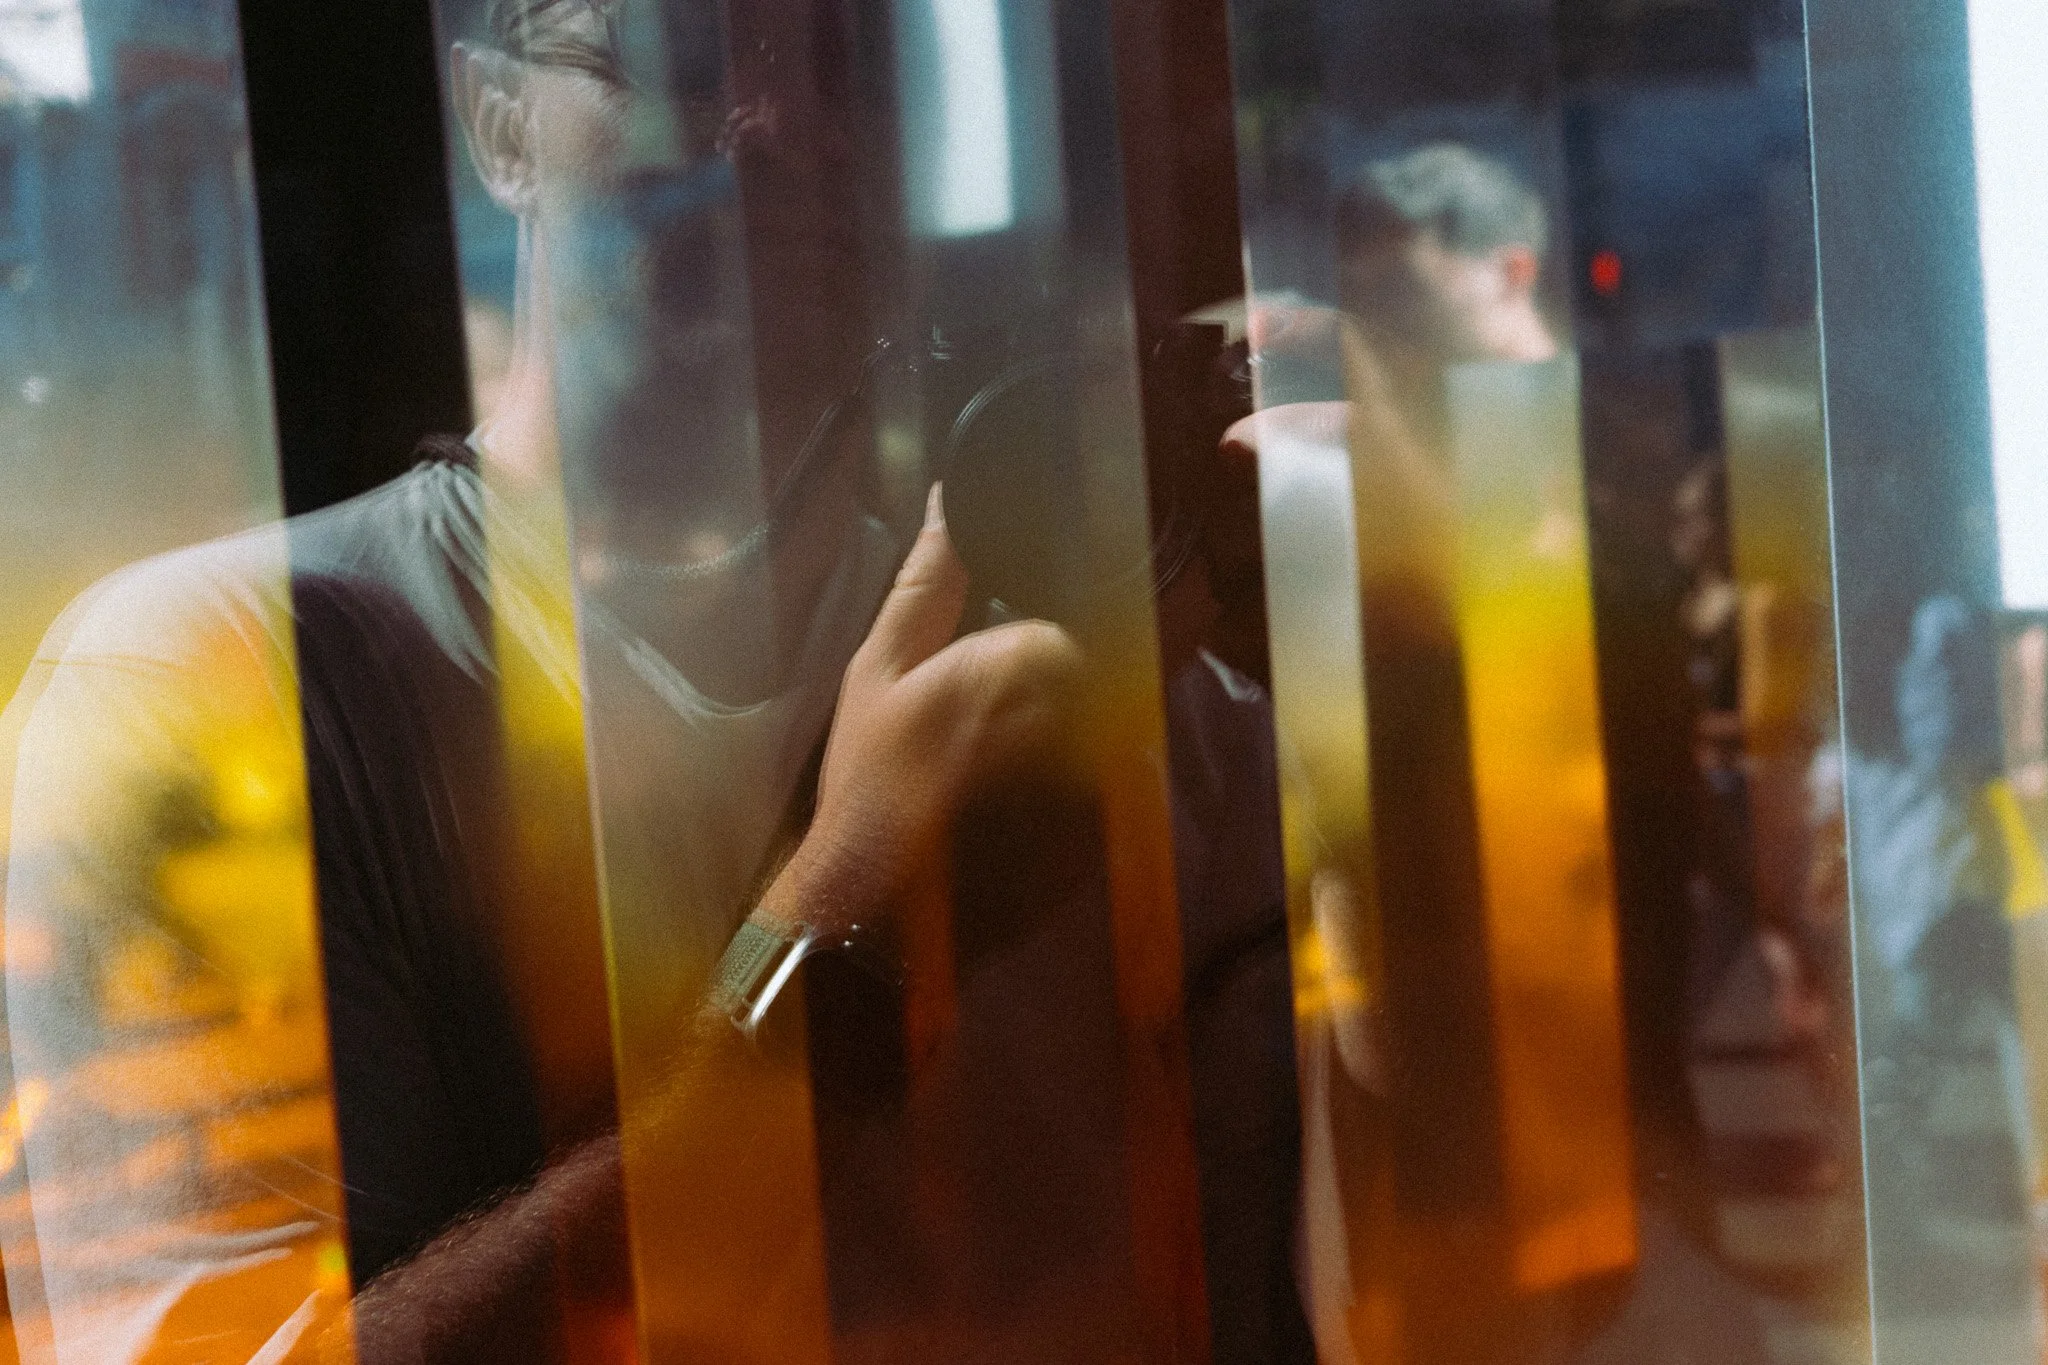
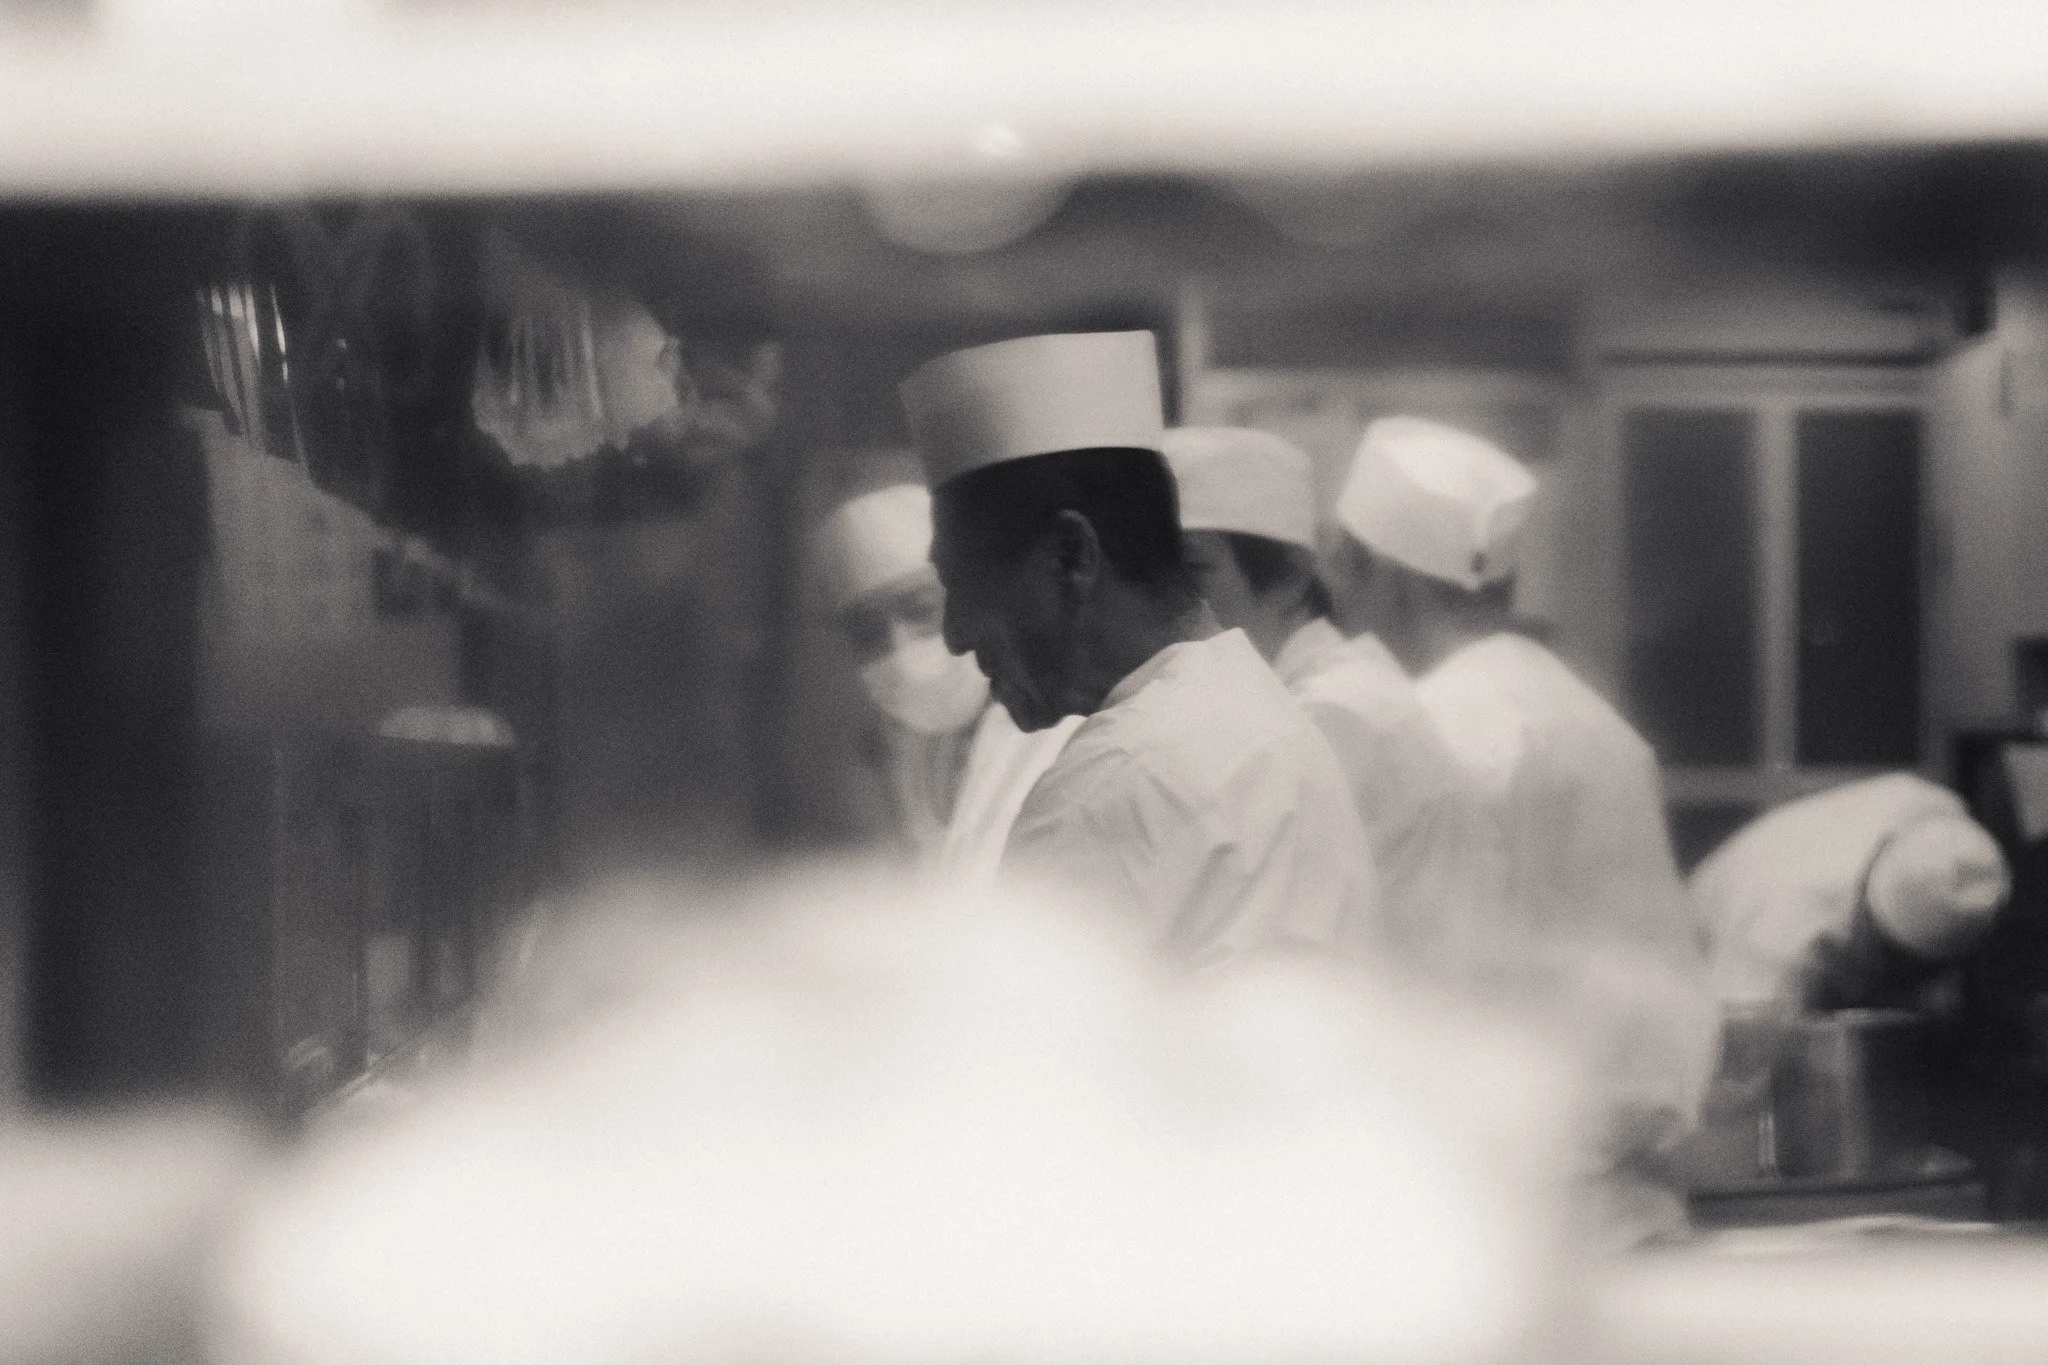
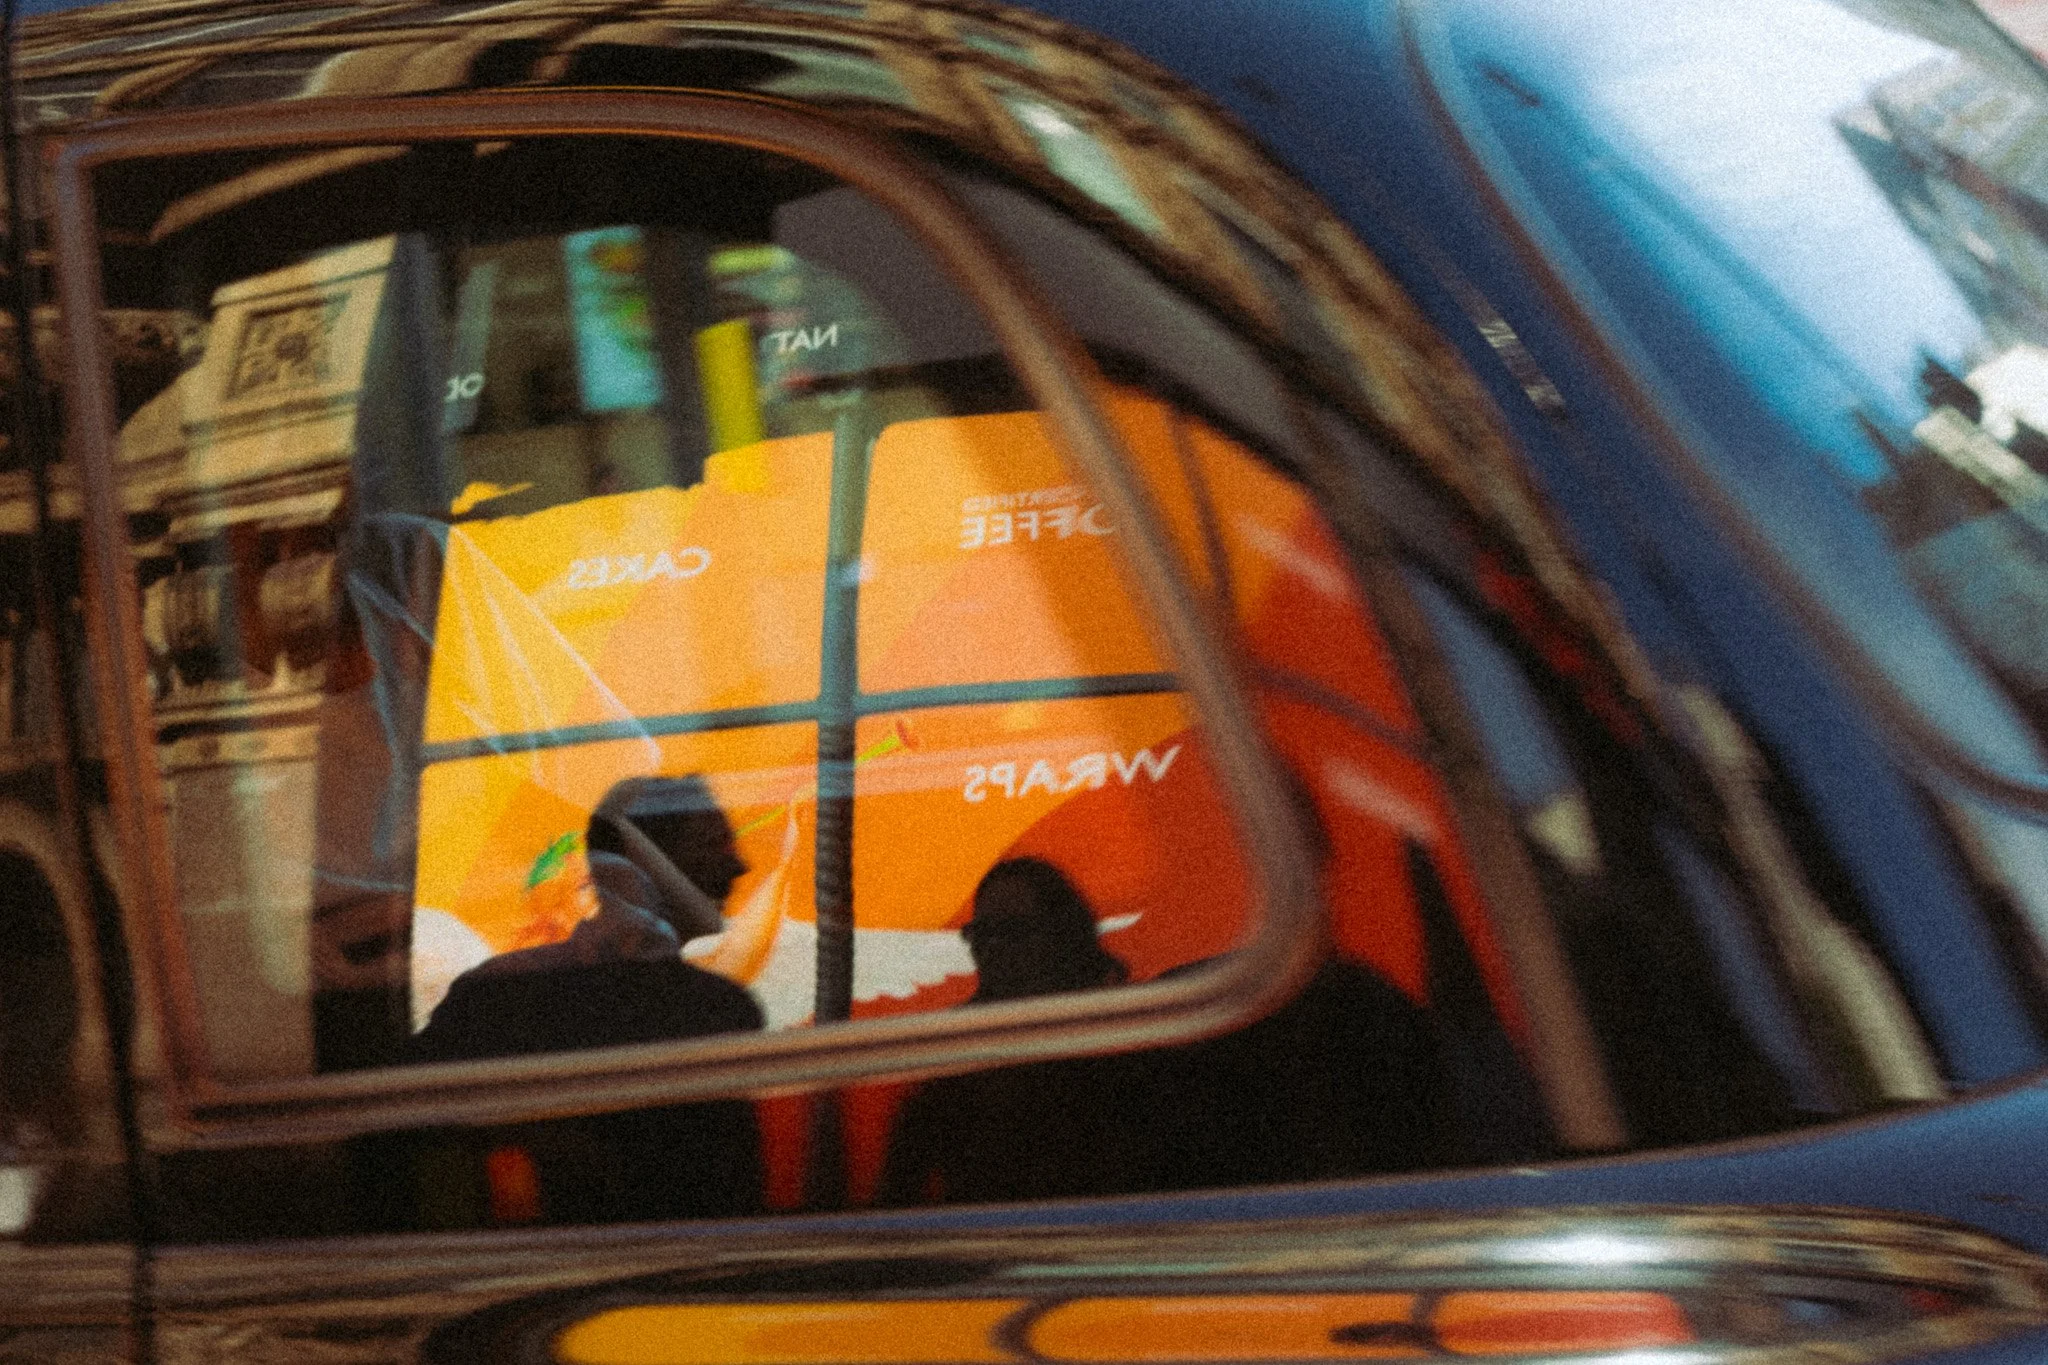
This technique works with every focal length, but shooting through something is an easy way to add depth to an image and create something a little more unique. This could be a window, a ledge, a gap in a fence, or even a foggy window.
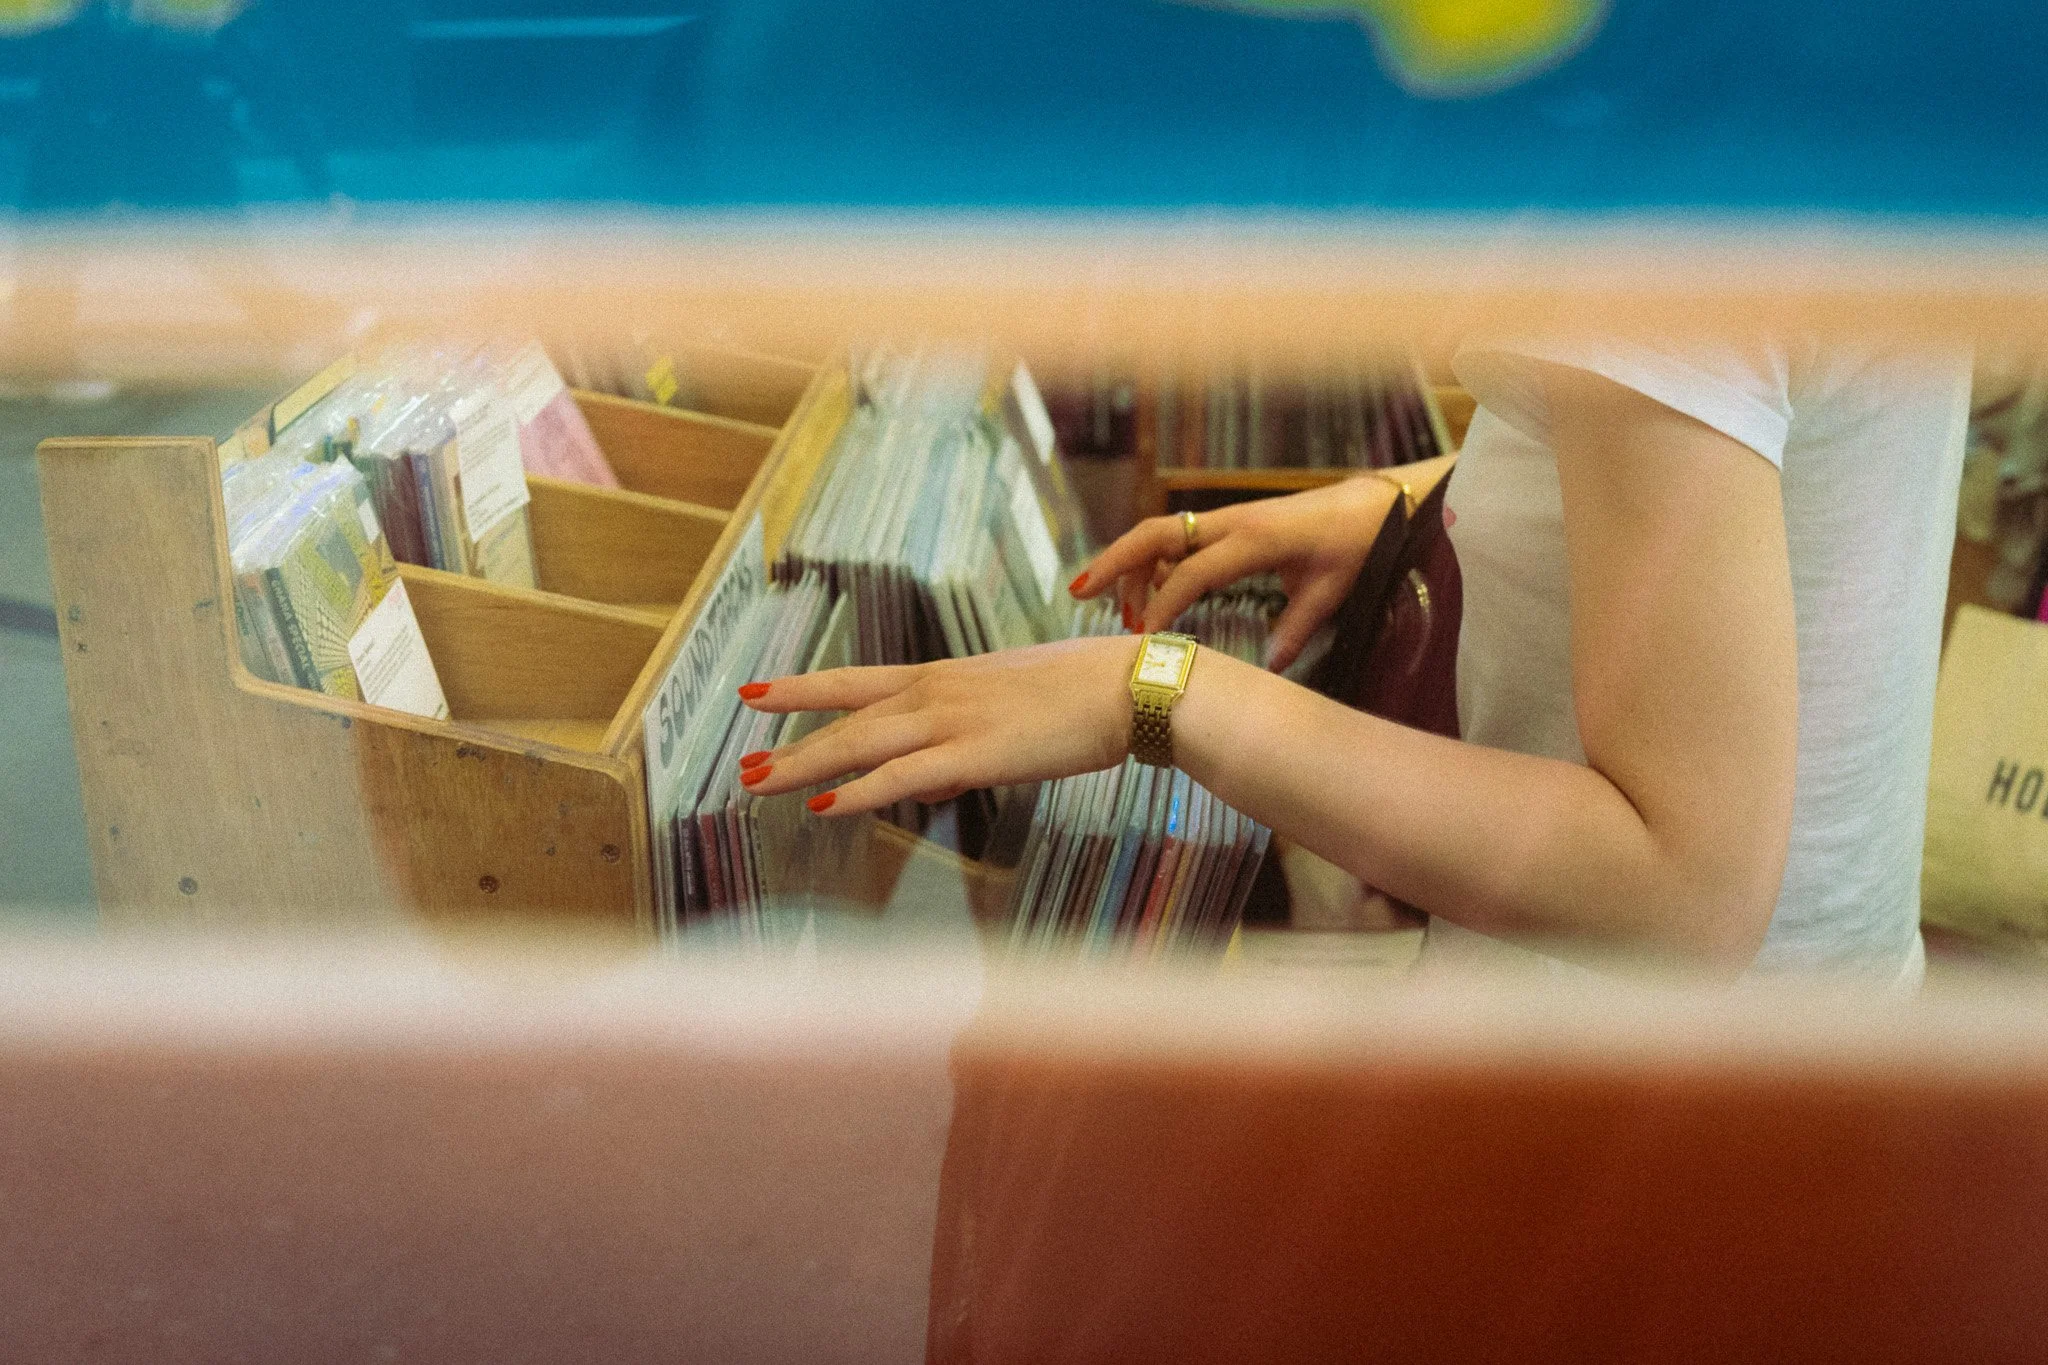
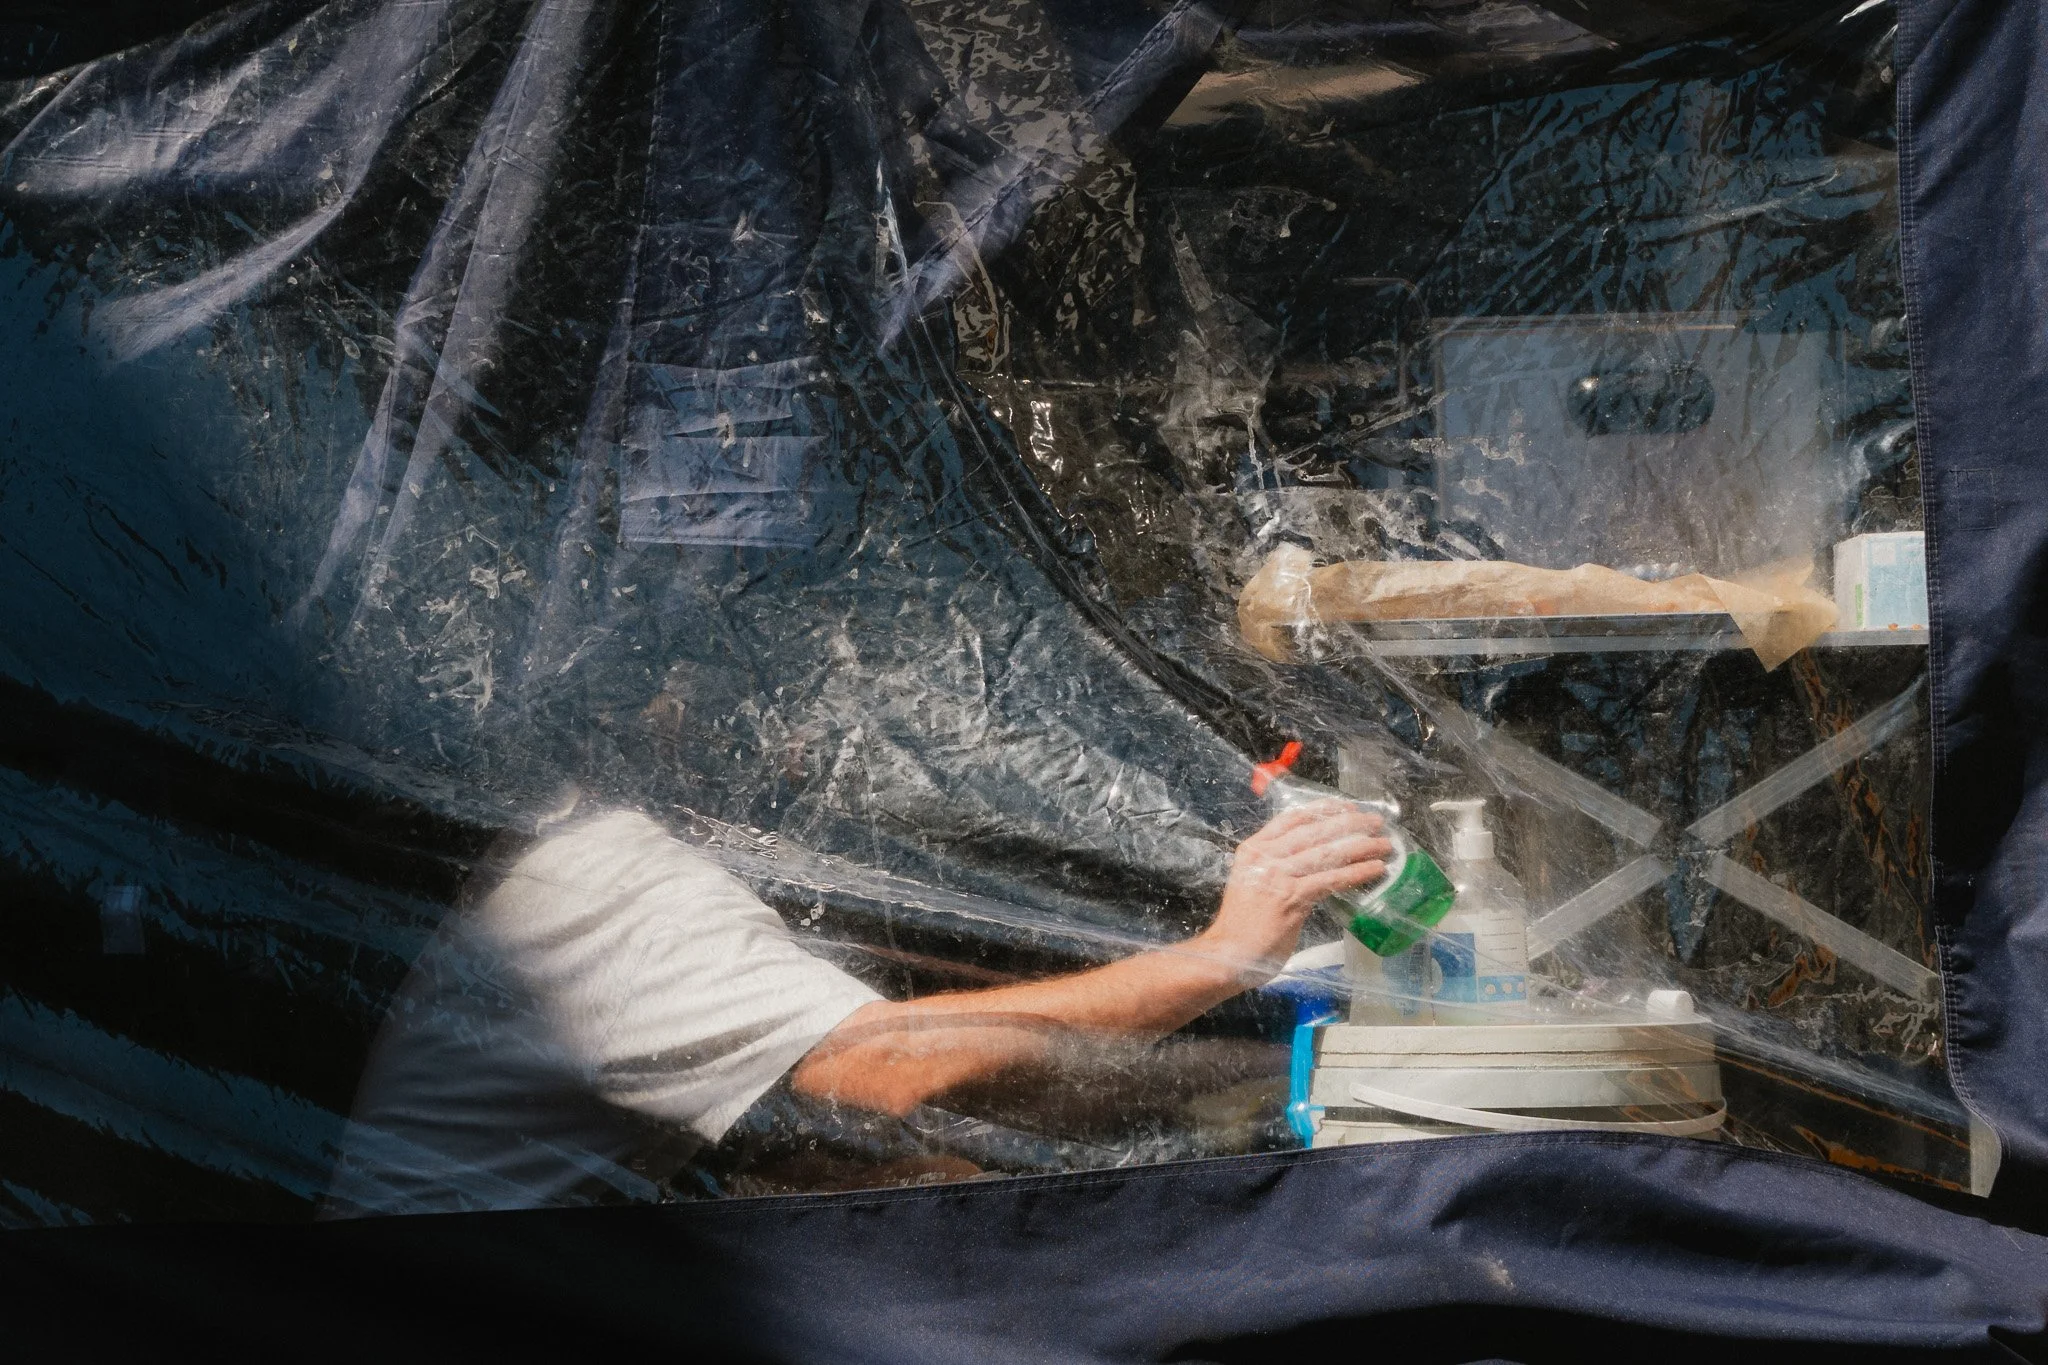
Focus on the background or subject, lock focus, and then place something between what you want to shoot and the lens. The key with this is to experiment, be curious, and have fun.
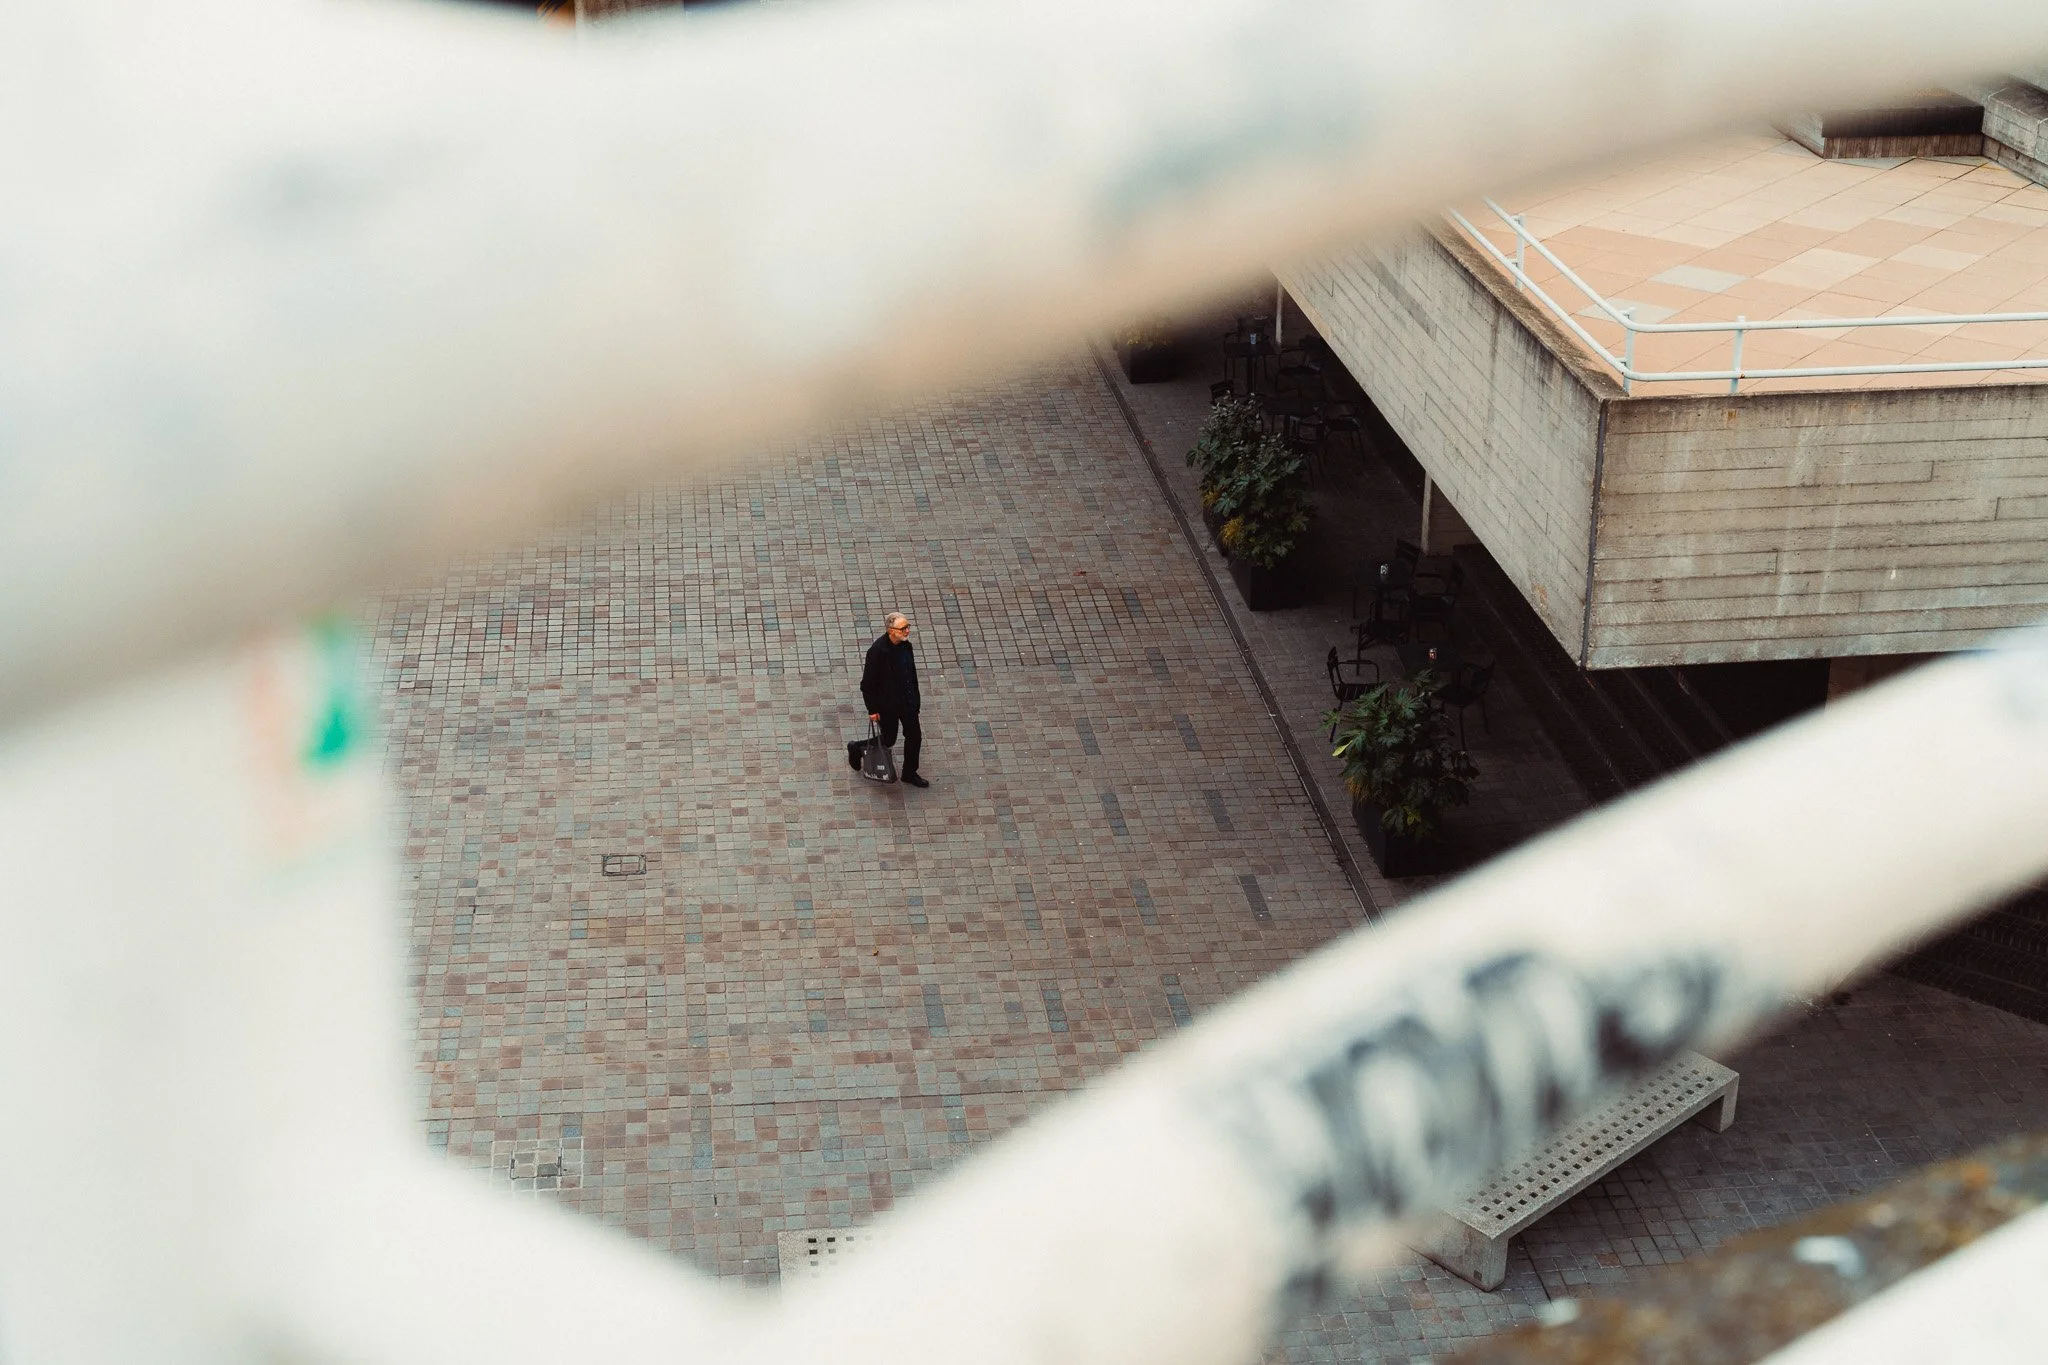
Wide, medium, tight
The 50mm isn’t just reserved for subjects, and I believe it’s a very versatile focal length that, with some work, can establish, show, and highlight.
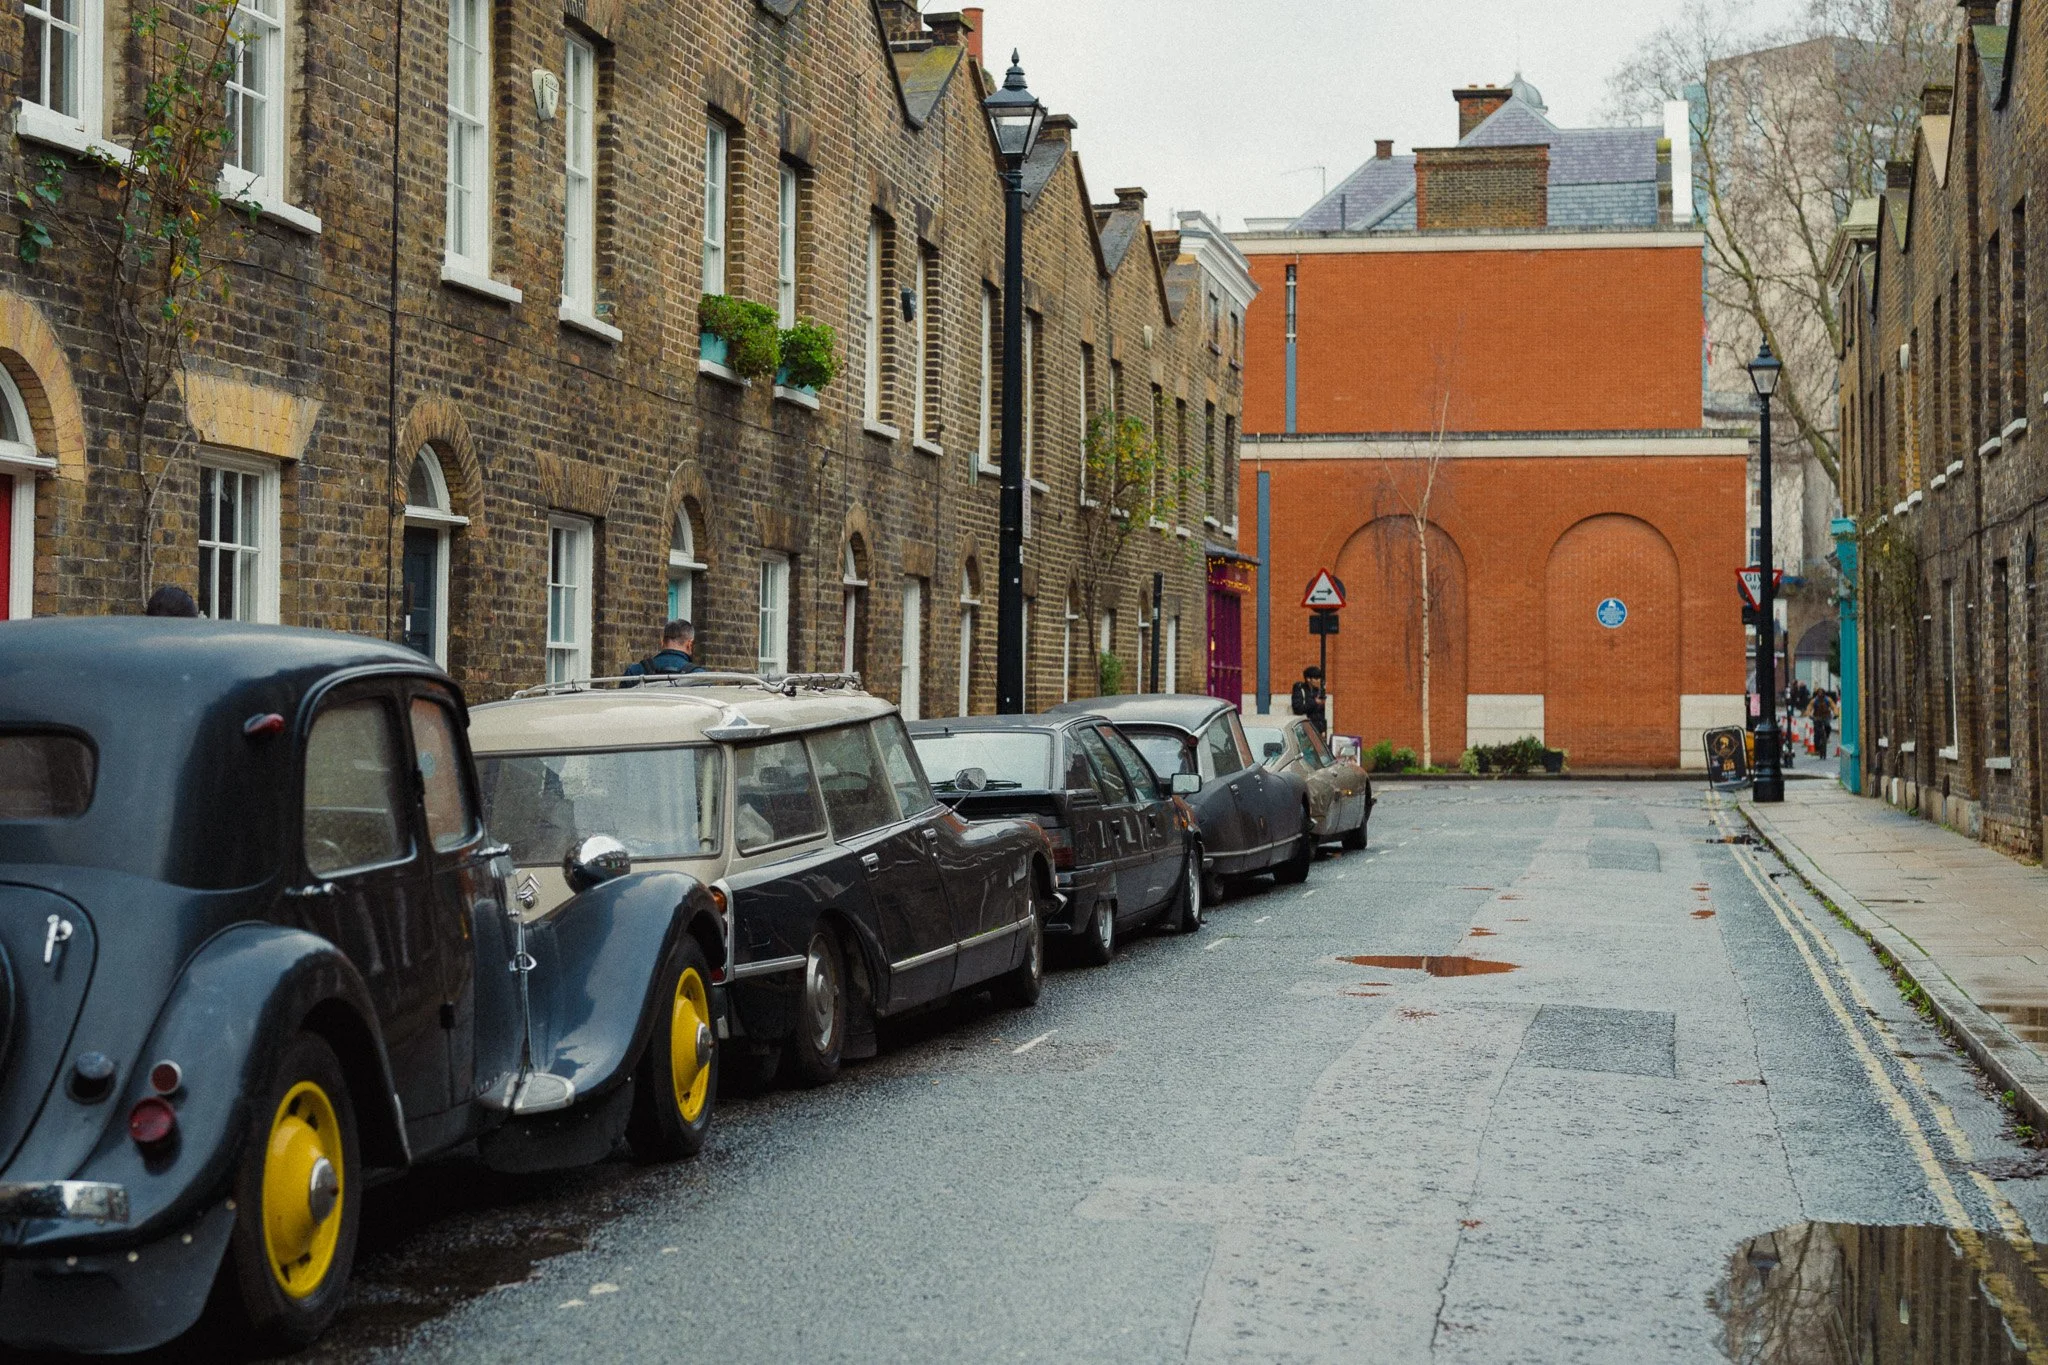
Find a vantage point or walk back 10 to 20 metres, and you have a great establishing lens to set the scene. Here you want to show the viewer where you are and what’s going on. The lens stays the same, and you move around. This could be a street, a park, a valley, or a space.
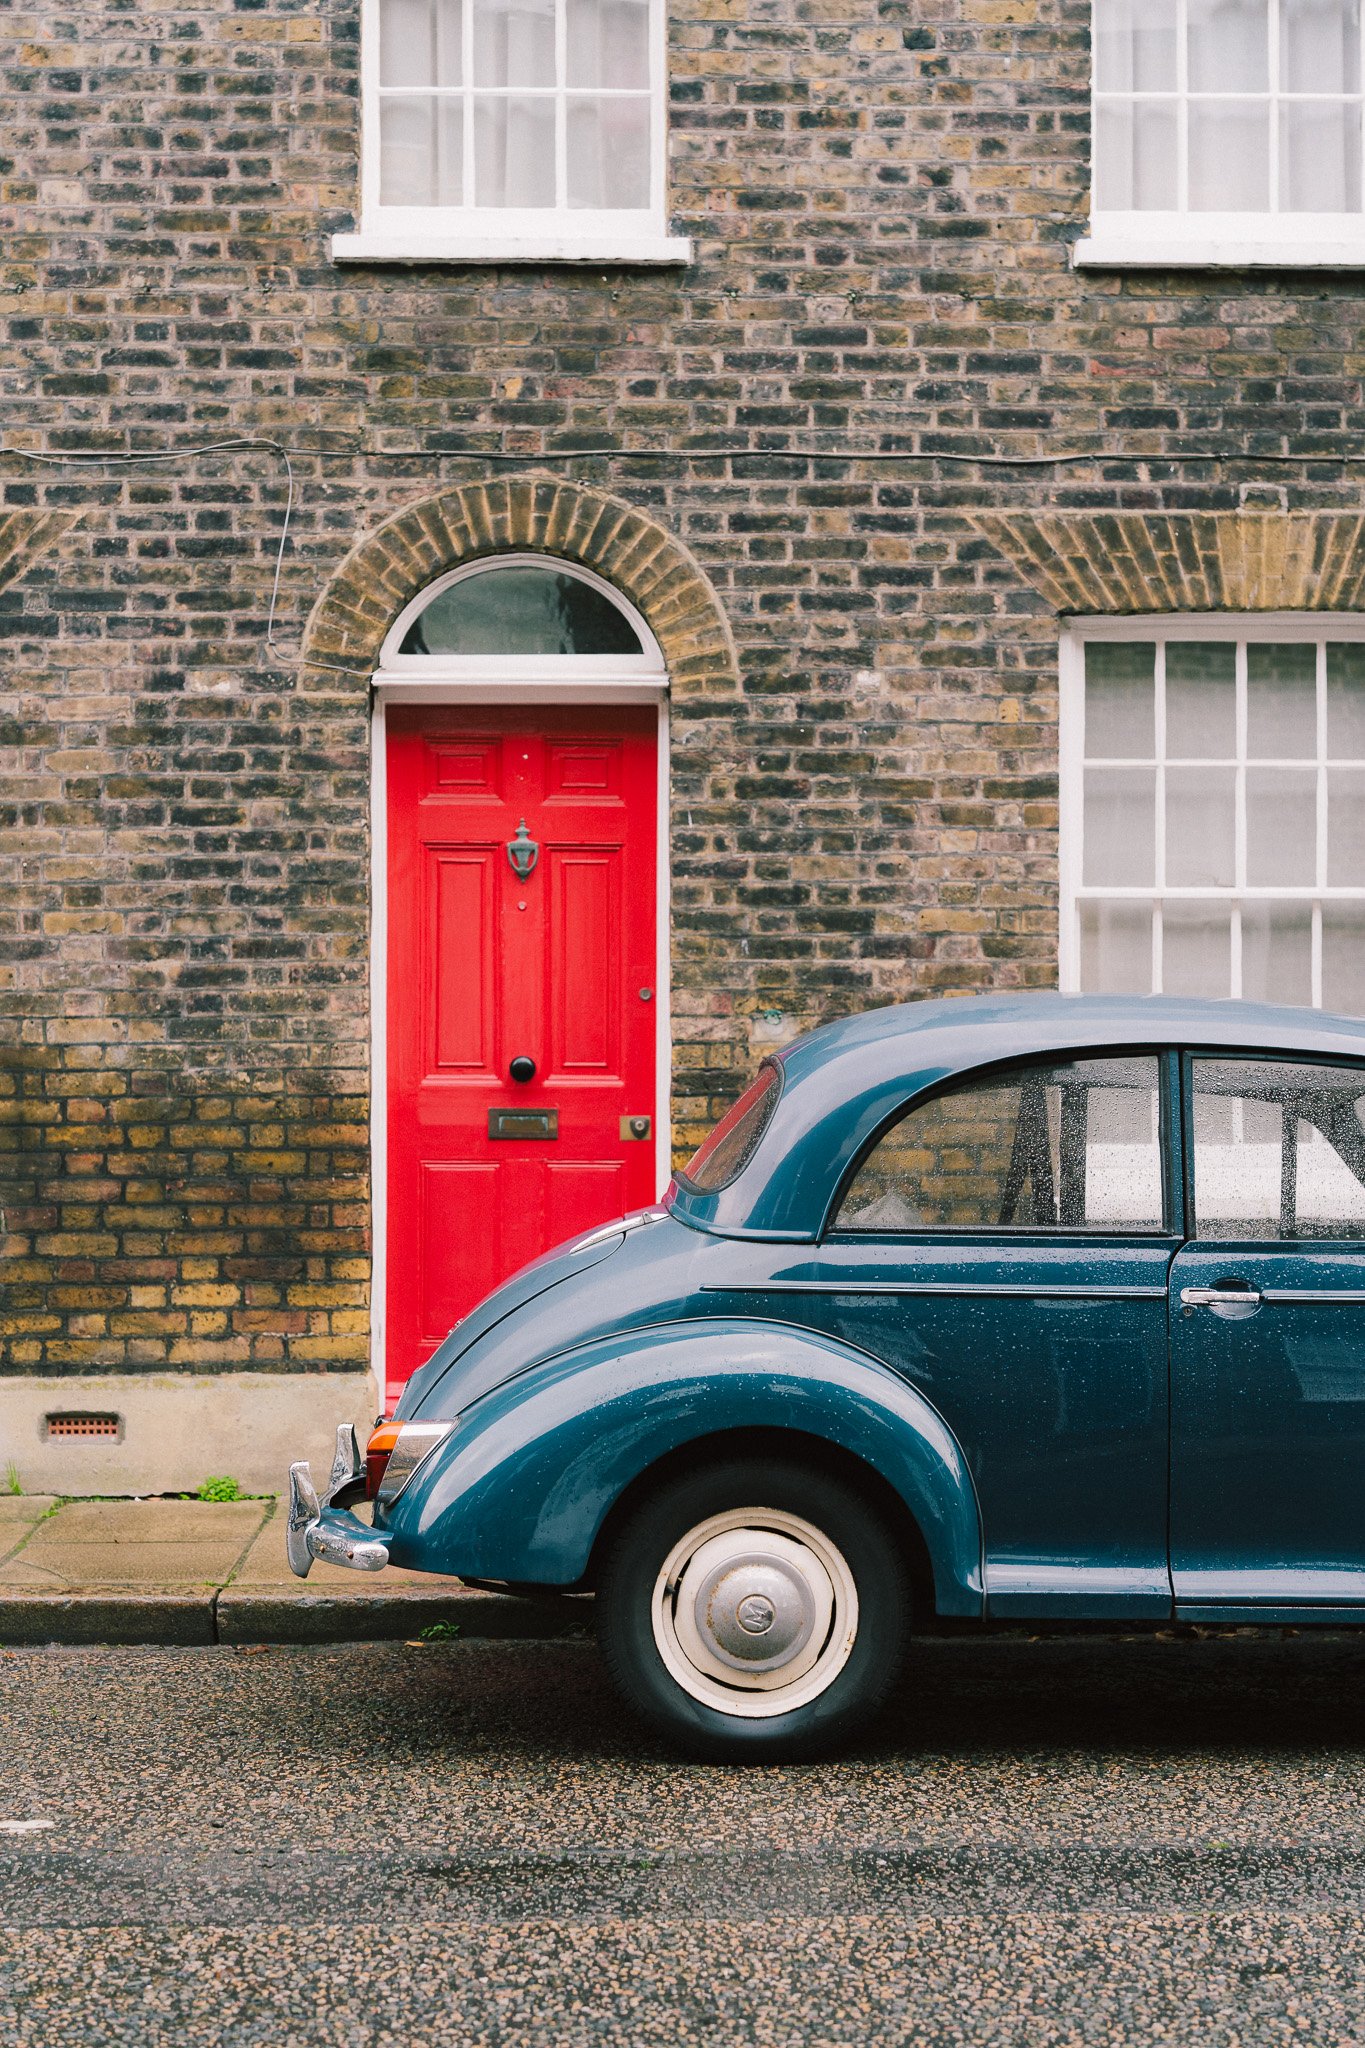
Shoot like normal to bring focus to the subjects in your scene. This could be a person, a vehicle, a boat, a table, or a building.
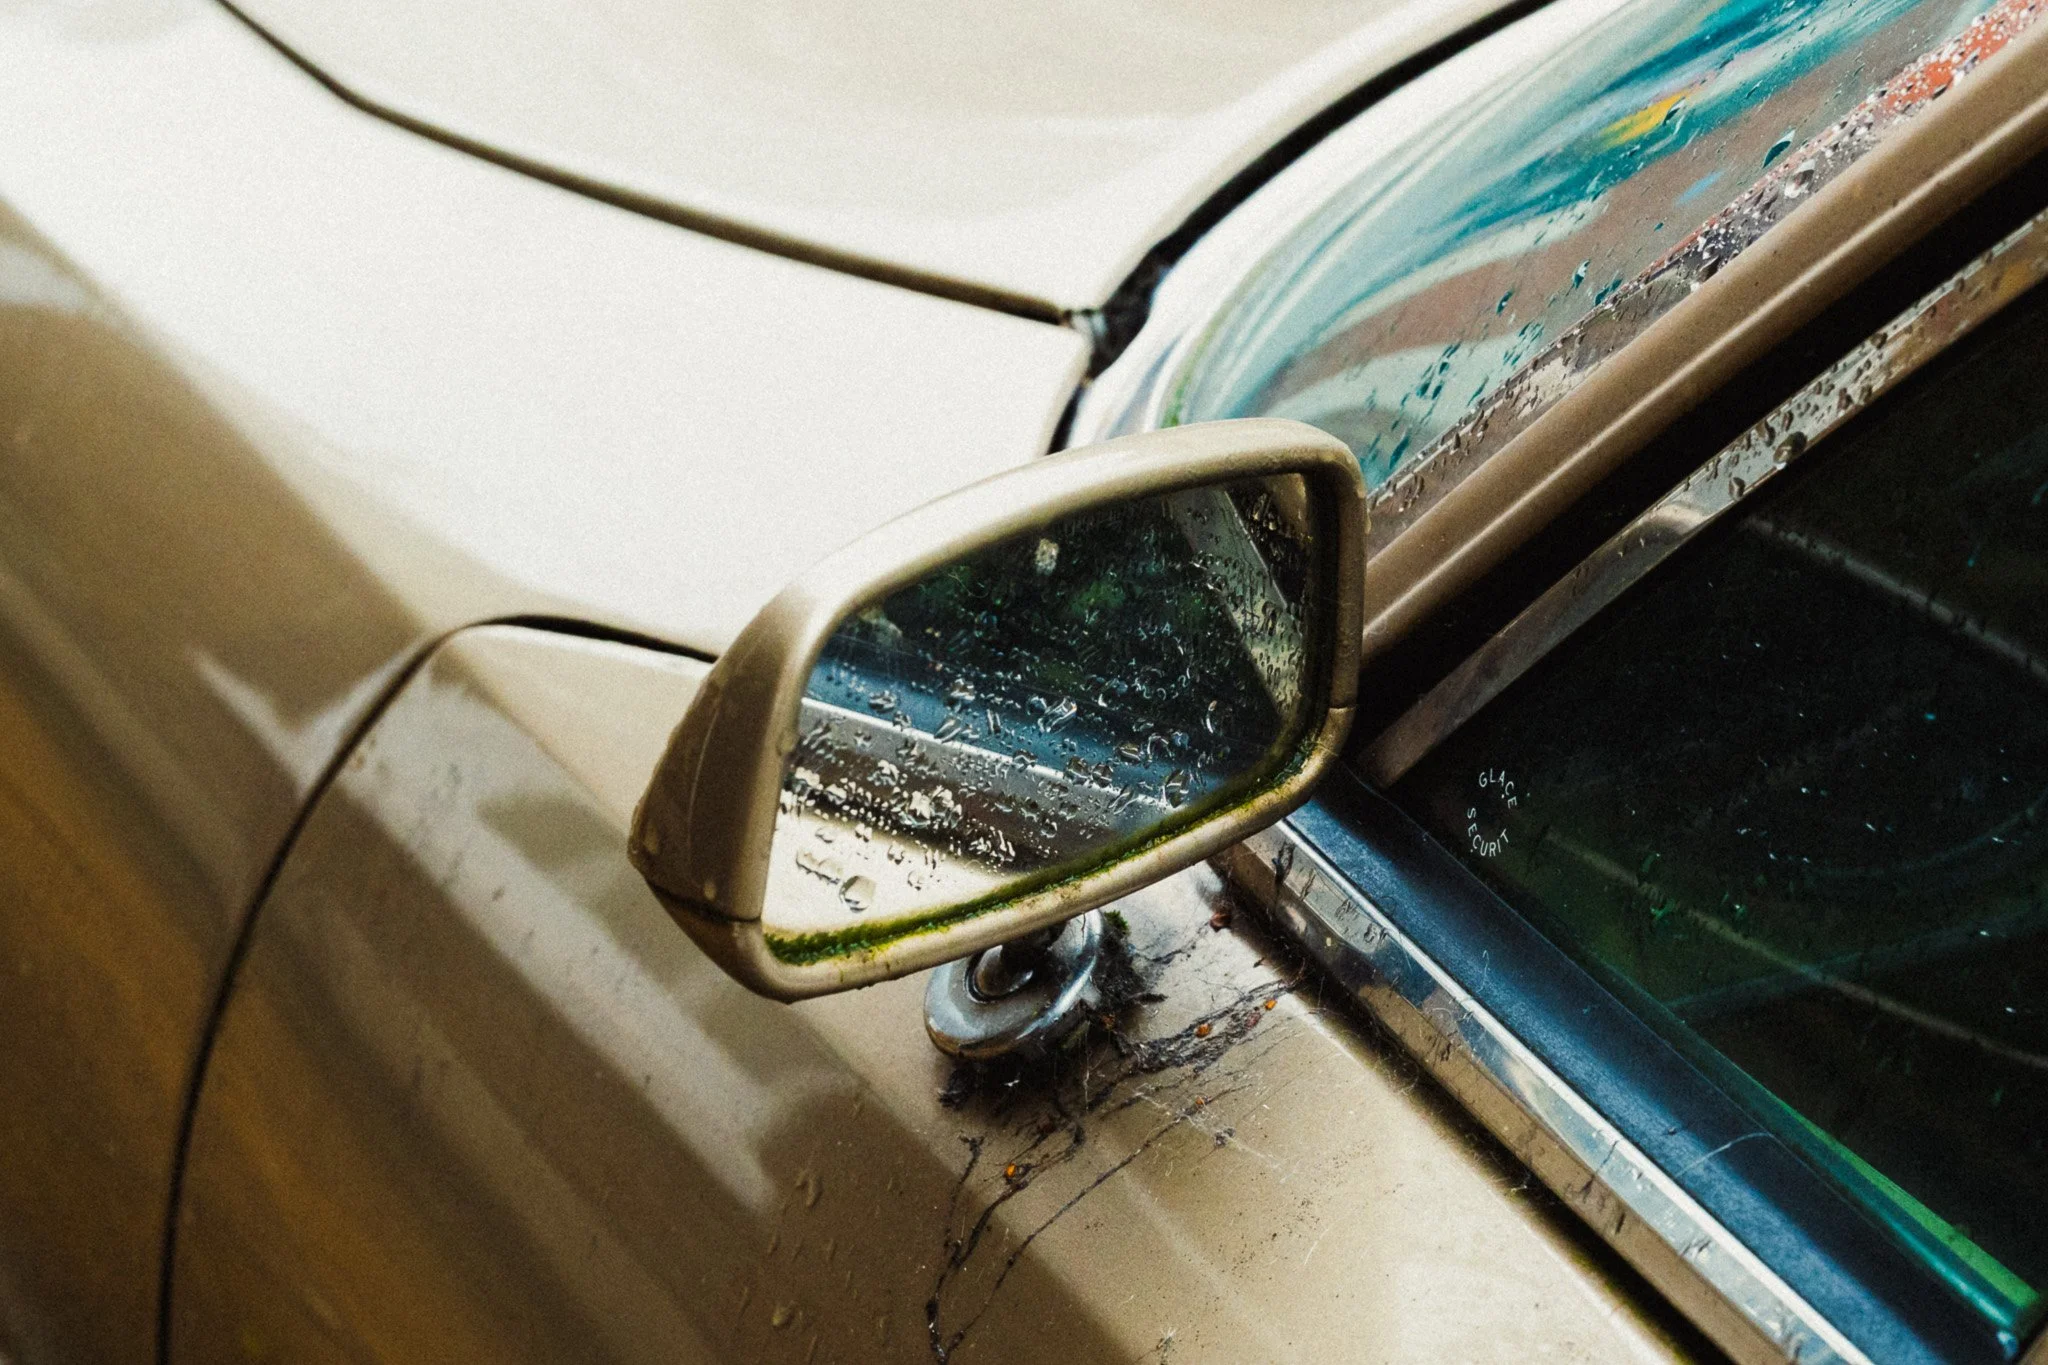
Lastly, come closer and focus on the details to really put your viewer in the scene. This could be a hand gesture, a reflection, texture, cutlery, or anything that adds a little bit of a visual break.
Think abstract
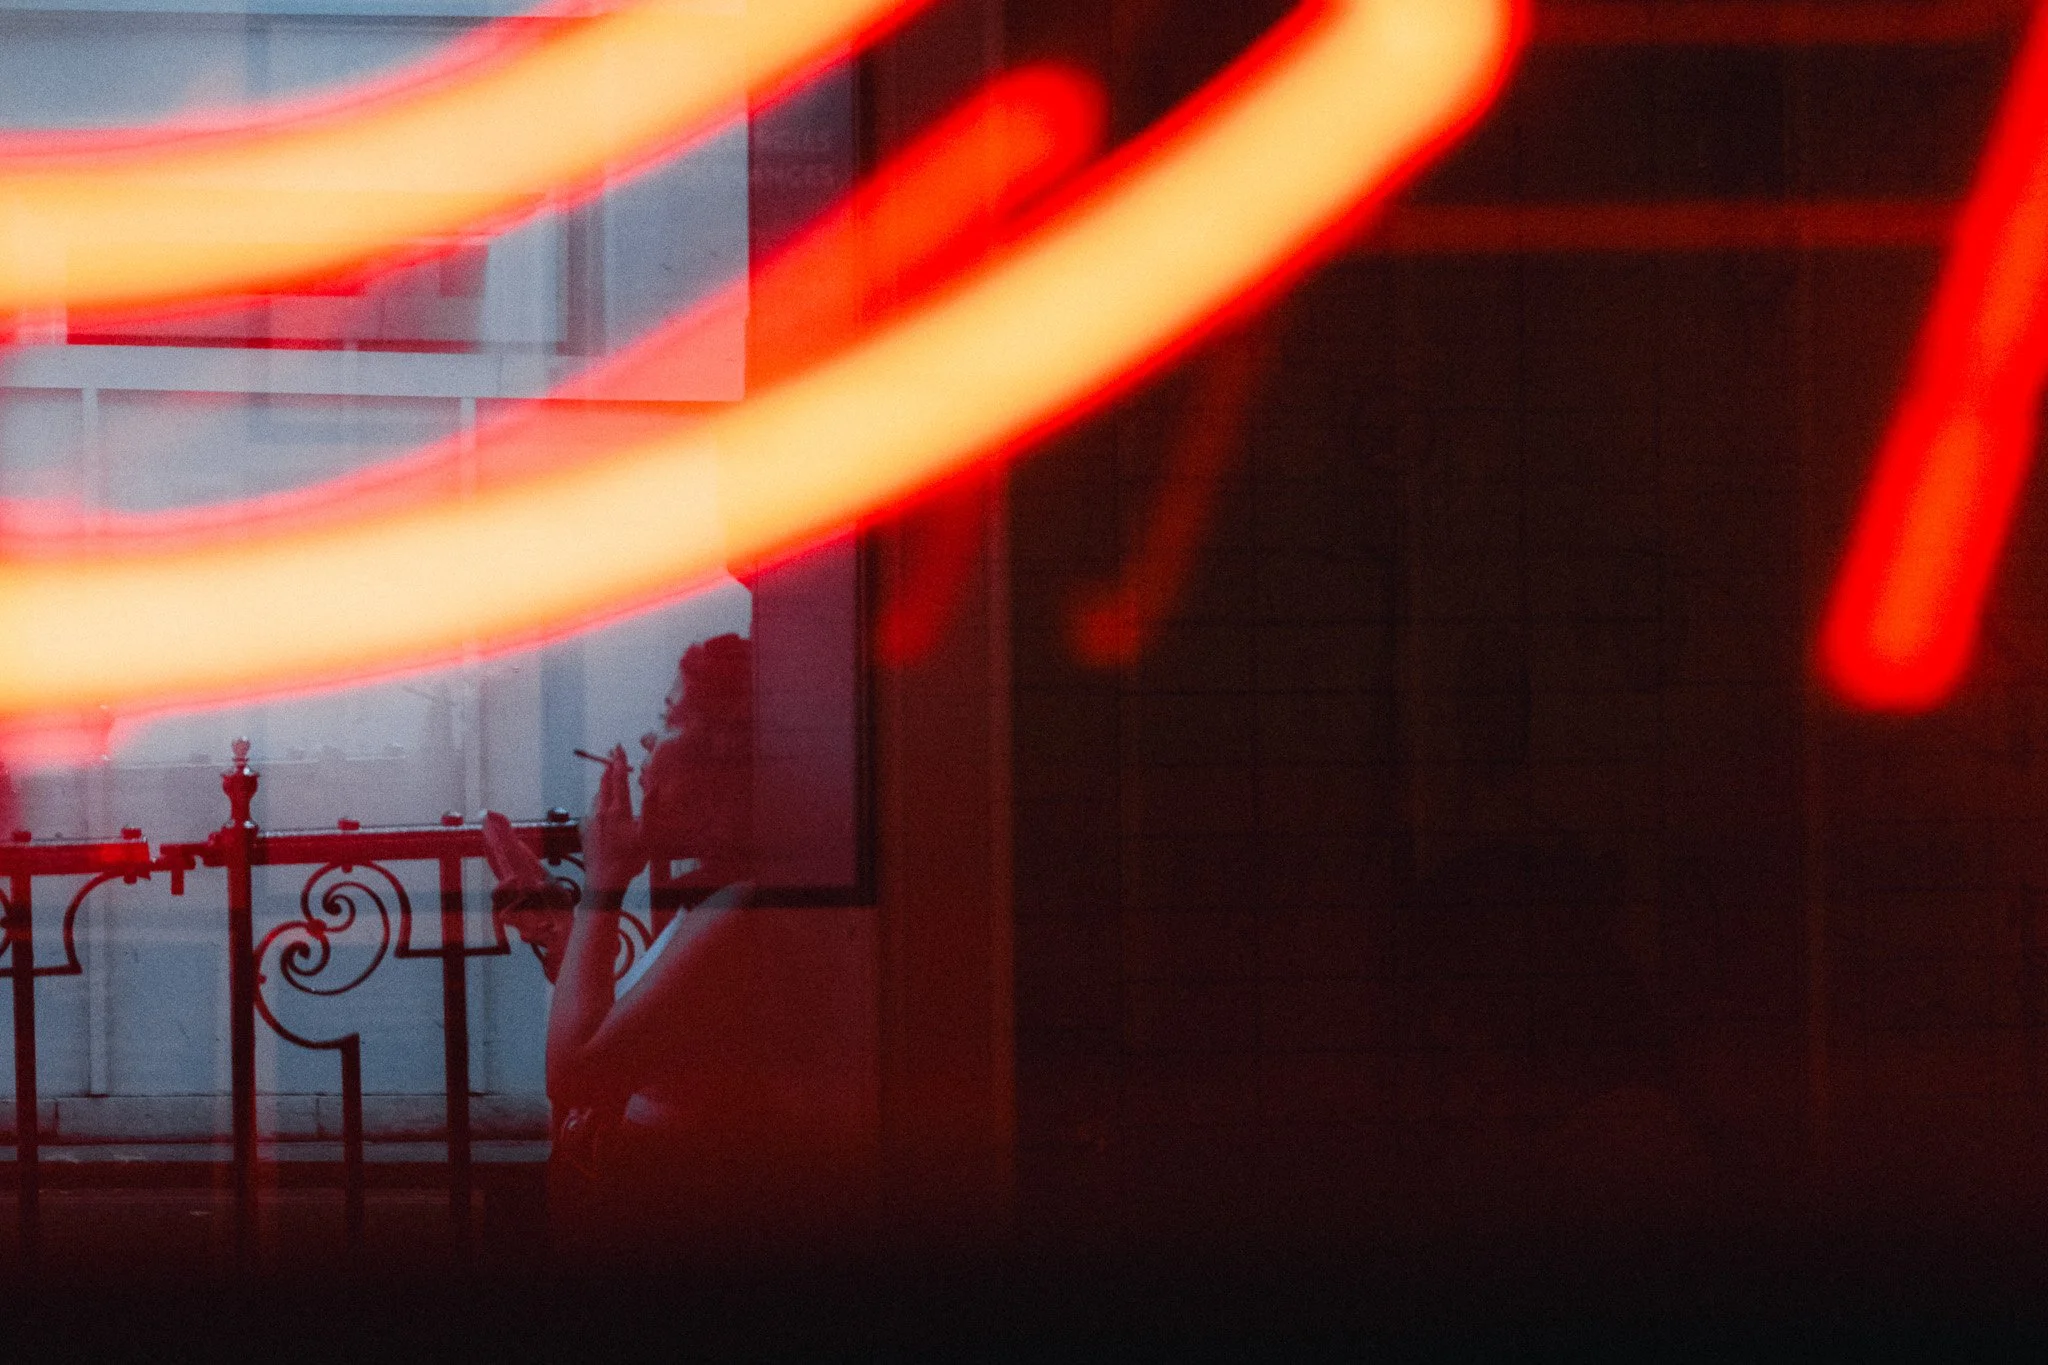
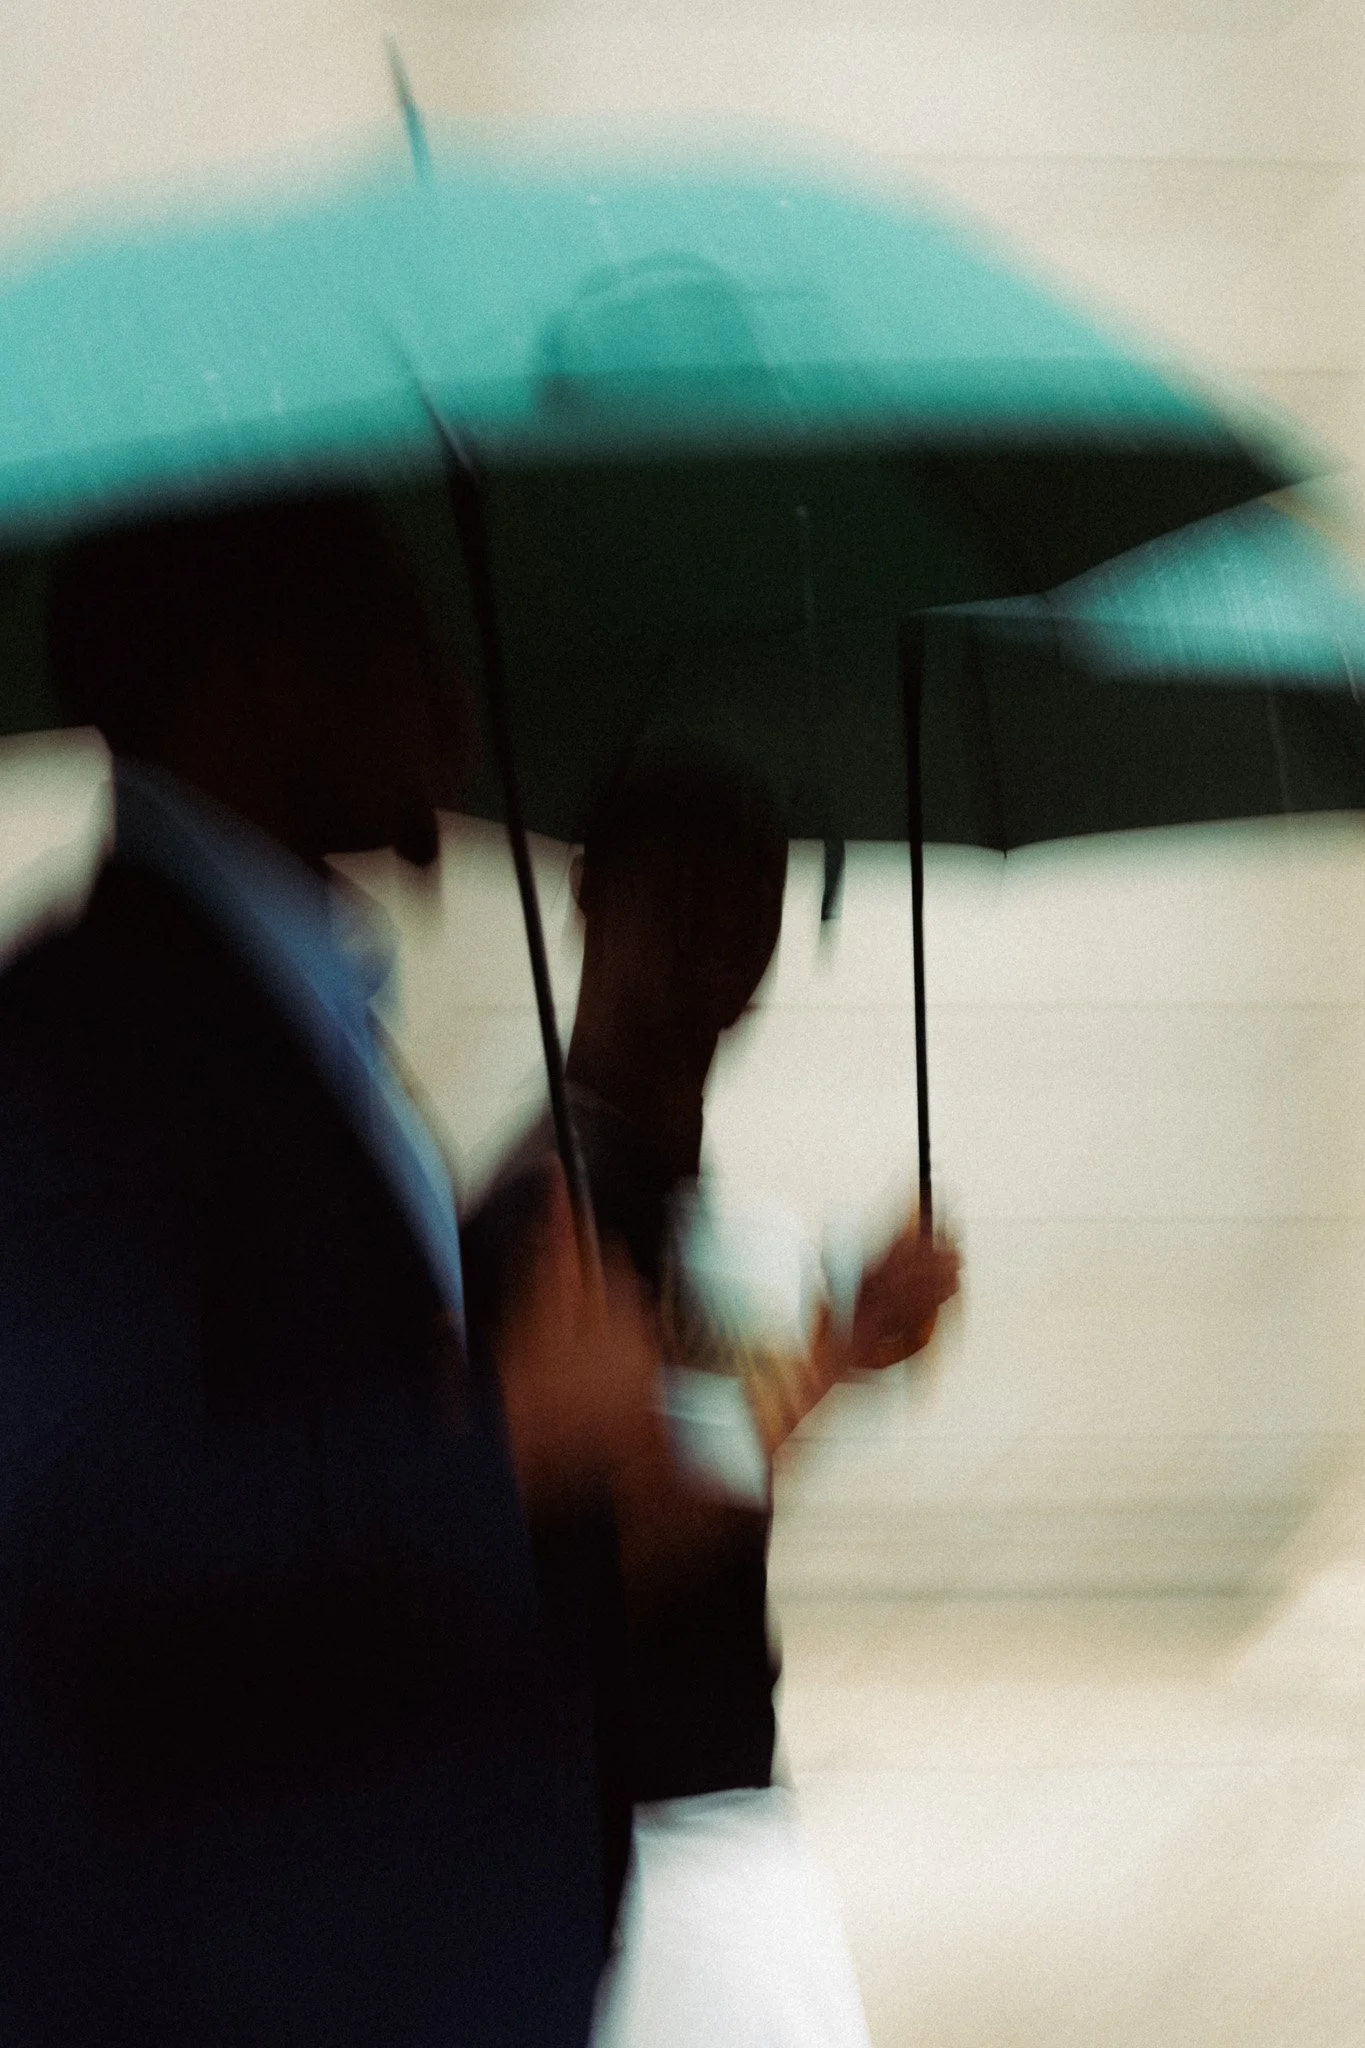
A tighter focal length opens the door to more abstract style photography. While I think 50mm is still a little too wide for my liking, it’s just on the cusp of being tight enough to find abstract shots. Slow the shutter down, find reflections, place the camera against metal surfaces, shoot through misty windows, and have fun.
Try a 40
The last piece of advice is for those who just can’t get on with the 50mm. Perhaps you find yourself always too close, or your compositions just feel a bit tight. In that case, something like a 40mm might be the ticket you need.
40mm is my go to travel lens at the moment because it fills the gap between 35 and 50 perfectly. It can also be used like a 50, but with some extra breathing space. If you really can’t seem to get on with a 50mm and find the 35mm too wide, give the 40 a go.














Instead of telling you how these will change your life, I would rather be practical and answer the most common questions that people tend to have when buying presets.
What are presets?
They are editing settings that are saved in a file and can be applied to any image.
Why do people buy presets?
Sometimes because they like the work of the photographer and want that style for their own photos. Mostly because they would like to see how other people edit and learn by reverse engineering the presets. Other times it’s just to support their favourite photographers, thank you!
What’s the overall style of these presets?
- Filmic
- Warm
- Soft
- Bright
What are these presets suitable for?
Street & Travel Photography
Some Nature (with further editing)
Some Portraits (with extensive editing)
Do I actually use these?
Yes. This is the same pack I use right now for all my editing. This isn’t a pack made just to sell.
Do these presets get updated?
Yes, as my style changes, these presets will also be updated. Any time a new update is available, you will get a free update via email. Of course you also keep all the old presets in case you prefer the older looks. Only presets purchased from 2025 onwards will receive the updates.
What file types are these presets for?
- All RAW files
- JPEGs & TIFFs (not recommended)
What camera brands are these presets for?
These were designed around Fujifilm, Sony, and Leica sensors. With that said, they will work with all camera brands. While there might be differences due to individual camera colour science, the overall feel of the preset will carry over.
Will these work with JPEG files?
Yes, but you will need to reduce the intensity and make further edits. I strongly recommend editing RAW files.
Are these one click edits?
95% No. You would need to do some basic adjustments as each image is different. These adjustments can include exposure, colour balance etc. In 5% of cases you can just apply and leave it alone.
Do I need to know how to edit?
You need to have a basic understanding of adjusting exposure, highlights, shadows, etc. A more comprehensive editing skillset will let you get the most out of them.
How many presets are included?
10 in the main pack and 24 in the extras pack
Why two packs?
The main pack is what I use for 99% of my edits and is kept small to reduce wasted time scrolling through presets. The extras pack is everything I don’t use often.
What software do I need?
These presets will work with any of the following:
- Photoshop (adobe camera raw)
- Lightroom Classic
- Lightroom Desktop
- Lightroom Mobile
Will these presets work with free versions of the above software?
You need to research and double check before buying. These presets were designed for the full paid versions.
Will these presets work with very old versions of the above software?
You need to research and double check before buying. These presets were designed on and for the latest software.
What file type do I get?
XMP
What else do I get?
- Comprehensive PDF guide
Can I modify these and turn them into my own?
Yes! In fact I encourage you to modify them and play around. Use these to help you get your own style.
I have more questions…. What do I do?
Make a cup of tea and drop me an email on hello@snapsbyfox.com
Please note that due to the nature of digital products, refunds are generally not accepted. However, if you experience any issues, feel free to contact me and I’ll review your situation individually. You are welcome to use this product for personal or commercial projects, but you may not copy, distribute, or resell the files in their original or modified form.
Finally I want to say a massive thank you for supporting me. Buying these presets is the most direct way you can support my work.
Thank you!