
24-70mm Lens | How To Shoot
In this blog, I will share some tips and advice for shooting with a zoom lens. While there are many different types of zooms, we will stick to the traditional 24-70mm and talk in full frame terms for the sake of simplicity.
The 24-70mm has been a staple in my photography kit since the beginning, and while I personally prefer to use primes, when it comes to travel and “getting shit done”, the 24-70mm is unbeatable.
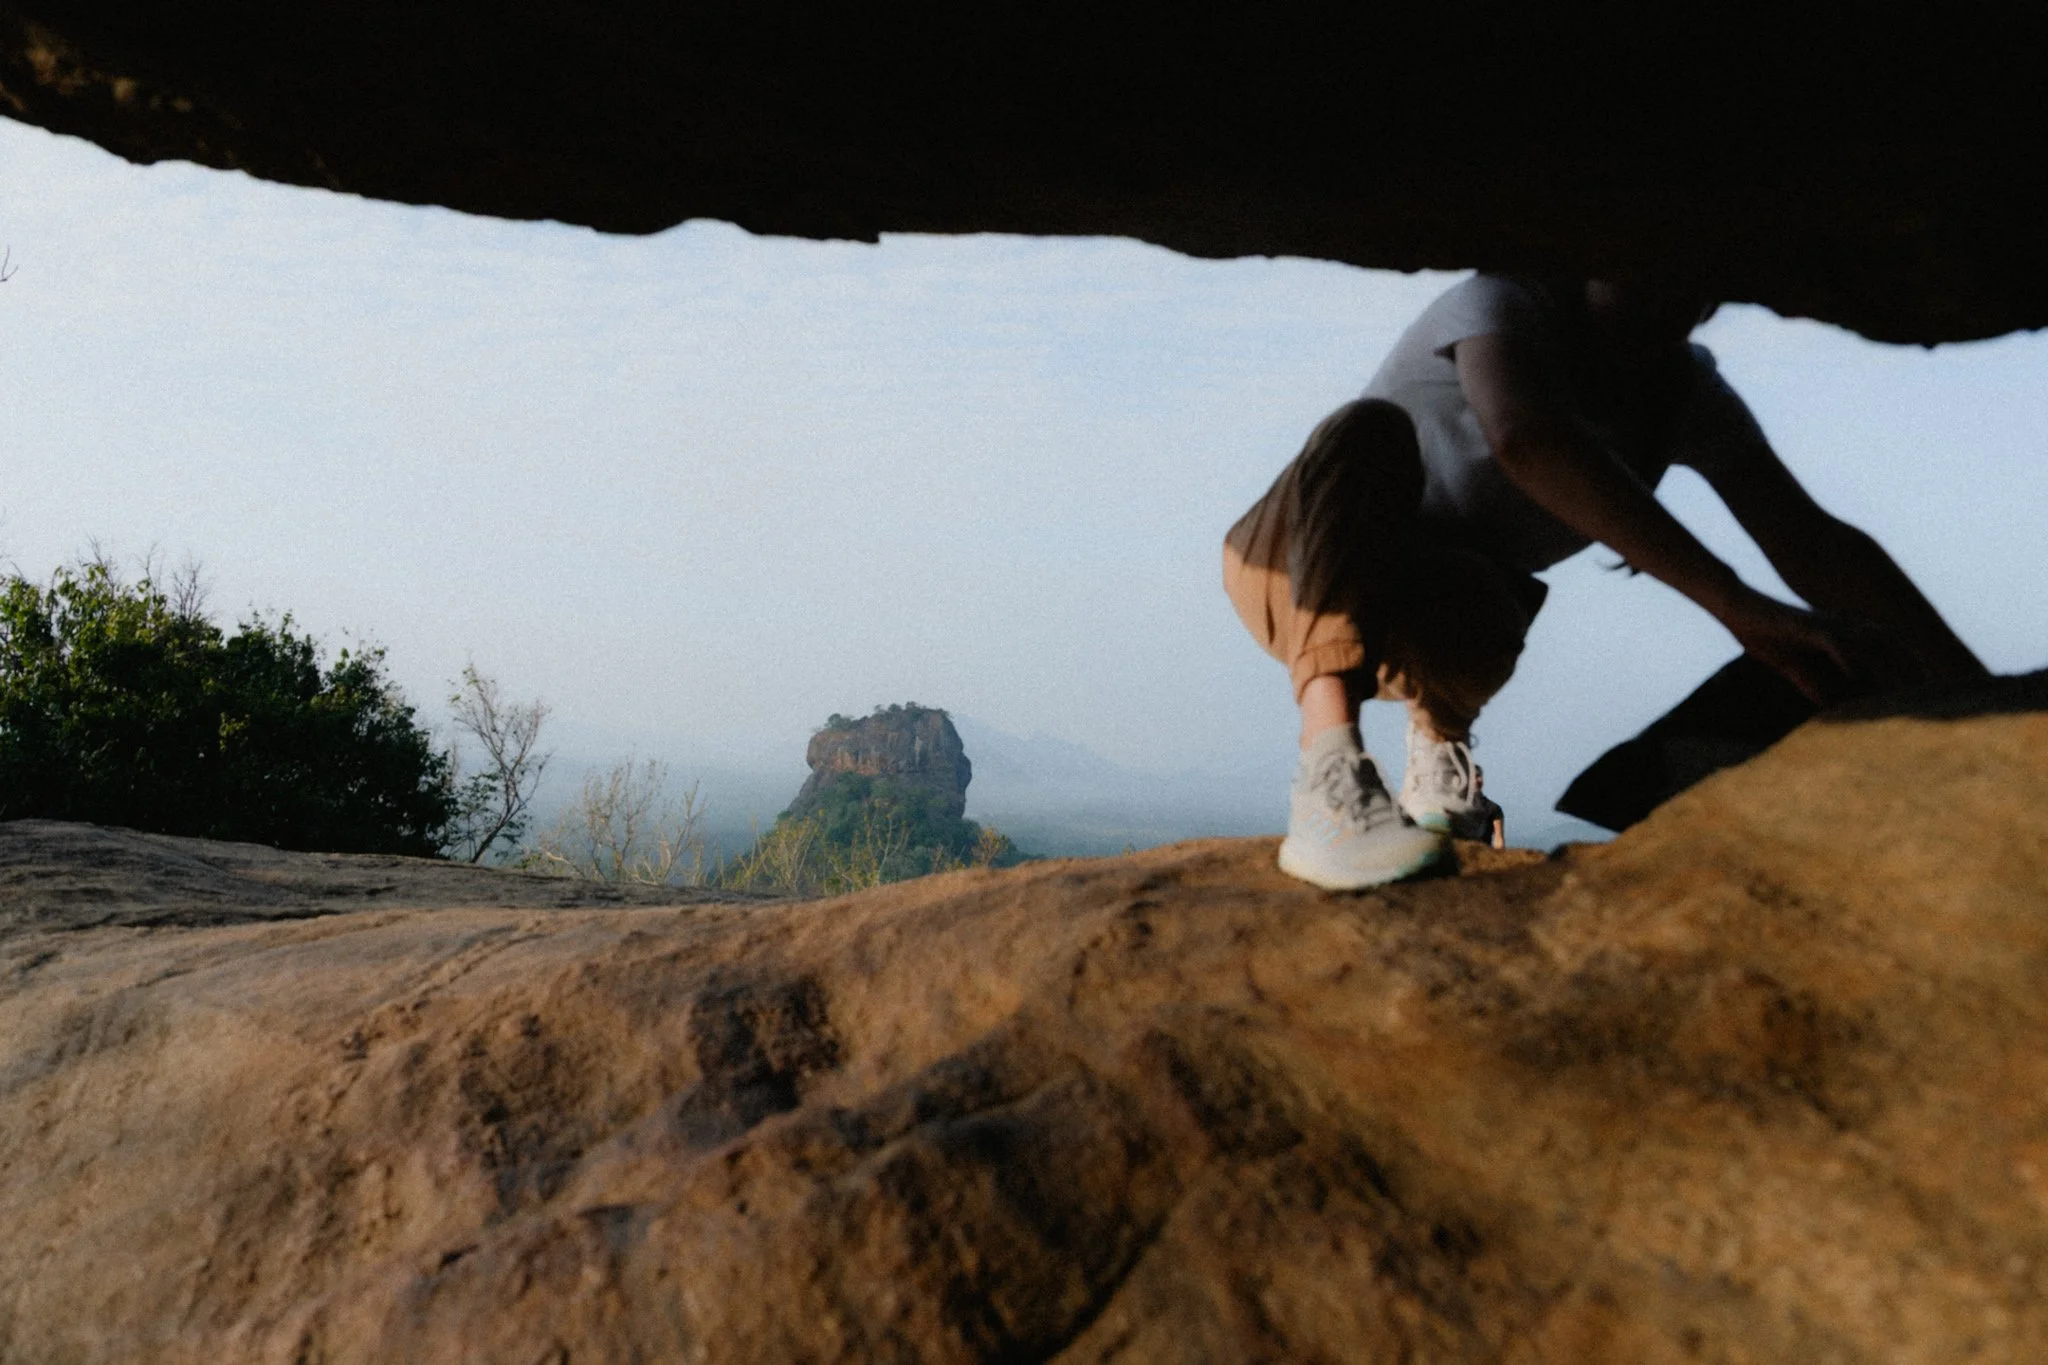
I’m currently writing this in the back of a taxi on the way to the airport after two weeks of shooting in Sri Lanka using only the 24-70mm, so these thoughts are very much backed by experience.
A note on aperture
If you’re reading this before buying your 24-70mm lens, then may I strongly suggest getting a lens with a constant aperture as opposed to a variable one.
Most kit lenses and cheaper zooms will have a variable maximum aperture. This means that at 24mm you could be at f/2.8, but the moment you zoom into 70mm, the widest available aperture could be f/4 or smaller, depending on the lens.
In practice, this won’t always make a huge difference, but it can still have a noticeable impact on your images, especially in low light. I personally prefer to know that my maximum aperture stays consistent throughout the zoom range, so for that reason I would rather buy a constant f/4 lens instead of an f/2.8 to f/4 variable aperture zoom.
Why 24-70mm and when to use it
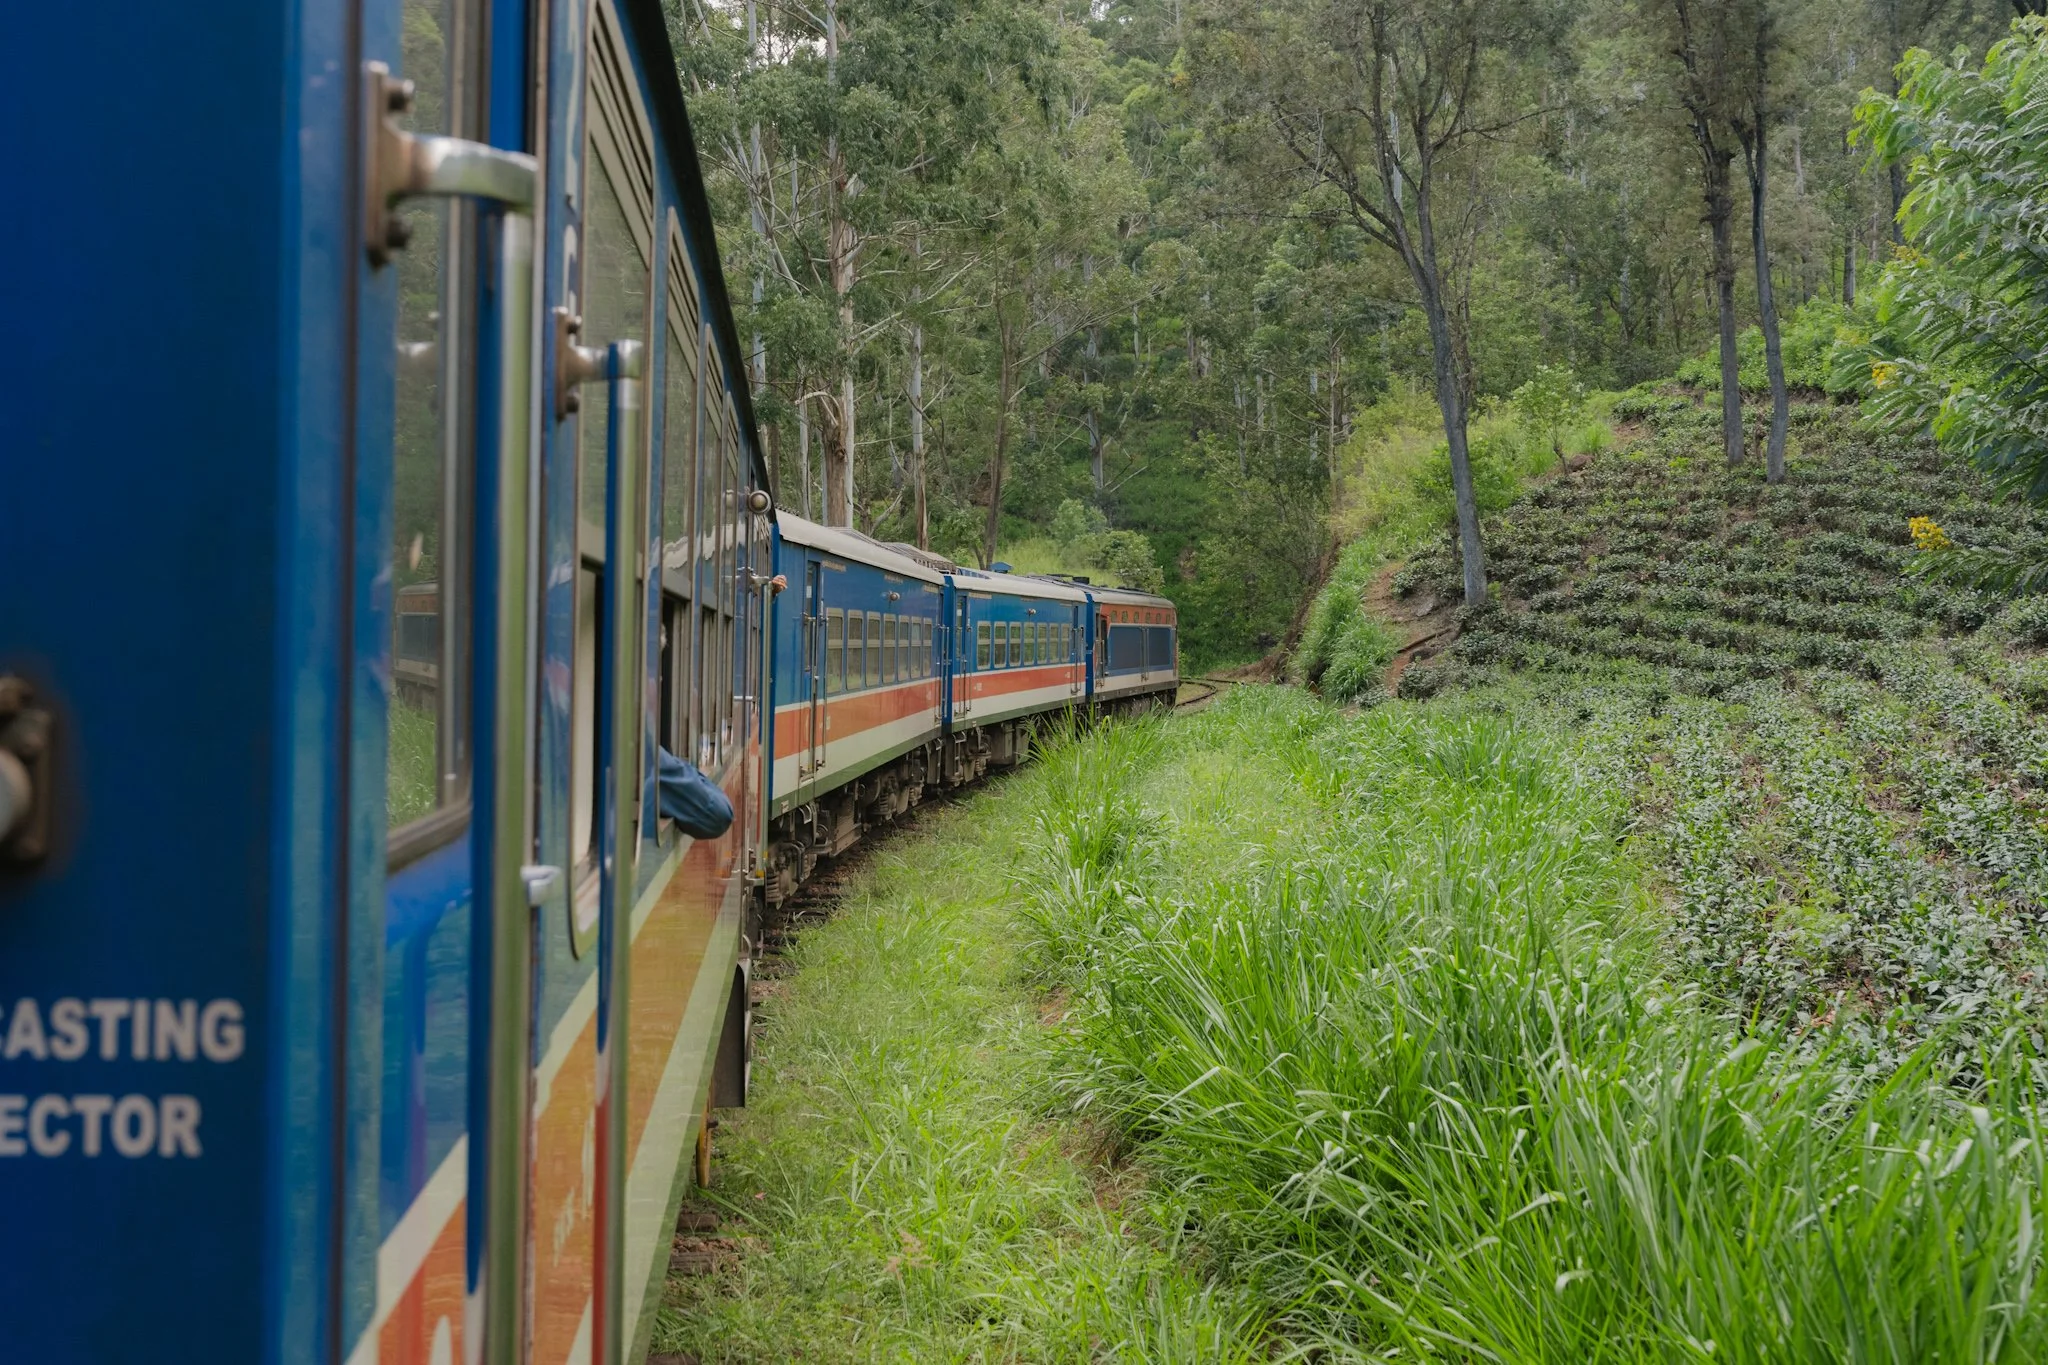
For me, the 24-70mm is a travel lens for when I’m unsure what to expect, when there will be a wide variety of subjects, and when changing primes isn’t a practical option.
For example, my current trip to Sri Lanka involves some street photography, landscapes, wildlife, and everything in between. While the 24-70mm isn’t exactly a wildlife lens, I didn’t want to bring a giant, heavy telephoto. Furthermore, every day I’m faced with humidity, rain, and plenty of dust. Coupled with trying to capture everything, the 24-70mm makes much more sense than a bunch of primes.
Of course, there is no free lunch, and you pay the price by having a bigger and heavier kit. I’m now on the way to my next destination, where I will only be using a 40mm pancake prime, and it’s so nice not to drag the 24-70mm around.
Always start at 24mm
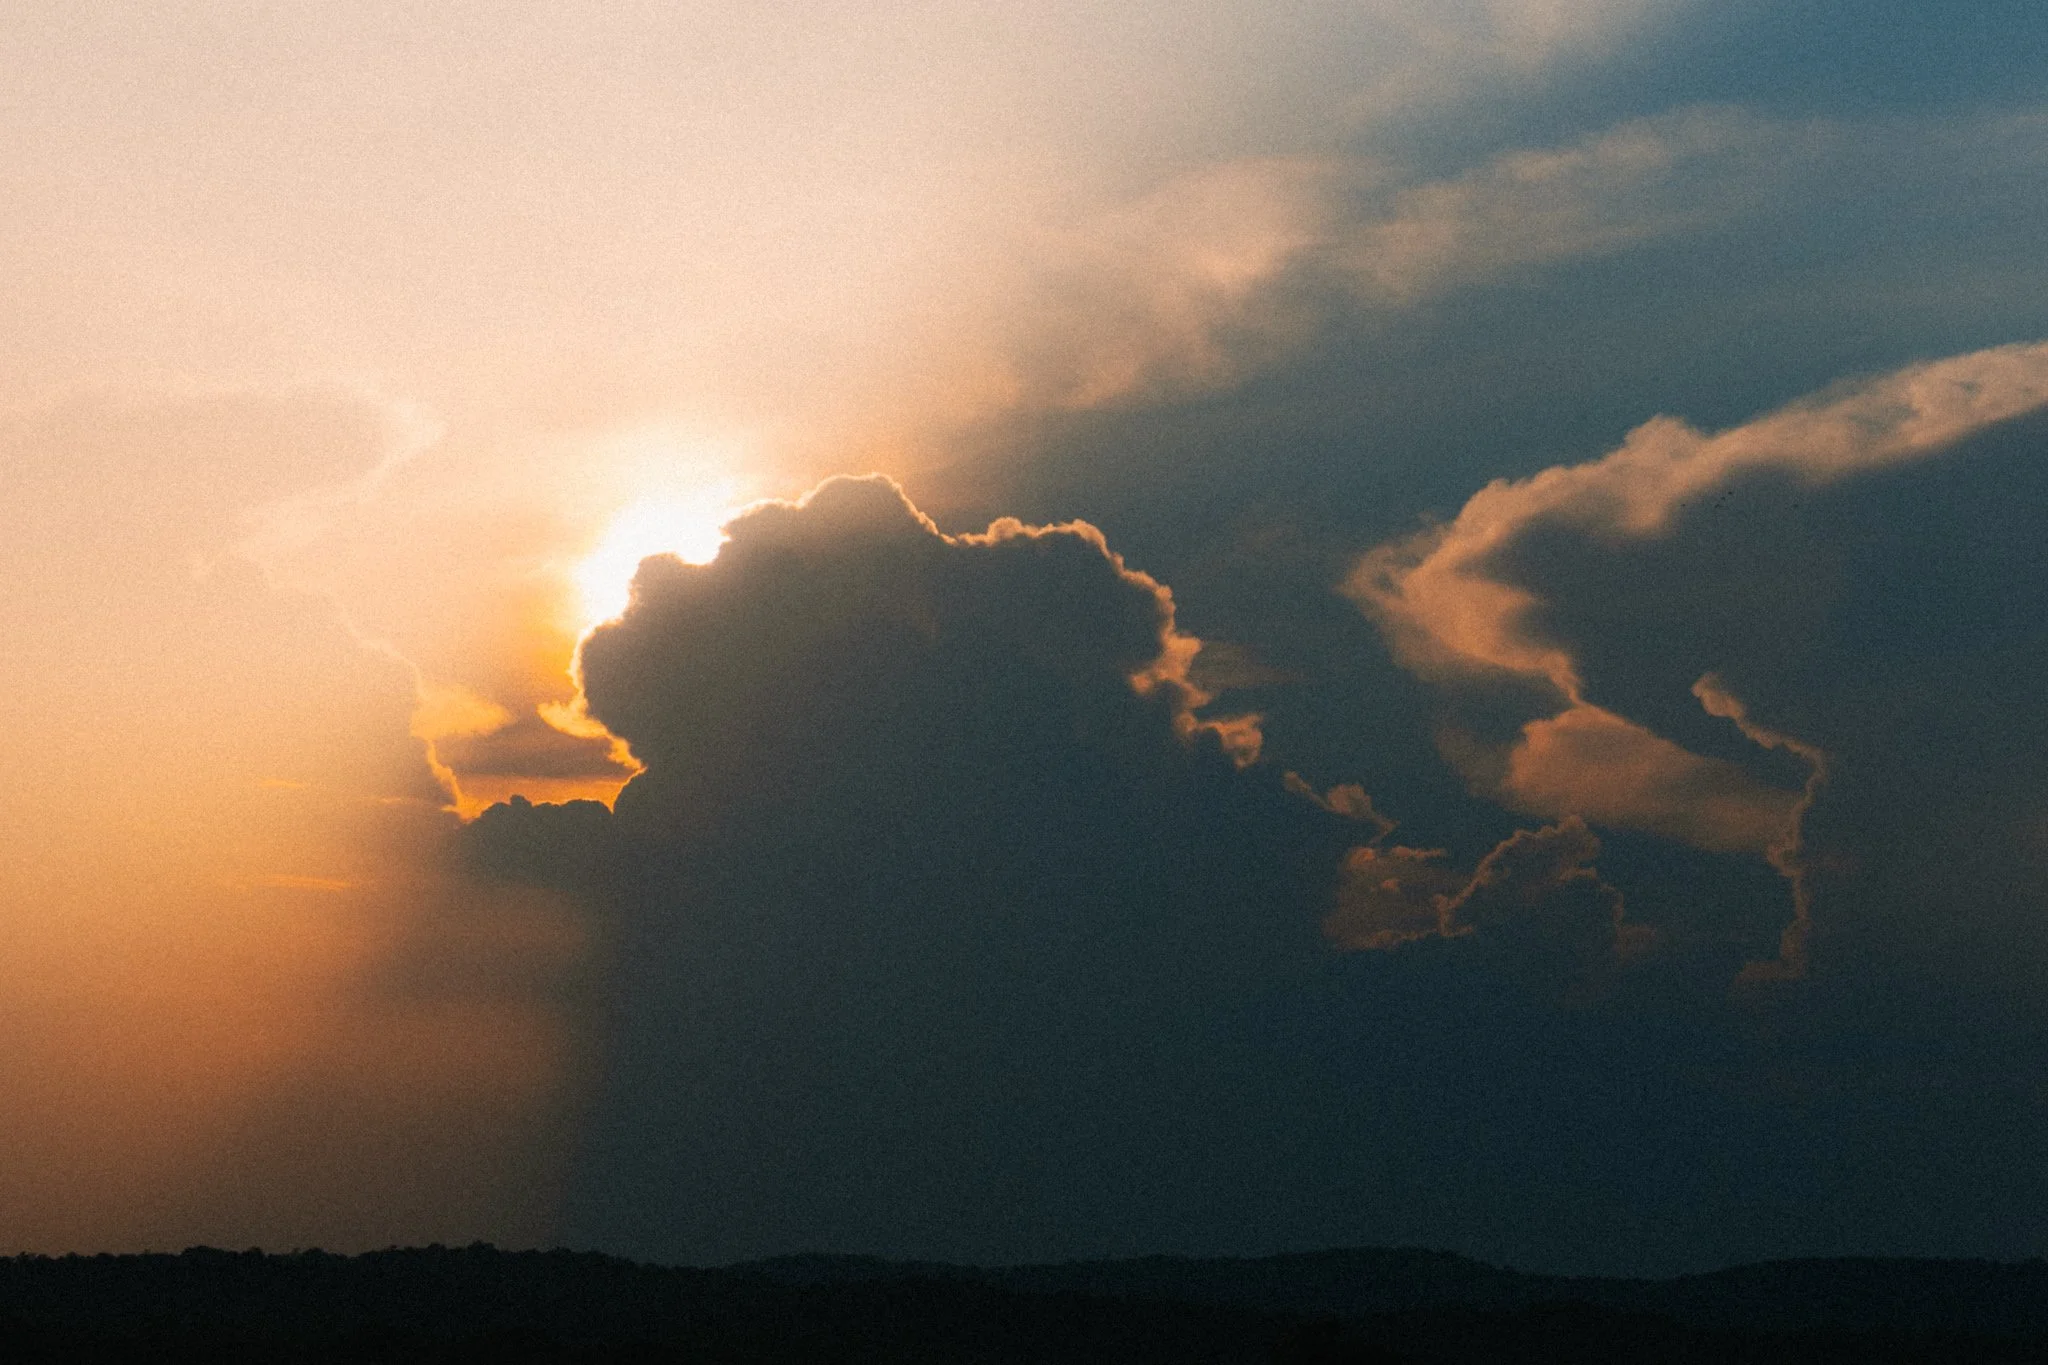
The first bit of advice I can give you is to always start at 24mm. The obvious practical advantage is that the lens is in its smallest form factor, assuming it’s a zoom that extends as you zoom in, making it easier to handle. The more important advantage is that you can always zoom into something, but you can’t zoom out.
For example, if you left your lens at 50mm because that’s what you like using, and you see something happening right in front of you, by the time you’ve zoomed out, you might have missed the moment. Even if you got the shot, you could still be a little too tight for the composition you had in mind.
However, if you’re at 24mm and see something happening further ahead, even if you weren’t quick enough to get to 50mm and took the shot at 35mm, you can still crop in later.
You can always crop in, but you can’t crop out, so for that reason I always default the lens to 24mm.
A collection of primes
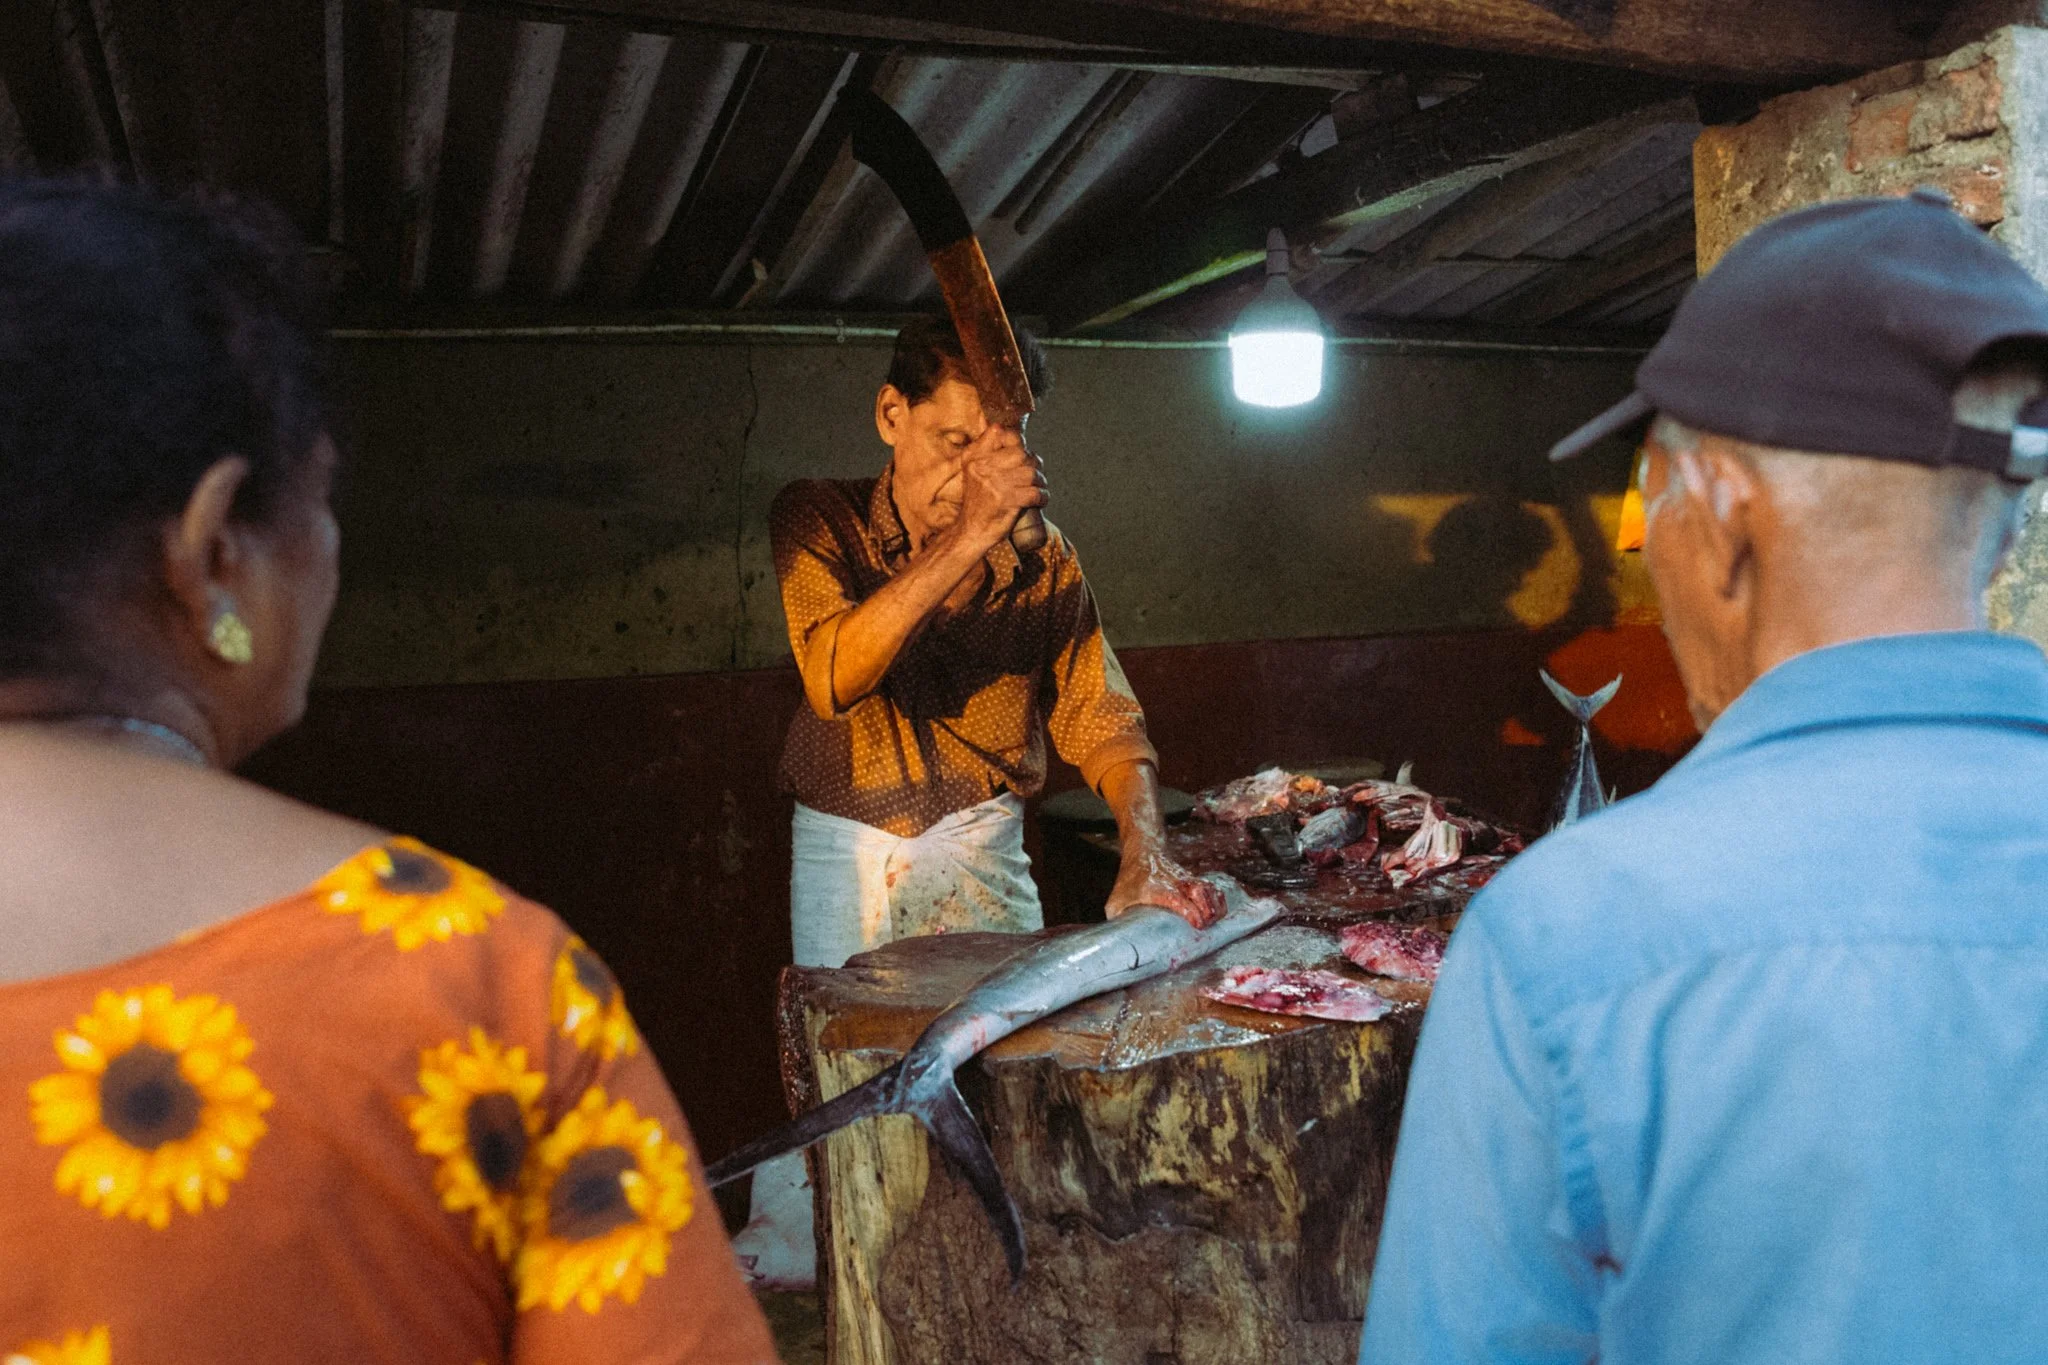
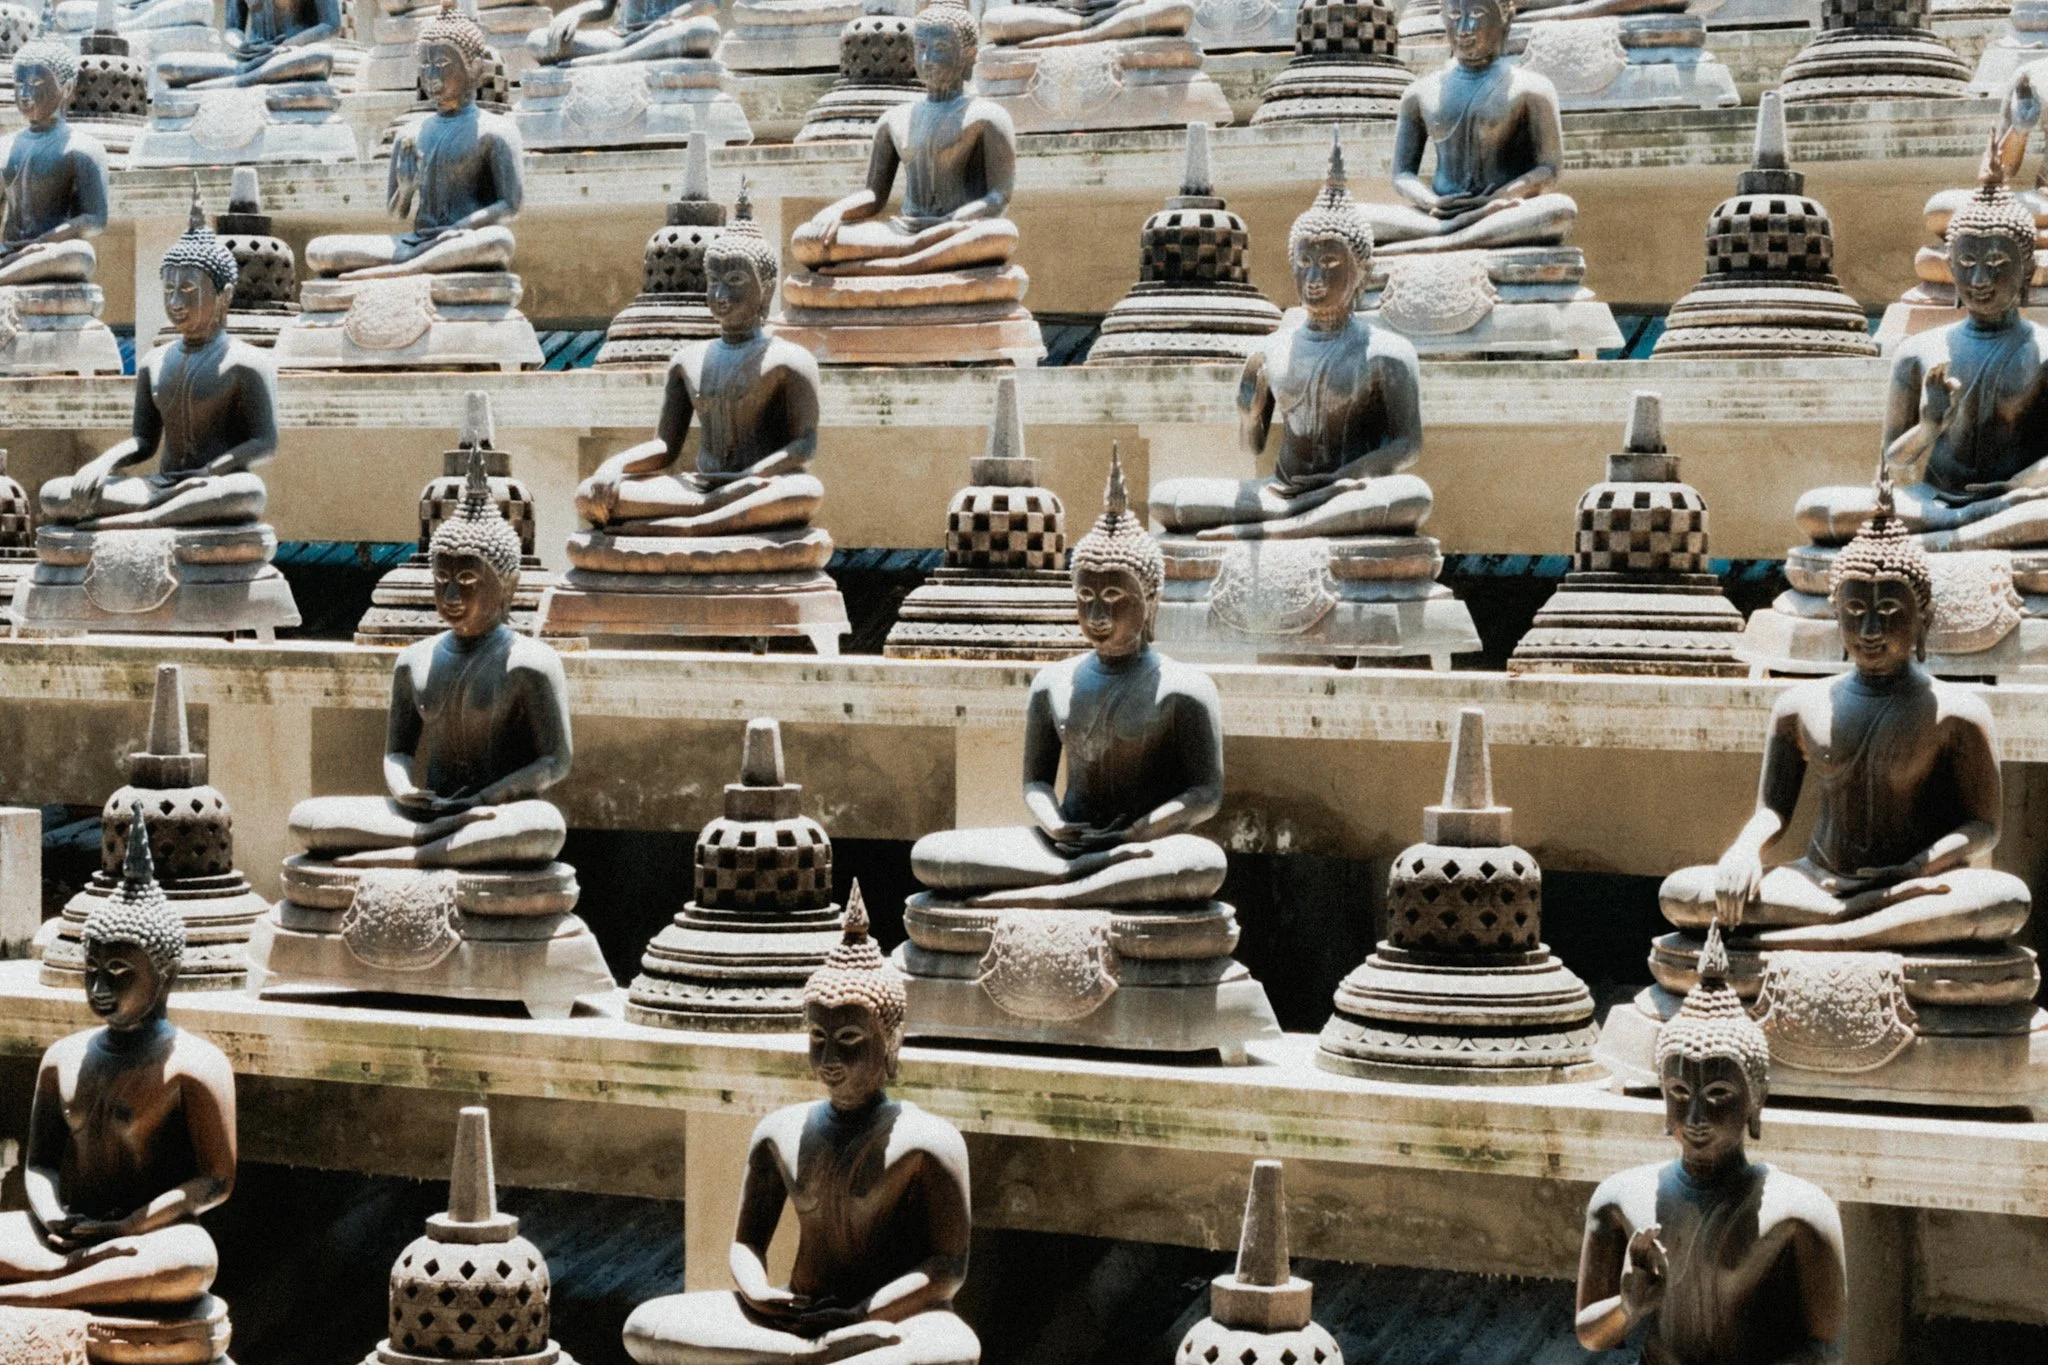
On a zoom lens, you will typically find markings for common focal lengths such as 35mm and 50mm. Try to treat the zoom as a collection of primes rather than one lens. I don’t necessarily mean leaving the lens at a specific focal length, but thinking about what prime you would use for a particular scene rather than mindlessly zooming in and out.
So as you approach a scene, ask yourself, is this a 35mm or a 50mm shot? Then try the two focal lengths and see what works better.
This is just my personal approach, and I’m not saying it’s the best, but it helps me make more thoughtful decisions rather than zooming in and out until it looks right.
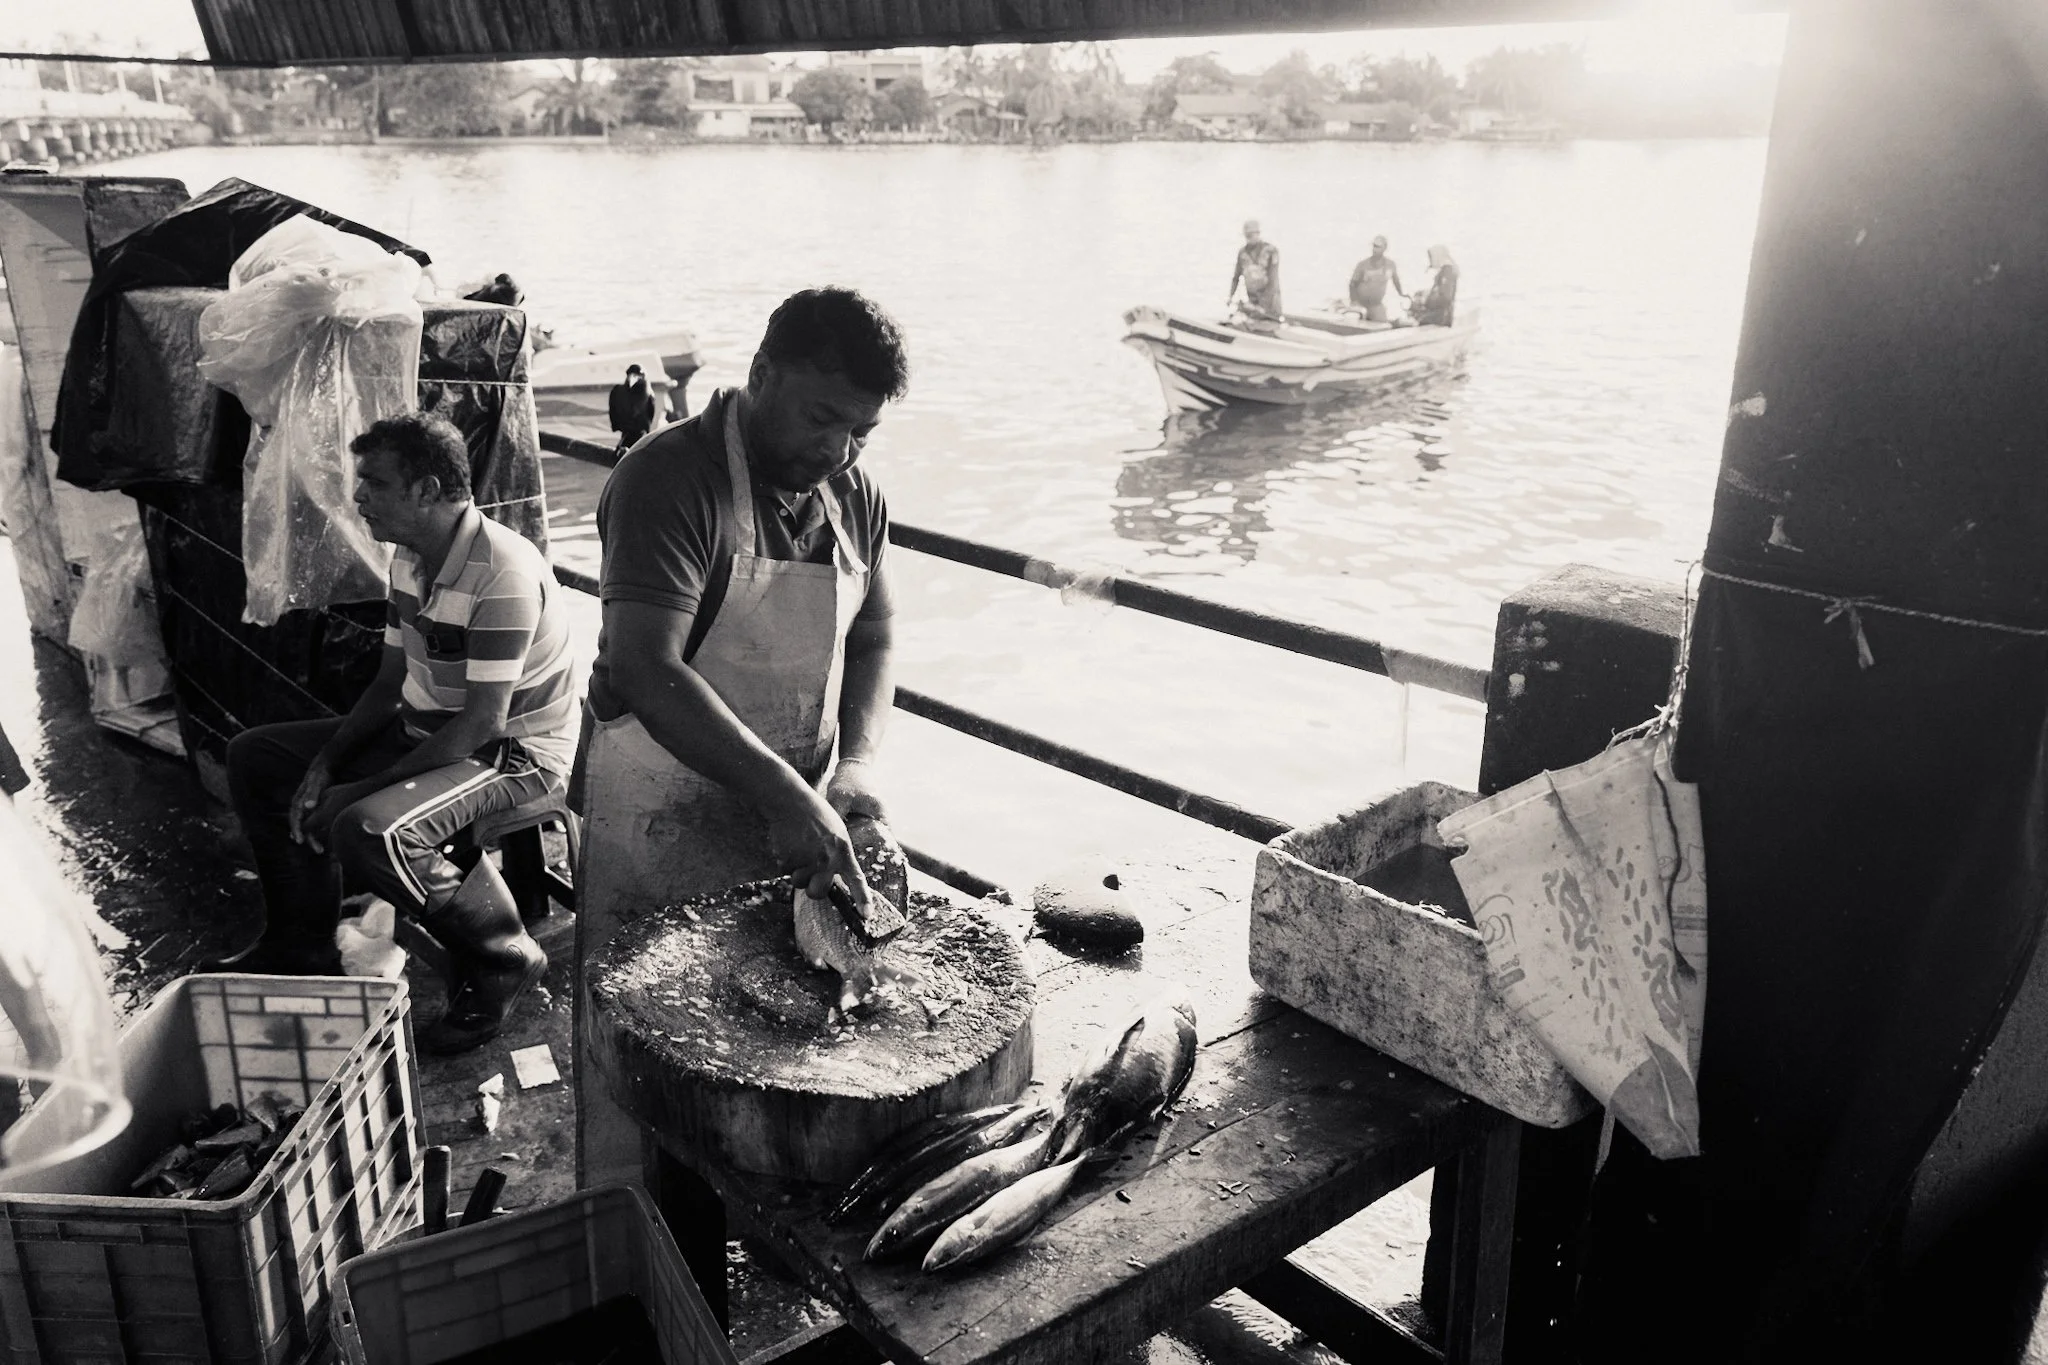
Avoid the easy route
When I first started shooting with the 24-70mm, I found myself automatically defaulting to 70mm because it was the easy route.
When you first start learning about composition, it’s easier to compose a tiny portion of the scene at 70mm compared to figuring out a 35mm scene. Equally, it’s easier to zoom in on your subject rather than get closer. So after a few months of this approach, all my photos started looking identical and boring.
Try to avoid the habit of automatically zooming into 70mm and think about what you’re trying to show. Are you establishing the scene? Then maybe 28-35mm is what you need.
The beauty of a 24-70mm is having all these options to tell your story, so don’t just limit yourself to one.
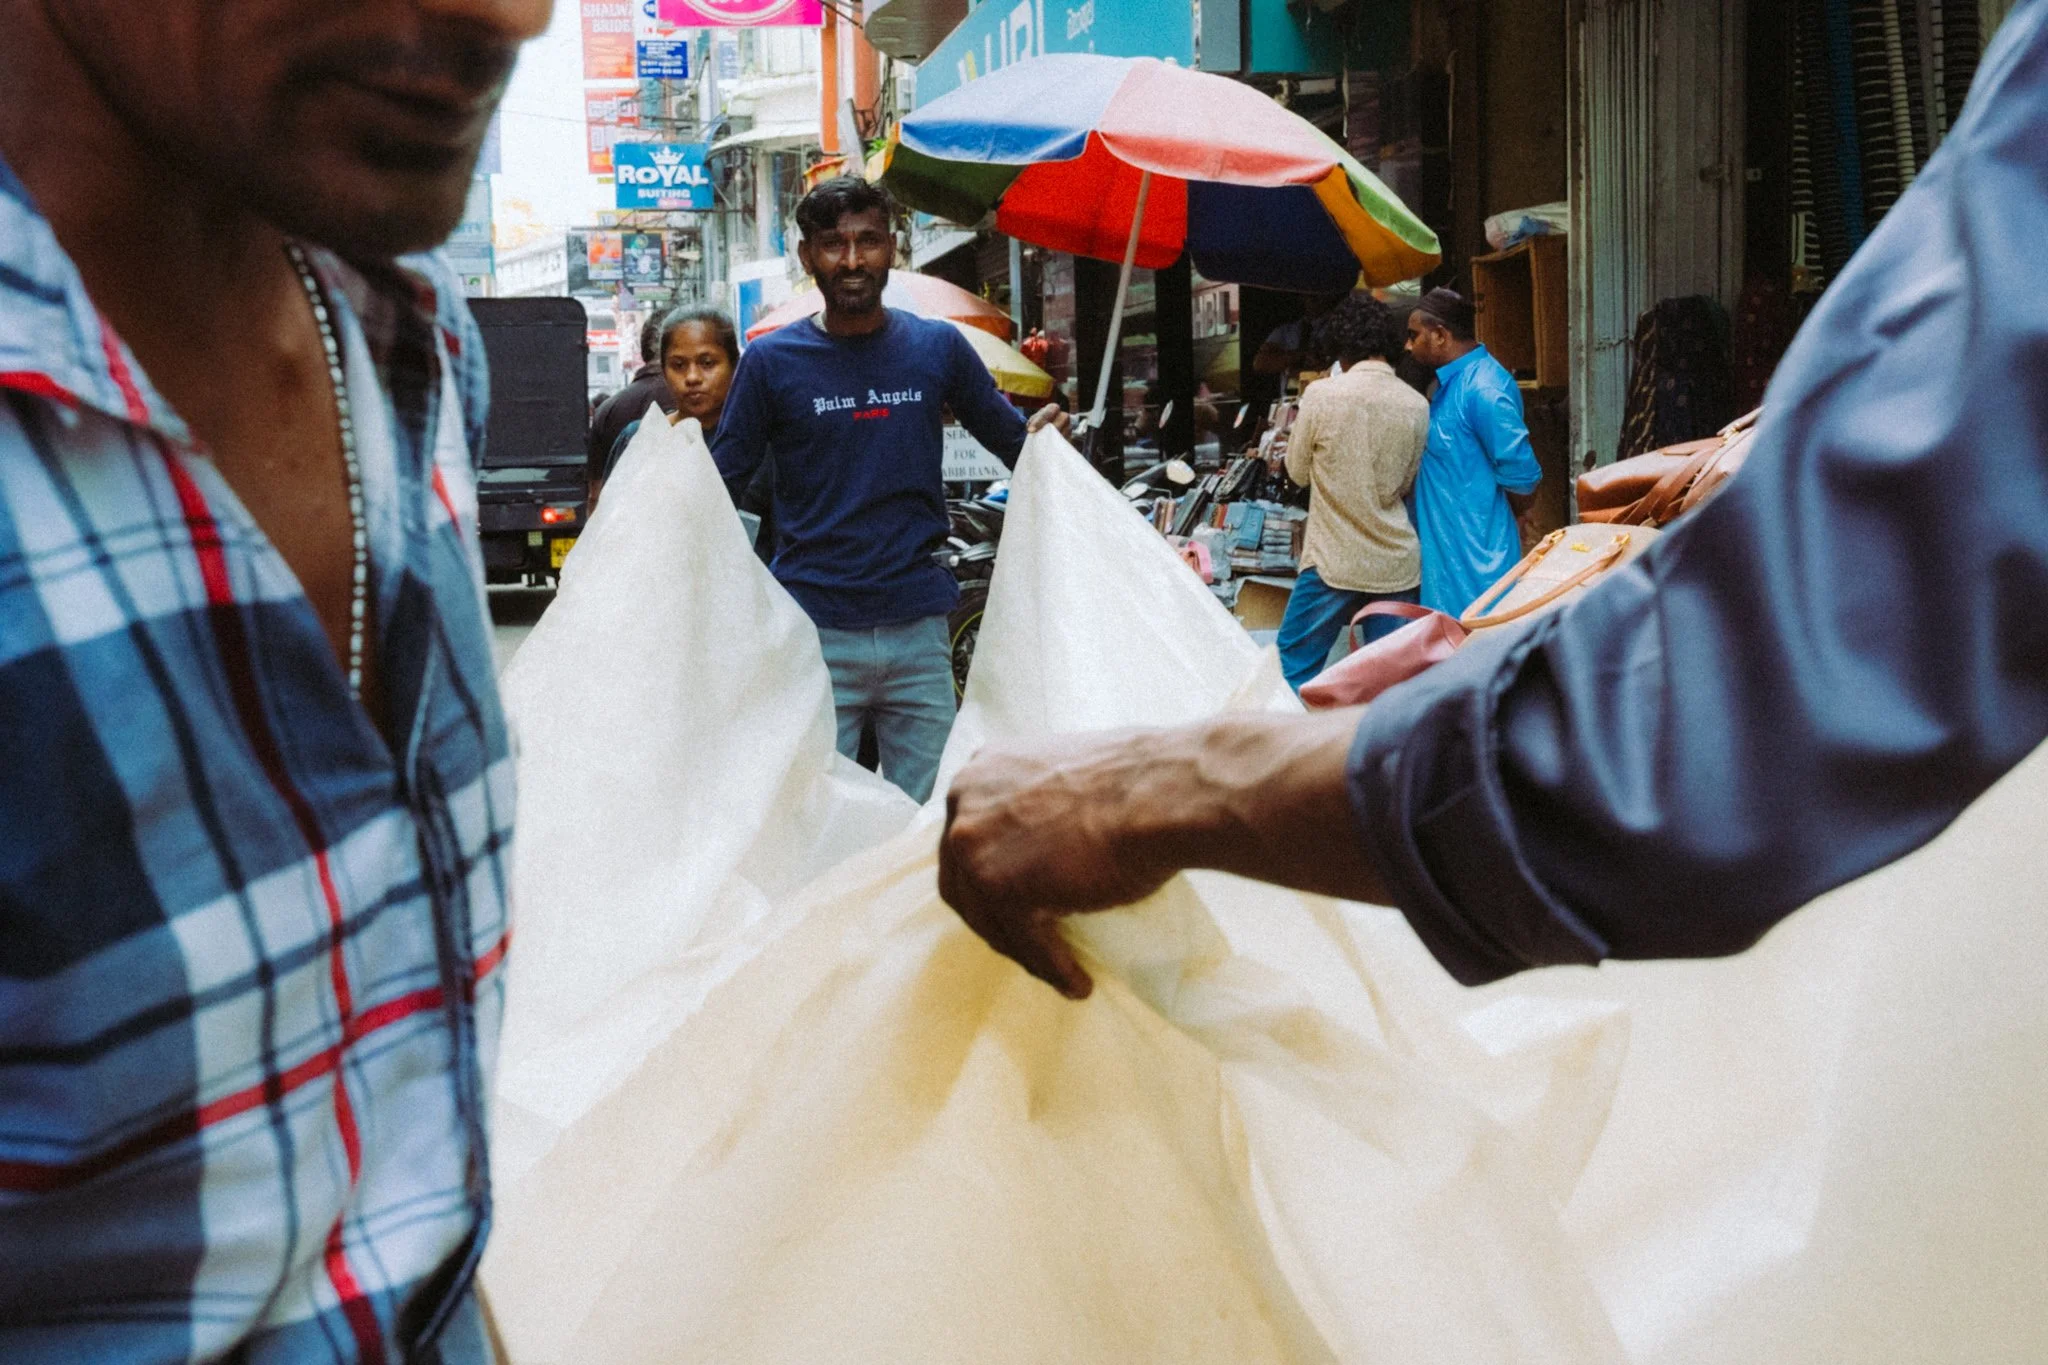
Move around
The last piece of advice is to not forget to move around. When we shoot with primes, moving around is often a requirement. However, with zooms, I think laziness can creep in and result in us standing in one place while changing the focal length.
There’s nothing wrong with that, but while you’re changing the focal length, you’re not changing your perspective, which in my opinion is more powerful. Keep moving around and look for different perspectives, not just different focal lengths.
Help support this ad-free blog by checking out my products below

If you're planning to visit London or you’re a local and want to know some of the best locations for photography, this guide is for you.
What you need to know:
- 170 Page PDF document (94mb)
- 50+ Locations
- 100+ Photo spots
- Only covers locations that consistently deliver good photo opportunities
- Clickable maps
- GPS Coordinates
- What 3 Words Coordinates
- Addresses
How will this guide help you:
- Save you time and give you a clear checklist of where to go
- Show you real world photos I took from the suggested locations
- Show you coordinates for those photos if you want to take the same
- Give you feedback on any pitfalls with specific places and attitudes to photographers
- Food / Drink / Restroom suggestions
- Lens choice suggestions
- General visiting advice
- Inspire you to head out and shoot by removing the “where shall I go” barrier
This guide is a result of years spent living and photographing London in all conditions and seasons. I have only recommended locations that have consistently delivered good photos that I have been happy with. This guide does not cover every spot, that would be impossible and a lifetimes work. This guide is there to put luck in your favour when visiting the capital.
Please note that due to the nature of digital products, refunds are generally not accepted. However, if you experience any issues, feel free to contact me and I’ll review your situation individually. You are welcome to use this product for personal or commercial projects, but you may not copy, distribute, or resell the files in their original or modified form.
Finally I want to say a massive thank you for supporting me. Buying this guide is the most direct way you can support my work thus allowing me to make more videos / photos / tutorials for you.
Thank you for your support!

My Little Photography Book is everything I know about photography in one concise place. This book is designed to save you time and share years’ worth of knowledge in an easy-to-follow format. Think of this as a workshop and a course in one affordable 300-page package.
This book covers psychology, gear, lighting, composition, storytelling, style, and a lot more. In other words, I’ve emptied my photography brain into this PDF. As always, keep in mind that this is simply my approach to photography, and everything I share is from my own experience.
The book is a digital PDF download and comes in two flavours. Two page spread and single page. The spread might be better for landscape viewing and printing, while the single page is more suited for vertical scrolling on a phone or tablet. The total download will be just over 100mb with each PDF being around 50mb.
This book has been in the making since mid-2017 and is by far my most involved project to date. This is also entirely done by myself from scratch. All the writing, editing, formatting, everything… it’s all me with no external input. I really do hope you like it, and as always, I welcome any feedback.
Please note that due to the nature of digital products, refunds are generally not accepted. However, if you experience any issues, feel free to contact me and I’ll review your situation individually. You are welcome to use this product for personal or commercial projects, but you may not copy, distribute, or resell the files in their original or modified form.
Finally, being a digital product means free updates when new chapters become available. The last update was in February 2025 to V2.
Thank you so much for your support
Much Love
Rome

What on earth is this and why is this so expensive?!?!
A zine is a self-published body of work and serves the following purposes:
It showcases all photos from a given trip or period of time. Think of this as a digital contact sheet. I only share about 50% of the final photos online. This has them all.
It can act as a source of inspiration.
It can act as a visual planning tool for your travels. It will show you the types of photos one can get at said location.
Allows you to support my work, especially if the other products in my store are not suitable for your needs.
So what is a lifetime zine?
One payment gives you access to all current and future zines. You can download to store them offline, and even print them if you fancy.
As it stands, there are 39 zines published, and my first milestone is 100.
The price you pay today gives you full access for life, even if the price increases in the future.
One payment. No subscriptions. Lifetime of zines.
Digital… really?!
I can’t even imagine the logistical nightmare to print these and ship them to every corner of the globe.
Saves wasting resources.
Works out MUCH cheaper for you. Imagine buying 100 zines…
Formatted for tablets, phones, and laptops.
Makes this accessible to more people.
What’s inside each zine?
Between 100 and 350 photos.
Only the images, no writing.
Each zine focuses on a specific trip, location, or period of time.
When purchased, you will get a PDF document. In the document is a link where you can access all the zines. Each zine can be up to 200mb although I try to keep them closer to 100mb. This allows you to zoom in and see the images up close. However, due to this higher resolution, some older devices might take longer to load the images. For the best viewing experience, I suggest viewing on a device with a big screen, and if you have a choice between scrolling or swiping to change pages, I suggest scrolling for the best experience.
Please note that due to the nature of digital products, refunds are generally not accepted. However, if you experience any issues, feel free to contact me and I’ll review your situation individually. You are welcome to use this product for personal or commercial projects, but you may not copy, distribute, or resell the files in their original or modified form.
Finally, I want to say another massive thank you for supporting me. This is the most direct way you can support my work.
Thank you for your support!
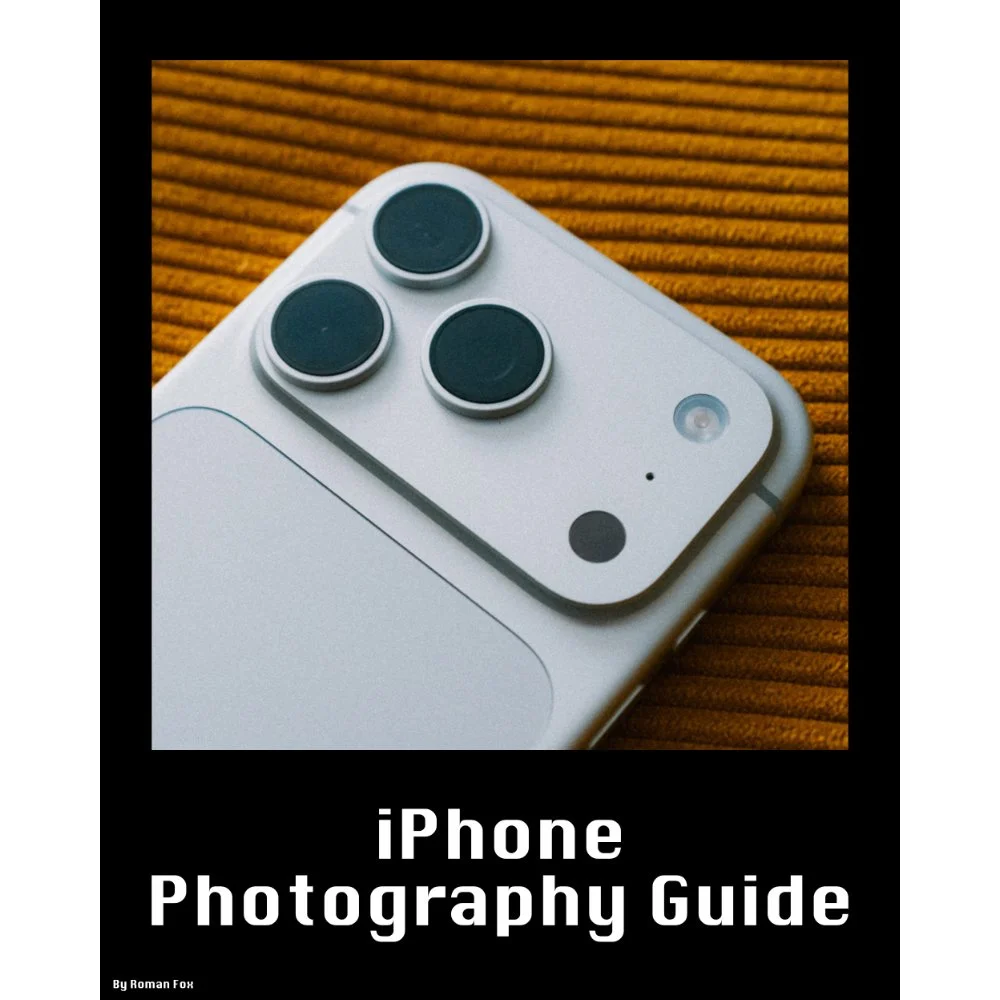
This iPhone Photography Guide is designed to save you time and help you get your camera set up and working just like mine.
What’s Included:
Detailed setup guide for the Camera app and settings
Photography guide covering lighting, composition, settings, and more
10 Lightroom presets designed for ProRAW photos
Free lifetime updates as new iPhones and iOS updates are released
What’s Supported:
This guide is based on the iPhone 18 Pro running iOS 27
Most settings and features carry over to other recent iPhones
What’s Not Included:
Dedicated settings for older iPhones and individual iPhone models
Third party camera apps or accessories
The Apple Photos app or other aspects of the iPhone outside of the camera
A dedicated guide to filmmaking. I cover video settings in detail, but this isn’t a “how to make videos” guide
You will learn what the major camera features do and why I have chosen to set them up in a certain way. I also cover photography essentials, so even if you’re a total beginner, this guide will help you better understand light, composition, and storytelling.
Finally, you will get 10 Lightroom presets specifically designed for ProRAW photos. These are the presets I use myself to edit my iPhone photos. They also come with a guide explaining how to get the most out of them.
This is a digital download and not a physical product. The download is approximately 36 MB.
Please note that due to the nature of digital products, refunds are generally not accepted. However, if you experience any issues, feel free to contact me and I’ll review your situation individually. You are welcome to use this product for personal or commercial projects, but you may not copy, distribute, or resell the files in their original or modified form.
Finally, I want to say a massive thank you for supporting me. Buying this guide is the most direct way you can support my work, allowing me to make more videos, photos, and tutorials for you.
Thank you for your support!
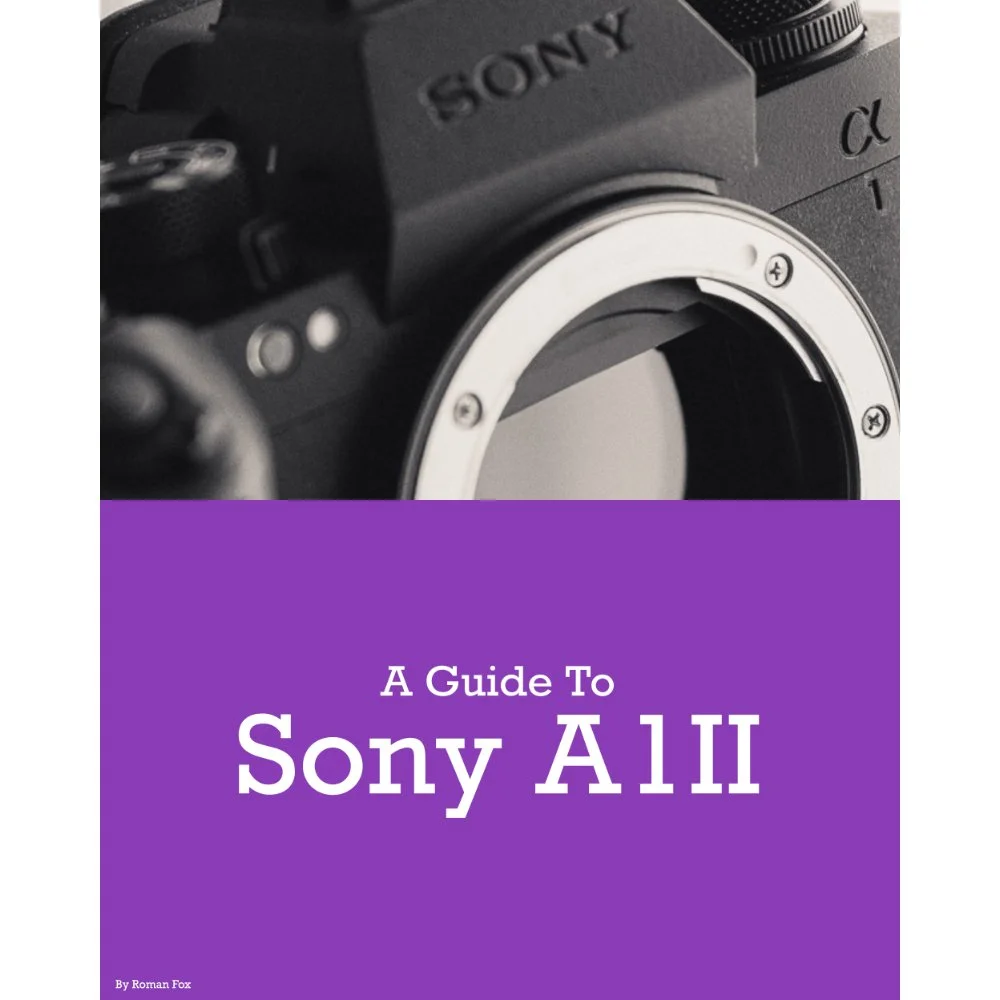
This Sony A1II setup guide is designed to save you time and get your camera set up and working just like I do.
You will learn what the major features do and why I chose to set them in a certain way. I will show you how to assign the buttons and custom menus in order to have the most important features at your fingertips. Finally, I will walk you through how I expose and focus.
This guide is not a replacement for your user manual and does not cover 100% of the features. It covers the features that, in my experience, 90% of the people use 90% of the time. This is based on years of photography and video experience.
This guide is best suited for those who want to be up and running quickly with a tried-and-tested set-up.
This is a digital download and not a physical product. The download is around 15mb.
Please note that due to the nature of digital products, refunds are generally not accepted. However, if you experience any issues, feel free to contact me and I’ll review your situation individually. You are welcome to use this product for personal or commercial projects, but you may not copy, distribute, or resell the files in their original or modified form.
Finally, I want to say a massive thank you for supporting me. Buying this guide is the most direct way you can support my work, thus allowing me to make more videos, photos, and tutorials for you.
Thank you for your support!
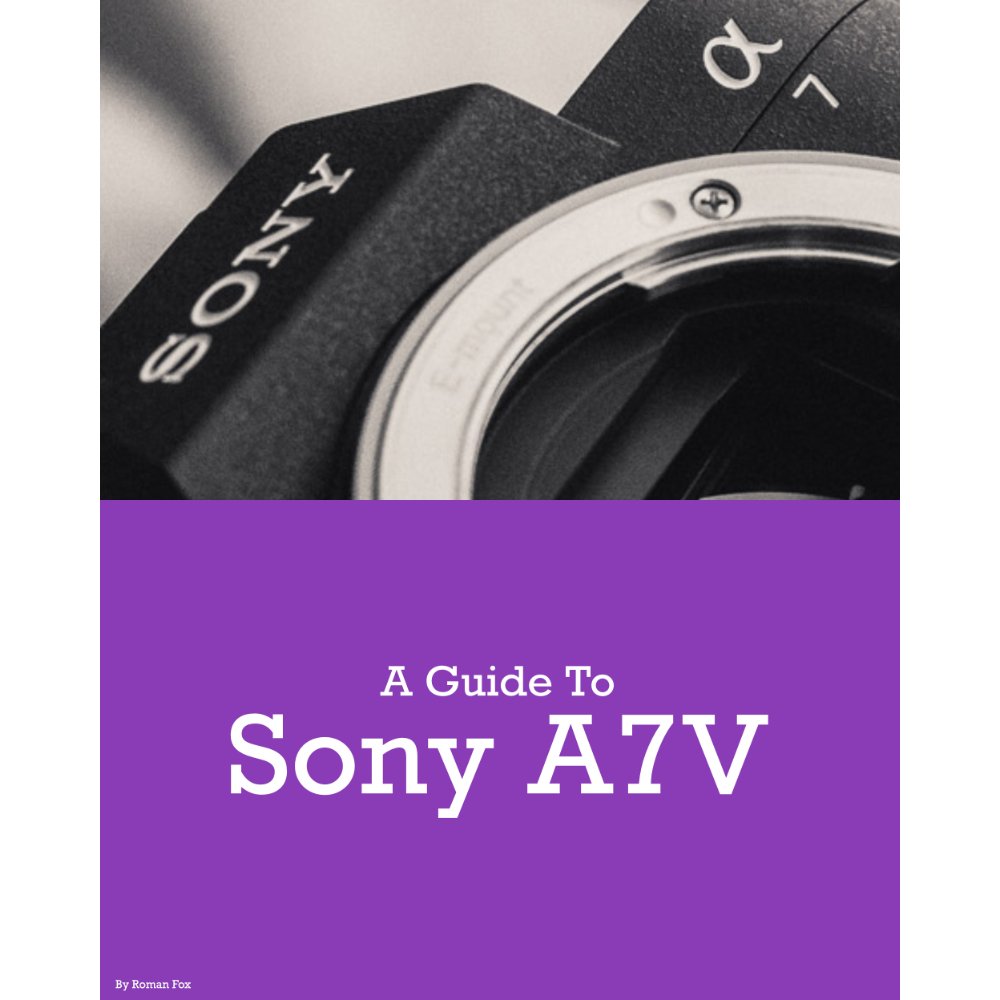
This Sony A7V setup guide is designed to save you time and get your camera set up and working just like I do.
You will learn what the major features do and why I chose to set them in a certain way. I will show you how to assign the buttons and custom menus in order to have the most important features at your fingertips. Finally, I will walk you through how I expose and focus.
This guide is not a replacement for your user manual and does not cover 100% of the features. It covers the features that, in my experience, 90% of the people use 90% of the time. This is based on years of photography and video experience.
This guide is best suited for those who want to be up and running quickly with a tried-and-tested set-up.
This is a digital download and not a physical product. The download is around 15mb.
Please note that due to the nature of digital products, refunds are generally not accepted. However, if you experience any issues, feel free to contact me and I’ll review your situation individually. You are welcome to use this product for personal or commercial projects, but you may not copy, distribute, or resell the files in their original or modified form.
Finally, I want to say a massive thank you for supporting me. Buying this guide is the most direct way you can support my work, thus allowing me to make more videos, photos, and tutorials for you.
Thank you for your support!
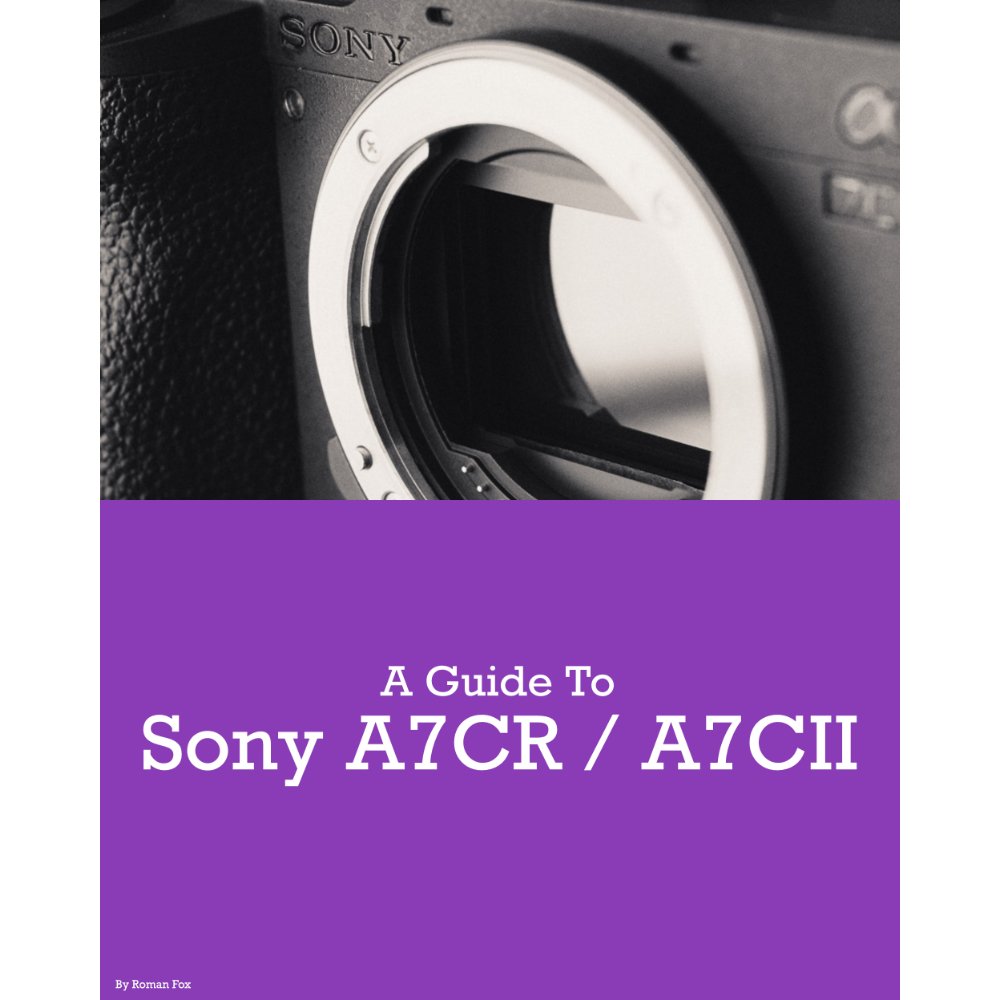
This Sony A7CR / A7CII setup guide is designed to save you time and get your camera set up and working just like I do.
You will learn what the major features do and why I chose to set them in a certain way. I will show you how to assign the buttons and custom menus in order to have the most important features at your fingertips. Finally, I will walk you through how I expose and focus.
This guide is not a replacement for your user manual and does not cover 100% of the features. It covers the features that, in my experience, 90% of the people use 90% of the time. This is based on years of photography and video experience.
This guide is best suited for those who want to be up and running quickly with a tried-and-tested set-up.
This is a digital download and not a physical product. The download is around 15mb.
Please note that due to the nature of digital products, refunds are generally not accepted. However, if you experience any issues, feel free to contact me and I’ll review your situation individually. You are welcome to use this product for personal or commercial projects, but you may not copy, distribute, or resell the files in their original or modified form.
Finally, I want to say a massive thank you for supporting me. Buying this guide is the most direct way you can support my work, thus allowing me to make more videos, photos, and tutorials for you.
Thank you for your support!

This Sony A7RV setup guide is designed to save you time and get your camera set up and working just like I do.
You will learn what the major features do and why I chose to set them in a certain way. I will show you how to assign the buttons and custom menus in order to have the most important features at your fingertips. Finally, I will walk you through how I expose and focus.
This guide is not a replacement for your user manual and does not cover 100% of the features. It covers the features that, in my experience, 90% of the people use 90% of the time. This is based on years of photography and video experience.
This guide is best suited for those who want to be up and running quickly with a tried-and-tested set-up.
This is a digital download and not a physical product. The download is around 15mb.
Please note that due to the nature of digital products, refunds are generally not accepted. However, if you experience any issues, feel free to contact me and I’ll review your situation individually. You are welcome to use this product for personal or commercial projects, but you may not copy, distribute, or resell the files in their original or modified form.
Finally, I want to say a massive thank you for supporting me. Buying this guide is the most direct way you can support my work, thus allowing me to make more videos, photos, and tutorials for you.
Thank you for your support!

**Updated for firmware version 4.1
This Leica Q3 43 set-up guide is designed to save you time and get your camera set up and working just like I do. While the guide is for the Q3 43, pretty much all of it will carry over to the Q3 28mm camera too.
You will learn what the major features do and why I chose to set them in a certain way. I will show you how to assign the buttons and custom menus in order to have the most important features at your fingertips. Finally, I will walk you through how I expose and focus.
This guide is not a replacement for your user manual and does not cover 100% of the features. It covers the features that, in my experience, 90% of the people use 90% of the time. This is based on years of photography and video experience.
This guide is best suited for those who want to be up and running quickly with a tried-and-tested set-up.
This is a digital download and not a physical product.
Please note that due to the nature of digital products, refunds are generally not accepted. However, if you experience any issues, feel free to contact me and I’ll review your situation individually. You are welcome to use this product for personal or commercial projects, but you may not copy, distribute, or resell the files in their original or modified form.
Finally, I want to say a massive thank you for supporting me. Buying this guide is the most direct way you can support my work, thus allowing me to make more videos, photos, and tutorials for you.
Thank you for your support!

This Ricoh GRIV set-up guide is designed to save you time and get your camera set up and working just like I do. This guide covers all GRIV variants.
You will learn what the major features do and why I chose to set them in a certain way. I will show you how to assign the buttons and custom menus in order to have the most important features at your fingertips. Finally, I will walk you through how I expose and focus.
This guide is not a replacement for your user manual and does not cover 100% of the features. It covers the features that, in my experience, 90% of the people use 90% of the time. This is based on years of photography and video experience.
This guide is best suited for those who want to be up and running quickly with a tried-and-tested set-up.
This is a digital download and not a physical product. The download is around 6mb.
Please note that due to the nature of digital products, refunds are generally not accepted. However, if you experience any issues, feel free to contact me and I’ll review your situation individually. You are welcome to use this product for personal or commercial projects, but you may not copy, distribute, or resell the files in their original or modified form.
Finally, I want to say a massive thank you for supporting me. Buying this guide is the most direct way you can support my work, thus allowing me to make more videos, photos, and tutorials for you.
Thank you for your support!

This Ricoh GRIII/GRIIIX set-up guide is designed to save you time and get your camera set up and working just like I do. This guide covers all GRIII variants.
You will learn what the major features do and why I chose to set them in a certain way. I will show you how to assign the buttons and custom menus in order to have the most important features at your fingertips. Finally, I will walk you through how I expose and focus.
This guide is not a replacement for your user manual and does not cover 100% of the features. It covers the features that, in my experience, 90% of the people use 90% of the time. This is based on years of photography and video experience.
This guide is best suited for those who want to be up and running quickly with a tried-and-tested set-up.
This is a digital download and not a physical product. The download is around 23mb.
Please note that due to the nature of digital products, refunds are generally not accepted. However, if you experience any issues, feel free to contact me and I’ll review your situation individually. You are welcome to use this product for personal or commercial projects, but you may not copy, distribute, or resell the files in their original or modified form.
Finally, I want to say a massive thank you for supporting me. Buying this guide is the most direct way you can support my work, thus allowing me to make more videos, photos, and tutorials for you.
Thank you for your support!

This Fujifilm X100VI set-up guide is designed to save you time and get your camera set up and working just like I do. You will learn what the major features do and why I chose to set them in a certain way. I will show you how to assign the buttons and custom menus in order to have the most important features at your fingertips. Finally, I will walk you through how I expose and focus.
This guide is not a replacement for your user manual and does not cover 100% of the features. It covers the features that, in my experience, 90% of the people use 90% of the time. This is based on years of personal experience.
This guide is best suited for those who want to be up and running quickly with a tried-and-tested set-up.
This is a digital download and not a physical product. The download is around 24mb.
Please note that due to the nature of digital products, refunds are generally not accepted. However, if you experience any issues, feel free to contact me and I’ll review your situation individually. You are welcome to use this product for personal or commercial projects, but you may not copy, distribute, or resell the files in their original or modified form.
Finally, I want to say a massive thank you for supporting me. Buying this guide is the most direct way you can support my work, thus allowing me to make more videos, photos, and tutorials for you.
Thank you for your support!

This Fujifilm XT5 set-up guide is designed to save you time and get your camera set up and working just like I do. You will learn what the major features do and why I chose to set them in a certain way. I will show you how to assign the buttons and custom menus in order to have the most important features at your fingertips. Finally, I will walk you through how I expose and focus.
This guide is not a replacement for your user manual and does not cover 100% of the features. It covers the features that, in my experience, 90% of the people use 90% of the time. This is based on years of personal experience.
This guide is best suited for those who want to be up and running quickly with a tried-and-tested set-up.
This is a digital download and not a physical product. The download is around 25mb.
Please note that due to the nature of digital products, refunds are generally not accepted. However, if you experience any issues, feel free to contact me and I’ll review your situation individually. You are welcome to use this product for personal or commercial projects, but you may not copy, distribute, or resell the files in their original or modified form.
Finally, I want to say a massive thank you for supporting me. Buying this guide is the most direct way you can support my work, thus allowing me to make more videos, photos, and tutorials for you.
Thank you for your support!

This Fujifilm XH2 set-up guide is designed to save you time and get your camera set up and working just like I do. You will learn what the major features do and why I chose to set them in a certain way. I will show you how to assign the buttons and custom menus in order to have the most important features at your fingertips. Finally, I will walk you through how I expose and focus.
This guide is not a replacement for your user manual and does not cover 100% of the features. It covers the features that, in my experience, 90% of the people use 90% of the time. This is based on years of personal experience.
This guide is best suited for those who want to be up and running quickly with a tried-and-tested set-up.
This is a digital download and not a physical product. The download is around 33mb.
Please note that due to the nature of digital products, refunds are generally not accepted. However, if you experience any issues, feel free to contact me and I’ll review your situation individually. You are welcome to use this product for personal or commercial projects, but you may not copy, distribute, or resell the files in their original or modified form.
Finally, I want to say a massive thank you for supporting me. Buying this guide is the most direct way you can support my work, thus allowing me to make more videos, photos, and tutorials for you.
Thank you for your support!

This Fujifilm XH2s set-up guide is designed to save you time and get your camera set up and working just like I do. You will learn what the major features do and why I chose to set them in a certain way. I will show you how to assign the buttons and custom menus in order to have the most important features at your fingertips. Finally, I will walk you through how I expose and focus.
This guide is not a replacement for your user manual and does not cover 100% of the features. It covers the features that, in my experience, 90% of the people use 90% of the time. This is based on years of personal experience.
This guide is best suited for those who want to be up and running quickly with a tried-and-tested set-up.
This is a digital download and not a physical product. The download is around 33mb.
Please note that due to the nature of digital products, refunds are generally not accepted. However, if you experience any issues, feel free to contact me and I’ll review your situation individually. You are welcome to use this product for personal or commercial projects, but you may not copy, distribute, or resell the files in their original or modified form.
Finally, I want to say a massive thank you for supporting me. Buying this guide is the most direct way you can support my work, thus allowing me to make more videos, photos, and tutorials for you.
Thank you for your support!

This Fujifilm XT4 set-up guide is designed to save you time and get your camera set up and working just like I do. You will learn what the major features do and why I chose to set them in a certain way. I will show you how to assign the buttons and custom menus in order to have the most important features at your fingertips. Finally, I will walk you through how I expose and focus.
This guide is not a replacement for your user manual and does not cover 100% of the features. It covers the features that, in my experience, 90% of the people use 90% of the time. This is based on years of personal experience.
This guide is best suited for those who want to be up and running quickly with a tried-and-tested set-up.
This is a digital download and not a physical product. The download is around 21mb.
Please note that due to the nature of digital products, refunds are generally not accepted. However, if you experience any issues, feel free to contact me and I’ll review your situation individually. You are welcome to use this product for personal or commercial projects, but you may not copy, distribute, or resell the files in their original or modified form.
Finally, I want to say a massive thank you for supporting me. Buying this guide is the most direct way you can support my work, thus allowing me to make more videos, photos, and tutorials for you.
Thank you for your support!

This Fujifilm XT3 set-up guide is designed to save you time and get your camera set up and working just like I do. You will learn what the major features do and why I chose to set them in a certain way. I will show you how to assign the buttons and custom menus in order to have the most important features at your fingertips. Finally, I will walk you through how I expose and focus.
This guide is not a replacement for your user manual and does not cover 100% of the features. It covers the features that, in my experience, 90% of the people use 90% of the time. This is based on years of personal experience.
This guide is best suited for those who want to be up and running quickly with a tried-and-tested set-up.
This is a digital download and not a physical product. The download is around 22mb.
Please note that due to the nature of digital products, refunds are generally not accepted. However, if you experience any issues, feel free to contact me and I’ll review your situation individually. You are welcome to use this product for personal or commercial projects, but you may not copy, distribute, or resell the files in their original or modified form.
Finally, I want to say a massive thank you for supporting me. Buying this guide is the most direct way you can support my work, thus allowing me to make more videos, photos, and tutorials for you.
Thank you for your support!

This Fujifilm X100V set-up guide is designed to save you time and get your camera set up and working just like I do. You will learn what the major features do and why I chose to set them in a certain way. I will show you how to assign the buttons and custom menus in order to have the most important features at your fingertips. Finally, I will walk you through how I expose and focus.
This guide is not a replacement for your user manual and does not cover 100% of the features. It covers the features that, in my experience, 90% of the people use 90% of the time. This is based on years of personal experience.
This guide is best suited for those who want to be up and running quickly with a tried-and-tested set-up.
This is a digital download and not a physical product. The download is around 16mb.
Please note that due to the nature of digital products, refunds are generally not accepted. However, if you experience any issues, feel free to contact me and I’ll review your situation individually. You are welcome to use this product for personal or commercial projects, but you may not copy, distribute, or resell the files in their original or modified form.
Finally, I want to say a massive thank you for supporting me. Buying this guide is the most direct way you can support my work, thus allowing me to make more videos, photos, and tutorials for you.
Thank you for your support!
Instead of telling you how these will change your life, I would rather be practical and answer the most common questions that people tend to have when buying presets.
What are presets?
They are editing settings that are saved in a file and can be applied to any image.
Why do people buy presets?
Sometimes because they like the work of the photographer and want that style for their own photos. Mostly because they would like to see how other people edit and learn by reverse engineering the presets. Other times it’s just to support their favourite photographers, thank you!
What’s the overall style of these presets?
- Filmic
- Warm
- Soft
- Bright
What are these presets suitable for?
Street & Travel Photography
Some Nature (with further editing)
Some Portraits (with extensive editing)
Do I actually use these?
Yes. This is the same pack I use right now for all my editing. This isn’t a pack made just to sell.
Do these presets get updated?
Yes, as my style changes, these presets will also be updated. Any time a new update is available, you will get a free update via email. Of course you also keep all the old presets in case you prefer the older looks. Only presets purchased from 2025 onwards will receive the updates.
What file types are these presets for?
- All RAW files
- JPEGs & TIFFs (not recommended)
What camera brands are these presets for?
These were designed around Fujifilm, Sony, and Leica sensors. With that said, they will work with all camera brands. While there might be differences due to individual camera colour science, the overall feel of the preset will carry over.
Will these work with JPEG files?
Yes, but you will need to reduce the intensity and make further edits. I strongly recommend editing RAW files.
Are these one click edits?
95% No. You would need to do some basic adjustments as each image is different. These adjustments can include exposure, colour balance etc. In 5% of cases you can just apply and leave it alone.
Do I need to know how to edit?
You need to have a basic understanding of adjusting exposure, highlights, shadows, etc. A more comprehensive editing skillset will let you get the most out of them.
How many presets are included?
10 in the main pack and 24 in the extras pack
Why two packs?
The main pack is what I use for 99% of my edits and is kept small to reduce wasted time scrolling through presets. The extras pack is everything I don’t use often.
What software do I need?
These presets will work with any of the following:
- Photoshop (adobe camera raw)
- Lightroom Classic
- Lightroom Desktop
- Lightroom Mobile
Will these presets work with free versions of the above software?
You need to research and double check before buying. These presets were designed for the full paid versions.
Will these presets work with very old versions of the above software?
You need to research and double check before buying. These presets were designed on and for the latest software.
What file type do I get?
XMP
What else do I get?
- Comprehensive PDF guide
Can I modify these and turn them into my own?
Yes! In fact I encourage you to modify them and play around. Use these to help you get your own style.
I have more questions…. What do I do?
Make a cup of tea and drop me an email on hello@snapsbyfox.com
Please note that due to the nature of digital products, refunds are generally not accepted. However, if you experience any issues, feel free to contact me and I’ll review your situation individually. You are welcome to use this product for personal or commercial projects, but you may not copy, distribute, or resell the files in their original or modified form.
Finally I want to say a massive thank you for supporting me. Buying these presets is the most direct way you can support my work.
Thank you!